15 Ways To Get Started With Garden Jars (Without Making These Common Mistakes)
Starting a garden jar is like creating a little world of greenery right on your windowsill. Full of fresh leaves, tiny sprouts, and maybe even a surprise visitor or two (looking at you, sneaky snails!).
But don’t worry, I’ve got your back! Whether you’re a total beginner or a gardening pro looking to shake things up, I’ve put together some tips to help you grow thriving jar gardens without the usual hiccups. These tips will set you up for success.
So, grab a jar, scoop in some soil, and let’s get those little greens flourishing. One happy leaf at a time! Who knows, this might just become your new favorite gardening obsession.
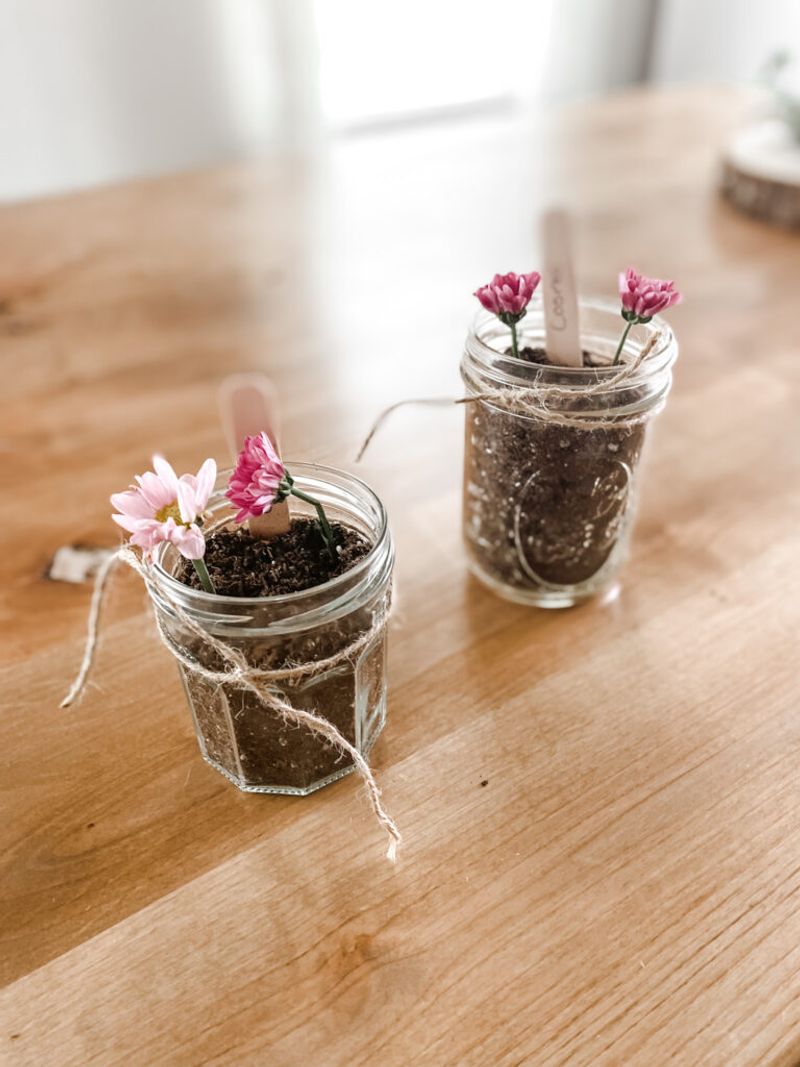
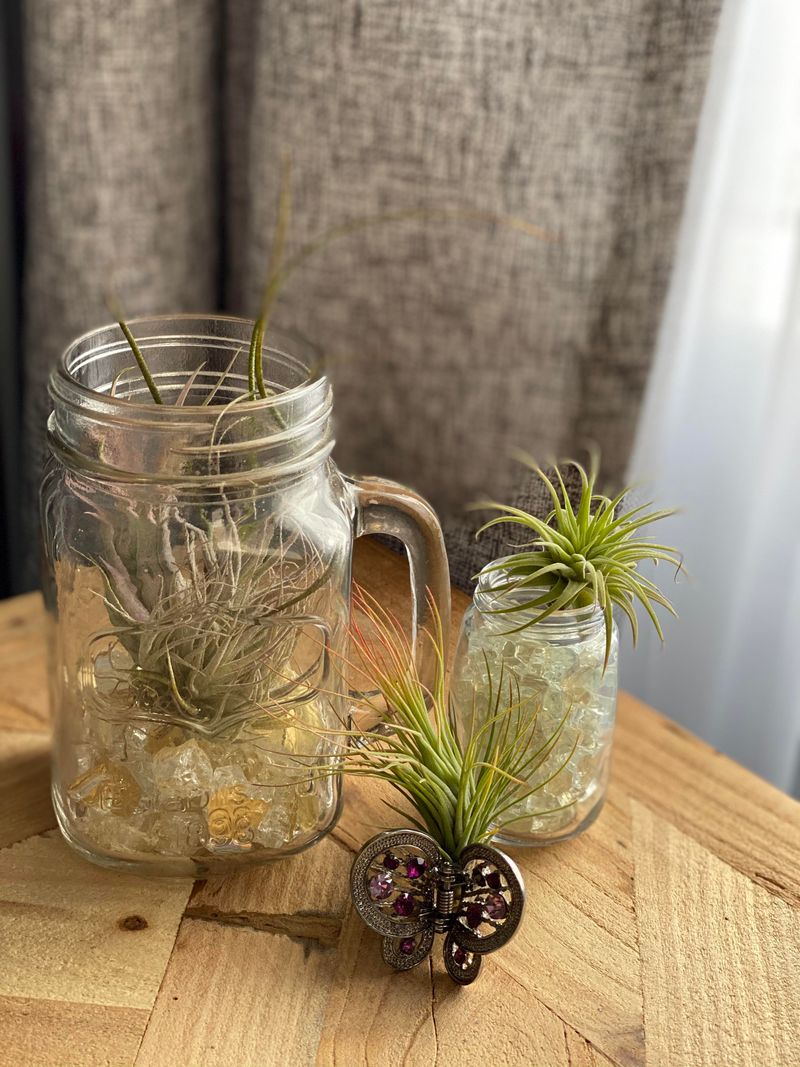
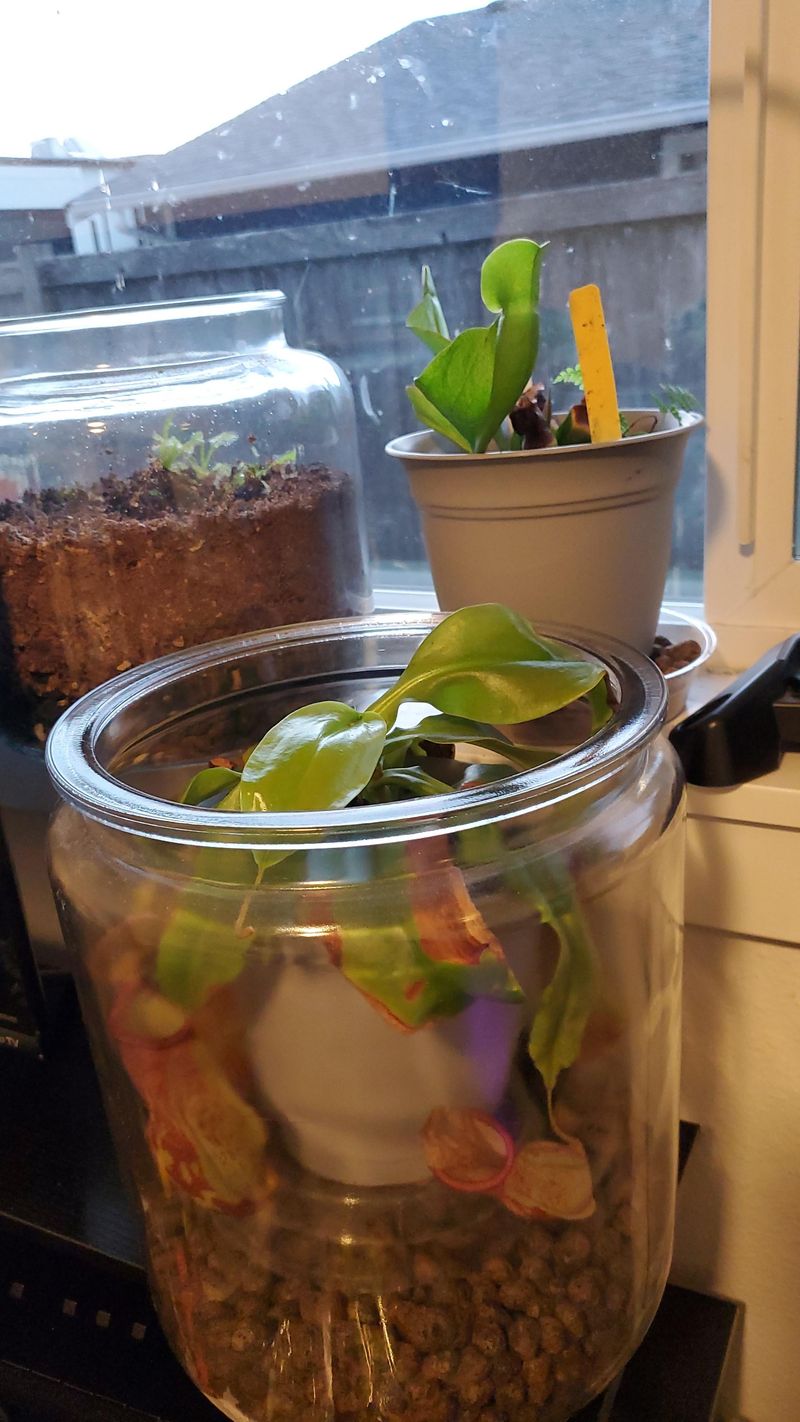
1. Choose The Right Jars
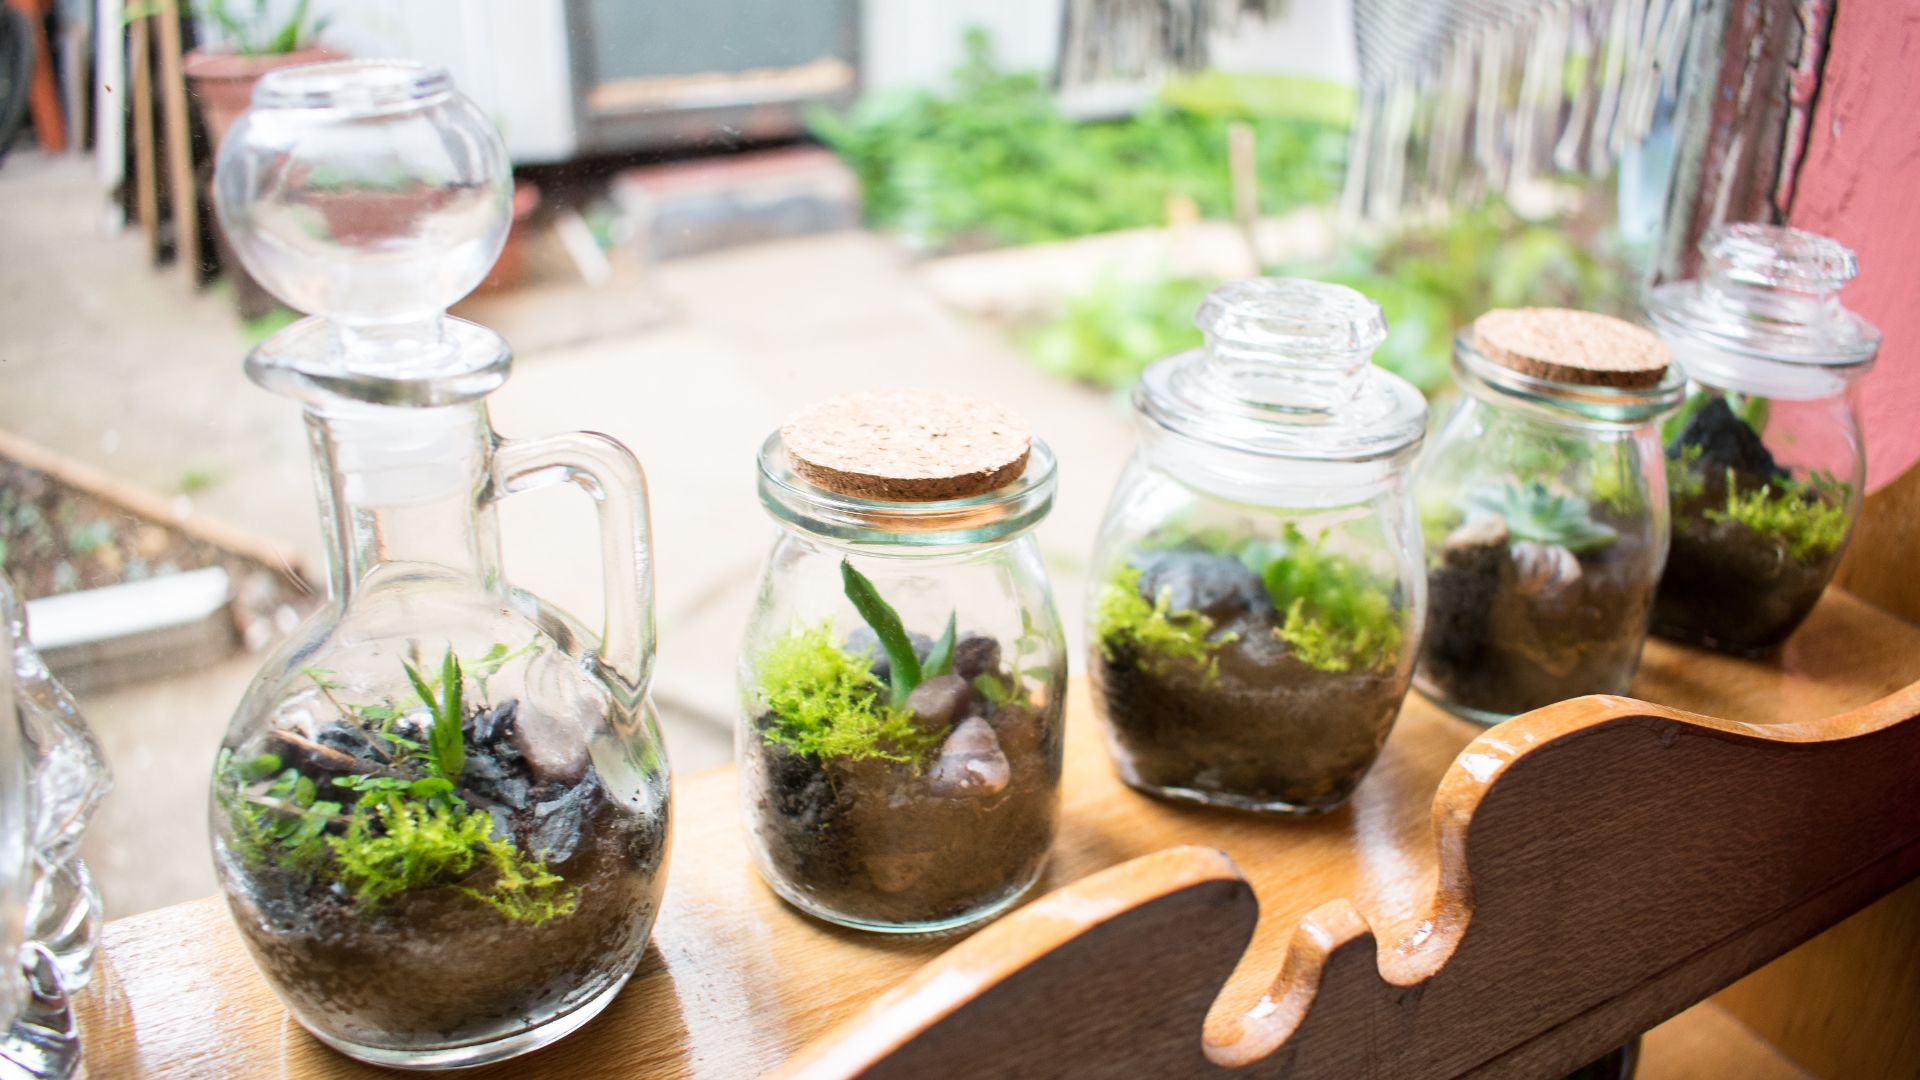
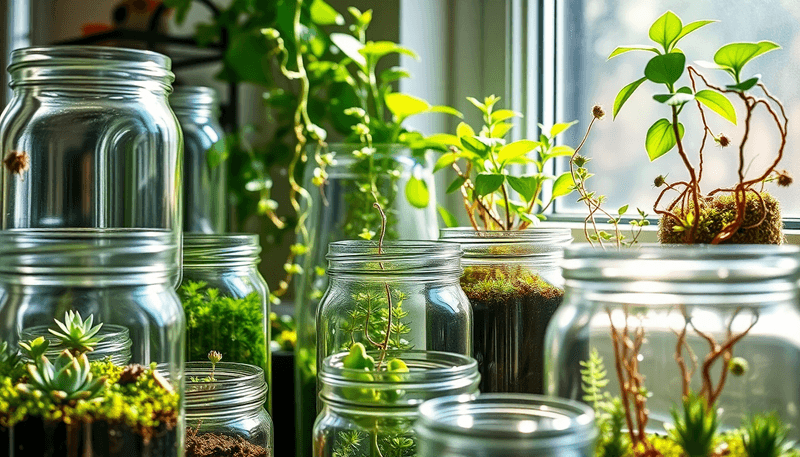
First things first, let’s talk jars. I remember the first time I started my garden jars. I picked the fanciest ones I could find. Mistake! Turns out, the right jar is not always the prettiest.
Choose jars that have a wide mouth and are deep enough to allow root growth. Trust me, your plants will thank you! Look for clear glass to let in lots of light, and make sure they’re not too small.
So, what are your jars like? Do they have enough room for your ambitious little seedlings to stretch and grow?
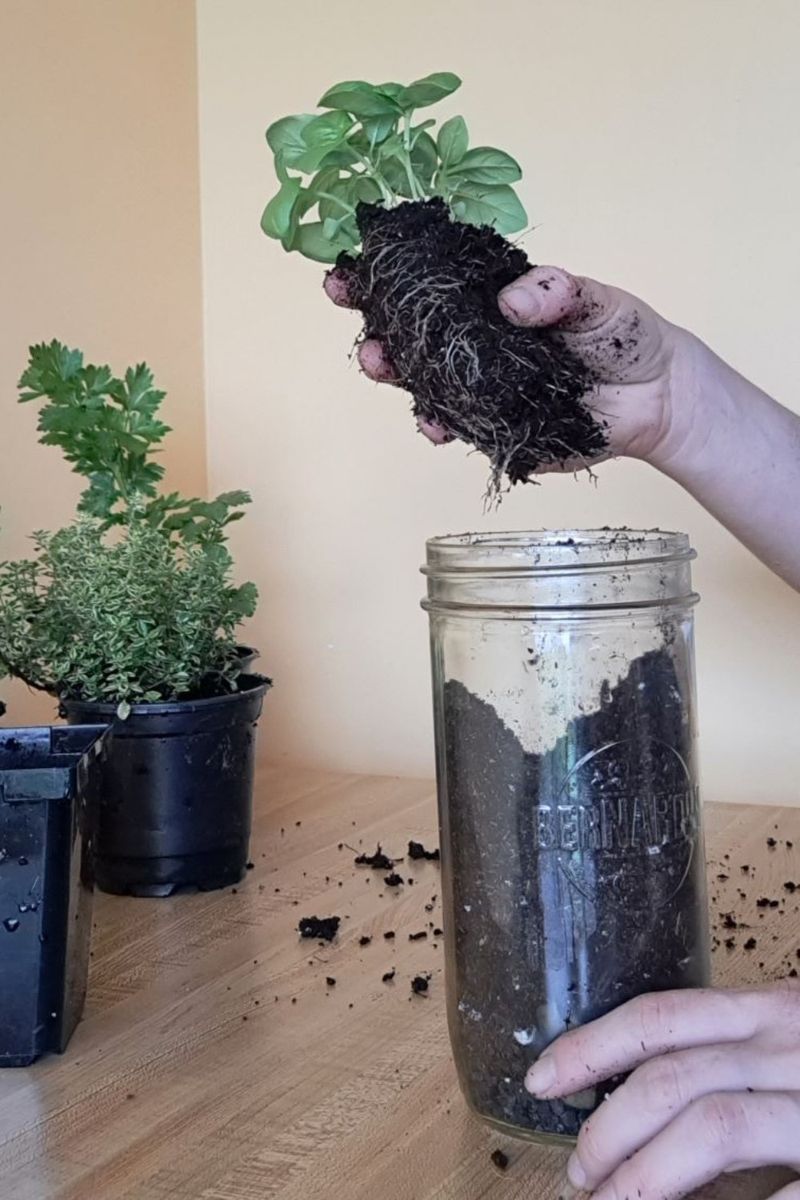
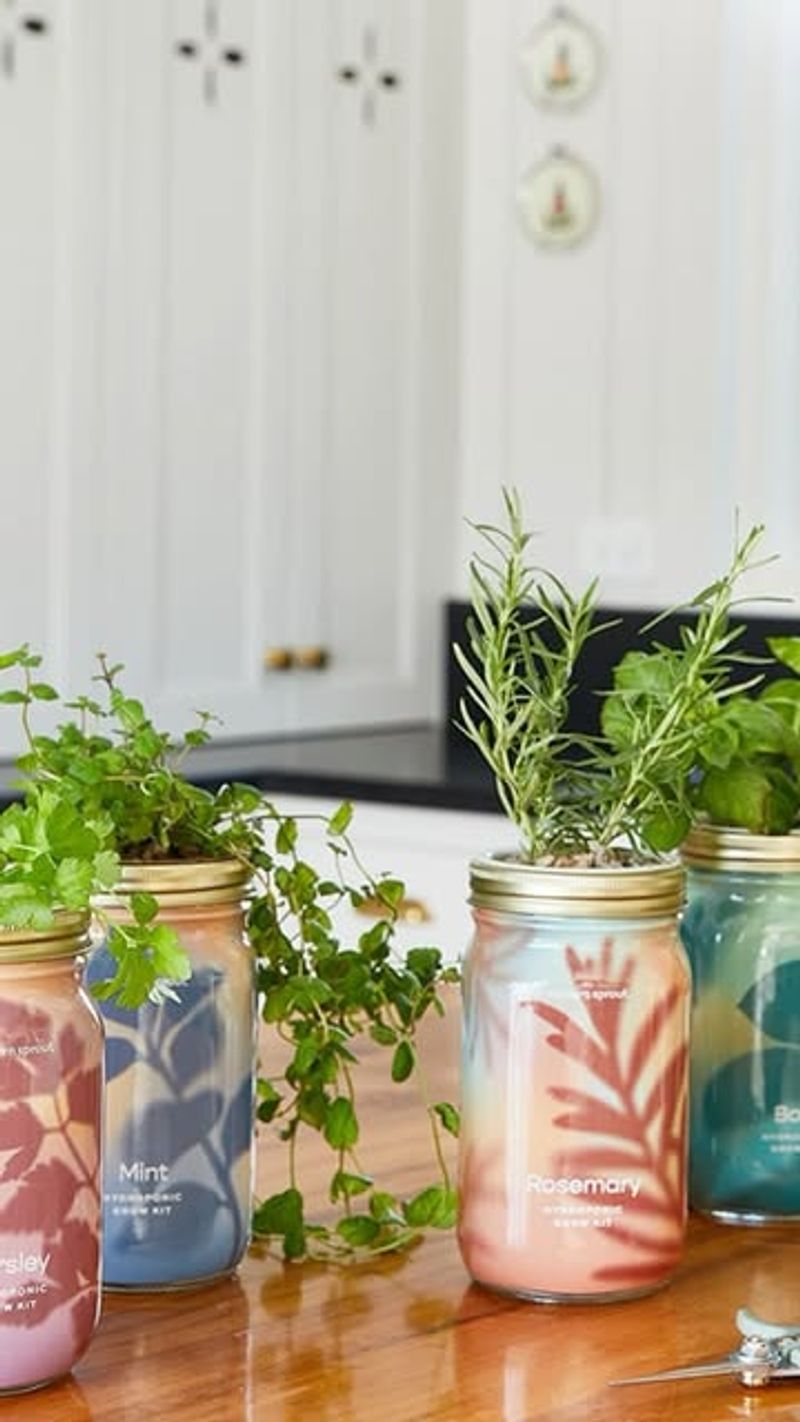
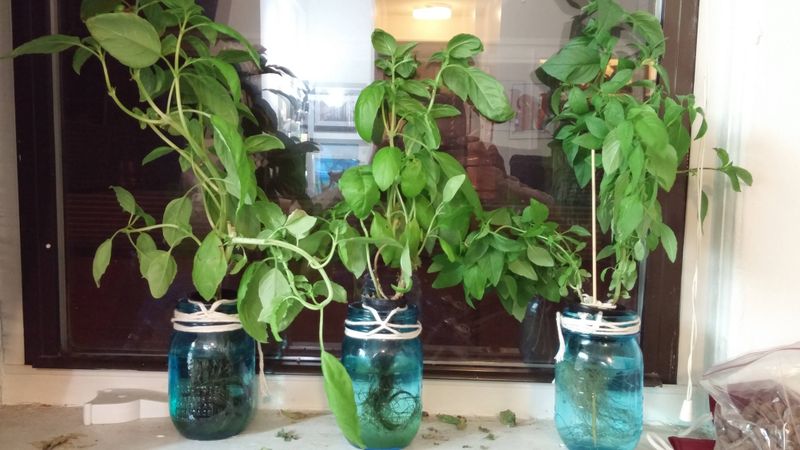
2. Pick Herbs That Thrive in Containers
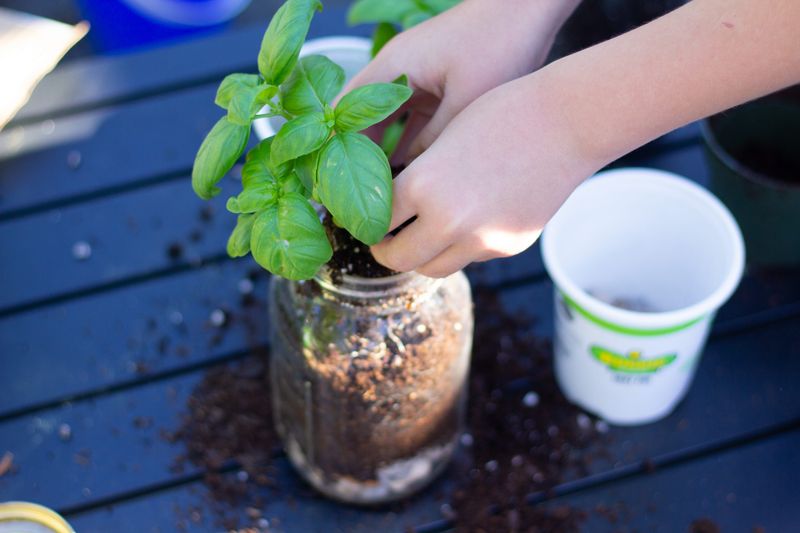
Herbs are the stars of garden jars. Not all herbs are created equal, though. Some herbs love the cozy life inside a jar, like basil, mint, and parsley. They’re low-maintenance and adapt well to container life.
When I started, I chose thyme, and it thrived, giving my dishes a fresh twist. Do some research on each plant’s needs before committing. And remember, some herbs can grow quite large, so plan ahead.
Choosing the right herbs is like picking the right friends—they should complement your lifestyle as well as your meals.
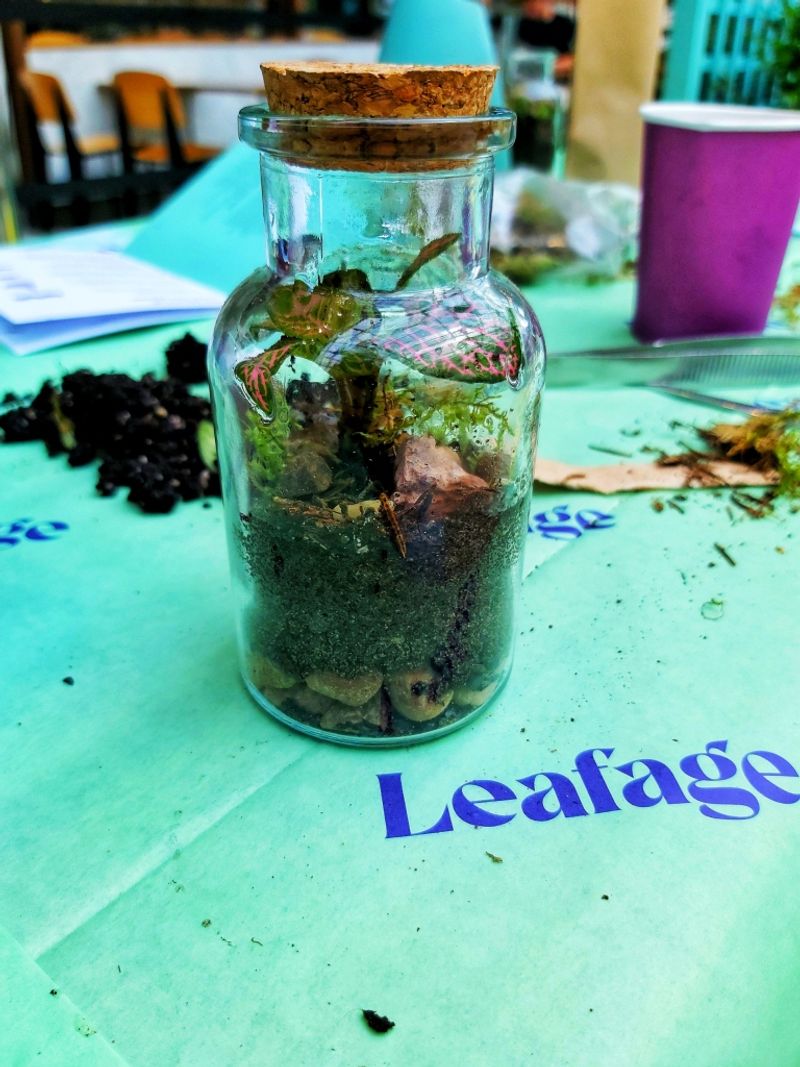
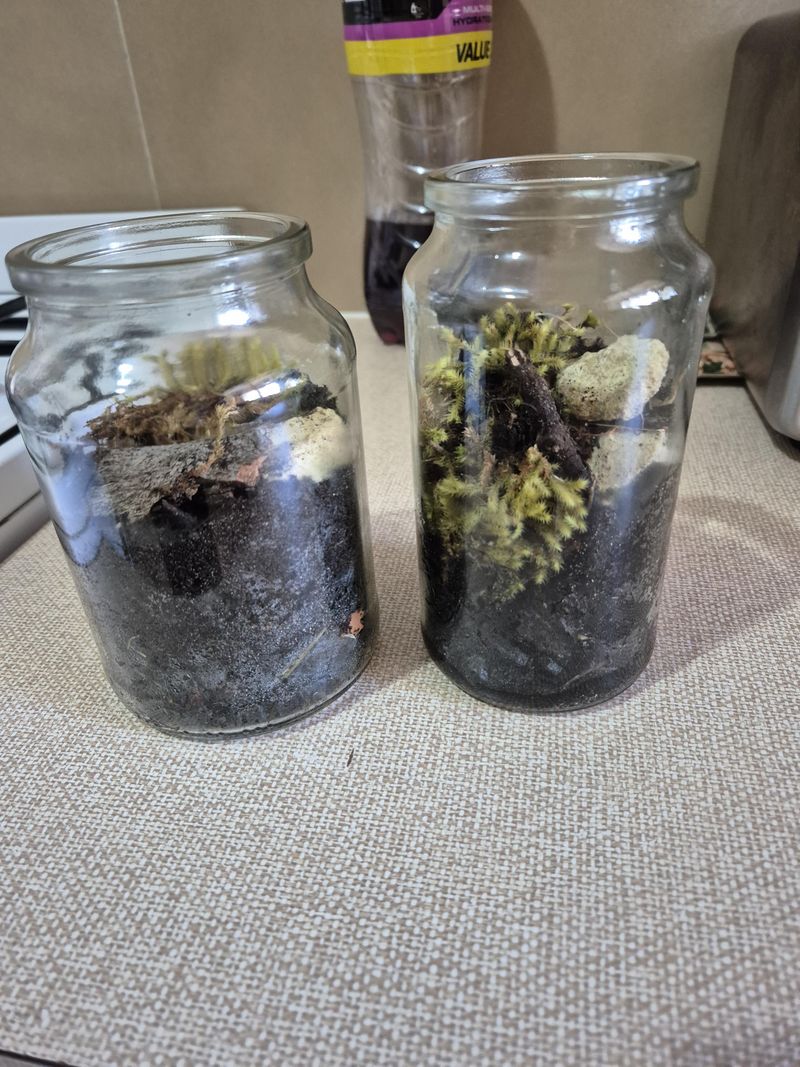
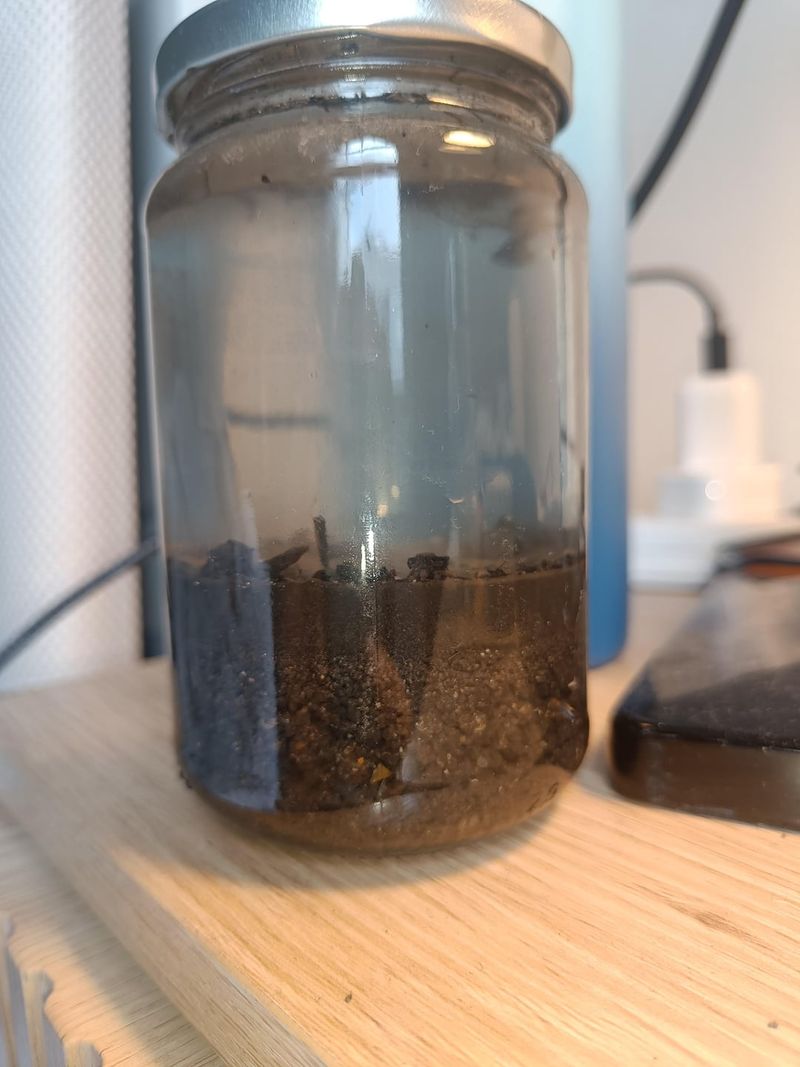
3. Ensure Proper Drainage
Ah, drainage! It’s the unsung hero of a healthy plant. Without proper drainage, your poor herbs can suffer from soggy roots, leading to unwanted guests like root rot.
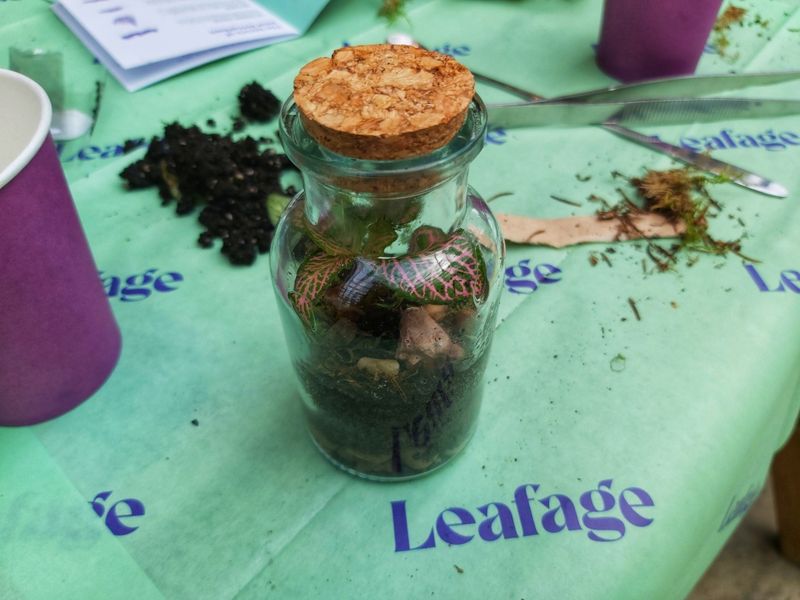
So, how do you ensure your jars are up to the task? You can add a layer of pebbles or stones at the bottom before adding soil. This creates space for water to escape, preventing waterlogging.
Have you ever wondered what goes unseen beneath the soil surface? That hidden world of stones and pebbles can make all the difference!
4. Use Well-Draining Soil
Your plants deserve the best, starting with well-draining soil. So, let’s dig into soil choices. Don’t just scoop up dirt from your backyard. Choose a potting mix that’s light and airy, often with added perlite or sand.
This ensures excess water doesn’t hang around, causing trouble. I once used regular garden soil and regretted it when my basil started looking sad. Mixing in some sand or perlite can work wonders.
Have you experimented with different soil types before? Give your plants the royal treatment with a well-chosen mix!
5. Don’t Overwater
Water is a tricky beast. Too much, and you’re drowning your plants. Too little, and they’re gasping for life. When watering garden jars, less is often more.
I learned the hard way that more water doesn’t equal more love. Check the soil moisture by sticking a finger in up to the first knuckle. If it feels dry, it might be time for a drink.
What’s your watering strategy? Find a balance and stick to it, and your jars will thrive with happy, healthy plants! Sometimes, restraint is just what your greens need.
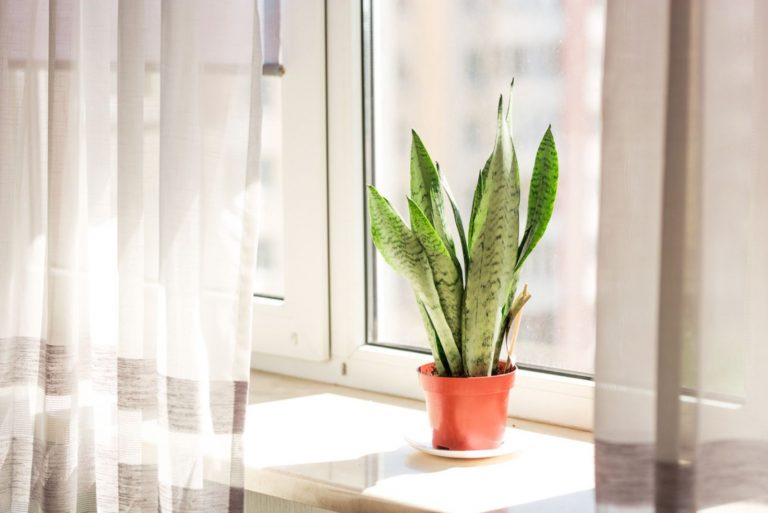
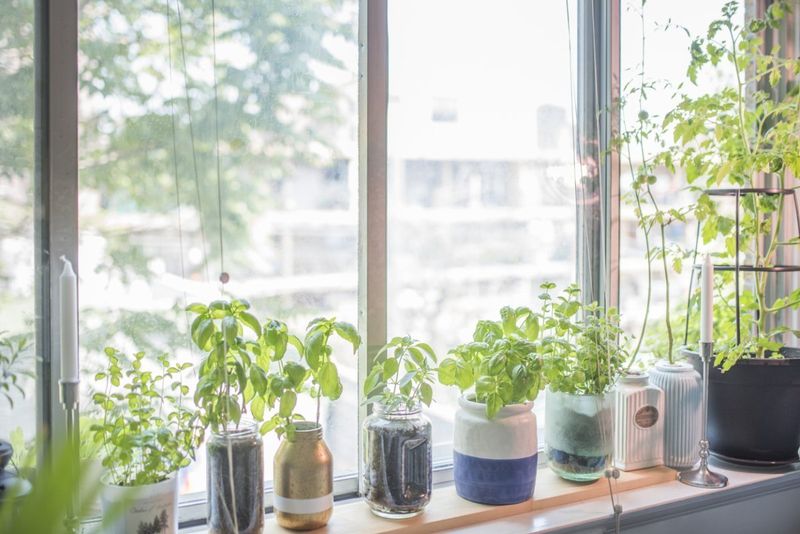
6. Place In A Sunny Spot

Sunny spots are like prime real estate for your garden jars. I once placed my jars far from a window. They grew, but not happily.
Find a location with plenty of light, like a south-facing windowsill, to give your herbs the best start. Light is food for plants, after all. Have you noticed how plants lean towards the sun?
It’s like they’re reaching for a warm hug. Experiment with different spots in your home until you find the one that makes your plants sing. Let them soak up all that delicious sunlight!
7. Rotate For Even Growth
Ever noticed how plants stretch towards the light? This can lead to lopsided growth if left unchecked. Rotate your jars periodically for even growth—just give them a little twist every week or so.
This way, every leaf gets its time in the spotlight, preventing one-sided development. Regular rotation keeps plants balanced and thriving. Are your plants leaning too much to one side?
A simple twist could be the answer. Balancing light exposure helps maintain their shape and encourages a fuller, healthier appearance. It’s like a dance with the sun!
8. Avoid Overcrowding
When it comes to garden jars, space is key. I once crammed too many plants into one jar, and they fought for nutrients, leaving them all stunted. Avoid the temptation to plant too densely.
Each herb needs its own space to spread its roots and flourish. Think of it as giving them their own room to grow. How many herbs do you currently have in one jar?
Remember, a little space can go a long way in promoting healthy, robust growth. Let them have breathing room, and they’ll grow happier!
9. Prune Regularly
Pruning is like giving your plants a fresh haircut. Regular trimming encourages new growth and keeps your herbs bushy. It’s not just about aesthetics—pruning helps remove dead or unhealthy parts, improving overall plant health.
Have you noticed how fresh, new shoots appear after a good trim? Regular maintenance can make all the difference. Do you have a favorite pruning technique?
Experimenting with different methods helps keep plants in their best shape. Remember, a little snip here and there promotes growth.
10. Fertilize Sparingly
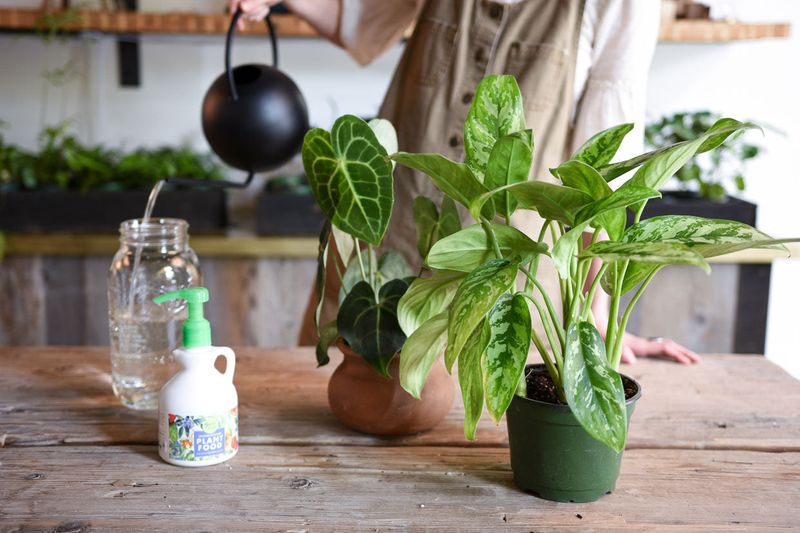
Less is often more when it comes to fertilizing your garden jars. Over-fertilizing can lead to excessive, leggy growth or even nutrient burn.
Use a diluted, balanced liquid fertilizer every few weeks to give your herbs a gentle boost. I once went heavy on the fertilizer, and my mint turned into a lanky mess. Have you tried a specific fertilizer that worked wonders?
Finding the right balance in feeding your plants can improve their resilience and flavor. Remember, a little can go a long way. Let your herbs tell you what they need!
11. Watch for Mold and Mildew
Troublemakers in any garden. I had a run-in with mold, and it wasn’t pretty. Keep an eye out for white, fuzzy patches on the soil or leaves, as these indicate a problem.
Proper airflow and controlling humidity can reduce the risk. What do you do when you spot mold? Removing affected parts and improving ventilation is key. It’s like dusting away cobwebs to keep the area fresh. Vigilance is your friend here.
A clean, dry environment helps keep those unwelcome guests at bay. Prevention is always better!
12. Use Gravel Or Pebbles At The Bottom
Strategically placing gravel or pebbles at the bottom of your jar can improve drainage. This trick helps water flow freely, preventing roots from sitting in water, which can cause rot.
I started using pebbles, and my herbs seemed happier almost instantly. Have you tried this simple yet effective method? It’s like giving your garden jar a strong foundation.
A little layer of stones can make a world of difference in plant health. Setting up the right drainage at the start saves you from trouble later on. Give it a try!
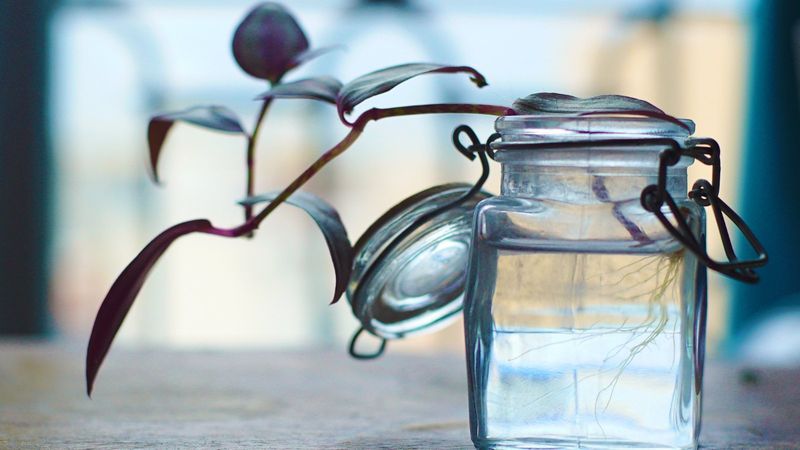
13. Keep Jars Clean
Clean jars make happy plants. Over time, dirt and residue can build up, affecting plant health. Regularly washing your jars keeps them looking good and prevents disease buildup.
I once let my jars gather dust, and my plants didn’t appreciate it. Do you have a jar-cleaning routine? Regular maintenance can prevent issues before they arise.
Treat your jars like your favorite mug. Keep them clean, and they’ll serve you well. It’s a simple way to ensure your plants remain in the best environment. Sparkling jars equals thriving herbs!
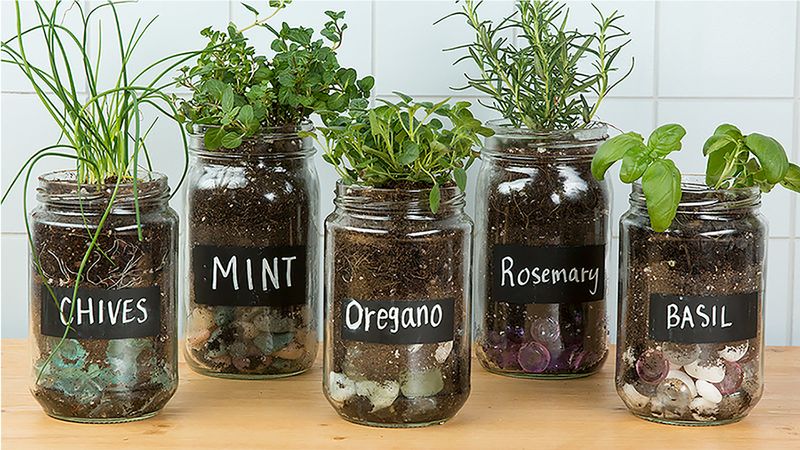
14. Label Your Herbs
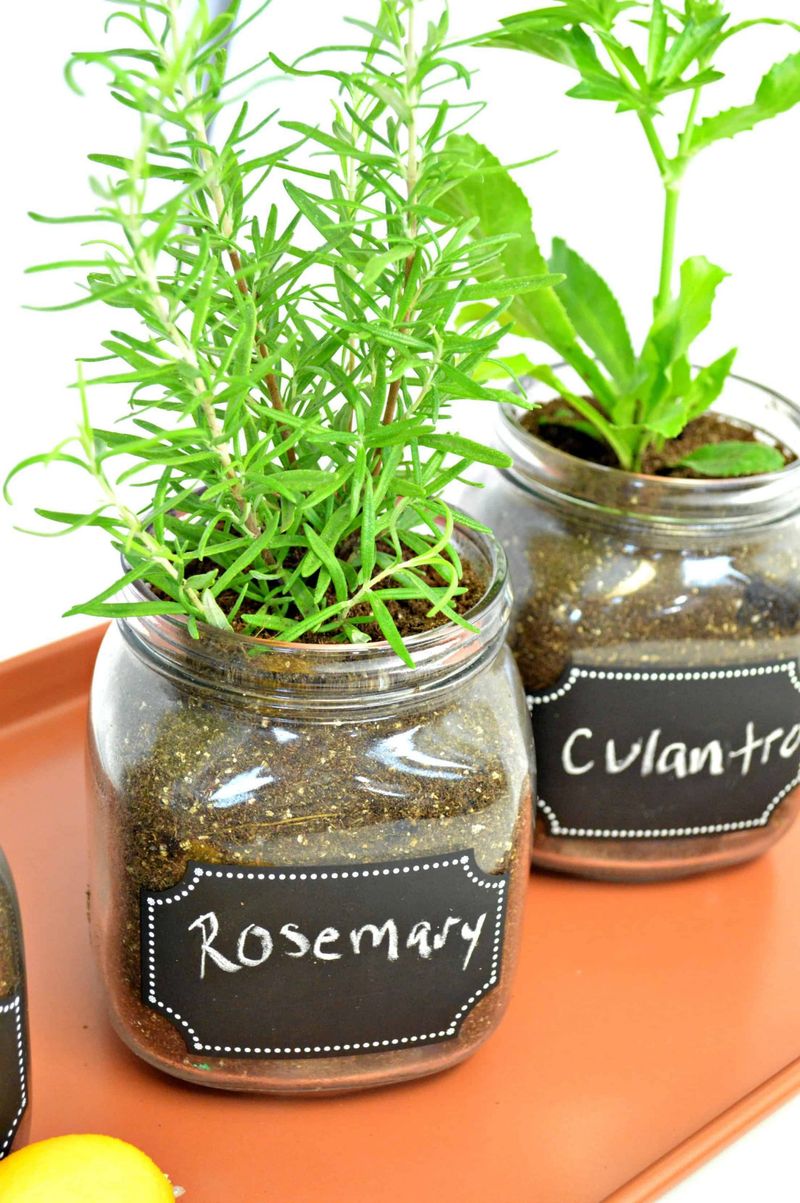
Knowing your herbs is half the battle. Have you ever mixed up your cilantro with parsley? Labeling your jars gives clarity and avoids culinary disasters. Use waterproof labels or chalkboard paint for customization.
I used to mislabel my jars, leading to some surprising taste tests! How do you label your herbs? A clear label helps you keep track and plan your next harvest.
It’s a simple yet effective way to organize your garden space. Labels can save you time and confusion in the kitchen. A small step with big benefits!
15. Monitor For Pests
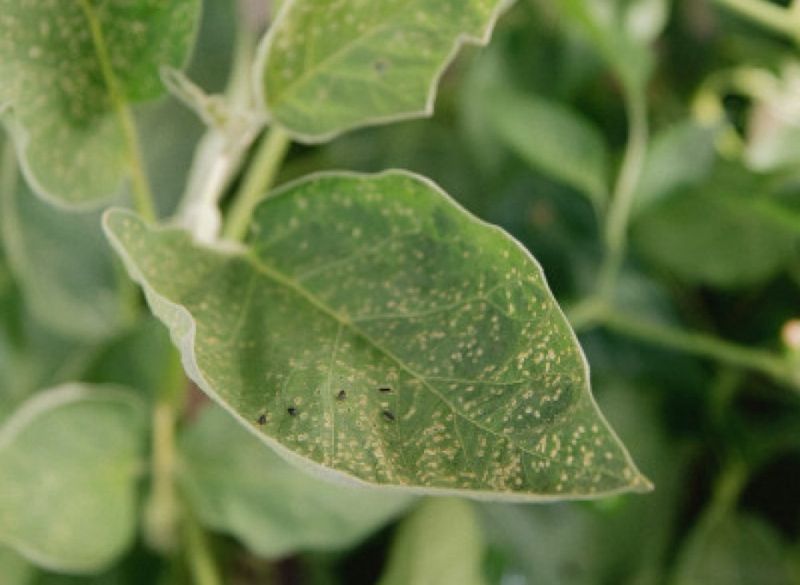
Even small gardens have their share of unwanted guests. Keep an eye out for pests like aphids or spider mites. I once found my basil infested with aphids, which was a nightmare.
Catching them early can save your plants. How do you handle pests in your garden? Consider using natural remedies like insecticidal soap or neem oil.
Regular inspection helps you identify problems before they escalate. It’s a game of vigilance—spotting and addressing issues swiftly keeps your garden jars safe. Your herbs deserve a pest-free environment!
16. Harvest Leaves The Right Way
Proper harvesting is key to ongoing growth. Snip leaves by cutting above a leaf pair to encourage bushier growth. I once harvested without thinking, and my plant suffered for it.
Do you have a method for harvesting? Taking leaves strategically allows the plant to keep producing. It’s like giving a gentle haircut—leaving enough so it can grow back stronger.
Consider this your plant’s haircut session, focusing on long-term health. Harvesting isn’t just about what you take. It’s also about what you leave behind to flourish.
17. Refresh the Soil Occasionally
Over time, soil can become compacted and lose nutrients. Refreshing the soil gives your plants a new lease on life. I once left my soil unchanged for too long, and my herbs suffered. Do you check your soil regularly? Adding fresh potting mix or organic matter can revitalize your garden jar. It’s like spring cleaning for your plants. Give them the nutrient boost they deserve. Keeping soil fresh ensures your herbs continue to grow strong and healthy, ready to spice up your cooking adventures!
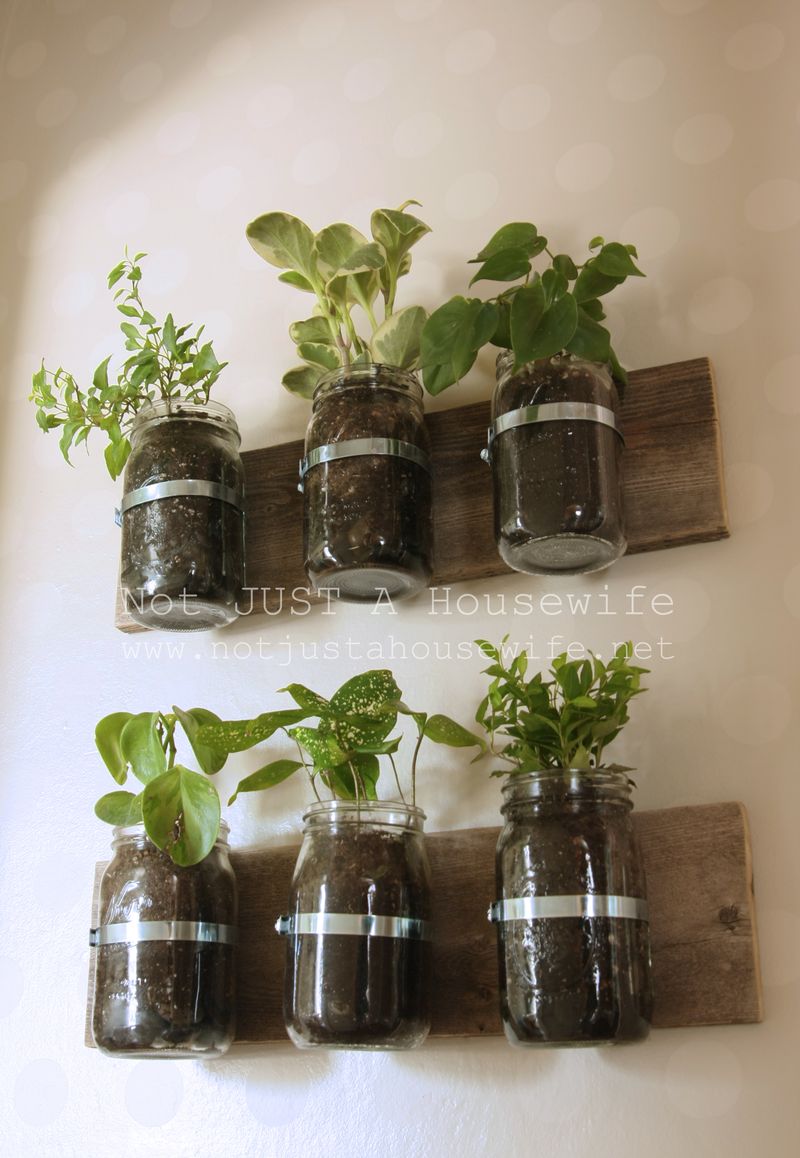
18. Provide Airflow Around Jars
Plants need to breathe, too. Proper airflow prevents stagnant conditions that lead to mold and mildew. Space your jars to allow air circulation. I once crammed jars together, and the plants struggled.
How do you arrange your garden jars? Ensuring adequate airflow is like giving your plants a breath of fresh air. Consider spacing them just far enough apart to allow for circulation.
This simple step can prevent many common issues. Your plants will thank you for the space with vigorous growth.
19. Avoid Placing Near Drafts
Drafts can be a plant’s worst enemy. Cold air can stress or even damage plants. I learned this lesson the hard way when my basil drooped overnight. Are your jars near a window or door?
Keep them in stable environments away from sudden temperature changes. A little planning goes a long way. Have you noticed any drafts in your usual jar spots?
Relocating them can change everything. Protecting your herbs from unwanted chills keeps them sturdy and robust. They deserve a cozy spot to grow!
20. Enjoy Fresh Herbs Year-Round
The reward of garden jars is fresh herbs, whenever you need them. I love plucking fresh basil for a pasta dish or mint for tea right from my kitchen windowsill. Do you enjoy having a little garden indoors?
The convenience of year-round fresh herbs is unbeatable. It’s like having a green companion always ready to enhance your meals. Have you experienced the joy of your own mini-harvest?
It’s satisfying to nurture plants and enjoy their generosity. Your garden jars are more than just plants—they’re a source of endless culinary inspiration.