15 Tips To Keep Porch Ferns Green And Lush All Season (And 3 Mistakes That Will Ruin Them)

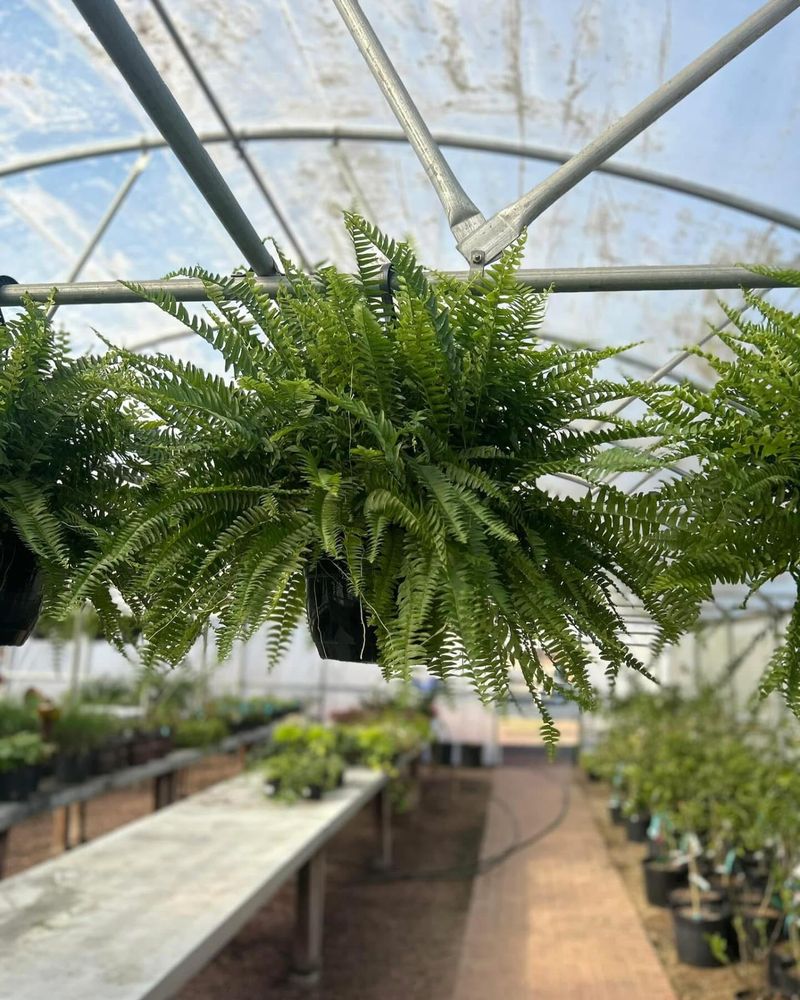
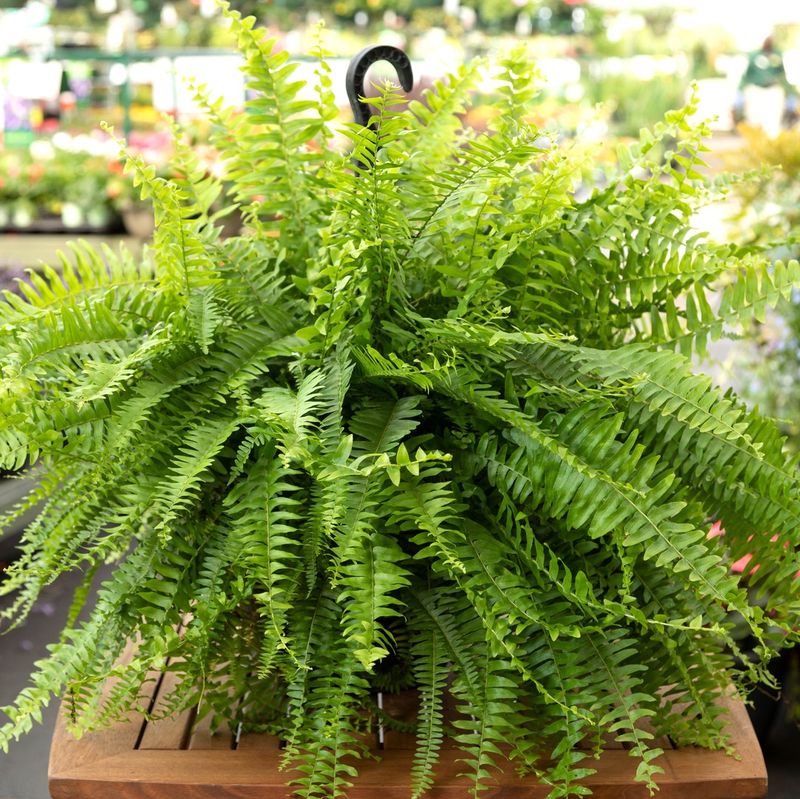
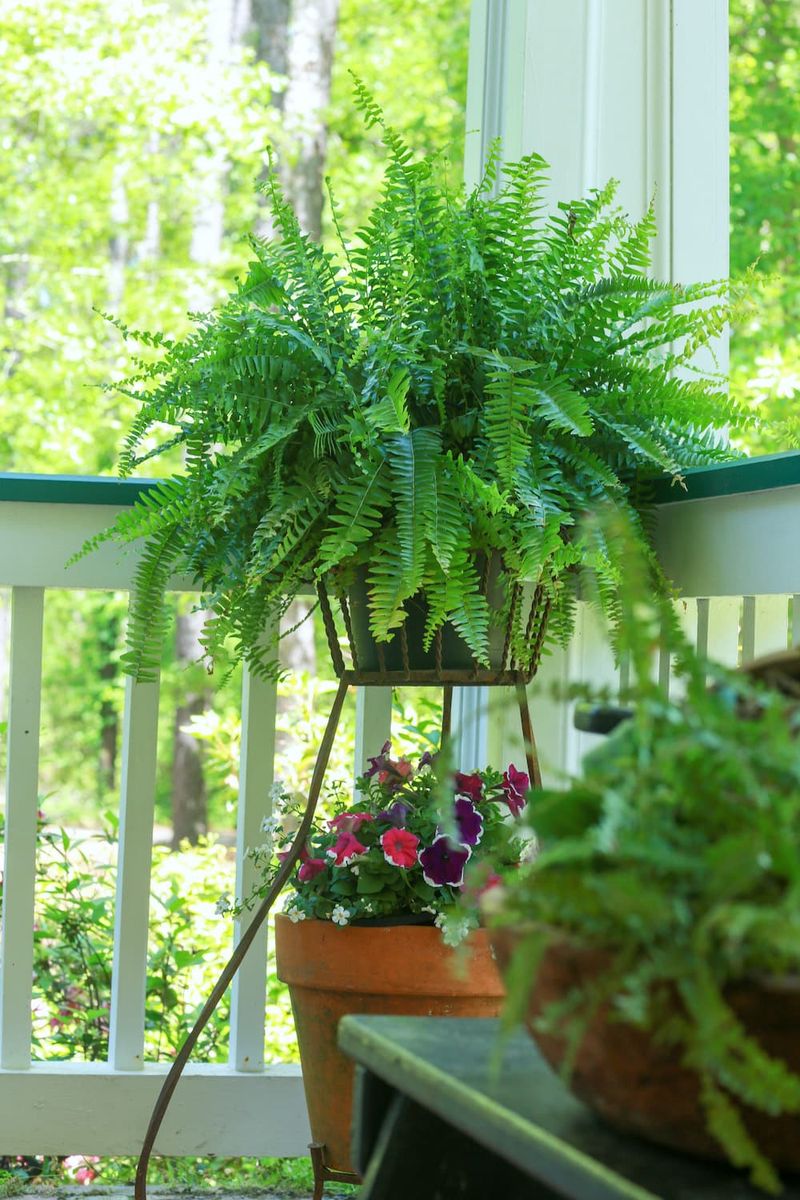
Hanging baskets of Boston ferns can transform any porch into a lush retreat, but keeping them healthy through summer heat and changing conditions is trickier than it looks. My first attempt ended with crispy brown fronds that no amount of desperate watering could revive.
The secret to gorgeous porch greenery isn’t complicated once you understand what these shade-loving plants really need. I’ve spent three seasons perfecting my approach through plenty of trial and error (and yes, a few plant casualties along the way).
Whether you’re a beginner or have struggled with sad-looking specimens in the past, these proven strategies will help you maintain that magazine-worthy look from spring through fall – without the frustration I experienced my first year.
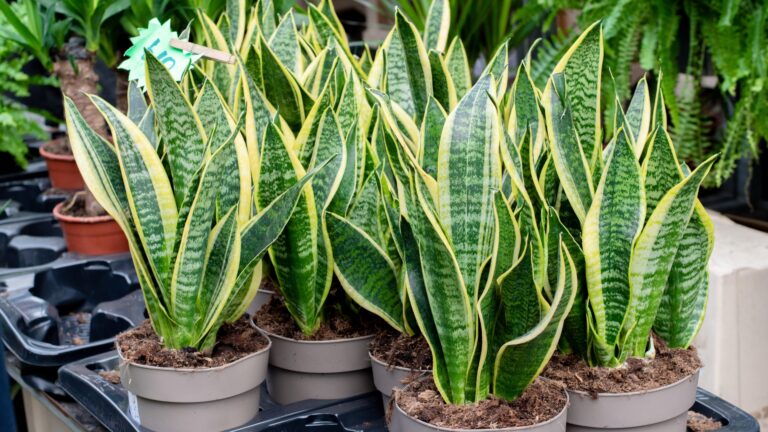
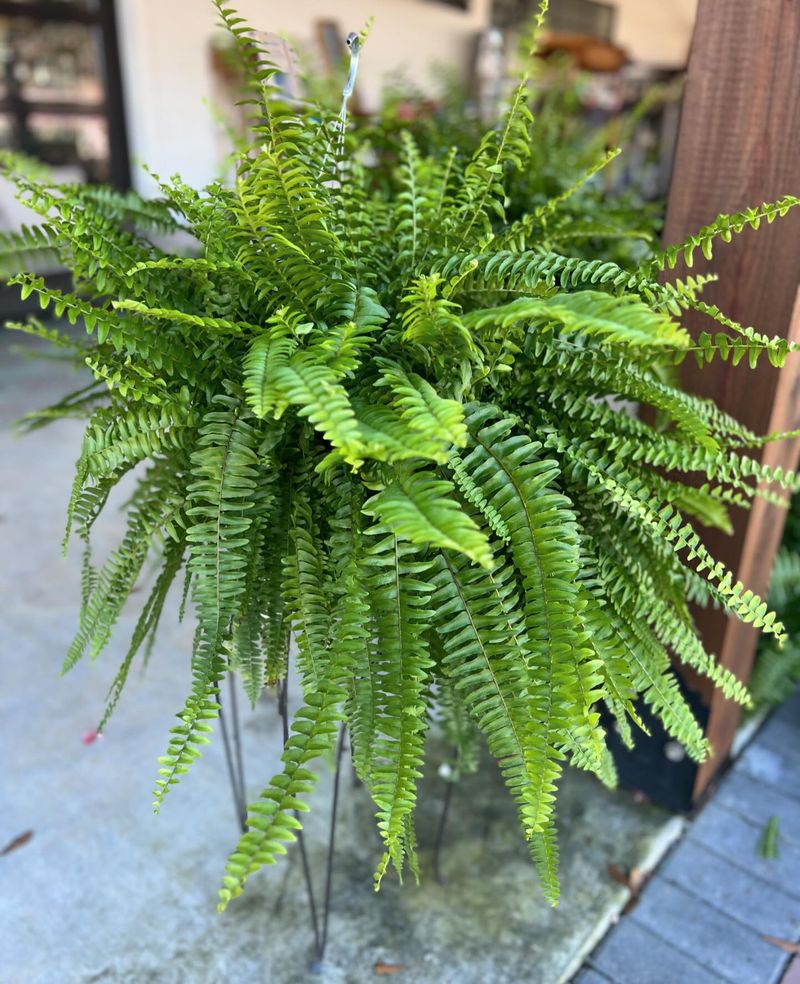
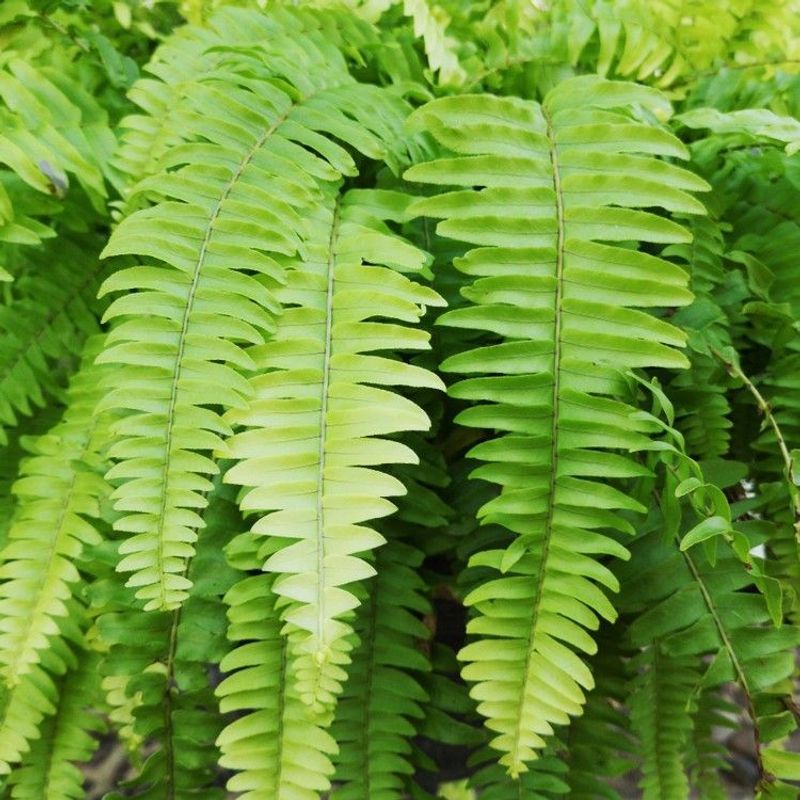
1. Choose The Right Fern Variety
Not all ferns are created equal when it comes to porch life. Boston ferns typically perform best in hanging baskets, while maidenhair varieties need extra humidity that makes them challenging for most porches.
I discovered this after killing two maidenhair ferns before switching to the more forgiving Boston type. Kimberly Queen and sword ferns also stand up well to fluctuating conditions, making them excellent choices for beginners.
Look for healthy specimens with no brown tips when purchasing, and check the undersides of fronds for any signs of pests before bringing them home.
2. Water Deeply But Not Too Often

Finding that sweet spot with watering makes all the difference between thriving ferns and soggy disasters. When the top inch of soil feels dry to the touch, it’s time to water thoroughly until moisture runs from the drainage holes.
During summer heat, my porch ferns sometimes need water every other day, while spring and fall might mean twice weekly watering. The weight of your pot is a reliable indicator – noticeably lighter means it’s time to water.
Morning watering gives plants time to absorb moisture before the heat of the day, preventing the fungal issues I battled after evening waterings.
3. Master The Art Of Humidity

Humidity is the secret weapon for fern success that took me two seasons to fully appreciate. These moisture-loving plants evolved in forest understories where humidity levels stay consistently high.
On dry days, I mist my ferns in the morning, being careful not to do it during hot afternoons when water droplets can magnify sunlight and burn the fronds. For a more hands-off approach, try grouping plants together to create a microclimate or placing the pot on a tray of pebbles with water.
During particularly dry spells, moving ferns to a bathroom for an overnight humidity boost works wonders.
4. Find The Perfect Light Balance
Light requirements confused me most when I started growing ferns. While they need bright indirect light, direct sun quickly scorches those delicate fronds. My north-facing porch provides ideal conditions, but east-facing locations work well too.
For south or west porches, hang ferns where they’ll be shaded during the intense afternoon hours. Watch for telltale signs of light problems: yellow fronds often indicate too much light, while sparse growth suggests too little.
Rotating pots a quarter turn weekly ensures even growth and prevents the lopsided appearance my ferns developed before I started this habit.
5. Select The Right Container

Container choice affects everything from watering frequency to overall plant health. Plastic and glazed ceramic pots retain moisture longer than terracotta, which saved my ferns during a two-week vacation last summer.
Whatever material you choose, drainage holes are absolutely non-negotiable. My most successful ferns grow in containers just 1-2 inches larger than their root balls, as oversized pots hold excess moisture that leads to root rot.
For hanging baskets, coconut coir liners allow better airflow than solid plastic, though they dry out faster and need more frequent watering in exchange for healthier roots.
6. Feed Regularly But Lightly

Fertilizing ferns requires a gentler approach than most other plants. After burning my first batch with standard houseplant fertilizer, I switched to a water-soluble formula at half-strength, applied monthly during the growing season (spring through early fall).
Look specifically for fertilizers with higher nitrogen content (the first number on the package) to promote lush foliage. Organic options like fish emulsion work beautifully, though the temporary smell made my porch less pleasant for an afternoon.
Always fertilize after watering, never when the soil is dry, to prevent the root damage I learned about the hard way.
7. Perfect Your Pruning Technique

Strategic pruning keeps ferns looking their best throughout the season. Rather than cutting fronds halfway as I mistakenly did at first, remove damaged or brown fronds entirely at the base using clean, sharp scissors.
This encourages fresh growth and prevents the scraggly appearance that disappointed me in previous years. Early spring is ideal for major pruning, but maintenance trimming can happen anytime.
Don’t be afraid to remove up to one-third of the plant if it looks tired mid-season – my ferns always bounce back with fresh growth that looks better than the old fronds I was trying to preserve.
8. Protect From Temperature Extremes

Ferns have strong opinions about temperature, preferring the 65-75°F range that mimics their natural habitat. When temperatures climb above 90°F, I move my ferns to shadier spots and increase misting to help them cope with the stress.
Equally important is protection from cold snaps – even brief exposure to temperatures below 50°F can damage tropical varieties. Last fall, bringing my ferns inside overnight when temperatures dropped unexpectedly saved them from the frost damage my neighbor’s plants suffered.
A digital thermometer with minimum/maximum reading capabilities helps track conditions on your porch.
9. Monitor For Pests Regularly
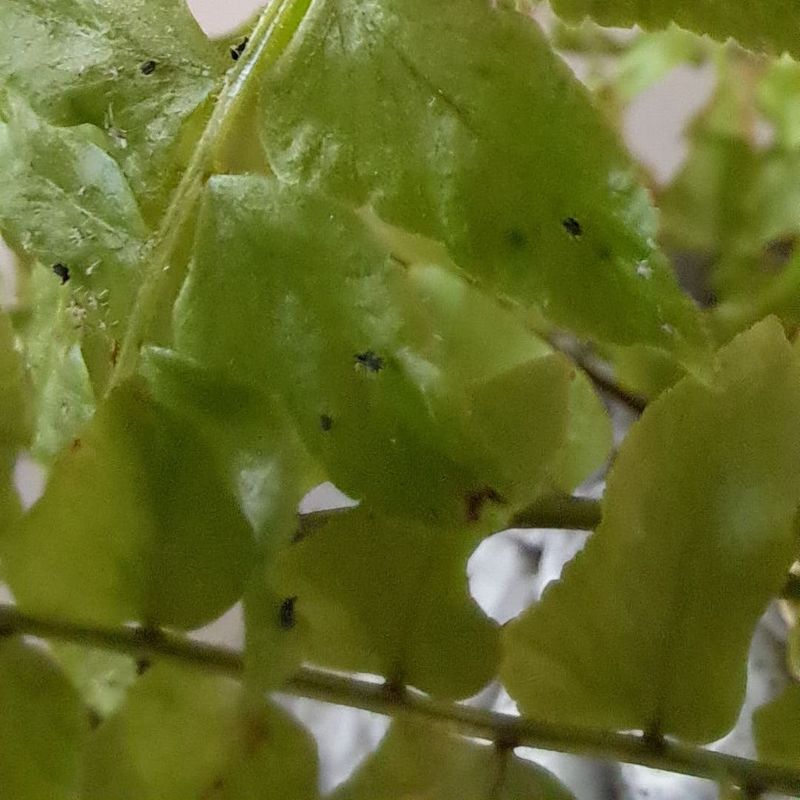
Catching pest problems early makes all the difference between a quick fix and losing your ferns. Every week when I water, I take a moment to inspect both the top and undersides of fronds for common invaders like spider mites, scale, or mealybugs.
A magnifying glass helps spot tiny spider mites, which appear as specks along with fine webbing. For minor infestations, I wipe leaves with a damp cloth or spray with insecticidal soap, making sure to test on a small area first.
Isolating affected plants immediately prevented the disaster I experienced when one infested fern contaminated my entire collection.
10. Use Quality Potting Mix
The foundation of fern success begins with the right soil. After watching my ferns struggle in regular potting soil, I switched to a mix specifically formulated for ferns or made my own by combining equal parts potting soil, peat moss, and perlite.
This lighter mix prevents the compaction that caused drainage problems in my earlier attempts. Adding a handful of compost provides slow-release nutrients that support steady growth throughout the season.
Repotting with fresh mix every spring gives ferns a nutrition boost just as they enter their active growth phase, something I noticed makes a dramatic difference in overall vigor.
11. Rotate Positions Seasonally

Even within your porch, conditions change throughout the growing season. My ferns that thrive in a certain spot during spring often need moving by midsummer as the sun’s angle shifts.
Creating a rotation schedule on my phone reminds me to relocate plants as seasons progress. The northeast corner of my porch works beautifully in summer but becomes too cool and drafty by early fall.
Pay attention to how air circulation changes too – areas that were perfectly breezy in spring might become stagnant during humid summer months, increasing disease risk unless you relocate your ferns to maintain good airflow.
12. Create A Watering Schedule

Consistency matters tremendously with ferns. After losing plants to both over and under-watering, I developed a simple calendar system that helps me track when each plant last received water.
Rather than watering on specific days, I note when each fern was last watered and check soil moisture every 2-3 days. This flexible approach accommodates weather changes better than rigid scheduling.
During vacations, setting up a self-watering system with wicks or water globes has saved my ferns multiple times. Just be sure to test your chosen method for a week before leaving to ensure it delivers the right amount of moisture.
13. Provide Shelter From Wind

Wind damage silently stresses ferns in ways I didn’t recognize until learning about it from a nursery expert. Constant air movement dries out fronds faster than still air, increasing water needs dramatically.
Strategic placement behind porch railings or furniture creates protection from prevailing winds. For especially exposed areas, temporary barriers like decorative screens offer protection during gusty periods without permanently blocking the view.
After repositioning my ferns away from the wind tunnel effect at my porch entrance, their water needs decreased by almost half, and the fronds maintained their perfect form instead of developing dry, tattered edges.
14. Practice Preventative Maintenance
Small, regular efforts prevent major fern disasters. Every few days, I spend just 2-3 minutes removing any yellowing fronds, checking moisture levels, and looking for early warning signs of problems.
This quick routine helped me catch a drainage issue when I noticed one pot wasn’t drying at the same rate as others. Clearing clogged drainage holes solved the problem before root rot could set in.
Gently brushing away debris that collects in the center of the plant prevents the fungal issues that plagued my first ferns when I let dead leaves accumulate in the dense center growth.
15. Group Ferns For Humidity Benefits
The transpiration effect creates a microclimate when plants are grouped together, something I discovered accidentally after rearranging my porch. Placing ferns in clusters rather than spreading them individually around the space maintains higher humidity levels naturally.
My collection now sits in a dedicated corner where they benefit from each other’s moisture. This arrangement reduced brown tips by about 80% compared to when they were displayed separately.
For an added humidity boost, I occasionally place a small container of water near the grouping, though not directly under plants where it might promote fungal issues.
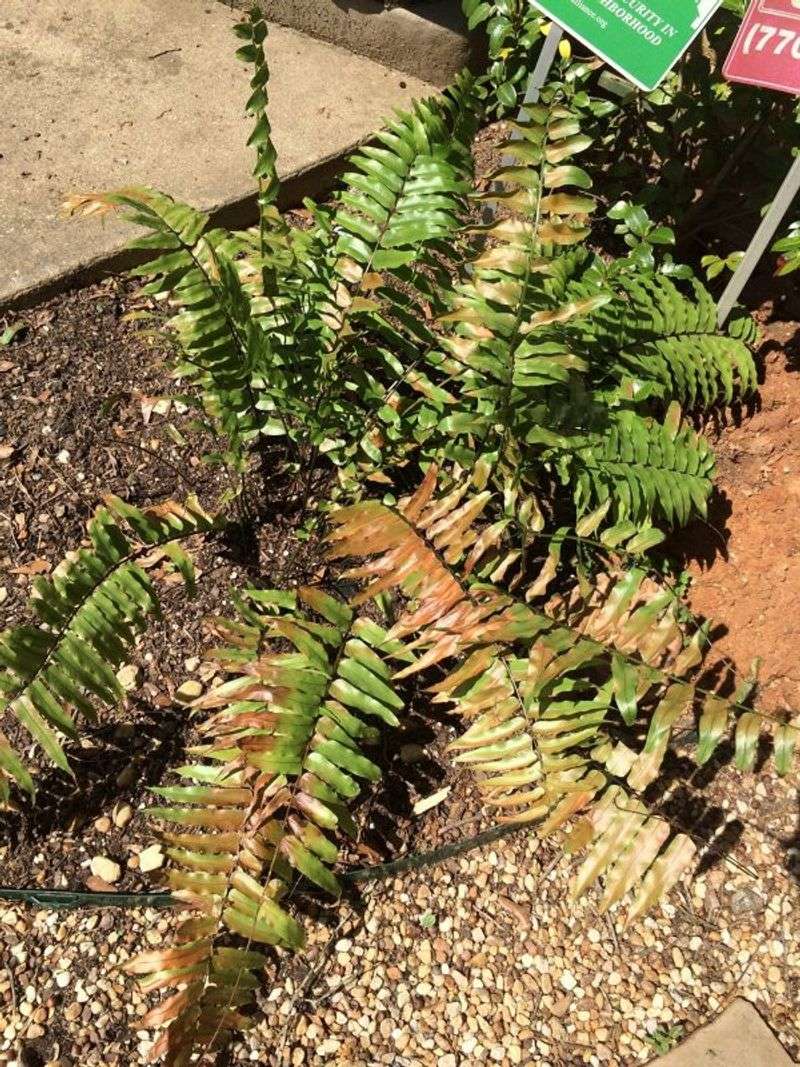
16. Inconsistent Watering Patterns
The fastest way to kill ferns is through erratic watering – something I learned when my first batch developed crispy brown edges despite regular care. Alternating between bone-dry soil and waterlogged conditions stresses these moisture-loving plants beyond recovery.
The damage appears gradually: first as slight browning at frond tips, then progressing to entire sections turning brown. Once this cycle begins, recovery becomes increasingly difficult.
Instead of relying on a set schedule, check soil moisture with your finger regularly and water thoroughly when the top inch feels dry. This responsive approach accommodates changing weather conditions better than calendar-based watering.
17. Placing Ferns In Direct Sunlight
The scorched, bleached fronds on my neighbor’s ferns told the whole story – direct sunlight is fern kryptonite. Even morning sun, which many sources claim is safe, burned my Boston fern when spring transitioned to summer and light intensity increased.
The damage happens quickly, sometimes within hours on especially hot days. Sunburned fronds develop pale, bleached patches that eventually turn brown and crispy, and unlike some damage, these fronds won’t recover.
If you’re unsure about light levels, observe the shadow patterns throughout the day before positioning your ferns, or use a sheer curtain as temporary protection during the brightest hours.
18. Using Hard Water Without Treatment
The mysterious white crust that developed on my fern’s soil and pot edges wasn’t mold as I initially feared, but mineral buildup from our hard water. These accumulated salts damage roots and prevent proper nutrient absorption, creating yellowing fronds despite proper care.
Switching to collected rainwater transformed my ferns within weeks. If rainwater isn’t an option, allowing tap water to sit overnight helps chlorine evaporate, though it doesn’t address mineral content.
For those with very hard water, adding a few drops of white vinegar to your watering can (about 1 tablespoon per gallon) helps neutralize alkalinity without harming plants.