15 Tips To DIY Your Lawn Sprinkler System (Without Digging Up The Whole Yard)
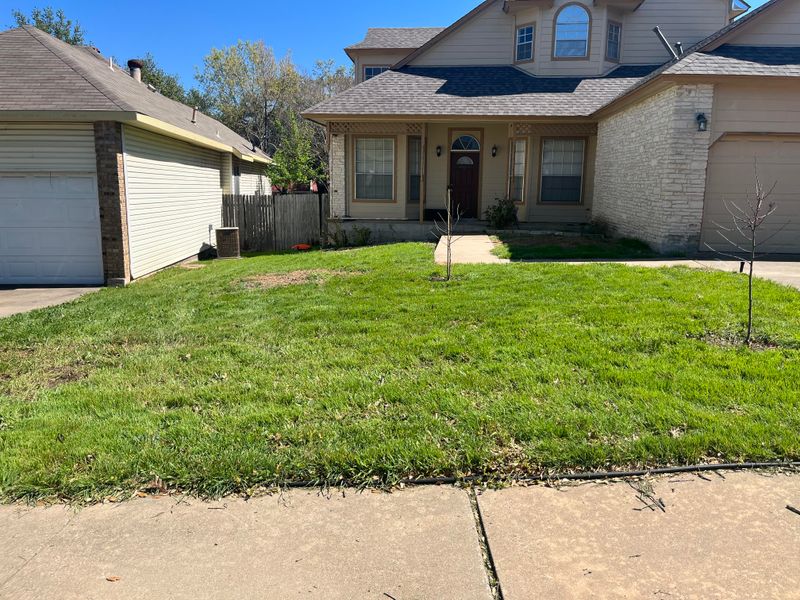
Installing a sprinkler system might sound like a total yard-wrecker, but it really doesn’t have to be. When I tackled mine, I was surprised at how little damage I caused just by planning ahead and working in sections.
A bit of prep goes a long way—especially if you’re trying to protect a lawn you’ve worked hard to grow. Trust me, digging smart is way better than repairing grass later.
With a few simple strategies, you can get your system up and running without turning your yard into a construction zone. It’s all about working with your space, not against it.
1. Map Your Yard Before Starting
Grab some graph paper and create a detailed map of your yard. Mark existing landscaping, trees, flower beds, and any underground utilities you’re aware of. This visual guide becomes your blueprint for the entire project.
Measure the dimensions carefully and note areas with different watering needs. Sunny spots typically need more water than shaded areas, and different plants have varying requirements.
Having this map handy prevents unnecessary digging and helps determine exactly how many sprinkler heads you’ll need and where to place them for optimal coverage.
2. Rent A Vibratory Plow

One of the best-kept secrets in DIY sprinkler installation is the vibratory plow. This specialized tool creates a narrow slit in the ground where you can insert pipes without tearing up large sections of lawn.
Most equipment rental stores offer these for reasonable daily rates. The machine vibrates a thin blade into the soil, creating a channel just wide enough for your irrigation pipes.
Your grass roots remain largely intact, and the small slit heals quickly after installation. This approach dramatically reduces the recovery time for your lawn compared to traditional trenching.
3. Use Flexible PEX Piping
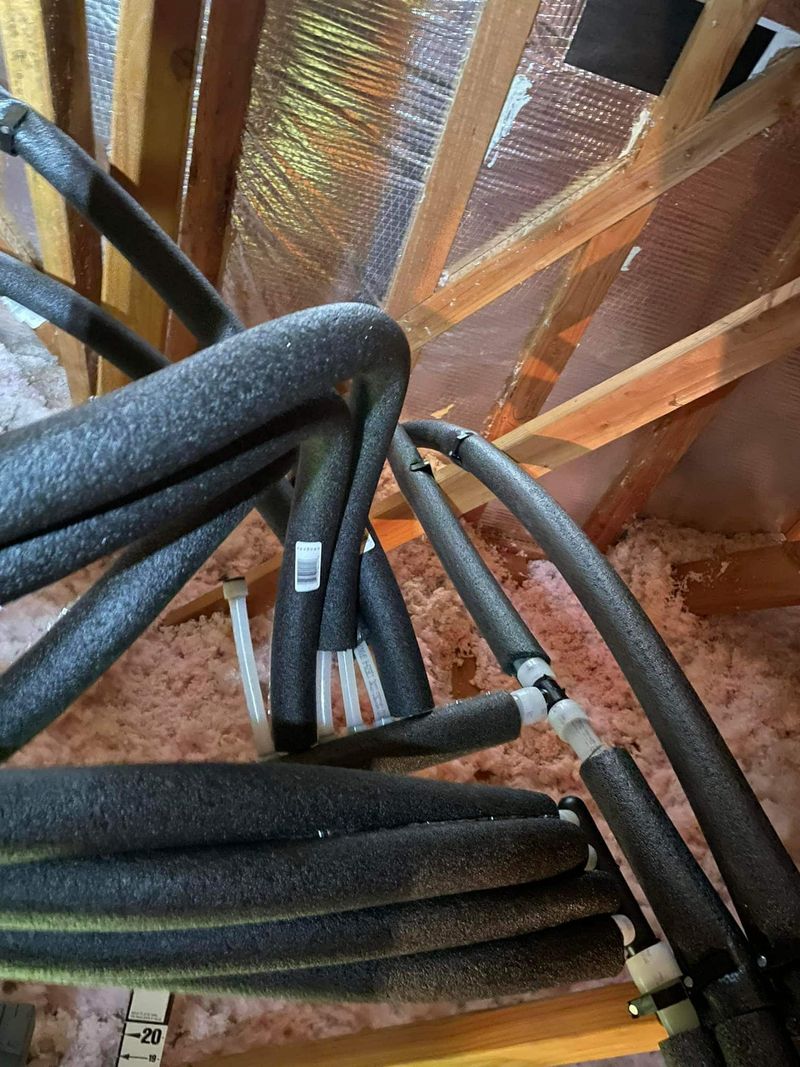
Traditional PVC pipes require deep, straight trenches and numerous connectors. PEX piping, on the other hand, comes in long, flexible rolls that can bend around obstacles without additional fittings.
The flexibility allows you to weave through tight spaces and around tree roots without extensive digging. I switched to PEX midway through my installation and immediately noticed how much less disruption it caused to my established perennials.
PEX also withstands freezing better than PVC, which means fewer worries about winter damage in colder climates. Just be sure to use UV-resistant varieties if any portions will be exposed to sunlight.
4. Invest In A Pipe-Pulling Tool

A pipe-pulling tool can save your back and your lawn. This simple device helps draw pipes through the ground horizontally without digging a continuous trench from point A to point B.
You’ll only need to dig small access holes at the beginning and end points. The tool then creates a tunnel between these points where you can pull your irrigation pipes through.
For my backyard installation, this method preserved my wife’s prized flower beds that would have otherwise been casualties of traditional trenching. The minimal disruption meant we could enjoy a functioning system without months of landscape recovery.
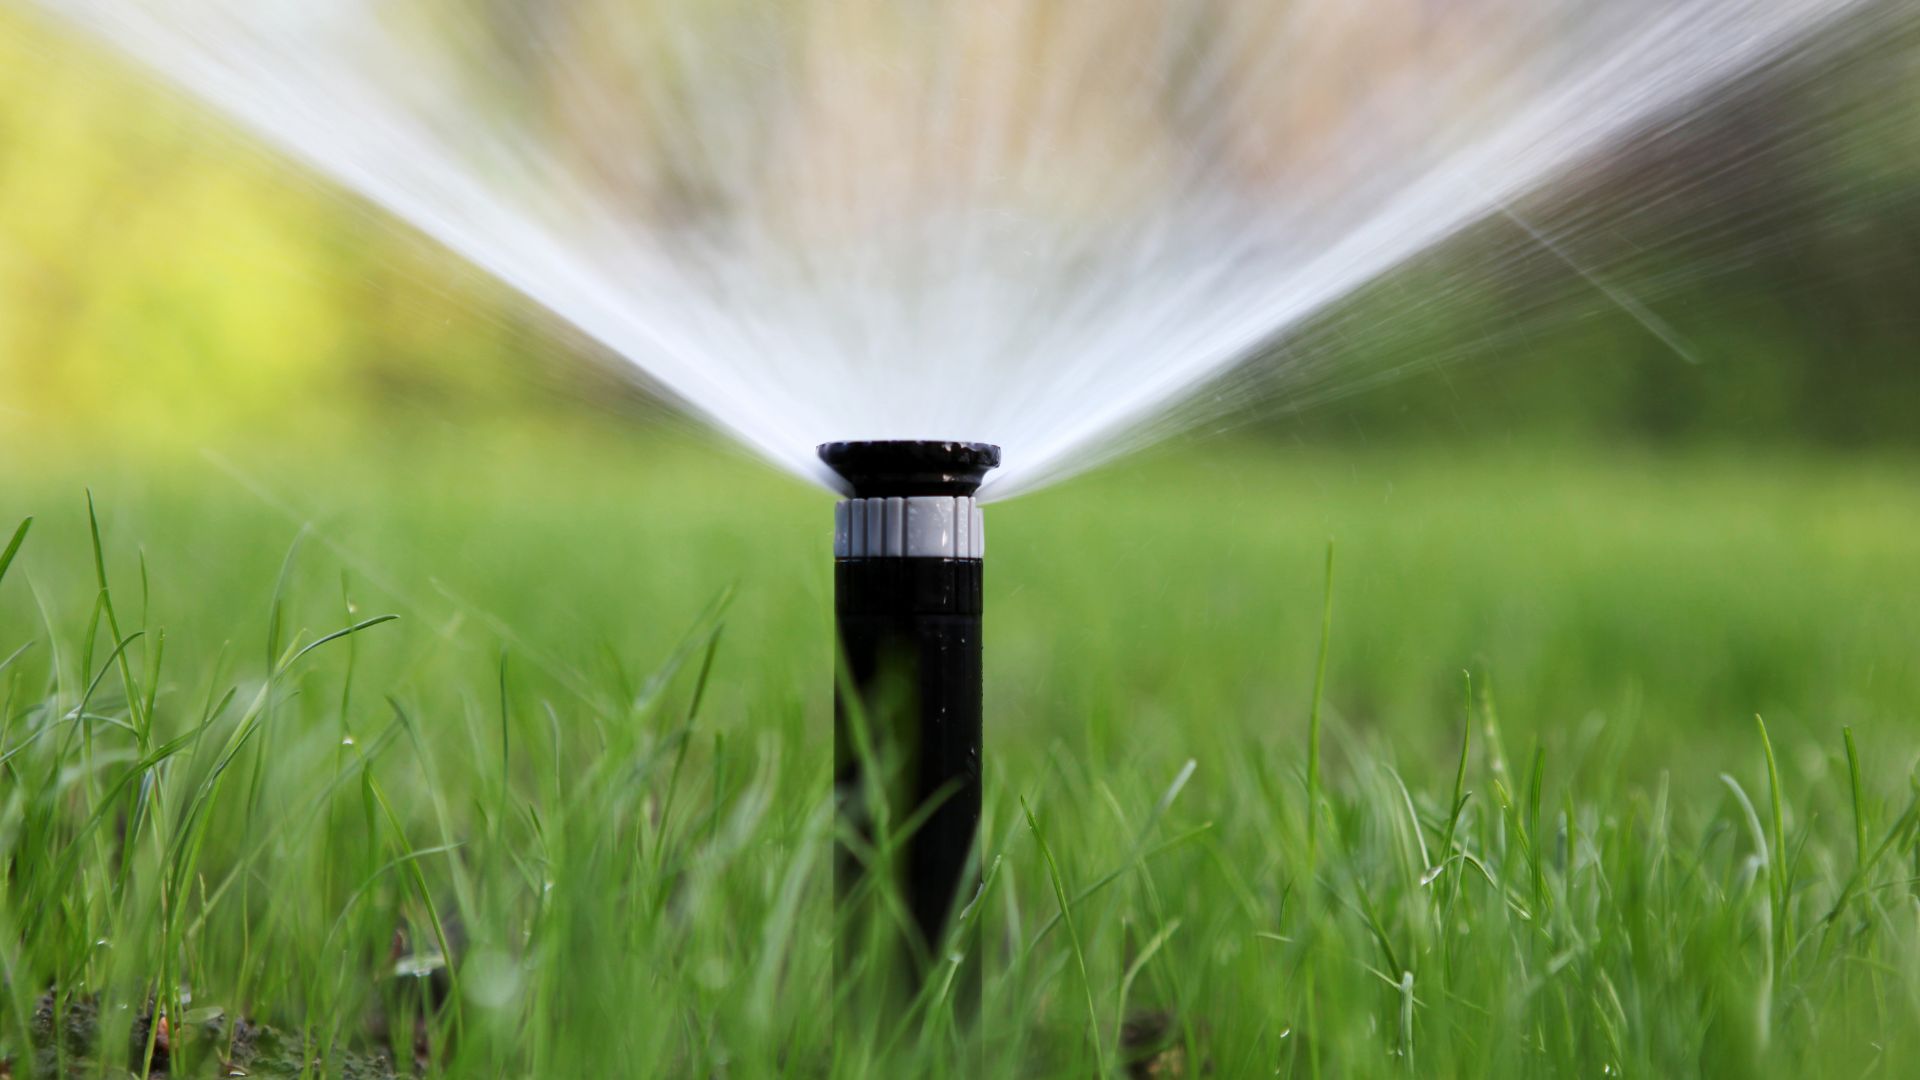
5. Choose Pop-Up Sprinklers With Check Valves
Pop-up sprinklers with built-in check valves prevent water from draining out of the lowest sprinkler heads when the system shuts off. This seemingly small feature saves water and prevents soggy spots in your lawn.
During my first installation attempt, I skipped this feature to save money. Big mistake! The lowest areas of my yard turned into mini swamps after each watering cycle.
These specialized heads cost slightly more upfront but prevent water waste and eliminate those muddy patches that can damage your grass. They’re particularly valuable if your yard has significant elevation changes or slopes.
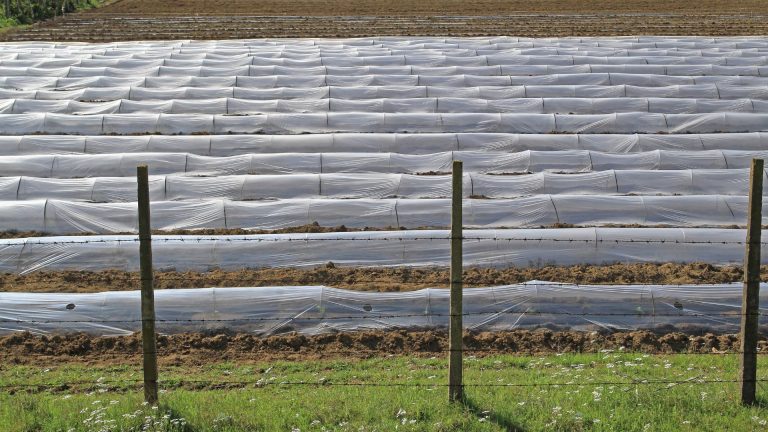
6. Utilize Drip Irrigation For Gardens
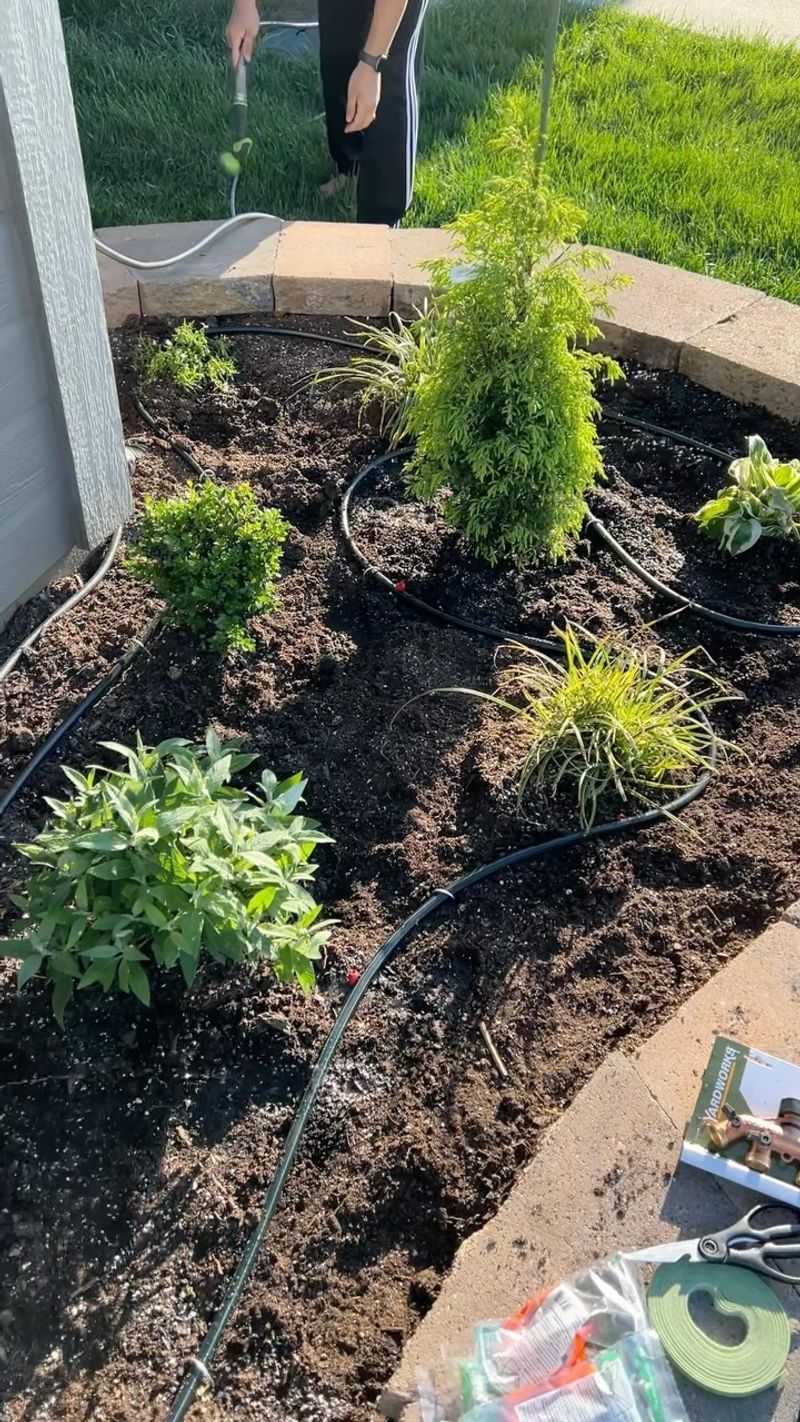
Garden beds don’t need traditional sprinklers that spray water everywhere. Drip irrigation delivers water directly to plant roots, using minimal digging and disturbance to install.
Simply run a main line to your garden area, then attach flexible drip lines that can weave between plants on the soil surface. The tubing can be covered with mulch for a cleaner look.
My vegetable garden yield doubled after switching to drip irrigation from standard sprinklers. Plants receive consistent moisture without the water waste from evaporation, and I avoided disturbing established plants during installation.
7. Install A Smart Controller
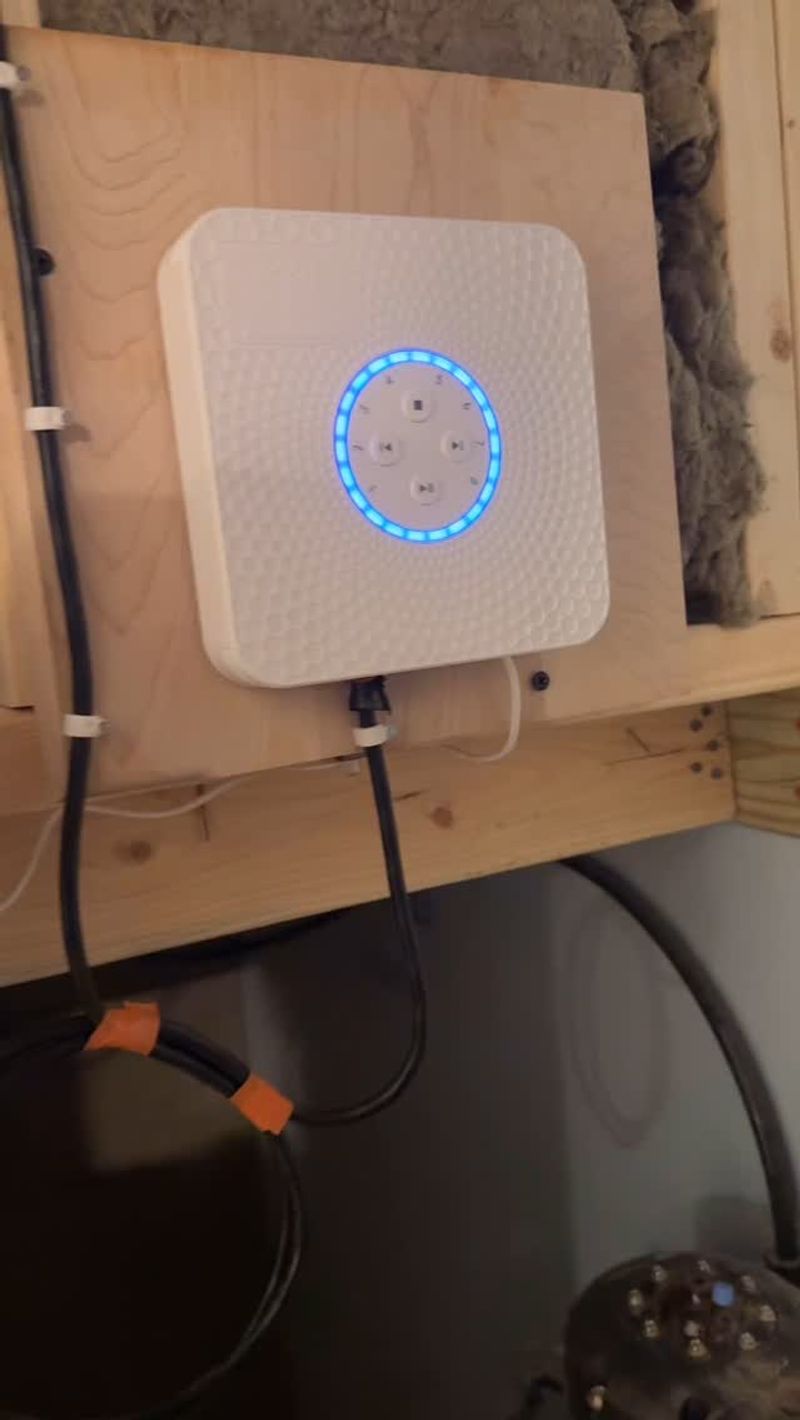
Modern smart controllers connect to WiFi and adjust watering schedules based on local weather conditions. They’re worth every penny for the water savings and convenience they provide.
Mounting the controller takes minutes and requires no digging whatsoever. Many models integrate with smartphones so you can manage your system from anywhere.
After installing mine last summer, water usage dropped by 30% as the system automatically skipped watering on rainy days. The controller even sent alerts when it detected unusually high water flow, helping me catch a leaky valve before it could damage the lawn.
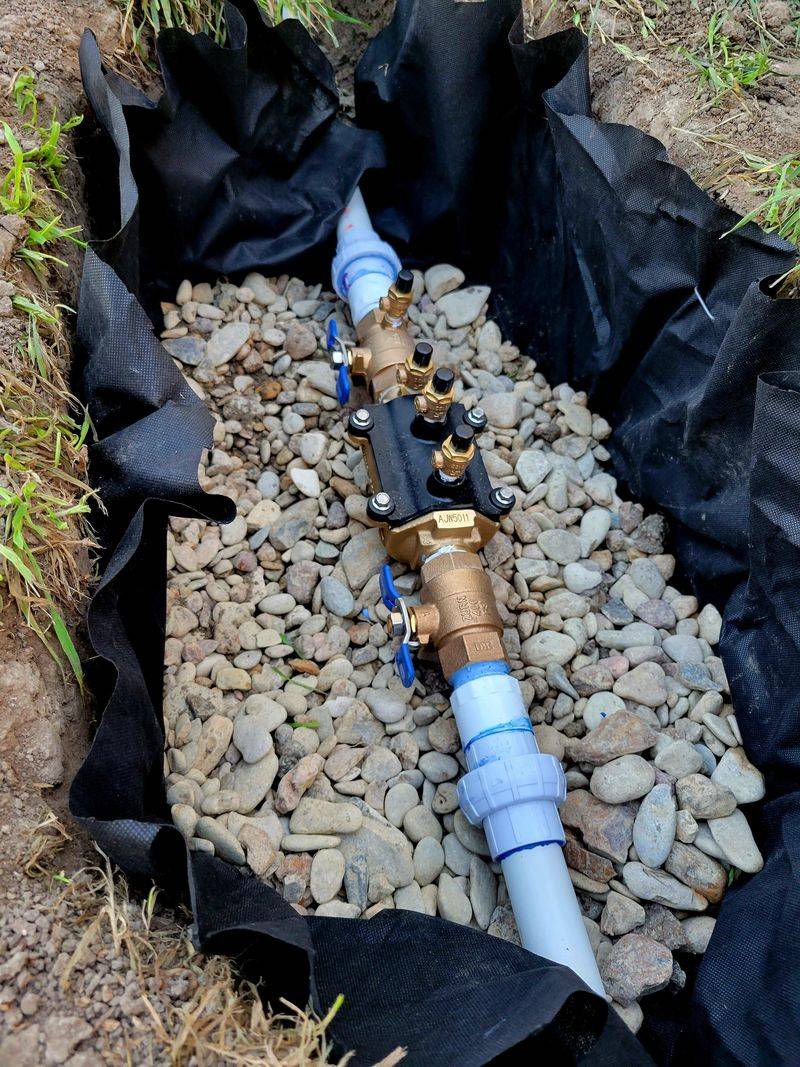
8. Use Valve Boxes At Strategic Points
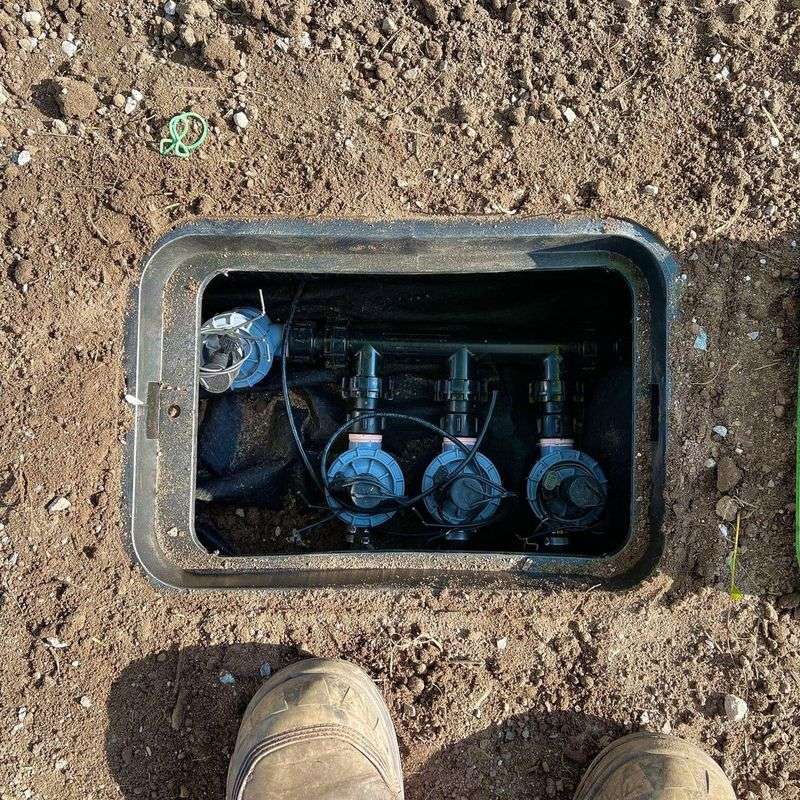
Valve boxes create access points for maintenance without requiring you to dig up your system later. Place these plastic boxes at junction points where multiple pipes connect or where valves are installed.
Dig only the holes needed for these boxes rather than continuous trenches. The surrounding lawn remains intact while you maintain access to crucial components.
During a recent repair, I thanked my past self for installing these access points. What could have been hours of exploratory digging became a ten-minute fix because I could easily reach the problematic valve through its dedicated box.
9. Leverage Existing Landscaping Features
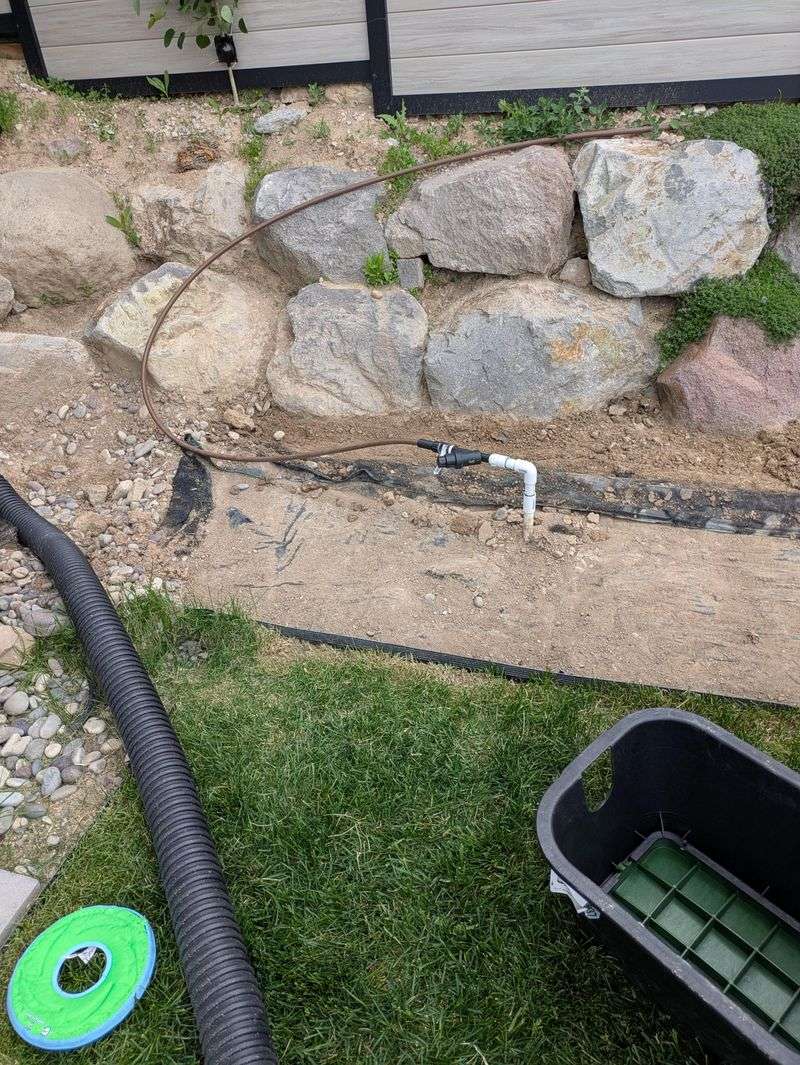
Clever pipe routing can minimize lawn disruption. Run pipes along the edges of patios, under stepping stones, or along fence lines where the ground is already disturbed or hidden.
For my system, I removed a few pavers from my garden path, dug a narrow channel underneath, laid the pipe, and replaced the pavers. No one could tell work had been done!
Garden beds offer another opportunity to hide pipes without damaging lawn areas. The looser soil in beds is easier to work with, and plants can be temporarily moved aside rather than removing established turf.
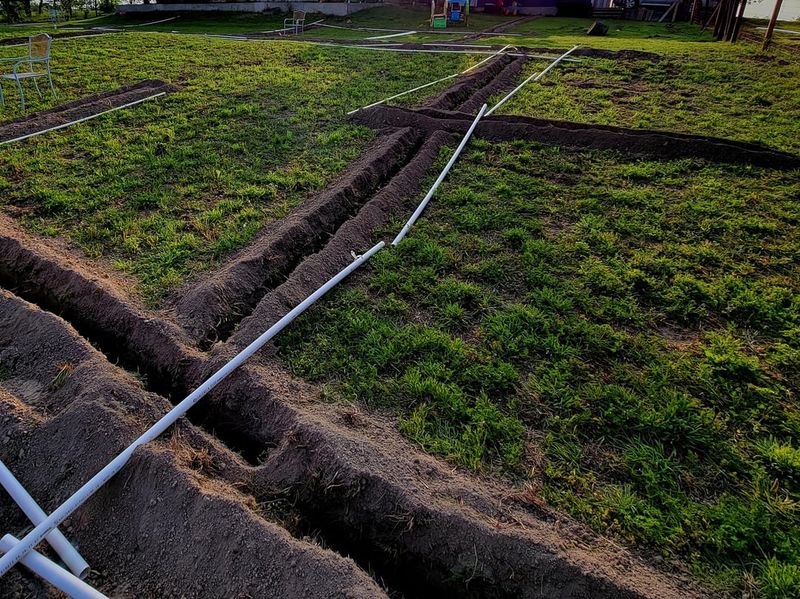
10. Rent A Lawn-Friendly Trencher
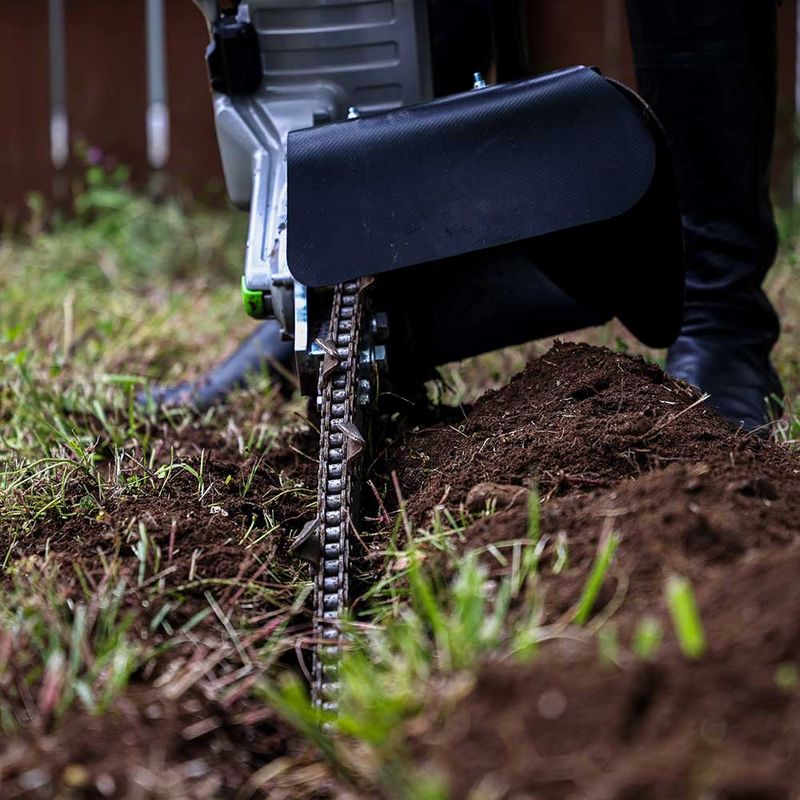
When you absolutely must trench, use equipment designed for minimal lawn impact. Mini-trenchers cut precise, narrow channels instead of the wide destructive paths created by full-sized machines.
The narrow trench heals much faster and requires less soil and seed to repair. Ask specifically for a model with a blade width of 2-3 inches for irrigation work.
My neighbor’s lawn looked like a battlefield after using a standard trencher. In contrast, the thin lines from my mini-trencher were barely visible after just two weeks of growth. The extra care in equipment selection made a dramatic difference in recovery time.
11. Employ Spot Digging Techniques
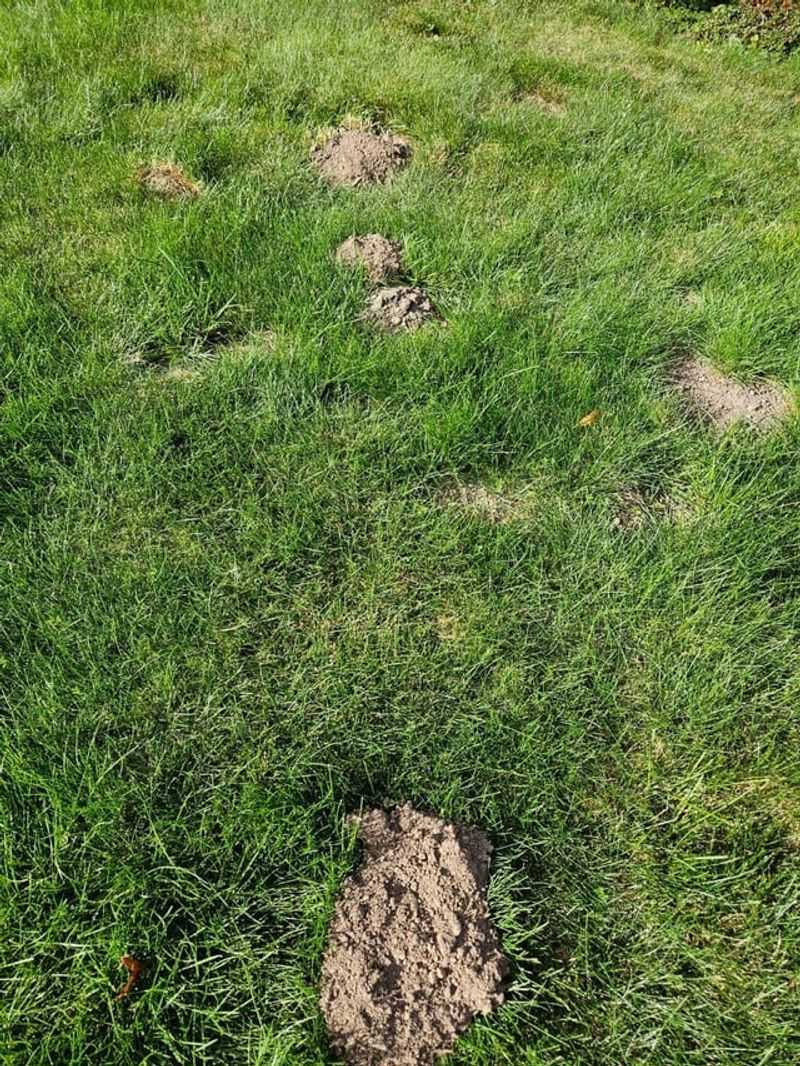
Rather than digging continuous trenches, try spot digging only where sprinkler heads will be placed. Connect these holes using a pipe-pulling technique or by carefully creating small channels between spots.
Cut the grass in a neat square using a sharp spade before digging. Carefully remove and set aside these grass patches on a tarp, keeping soil attached to the roots.
After installing sprinkler components, replace the grass squares exactly as they were. Water them thoroughly for several days after replacement. My lawn showed virtually no signs of disturbance after just one week using this method.
12. Create A Manifold Near Your Water Source
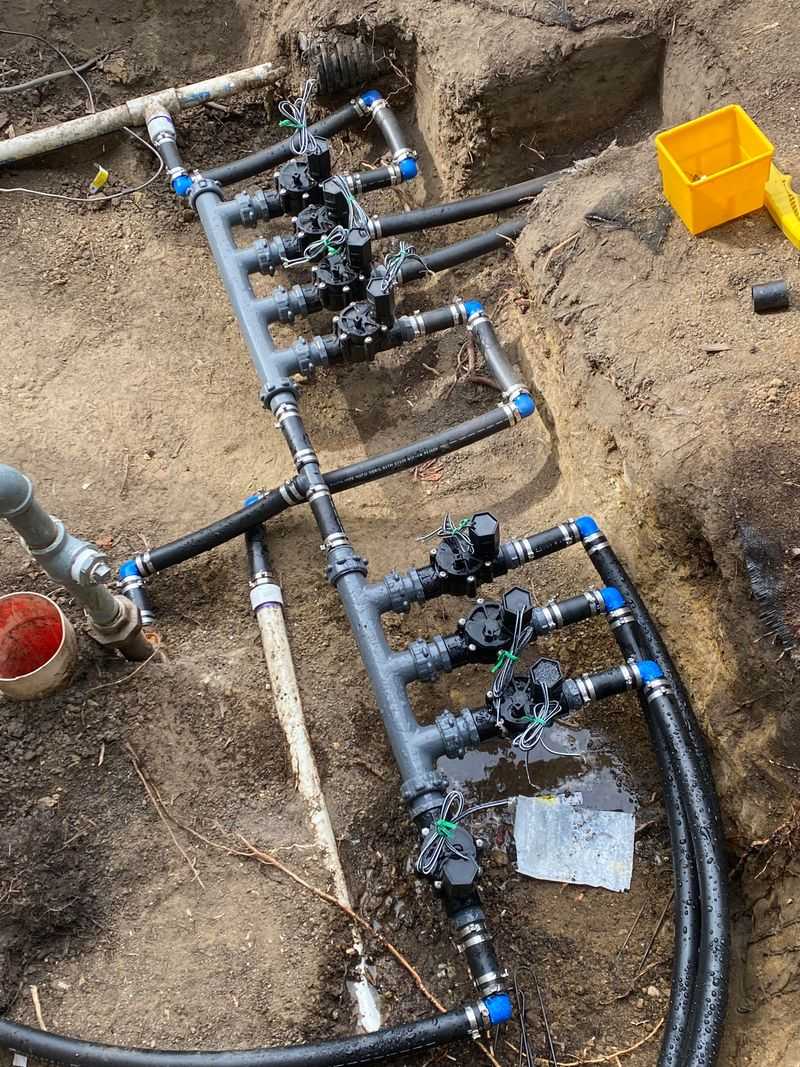
A manifold is a central hub where your main water line splits into multiple zones. Building this close to your water source concentrates most of the complex plumbing in one area.
This approach means less digging throughout the yard since you’ll only need to run single pipes to each zone rather than multiple connections. The manifold can be housed in a single valve box for easy access.
When I expanded my system last year, having a well-designed manifold meant I only needed to dig one new trench instead of disrupting several existing zones. The time saved was substantial, and my lawn recovered within weeks.
13. Adopt Wireless Rain Sensors

Wireless rain sensors communicate with your controller without requiring additional wiring through your yard. Mount the sensor in an open area where it can accurately measure rainfall, typically on a gutter or fence post.
These battery-powered devices transmit signals to your controller when sufficient rain has fallen. The system then automatically skips scheduled watering cycles.
My wireless sensor paid for itself in the first season through water savings alone. Beyond the conservation benefits, it prevented overwatering that had previously caused mushroom growth and soggy areas in parts of my lawn.
14. Schedule Installation After Light Rain
Timing your installation can make a huge difference in lawn preservation. Slightly damp soil from recent light rain is easier to work with than dry ground and causes less damage to grass roots.
The moisture helps soil hold together when you need to remove and replace sections of turf. Avoid working after heavy rain, however, as mud can create a messy project and compacted soil.
Last spring, I waited for a day after light showers to install my front yard zone. The grass squares I removed stayed intact with their root systems, and when replaced, they established themselves again within days instead of weeks.
15. Use Above-Ground Temporary Systems First

Test your design before digging by setting up a temporary above-ground system. Use flexible hoses and portable sprinklers placed exactly where permanent heads would go.
Run this test system through several cycles, observing coverage patterns and making adjustments. Take photos or notes about areas that need more or less water.
My temporary setup revealed that I needed two fewer sprinkler heads than originally planned, saving unnecessary digging and expense. The test also showed that one area needed a different spray pattern than I had specified, a much easier fix before permanent installation.