15 Steps To Grow Morel Mushrooms At Home (No Wild Foraging Needed)
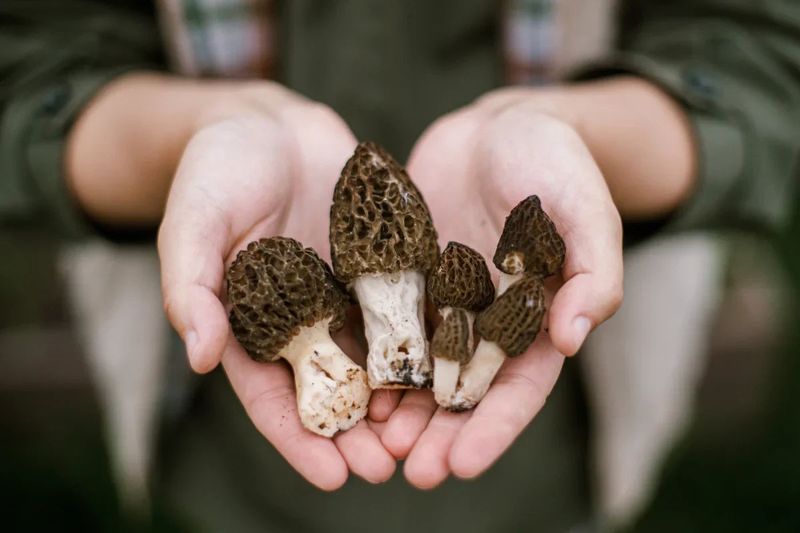
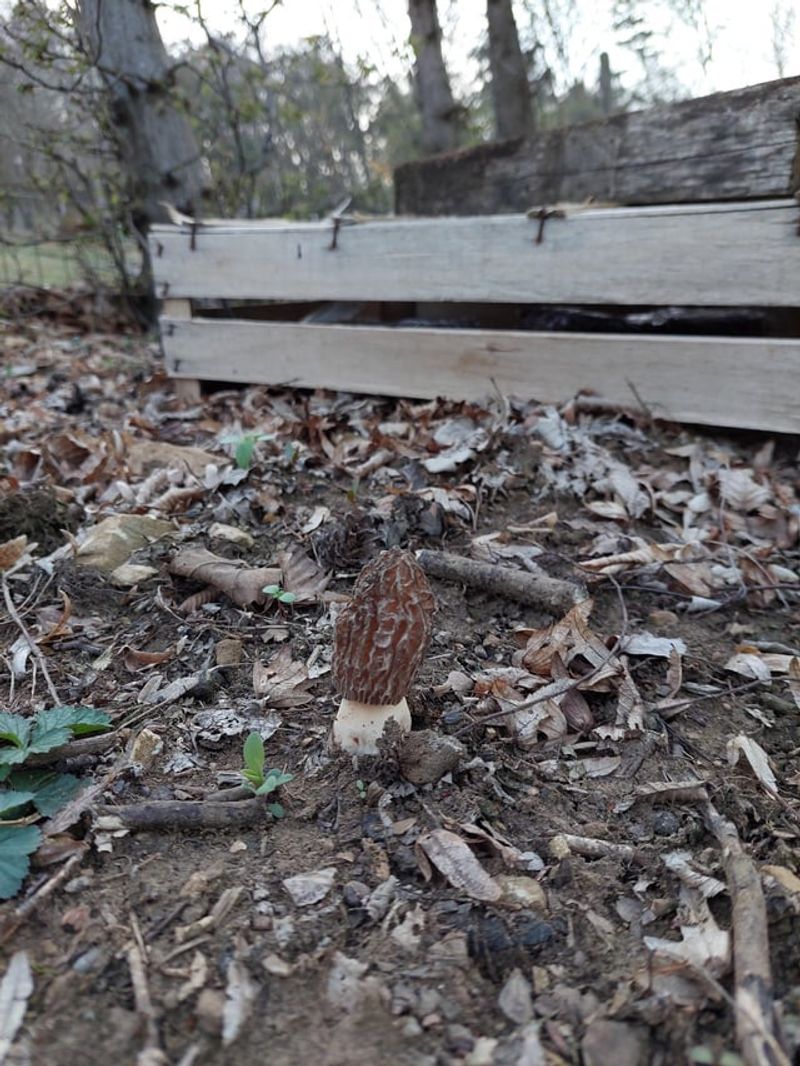
Growing morel mushrooms at home felt a bit like trying to crack a secret code—but once I got the hang of it, it became one of the most rewarding things I’ve done in the garden. There’s something magical about watching those wrinkly little caps pop up after a long wait, especially knowing I didn’t have to go hiking for hours to find them.
They definitely have a reputation for being picky, and I won’t lie—it takes some patience and the right conditions. But when you break it down into simple, manageable steps, it’s totally doable, even in an average backyard. I followed a basic routine that worked surprisingly well, and I’ll never forget the excitement of spotting my first homegrown morel.
Whether you’re tired of relying on luck during foraging season or just love a garden project with a tasty reward, growing morels is worth a try. With a bit of planning and a shady spot in your yard, you might just turn this woodland delicacy into a homegrown staple.
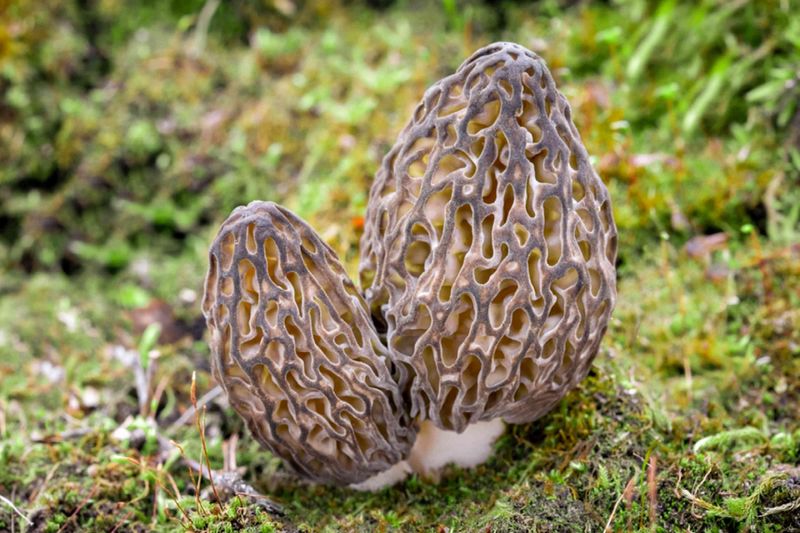
1. Select Your Morel Species
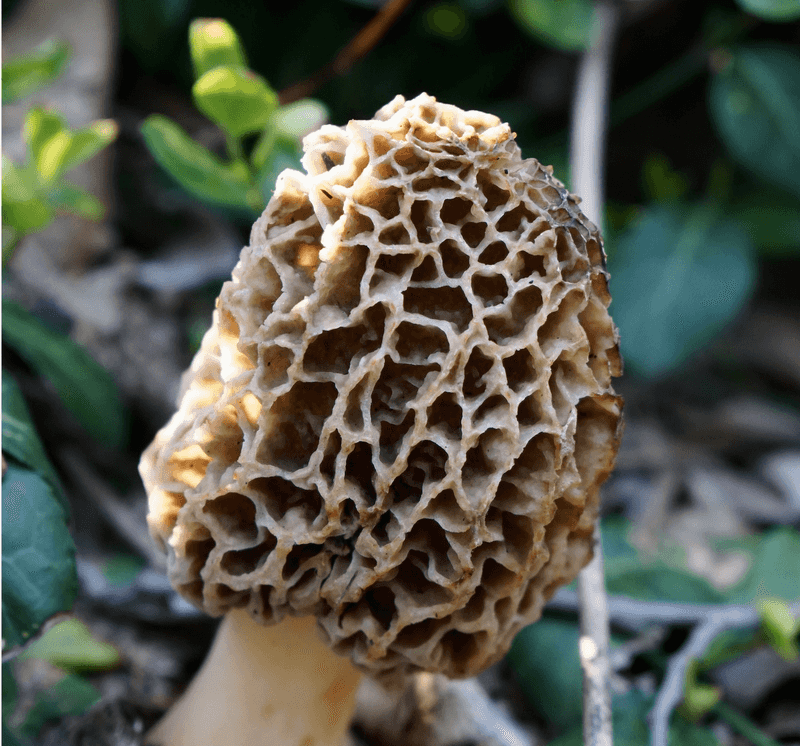
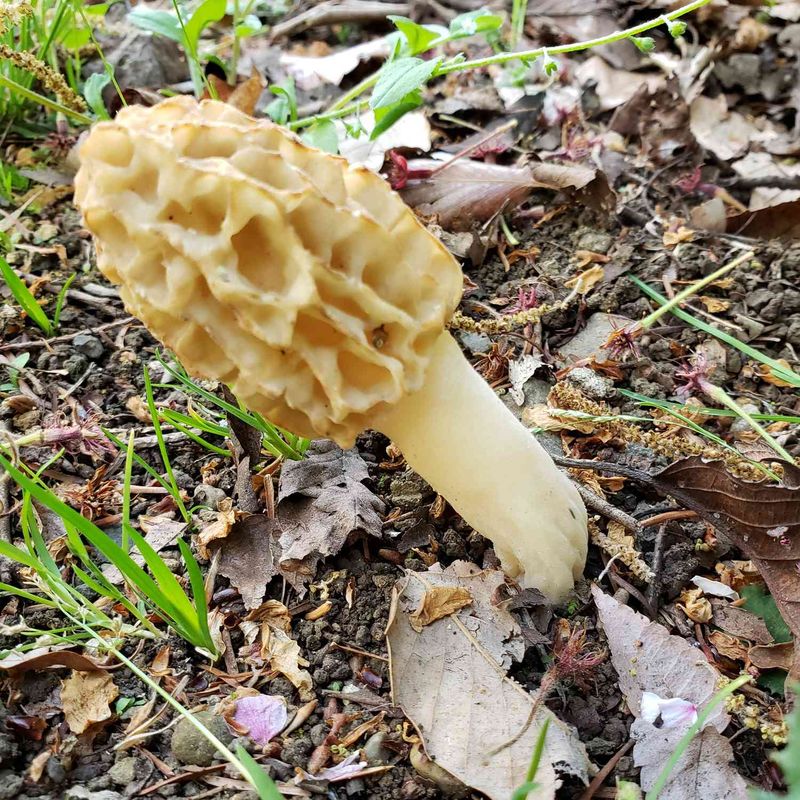
Morchella esculenta (yellow morel) and Morchella elata (black morel) are excellent choices for home cultivation. Each variety has different growing requirements, so research which one matches your climate and available space before purchasing spawn.
Yellow morels typically prefer hardwood environments and slightly alkaline soil, while black morels thrive in coniferous areas with more acidic conditions. My first attempt with black morels failed until I adjusted my soil pH.
Purchase spawn from reputable mycology suppliers rather than using foraged specimens, as commercial spawn is specifically developed for cultivation success and contains vigorous mycelium ready to colonize your growing medium.
2. Gather Essential Materials
You’ll need several items before starting: morel spawn, hardwood chips or sawdust, wood ash, sand, peat moss, gypsum, and a soil moisture meter. Having everything prepared beforehand prevents interruptions during critical setup phases.
Quality materials make a significant difference in success rates. I learned this lesson when using old sawdust that introduced contaminants to my first grow bed. Source fresh hardwood materials without chemical treatments, ideally from maple, elm, or ash trees.
A soil pH testing kit is also valuable since morels prefer specific pH levels between 7.1 and 7.8 for most varieties. Temperature and humidity gauges will help monitor environmental conditions throughout the growing process.
3. Create The Perfect Growing Bed
Finding the right location is crucial for success. Select a partially shaded spot that receives morning sunlight but is protected from harsh afternoon rays. The area should have good drainage and be sheltered from strong winds.
Construct a raised bed approximately 8 inches deep using untreated wood boards. The dimensions can vary based on available space, but a 4×4 foot bed provides ample room for a decent harvest while remaining manageable. Line the bottom with hardware cloth to prevent pests from entering from below.
Some growers have success with container cultivation using large, deep pots or troughs. This method allows for better control over growing conditions and makes it possible to move the containers if weather conditions change unexpectedly.
4. Mix Your Substrate Properly
The substrate mixture is where many beginners make critical mistakes. Combine 5 parts hardwood chips or sawdust, 2 parts peat moss, 2 parts wood ash, 1 part sand, and a small amount of gypsum. This blend creates an ideal environment for morel mycelium to thrive.
Thoroughly mix these components in a large container or tarp before adding to your growing bed. The texture should be loose enough to allow air circulation but capable of retaining some moisture. My first substrate was too compacted, which stunted mycelial growth.
Adjust the pH if necessary using lime to increase alkalinity or elemental sulfur to increase acidity, depending on your morel species’ requirements. Allow the mixture to sit for 24-48 hours before introducing spawn to stabilize.
5. Inoculate With Spawn Correctly
Moisten your substrate until it’s damp but not waterlogged – squeeze a handful and only a few drops should come out. Fill your growing bed halfway with the substrate, then spread a layer of spawn evenly across the surface.
Add another layer of substrate, then another layer of spawn, continuing this layering process until the bed is filled. This sandwich method ensures thorough colonization throughout the growing medium. Working in cooler temperatures (below 70°F) helps prevent the spawn from drying out during this process.
Gently water the bed after inoculation to ensure good contact between spawn and substrate. During my first attempt, I was too aggressive with watering and washed away much of the spawn, requiring me to start over.
6. Install A Proper Irrigation System
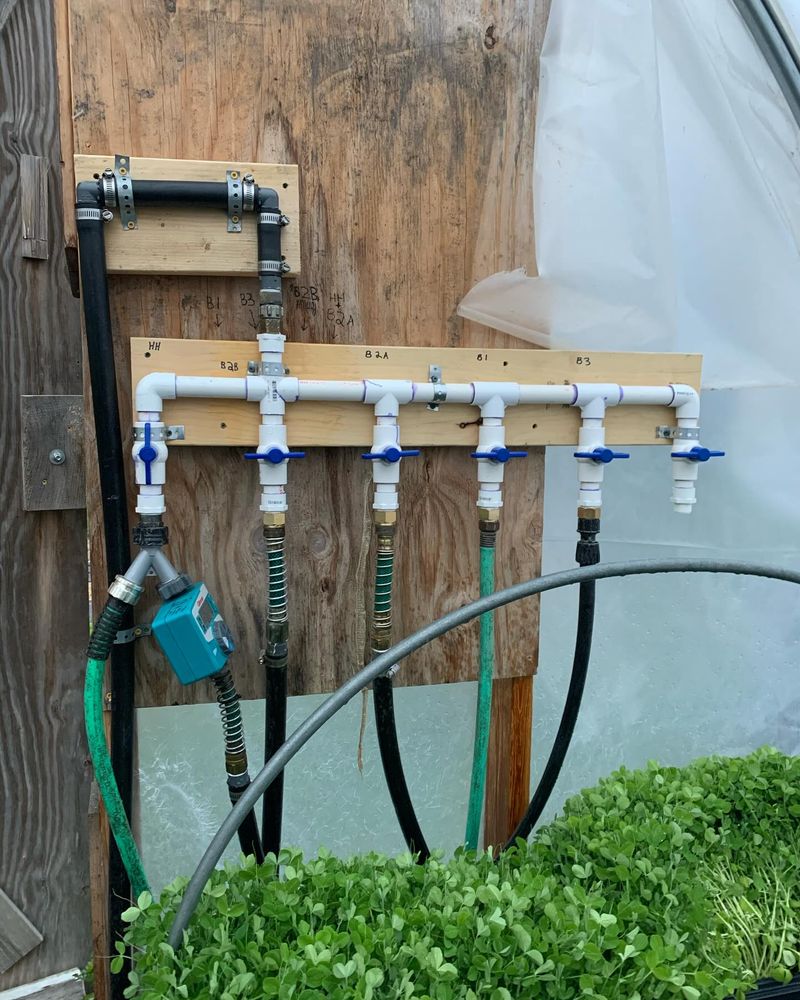
Consistent moisture is essential for morel development, making a reliable irrigation system worth the investment. Drip irrigation or soaker hoses provide gentle, even moisture without disturbing the delicate mycelium network.
Set up your system to deliver water directly to the substrate rather than spraying from above. Overhead watering can damage forming primordia (baby mushrooms) and increase the risk of contamination. The bed should remain consistently moist but never soggy or dried out.
Consider installing a timer to automate watering sessions, especially during critical fruiting periods. Manual watering worked fine for my small bed, but I noticed much more consistent results after switching to a programmed drip system that maintained ideal moisture levels even when I couldn’t check the bed daily.
7. Create Temperature Fluctuations
Morels require temperature cycling to trigger fruiting. After full colonization (typically 2-3 weeks), begin creating temperature fluctuations between day and night. Aim for daytime temperatures around 65-70°F and nighttime temperatures of 40-50°F.
These temperature swings mimic spring conditions that naturally trigger morel fruiting in the wild. For outdoor beds, this often happens naturally in spring. Indoor growers can use heating mats during day hours and remove them at night, or move containers to locations with different temperatures.
Tracking temperature data helps identify the specific fluctuations that trigger your morels to fruit. My journal from successful grows shows that a 20°F differential between day and night temperatures for at least a week was the key to initiating pinning in my growing environment.
8. Manage Soil Moisture Levels
Maintaining proper moisture levels requires regular monitoring with a soil moisture meter. The substrate should register between 65-75% moisture content throughout the growing cycle. Fluctuating too far in either direction can halt mycelium growth or trigger contamination.
During dry periods, water more frequently but with less volume to prevent oversaturation. A light mulch layer of straw can help retain moisture in outdoor beds. The substrate should feel like a wrung-out sponge – damp but not dripping.
Morning is generally the best time to water, allowing excess moisture to evaporate during the day. Using collected rainwater rather than chlorinated tap water made a noticeable difference in my morel production, as the mycelium seemed to respond better to the natural mineral content and absence of chemicals.
9. Apply Casing Layer At The Right Time

Once mycelium has fully colonized your substrate (appearing as white, thread-like growth throughout), it’s time to apply a casing layer. Mix equal parts peat moss and vermiculite, pasteurize by pouring boiling water over it, then let cool completely.
Spread this casing mixture in a 1-inch layer over your colonized substrate. This layer helps maintain surface moisture and provides a microclimate that encourages pinning. The timing of applying this casing is crucial – too early and it may become colonized; too late and fruiting may be delayed.
Lightly mist the casing layer daily to maintain surface moisture without waterlogging. My first harvest doubled in size after I started paying closer attention to casing layer moisture, ensuring it never dried out during the critical pinning phase.
10. Introduce Beneficial Bacteria
Research suggests that certain bacteria help trigger morel fruiting. Introducing Pseudomonas putida or commercially available “mushroom helper bacteria” can significantly improve yields. These beneficial microorganisms create a more natural soil ecosystem.
Apply bacterial solutions according to product instructions, typically as a light spray over the casing layer. The bacteria work symbiotically with morel mycelium, helping break down nutrients and potentially triggering biochemical reactions that stimulate fruiting.
Creating your own bacterial solution from forest soil near established morel patches is another approach, though it carries contamination risks. After experimenting with both methods, I found commercial preparations more reliable for consistent results, while still providing the beneficial bacterial interactions needed for successful fruiting.
11. Practice Cold Shocking
Cold shocking mimics the end of winter and can trigger fruiting in stubborn morel beds. After at least 8 weeks of colonization, water your bed thoroughly with ice-cold water, then cover it with plastic for 24 hours to lock in the cold temperature.
This technique works best when the mycelium is healthy and fully established but hasn’t begun fruiting despite temperature fluctuations. The sudden cold stress often triggers a survival response in the mycelium, prompting it to produce mushrooms.
Timing this shock to coincide with natural spring conditions enhances its effectiveness. My breakthrough harvest came after a cold shock followed by three days of gradually warming temperatures, creating the perfect sequence of environmental triggers that the morels responded to dramatically.
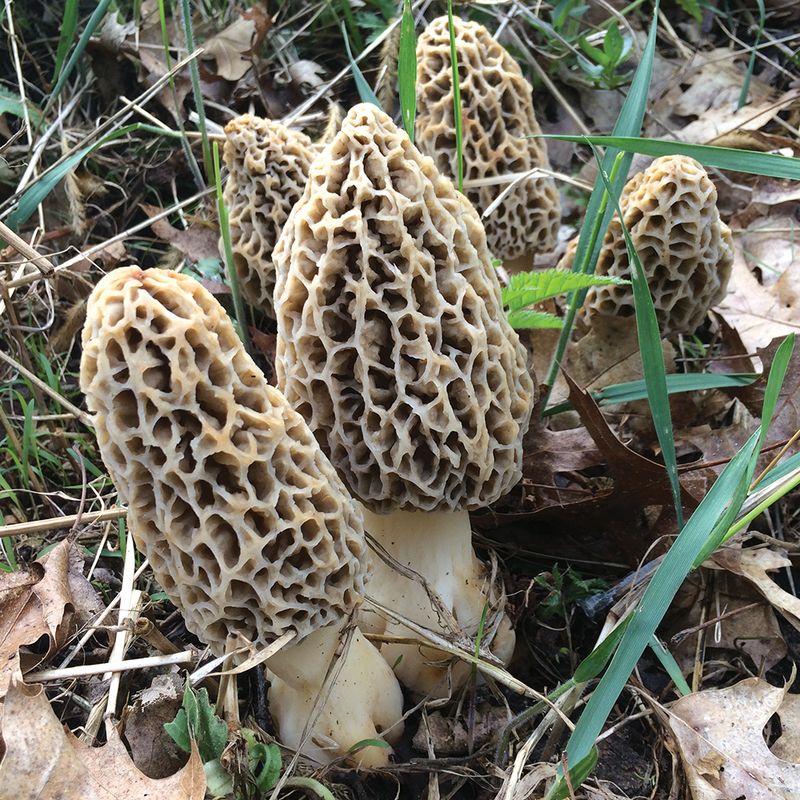
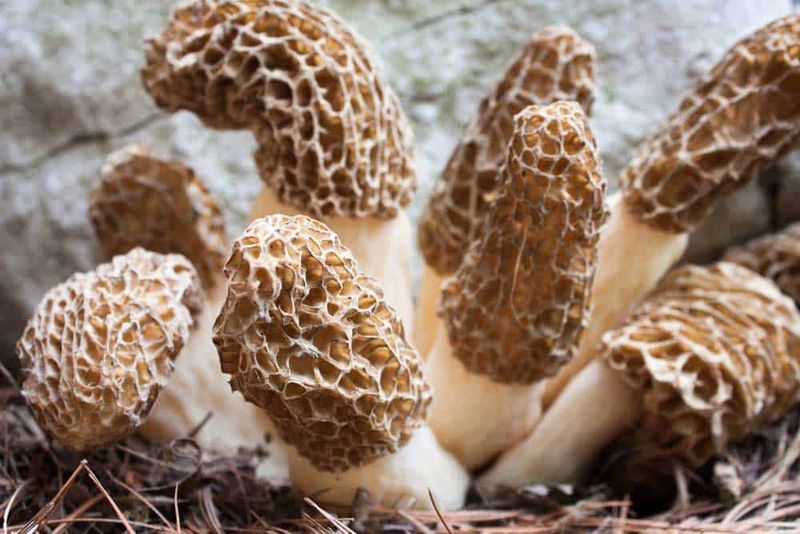
12. Watch For Primordia Development
Approximately 1-3 weeks after cold shocking, examine your bed daily for tiny, knot-like formations in the substrate. These primordia (baby mushrooms) appear as small, light-colored bumps that will develop into morel mushrooms. Morning inspection with a flashlight provides the best visibility.
Once primordia appear, maintain consistent moisture and temperature conditions. Any drastic changes at this stage can cause the developing mushrooms to abort. The substrate surface might develop a slightly crusty appearance before primordia emerge – this is normal and often precedes fruiting.
Photograph developing primordia daily to track growth patterns. This visual record helped me identify that my morels typically took 6-8 days to develop from first primordium sighting to harvestable mushroom, allowing me to plan harvesting times more accurately.
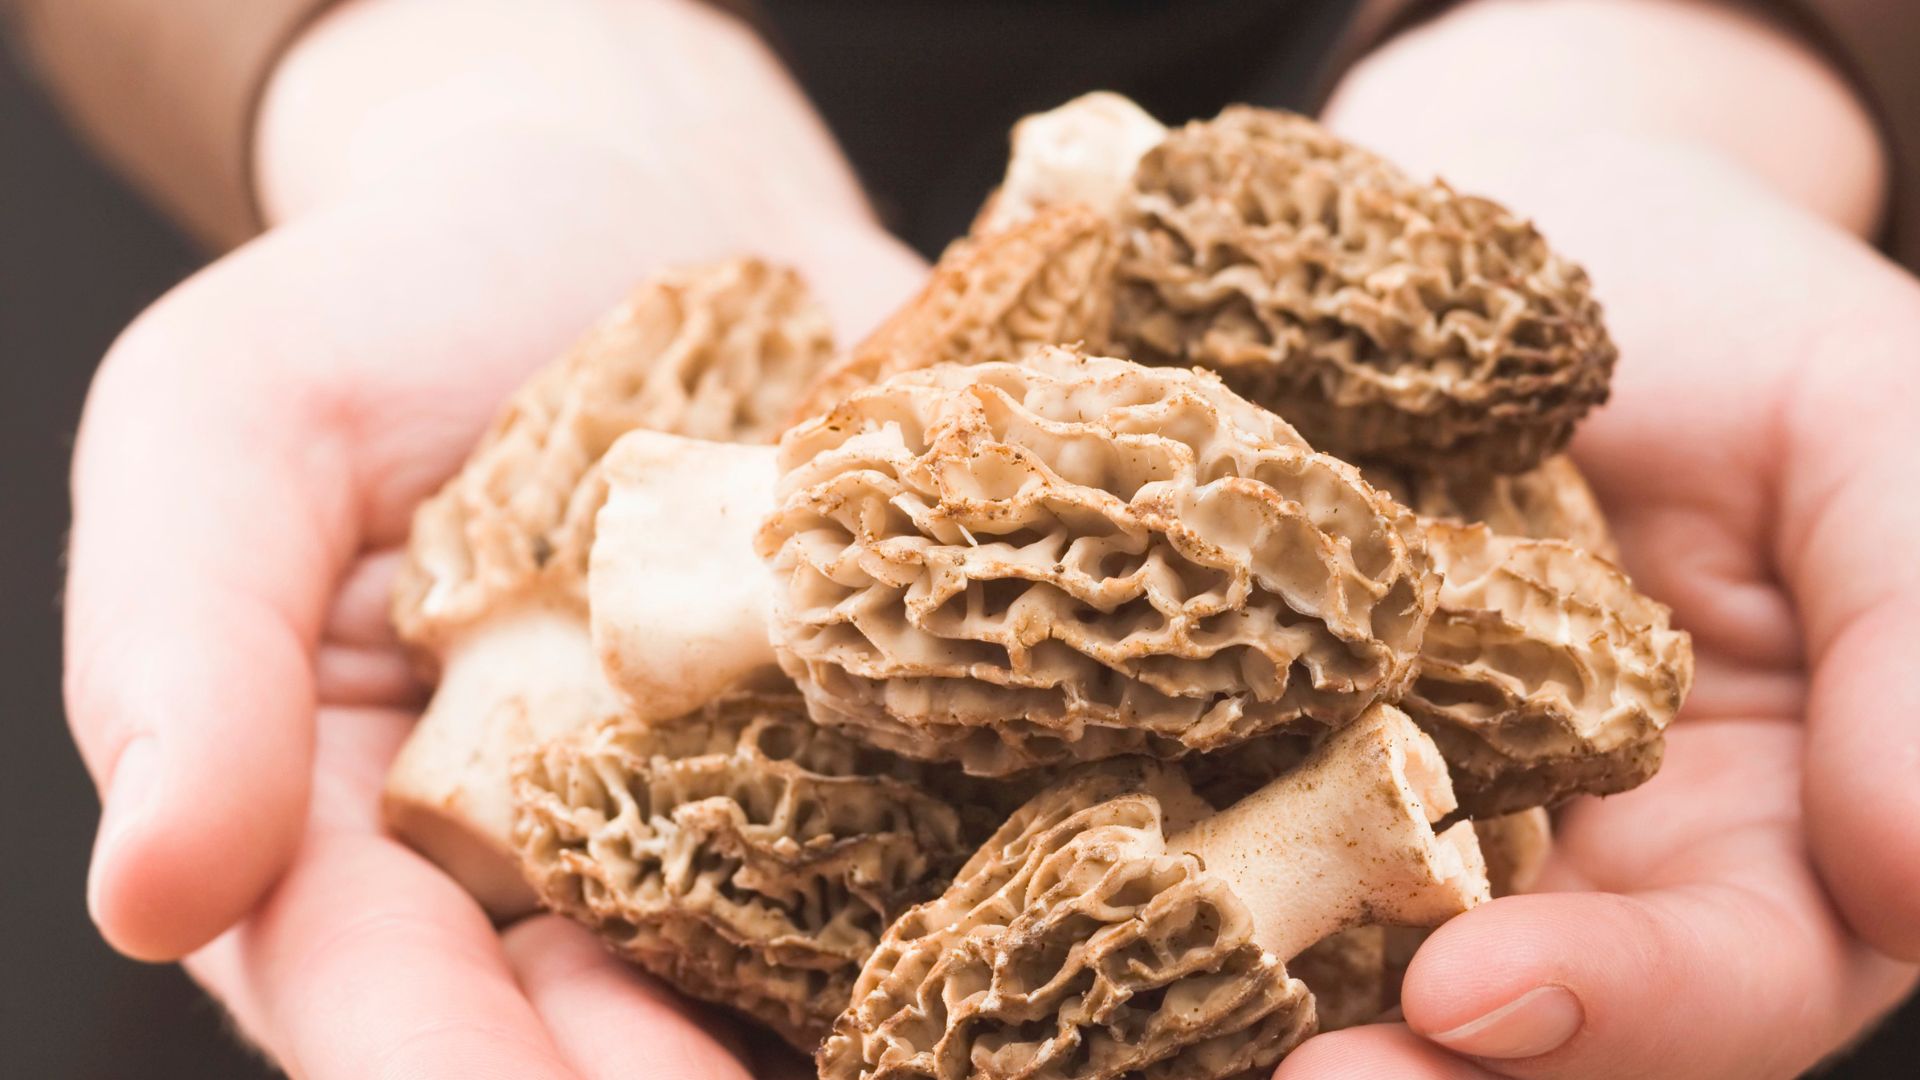
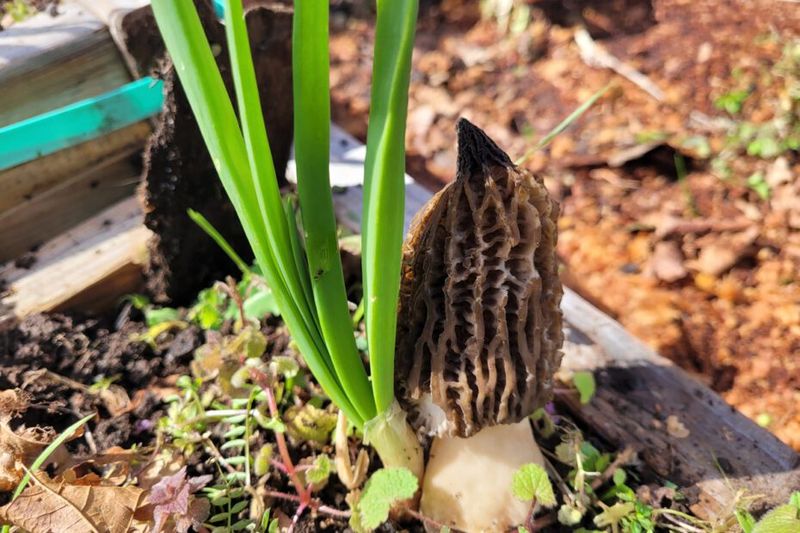
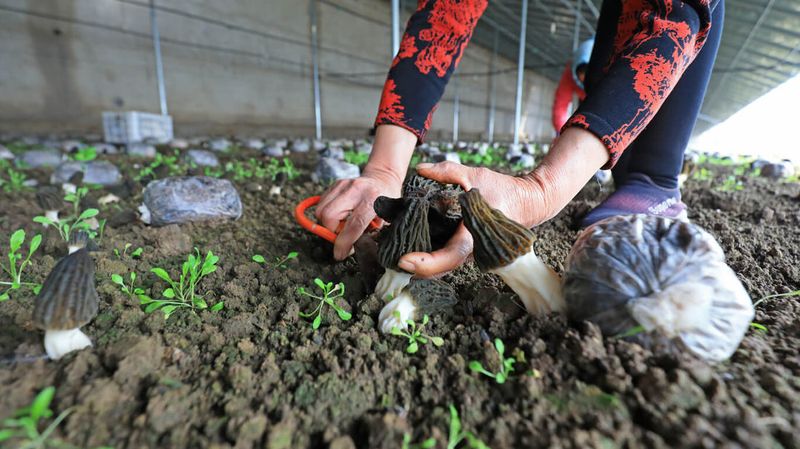
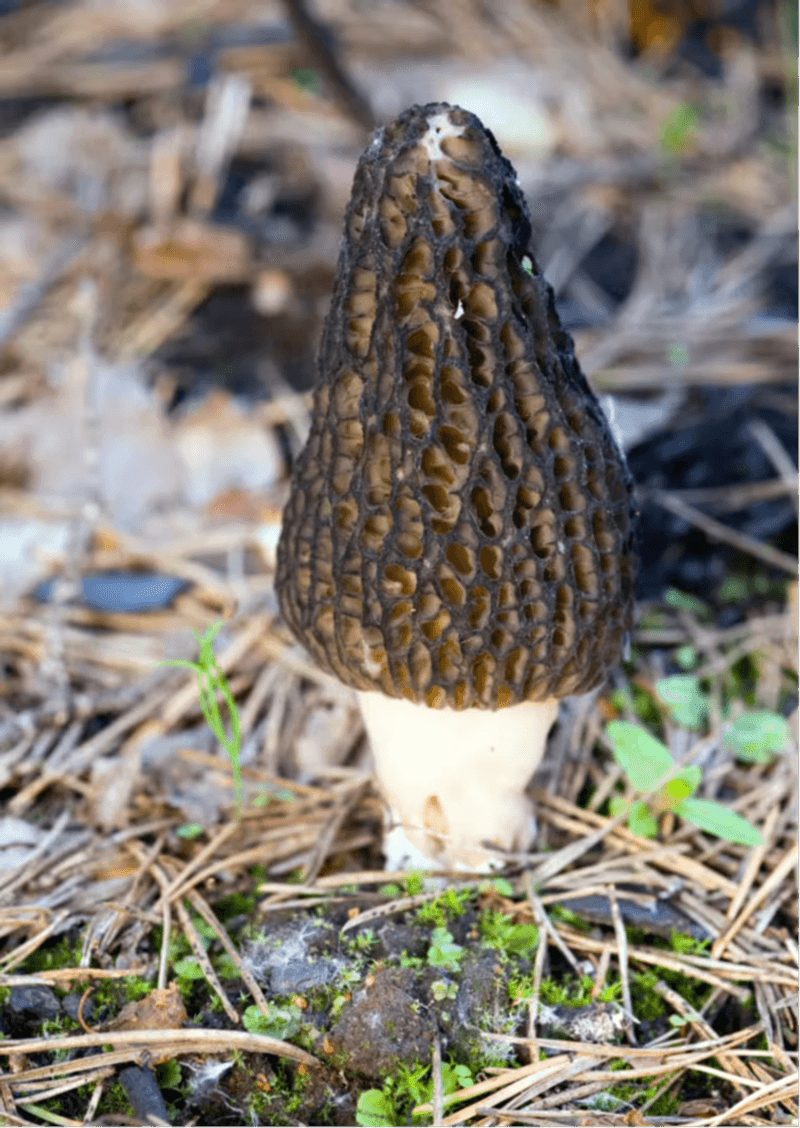
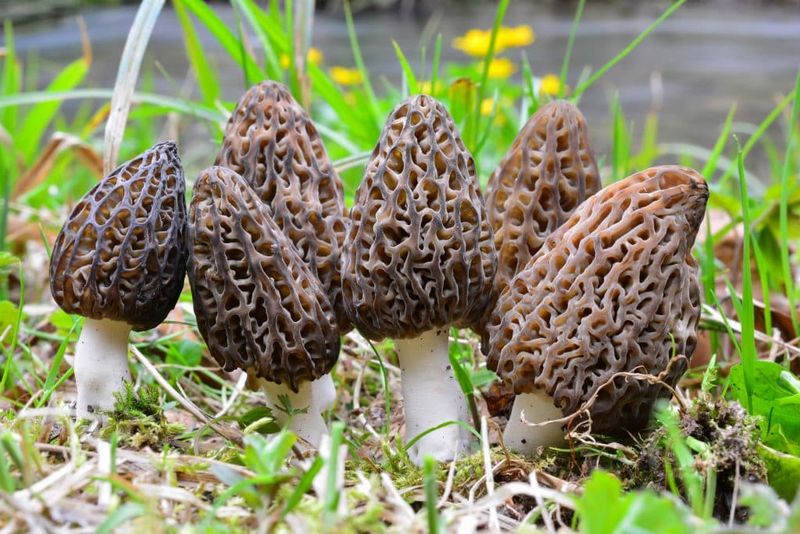
13. Harvest At Peak Ripeness
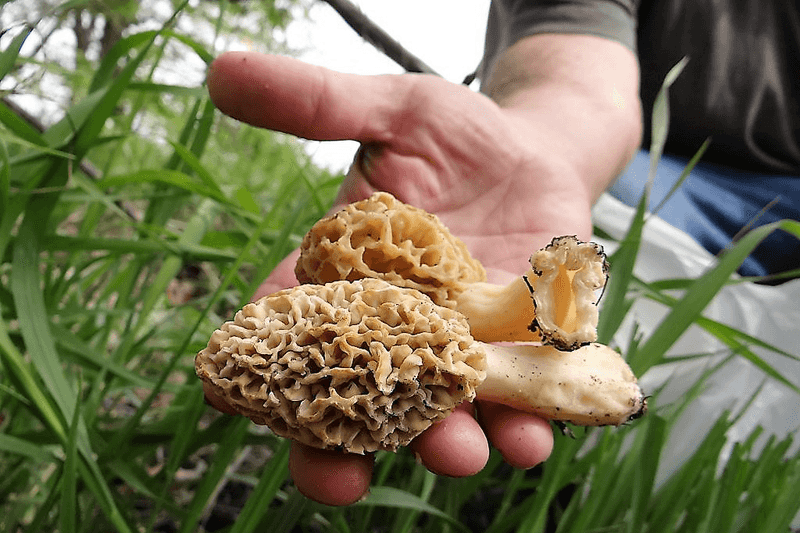
Morels are ready to harvest when the caps have fully emerged and the ridges are well-defined, typically standing 2-4 inches tall. The perfect harvesting moment occurs when the caps have separated from the stems but before they begin releasing spores, usually lasting only 1-2 days.
Use a sharp knife to cut mushrooms at the base rather than pulling them, which could damage the mycelium network. Harvesting in the morning when mushrooms are hydrated and firm yields the best quality. Place harvested morels in a breathable container like a paper bag or basket.
Leave smaller mushrooms to continue developing rather than harvesting everything at once. My cultivation journal shows that staggered harvesting over 5-7 days maximized total yield from each fruiting flush, with the second and third days typically producing the largest specimens.
14. Prepare For Multiple Flushes
Unlike many cultivated mushrooms, morels can produce multiple flushes in a single season with proper care. After your first harvest, gently rake the surface of the substrate to aerate it, then apply a thin refresher layer of your original substrate mix.
Water thoroughly with room-temperature water containing a small amount of molasses (1 tablespoon per gallon) to provide a carbohydrate boost to the mycelium. This sugar energy helps the fungal network recover from fruiting and prepare for another round of production.
Resume your temperature fluctuation schedule and moisture management. Second flushes typically produce fewer but sometimes larger mushrooms. The effort is worthwhile – my second flush yielded about 60% of the first harvest volume, making the additional care well worth the minimal extra work.
15. Maintain Your Bed For Years
A well-maintained morel bed can produce for multiple seasons. After the growing season ends, add a fresh 2-inch layer of hardwood chips mixed with wood ash to replenish nutrients. Cover the bed with breathable landscape fabric during extreme weather to protect the mycelium network.
During winter dormancy, the bed requires minimal care beyond occasional moisture checks during dry periods. The mycelium uses this time to digest substrate and strengthen its network. Removing competing plants and fungi promptly prevents them from overtaking your morel patch.
Each spring, your bed should require less intervention to fruit as the mycelium becomes more established. My oldest bed is now in its fourth productive season, with each year’s maintenance becoming simpler while yields have remained consistent, making the initial investment of time and materials increasingly worthwhile.