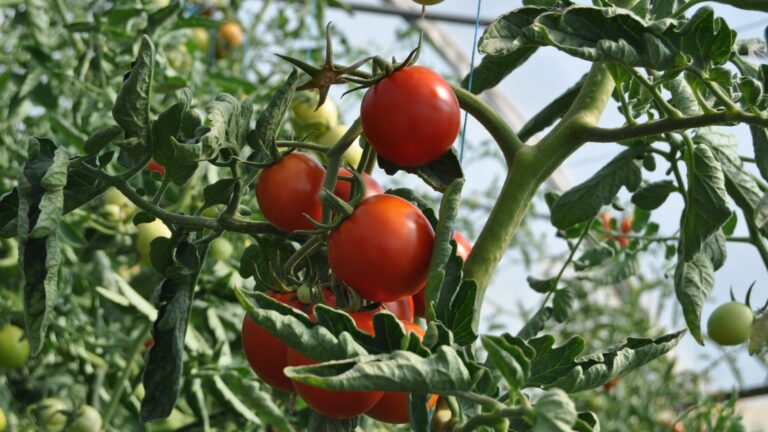
16 Clever Ways To Regrow Beets From Scraps For A Second Harvest
Beets are one of those veggies that quietly do it all—and if you’ve ever tossed the tops or scraps, you’re missing out. I used to think once I chopped off the beet, that was it. But with a little experimenting, I found out you can actually regrow new greens and even roots from the leftovers.
It’s a super satisfying way to stretch your groceries a bit further, especially when prices go up or the garden isn’t quite in full swing. All you really need is a shallow dish, some water, and a sunny windowsill to start seeing results.
Whether you’re into reducing waste or just love seeing something grow from almost nothing, beets are a fun and easy place to start. It’s low-effort, budget-friendly, and honestly kind of addictive once you get the hang of it.
1. Regrow Beet Tops In Water

My kitchen windowsill became a mini garden when I discovered this method. Cut the beet top with about 1-2 inches of the root attached and place it in a shallow dish of water.
Change the water every couple days to prevent any funky smells or algae growth. Within a week, you’ll notice fresh green leaves sprouting upward while tiny root hairs develop below.
Once your beet top has a good set of leaves, you can harvest them repeatedly for salads and stir-fries. The leaves taste similar to Swiss chard and pack a nutritional punch that rivals the beet root itself.
2. Soil Tray Method For Beet Scraps
After dinner last month, I saved several beet tops instead of composting them. Fill a shallow tray with potting soil, nestle those tops with the cut side down, and cover just until the crown is visible.
Keep the soil consistently moist but not waterlogged. I learned the hard way that too much water leads to rotting! Place the tray somewhere that gets partial sunlight throughout the day.
The soil method produces stronger roots and more substantial leaf growth than water alone. You’ll have harvestable greens in about 2-3 weeks, perfect for adding to smoothies or using as garnish.
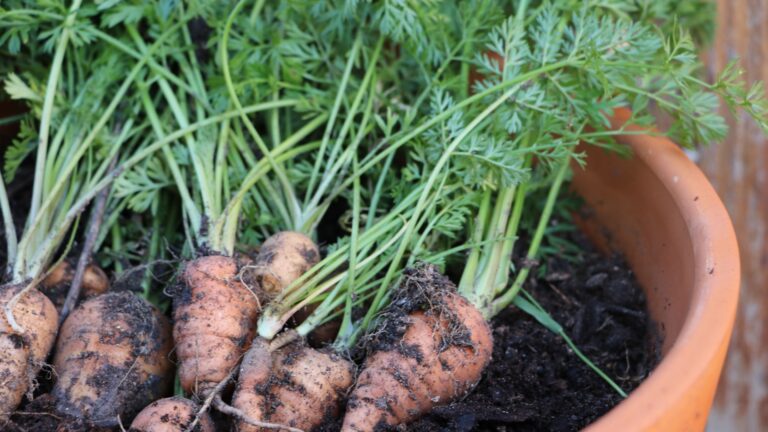
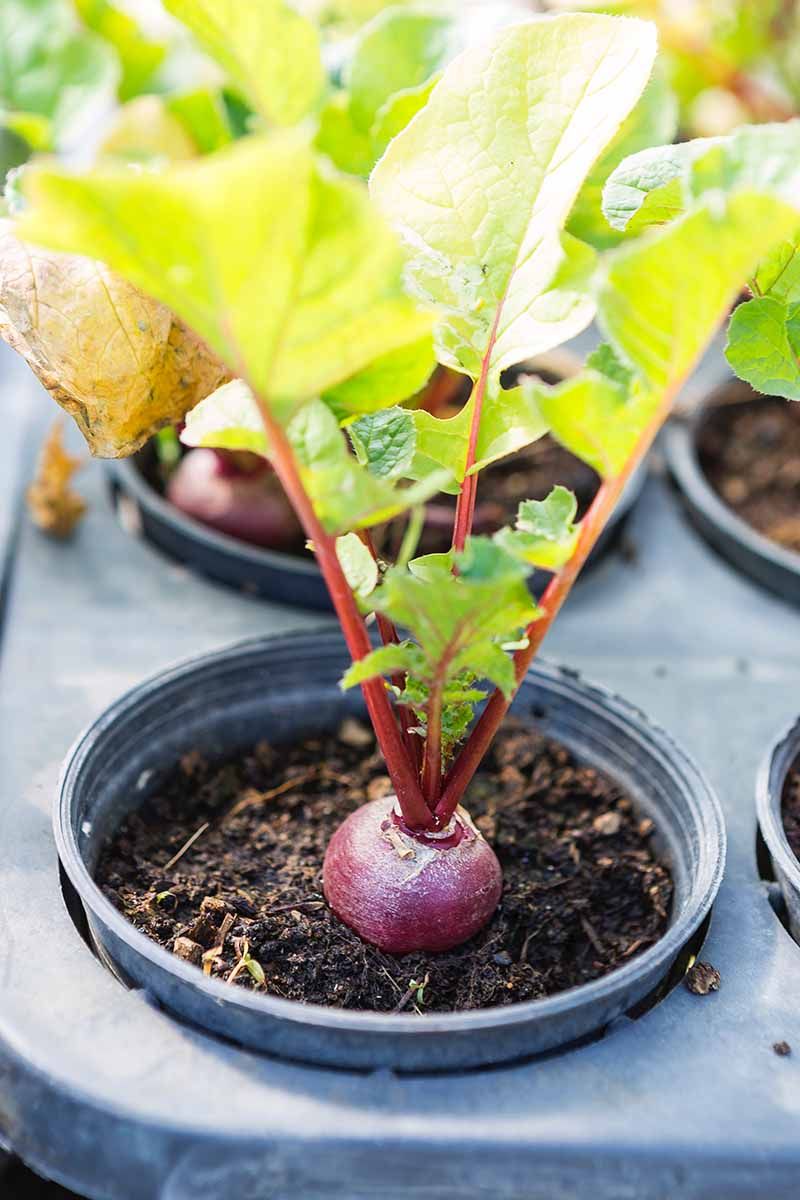
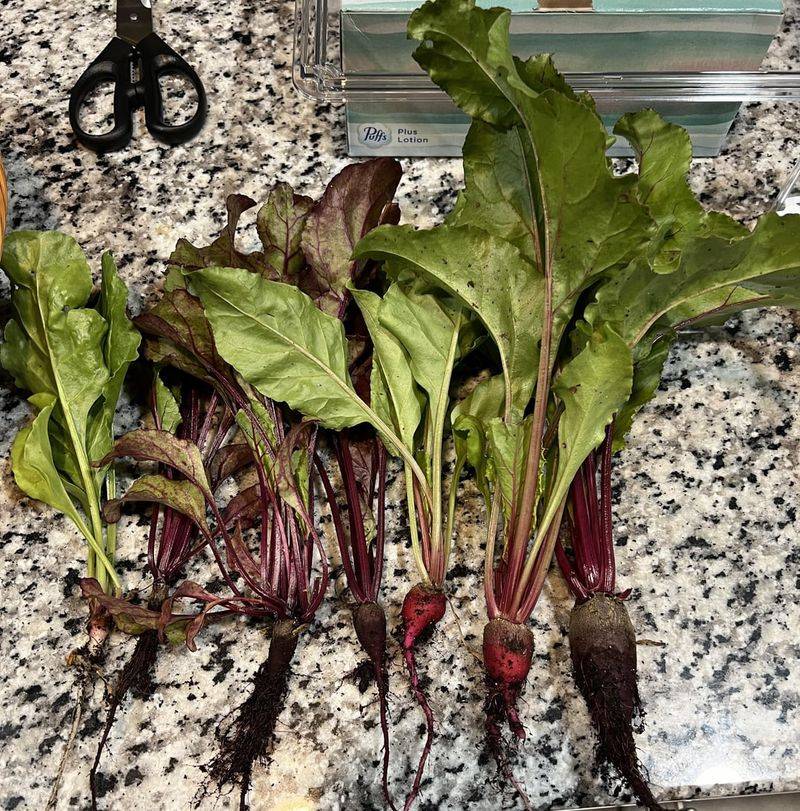
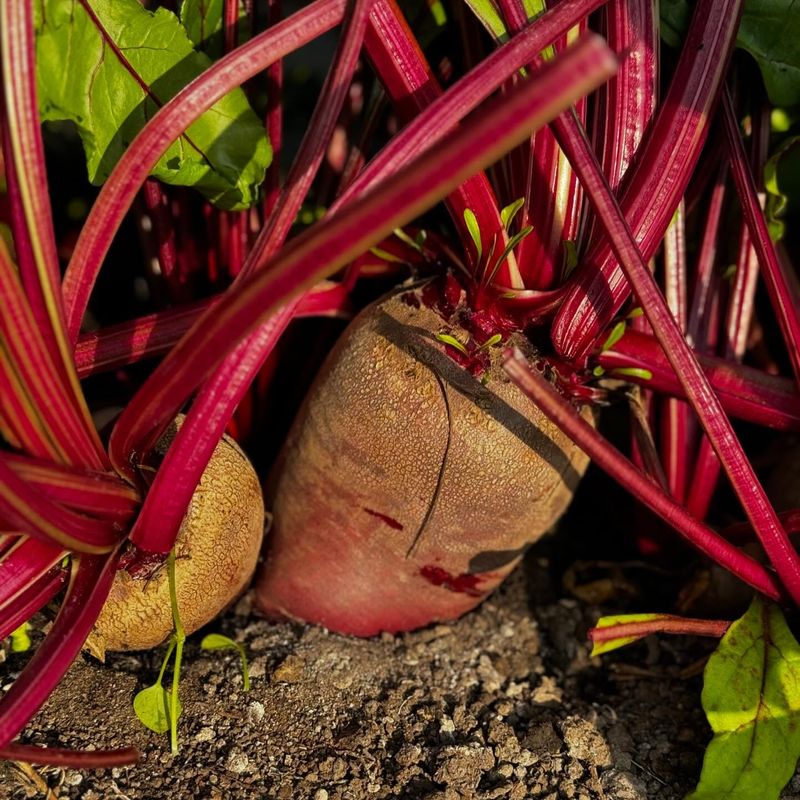
3. Replant Whole Beet Bottoms
Leaving a small slice of beet attached to the root end creates a perfect starter for new growth. Cut about 1-inch from the bottom where the roots emerge and let it dry overnight to form a protective callus.
Plant these bottoms in garden soil with the cut side down and the root end buried about 1-inch deep. Water gently after planting, then maintain even moisture as new growth appears.
The first time I tried this, tiny leaves appeared within days! While you won’t get full-sized beets again, these replanted bottoms will produce nutritious greens for weeks before eventually forming small, tender baby beets.
4. Hydroponic Beet Revival
Setting up a simple hydroponic system revolutionized my beet regrowing game last summer. Suspend beet tops in a container so only the root portion touches the water, using toothpicks or a mesh screen to hold them in place.
Add a few drops of liquid fertilizer to the water once a week to provide nutrients. The absence of soil eliminates many pest problems, and the clear container lets you monitor root development with fascinating clarity.
Hydroponic beets grow surprisingly fast and clean. My kitchen-window setup produced harvestable greens in just 10 days, and the controlled environment meant I could grow them year-round regardless of outdoor conditions.
5. Vertical Beet Tower
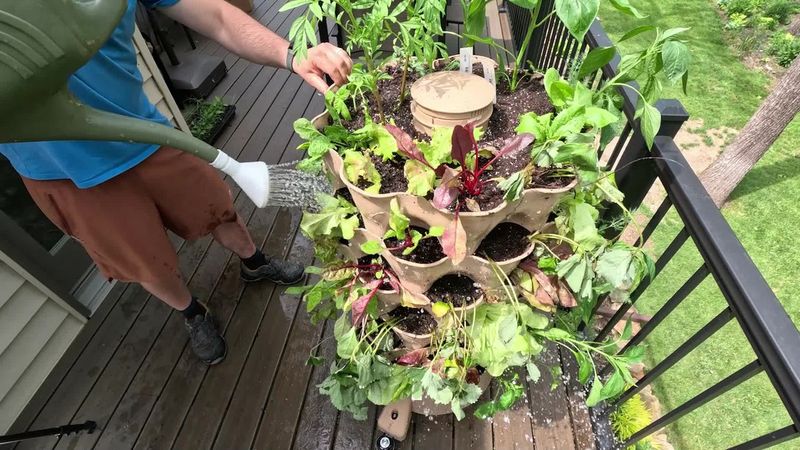
Space-saving became necessary when my apartment gardening habit outgrew my balcony. Create a vertical growing tower using a PVC pipe with holes cut into the sides, filled with soil and beet tops planted horizontally through the openings.
Water from the top so it trickles down to all plants. The vertical orientation maximizes sunlight exposure while minimizing footprint—perfect for small spaces or apartment dwellers.
My vertical tower produced enough beet greens for weekly salads throughout spring. The setup looks surprisingly decorative too, adding a touch of living architecture to my small patio while keeping fresh greens within arm’s reach.
6. Mason Jar Beet Regrowth
Repurposing old mason jars created my most Instagram-worthy growing project yet. Fill wide-mouth jars with water, suspend beet tops using toothpicks or skewers across the opening, with just the bottom touching the water.
Position these jars on a bright windowsill but avoid direct afternoon sun that might overheat the water. The glass jars create a greenhouse effect that speeds up initial growth while showcasing the fascinating root development below.
Arrange several jars at different growth stages for a beautiful kitchen display that’s both functional and decorative. Guests always ask about my “beet jar garden,” making this method as much a conversation starter as a food source.
7. Coffee Filter Sprouting Method
Running out of containers last spring led me to discover this surprisingly effective technique. Moisten coffee filters and lay them flat in a shallow dish, then place beet tops cut-side down on the damp surface.
Cover with another damp filter and check daily, remoistening as needed. The porous nature of coffee filters provides perfect humidity while allowing enough airflow to prevent mold growth.
Once sprouts reach about an inch tall, transplant to soil or a hydroponic setup. This method works wonderfully as a starter technique before moving plants to their permanent growing location, and it’s especially useful for testing which beet tops have regrowth potential.
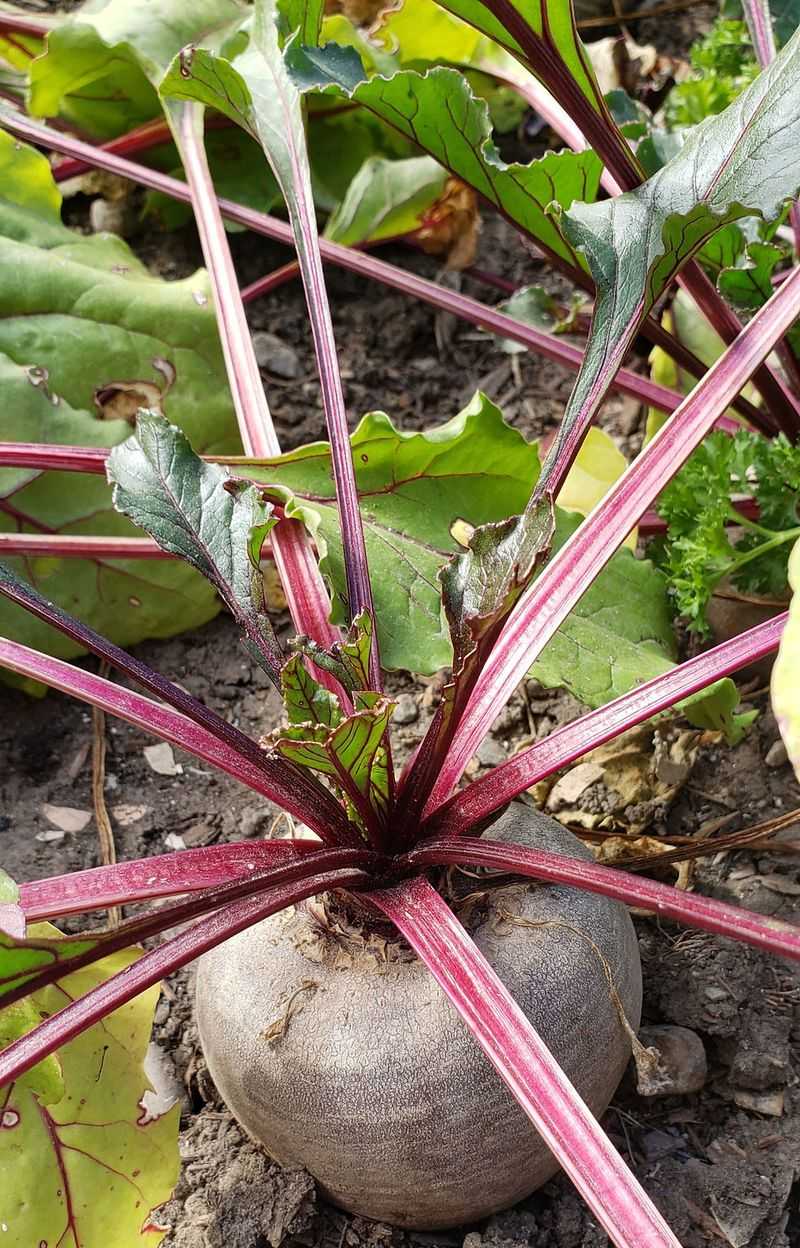
8. Outdoor Beet Stump Garden
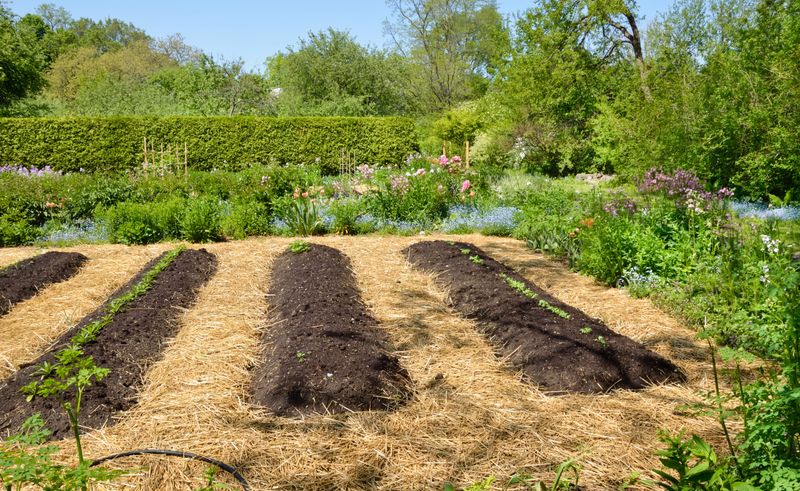
Last fall’s beet harvest became this spring’s garden feature without any extra work. Simply leave the bottom portion of harvested beets in the ground rather than pulling the entire plant.
Cover with a light layer of mulch before winter in colder regions. When spring arrives, these stumps will reawaken and send up fresh greens, giving you a head start on the growing season.
The established root system means these plants require minimal care and are often first to produce edible greens. I’ve found this “lazy gardener” approach actually produces some of the most robust and early beet greens, ready weeks before new seedlings would be harvestable.
9. Beet Green Propagation In Compost Tea
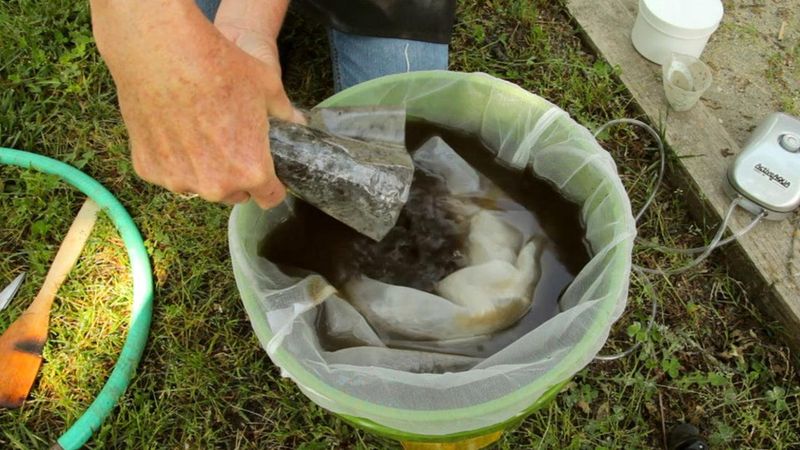
Nutrient-rich compost tea transformed my struggling beet regrowth attempts into thriving plants. Prepare compost tea by steeping finished compost in water overnight, then strain the liquid.
Place beet tops in this nutrient-rich solution instead of plain water. The natural growth hormones and beneficial microbes in compost tea stimulate faster root development and stronger overall growth.
My kitchen experiments showed beet tops in compost tea produced 40% more leaf mass than those in plain water. While it may look a bit murky, this brown liquid works like magic, especially for beet tops that seem reluctant to sprout in regular water.
10. Floating Beet Raft System
Foam food containers from takeout meals became the foundation for my floating beet garden. Cut holes in foam trays or pool noodles, insert beet tops, and float the entire setup in a container of water.
The roots grow down into the water while the tops remain dry, preventing rot issues. Adding an aquarium air stone creates bubbles that oxygenate the water and prevent stagnation.
This method combines the best aspects of water and hydroponic growing. My floating raft produced continuous harvests for over two months from the same beet tops, making it the longest-lasting regrowth method I’ve tried in my small apartment.
11. Refrigerator Drawer Sprouting
Forgotten beet tops in my crisper drawer accidentally taught me this unusual method. Place trimmed beet tops in a partially closed plastic bag in your refrigerator’s crisper drawer for 1-2 weeks.
The cold, humid environment triggers sprouting without rotting. Once sprouts appear, transition them to water or soil to continue growth.
This slow-start method actually produces sturdier plants in the long run. The cold stratification seems to create more resilient growth once the tops are moved to warmer conditions, similar to how some seeds need a cold period before optimal germination.
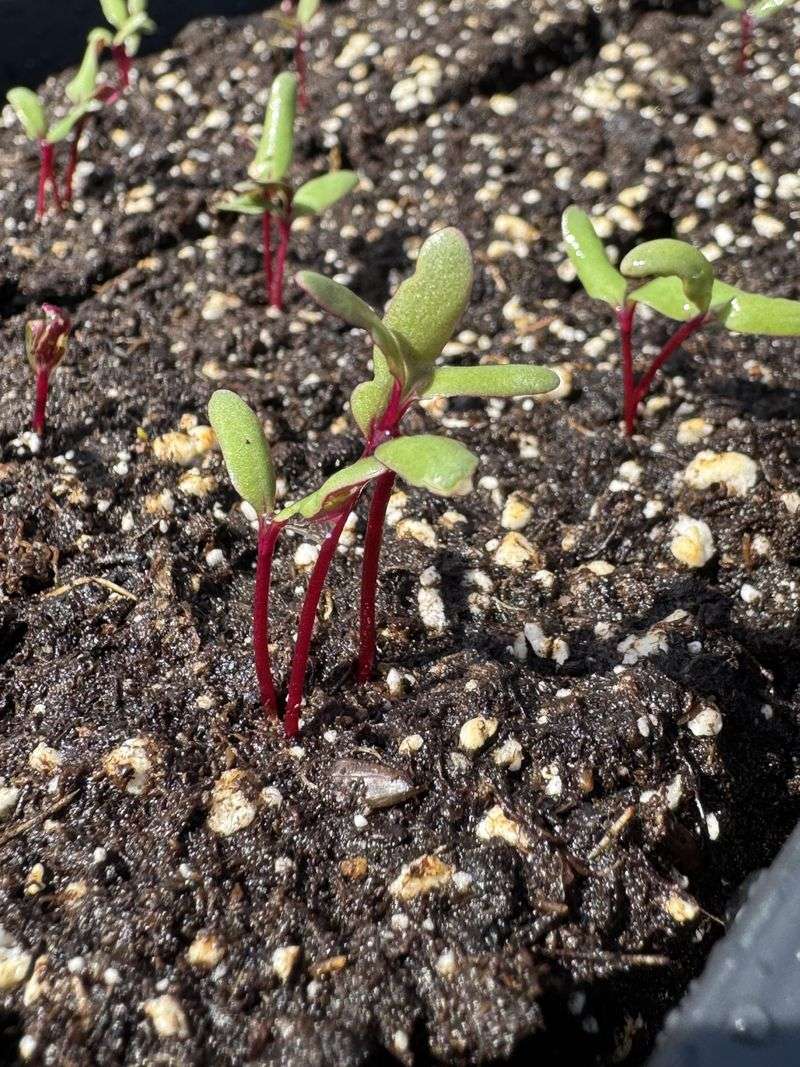
12. Microgreens Approach For Beet Tops
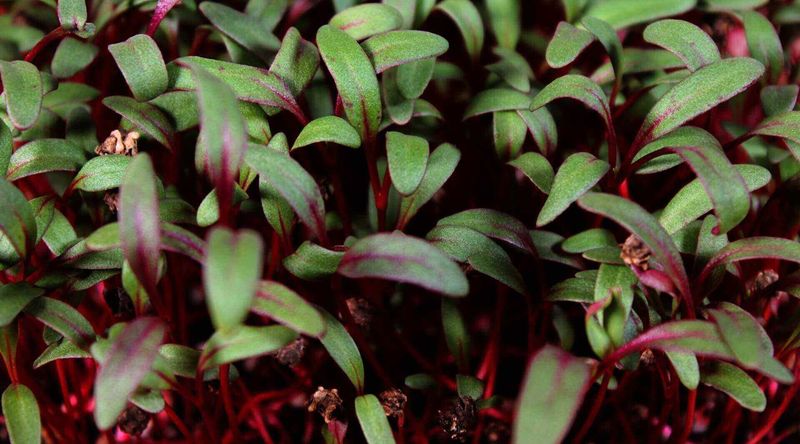
Quick harvests became possible when I adapted microgreens techniques for beet regrowth. Arrange beet tops close together in a shallow tray with just enough soil to cover the cut ends.
Mist regularly to maintain moisture without soaking. Harvest the new shoots when they reach 2-3 inches tall by snipping with scissors, leaving the base intact.
This dense planting approach prioritizes quick, tender shoots over long-term growth. I’ve found these young beet shoots have a milder flavor that even my greens-averse family members enjoy, making them perfect for sandwiches and as garnishes for soups.
13. Beet Regrowth In Self-Watering Containers
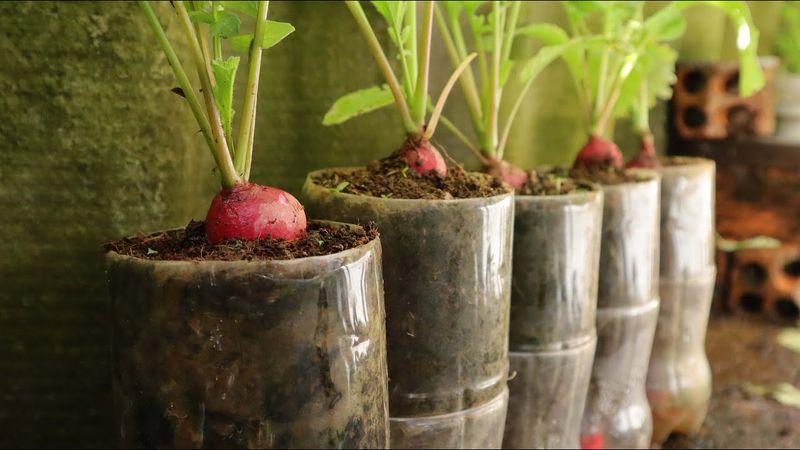
Forgetting to water plants regularly used to be my downfall until I created self-watering containers specifically for beet regrowth. Modify a plastic bottle by cutting it in half, inverting the top portion into the bottom, and filling the reservoir with water.
Place soil in the upper portion and plant your beet tops. A wick made from cotton string ensures water moves up into the soil as needed.
These containers maintain perfect moisture levels for up to a week without attention. During a two-week vacation last summer, my self-watering beet garden was the only thing still thriving when I returned home, convincing me that this method is ideal for busy gardeners.
14. Pebble Tray Humidity Method
Winter heating turned my apartment into a desert until I discovered this humidity-boosting technique. Place a layer of pebbles in a tray, add water just below the top of the stones, then position containers with beet tops on the pebbles.
The water evaporates slowly, creating a humid microclimate around your plants. This extra moisture in the air reduces leaf browning and prevents soil from drying out too quickly.
During the driest months, my pebble tray setup increased success rates dramatically. The beet greens grown with this method developed broader, more tender leaves than those grown in normal household humidity, especially during winter when indoor heating systems typically dry out the air.
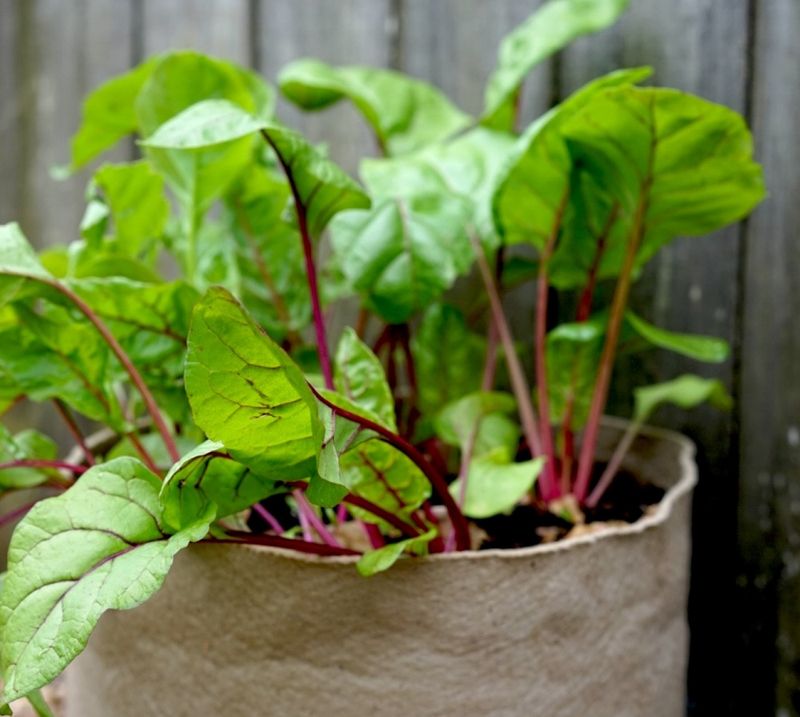
15. Grow Bag Beet Revival
Fabric grow bags revolutionized my beet regrowth success rate last season. Fill fabric grow bags with quality potting mix and plant multiple beet tops around the edges where the fabric provides excellent aeration to developing roots.
The breathable material prevents overwatering by allowing excess moisture to evaporate through the sides. Root development is superior in these bags due to air pruning, which prevents the circling roots common in plastic containers.
When temperatures dropped unexpectedly, I simply moved the lightweight bags indoors temporarily. This flexibility, combined with the superior drainage and aeration, made grow bags my go-to method for serious beet green production rather than just novelty regrowing.
16. Terrarium-Style Enclosed System
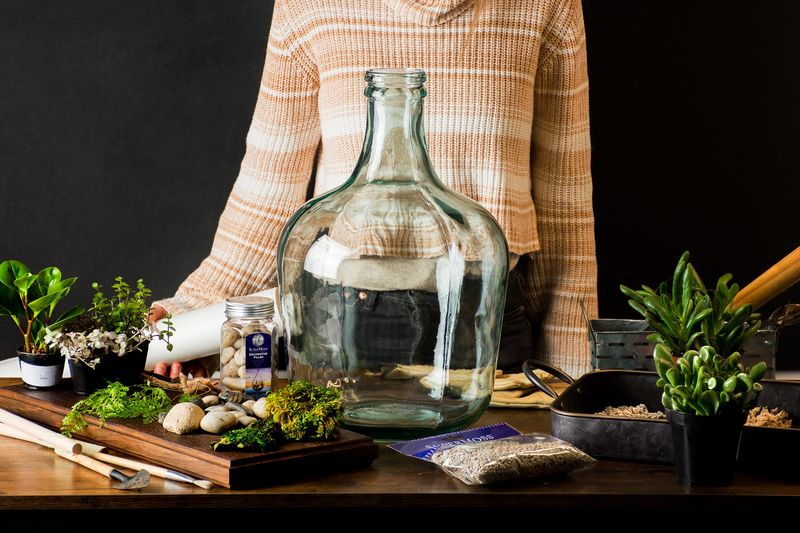
Creating a miniature ecosystem for beet regrowth satisfied both my gardening and decorative instincts. Use a glass container with a lid, add a drainage layer of pebbles, cover with activated charcoal to prevent odors, then add soil and beet tops.
Close the lid to create a self-sustaining moisture cycle where water condenses on the glass and rains back down on the plants. Open occasionally to prevent excess humidity buildup.
The enclosed environment requires almost no maintenance once established. My office terrarium has been producing beet greens for nearly three months with only two water additions, making it perfect for busy people who still want the satisfaction of growing food.