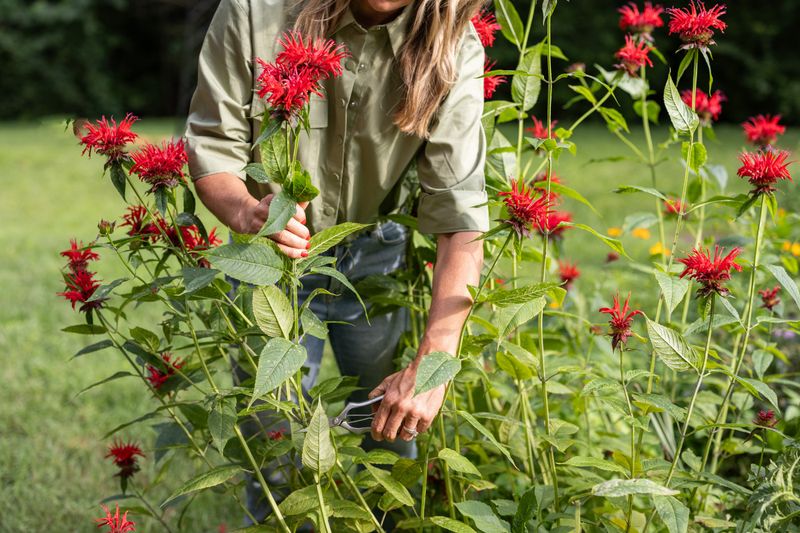
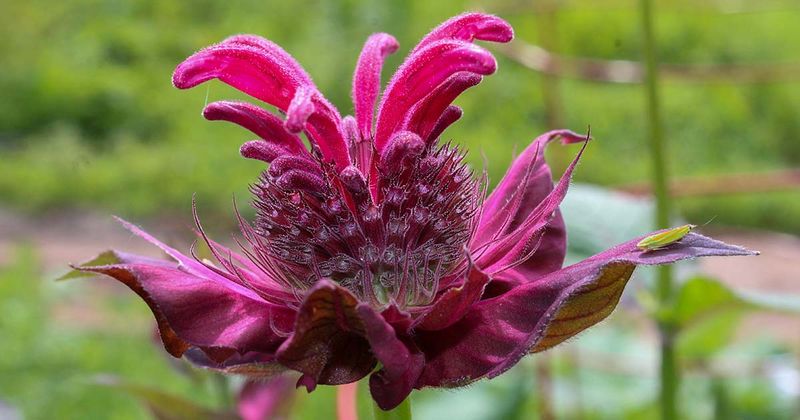
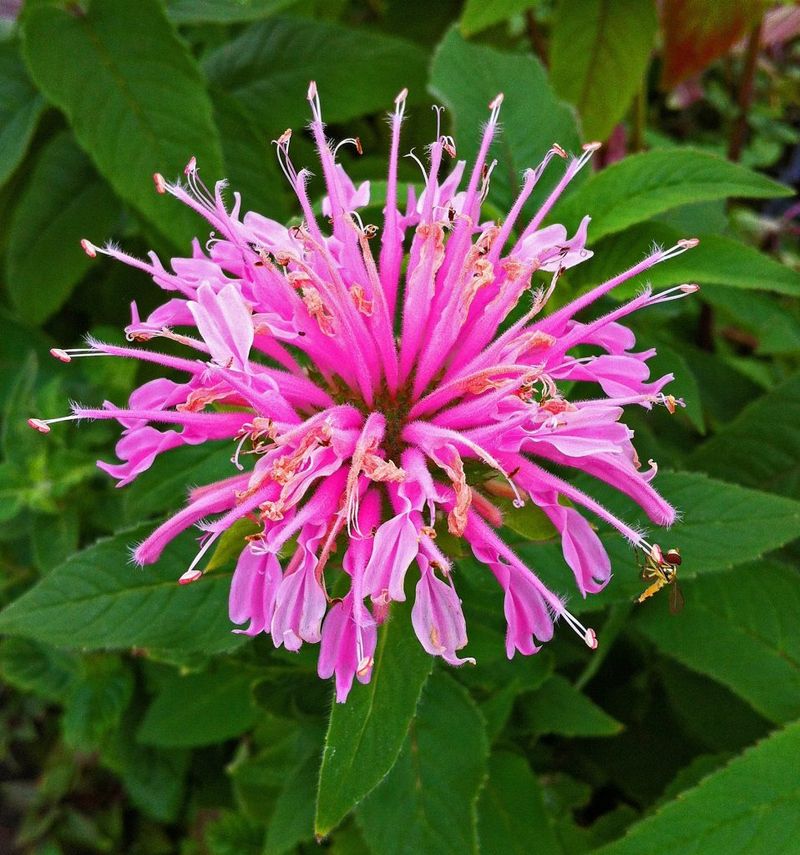
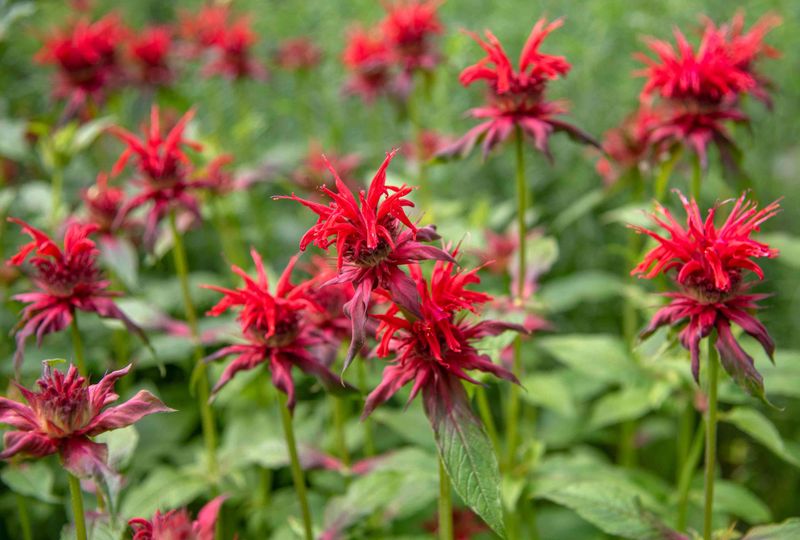
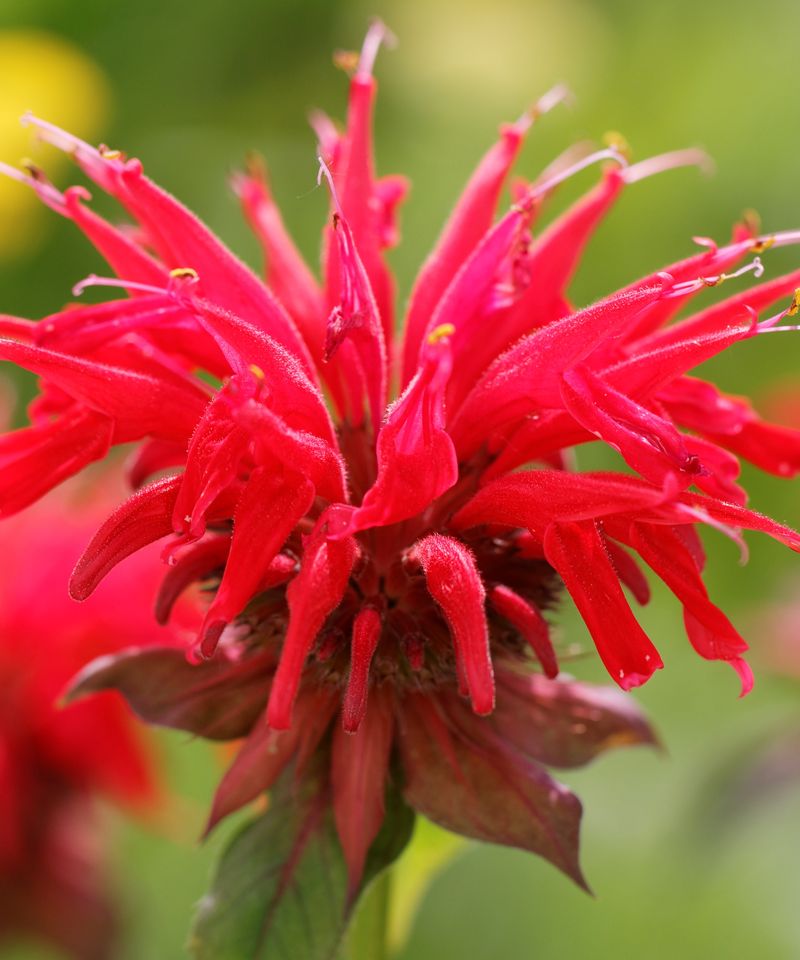
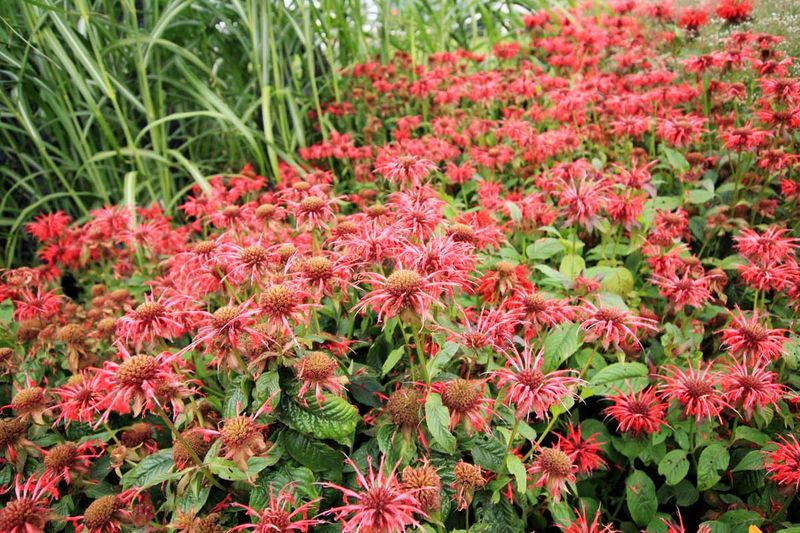
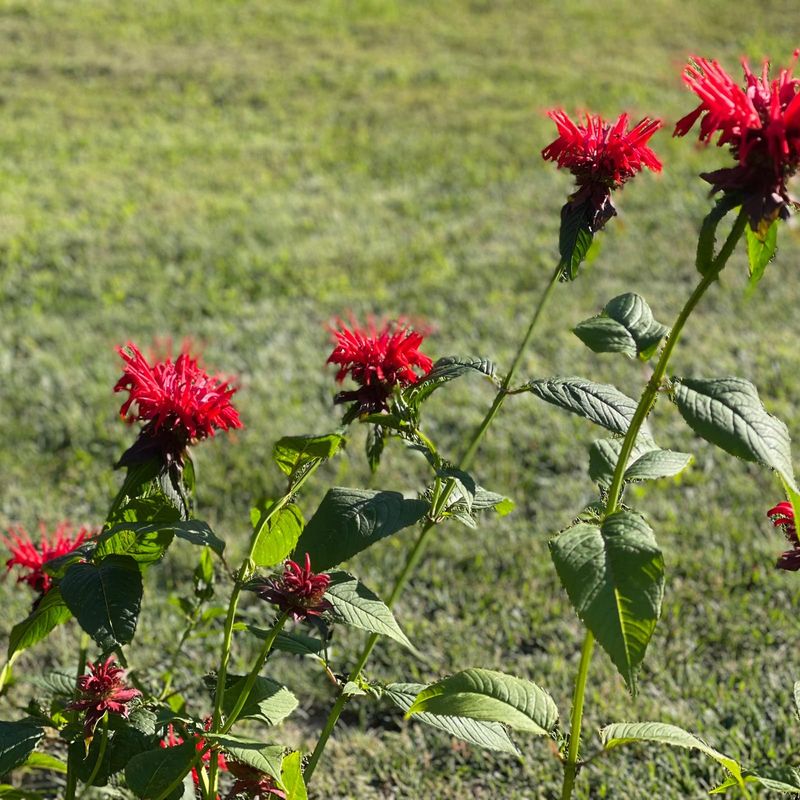
18 Things To Know About Deadheading Bee Balm (Including The Best Time To Do It)

Keeping bee balm blooming all season took me a bit of trial and error. At first, I just let it grow wild, not realizing that deadheading was the secret to more flowers. Once I started snipping off the faded blooms, the difference was huge—more color, less mess, and way more pollinators buzzing around.
The process is simple, but timing really matters. I like to check my plants every few days and trim just above a leaf node after the blooms fade. It keeps things tidy and encourages new growth faster than you’d think.
If you’ve been wondering why your bee balm seems to fizzle out mid-summer, deadheading might be the missing piece. It’s a small task that pays off big, keeping your garden vibrant and full of life well into the season.
1. Why Deadheading Matters
Removing spent flowers signals to the plant that its reproductive cycle isn’t complete, prompting it to produce more blooms. This simple garden task extends the flowering season and prevents the plant from wasting energy on seed production.
Regular deadheading also improves the overall appearance of your garden bed. Those brown, crispy flower heads don’t exactly enhance your landscape’s beauty!
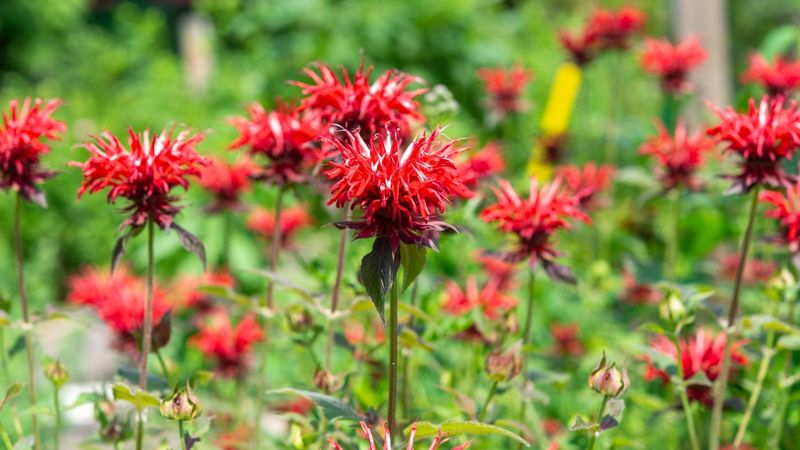
I’ve found my bee balm patches produce nearly twice as many flowers when I’m diligent about deadheading compared to seasons when I’ve neglected this task. The difference in garden vibrancy is remarkable.
2. Early Morning Is Ideal

Tackling deadheading chores in the early morning gives you several advantages over midday or evening sessions. Plants are naturally more hydrated after overnight recovery, making stems easier to snap cleanly.
Morning temperatures are also kinder to both you and beneficial insects that might still be visiting the flowers. Many pollinators haven’t started their daily rounds yet.
My routine includes checking bee balm while enjoying morning coffee in the garden. This timing works perfectly—the garden is peaceful, temperatures are comfortable, and I can spot which blooms need attention before the day’s distractions begin.
3. The Right Tools Make A Difference
Sharp, clean pruning shears create clean cuts that heal quickly and reduce disease risk. For smaller deadheading jobs, your fingernails might work just fine—but proper tools prevent accidental damage to nearby stems.
Keep a small container nearby while deadheading to collect the spent blooms. This makes cleanup easier and prevents seed dispersal if some flowers have already started forming seeds.
After trying various methods, I’ve settled on using small, lightweight pruning snips that fit comfortably in my palm. They’re precise enough for selective deadheading and strong enough to handle thicker stems when needed.
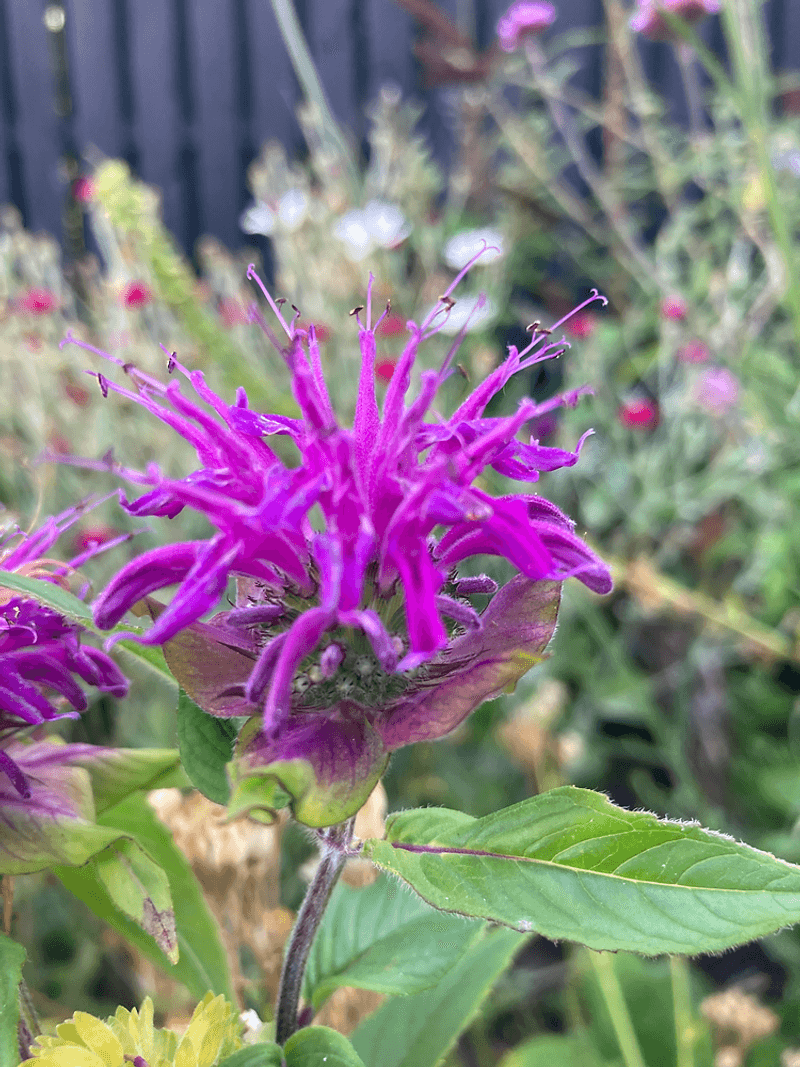
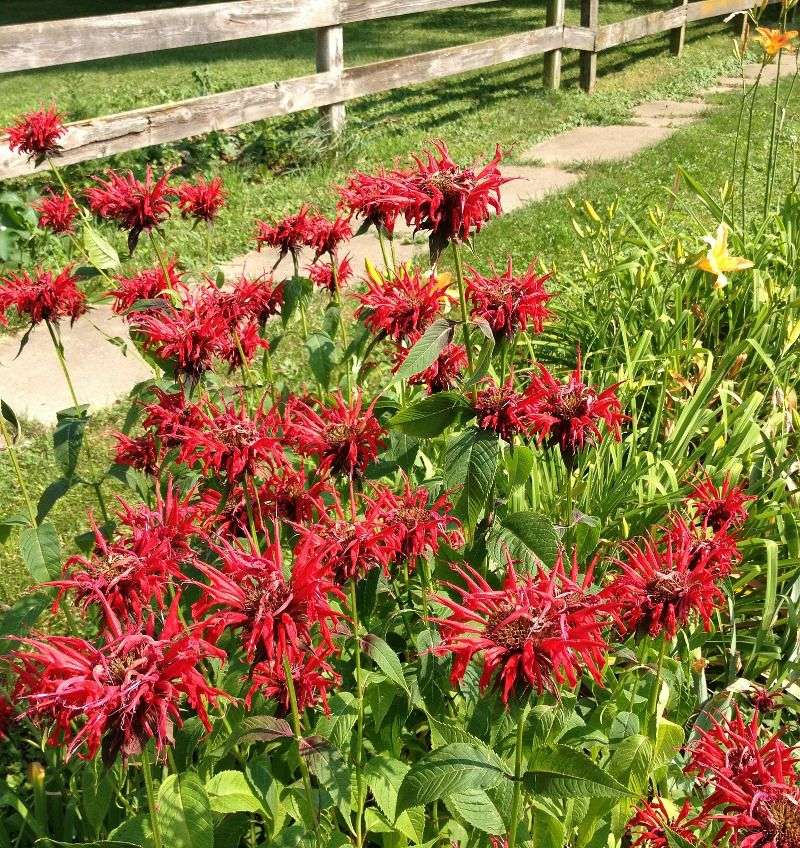
4. Spotting The Right Moment
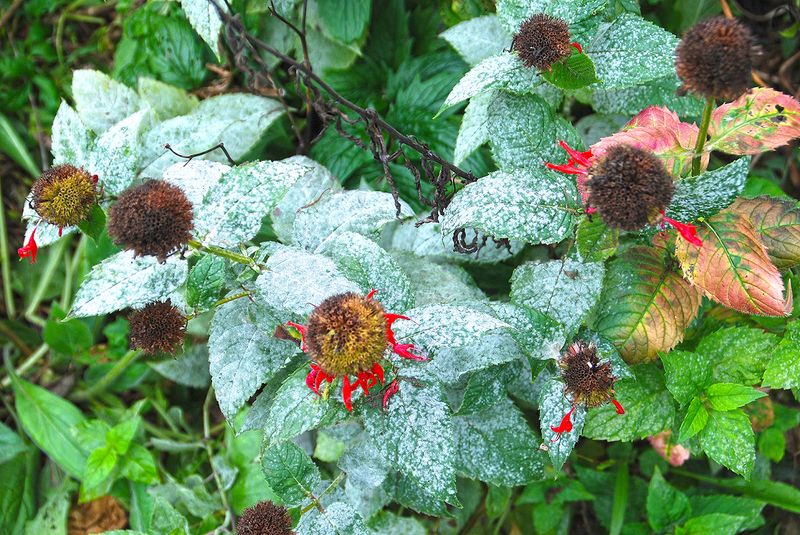
Look for flowers that have passed their prime—petals will appear wilted, discolored, or may be falling off. The vibrant color fades noticeably, signaling it’s time for removal.
Don’t wait until the entire flower head looks completely dead. Earlier intervention prevents seed formation and redirects the plant’s energy more efficiently.
Walking through my garden last summer, I noticed dramatic differences between bee balm plants I’d deadheaded promptly versus those I’d neglected for just a week. The regularly maintained plants had fresh buds forming while the others were struggling to produce new growth.
5. Cut In The Right Spot
Make your cuts just above a set of healthy leaves or a lateral bud. This strategic placement encourages the plant to branch at that point, potentially creating more flowering stems.
Avoid cutting into woody stem portions, as these don’t regenerate as readily. The green, herbaceous parts respond better to pruning.
Sometimes I mark first-time cuts with small plant tags until I get comfortable with a particular variety’s growth pattern. Each bee balm cultivar has slightly different branching habits, and learning these patterns helps me make better pruning decisions.
6. Mid-Season Refresh Works Wonders
Around mid-July, consider giving your bee balm a more substantial trim rather than just removing individual spent blooms. Cutting back by about one-third can stimulate a fresh flush of growth and flowers.
This approach works particularly well in regions with longer growing seasons. The plants have time to recover and bloom again before fall arrives.
Last year, I gave half my bee balm patch this mid-season haircut while leaving the rest with standard deadheading. The difference was striking—the cut-back section produced smaller but more numerous flowers and looked fresher into September.
7. Watch For New Buds
Careful observation reveals tiny buds forming at leaf joints below the spent flowers. These are your plant’s next blooming opportunity, so avoid damaging them during deadheading.
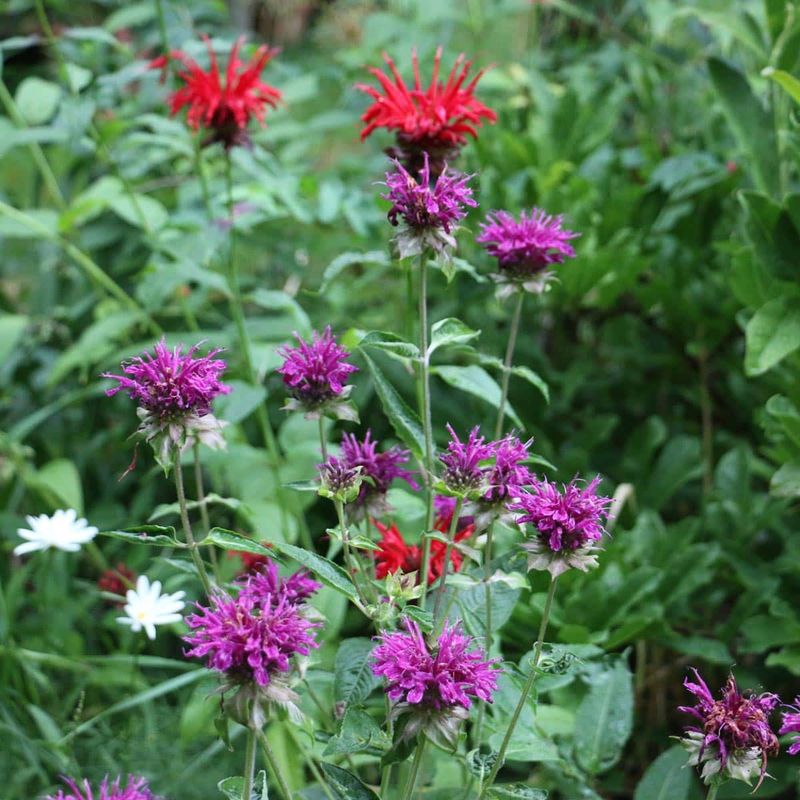
Some varieties develop these secondary buds more readily than others. Monarda didyma cultivars typically rebloom more vigorously than some of the wild species.
The first time I noticed these developing buds, I started taking photos every few days to track their growth rate. This visual journal helped me understand my specific varieties’ growth patterns and time my deadheading more effectively.
8. Deadheading Prevents Disease Spread
Removing spent flowers eliminates potential habitat for fungi and other pathogens. Powdery mildew, a common bee balm problem, often takes hold in dying plant material first.
This preventative approach reduces the need for fungicides or other treatments later in the season. Healthy air circulation improves when cluttered, dying blooms are removed.
After dealing with a nasty mildew outbreak two seasons ago, I’ve become almost obsessive about prompt deadheading. My plants have stayed noticeably healthier, with significantly less white powdery residue on the leaves compared to previous years.
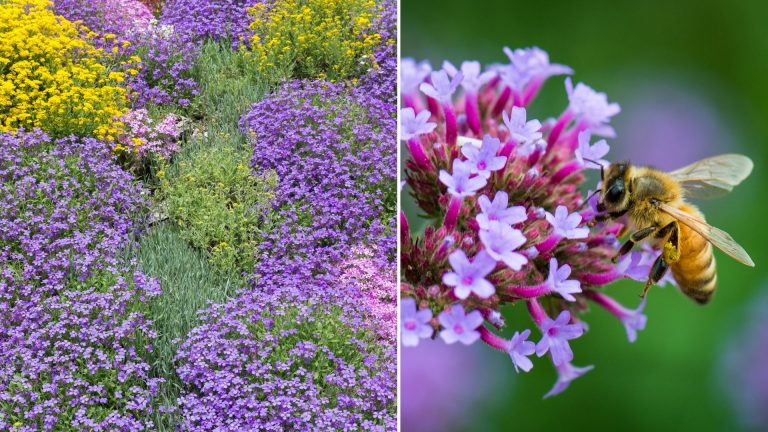
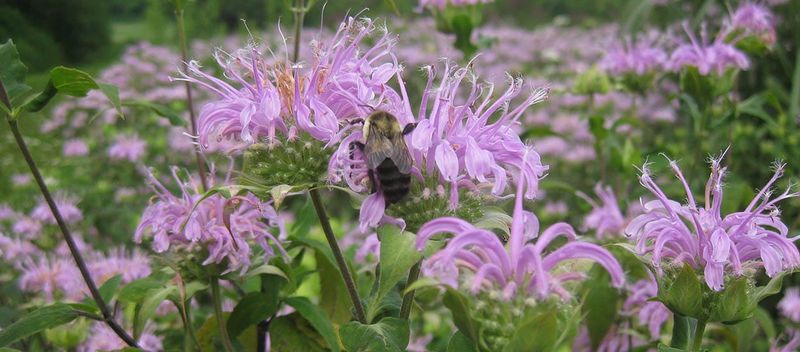
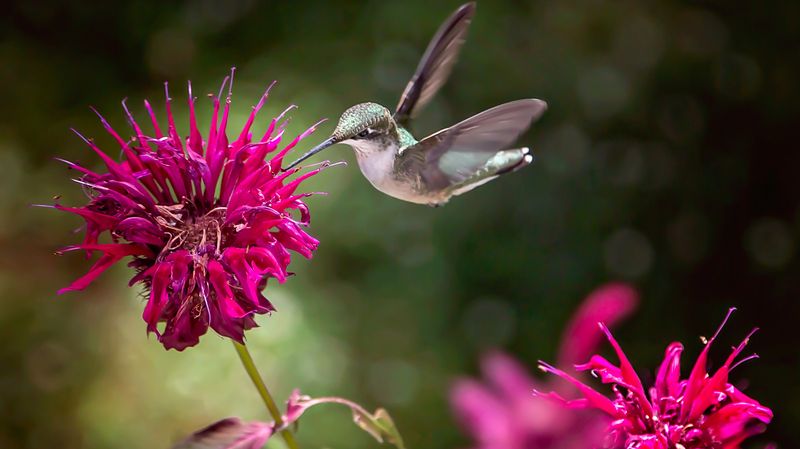
9. The Pollinator Consideration
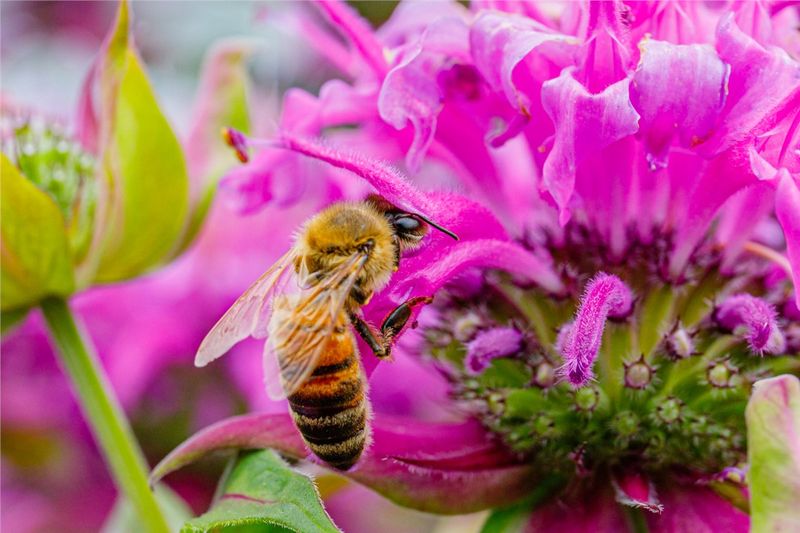
Time your deadheading sessions for late afternoon when most pollinators have already visited the flowers. This ensures bees, butterflies and hummingbirds get maximum nectar access before removal.
Leave a few spent blooms to develop seeds if you want to support seed-eating birds later in the season. Goldfinches particularly appreciate these natural food sources.
I’ve started photographing the insect visitors to my bee balm before deadheading. This little ritual helps me appreciate the ecological value of each flower and makes the maintenance feel more meaningful—I’m not just gardening for appearance but for wildlife support.
10. Climate Affects Timing
Northern gardeners may only need to deadhead once or twice during a shorter growing season. The cooler temperatures typically result in a more concentrated blooming period.
In southern regions, bee balm might require attention from early summer through fall. The extended heat means more frequent deadheading sessions to keep plants productive.
Moving from Michigan to Tennessee changed my entire deadheading schedule. I was surprised to find myself tending to bee balm nearly twice as often in the southern garden, with the plants responding with impressive repeat blooming I’d never achieved up north.
11. Compost The Cuttings
Those spent flower heads make excellent additions to your compost pile. Their organic matter breaks down to enrich future garden soil with valuable nutrients.
If you’re concerned about seed dispersal, compost only the flower heads that haven’t started developing seeds yet. The more mature seed heads can be disposed of elsewhere.
During peak deadheading season, I keep a special bucket just for bee balm trimmings near my compost pile. The aromatic cuttings add a pleasant minty-citrus scent to the compost and seem to break down particularly quickly compared to other garden waste.
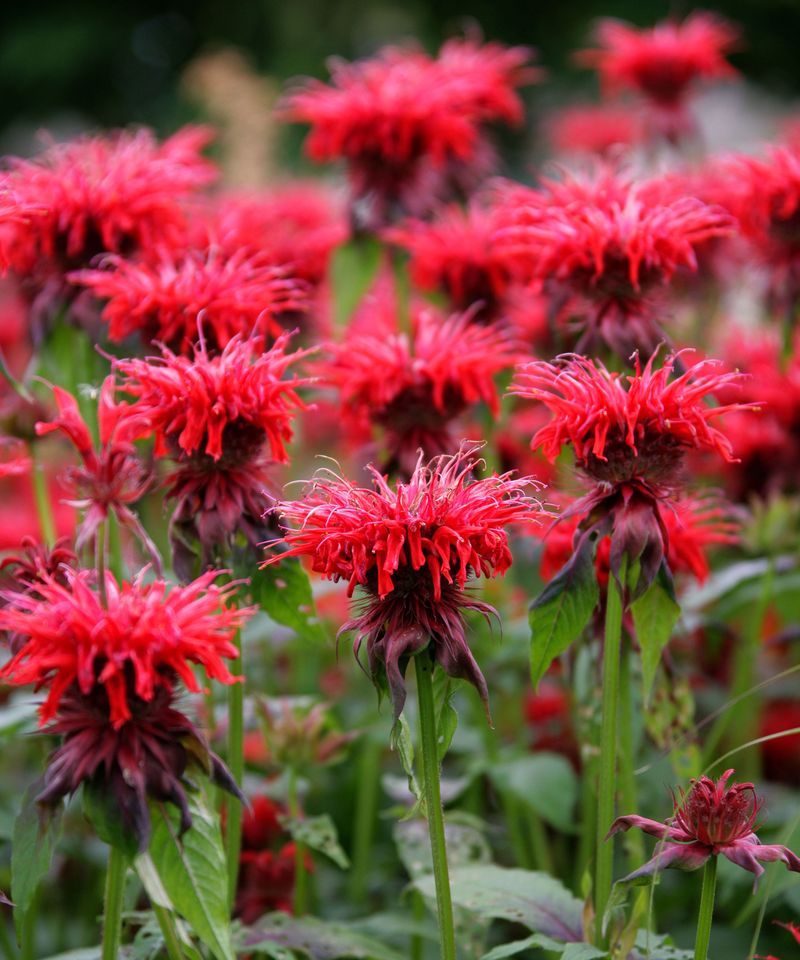
12. Variety Influences Deadheading Needs
Cultivars like ‘Jacob Cline’ and ‘Raspberry Wine’ typically need more frequent deadheading due to their prolific flowering habits. Their vigorous growth means more blooms to maintain.
Compact varieties such as ‘Petite Delight’ often require less intensive deadheading. Their naturally neater growth habit means less maintenance overall.
In my test garden, I grow five different bee balm varieties side by side. The differences in maintenance needs are striking—my ‘Gardenview Scarlet’ requires nearly twice the deadheading attention as my ‘Prairie Gypsy’, despite similar growing conditions.
13. Rainy Day Rule

Avoid deadheading during or immediately after rainfall. Wet conditions can spread disease between plants as you make cuts in the tissue.
Wet stems also tend to tear rather than cut cleanly, potentially creating entry points for pathogens. Wait for foliage to dry completely before proceeding.
One particularly rainy week last July, I got impatient and deadheaded during a brief dry spell when plants were still damp. Within days, I noticed black spot developing on several stems where I’d made cuts. That lesson in patience cost me nearly half my blooms for the remainder of the season.
14. Gloves Are Your Friends
The essential oils in bee balm can cause skin irritation for some gardeners. Wearing thin gardening gloves protects your hands while still allowing the dexterity needed for precise cuts.
Gloves also prevent potential reactions to garden pests that might be hiding among the foliage. Spiders and other beneficial insects often make homes in dense bee balm patches.
After developing a mysterious rash from bare-handed deadheading sessions, I’ve switched to wearing lightweight nitrile-coated gloves. They provide protection while still letting me feel the stems well enough to make precise cuts.
15. Save Seeds Selectively
If you want to propagate your favorite varieties, allow a few flower heads to develop seeds rather than deadheading them. Mark these stems with bright yarn so you don’t accidentally remove them later.
Harvest seeds when the flower heads turn completely brown and dry. The tiny black seeds can be collected in paper envelopes for future planting.
Last fall, I saved seeds from a particularly vibrant magenta bee balm that had thrived despite drought conditions. The resulting seedlings have inherited this resilience—a valuable trait I might have lost if I’d deadheaded every single bloom.
16. Fall Cleanup Differs From Deadheading
Late-season maintenance involves different cutting techniques than summer deadheading. In fall, cut stems back to about 2 inches above the soil line rather than just removing spent blooms.
This more dramatic pruning prepares the plant for winter dormancy and removes potential disease harboring material. Some gardeners prefer to wait until early spring for this major cutback.
I’ve experimented with both fall and spring cleanup timing. My conclusion: fall cleanup results in fewer disease problems the following year, while spring cleanup seems to protect the crown better in my cold-winter climate. Now I compromise by cutting back half the stems in each season.
17. Monitor For Pests While Deadheading
Deadheading sessions provide perfect opportunities to inspect your plants for unwanted visitors. Spider mites, aphids, and other pests often appear on stems or under leaves before causing visible damage.
Look for unusual spotting, sticky residue, or tiny moving specks as you work. Early detection means easier, less toxic intervention options.
During one routine deadheading session, I noticed unusual leaf curling on several stems. Closer inspection revealed a small aphid colony just getting established. A quick spray with insecticidal soap—caught at this early stage—prevented what could have become a major infestation.
18. Keep Records For Better Results
Jotting down deadheading dates and observations helps optimize your approach for future seasons. Note which varieties rebloom most vigorously after deadheading and under what conditions.
Photos taken before and after maintenance provide visual records of what techniques worked best. This documentation is particularly valuable when trying new varieties.
My garden journal entries from three seasons ago revealed that deadheading before noon resulted in faster rebloom than afternoon sessions. I wouldn’t have noticed this pattern without keeping consistent notes—now morning deadheading is my standard practice with consistently better results.