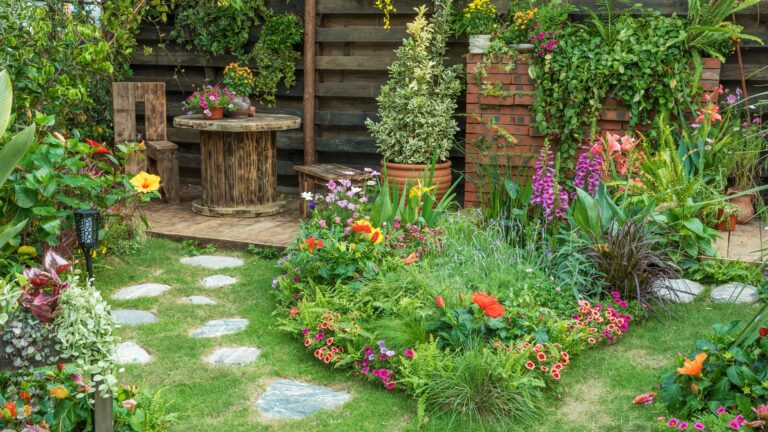
15 Easy Steps To Build A Hugelkultur Bed That Thrives (And Why It’s Simpler Than You Expect)
Want to grow amazing veggies without spending hours watering? Hugelkultur is this clever, old-school German trick that does just that. It’s all about building raised beds on piles of rotting wood that hold moisture and feed your plants naturally for years.
The best part? You don’t need fancy tools or a green thumb—just some logs, patience, and a little elbow grease. I tried it myself, and honestly, it made gardening way easier and more fun!
1. Choose the Perfect Location
Sunlight exposure makes or breaks your hugelkultur bed’s success. Find a spot receiving at least 6-8 hours of direct sunlight daily, ideally with a slight slope for proper drainage.
Avoid areas with large tree roots that might compete with your plants or locations prone to flooding. Your bed will be there for years, so pick a spot you’ll enjoy visiting regularly during growing seasons.
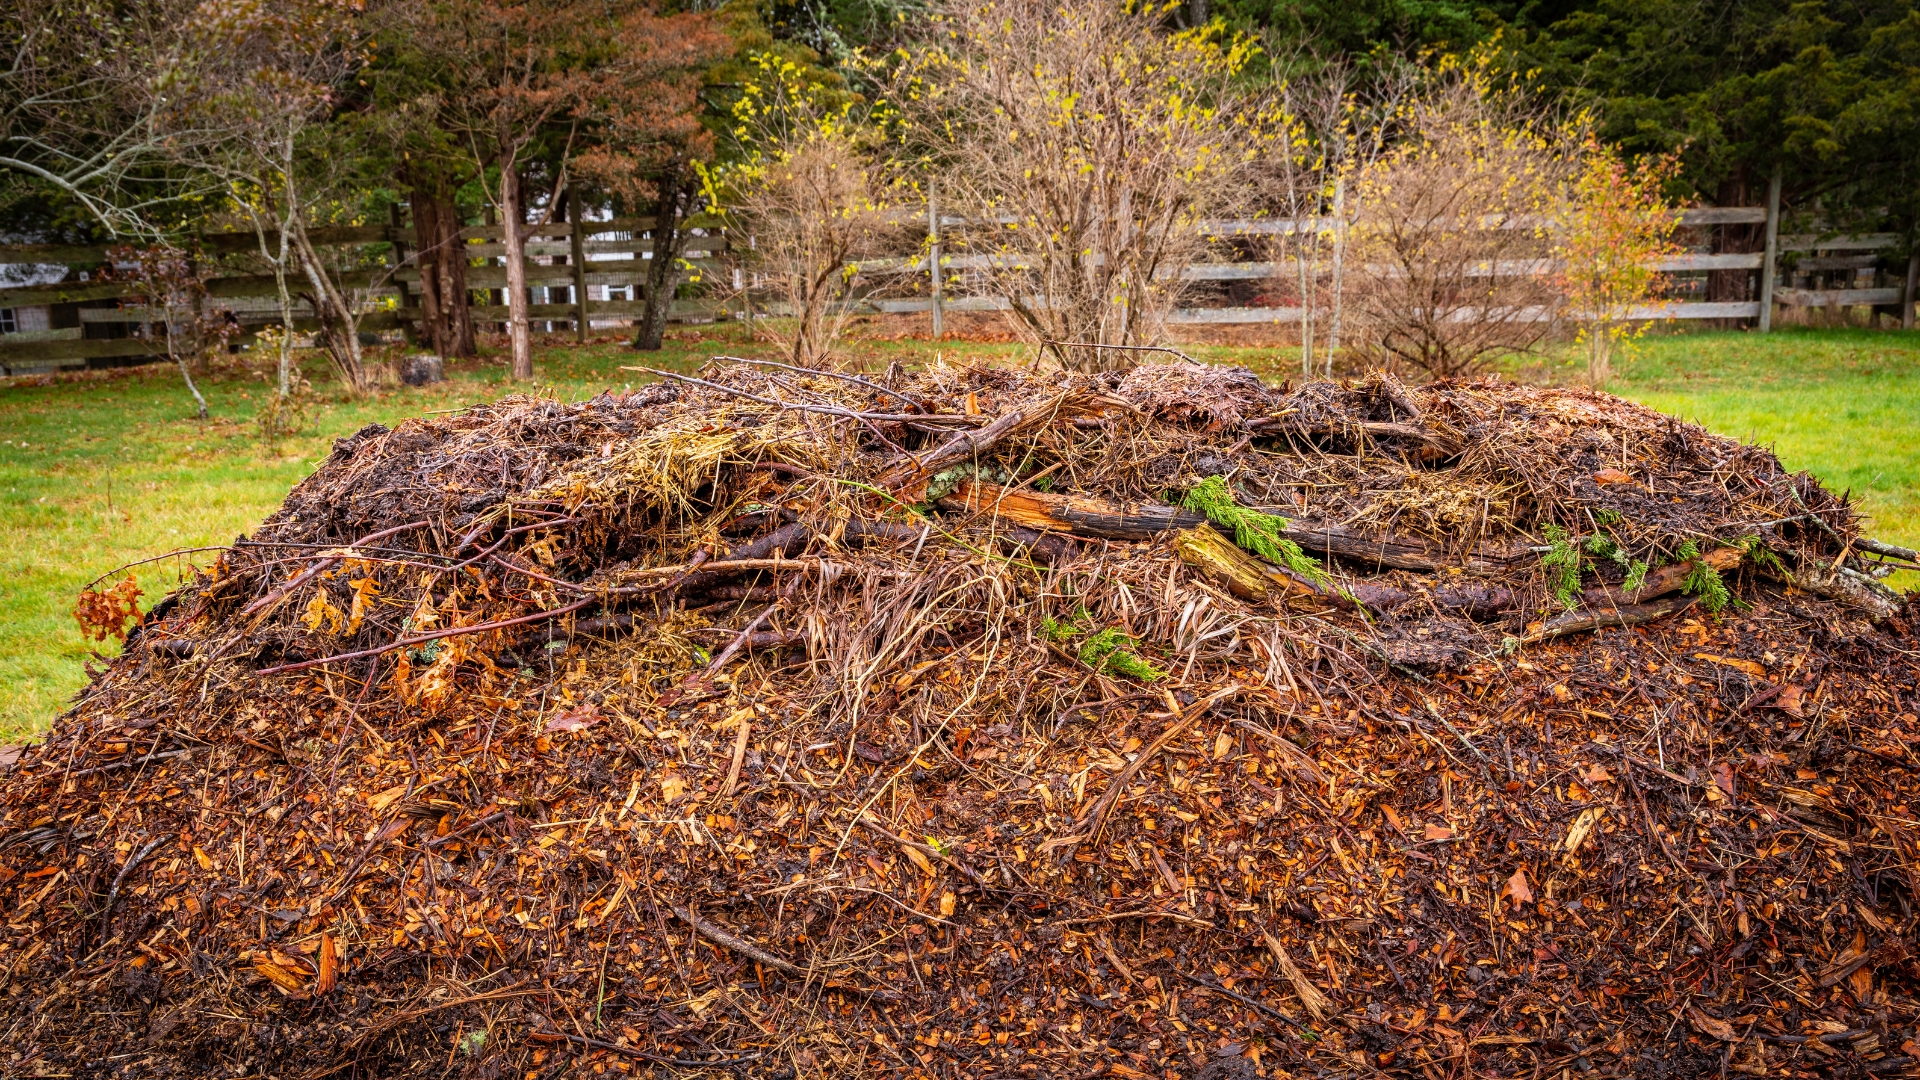
2. Gather Woody Materials
Logs and branches form the foundation of your hugelkultur bed. Collect fallen hardwood like oak or maple for long-lasting decomposition, while avoiding cedar, black walnut, or pressure-treated lumber which can inhibit plant growth.
Size matters less than quantity – mix thick logs with smaller branches. Rotting wood works even better than fresh cuts since decomposition has already begun, giving your plants a head start on nutrients.
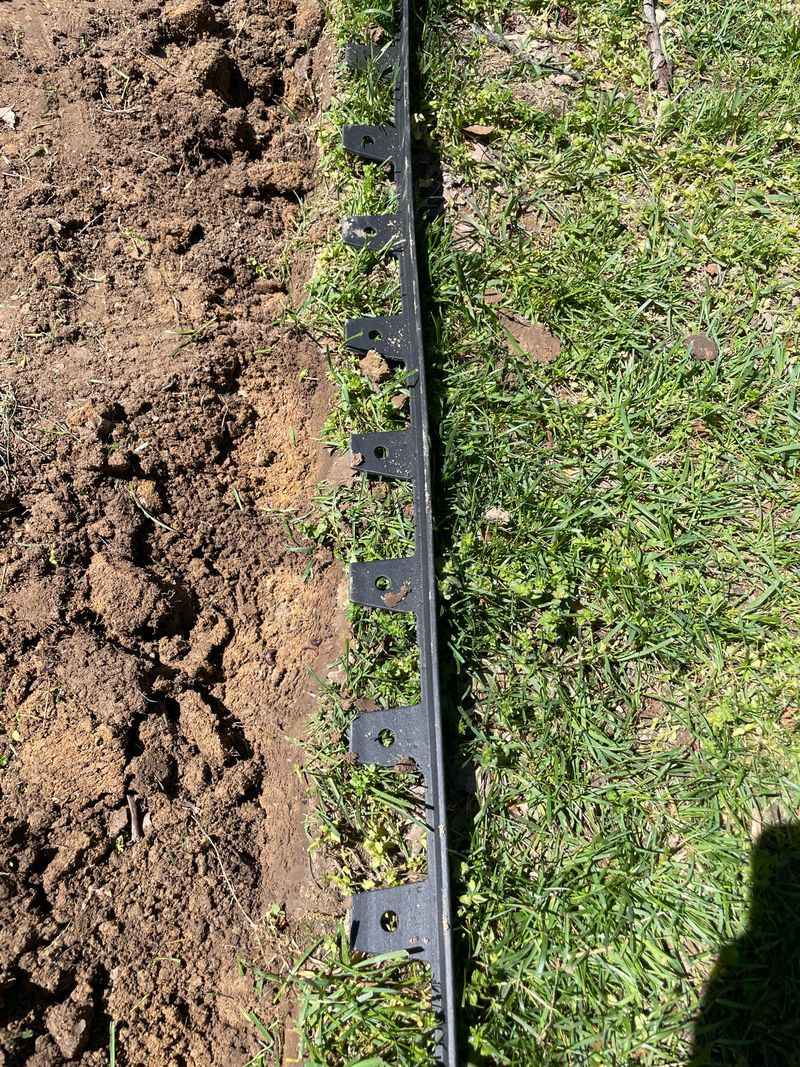
3. Mark Your Bed Dimensions
Grab some stakes and string to outline your future garden paradise. Most beginners find success with beds 3-4 feet wide and 6-8 feet long, making plant access easy from all sides without stepping on the soil.
Height matters too – aim for at least 3 feet tall initially, as your mound will settle significantly over time. Consider orienting longer beds east-to-west to maximize sunlight exposure for all plants throughout the day.
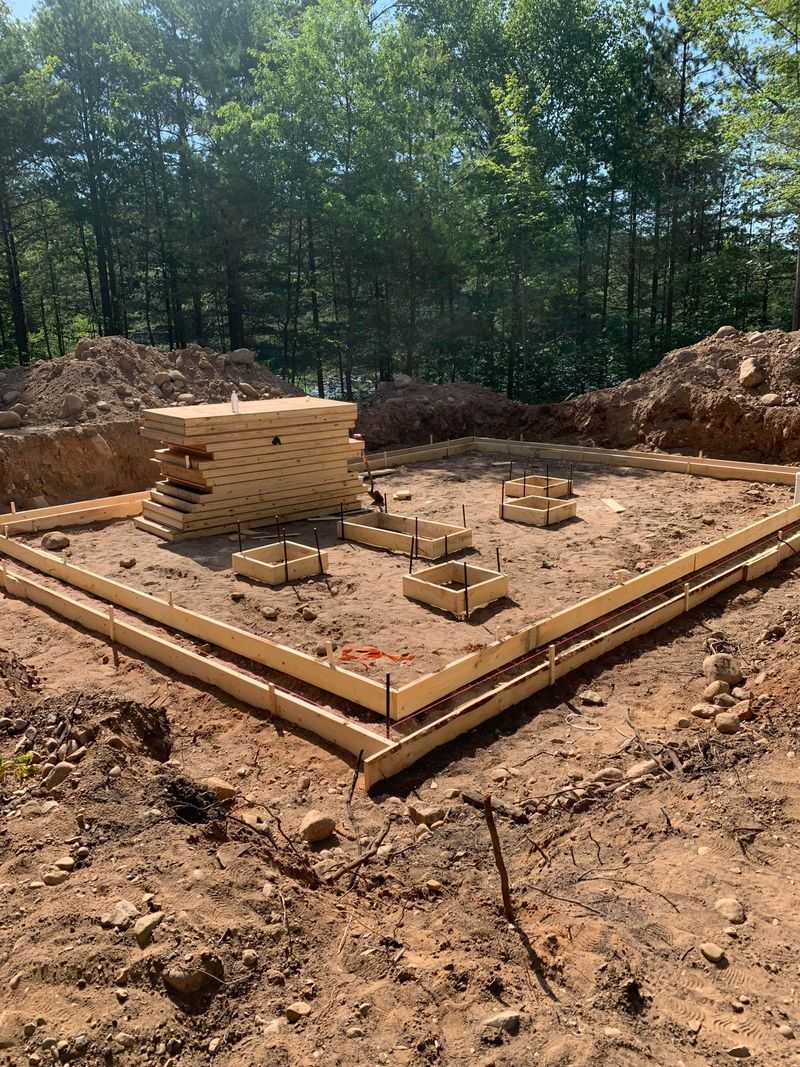
4. Dig a Shallow Trench
Grab your shovel and remove about 4-6 inches of topsoil within your marked area. Set this precious resource aside – you’ll need it later as the finishing layer for your bed.
The trench serves multiple purposes: it helps anchor your wood pile, improves water drainage, and allows beneficial soil organisms to access the woody materials more quickly. For clay-heavy soils, consider digging slightly deeper to improve drainage.
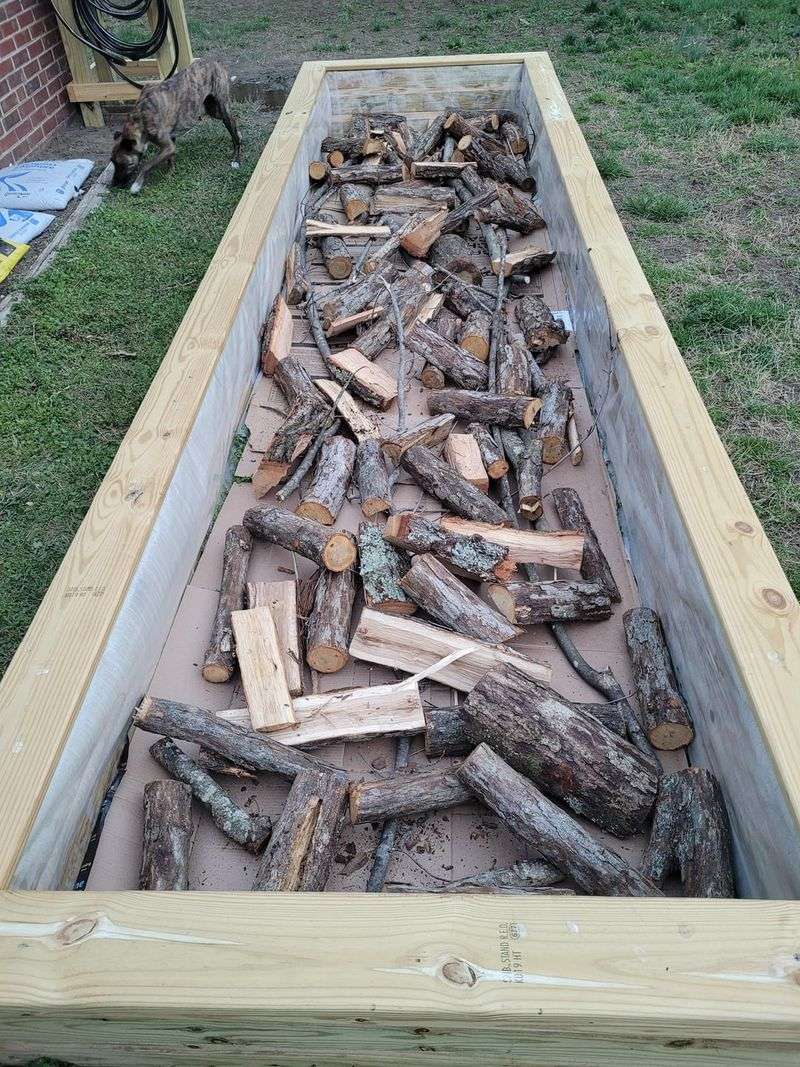
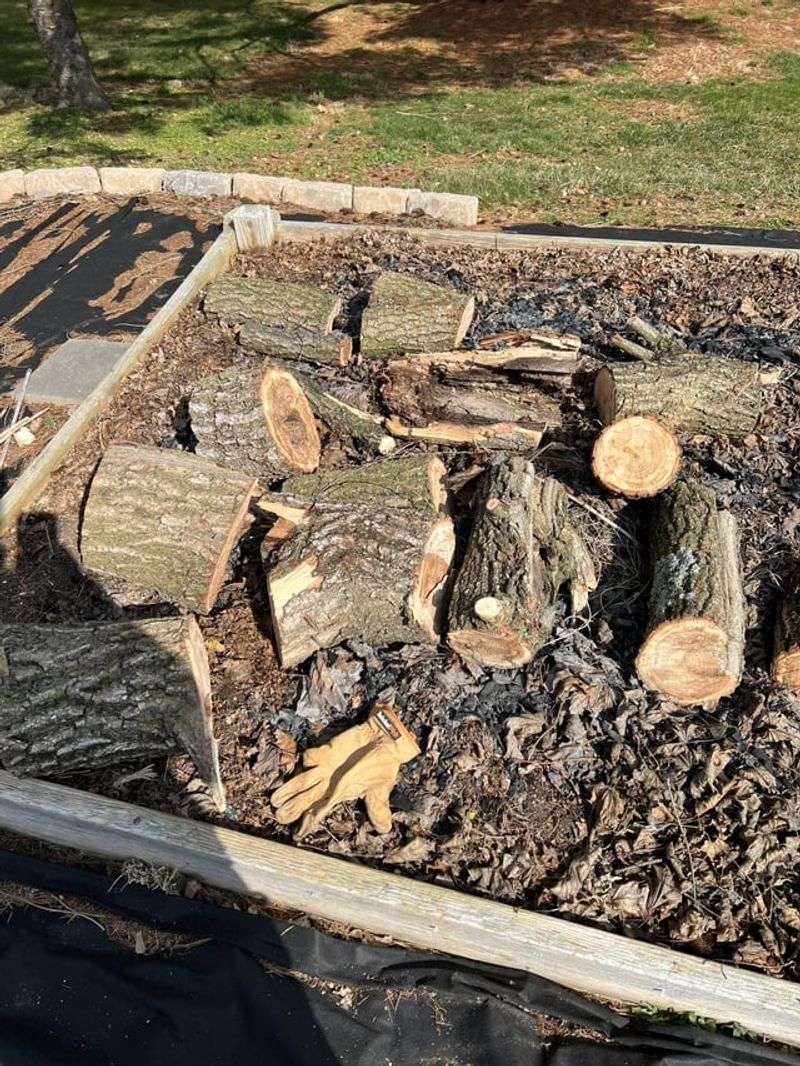
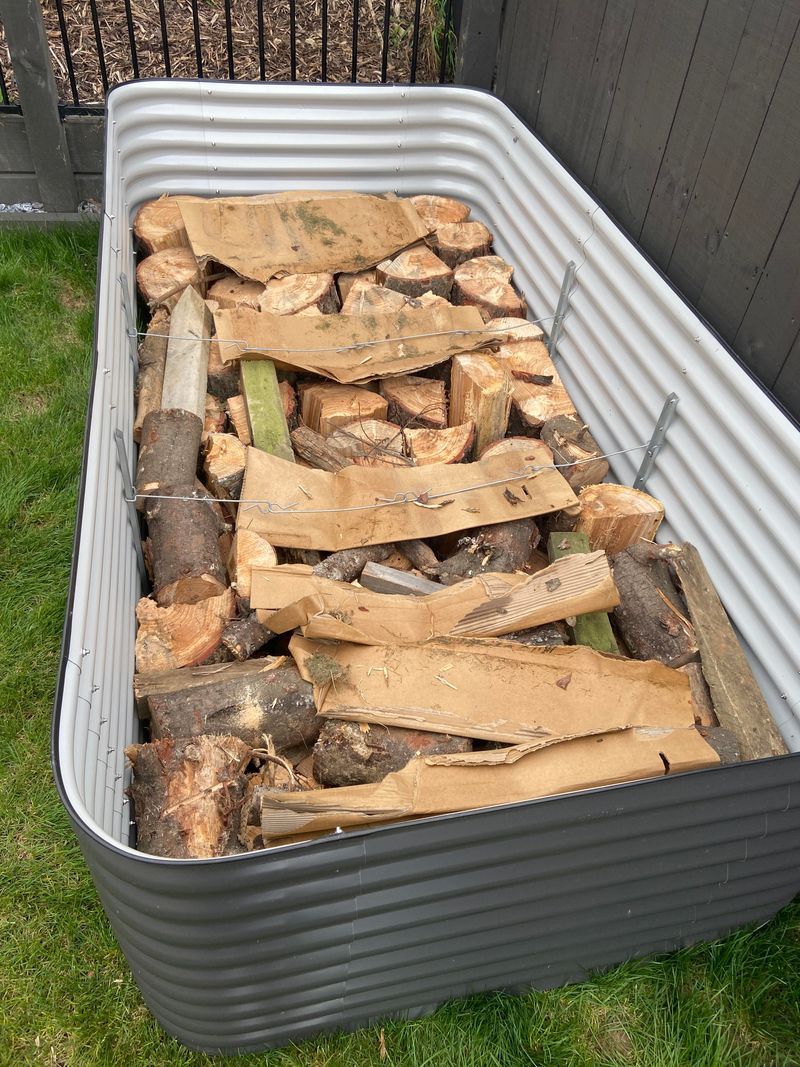
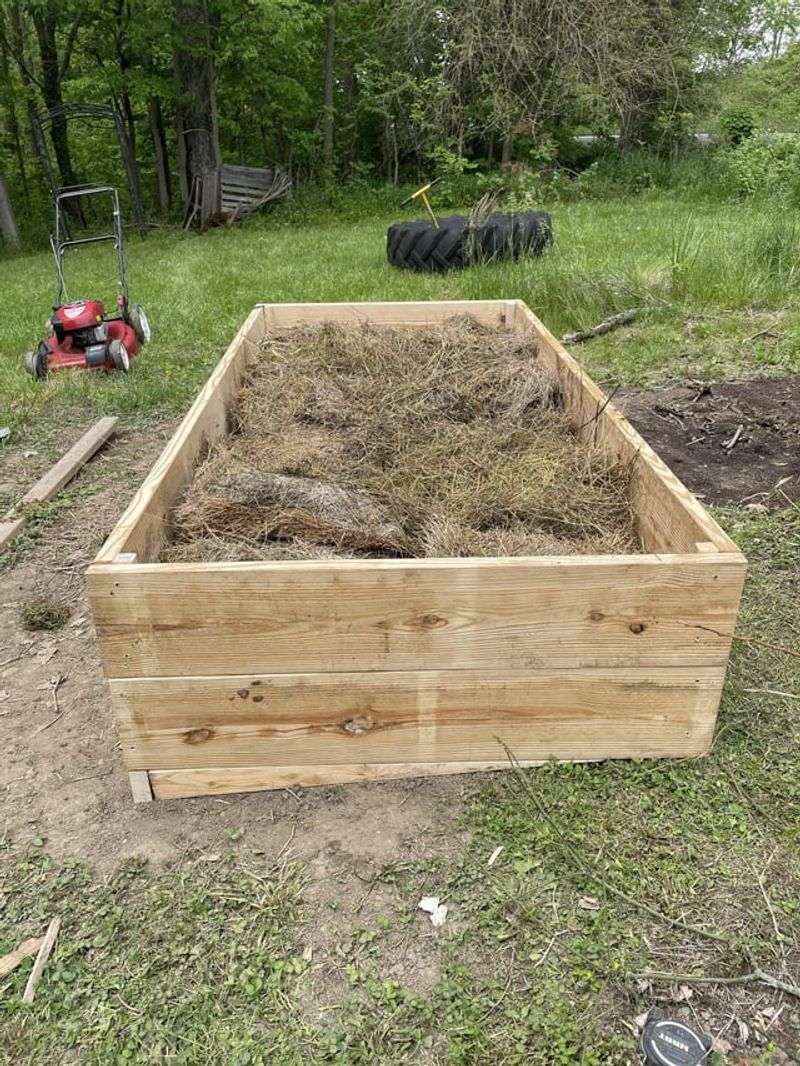
5. Lay the Foundation Logs
Place your largest logs side by side in the trench, creating a solid base layer. Thicker logs should run lengthwise along the bottom, packed tightly together to minimize air pockets that could cause excessive settling.
Hardwoods like oak or maple form ideal foundations since they decompose slowly, providing years of nutrients. Some gardeners add a light sprinkle of water at this stage to jumpstart the decomposition process before adding more layers.
6. Add Smaller Branches
Layer smaller branches and twigs atop your foundation logs, filling gaps between larger pieces. This middle layer creates pathways for air and water movement throughout your hugelkultur bed, preventing anaerobic conditions that could slow decomposition.
Work methodically from larger to smaller pieces as you build upward. Some gardeners add partially composted wood chips in this layer to accelerate the breakdown process and provide immediate food sources for beneficial fungi.
7. Incorporate Nitrogen Sources
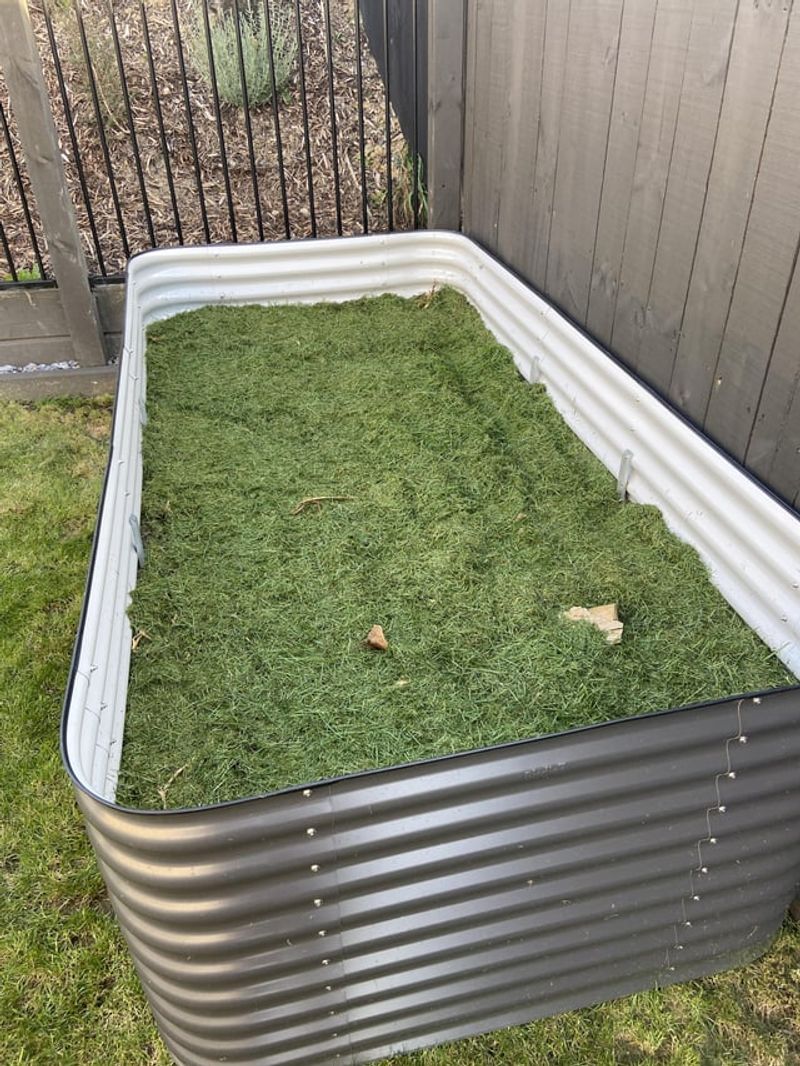
Fresh wood consumes nitrogen as it decomposes, potentially stealing it from your plants. Counter this by adding nitrogen-rich materials like grass clippings, fresh green leaves, coffee grounds, or aged manure between woody layers.
This nitrogen infusion accelerates decomposition while ensuring your plants won’t suffer deficiencies during the first growing season. Some experienced gardeners even add a thin sprinkle of blood meal or alfalfa meal for an extra nitrogen boost.
8. Add Compost and Soil Amendments
Next comes a layer of partially decomposed organic matter – compost is perfect here. This material fills remaining air pockets between branches and introduces beneficial microorganisms that kickstart the decomposition process.
Don’t skimp on this layer! A generous 4-6 inch application provides immediate nutrients for your first season’s plants. Many gardeners mix in rock dust, kelp meal, or worm castings at this stage to supercharge mineral content.
9. Return the Topsoil
Remember that topsoil you set aside earlier? Now’s the time to bring it back home. Spread it evenly across the top of your hugelkultur mound, creating a 2-3 inch cap that prevents erosion and provides familiar soil biology.
This native topsoil already contains local microorganisms adapted to your climate and conditions. Some gardeners mix the topsoil with additional compost at a 50/50 ratio to create an ultra-fertile planting medium for the first season.
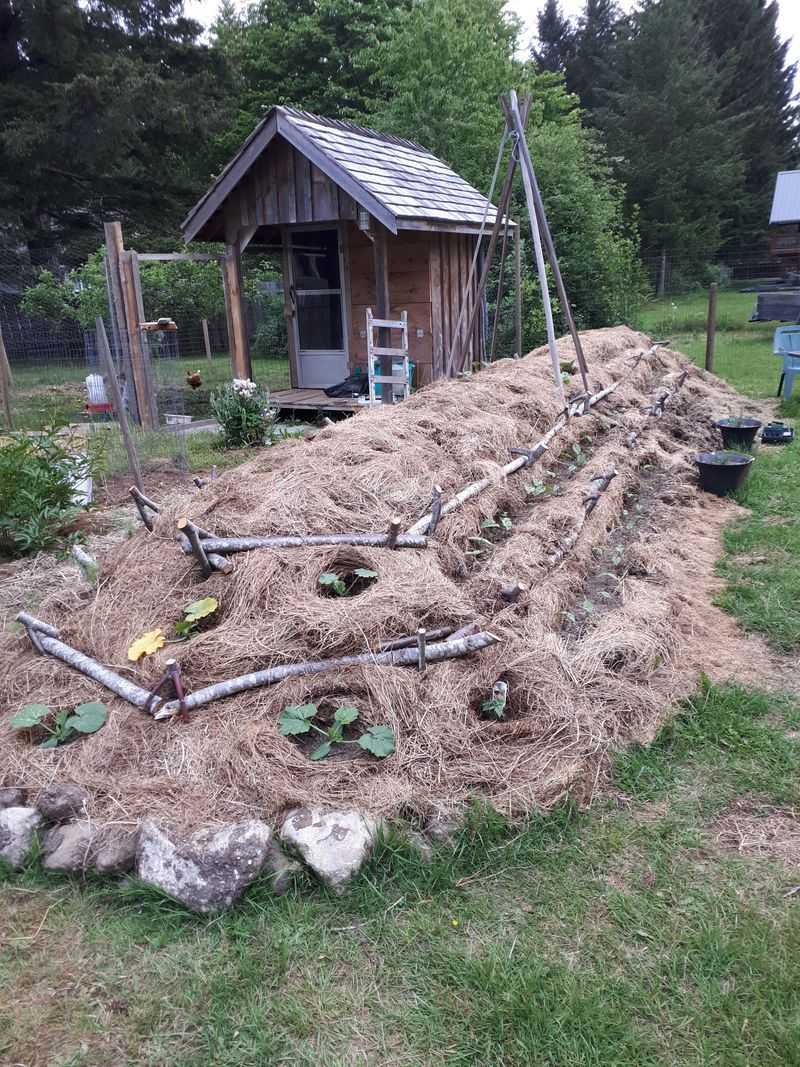
10. Shape Your Mound Properly
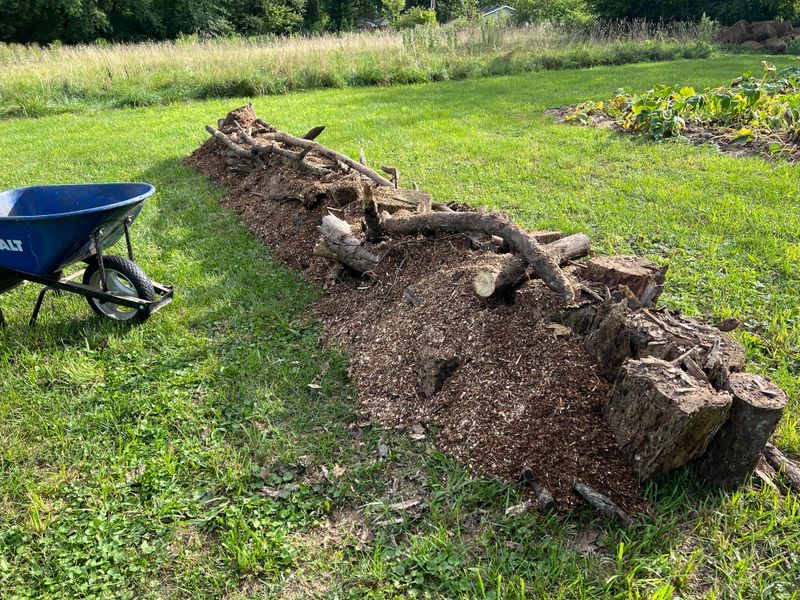
Grab a rake and sculpt your pile into a rounded, dome-like shape that sheds excess water during heavy rains. The sides should have a gentle slope – approximately 45 degrees works well for most beds without causing soil erosion.
Pay special attention to compacting the sides slightly as you shape. This prevents rapid settling while still allowing air circulation. Many successful hugelkultur gardeners create a slightly flattened top to maximize planting space.
11. Apply Mulch Coverage
Freshly built hugelkultur beds benefit tremendously from a 2-3 inch layer of mulch. Straw, wood chips, or shredded leaves protect your soil from erosion while regulating temperature and moisture levels.
Mulch also prevents weed seeds from establishing while your desired plants get established. Many gardeners use this opportunity to add a final aesthetic touch, choosing mulch that complements their garden design while serving these practical functions.
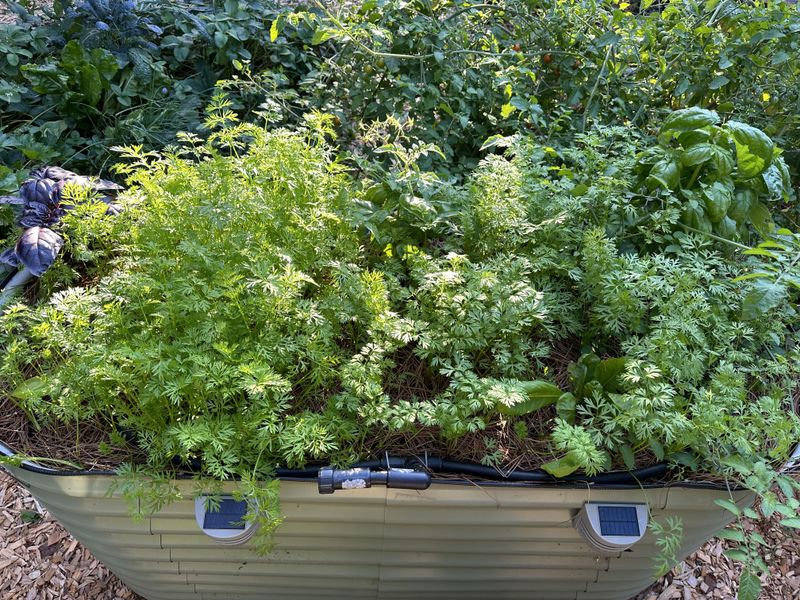
12. Install Simple Irrigation
While mature hugelkultur beds rarely need watering, first-year beds benefit from consistent moisture to speed decomposition. Consider burying a soaker hose beneath your mulch layer, creating an efficient watering system.
Position the hose in a spiral pattern from bottom to top for even moisture distribution. Some gardeners install a simple rain gauge nearby to track natural precipitation, helping them determine when supplemental watering might be necessary during establishment.
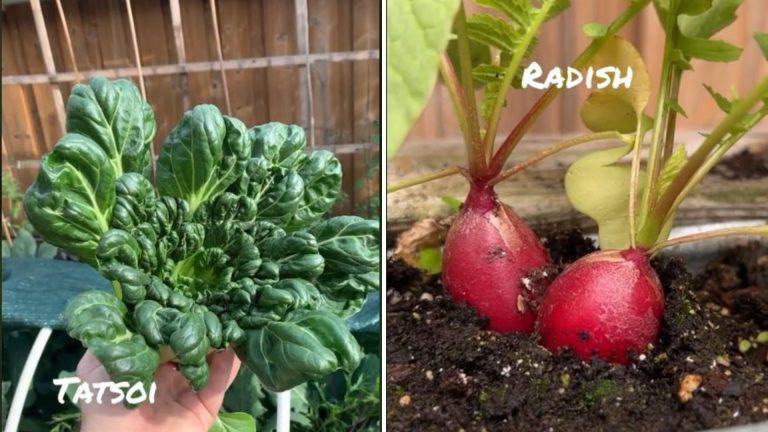
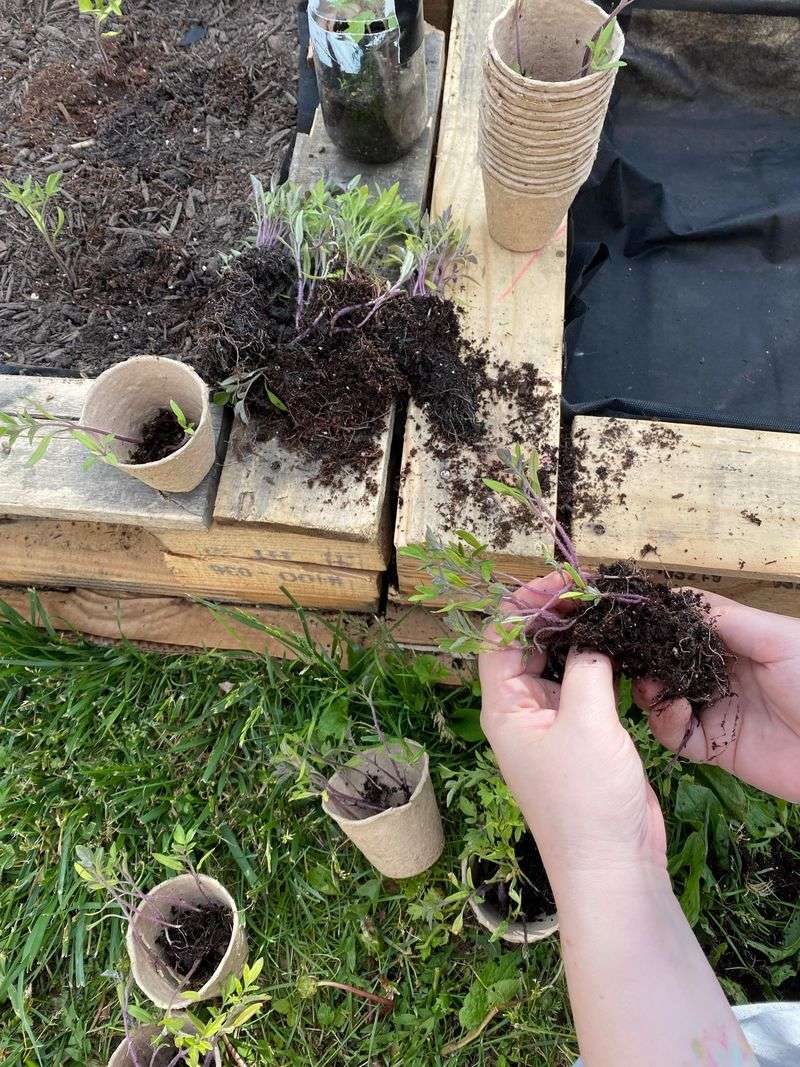
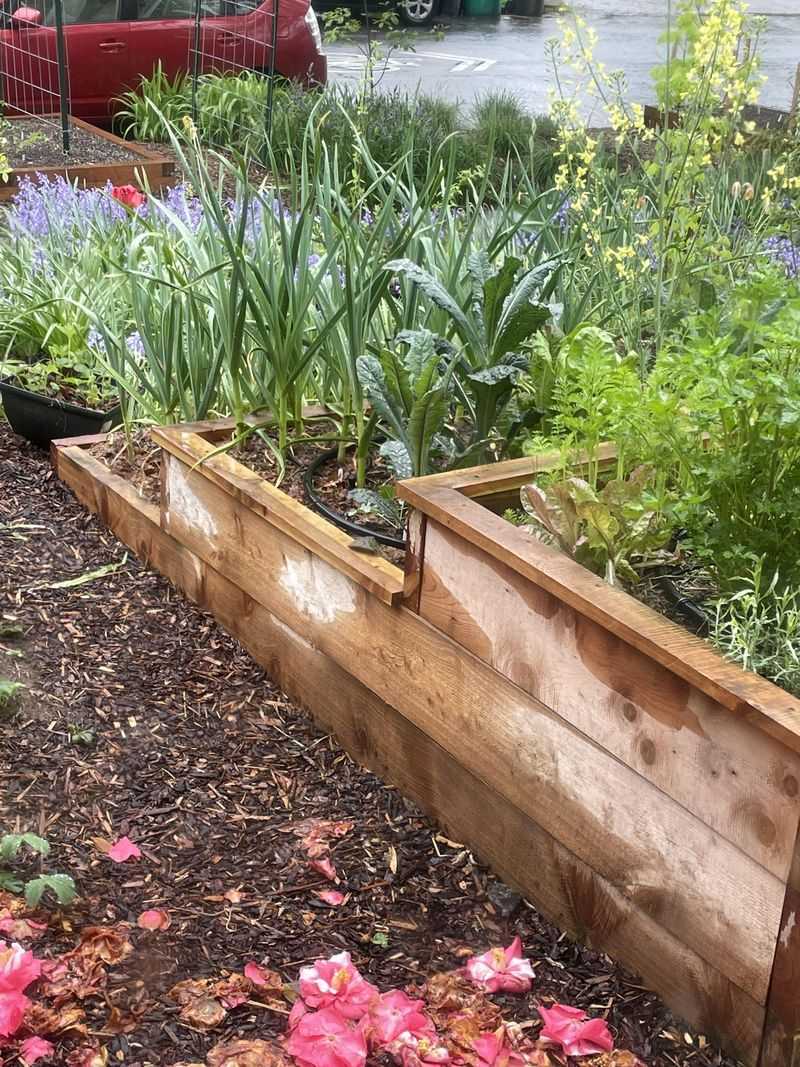
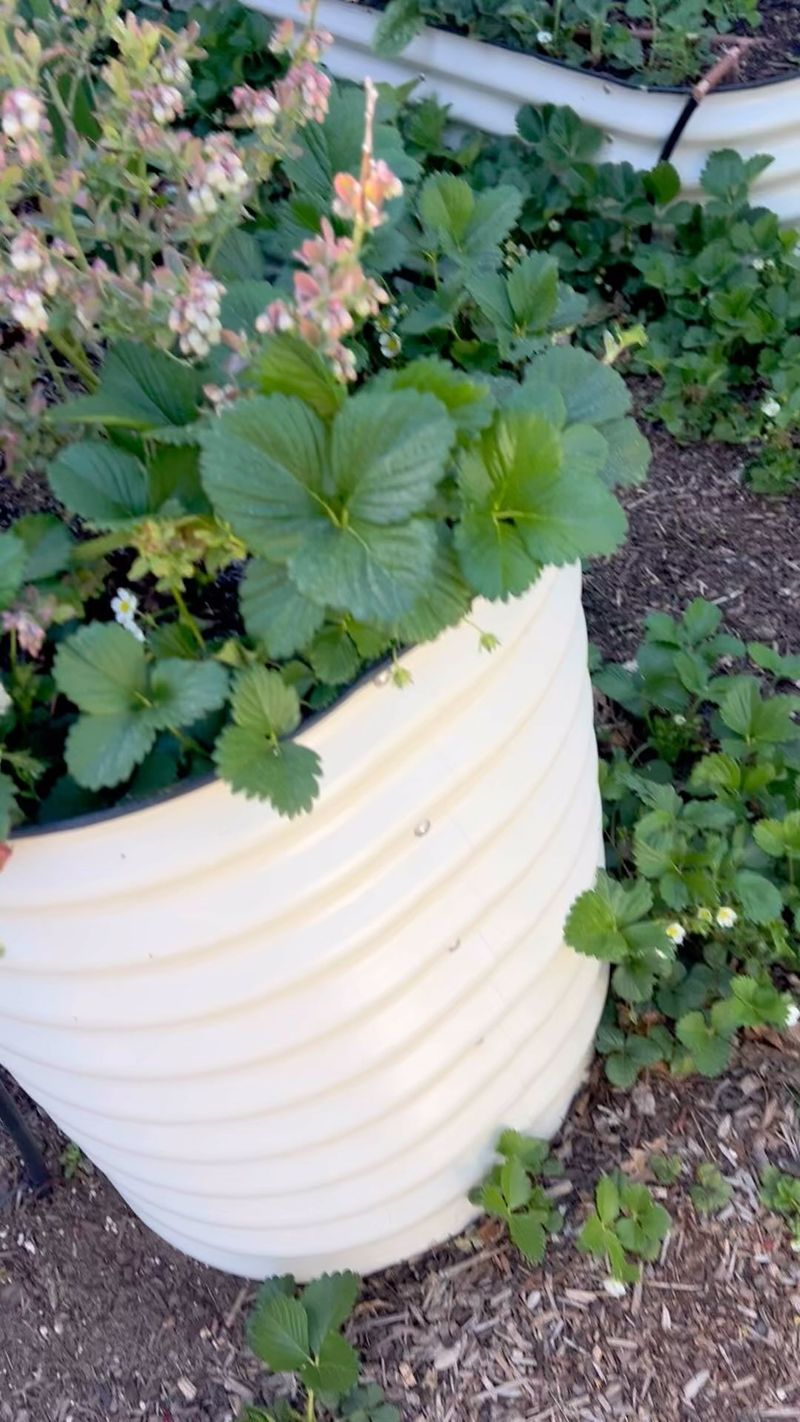
13. Select Appropriate Plants
First-year hugelkultur beds shine with shallow-rooted vegetables like lettuce, spinach, radishes, and herbs that don’t mind the active decomposition happening below. Plant these on top and along the southern side where sunlight exposure is greatest.
Save the northern slopes for shade-tolerant plants like leafy greens. As your bed matures in subsequent years, you can introduce deeper-rooted crops like tomatoes, squash, and perennial vegetables that will send roots deep into the decomposing wood layers.
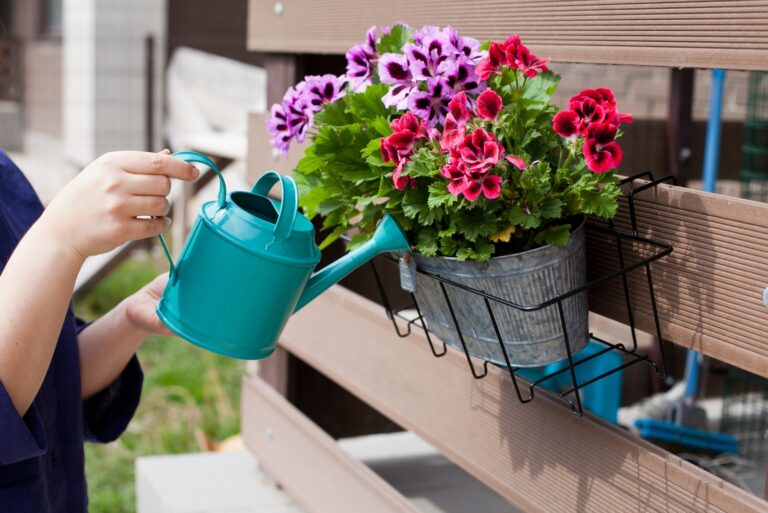
14. Monitor and Maintain Moisture

Fresh hugelkultur beds need consistent moisture monitoring during their first season. Check soil dampness by inserting your finger 2-3 inches deep – if it feels dry, it’s time to water.
Expect some settling as decomposition progresses – this is normal and beneficial! The bed’s water-retention capabilities improve dramatically after the first year as wood begins absorbing moisture like a sponge, reducing your watering chores significantly in subsequent seasons.
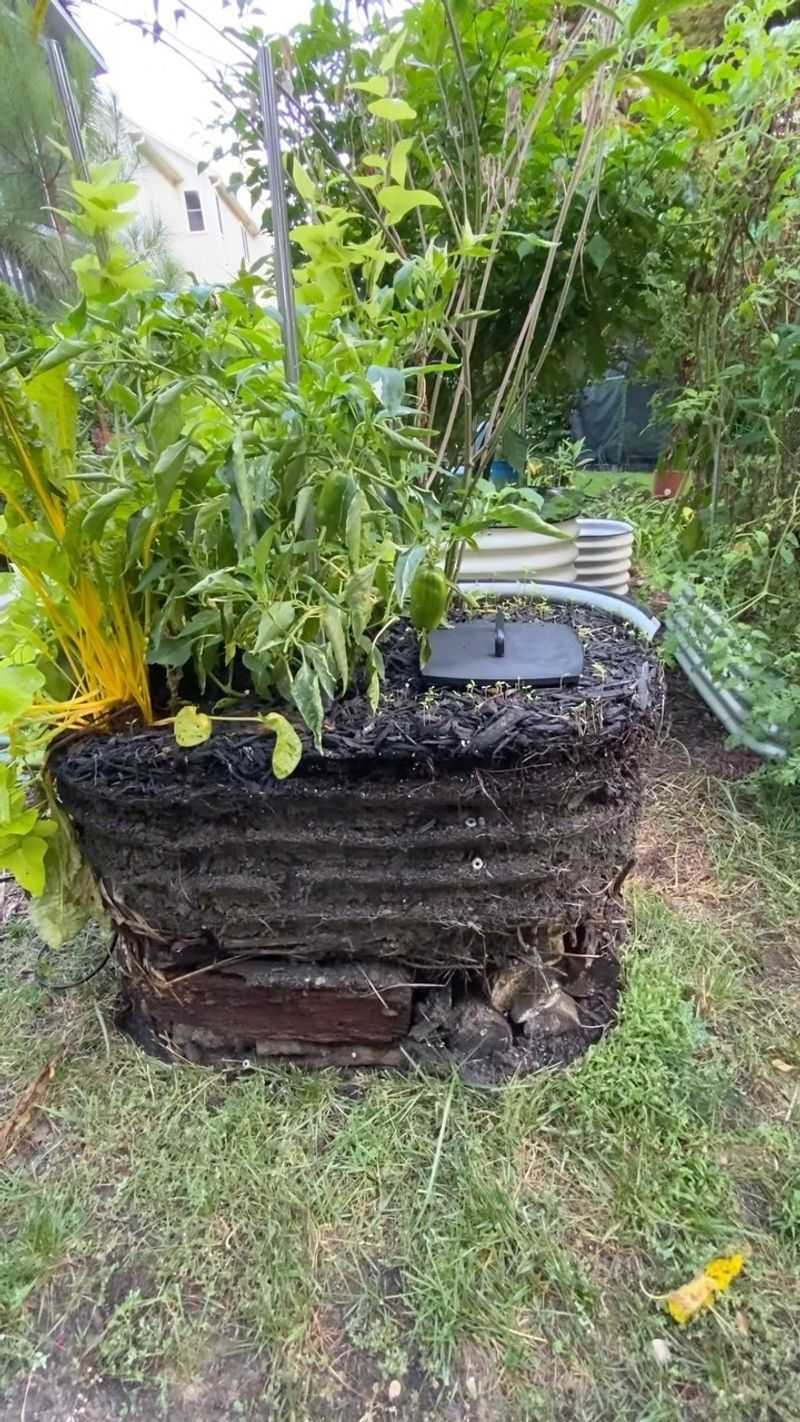
15. Celebrate Minimal Maintenance
Once established, your hugelkultur bed requires surprisingly little upkeep compared to conventional gardens. The decomposing wood releases nutrients gradually, reducing or eliminating fertilizer needs for several years.
Simply add a fresh layer of compost and mulch each spring to replenish the top few inches. Many gardeners report their hugelkultur beds remaining productive for 7-10 years before needing significant renewal – that’s gardening efficiency at its finest!