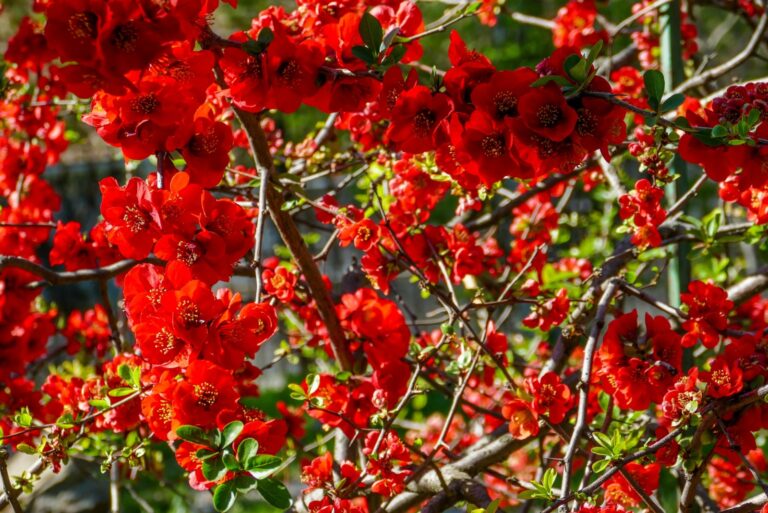
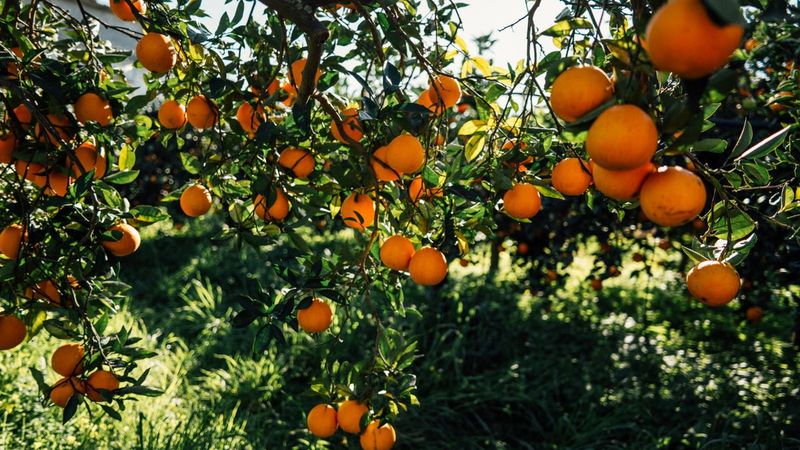
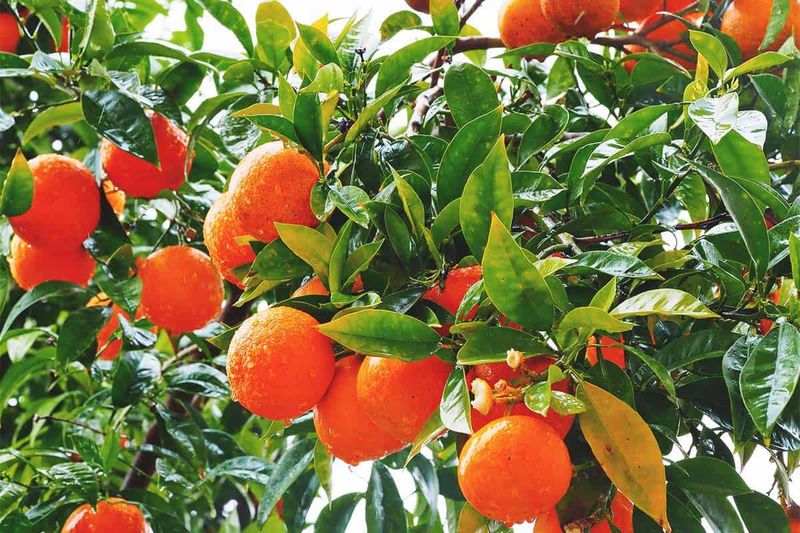
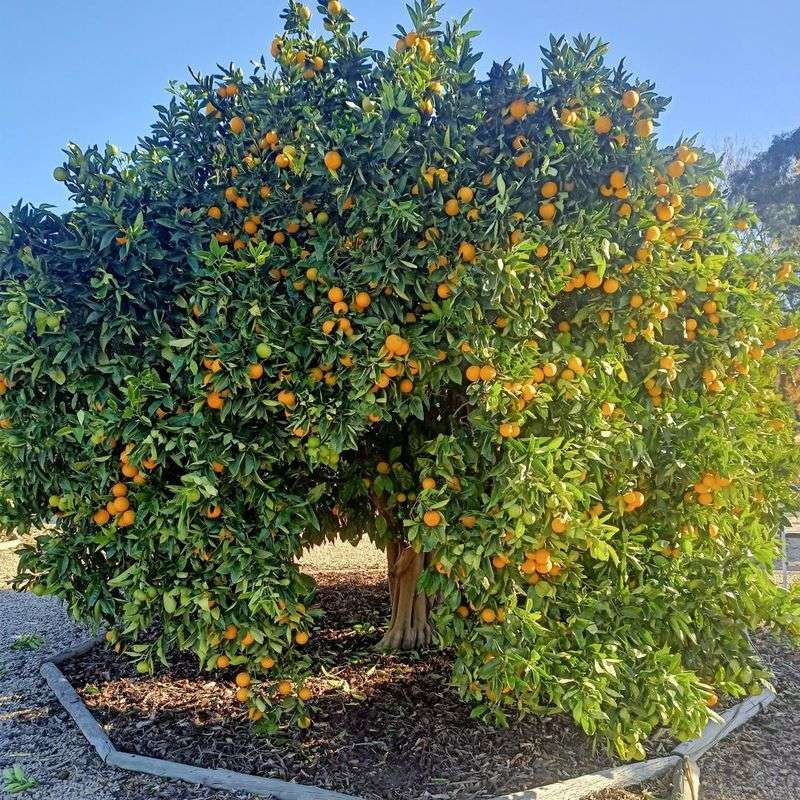
17 Simple Steps On How To Prune An Orange Tree For Bigger, Better Fruit
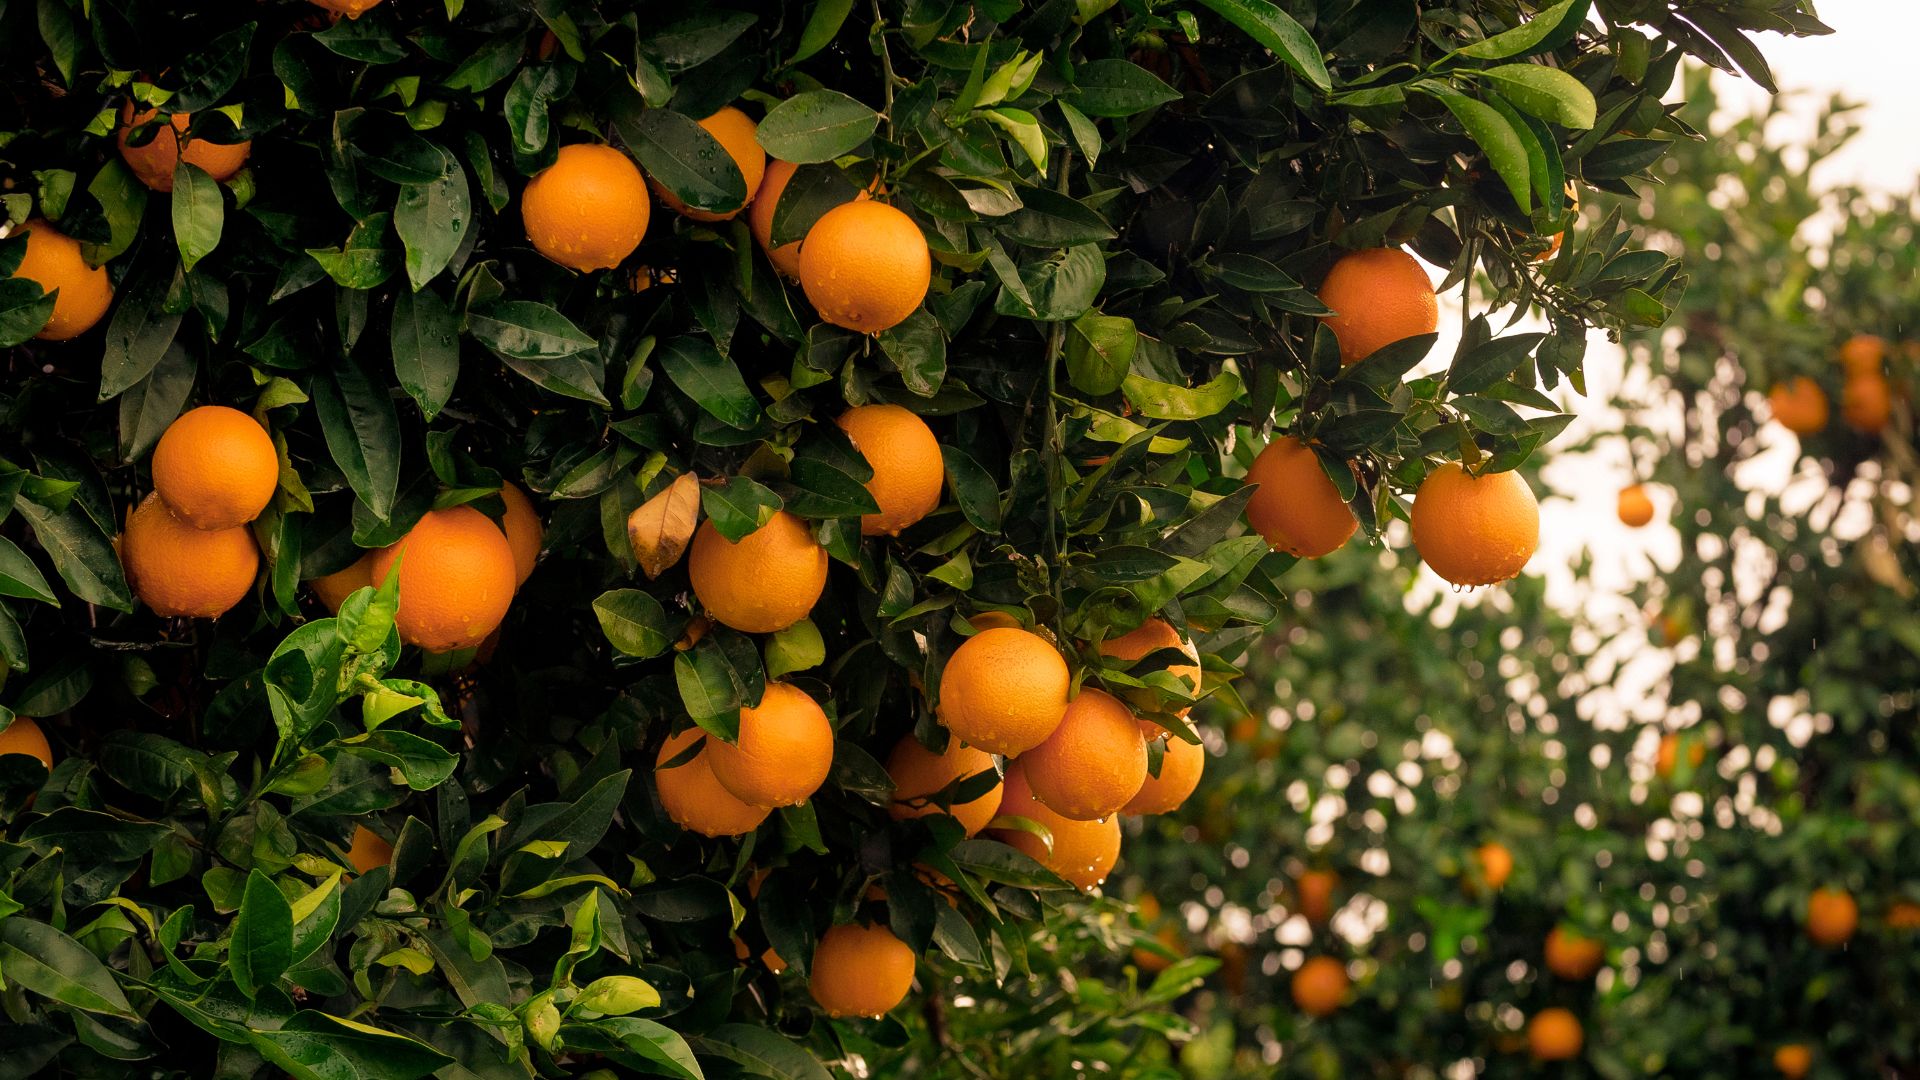
Getting those big, juicy oranges starts with proper pruning — it’s the game-changer many gardeners overlook. When you prune right, your tree puts its energy into growing fruit instead of wasting it on extra branches.
Over the years, I’ve seen how the right cuts can turn a struggling orange tree into a sweet, productive powerhouse. Pruning might sound intimidating, but it’s really just about understanding your tree’s natural shape and needs. Taking the time to learn when and how to trim makes a huge difference in both the quality and quantity of your harvest.
With some practice, you’ll watch your orange tree thrive season after season. I’ll walk you through simple, practical pruning tips that protect your tree’s health while boosting fruit production. This way, you can enjoy more flavorful oranges without extra fuss or frustration in your garden.
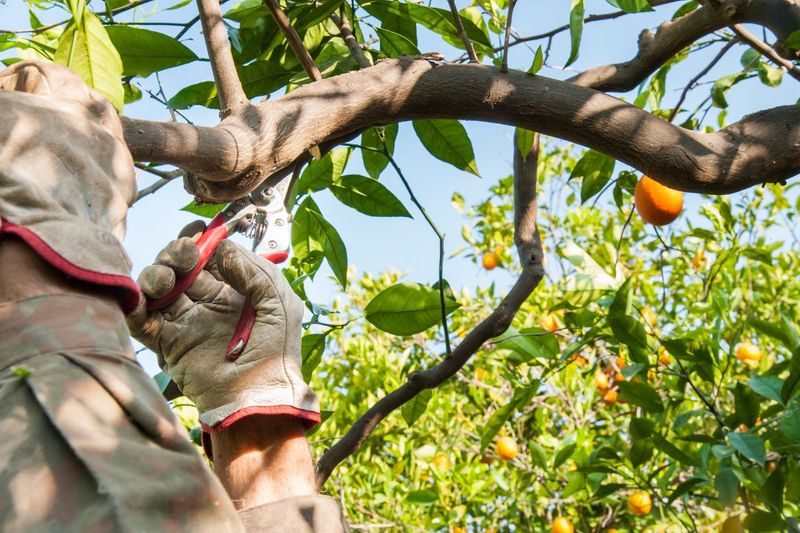
1. Gather Your Tools First
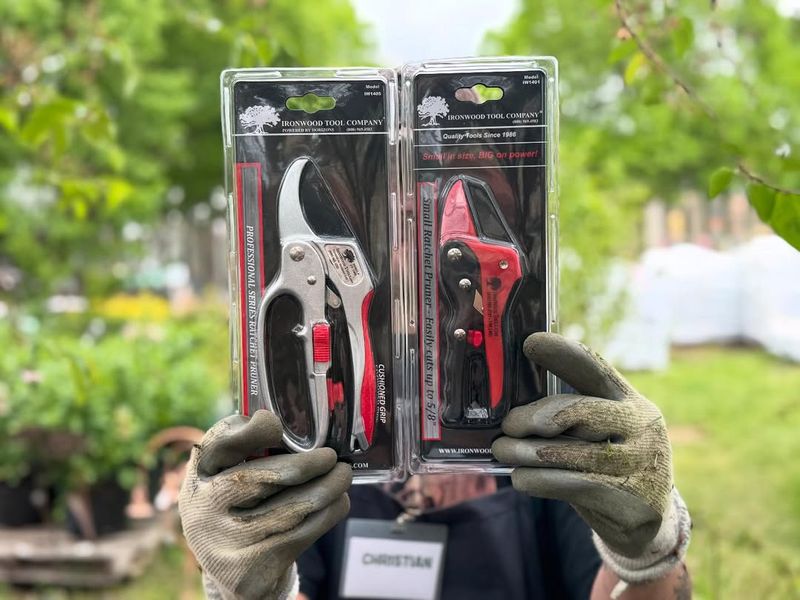
Before making a single cut, assemble sharp bypass pruners, loppers for thicker branches, and a pruning saw for larger limbs. Clean tools prevent disease transmission between cuts. I always wipe mine with rubbing alcohol or a 10% bleach solution.
Quality matters more than you might think. Dull blades crush rather than slice, leaving wounds that heal slowly and invite infection. My first pair of cheap pruners left ragged cuts that took weeks to heal.
Keep a small file handy to sharpen edges if they start dragging during your pruning session. Nothing makes the job harder than struggling with inadequate equipment, and your tree will thank you with better healing and ultimately bigger fruit.
2. Choose The Right Season

Timing your pruning session properly makes a tremendous difference in fruit production. Late winter to early spring, just before the bloom cycle begins, provides the ideal window for major pruning work. The tree remains dormant enough to handle the stress while having time to heal before summer heat.
Avoid summer pruning when possible, as fresh cuts in hot weather invite sunburn on newly exposed branches. I learned this lesson when I impulsively trimmed in July and watched helplessly as several branches developed sunscald damage.
Minor maintenance pruning can happen year-round if absolutely necessary. Remove broken or diseased branches immediately regardless of season, but save structural cuts for that late winter window when the tree can respond most effectively.
3. Remove Dead And Diseased Wood
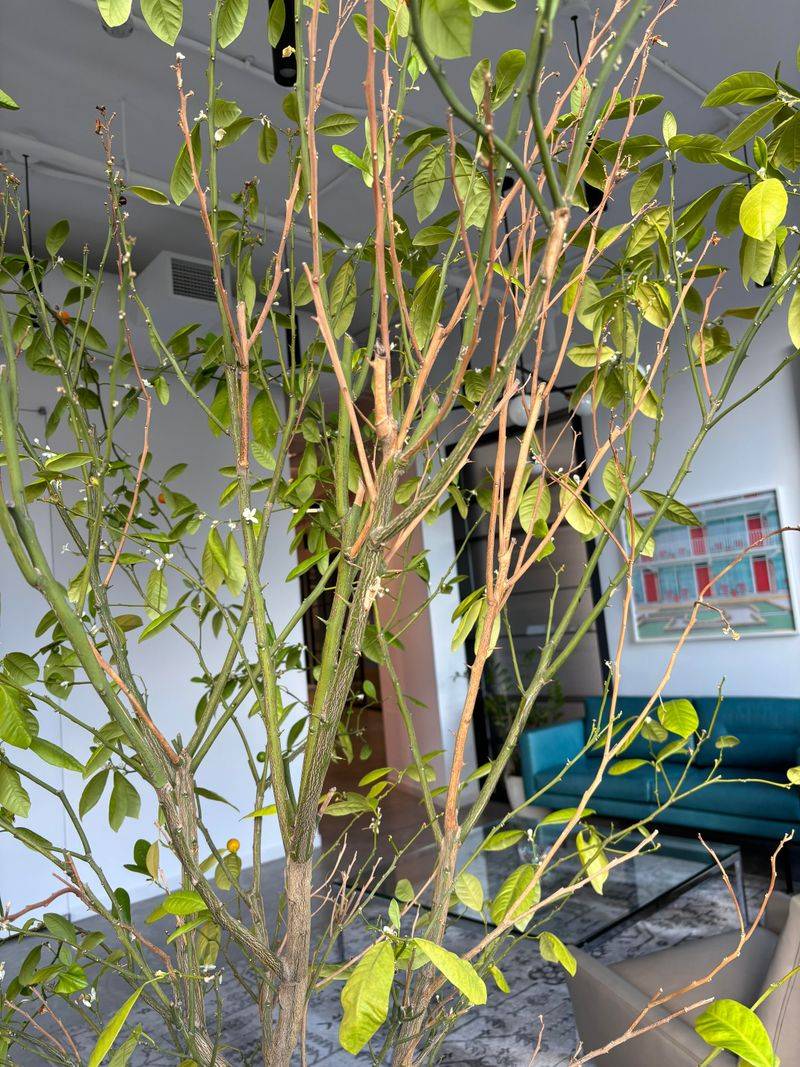
Start your pruning session by eliminating any branches that show signs of death or disease. These unproductive parts drain energy from your tree while potentially harboring pests or infections. Look for discolored, brittle, or cracked sections that stand out from healthy growth.
Cut well below any visible damage, at least 6 inches into healthy wood, to ensure complete removal of affected tissue. The clean cut should reveal green, moist inner wood rather than brown or gray dryness. When I first started pruning, I often cut too close to the damage and had to repeat the process.
Dispose of these cuttings away from your garden area. Never compost potentially diseased material as it might spread problems to other plants. I bag mine separately and send them to municipal green waste where high-temperature processing kills pathogens.
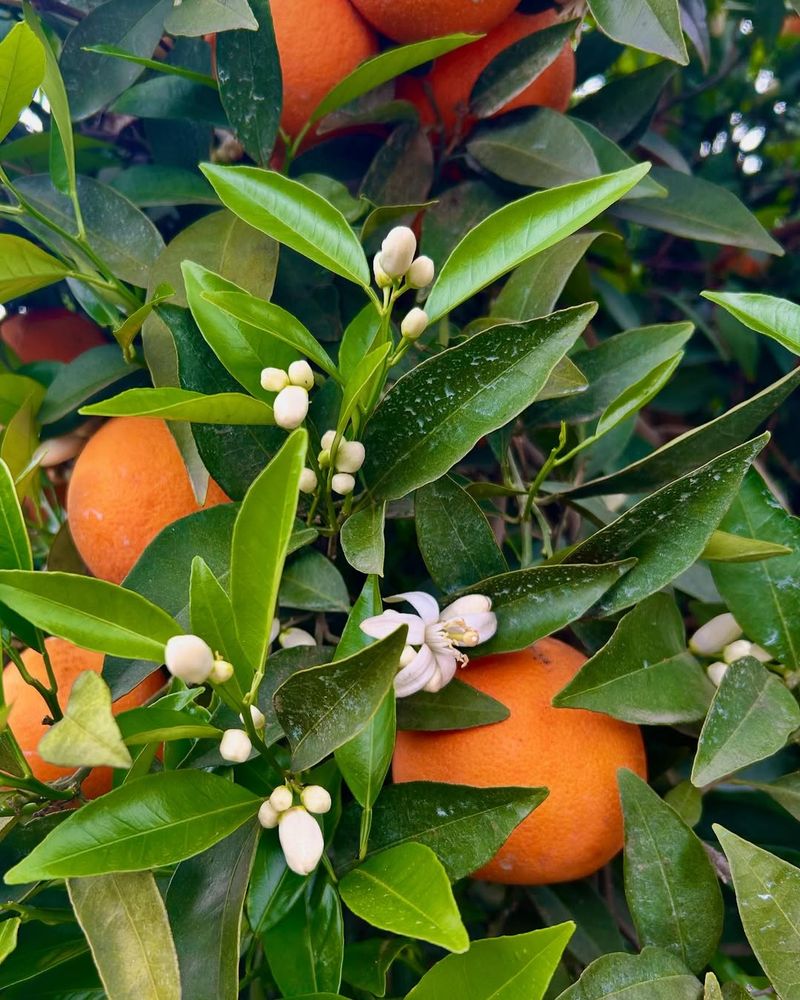
4. Clear The Center For Airflow
A crowded center creates the perfect environment for fungal diseases and pest infestations. Open up the middle of your tree by removing inward-growing branches that cross through the canopy. This creates pathways for sunlight and air to reach all parts of the tree.
Stand back frequently to assess your progress. You should be able to imagine tossing a small ball through the tree without hitting too many branches. The first time I properly opened a tree center, fruit production doubled the following season.
Focus especially on removing branches that rub against each other. These friction points damage bark and create entry points for disease. Good airflow might seem like a small detail, but it’s often the difference between mediocre and outstanding harvests in humid climates.
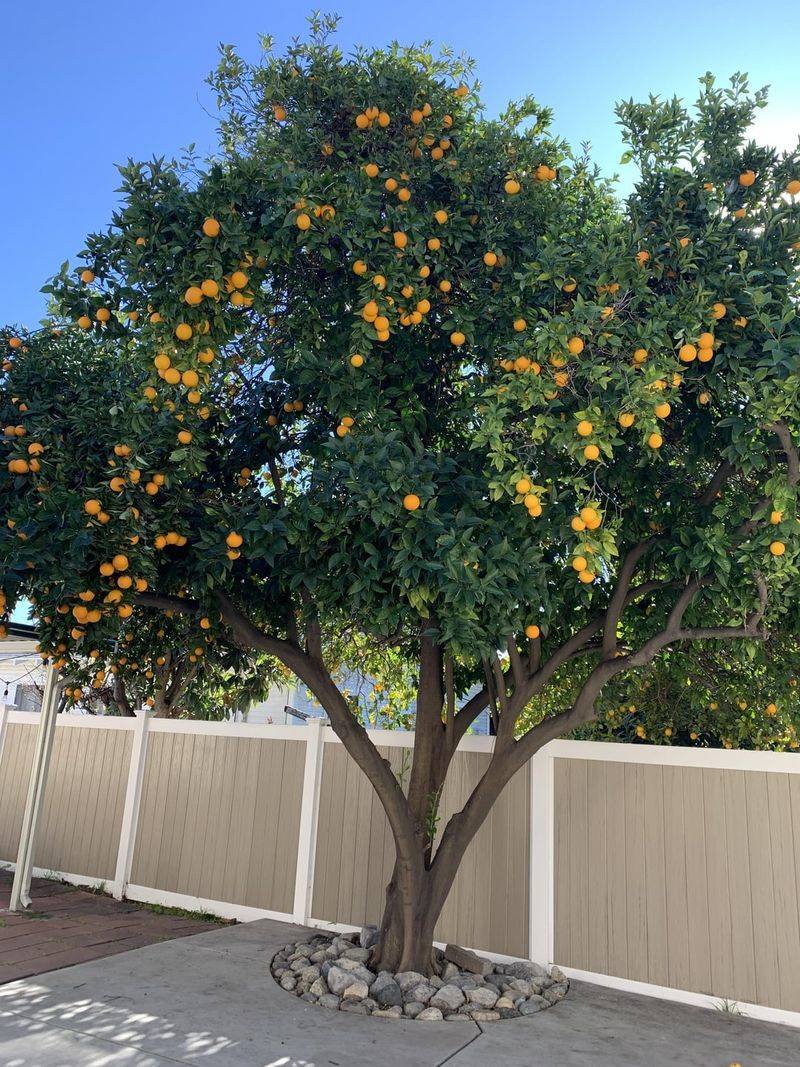
5. Identify The Main Scaffolds
Every productive orange tree relies on 3-5 main scaffold branches that form its primary structure. These thick, outward-growing limbs should radiate from the trunk at roughly equal spacing, creating a balanced framework. Take time to identify these critical branches before making major cuts.
Ideally, scaffold branches emerge from the trunk at a 45-60 degree angle. Branches too upright will be weak, while those too horizontal may break under fruit weight. During my early pruning attempts, I failed to recognize these important structural elements and accidentally removed a main scaffold.
Mark your scaffolds temporarily with colorful garden tape if needed while you work. These branches should never be removed during routine pruning unless diseased or damaged beyond saving. Everything else in your pruning plan works around preserving and enhancing these main supports.
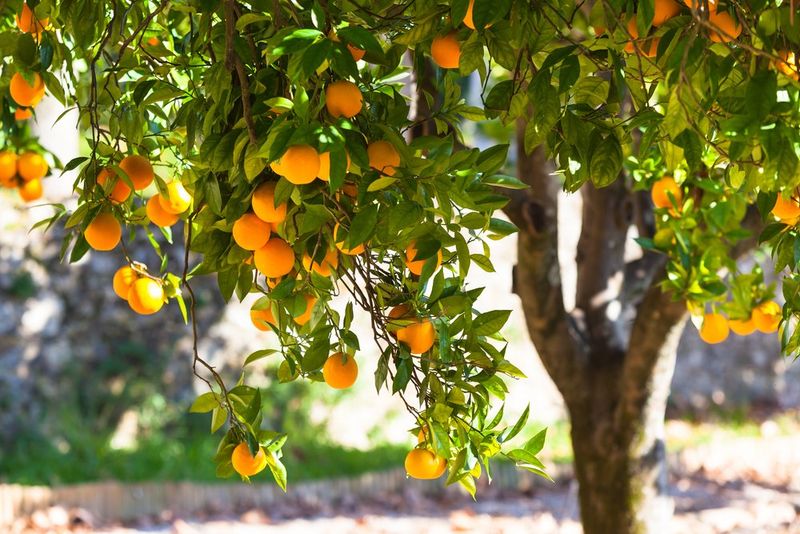
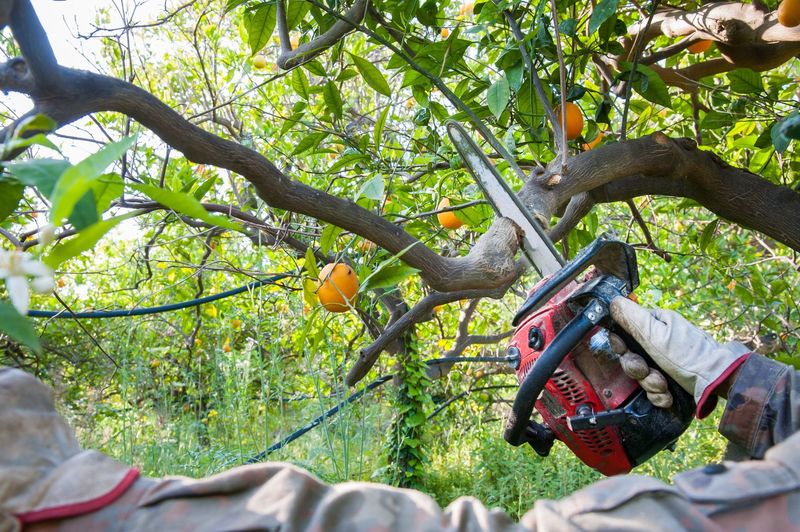
6. Limit Tree Height For Easy Harvesting
Tall orange trees create harvesting headaches and often produce their best fruit out of reach. Control height by identifying the tallest vertical branches and cutting them back to outward-growing lateral branches. This technique, called heading back, redirects growth energy horizontally rather than skyward.
Most home gardeners find 8-10 feet ideal for maintenance and harvesting. When reducing height, make cuts at varying levels rather than creating a flat-topped appearance. My neighbor’s perfectly flat-topped tree always reminds me of an awkward haircut.
Remember that sunlight needs to reach all parts of the tree. Lower branches shaded by excessive height will produce fewer, smaller fruits. After reducing my tree’s height by just two feet, I noticed significantly improved production on previously shaded lower branches.
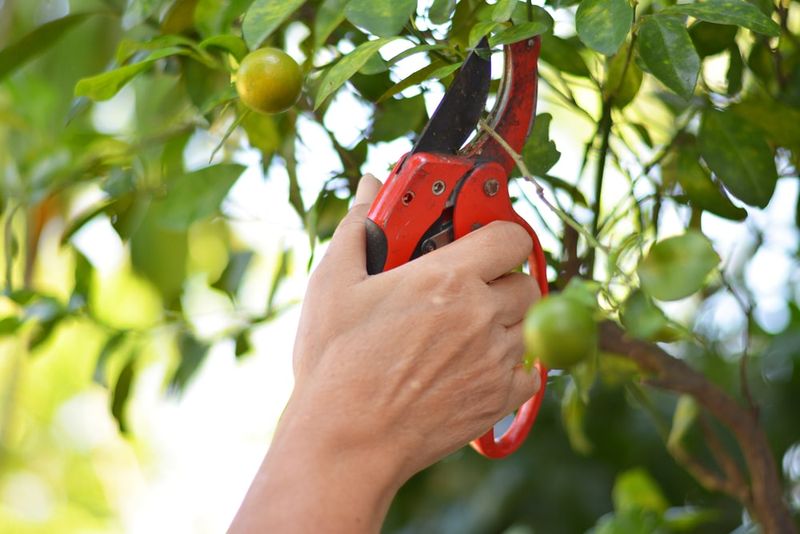
7. Prune For Outward Growth
Direct your tree’s energy toward productive outer branches by pruning to outward-facing buds. Locate the small bumps along branches that will become new growth, and cut about 1/4 inch above buds that point away from the center. This simple technique encourages branches to grow outward rather than inward.
The angle of your cut matters significantly. Slope the cut downward away from the bud at roughly a 45-degree angle to prevent water collection and promote healing. For years I made the mistake of cutting straight across, which often led to die-back at the cut.
Each outward-facing cut essentially programs the tree’s next growth direction. By consistently selecting exterior-facing buds, you’ll gradually train your tree into an ideal open vase shape that maximizes fruit production while maintaining accessibility for harvesting.
8. Remove Crossing Branches
Branches that cross or rub against each other create wounds that invite disease and pests. Examine your tree carefully for places where branches intersect, and decide which one to remove based on position and health. Generally, keep the branch that better maintains the tree’s overall shape.
Make cuts close to the branch collar (the swollen area where branch meets trunk) without cutting into it. This natural growth zone contains specialized cells that heal wounds quickly. The first time I properly removed crossing branches, I was amazed at how much cleaner and more organized the tree looked.
Step back frequently during this process to maintain perspective. Sometimes what looks like a minor crossing issue from one angle appears more significant from another. Taking photographs from different sides can help you make better decisions about which branches truly need removal.
9. Eliminate Water Sprouts And Suckers
Water sprouts shoot straight up from main branches, while suckers emerge from the base or roots. Both steal valuable energy while producing little to no fruit. These vigorous vertical shoots can grow several feet in a single season if left unchecked.
Remove these unwanted growths by cutting them flush with their origin point. Pulling or tearing them off damages surrounding tissue and often stimulates more growth. I once tried to save time by yanking suckers, only to find twice as many appearing in the same spots weeks later.
Check for new sprouts and suckers several times throughout the growing season. Catching them when young makes removal easier and less stressful for the tree. This consistent attention prevents energy diversion and keeps your tree focused on developing those big, juicy oranges you’re aiming for.
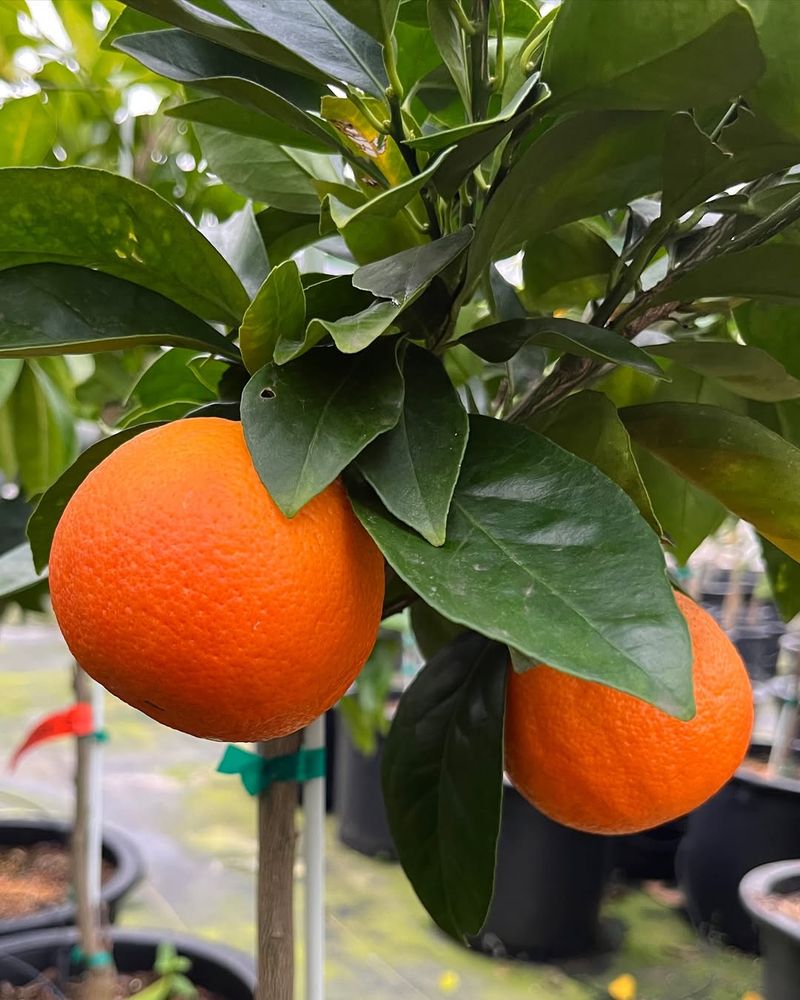
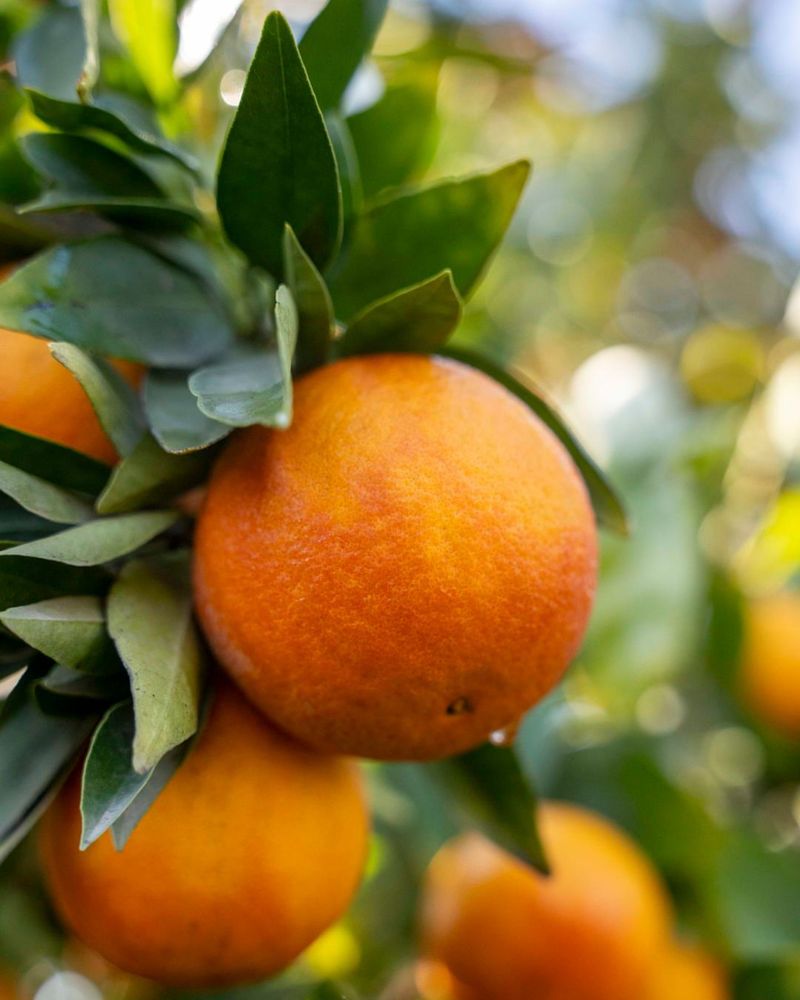
10. Thin Fruit Clusters For Size
While not strictly pruning, thinning fruit clusters directly impacts size and quality. When your tree sets fruit, look for areas where oranges grow in tight bunches. Removing some young fruits allows the remaining ones to develop to their full potential without competing for resources.
Focus on keeping fruits with the best position and form, ideally spacing them about 6 inches apart on branches. Use clean scissors or pruners to snip the stems rather than pulling, which might damage the branch. The first time I thinned my tree, I felt wasteful, but the resulting oranges were nearly twice the size of previous harvests.
Begin thinning after the natural drop period when fruits are marble-sized. Your tree naturally sheds some fruits, so waiting prevents unnecessary work. This practice feels counterintuitive at first, but consistently results in higher quality fruit that actually increases the overall harvest weight.
11. Make Clean, Angled Cuts
The quality of your cuts significantly impacts healing and future growth. Always use sharp tools to make clean, smooth cuts without tearing or crushing tissue. Ragged wounds heal slowly and create entry points for pests and disease.
Position your cuts at a slight angle (about 45 degrees) so water runs off rather than collecting on the cut surface. Avoid leaving stubs beyond the branch collar, as these dead sections become magnets for problems. My earliest pruning attempts left too many stubs that eventually rotted back into healthy wood.
For larger branches, use the three-cut method: first an undercut a few inches from the trunk, then a top cut slightly further out to remove the branch weight, and finally a clean cut at the branch collar. This prevents bark tearing and the serious damage it causes to the trunk.
12. Balance The Canopy Evenly

A lopsided tree struggles with structural issues and uneven fruit production. Step back frequently during pruning to assess overall shape, ensuring no side becomes significantly heavier than others. Balance doesn’t mean perfect symmetry, but rather distributed weight and sunlight exposure.
Pay special attention to southern exposure (northern hemisphere) or northern exposure (southern hemisphere), as this side often grows more vigorously. I’ve found taking photos before and during pruning helps spot imbalances that aren’t obvious when standing in one position.
When removing branches for balance, prioritize those that already grow in problematic directions rather than major structural limbs. Small adjustments often achieve better results than removing one major limb. My most productive tree took three seasons of careful balancing before reaching its current perfect form.
13. Address Problem Branches Early
Certain branch types inevitably cause problems if left unaddressed. Identify and remove branches growing straight downward, as they’ll drag on the ground when weighted with fruit. Similarly, eliminate branches with narrow V-shaped crotch angles, which form weak attachments prone to splitting.
Watch for branches that emerge from the same point on the trunk or main scaffolds. These competing limbs create structural weakness and should be thinned to the strongest option. During my first years of pruning, I ignored a narrow-angled branch until it split during a windy day, causing significant damage.
Young trees especially benefit from this forward-thinking approach. Removing a pencil-thick problem branch now prevents removing a major limb later. Small, early corrections guide the tree toward a naturally strong structure that requires less drastic intervention as it matures.
14. Create Light Pathways To Inner Fruit
Sunlight needs to reach developing fruit throughout the canopy for proper sweetness and color. Create deliberate pathways for light penetration by selectively removing small branches that create excessive shade. Think of these openings as windows that allow sunlight to filter through to inner fruit.
Focus on the densest areas of foliage, especially on the north side of the tree where shade tends to be heaviest. Small, strategic cuts here often yield better results than major branch removal elsewhere. The transformation in fruit quality after implementing this technique convinced me of its importance.
Avoid creating large, gaping holes that expose inner branches to sunburn. Instead, aim for a dappled light effect throughout the canopy. When done correctly, you should see filtered sunlight reaching all parts of the tree interior when you look up through the branches from below.
15. Maintain Pruning Throughout The Year

While major structural pruning happens annually, light maintenance pruning throughout the growing season maximizes fruit quality. Remove water sprouts, broken branches, and diseased wood whenever you spot them rather than waiting for the main pruning session. These small, frequent adjustments prevent energy waste.
Keep pruning tools handy during routine garden activities so you can make quick corrections. I hang bypass pruners on my belt whenever I’m near my citrus trees, which makes maintenance almost automatic. The cumulative effect of these small cuts significantly improves overall tree health.
Remember that excessive pruning at any one time stresses the tree. By spreading minor cuts throughout the year, you avoid the shock of heavy pruning while maintaining optimal growing conditions. My healthiest trees receive this consistent attention rather than just one annual pruning marathon.
16. Protect Pruning Cuts Properly
Large pruning wounds benefit from proper protection while they heal. For cuts larger than one inch in diameter, apply a thin layer of tree wound dressing or pruning sealer. Avoid thick applications, as excessive sealer can actually trap moisture and slow healing.
Commercial products work well, but I’ve had success with a simple mixture of exterior latex paint diluted 50/50 with water. This homemade sealer protects against sun damage and insects while allowing the wound to breathe. The white color reflects sunlight, preventing the sensitive exposed tissue from overheating.
Monitor large cuts for signs of disease or pest activity during the healing process. Healthy healing shows progressive callus formation around the wound edges. If you notice discoloration or weeping, treat promptly with appropriate fungicides or insecticides to prevent problems from spreading through the tree.
17. Document Your Pruning Results
Keep records of your pruning work to track progress and learn from results. Take before and after photos from the same positions each year, noting which branches were removed and why. These visual references become invaluable for understanding how your specific tree responds to different pruning approaches.
Note fruit production quantity and quality in relation to your pruning techniques. My pruning journal revealed that more aggressive thinning of interior growth consistently produced larger fruit, while height reduction improved overall yield. Without documentation, these patterns would have been difficult to confirm.
Share your experiences with fellow gardeners when possible. Every orange tree responds somewhat differently based on variety, climate, and growing conditions. The collective wisdom gained through comparing notes often leads to discoveries that benefit everyone’s trees and harvests.