15 Easy Steps To Collect Seeds From Coneflowers (And When To Do It For Best Results)
Harvesting seeds from your coneflowers is one of those satisfying garden tasks that feels both thrifty and thoughtful. I started doing it just to save money, but now it’s also my favorite way to keep a little piece of summer going into the next season.
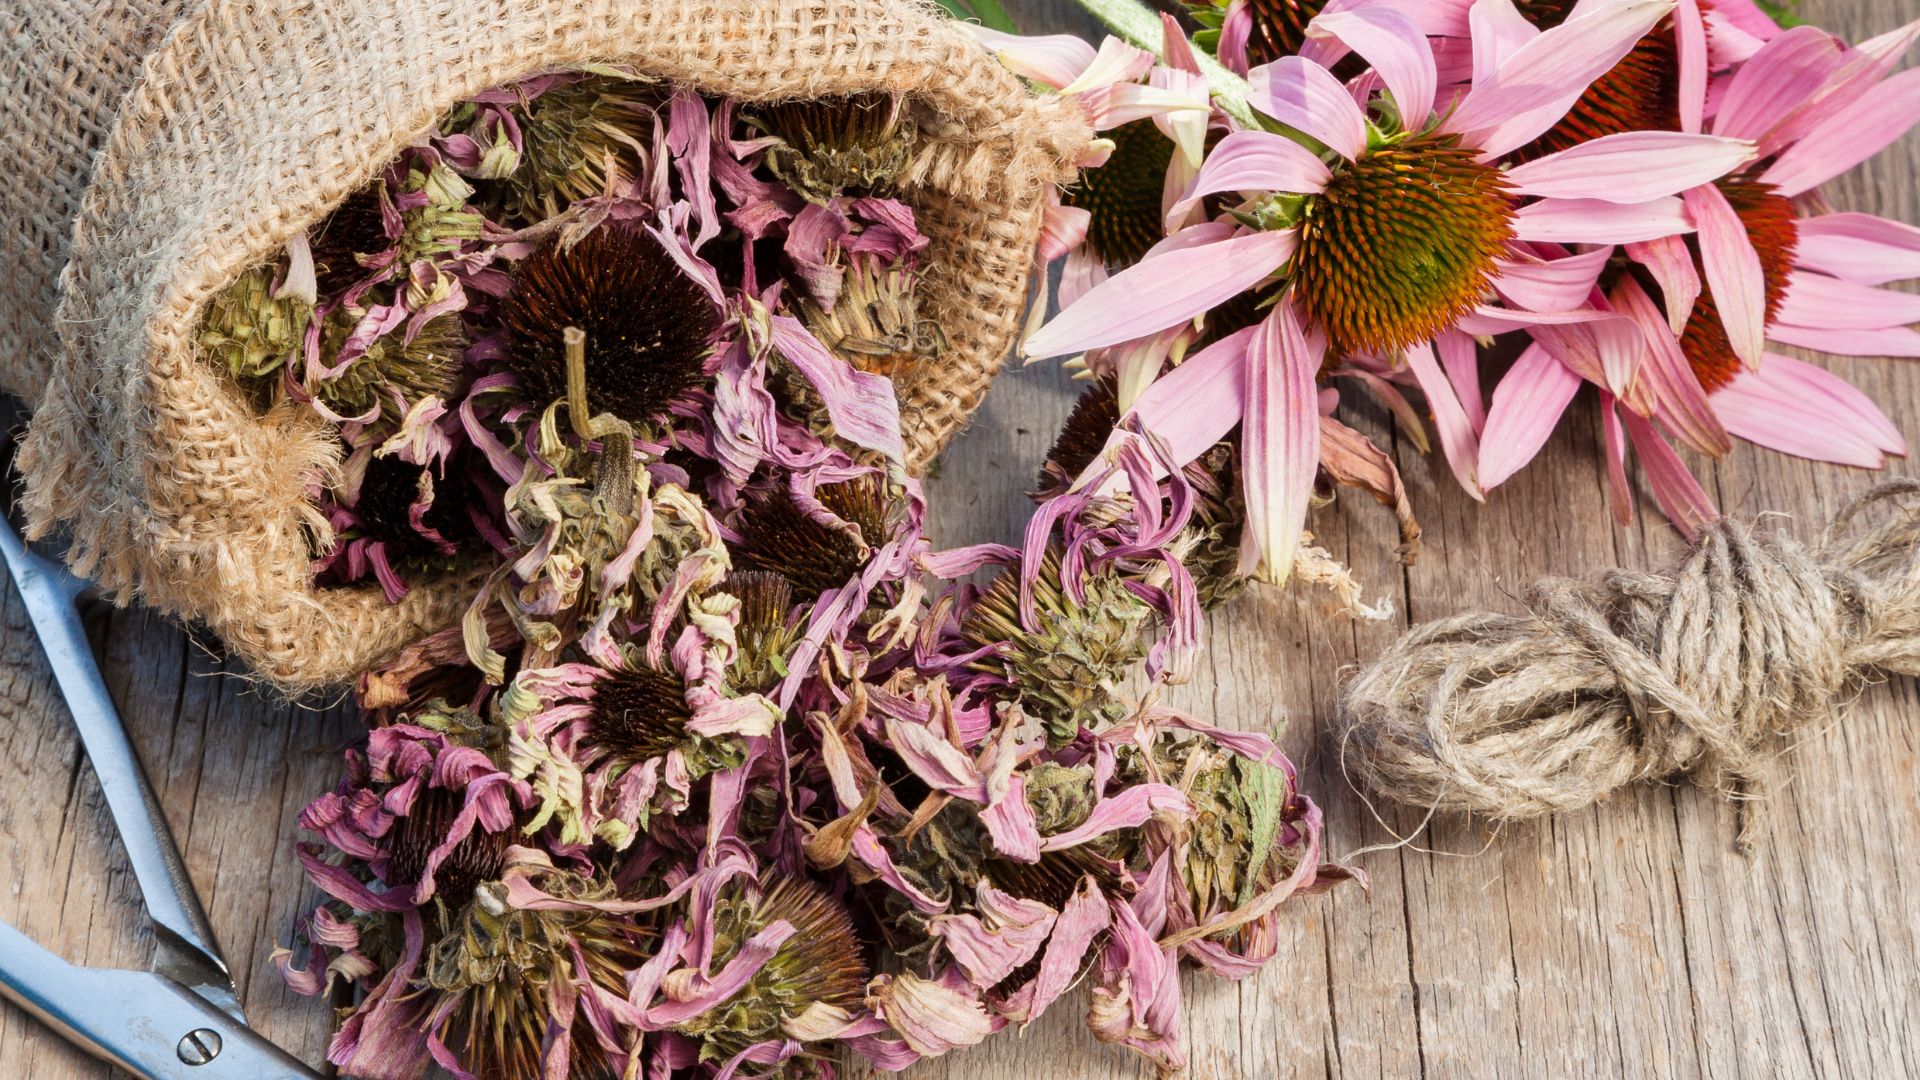
Plus, it’s a lovely excuse to be out in the garden a little longer. The trick is knowing when to snip the seed heads—too early and they won’t be viable, too late and the birds will beat you to them. I like to wait until they’re dry and brown, then pop them into a paper bag to finish curing indoors.
It’s easy, and kind of addicting once you get the hang of it. Sharing little envelopes of homegrown seeds has become my go-to garden gift. Whether you’re keeping them for next year’s beds or handing them off to a neighbor, saving coneflower seeds feels like a small, joyful act of garden generosity.
1. Watch For Seed Head Development
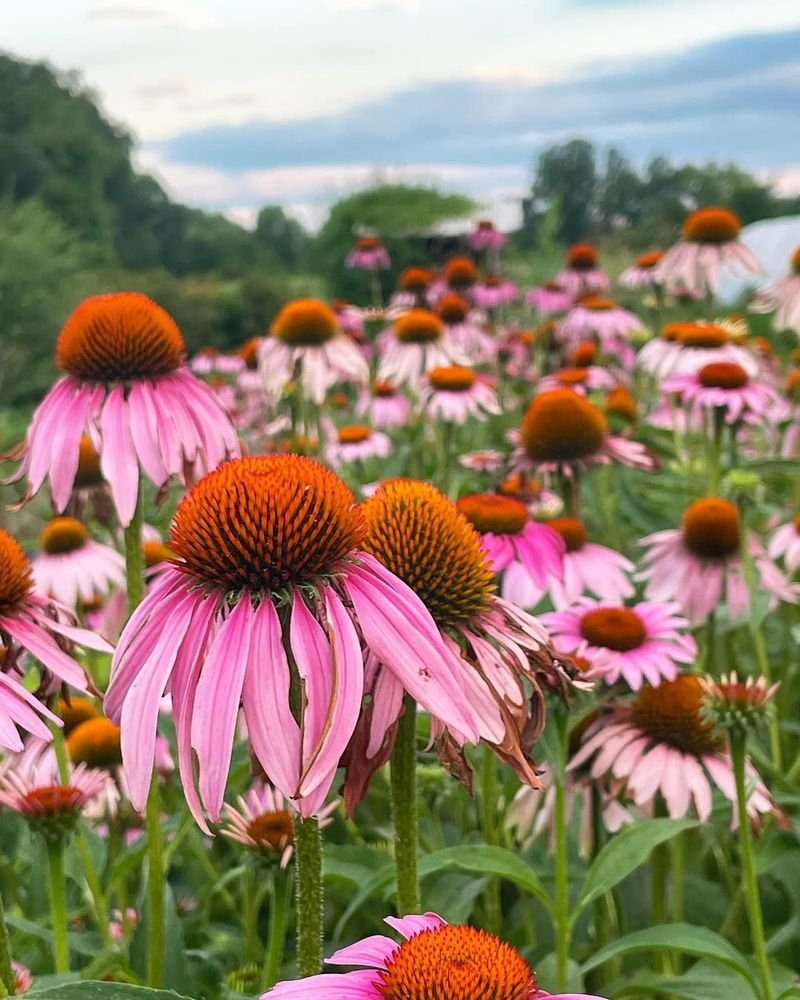
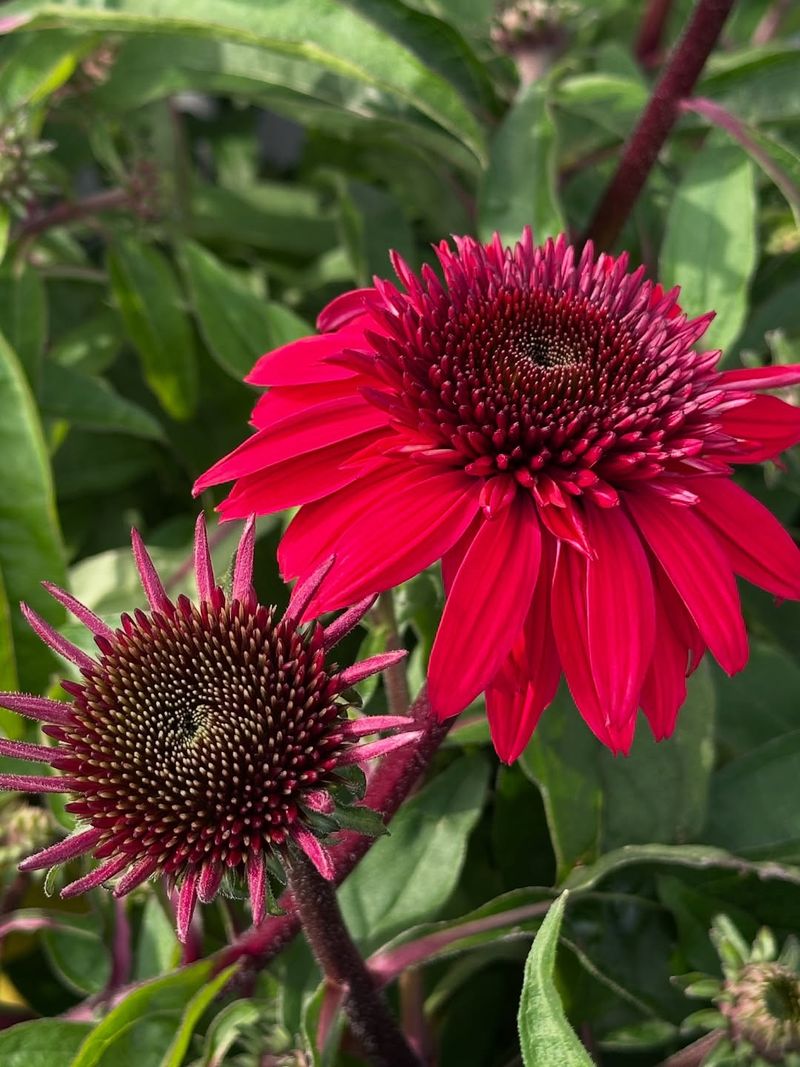
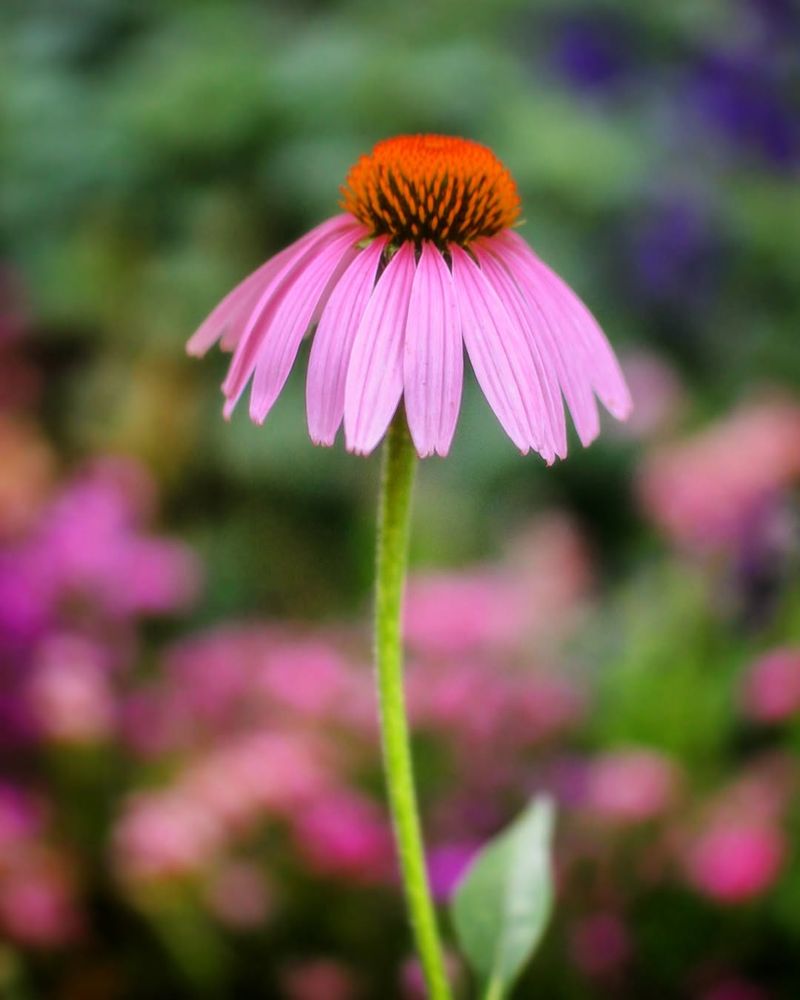
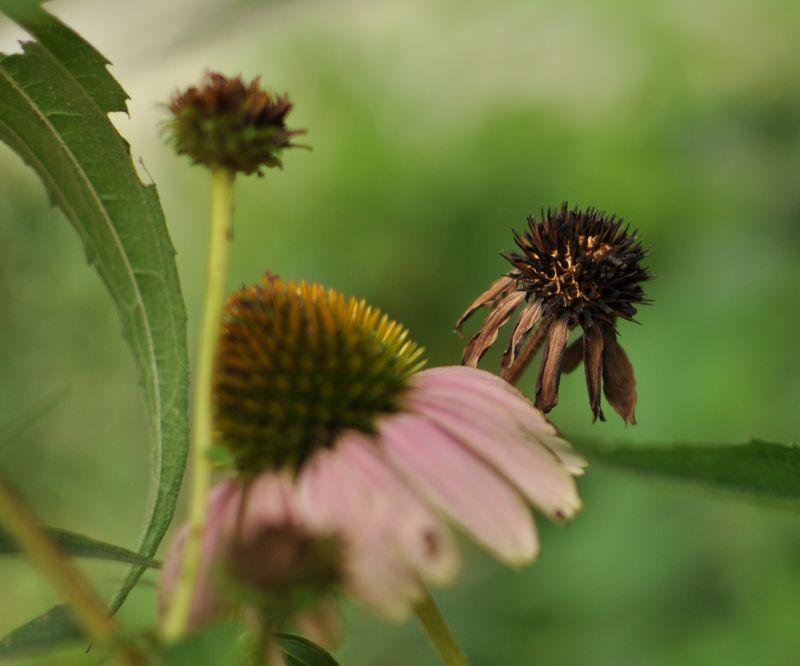
Late summer brings a transformation to your coneflowers. The once-bright petals begin to droop and fade, while the center cone darkens and enlarges. This natural progression signals the plant is focusing energy on seed production rather than attracting pollinators.
I’ve learned through trial and error that patience pays off enormously here. The first year I tried collecting seeds, I rushed the process and ended up with immature seeds that never germinated. Allow at least 3-4 weeks after flowering before considering collection.
During this waiting period, you’ll notice the cone becoming increasingly prickly and firm to the touch. The entire flower head will look somewhat dried and spent – exactly what you want for viable seeds.
2. Choose The Right Time Of Year
Timing is everything when collecting coneflower seeds. For most regions, late August through October provides the ideal window for harvesting. The flower heads need sufficient time to fully mature and develop viable seeds after blooming.
Weather patterns in your specific region may affect this timeline. In northern climates, seeds might be ready by early September, while southern gardeners might wait until mid-October. My garden in the Midwest usually has perfect seed heads by late September.
Many gardeners mark their calendars after the first flowers bloom, counting forward about 8-10 weeks. This simple trick has saved me from checking too early and helps me plan my collection day when the forecast shows dry weather ahead.
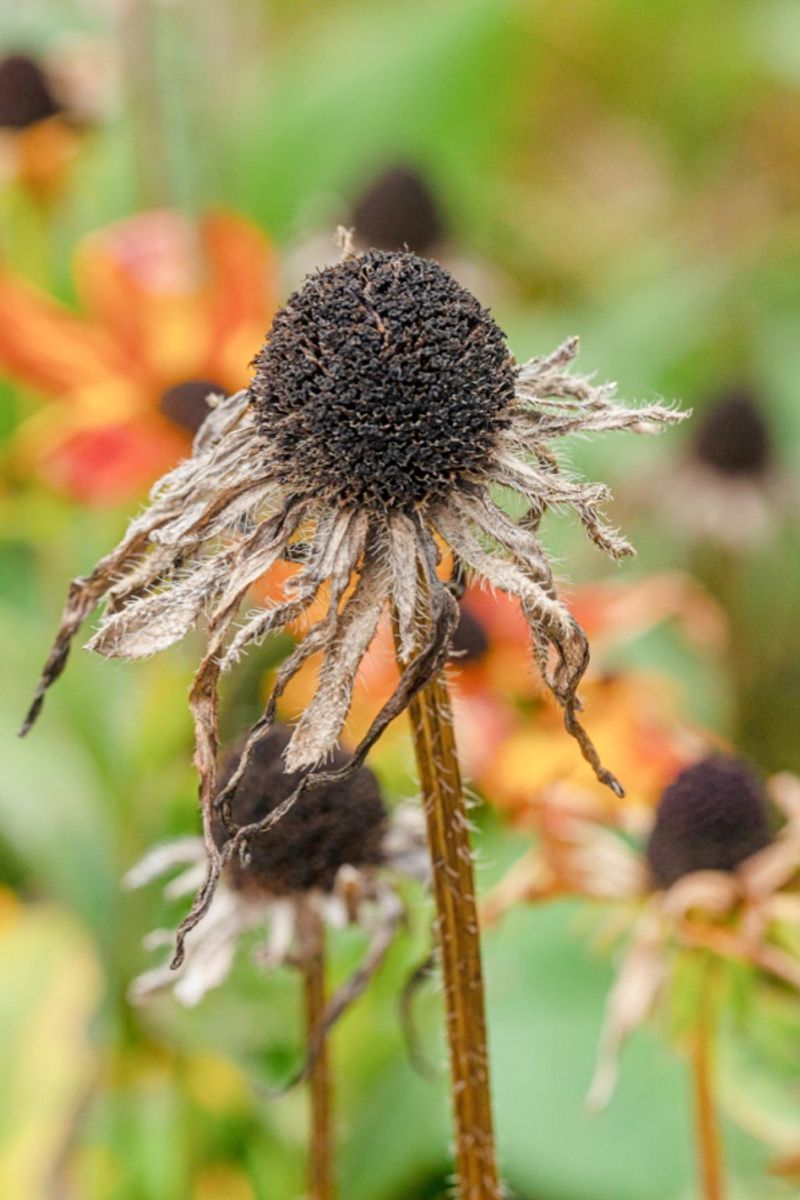
3. Look For Visual Readiness Cues
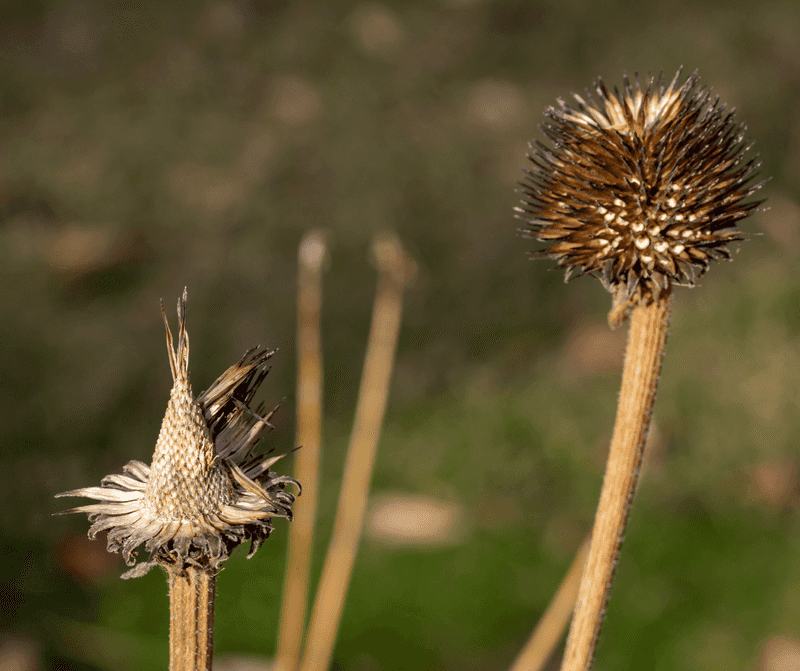
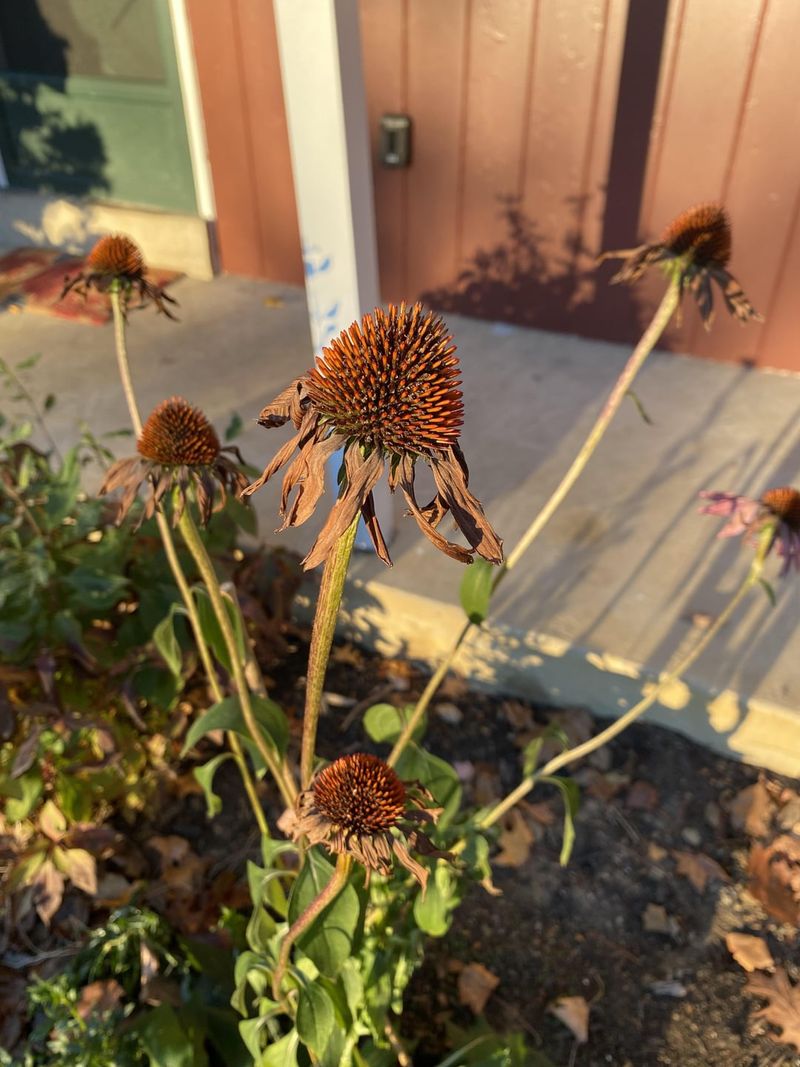
The seed heads will tell you when they’re ready for harvesting. Perfect timing is indicated by completely brown, dried cones where all the petals have fallen away. The center cone should appear dark brown or black rather than green or yellowish.
Run your finger gently across the seed head. Ready-to-harvest cones will feel dry and somewhat brittle, with the seeds beginning to loosen slightly. If you see birds starting to visit your coneflowers frequently, that’s another excellent indicator that the seeds are prime for collecting.
Avoid collecting heads that show signs of mold or extensive damage. The year we had an unusually wet fall, I noticed some seed heads developed grayish patches – these ended up producing poor-quality seeds that rarely germinated successfully.
4. Gather Your Collection Tools
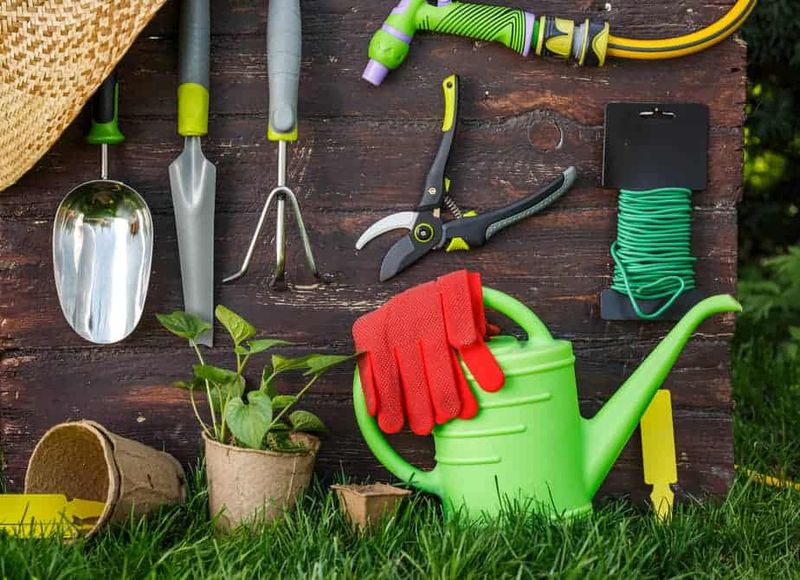
Assembling the right tools makes seed collection much easier and more efficient. You’ll need sharp garden scissors or pruning shears, paper bags or envelopes, a marker for labeling, and possibly gloves if you have sensitive skin. The seed heads can be prickly!
Paper containers are superior to plastic for this task. Last season, I made the mistake of using plastic bags, which trapped moisture and caused some of my carefully collected seeds to mold before I could process them. Paper allows excess moisture to escape during temporary storage.
Consider bringing a small bucket or basket to hold your collection bags while working. Having everything within arm’s reach saves time when you’re moving through the garden snipping seed heads and keeps your harvest organized from the start.
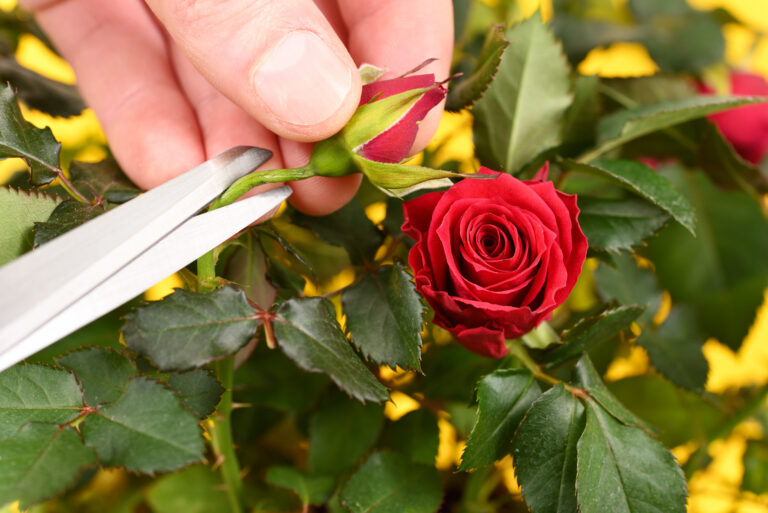
5. Cut At The Right Spot
Proper cutting technique preserves both your current harvest and next year’s flowers. Position your scissors or pruners about 4-6 inches below the seed head, making a clean diagonal cut through the stem. This length gives you something to hold onto during processing while leaving enough stem on the plant for healthy regrowth.
Cutting too close to the seed head makes handling difficult during the cleaning process. The first time I collected seeds, I cut right under the heads and fumbled constantly while trying to separate the seeds later.
For plants you want to keep looking tidy, you can cut all the way down to a set of healthy leaves or even to the basal foliage. Many gardeners leave some seed heads standing through winter, providing food for birds and winter interest in the garden.
6. Choose Dry Weather Conditions

Moisture is the enemy of successful seed collection. Plan your harvesting session for a dry day after several days without rain. Morning dew should have completely evaporated before you begin – typically mid-morning to afternoon provides ideal conditions.
Seeds collected in humid or wet conditions often develop mold during storage. My neighbor once gathered seeds during a misty morning and lost nearly her entire collection despite careful drying attempts afterward. Patience for the right weather pays tremendous dividends.
If unexpected rain threatens your collection plans, wait another day or two. The seed heads will remain viable on the plants longer than they might survive if collected damp. Most coneflower seeds stay ready for harvesting through several weeks of fall weather.
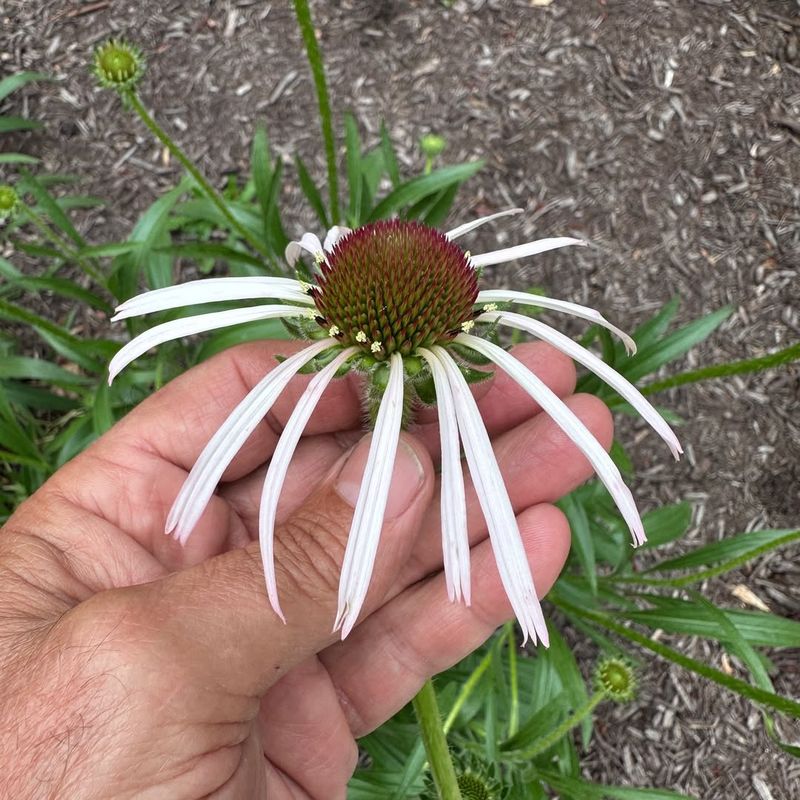
7. Select The Best Specimens
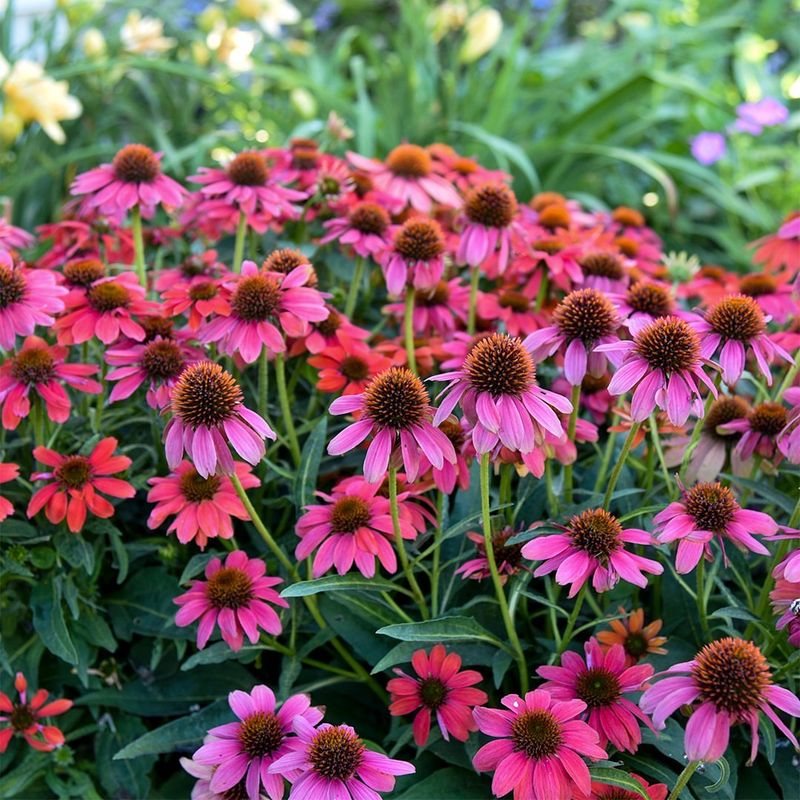
Quality matters more than quantity when harvesting seeds. Focus on collecting from your healthiest, most vigorous plants with desirable characteristics. Plants that produced abundant blooms or showed disease resistance will likely pass these traits to their offspring.
Examine each seed head before cutting. The best specimens have plump, fully-developed cones without signs of disease, insect damage, or deformity. I’ve found that larger seed heads generally produce more viable seeds than smaller ones from the same plant.
Skip any plants that showed signs of powdery mildew or other diseases during the growing season. While not all plant problems are seed-transmitted, selecting from your garden’s stars helps maintain strong genetics in your coneflower population over successive generations.
8. Handle With Care To Prevent Seed Loss
Mature coneflower seed heads can shed their treasure at the slightest disturbance. Hold each stem upright as you cut to prevent seeds from dropping prematurely. Immediately place the cut stems into your collection bag or envelope, keeping the seed head pointing upward until secured.
Working on calm days prevents wind from carrying away your seeds. One particularly breezy October afternoon taught me this lesson the hard way – watching dozens of tiny seeds sailing across the garden before I could catch them!
Consider placing a paper bag gently over the seed head before cutting if you’re dealing with particularly mature specimens. This creates an instant containment system for any seeds that might fall during the cutting process, ensuring you capture every potential new plant.
9. Dry Seeds Thoroughly Before Processing
Even seeds that appear dry on the plant benefit from additional drying time. Spread your cut seed heads in a single layer on newspaper or paper towels in a warm, dry location with good air circulation. A spare table in a garage or unused room works perfectly.
Avoid direct sunlight, which can reduce seed viability. The seeds need gentle, consistent conditions to complete their drying process. My seed-drying station is a card table in the corner of my home office, where the temperature stays steady and air moves freely.
Allow the seed heads to dry for at least a week before attempting to separate the seeds. You’ll know they’re ready when the stems snap rather than bend and the seed heads feel completely dry and brittle to the touch. Proper drying significantly improves germination rates the following spring.
10. Separate Seeds From The Cone
Extracting seeds from the dried cone requires gentle persistence. Hold the stem in one hand and use your thumb and forefinger of the other hand to rub the cone, dislodging the seeds onto a clean surface. A sheet of white paper makes the small black seeds easier to spot.
The seeds hide between the stiff, spiky bracts of the cone. Sometimes a gentle rolling motion between your palms will release stubborn seeds. My first attempts at seed collection were frustratingly slow until I developed this technique.
For processing multiple seed heads efficiently, place several dried cones in a paper bag and shake vigorously, then rub them between your hands inside the bag. The seeds will collect at the bottom while the larger plant material remains easier to remove.
11. Clean Away The Chaff
Removing plant debris from your collected seeds improves storage life and germination rates. After separating seeds from the cones, you’ll notice small pieces of plant material mixed with your seeds – this is called chaff.
A simple cleaning method uses a fine mesh kitchen strainer. Gently shake the collected material in the strainer over a bowl or paper. The smaller seeds fall through while larger pieces remain behind. For the truly dedicated, a light puff of breath can blow away remaining chaff while the heavier seeds stay in place.
Don’t worry about removing every speck of debris. Seeds stored with small amounts of chaff still perform well. The year I obsessed over perfectly clean seeds, I accidentally lost many good seeds in my overzealous cleaning efforts!
12. Test For Seed Viability
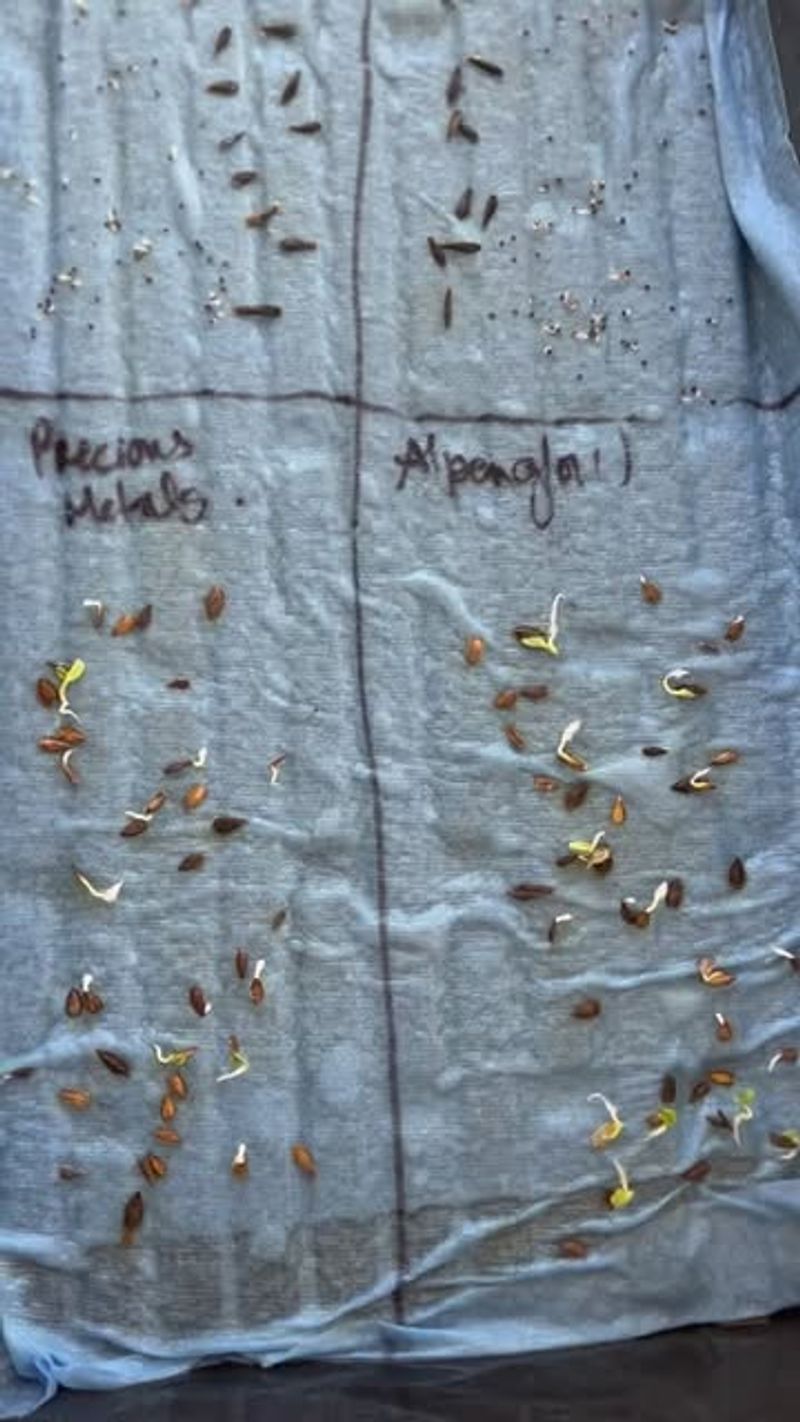
Not all seeds collected will be viable, so a simple test can save disappointment later. Place ten seeds on a damp paper towel, fold it over to cover them, and seal inside a plastic bag. Keep this in a warm location (around 70°F) and check after 7-10 days.
Viable coneflower seeds will show signs of germination – a tiny white root emerging from the seed. Count how many germinate to estimate your seed viability percentage. Last year, eight of my ten test seeds sprouted, giving me confidence in my collection methods.
This test helps determine how densely to sow your seeds next spring. Lower germination rates mean you’ll want to sow seeds more thickly to achieve the desired number of plants. Seeds with extremely low viability rates might not be worth storing.
13. Package Seeds Properly For Storage
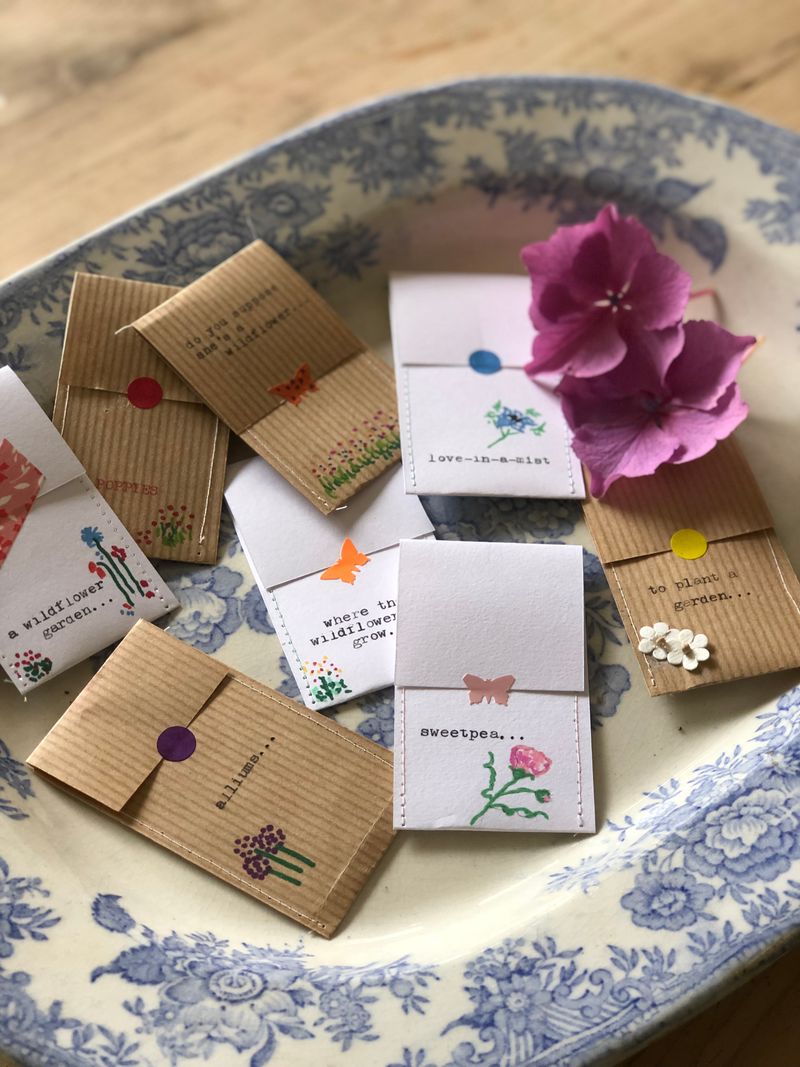
Proper storage containers make a significant difference in seed longevity. Small paper envelopes or glassine packets work beautifully for coneflower seeds. Avoid plastic bags which can trap moisture and lead to mold or premature germination.
Label each packet immediately with the plant variety, collection date, and any notes about the parent plant. One spring, I discovered several mystery seed packets where I’d forgotten to record this crucial information – a frustrating experience I never repeated!
For additional protection in humid climates, add a small silica gel packet to your seed storage container. These moisture-absorbing packets can be saved from product packaging or purchased inexpensively online. They’ve dramatically improved my seed storage success in my sometimes-humid basement seed storage area.
14. Store In The Right Environment
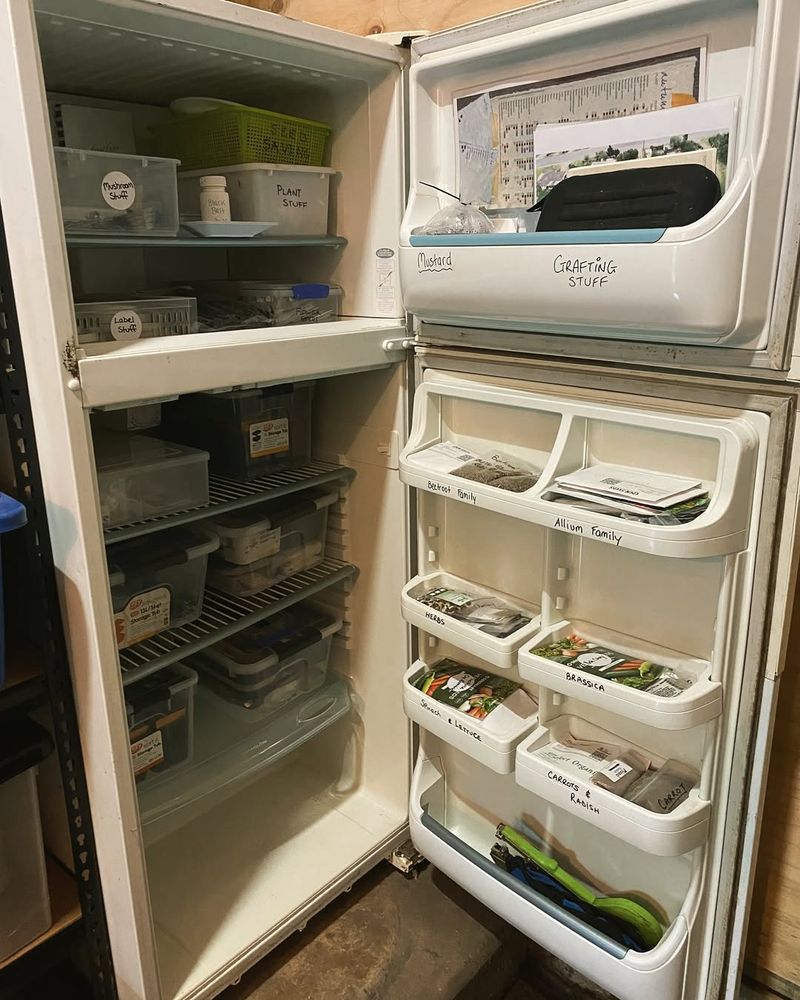
Creating optimal storage conditions extends seed viability significantly. Coneflower seeds prefer cool, dry environments with consistent temperatures. The refrigerator provides nearly perfect conditions – maintaining both coolness and low humidity.
Before refrigerating, place your labeled seed packets inside an airtight container like a mason jar or plastic food storage container. Add a desiccant packet if you have one available. The first year I collected seeds, I stored them in my garden shed where temperature fluctuations reduced germination rates dramatically.
Seeds stored properly can remain viable for 2-3 years, though germination rates gradually decline with age. For best results, use your collected seeds within two growing seasons. Each spring, I love opening those carefully stored packets, connecting me to last year’s garden while starting the new season.
15. Record Keeping For Future Success
Maintaining simple records transforms casual seed saving into a valuable gardening skill. Create a seed inventory listing each variety, collection date, storage location, and parent plant characteristics. This system prevents spring confusion and builds knowledge over multiple seasons.
Note germination test results and any special collection circumstances. The year our summer drought stressed my plants, I recorded this alongside seed collection notes and found those seeds actually performed exceptionally well – valuable information for future growing seasons.
A small notebook dedicated to seed saving quickly becomes a treasured gardening resource. My records from five years ago still guide my planting decisions today, showing which seed-saving techniques worked best and which plants produced the most vigorous offspring.