15 Simple Fixes To Make Your Raised Garden Bed Last Longer
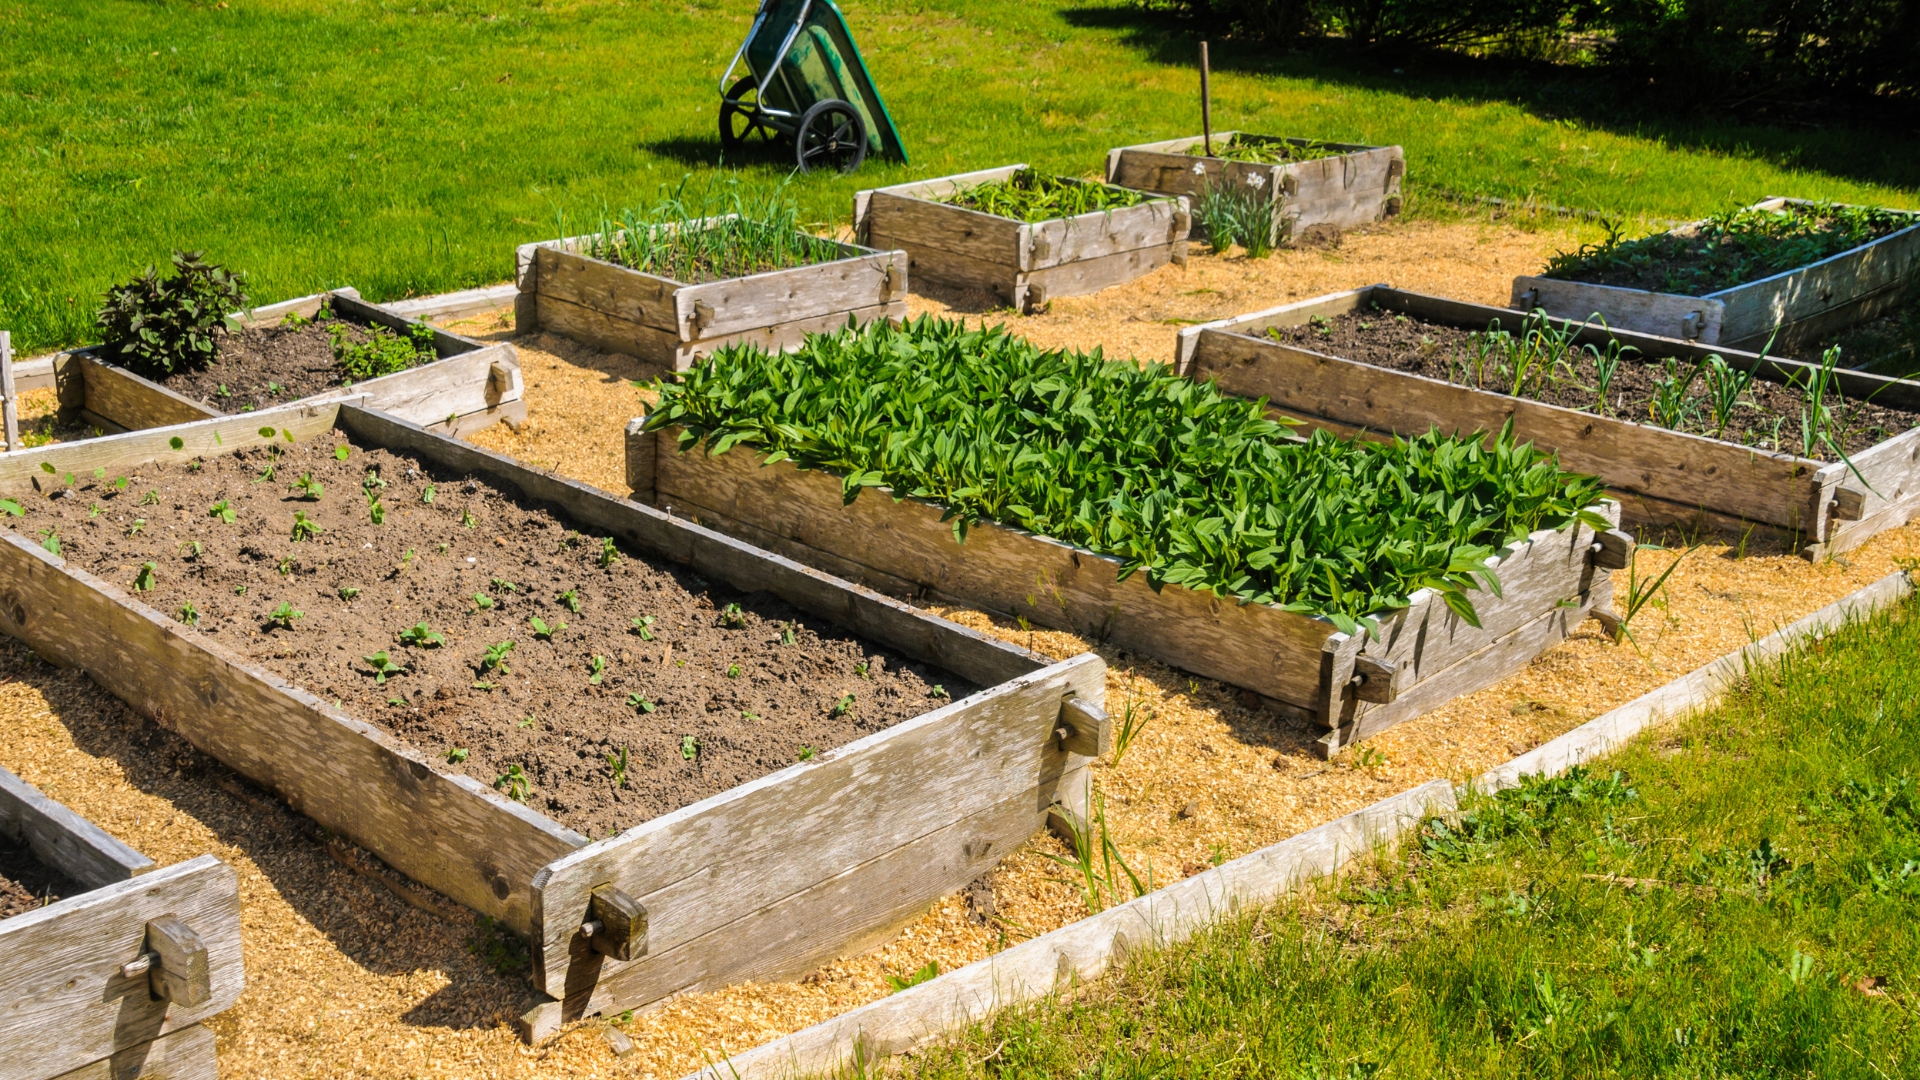
Raised garden beds are amazing—until they start falling apart way too soon. I’ve learned (sometimes the hard way) that a few smart tweaks can make a big difference.
From better wood choices to sneaky ways to stop rot, these tips are all about keeping your setup strong and steady. No fancy tools, just easy fixes that actually work.
Let’s make sure your garden bed sticks around for the long haul!
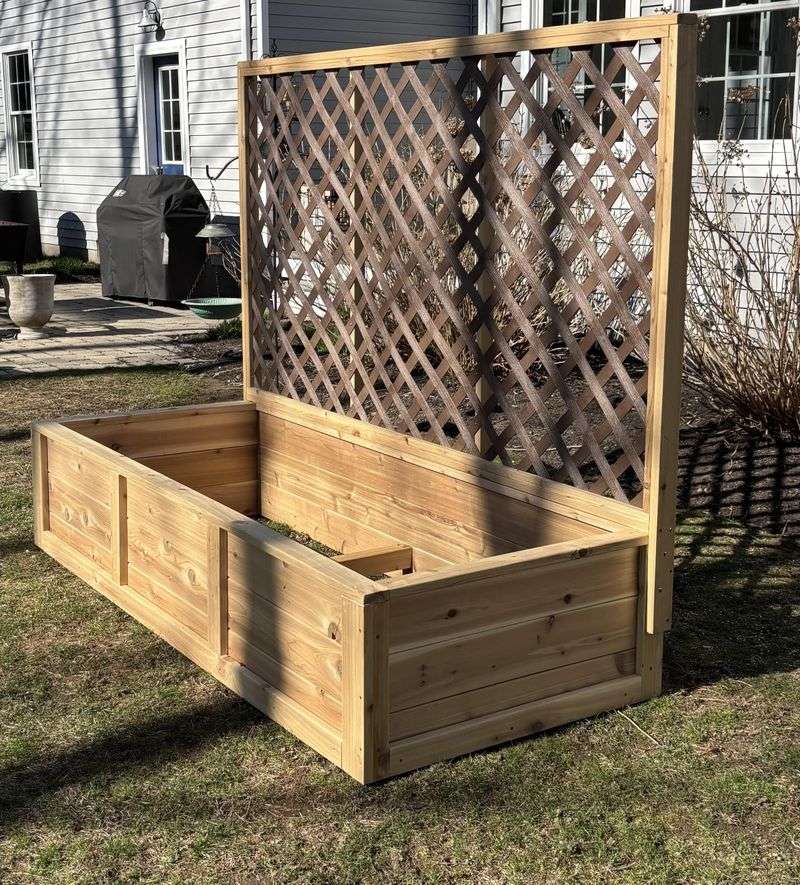
1. Add Protective Corner Brackets
Metal corner brackets reinforce the weakest points of your raised bed where wood joins together. These inexpensive hardware pieces prevent the corners from pulling apart when soil pushes outward, especially after heavy rains.
Install them on both the inside and outside corners for maximum strength. Most garden centers carry these brackets, and they’ll add years to your bed’s lifespan while maintaining that clean, professional look you worked so hard to create.
2. Line Interior Walls With Plastic
Creating a moisture barrier between soil and wood dramatically extends your bed’s life. Use heavy-duty plastic sheeting (not the thin stuff) and staple it along the inside walls, leaving drainage at the bottom.
The plastic prevents direct soil contact that leads to rot while still allowing excess water to escape. For cedar beds, this simple addition can double the lifespan from 7-8 years to 15+ years of productive gardening.
3. Cap Your Bed Edges
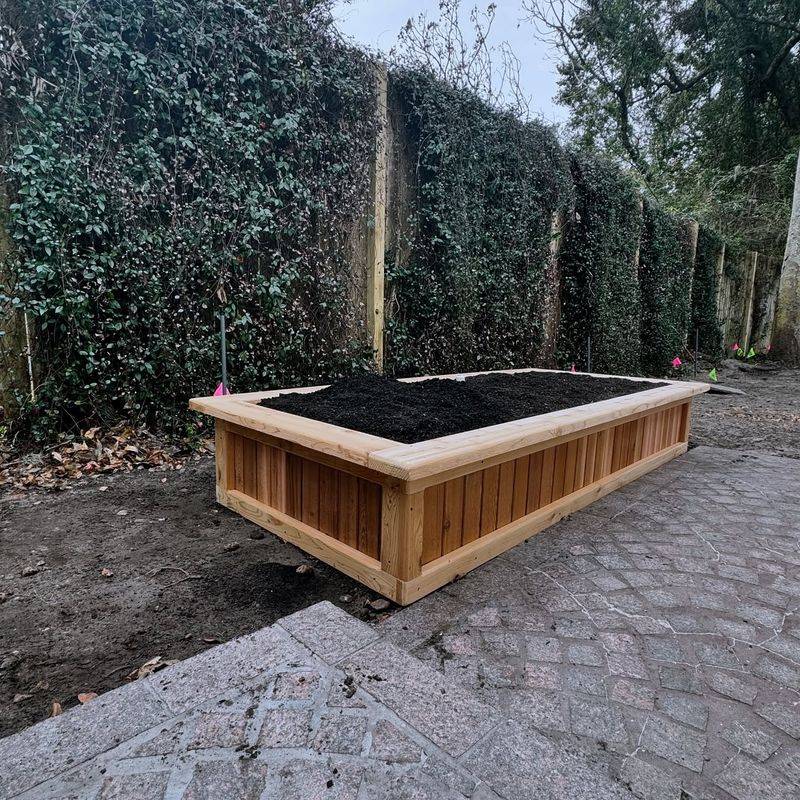
Adding wooden caps along the top edges creates a barrier against rain and morning dew that would otherwise soak directly into end grain. These decorative caps also provide comfortable seating while you’re planting or weeding.
Choose pressure-treated lumber or naturally rot-resistant wood like cedar for your caps. Apply several coats of exterior-grade sealer to the caps annually, focusing on the joints where water typically collects and causes the first signs of deterioration.
4. Elevate With Feet or Blocks
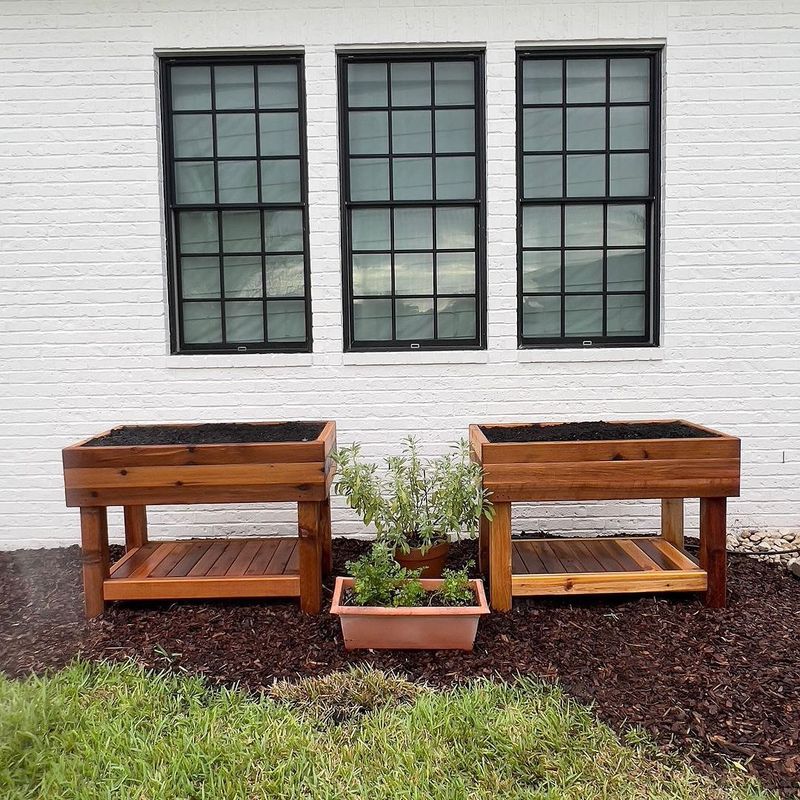
Raising your garden bed slightly off the ground prevents direct soil contact with the bottom boards. Use concrete blocks, bricks, or purpose-made plastic feet at each corner and midway along longer sides.
This small gap creates crucial airflow that prevents moisture buildup and rot. The elevation also discourages termites and other wood-boring insects from finding their way into your bed structure, adding years to its useful life without complicated construction.
5. Apply Natural Wood Preservative

Forget toxic chemicals – natural wood preservatives like linseed oil, tung oil, or beeswax mixtures protect wood while keeping your garden organic. Apply to all exterior surfaces annually, ideally in fall before winter moisture hits.
These penetrating oils feed the wood fibers and create a water-resistant barrier. For extra protection, mix in a small amount of pure citrus oil, which contains natural compounds that deter insects and fungal growth without harming your precious vegetables.
6. Install Drainage Layer
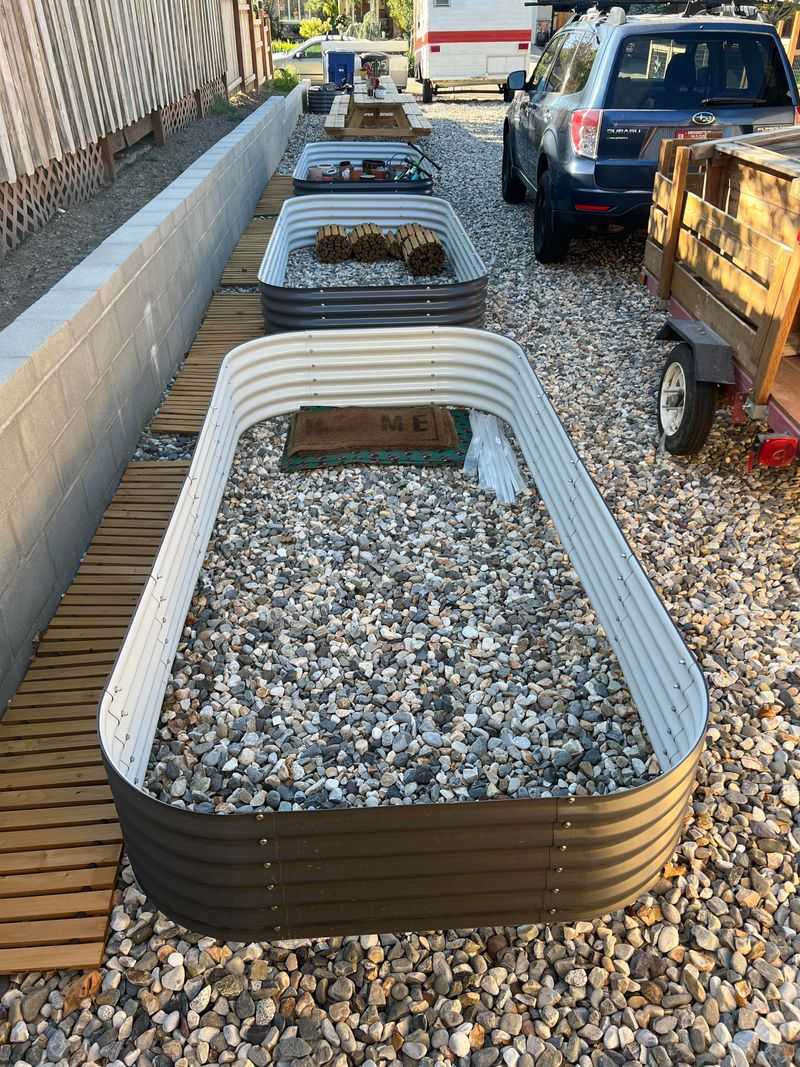
Poor drainage leads to waterlogged soil that presses constantly against wood, accelerating rot. Create a 2-3 inch layer of coarse gravel or broken pottery pieces before adding soil to your bed.
This drainage foundation prevents water from pooling at the bottom and pushing against the wood structure. For extra protection, lay landscape fabric between the drainage material and soil to keep them separated while still allowing water to flow freely through the system.
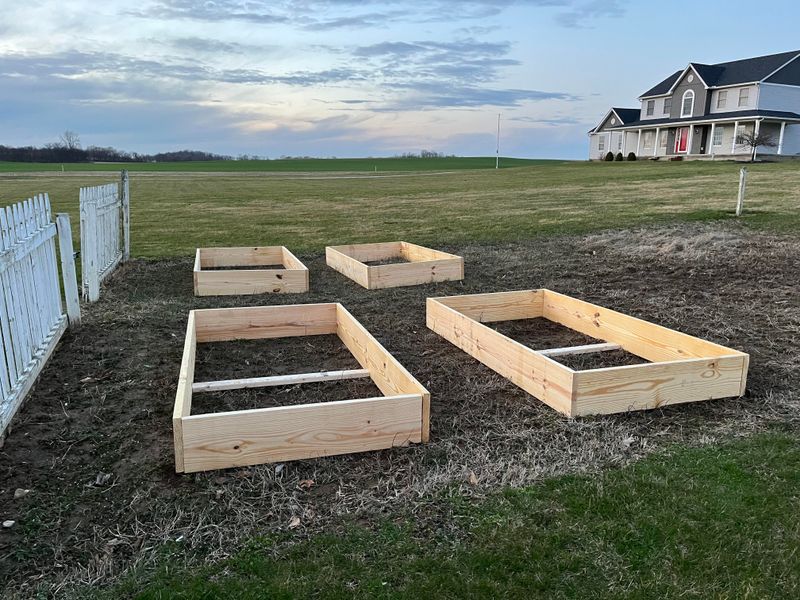
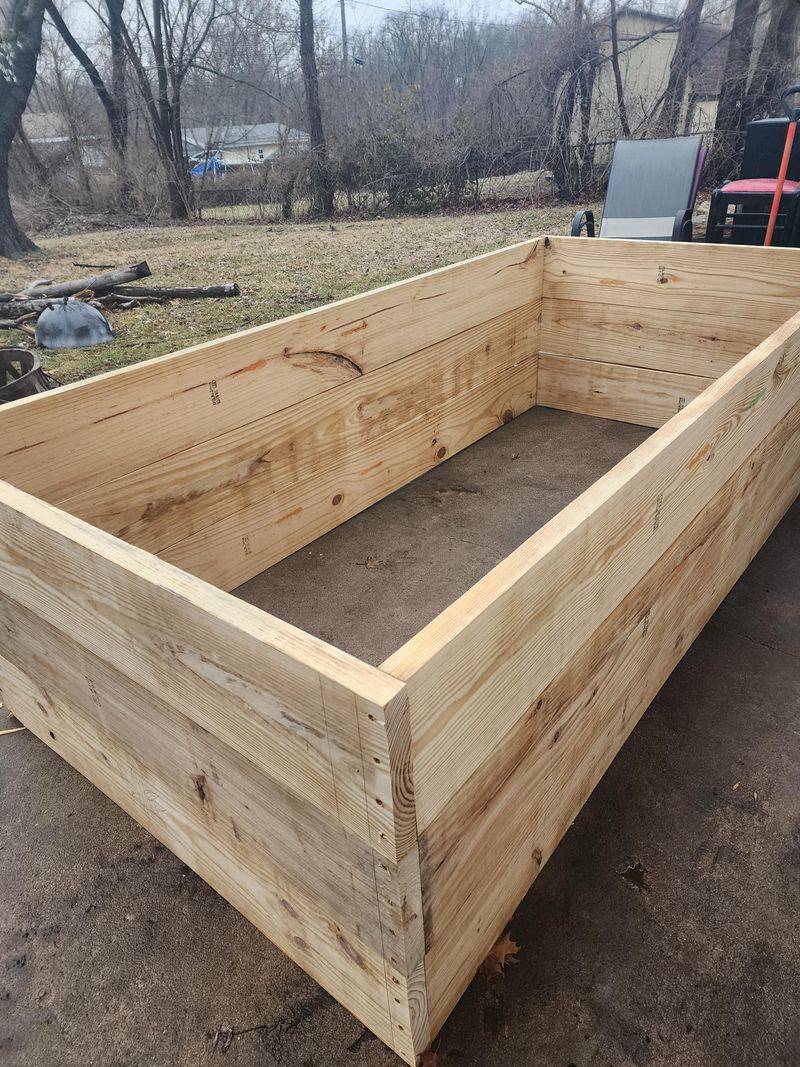
7. Reinforce Long Sides

Long sides of garden beds bow outward over time from soil pressure. Install cross-braces every 2-3 feet along beds longer than 4 feet to prevent this structural failure.
Use the same wood as your bed or metal pipe for strength without taking up growing space. These supports distribute pressure evenly across the structure instead of concentrating it at the corners. Your bed will maintain its shape for years longer, preventing soil spillage and keeping that tidy garden look.
8. Create Soil Buffer Zones
Direct contact between rich garden soil and wood accelerates decomposition. Create small buffer zones by lining the immediate interior with river rocks or landscape fabric strips before filling with soil.
These buffer materials minimize moisture transfer while still allowing your plants to thrive. The small space they take up is worth the extended life they provide to your garden structure. For best results, use rocks that are 1-2 inches in diameter packed tightly against the sides.
9. Seal Exposed End Grain
Wood absorbs moisture primarily through exposed end grain – those cut ends where you can see the wood’s rings. Apply extra coats of sealer specifically to these vulnerable areas to block moisture penetration.
Food-grade mineral oil or beeswax works well for organic gardens. Make this a yearly maintenance ritual in early spring before planting season begins. The small amount of time invested pays off with significantly extended bed life and less frequent rebuilding.
10. Install Hardware Cloth Bottom
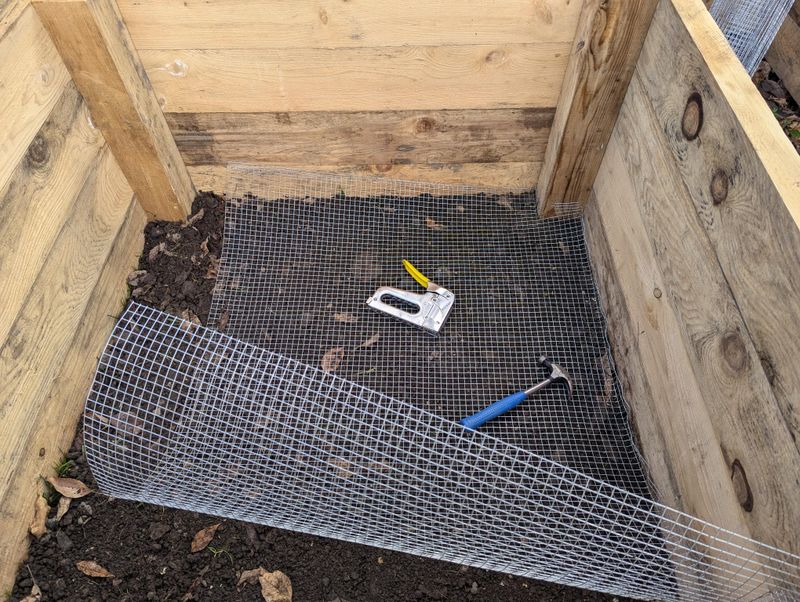
Burrowing pests like gophers and moles can undermine your bed’s structure from below. Attach galvanized hardware cloth (¼-inch mesh) to the bottom before adding soil to create an effective barrier.
The metal mesh prevents animals from digging up from underneath while still allowing proper drainage. This protection keeps your soil in place and prevents structural shifting that could crack or split your carefully built bed over time.
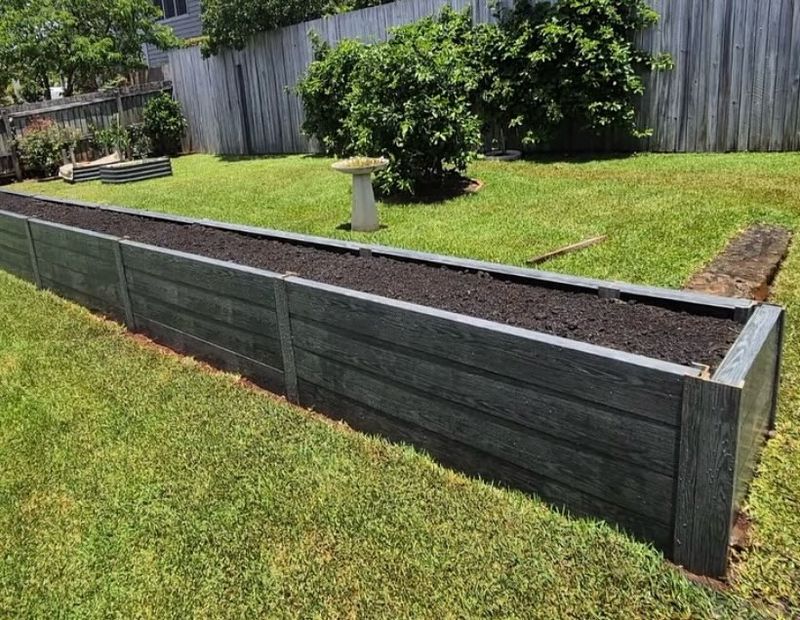
11. Add Mid-Height Support Stakes
Tall garden beds face extra pressure that can cause bulging or collapse. Drive wooden or metal stakes into the ground along the outside of your bed, positioned midway up the sides for reinforcement.
These external supports resist outward pressure without taking up valuable growing space inside. For a cleaner look, use metal rebar painted to match your bed color. The stakes work especially well in beds taller than 12 inches where soil weight creates significant lateral force.
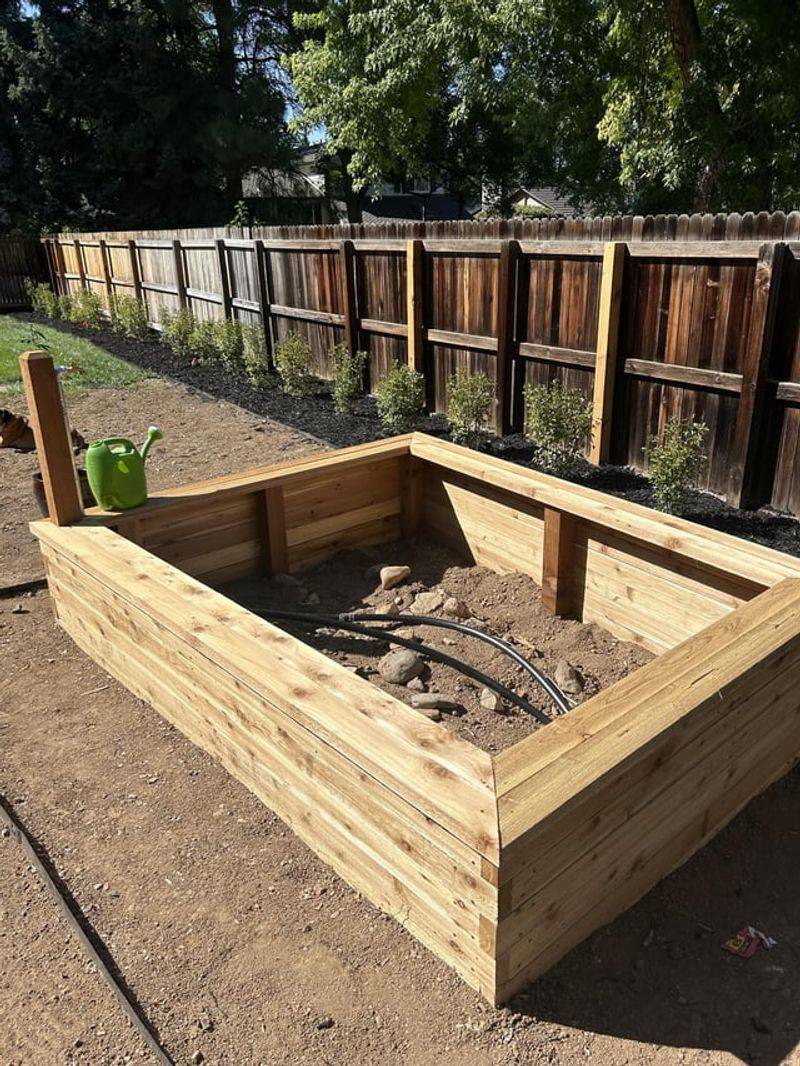
12. Create Proper Water Management
Excess water pooling around your bed’s exterior accelerates wood rot. Create slight slopes away from your beds and install simple drainage channels filled with gravel to direct water away during heavy rains.
Consider adding a drip irrigation system instead of overhead watering to deliver moisture precisely where needed. This targeted approach keeps excess water off wooden structures while conserving water. Your plants get exactly what they need without constantly soaking the wooden frame.
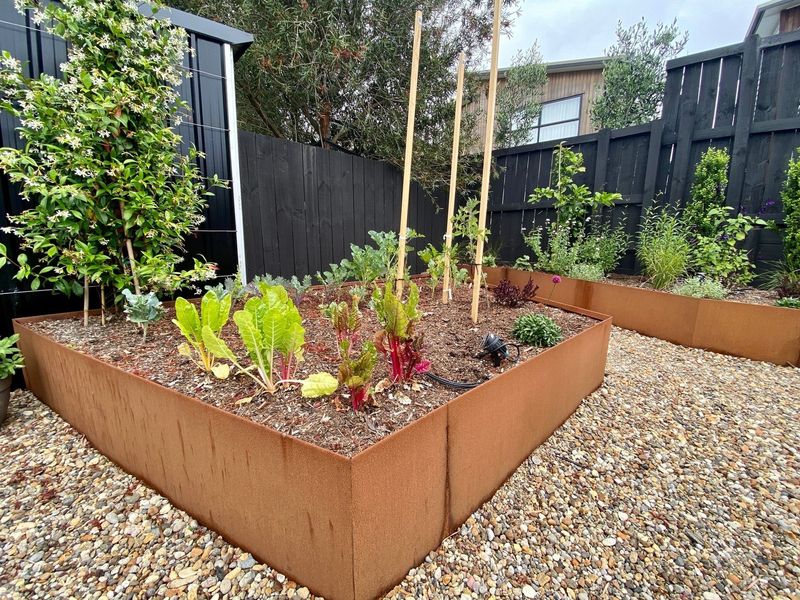
13. Use Composite Corner Posts
Corners take the most structural stress and are first to fail in garden beds. Replace wooden corner posts with composite material alternatives that won’t rot, even with ground contact.
These synthetic posts provide anchor points for your wooden sides while resisting decomposition. The combination gives you the warm look of wood with the durability of modern materials. Many gardeners find this hybrid approach offers the perfect balance between aesthetics and longevity.
14. Maintain Proper Soil Levels
Overfilling your bed puts excessive pressure on sides and accelerates deterioration. Keep soil 1-2 inches below the top edge to prevent spillover and reduce lateral pressure during watering and heavy rains.
This small gap also improves air circulation around upper wood edges where moisture often gets trapped. As an added benefit, the space gives you room to add fresh compost annually without creating overflow situations that push against and damage your bed structure.
15. Schedule Annual Inspection
Catching small problems early prevents major structural failures later. Set a calendar reminder to inspect your beds each spring for loose fasteners, small cracks, or signs of wood deterioration.
Tighten any loose screws or bolts immediately and apply touch-up sealer to exposed areas. Replace individual boards showing significant decay before they compromise the entire structure. This proactive maintenance approach costs minutes but saves you from premature replacement of the entire garden bed.