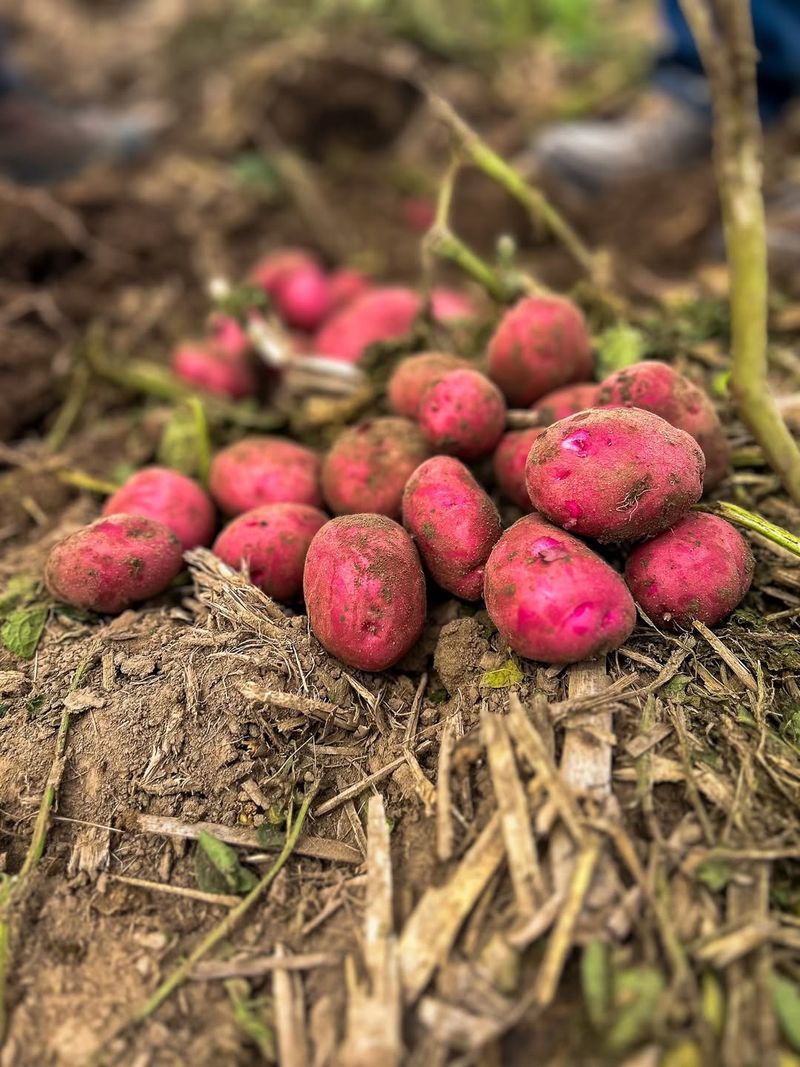
The Easiest Way To Get A Huge Potato Harvest In Idaho
Growing potatoes in Idaho isn’t just a tradition—it’s practically written into the soil. With the right conditions and a few smart tricks, you can turn your backyard garden into a potato-producing powerhouse.
Whether you’re a first-timer or have been growing spuds for years, these proven methods will help you pull more potatoes from the ground than you ever thought possible.
1. Start With Certified Seed Potatoes
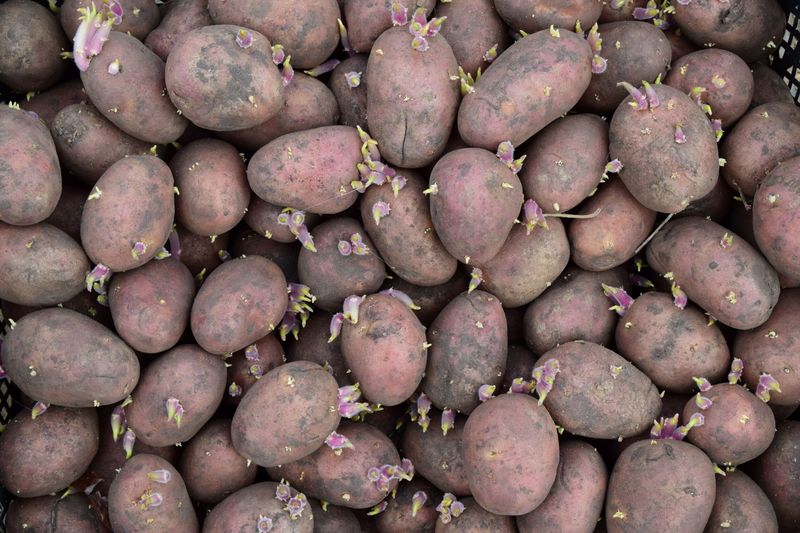
Using certified seed potatoes gives your crop a head start that store-bought spuds just can’t match. These specially grown tubers are disease-free and bred to produce heavy yields, which matters when Idaho’s growing season demands your best effort.
Local garden centers across Idaho stock varieties perfectly suited to our climate. Russet Burbank and Yukon Gold thrive here, giving you reliable harvests year after year.
Skip the grocery store potatoes—they’re often treated to prevent sprouting, which means disappointing results in your garden beds.
2. Choose The Right Planting Time
Timing makes all the difference when you’re aiming for a massive potato harvest. Plant too early and frost will damage your seedlings; wait too long and your potatoes won’t have enough time to develop properly before fall.
Most Idaho gardeners plant between mid-April and early May, when soil temperatures reach about 45 degrees. Check your local frost dates and plan accordingly—different regions across the state have slightly different schedules.
A soil thermometer costs just a few dollars and takes the guesswork out of planting day.
3. Prepare Your Soil Properly

Potatoes love loose, well-draining soil that lets their roots spread easily. Heavy clay or compacted dirt will stunt growth and produce small, misshapen tubers that nobody wants on their dinner plate.
Work plenty of compost into your beds a few weeks before planting—Idaho’s naturally alkaline soil benefits from the organic matter. Aim for a slightly acidic pH between 5.0 and 6.5 for best results.
Till your garden to at least 12 inches deep, breaking up clumps and removing rocks that could interfere with potato development.
4. Hill Your Potatoes Regularly
Here’s a secret many beginning gardeners miss: potatoes don’t just grow down, they grow up along the buried stem. Every time you mound soil around your plants, you create more space for tubers to form.
Start hilling when plants reach about six inches tall, and repeat every two to three weeks throughout the growing season. Idaho’s long summer days give your plants plenty of energy to fill those extra spaces with potatoes.
Just be careful not to bury the leaves completely—they need sunlight to keep feeding the plant.
5. Water Consistently And Deeply
Potatoes need steady moisture to develop properly, but Idaho’s dry summer climate means you’ll need to stay on top of watering. Inconsistent watering leads to knobby, cracked potatoes that don’t store well.
Aim for about one to two inches of water per week, adjusting based on rainfall and temperature. Deep watering encourages roots to grow downward, making plants more drought-resistant during hot spells.
Mulch around your plants with straw to help retain moisture and keep soil temperatures more stable throughout the day.
6. Feed Your Plants Throughout The Season
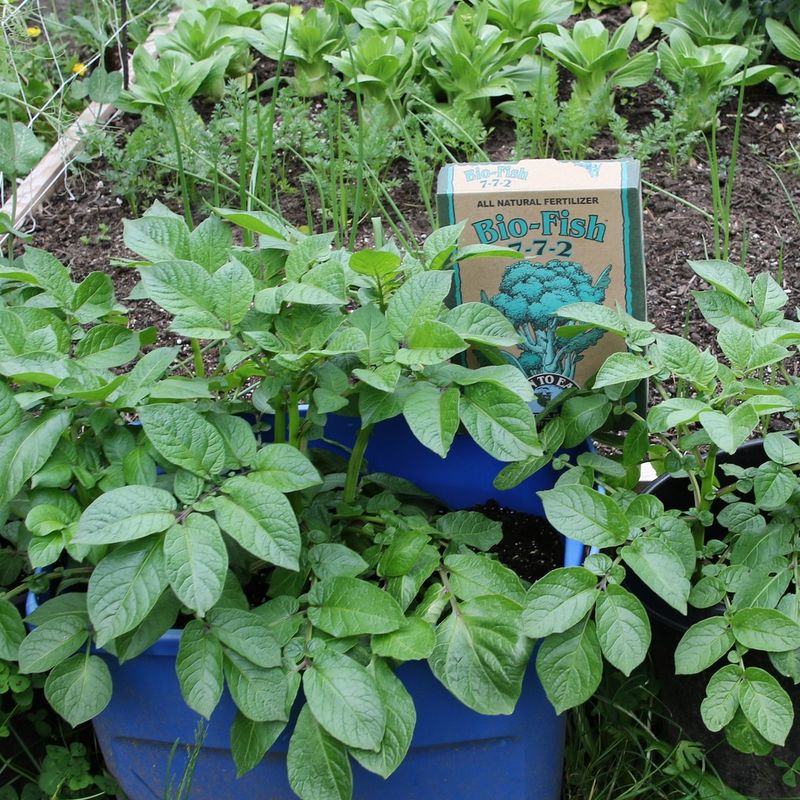
Potatoes are heavy feeders that pull lots of nutrients from the soil as they grow. Without proper fertilization, even Idaho’s rich volcanic soil can run low on what your plants need most.
Apply a balanced fertilizer when you plant, then side-dress with nitrogen-rich amendments when plants begin flowering. This is when tubers start forming underground, and extra nutrients translate directly into bigger potatoes.
Avoid over-fertilizing with nitrogen late in the season—it encourages leafy growth instead of tuber development, which defeats your purpose.
7. Watch For Common Pests And Diseases
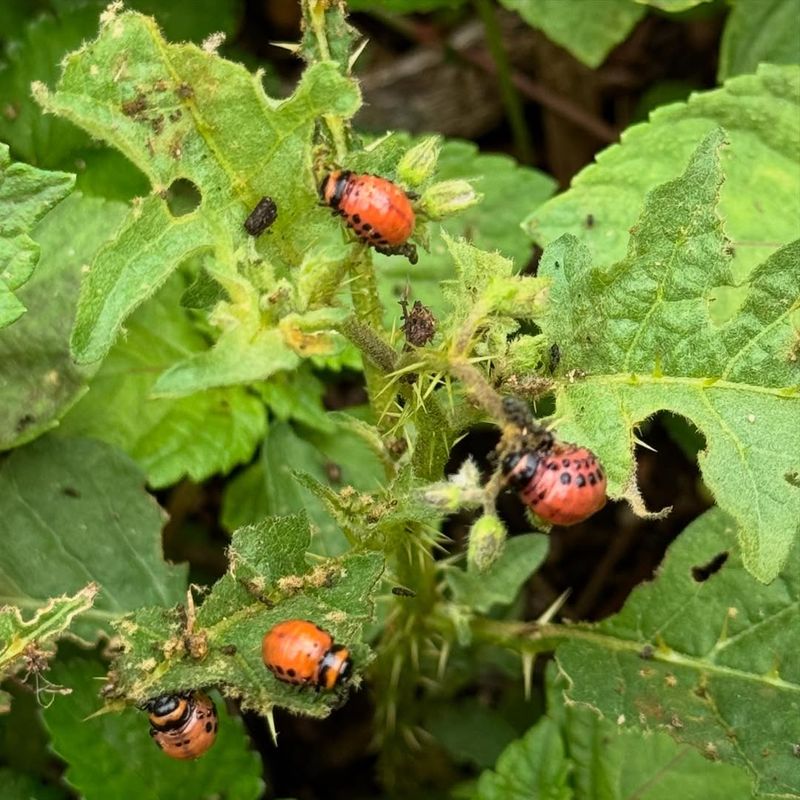
Colorado potato beetles and late blight can devastate your crop faster than you’d think possible. Regular scouting helps you catch problems early, when they’re still manageable with simple interventions.
Check the undersides of leaves weekly for orange egg clusters or striped beetles munching away. Idaho’s relatively dry climate helps prevent some fungal diseases, but you still need to watch for signs of trouble.
Remove affected leaves immediately and consider organic controls like neem oil or hand-picking beetles into soapy water for small infestations.
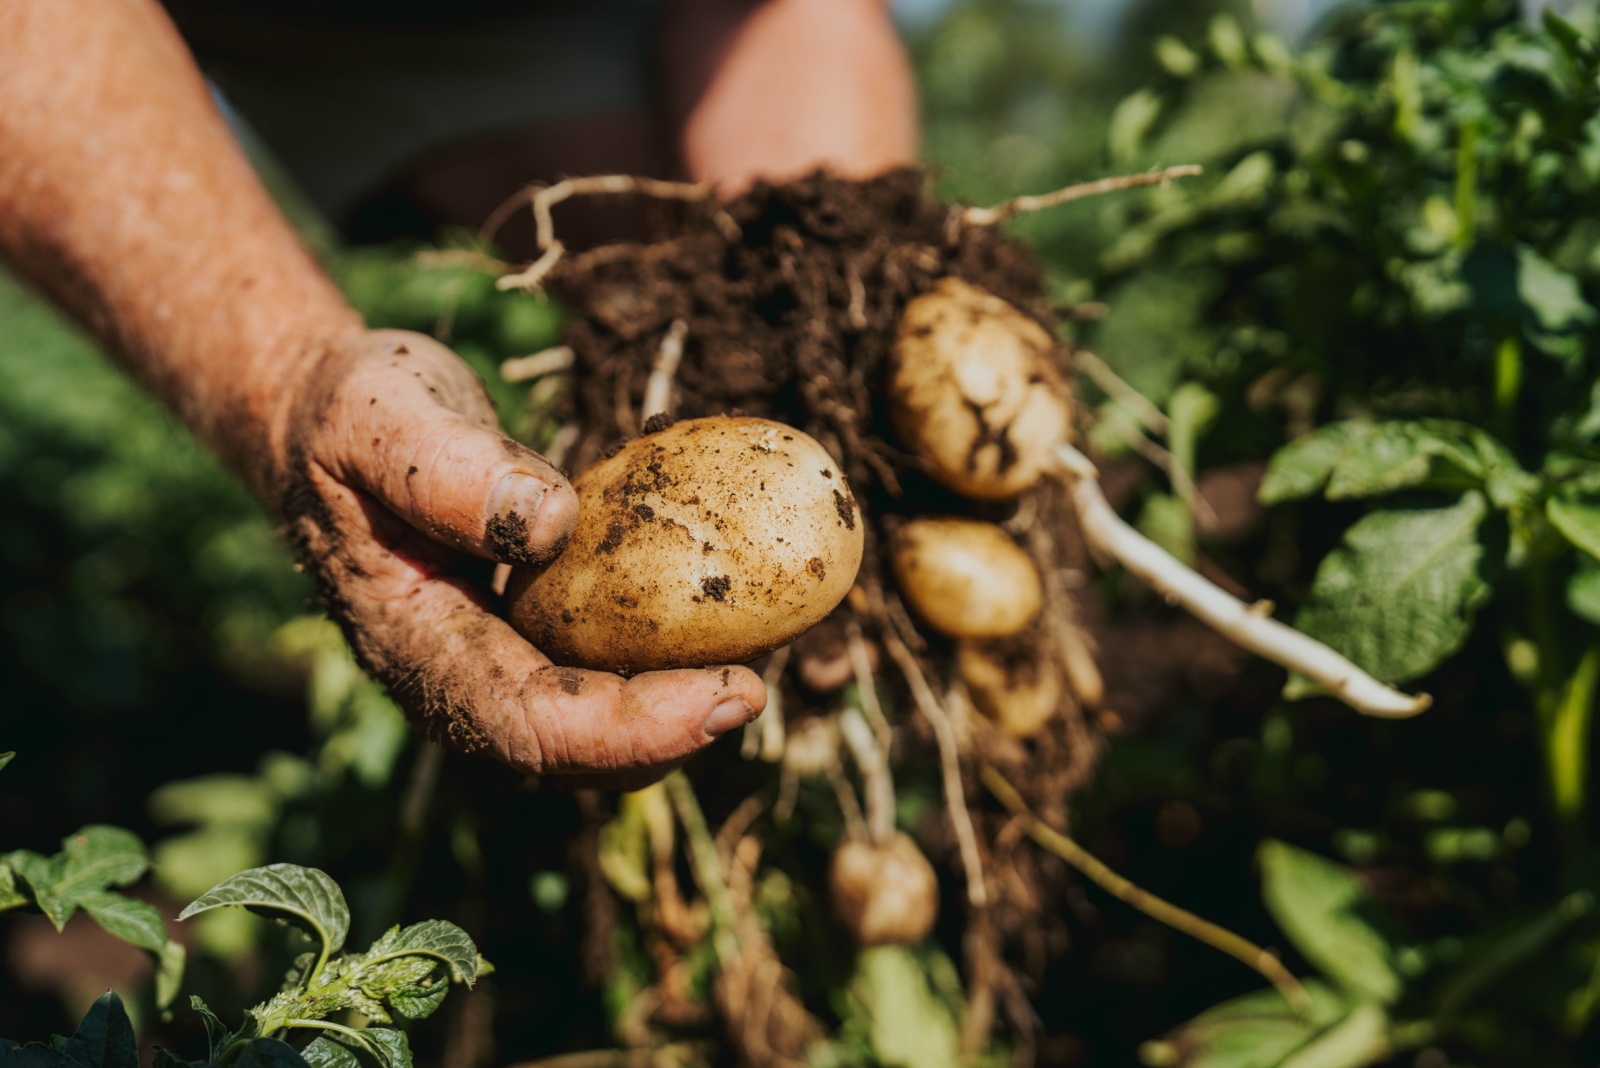
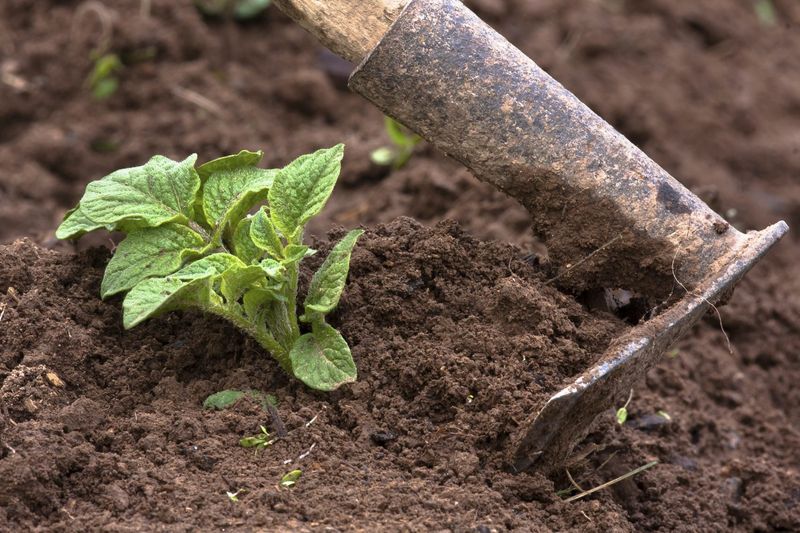
8. Harvest At The Perfect Time
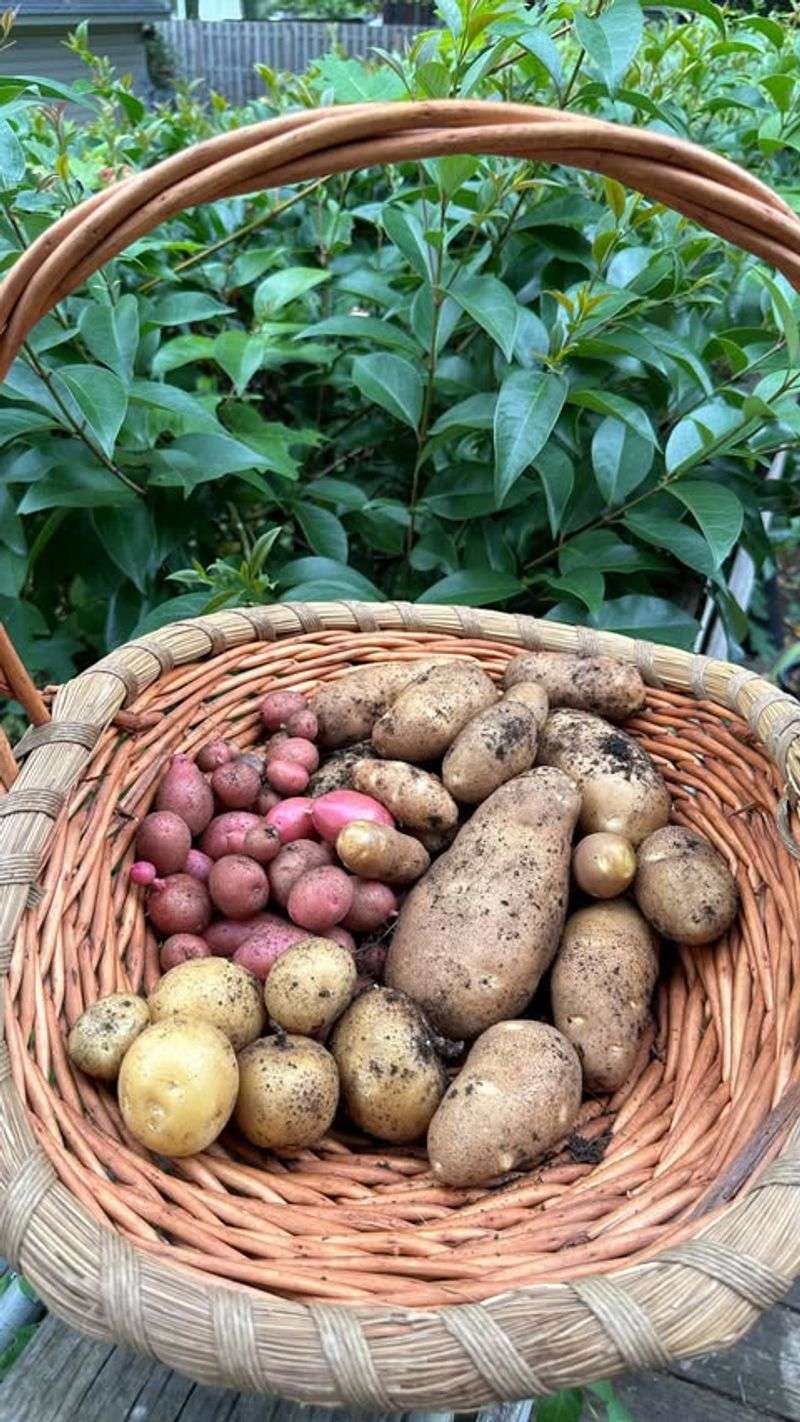
Knowing when to harvest separates okay yields from truly impressive ones. Wait until plants have died back naturally—this signals that potatoes have reached full maturity and their skins have toughened up for storage.
Idaho gardeners typically harvest between late August and October, depending on when they planted. Dig carefully with a garden fork, working from the outside edges of the hill to avoid spearing your precious potatoes.
Let freshly dug potatoes cure in a cool, dark place for two weeks before storing them long-term.