Use These 7 Simple Steps To Propagate Mint For A Nice Boost Of New Leaves
Last spring, I watched my mint plant practically explode with growth, and I thought, “Why am I not making more of these beauties?” Mint is one of those miracle herbs that practically begs you to share it with every corner of your garden.
If you’re craving fresh mojitos all summer or just love the smell of minty goodness drifting through the yard, propagating mint is ridiculously easy and so rewarding. Trust me, once you see those baby roots forming, you’ll feel like a gardening wizard.
#1 Pick Your Healthiest Stems
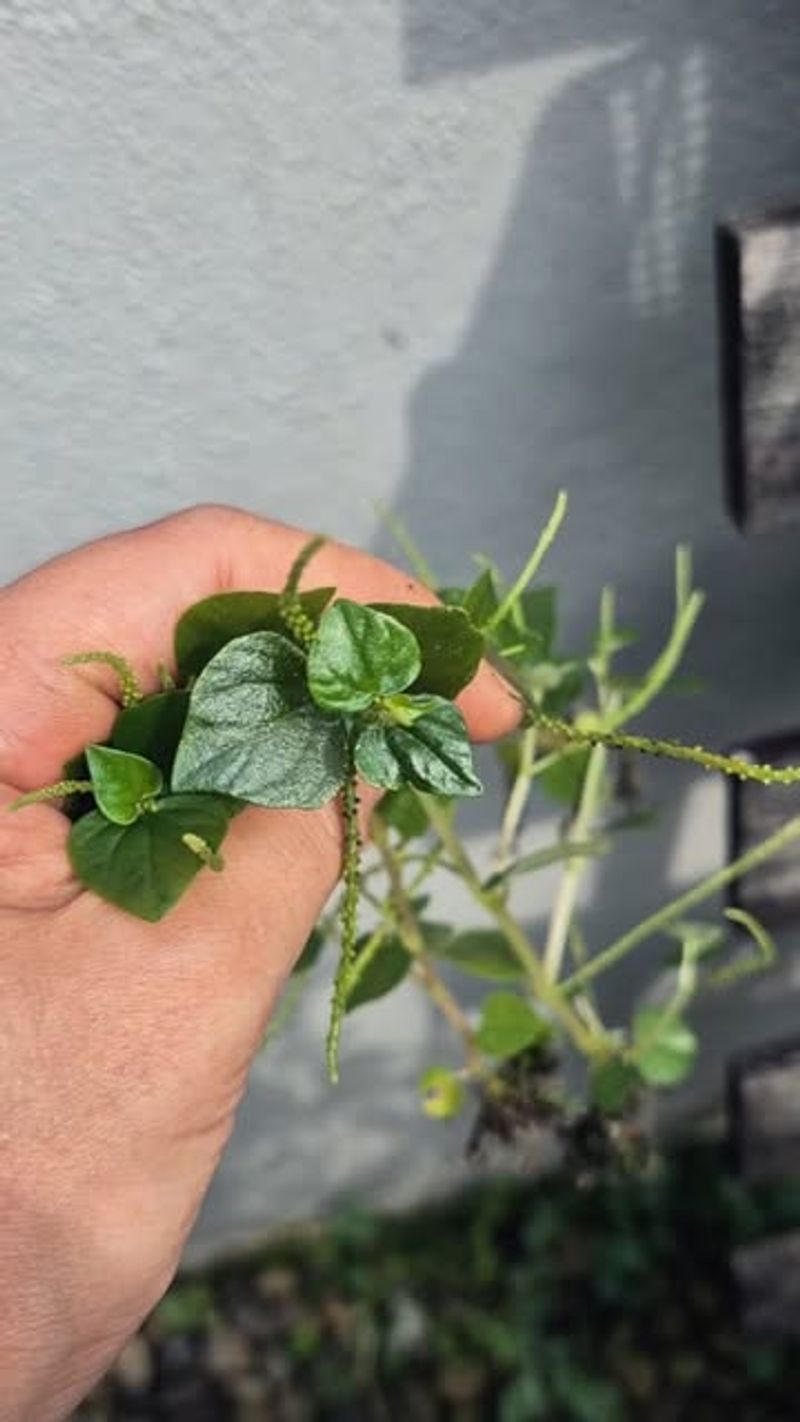
Okay, first things first, you need to scout out the best stems on your mint plant. Look for ones that are strong, green, and full of life. Avoid any sad-looking or yellowing stems because they won’t give you the results you’re hoping for.
Grab some clean scissors or garden shears since dirty tools are a no-no. Cut stems that are about 4–6 inches long, right below a leaf node, the little bump where leaves sprout. These nodes are where the magic happens, so don’t skip this part.
Once you’ve got your cuttings, remove the bottom leaves so only the top few remain. This helps the plant focus its energy on growing roots instead of feeding leaves.
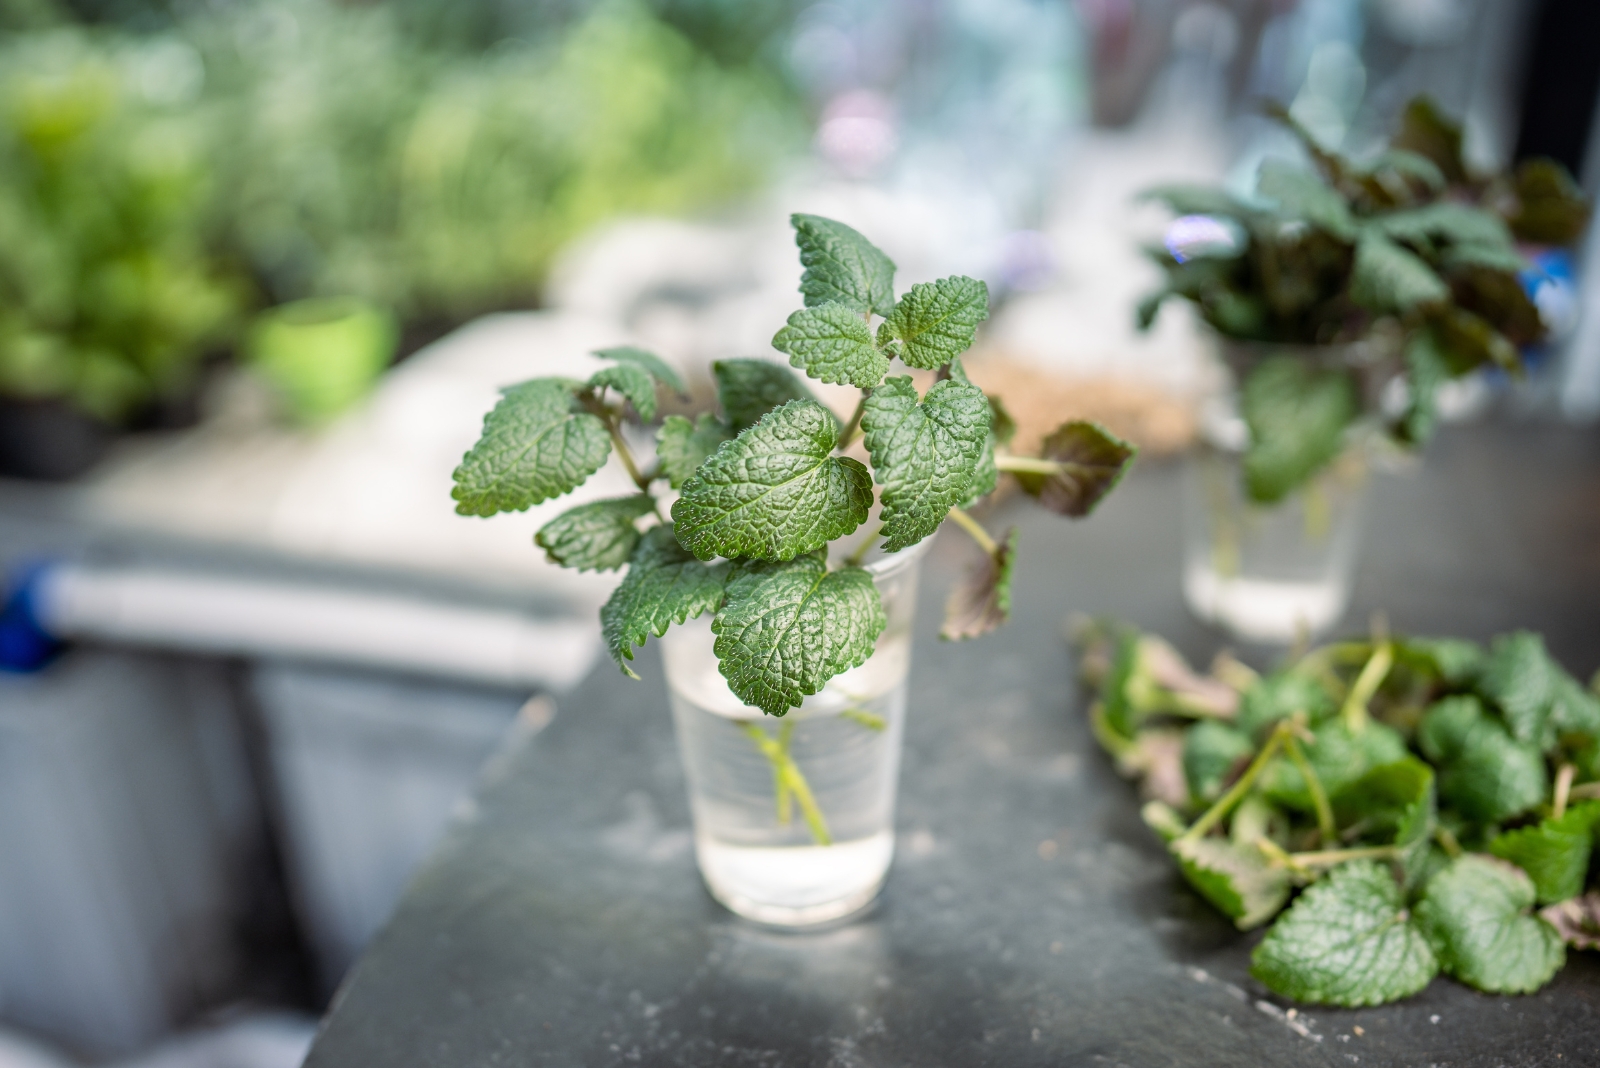
#2 Get A Glass Of Fresh Water Ready
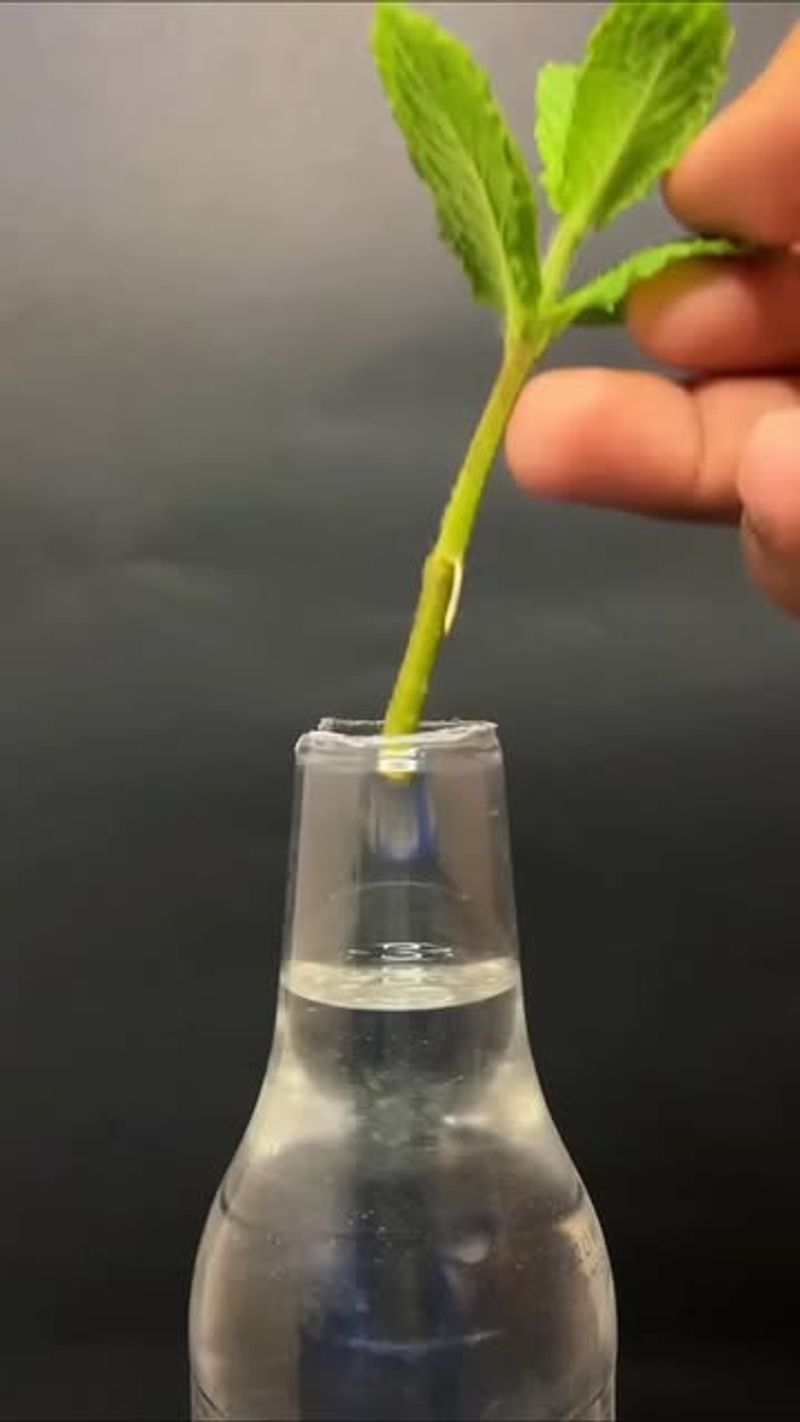
Here’s where things get super simple, I promise. Find a clean glass or jar, nothing fancy, just something clear so you can watch the roots grow. Fill it with fresh, room-temperature water.
Place your mint cuttings into the water, making sure the bottom nodes are submerged while the leaves stay above the waterline. If leaves sit in water, they’ll turn mushy and unpleasant. Put the glass somewhere bright but out of harsh direct sunlight, and a windowsill usually works well.
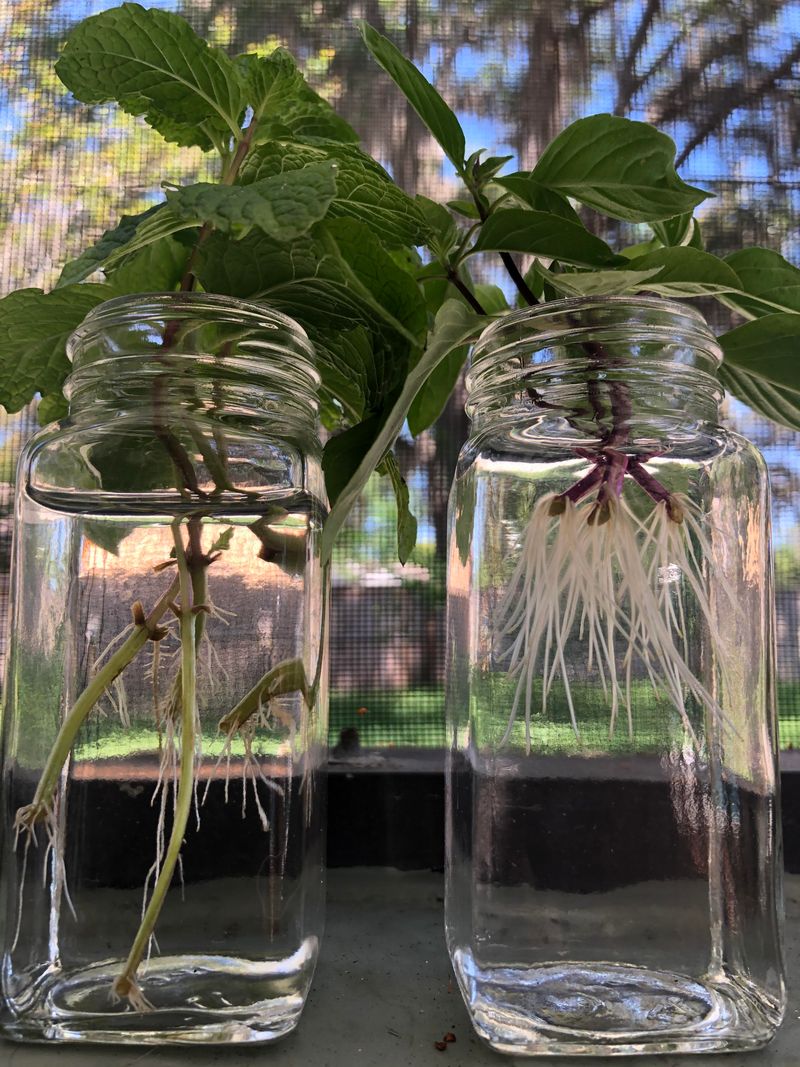
Change the water every couple of days to keep things fresh and oxygenated. You’ll start seeing tiny white roots within a week or two, and it’s honestly the coolest little transformation to watch.
#3 Wait Patiently For Roots To Appear
The waiting stage might not be the most exciting, but it’s a big part of the process. Your mint cuttings are busy behind the scenes, even if you don’t see changes right away. Go ahead and check on them daily, and enjoy those little morning plant check-ins with your coffee.
Within 7 to 14 days, delicate white roots should start peeking out from the nodes. Some cuttings take their time, so don’t stress if one is slower than the rest. Just keep the water fresh and the light consistent.
Once the roots reach about 2 inches, they’re ready for the next step. Patience truly pays off, and when those roots show up, you’re officially a propagation pro.
#4 Prepare Your Planting Pot And Soil
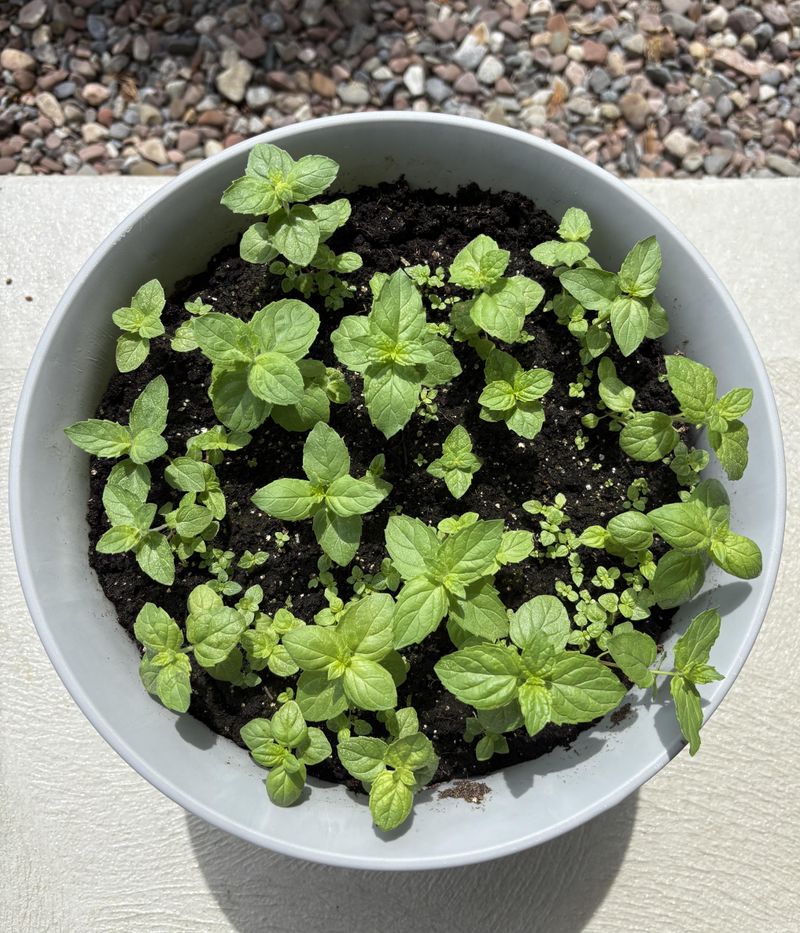
Now comes the moment to set up a cozy home for your mint. Grab a pot with drainage holes because mint really dislikes sitting in soggy soil. Fill it with good-quality potting mix that drains well but still holds a bit of moisture.
I like to moisten the soil before planting so it’s ready to welcome those tender roots. Add a little water and mix it around until it feels like a wrung-out sponge, damp but not dripping. Make a small hole in the center with your finger.
Choose a pot that’s at least 6 inches wide because mint loves to spread and get comfortable. If you’re planting multiple cuttings, give each one its own pot or space them out nicely.
#5 Gently Plant Your Rooted Cuttings
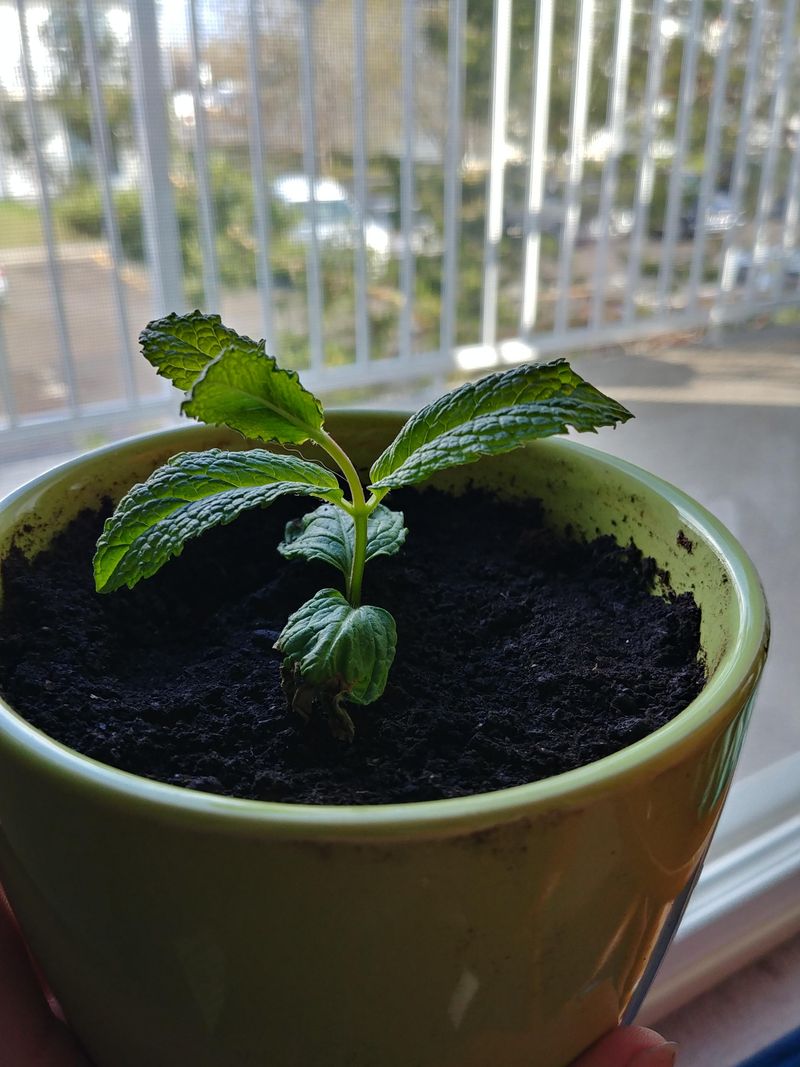
This is the exciting part, planting day. Carefully lift your rooted cuttings from the water, being super gentle with those delicate roots. They’re fragile little things, so treat them like you’re holding something precious.
Place each cutting into the hole you made in the soil, covering the roots completely while keeping the stem and leaves above the surface. Gently press the soil around the base to secure it, and don’t worry about packing it too tightly.
Give your newly planted mint a nice drink of water to help the soil settle around the roots. Keep the pot in bright, indirect light for the first few days while it adjusts to its new home.
#6 Keep The Soil Consistently Moist
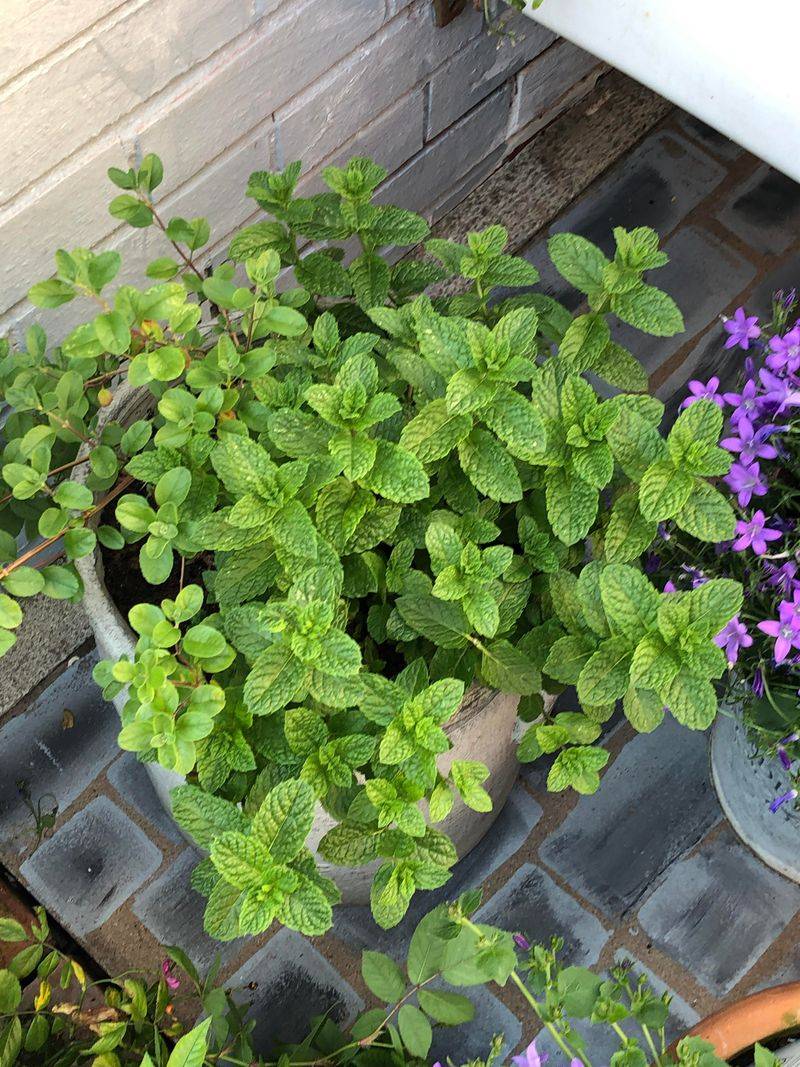
Mint is a thirsty little herb, and it truly loves moist soil. Check your plant daily by sticking your finger about an inch into the soil. If it feels dry, it’s time to water. During hot summer days, you might find yourself watering a bit more often.
But here’s the catch: moist doesn’t mean waterlogged. Make sure your pot drains well so the roots never sit in standing water, because overwatering can cause root issues, and that would undo all your hard work.
Aim for that sweet spot where the soil stays consistently damp but never soggy. Your mint will reward you with lush, fragrant leaves that smell amazing. And honestly, brushing past your mint just to get that fresh burst of scent is completely normal… I do it on purpose too!
#7 Give Your Mint Plenty Of Bright Light

Mint absolutely loves bright light, and it really thrives when it gets it. Place your pot where it can soak up about 4–6 hours of indirect sunlight each day. A sunny windowsill, patio, or balcony usually works well.
If the leaves start looking pale or the growth slows down, your mint might be hinting that it wants more light. On the other hand, if the leaves begin to look scorched or brown, ease up on the direct sun a bit. It’s all about finding that comfortable middle ground.
With the right amount of light, your mint will grow quickly and give you plenty of fresh leaves for cooking, teas, or anything else you enjoy using mint for. Before long, you’ll have a whole little mint family thriving around you. Pretty fun, right?