Seed Snails Are Becoming The New Favorite Trick In Home Gardening
Seed snails have quietly turned into one of those garden tricks you try once and immediately wonder how you ever skipped.
They’re simple, a little quirky, and honestly feel like a tiny science experiment happening right on your counter.
And the best part is how much joy gardeners get from watching those first roots curl out of a roll that looks like it came straight from a craft table.
What Seed Snails Actually Are
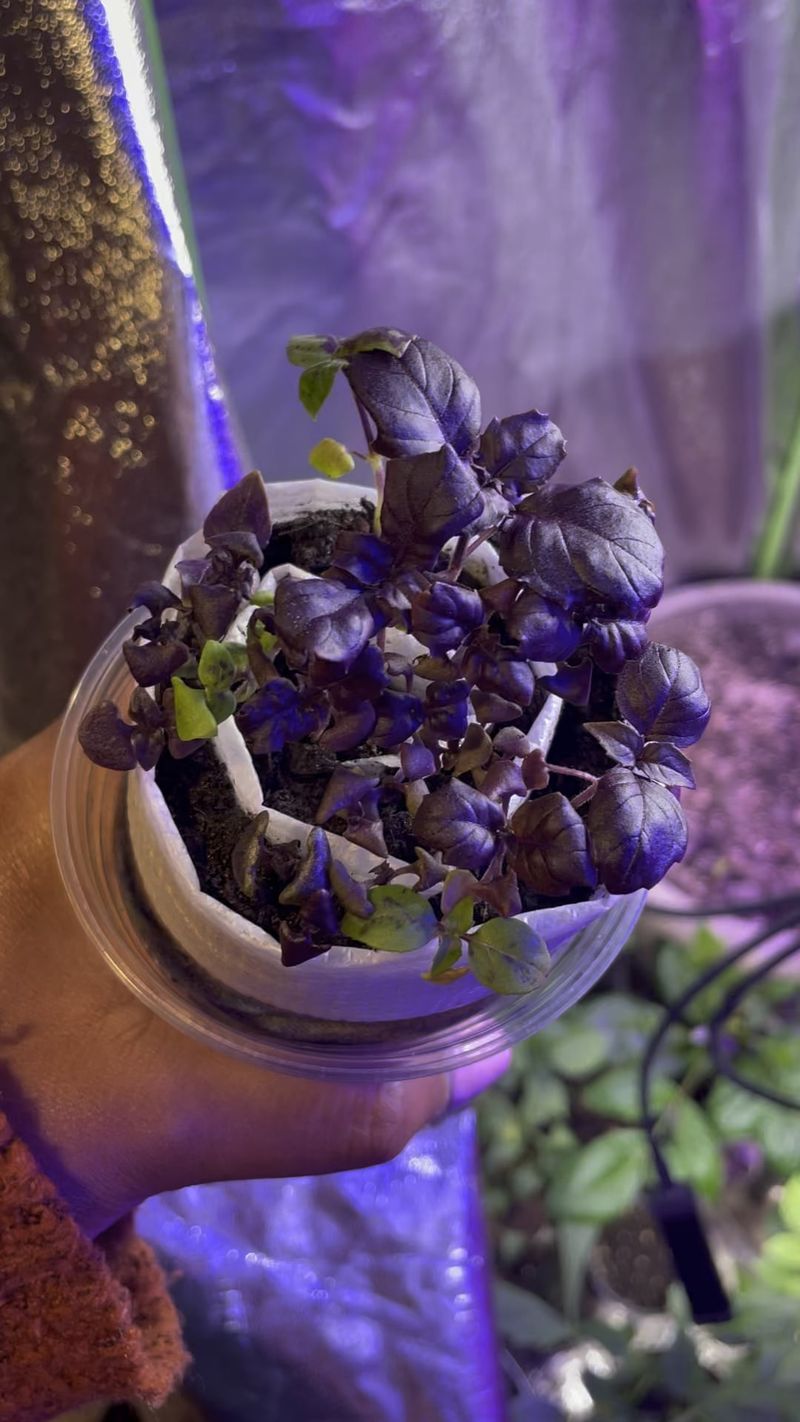
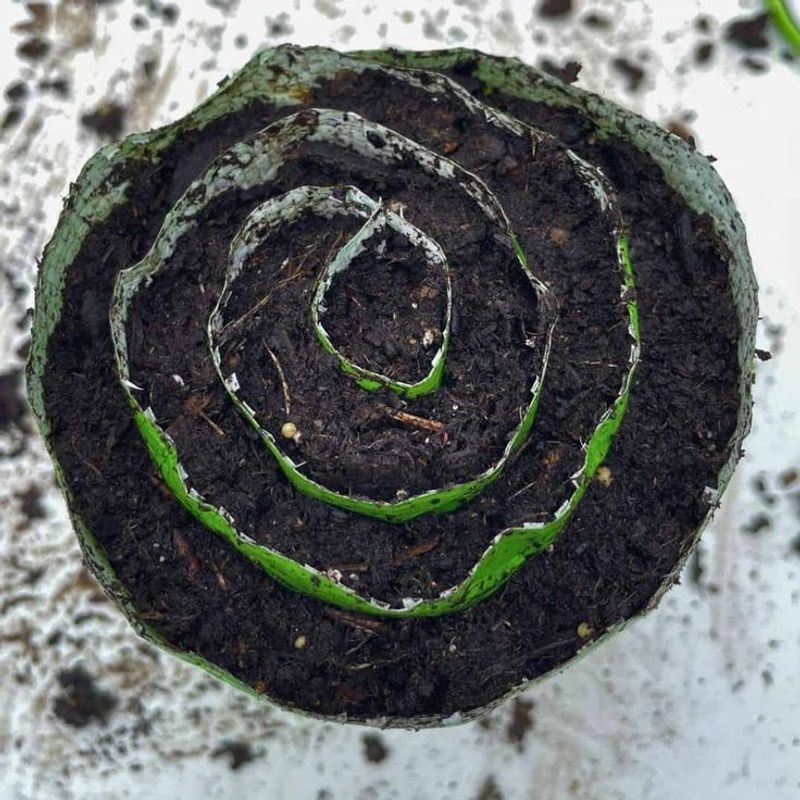
Picture a rolled-up piece of plastic with damp paper towel and seeds tucked inside, all coiled up tight like a cinnamon roll or a snail shell.
That is exactly what a seed snail is, and it has become one of the most talked-about gardening hacks for starting seeds indoors without taking up much space.
Instead of using dozens of small pots or seed trays that clutter your windowsill, you create one compact roll that holds multiple seeds in a tidy spiral.
The name comes from the way it looks when you finish rolling it up, resembling the coiled shell you would see on a garden snail.
Gardeners love how simple and space-saving this method is, especially if you live in a small apartment or just want to try something new and fun.
You can fit many seeds in one snail, and they all get the moisture and warmth they need to germinate without any soil mess at first.
How Seed Snails Work Once You Set Them Up
Once you roll up your seed snail and place it in a container with a little water at the bottom, the magic starts happening pretty quickly.
The paper towel inside the roll soaks up moisture from the water below, keeping the seeds damp and happy without drowning them in too much liquid.
Seeds need consistent moisture and a bit of warmth to wake up and start growing, and the snail setup provides both in a controlled and easy way.
The plastic wrap holds everything together and creates a mini greenhouse effect, trapping humidity and warmth that seeds love during their early germination stage.
You do not need to water from the top or worry about uneven moisture because the capillary action pulls water up through the paper towel naturally.
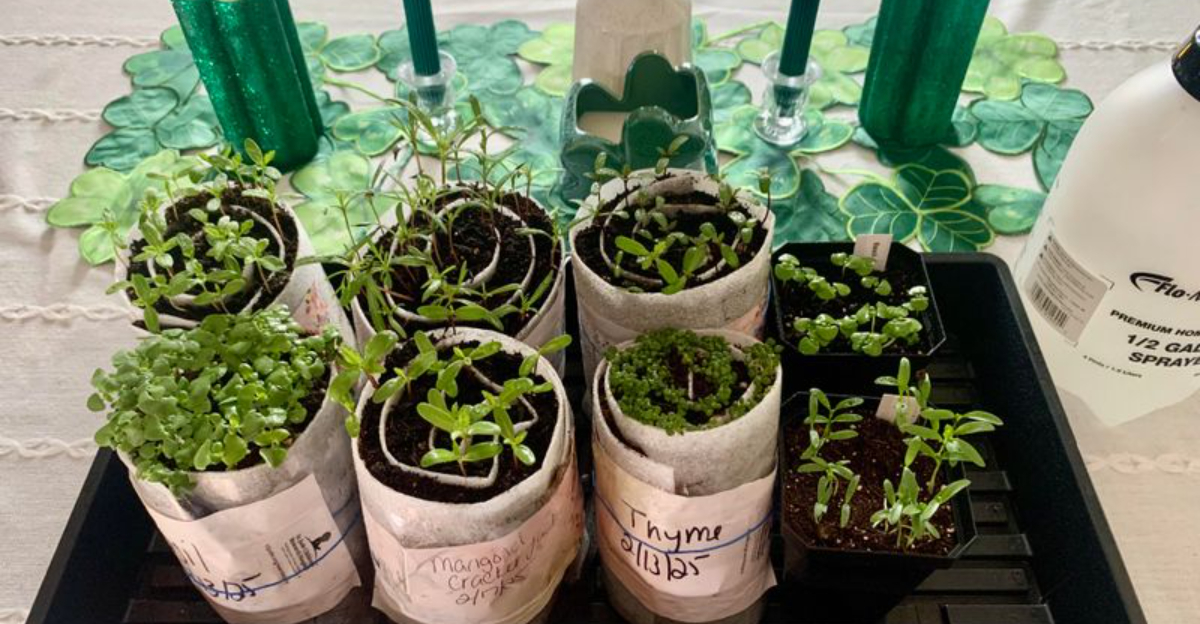
After a few days, you will start seeing tiny roots and shoots popping out, and that is when you know your seed snail is doing its job perfectly.
The Simple Materials You Need To Make One
Making a seed snail does not require fancy tools or expensive supplies, which is one reason so many gardeners are giving this method a try.
You only need a strip of clear plastic wrap or a plastic bag, a few sheets of paper towel, your seeds, and a cup or jar to hold the finished snail.
Some people prefer using a thin strip of plastic from a produce bag or even a piece of an old shower curtain because it is sturdy and reusable.
The paper towel acts as the growing medium, so you want something absorbent that will hold moisture well without falling apart when it gets wet.
You will also need a small pair of scissors to cut your materials to the right size, and a rubber band or tape helps keep the roll secure.
That is truly all you need, and most of these items are already sitting around your house waiting to be put to good use.
Why Home Gardeners Started Reaching For This Method
Space is a huge issue for many home gardeners, especially those who live in apartments or have limited sunny windowsill real estate for seed starting.
Traditional seed trays and pots can take up a lot of room, and if you want to start dozens of plants, things get crowded and messy fast.
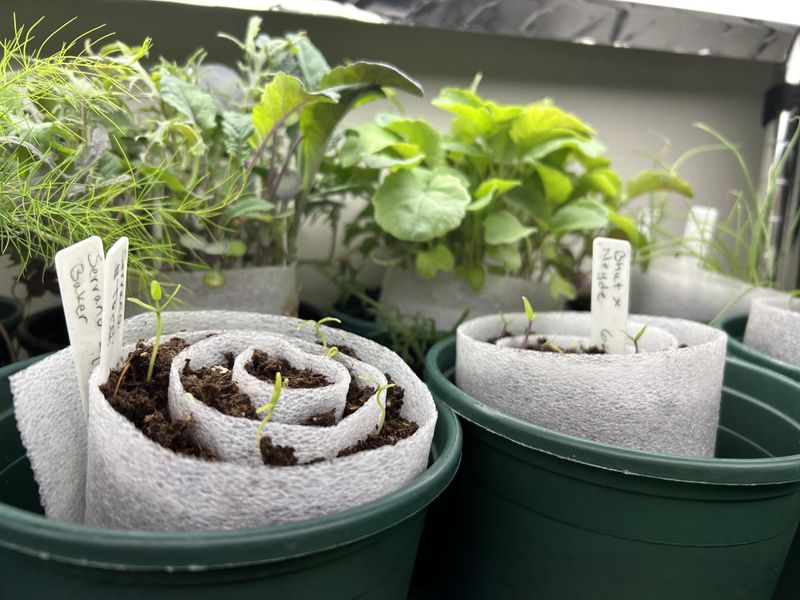
Seed snails solve that problem by letting you grow many seeds in one compact roll that stands upright in a single cup or container.
Another reason gardeners love this method is that it cuts down on soil mess, which is a big plus if you are starting seeds indoors on your kitchen counter.
You also get to see the seeds sprouting clearly through the plastic, which is exciting and helps you know exactly when each seed has germinated successfully.
People also appreciate that it is a low-cost option, using materials they already have at home instead of buying expensive seed-starting kits or equipment.
How This Trend Ended Up Spreading So Fast
Social media has played a massive role in turning seed snails from a little-known trick into a viral gardening sensation that everyone seems to be trying.
Platforms like Instagram, TikTok, and Facebook are filled with short videos showing gardeners rolling up their seed snails and then revealing the impressive sprouts days later.
These quick, visual tutorials make the method look easy and fun, and they inspire viewers to grab their own supplies and give it a shot right away.
Gardening communities online love sharing tips and hacks, and when something works well and looks cool, it spreads like wildfire through groups and forums.
People also enjoy posting their own results and comparing notes, which creates a sense of excitement and friendly competition that keeps the trend growing strong.
The simplicity and low cost of the method make it accessible to beginners, so even folks who have never grown anything before feel confident jumping in.
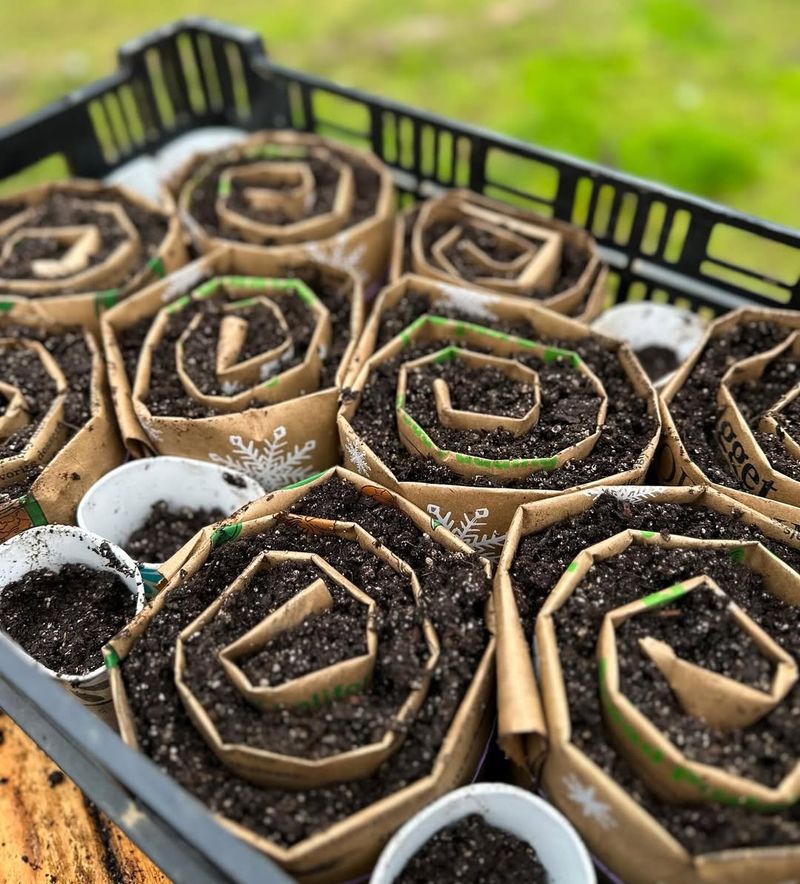
How To Roll And Build Your Own Seed Snail
Building your own seed snail is surprisingly easy, and once you do it one time, you will remember the steps and be able to whip one up quickly.
Start by cutting a strip of plastic wrap or a plastic bag about ten inches long and four or five inches wide, then lay it flat on your work surface.
Place a strip of damp paper towel on top of the plastic, making sure it covers most of the surface but leaves a little plastic edge showing at the bottom.
Now sprinkle your seeds along the top edge of the paper towel, spacing them out evenly so each one has room to grow without crowding its neighbors.
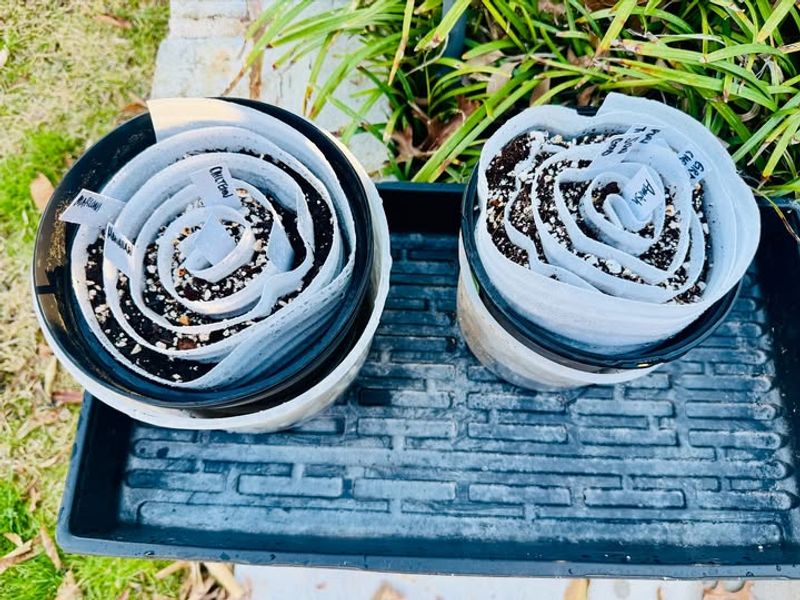
Carefully roll the plastic and paper towel together from the bottom up, creating a tight spiral that looks like a jelly roll or a snail shell when you finish.
Secure the roll with a rubber band or a piece of tape, then stand it upright in a cup with about an inch of water at the bottom.
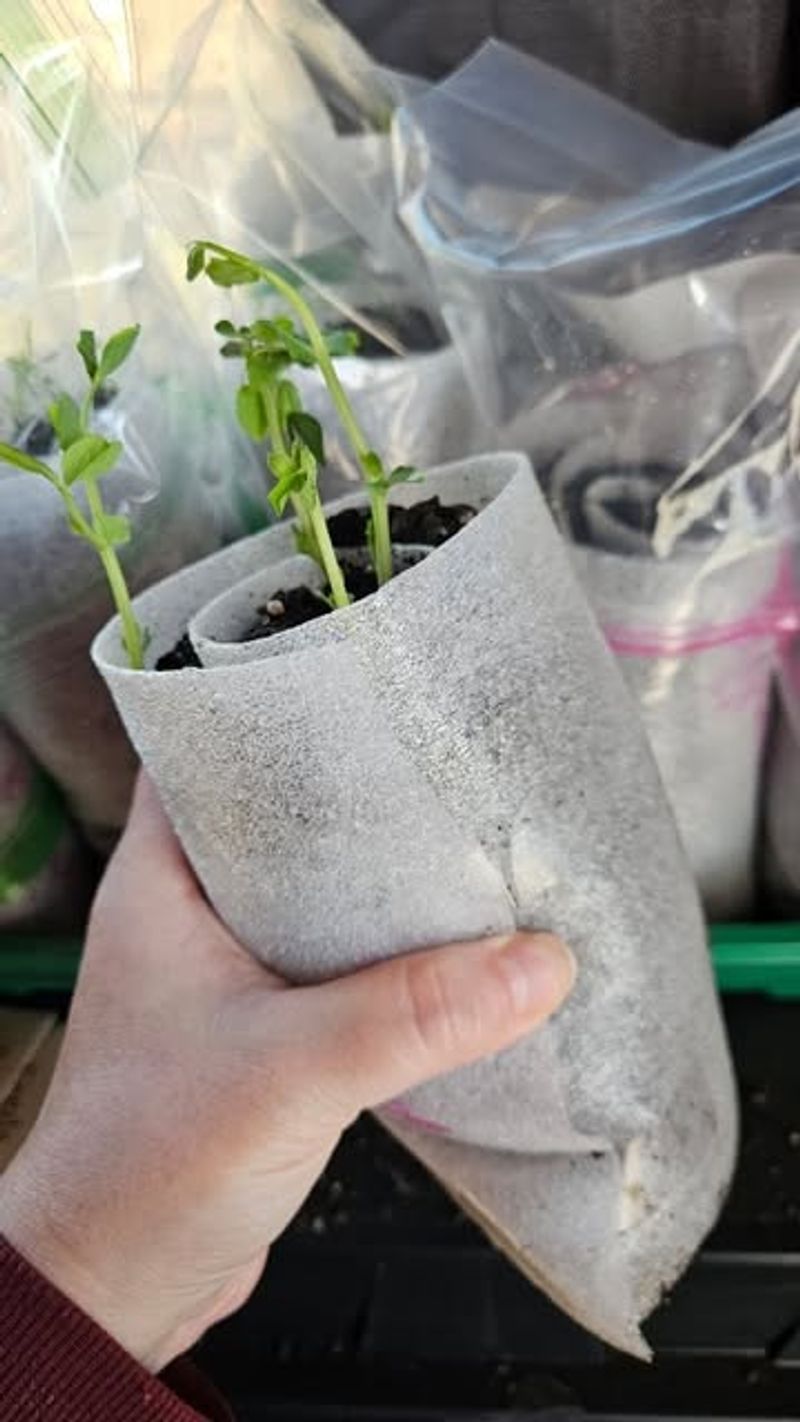
How Seeds Start Growing Inside The Snail Setup
After you set up your seed snail and place it in water, the seeds begin their journey from dormant little packages into living, growing plants.
The moisture from the damp paper towel signals the seeds that conditions are right, and they start absorbing water and swelling up as they prepare to sprout.
Within a few days, depending on the type of seed, you will notice tiny white roots poking out first, reaching downward even though they are inside the roll.
Soon after the roots appear, the shoots start pushing upward, and you will see little green stems and leaves emerging from the top of the snail.
Watching this process through the clear plastic is one of the most rewarding parts of using seed snails because you get a front-row seat to nature working its magic.
The snail keeps everything organized and visible, so you can easily track which seeds have sprouted and which ones might need a bit more time or attention.
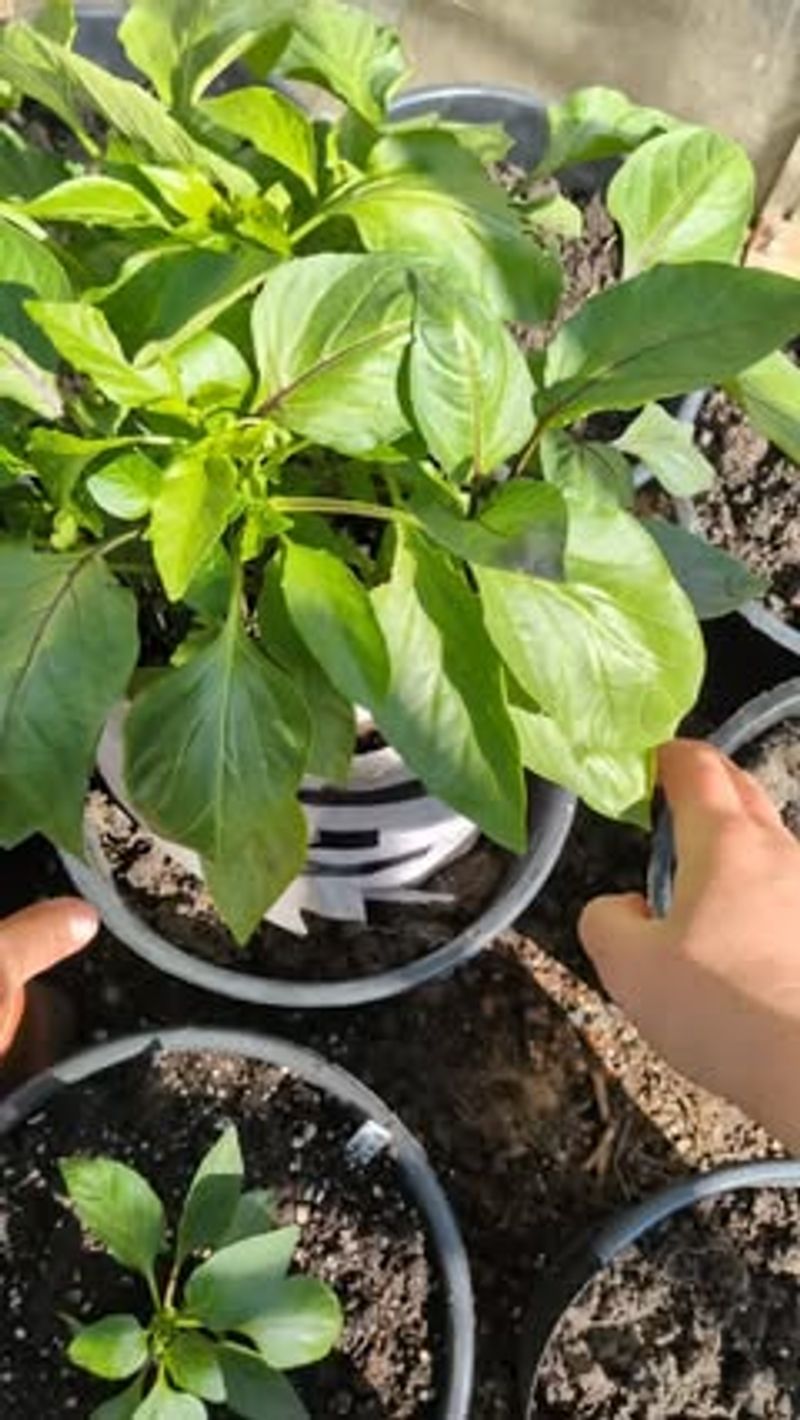
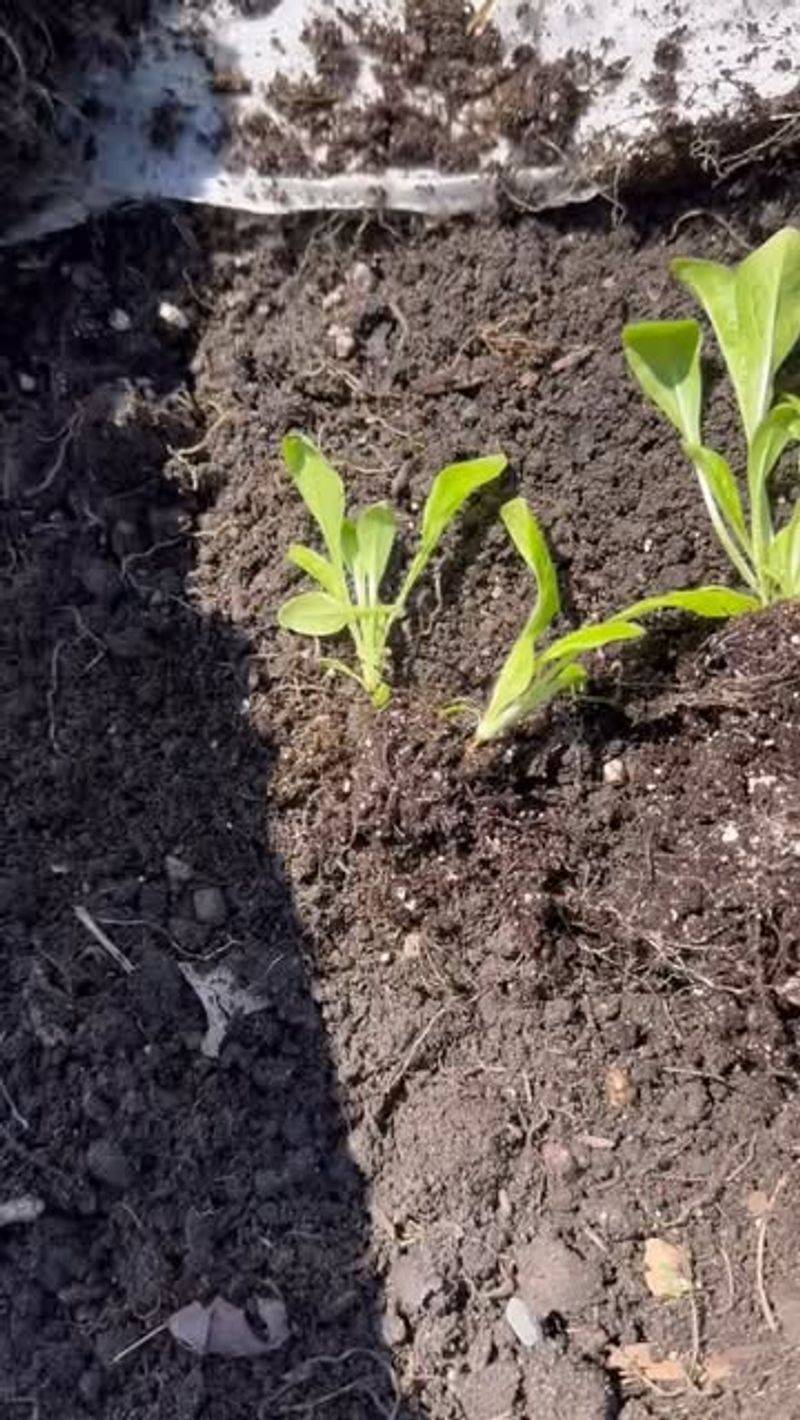
When It’s Time To Move Your Sprouts Out
Knowing when to move your sprouts from the seed snail to their own pots or garden beds is an important step in keeping them healthy and strong.
Most seedlings are ready to transplant once they have developed their first set of true leaves, which usually appear after the initial seed leaves called cotyledons show up.
At this stage, the roots are strong enough to handle being moved, and the plants need more space and nutrients than the paper towel can provide.
To transplant, carefully unroll the seed snail and gently separate each seedling, taking care not to damage the delicate roots that have grown through the paper towel.
You can plant each sprout into a small pot filled with potting soil, or if the weather is warm enough, move them directly into your garden bed.
Give them a gentle watering after transplanting, and keep an eye on them for a few days as they adjust to their new home and surroundings.
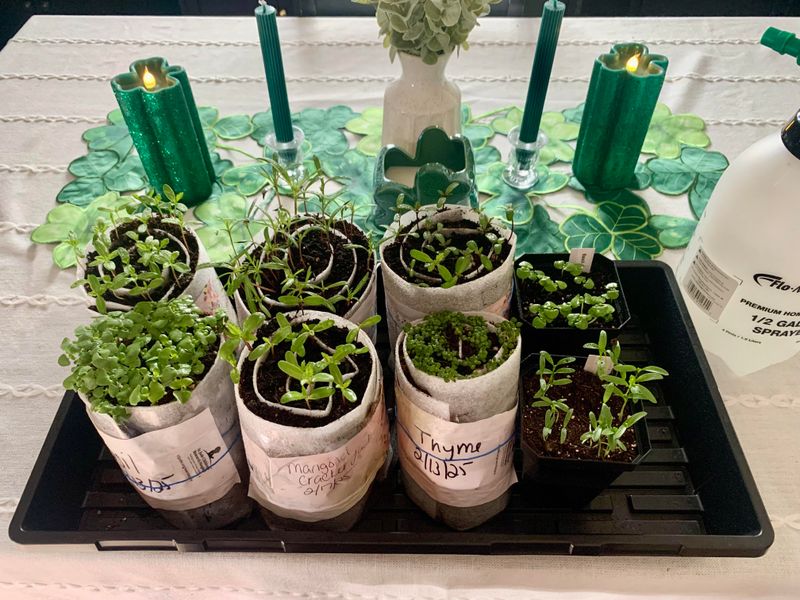
Easy Tips That Keep Your Seed Snails Running Smoothly
A few simple tricks can help you get even better results from your seed snails and avoid common mistakes that might slow down your seedlings.
Always make sure the water level in the cup stays consistent, checking it every day or two and adding more if it starts to get too low.
If the paper towel dries out, your seeds will stop growing or might not sprout at all, so keeping that moisture steady is really important for success.
Placing your seed snails in a warm spot with indirect sunlight helps speed up germination, but avoid putting them in direct hot sun that could overheat the setup.
Labeling each snail with the type of seeds inside is a smart move, especially if you are starting several different varieties at once and want to keep track.
Finally, do not overcrowd your snails by packing in too many seeds, because each sprout needs enough space to develop strong roots and healthy growth from the start.
This tiny rolling trick turns seed starting into something that feels playful instead of overwhelming.
The way the sprouts push through that little coil gives the whole process a bit of magic you don’t get from regular trays.
By the time your seeds take off, you end up wondering how such a simple setup delivers results that feel this satisfying.