7 Methods That Protect Pots And Planters From Frost In Minnesota

Minnesota frost shows no mercy once nights dip hard.
Pots and planters face the front line, exposed, fragile, and easy prey for cold snaps.
One surprise freeze can undo months of care in a blink. Savvy gardeners refuse to roll the dice.
They shield roots, trap warmth, and buy precious time when temperatures plunge.
These methods cost little yet pay off big, like money in the bank.
From patios to balconies, every container gains a fair chance.
Protection also cuts stress, limits loss, and keeps plants strong for spring return.
No panic moves, no last minute scramble, just calm steps that work when winter flexes muscle.
Cold air may bite, but smart prep bites back.
With the right approach, pots stand firm, soil stays safe, and green life holds on through the long haul.
Frost may knock, yet it fails to win. Prepared planters tell better tales.
1. Wrap Containers With Insulating Materials
Burlap, bubble wrap, and old blankets work wonders when you need to shield your planters from harsh Minnesota cold.
Wrapping the outside of your containers creates a barrier that slows down how quickly the soil freezes and thaws.
This method is especially helpful for ceramic and terra cotta pots, which crack easily when moisture inside them freezes and expands.
Start by securing the insulating material around the pot with twine, tape, or bungee cords.
Make sure you cover the sides completely, and if possible, tuck some material under the base too.
You can even use layers for extra protection during the coldest months.
Bubble wrap is lightweight and waterproof, so it stays put even in wind and snow.
Burlap has a natural look that blends into your garden or patio, and it breathes better than plastic.
Old towels or blankets from your linen closet can serve the same purpose without costing you a dime.
This simple trick can extend the life of your pots by several years.
You can reuse the same wrapping materials season after season.
Just store them in a dry spot during spring and summer so they are ready when cold weather returns.
2. Move Planters To Sheltered Locations
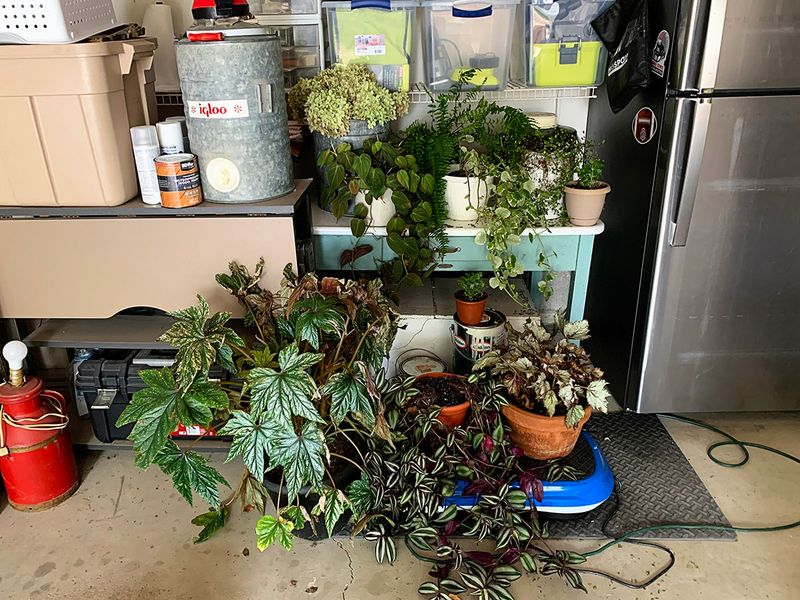
Finding a spot that blocks wind and reduces temperature swings can make all the difference for your containers.
Garages, sheds, covered porches, and even the south side of your house offer natural protection from the worst winter weather.
Moving your planters before the first hard freeze gives them a fighting chance to survive until spring.
Unheated garages work well because they stay cooler than your house but warmer than outside.
This prevents plants from thinking it is time to grow again, which can happen if they get too warm indoors.
Sheds and basements can also work, as long as temperatures do not drop too far below freezing.
If you cannot bring pots inside, try clustering them together near a wall or under an overhang.
Grouping containers helps them share warmth and shields them from harsh winds.
Placing them against a south-facing wall takes advantage of any winter sunshine that might warm the area during the day.
Heavy planters can be tough to move, so consider using a dolly or plant caddy with wheels.
Planning ahead and positioning pots in easy-to-move spots during summer makes this task much simpler.
A little effort now saves you from replacing cracked pots and damaged plants later.
3. Elevate Pots Off The Ground
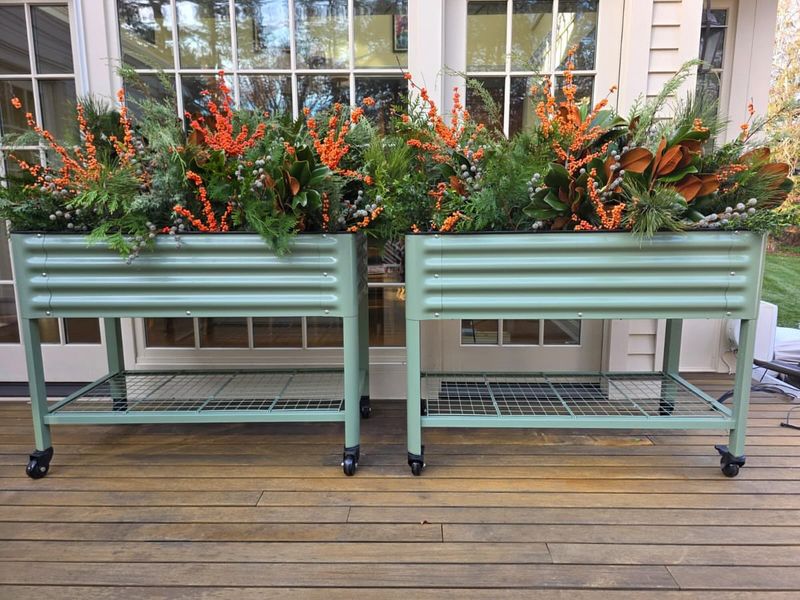
Raising your containers a few inches can prevent them from freezing solid to patios, decks, or soil.
When pots sit directly on frozen surfaces, cold transfers quickly into the container, which speeds up root damage and increases the chance of cracking.
Elevation also improves drainage, so water does not pool and freeze around the base.
Pot feet, bricks, wooden blocks, or even old pieces of lumber work perfectly for this purpose.
You can buy decorative pot feet at garden centers, or you can make your own using materials you already have.
Just make sure whatever you use is sturdy enough to hold the weight of your planter when it is full of soil and water.
This method is especially important for pots that do not have drainage holes or that tend to hold moisture.
When water has a way to escape, it reduces the risk of ice forming inside the container.
Even a small gap between the pot and the ground can make a noticeable difference.
Elevating planters also keeps them cleaner and makes them easier to move if you need to relocate them quickly.
You can leave pot feet in place year-round, so they are ready when winter arrives.
This small adjustment can save your favorite containers from cracking and extend their lifespan significantly.
4. Apply Mulch Over The Soil Surface
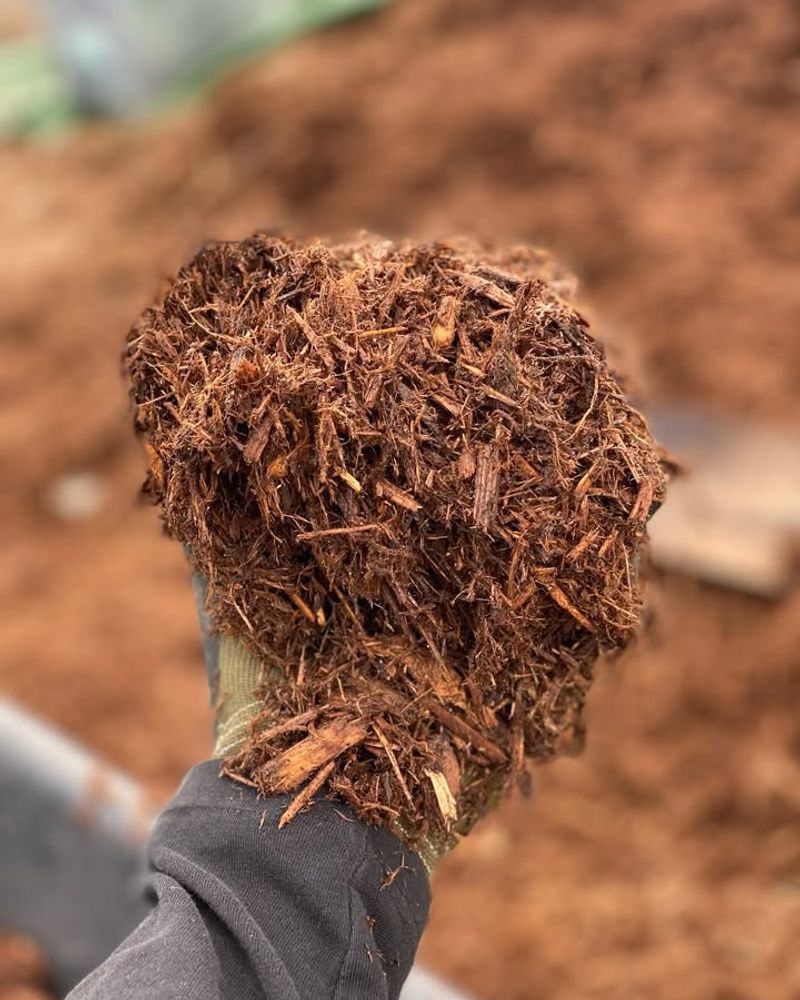
Adding a thick blanket of mulch on top of the soil in your containers acts like a cozy quilt for plant roots.
Mulch traps air and slows down how quickly the soil temperature changes, which protects roots from sudden freezing.
Straw, shredded leaves, wood chips, or pine needles all work well and are easy to find or make at home.
Spread at least two to three inches of mulch evenly across the surface of each pot.
Make sure it covers the soil completely but does not smother the base of any plants that might still be growing.
You can pack it down gently, but leave it loose enough to allow air circulation.
Straw is a favorite because it is lightweight, inexpensive, and does not compact easily.
Shredded leaves from your yard are free and break down over time, adding nutrients back into the soil.
Wood chips last longer and give a neat, finished look to your planters.
Mulch also helps keep moisture levels more stable, which is important even in winter.
Dry soil can freeze faster than moist soil, so maintaining some moisture balance helps protect roots.
When spring comes, you can either leave the mulch in place to decompose or remove it and compost it for next year.
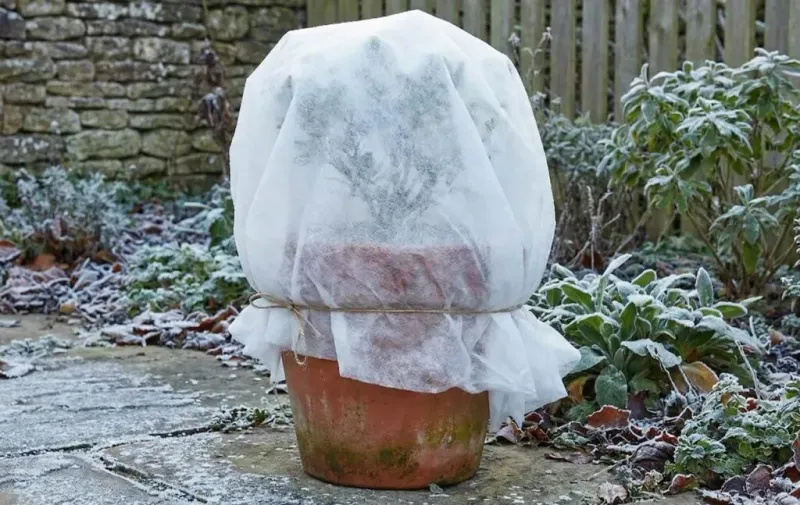
5. Use Frost Blankets Or Row Covers
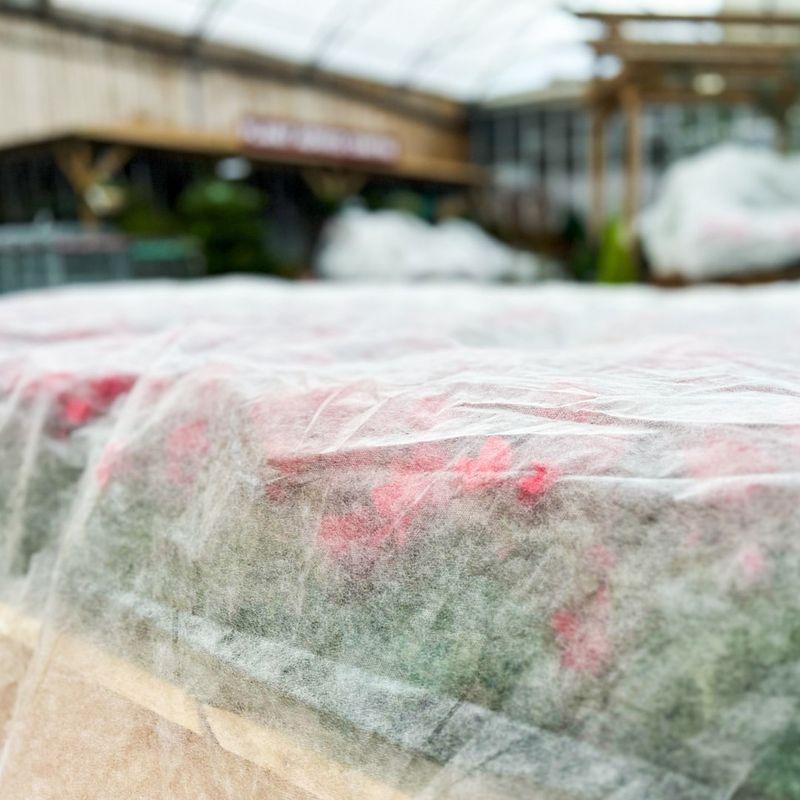
Lightweight fabric covers designed for frost protection can drape over your pots and provide excellent insulation without weighing down plants.
Frost blankets, also called floating row covers, trap warmth from the soil and block cold air from settling around your containers.
They are reusable, easy to store, and come in different thicknesses depending on how much cold you need to block.
To use them, simply drape the fabric over your planters and secure the edges with rocks, bricks, or garden stakes.
You want the cover to stay in place even when wind picks up, but you do not need to wrap it tightly.
Leaving a little slack allows air to circulate and prevents moisture from building up underneath.
Frost blankets are especially useful if you have perennials or shrubs in containers that you want to overwinter outdoors.
They can add several degrees of warmth, which might be enough to prevent root damage during moderate cold snaps.
Some gardeners use them in combination with other methods, like mulching or moving pots to sheltered spots.
You can find frost blankets at garden centers, hardware stores, or online.
They come in various sizes, so you can cut them to fit your specific needs.
When spring arrives, just shake off any dirt, fold them up, and store them for next winter.
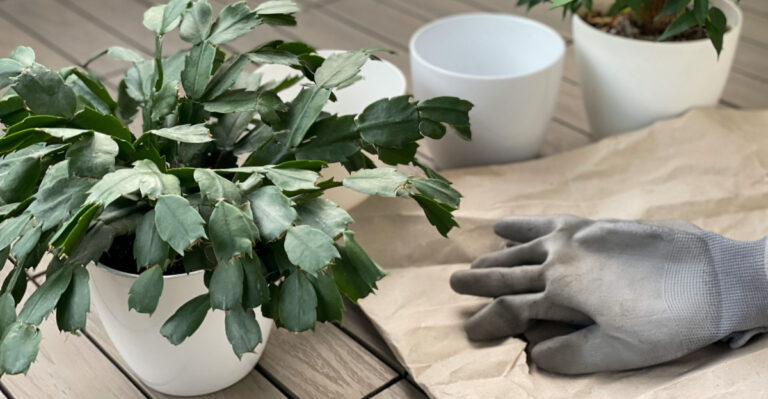
6. Empty And Store Pots Indoors
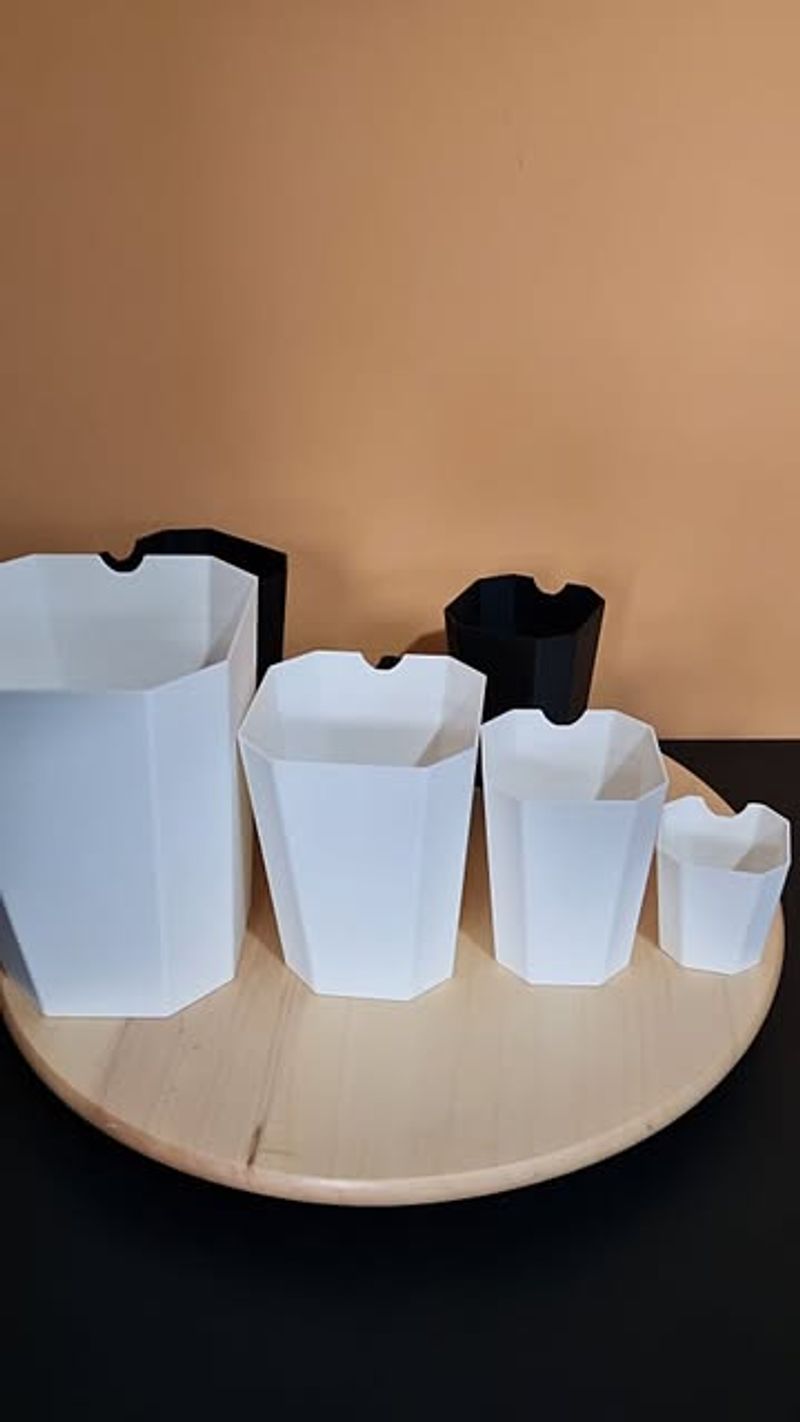
Sometimes the safest option is to remove plants and soil completely, then bring your empty containers inside for the winter.
This approach works best for delicate or expensive pots that you do not want to risk losing to frost damage.
Ceramic, terra cotta, and decorative glazed planters are especially vulnerable to cracking when water freezes inside them.
Start by removing any plants and either composting them or transplanting perennials into the ground if possible.
Dump out the soil, which you can reuse next season or add to your compost pile.
Give each pot a good cleaning with water and a brush to remove dirt and salt buildup.
Once the pots are dry, stack them carefully in a garage, basement, or shed where they will not be exposed to freezing temperatures.
Stacking saves space, but place a piece of cardboard or cloth between pots to prevent scratching.
Make sure the storage area stays dry, because moisture can still cause problems even when pots are empty.
This method takes more time in fall, but it guarantees your containers will be in perfect shape come spring.
You will not have to worry about cracks, chips, or weather damage.
When warm weather returns, your pots will be clean, dry, and ready to fill with fresh soil and new plants.
7. Group Containers Together For Shared Warmth
Clustering your planters close together creates a microclimate that helps all of them stay warmer than they would on their own.
When pots are grouped, they block wind from reaching each other and share any warmth that radiates from the soil or surrounding air.
This method works particularly well when combined with other protection strategies, like wrapping or mulching.
Choose a spot that already offers some shelter, such as a corner of your deck, against a south-facing wall, or under an overhang.
Arrange the containers so the largest ones are on the outside, creating a barrier that shields smaller pots in the center.
You can even tuck straw, leaves, or newspaper between the pots for extra insulation.
This technique is especially handy if you have a lot of containers and not enough indoor space to store them all.
Grouping them together makes it easier to cover them with a tarp or frost blanket if a particularly cold night is forecast.
You can also water them more efficiently when they are all in one place.
Clustering pots also makes your outdoor space look more organized and intentional during the off-season.
When spring comes, you can easily move them back to their original spots without much hassle.
This simple strategy can reduce frost damage and help more of your containers survive the harsh Minnesota winter.