9 Garden Bed Tasks That Set Up Better Spring Blooms In Oregon
Spring blooms don’t start in spring, they start with what you do in your garden beds before everything really takes off.
In Oregon, where winter likes to hang around a little longer and soil stays cool and damp, those early-season tasks matter more than most people realize.
It’s tempting to wait until flowers are already popping before paying attention to your beds. But a few simple steps taken ahead of time can make the difference between plants that struggle and ones that show off all season long.
And no, this doesn’t mean spending every weekend outside with a shovel. Small, smart tasks add up fast.
You might already be doing some of these without realizing how helpful they are. Others are easy to skip because they don’t look exciting on the surface, but your plants definitely notice.
Healthier roots, better soil structure, and stronger early growth all come from what happens below and around the plants.
If you love seeing full, colorful blooms once spring hits, now is the moment to set things up for success.
These garden bed tasks are simple, practical, and especially helpful for Oregon’s climate, giving your flowers the support they need to thrive right from the start.
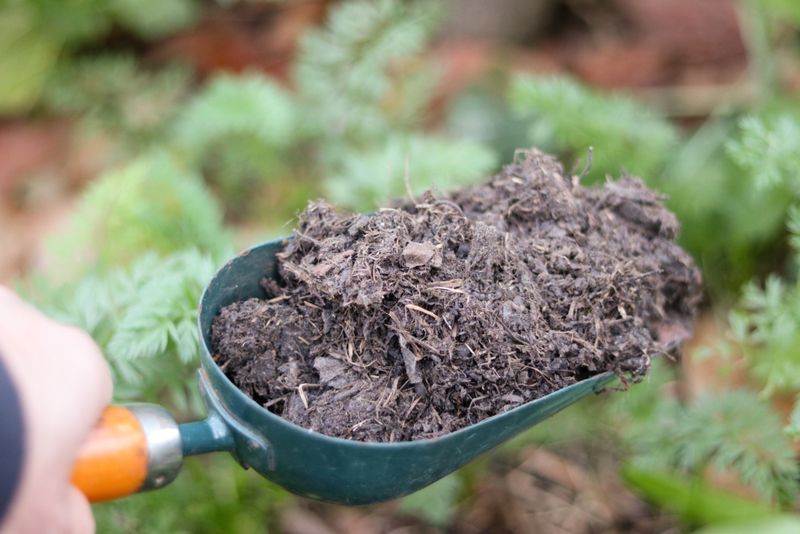
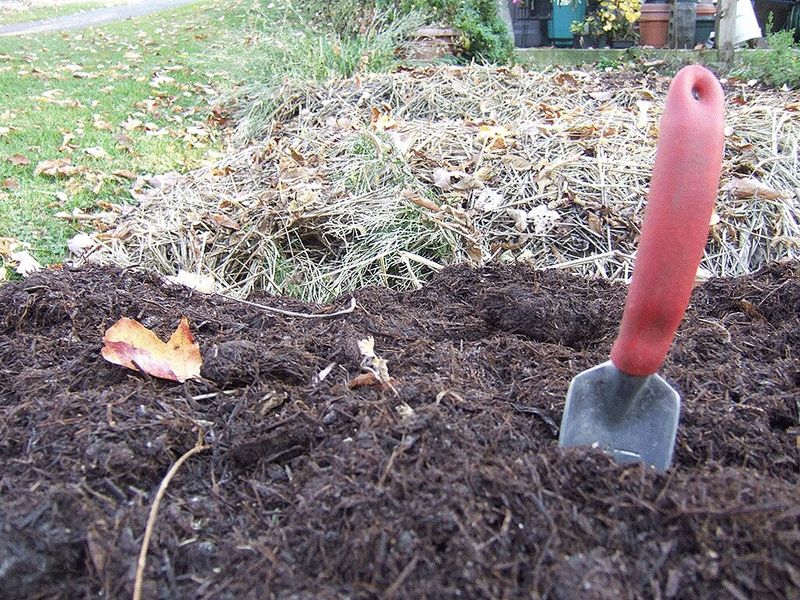
1. Add Compost To Enrich Your Soil
Rich, healthy soil gives your spring bulbs and perennials exactly what they need to produce amazing blooms. Compost adds nutrients, improves soil structure, and helps with both drainage and moisture retention.
Oregon’s winter rains can wash away nutrients, so adding compost in fall or early winter replenishes what your soil has lost.
Spread a two to three inch layer of finished compost over your garden beds and gently work it into the top few inches of soil. You don’t need to dig deeply, as earthworms and other soil creatures will help move those nutrients down over time.
The organic matter in compost feeds beneficial microbes that support plant health all season long.
Homemade compost works wonderfully, but store-bought varieties are great too. Look for compost that smells earthy and has a crumbly texture.
Avoid anything that smells sour or has large uncomposted chunks. Apply compost around existing perennials and bulbs, taking care not to pile it against plant stems or crowns.
This simple task makes a huge difference in bloom quality. Plants growing in compost-enriched soil develop stronger root systems and produce more flowers with richer colors.
Your garden beds will also drain better during Oregon’s wet springs, preventing root problems that can reduce flowering. The investment of time now pays dividends in beauty later.
2. Test And Adjust Your Soil pH
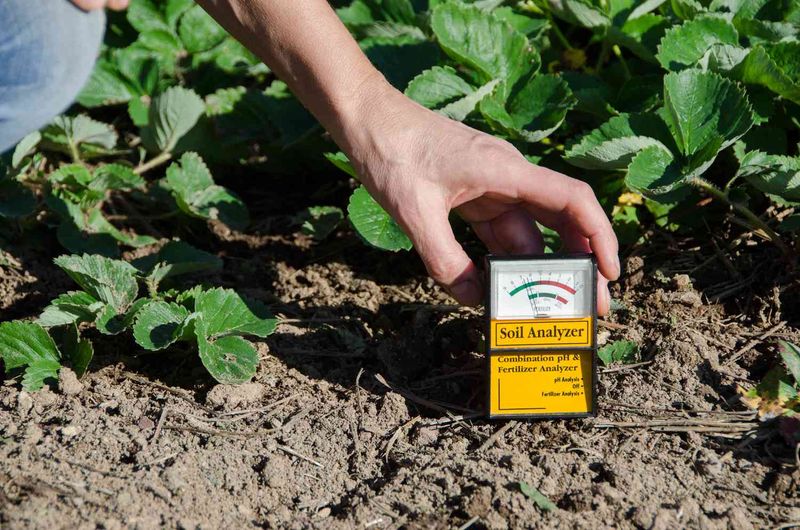
Most spring bloomers prefer slightly acidic to neutral soil, which happens to match what Oregon soil naturally provides in many areas. However, knowing your exact pH helps you make smart choices about amendments and plant selection.
A simple soil test reveals whether your beds need any adjustments before spring arrives.
Purchase an inexpensive soil test kit from a garden center or send a sample to your local extension service for detailed results. The ideal pH for most flowering plants falls between 6.0 and 7.0.
Your Oregon Garden Changes Every Week. Your Plan Should Too.
Gardening in Oregon changes quickly throughout the season. Every Friday you’ll receive a simple weekly plan showing exactly what to plant, prune, fertilize, harvest, and protect so you never miss the right timing.
If your soil is too acidic, you can add lime to raise the pH. If it’s too alkaline, sulfur or peat moss can lower it.
Fall and winter are perfect times to adjust pH because amendments need several months to fully react with the soil. Sprinkle the recommended amount evenly over your beds and water it in well.
Oregon’s winter rains will help distribute the amendments throughout the root zone.
Getting pH right improves nutrient availability, which directly affects flower production. When pH is off, plants can’t absorb nutrients properly even if plenty are present in the soil.
They may look weak, produce fewer blooms, or show yellowing leaves. Testing takes just minutes and gives you valuable information that helps you grow healthier, more beautiful plants with minimal guesswork.
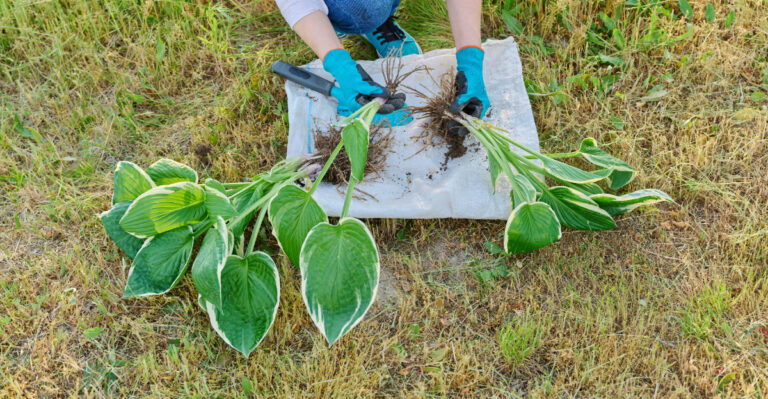
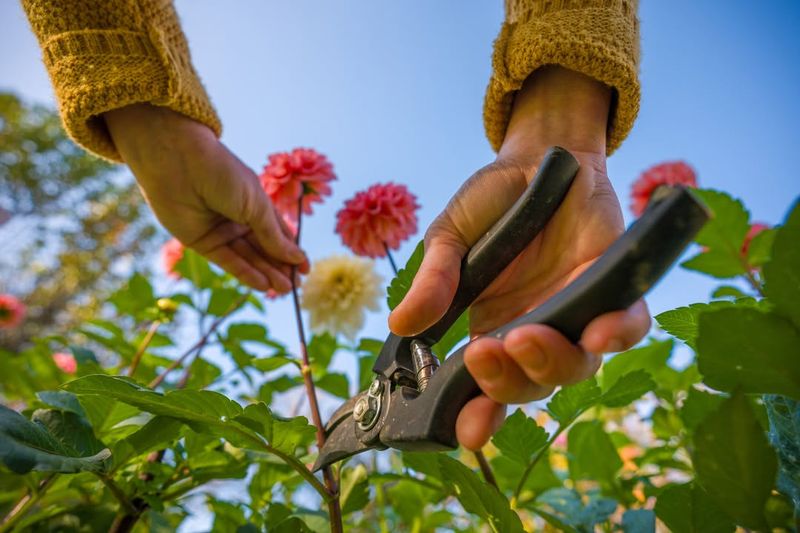
3. Divide Overcrowded Perennials For Better Growth
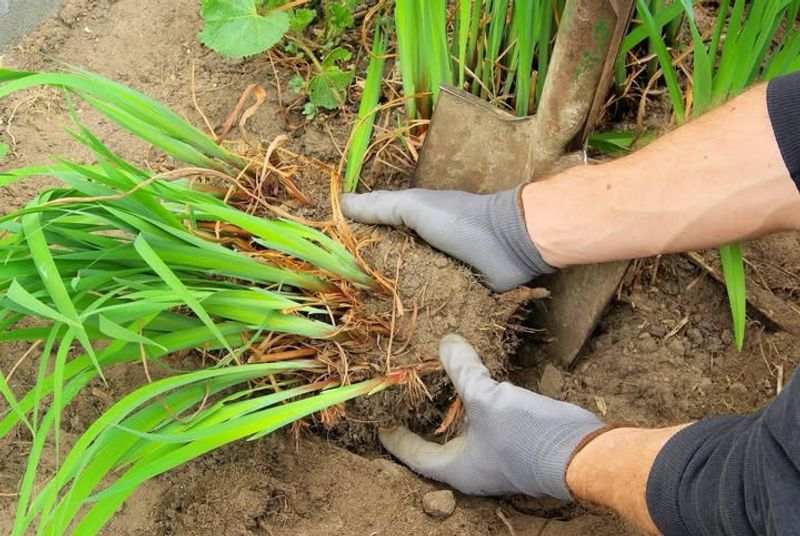
Perennials that have grown in the same spot for several years often become crowded, with roots competing for space and nutrients. When this happens, bloom production drops and plants may look less vigorous.
Fall division gives plants time to establish new roots before spring growth begins, resulting in healthier clumps with more flowers.
Look for perennials with dense centers or those that flowered less than previous years. Carefully dig up the entire clump and use a sharp spade or knife to cut it into sections.
Each section should have healthy roots and several growth points. Replant divisions at the same depth they were growing before, spacing them properly to allow for future growth.
Water newly divided perennials thoroughly and keep the soil consistently moist until winter rains take over. Many common Oregon garden perennials benefit from division every three to four years, including daylilies, hostas, and ornamental grasses.
This task not only improves existing plants but also gives you extras to fill in other areas or share with friends.
Dividing perennials might seem drastic, but plants respond remarkably well. The process stimulates new growth and removes old, unproductive parts.
Come spring, your divided perennials will produce more flower stems and create fuller, more attractive displays. The effort you put in now multiplies your garden’s beauty significantly.
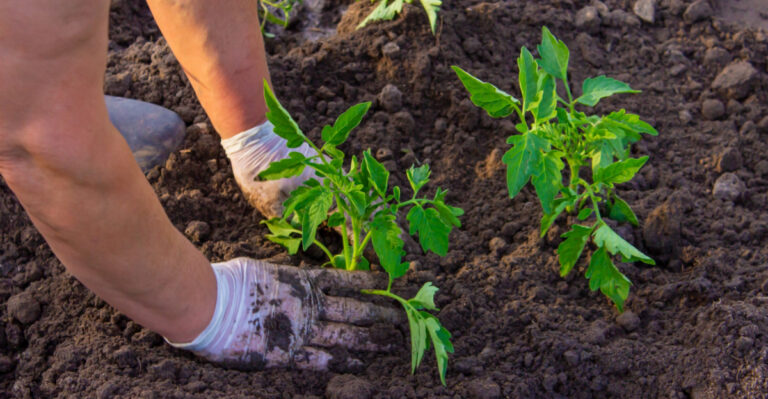
4. Plant Spring Bulbs At The Right Depth
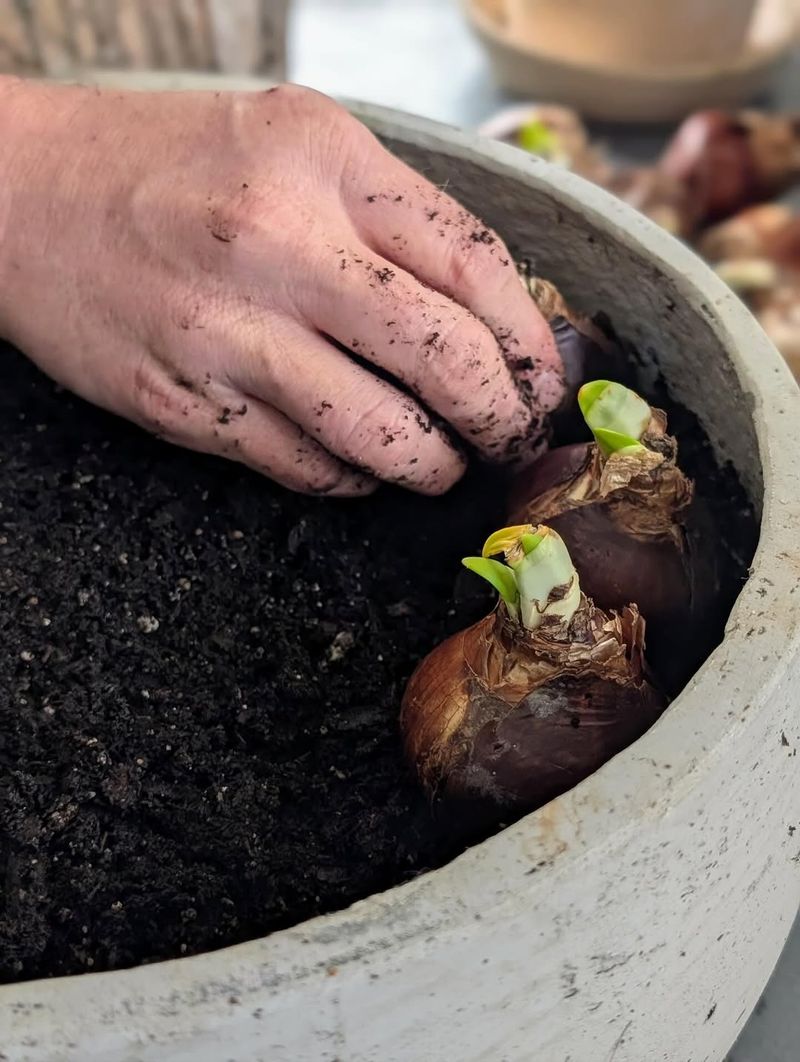
Tulips, daffodils, crocuses, and other spring bulbs need to go into the ground in fall to develop roots before winter.
Planting depth matters tremendously because bulbs planted too shallow may not survive freezing temperatures, while those planted too deep may struggle to reach the surface in spring.
Getting depth right ensures strong, healthy blooms when you need them most.
The general rule is to plant bulbs at a depth three times their height. A two-inch tall bulb goes into a six-inch deep hole.
Use a bulb planter or trowel to dig individual holes, or create a larger planting area for groups. Place bulbs with the pointed end facing up and the flat, root end down.
Space bulbs according to package directions, usually about three to six inches apart depending on variety. After planting, water the area thoroughly to help bulbs settle in and start root growth.
Oregon’s fall and winter moisture usually provides enough water after that initial soaking, but check during dry spells.
Proper planting depth protects bulbs from temperature fluctuations and hungry creatures looking for food. It also helps plants develop strong stems that can support heavy flower heads without flopping over.
When spring arrives, properly planted bulbs emerge at the right time and produce spectacular displays that brighten your garden after months of gray weather.
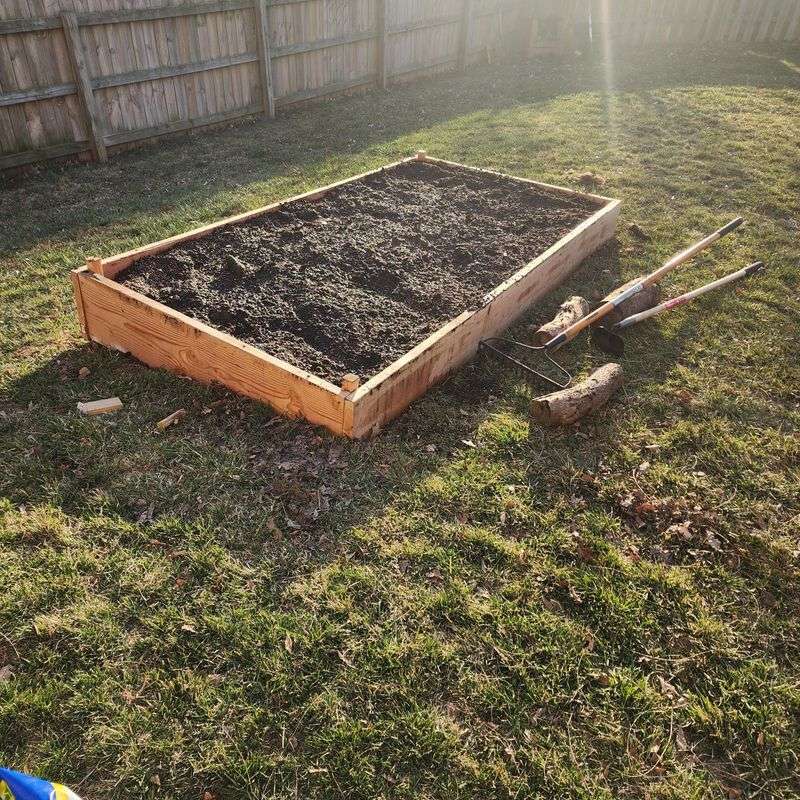
5. Improve Drainage With Organic Matter
Oregon winters bring plenty of rain, and poorly draining soil can spell disaster for spring bloomers. When water sits around roots for extended periods, plants struggle to breathe and may develop rot problems.
Improving drainage before winter protects your investment in bulbs and perennials, ensuring they survive to bloom beautifully in spring.
Work organic matter like compost, aged manure, or leaf mold into heavy clay soils to create air spaces and improve water movement. For seriously soggy areas, consider creating raised beds or berms that lift plant roots above the water table.
Even a few inches of elevation can make a significant difference in plant health and survival.
Another option for problem areas is to dig drainage channels or install perforated drain pipe that directs excess water away from planting beds.
Some gardeners add coarse sand or fine gravel to heavy soils, though organic matter usually works better for long-term improvement.
The key is to address drainage issues before plants struggle rather than trying to fix problems after damage occurs.
Good drainage doesn’t mean dry soil. It means water moves through at a reasonable rate rather than sitting in puddles.
Plants in well-drained beds develop stronger root systems and resist diseases better. They also emerge earlier in spring and bloom more reliably because their roots remain healthy throughout winter’s wet months.
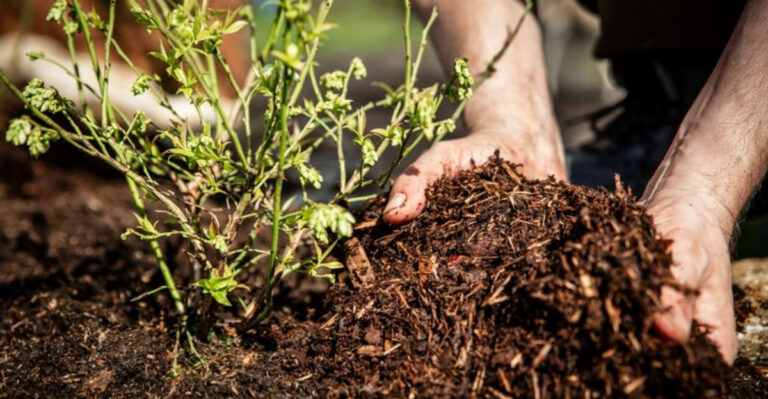
6. Apply Mulch To Protect Roots From Cold
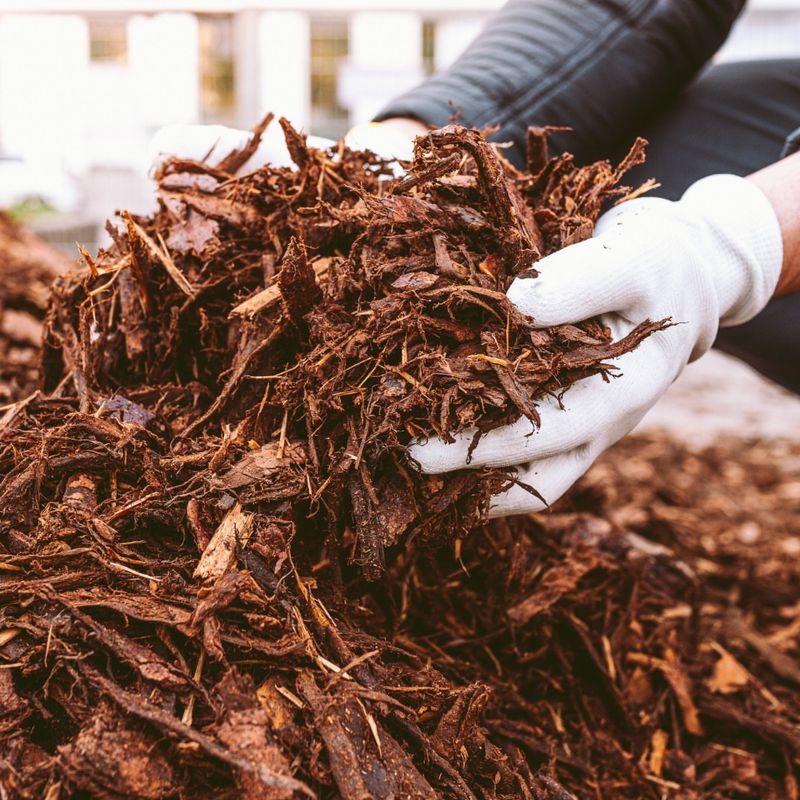
A good layer of mulch acts like a blanket for your garden beds, moderating soil temperature and protecting plant roots from Oregon’s occasional hard freezes.
Mulch also suppresses weeds that would compete with your spring bloomers and helps retain moisture during dry spells.
Applying mulch in late fall gives plants the protection they need through winter.
Spread two to three inches of organic mulch like shredded bark, wood chips, or straw around perennials and over bulb planting areas. Keep mulch a few inches away from plant stems and crowns to prevent rot issues.
As mulch breaks down over time, it adds organic matter to the soil, improving structure and fertility.
Choose mulch materials that complement your garden’s appearance and work well in Oregon’s climate. Bark mulch looks attractive and lasts longer than finer materials.
Straw is inexpensive and works well for vegetable gardens or informal beds. Avoid using fresh wood chips or sawdust, as these can temporarily tie up nitrogen as they decompose.
Mulched beds maintain more consistent soil temperatures, which helps bulbs and perennials establish strong root systems before spring growth begins. The insulation effect protects tender new roots from damage during cold snaps.
Come spring, you can pull back some mulch if needed to allow soil to warm faster, then replace it once plants are actively growing.
7. Cut Back And Clean Up Spent Plants
Fall cleanup removes disease-harboring plant debris and gives your garden beds a tidy appearance heading into winter. Many pests and diseases overwinter on old foliage and stems, so removing this material reduces problems next spring.
However, some plants benefit from leaving stems standing, so approach this task with a balanced strategy.
Cut back perennials that have clearly finished for the season, especially those that showed disease symptoms during the growing season. Remove the debris from your garden and add healthy material to your compost pile.
Plants with hollow stems or seed heads that feed birds can stay standing through winter if you prefer a more naturalistic look.
Clean up fallen leaves from garden beds, particularly around bulb planting areas where thick leaf layers can smother emerging shoots in spring. A light leaf covering is fine and even beneficial, but heavy accumulations should be removed or shredded.
Use collected leaves for compost or as mulch after shredding them with a mower.
This task improves both appearance and plant health. A clean garden bed is easier to work in when spring arrives, and you’ll spot new growth more easily without old debris in the way.
Removing disease sources now means less need for treatments later, and your spring bloomers will emerge into a clean environment where they can shine without competition from weeds growing in decomposing plant matter.
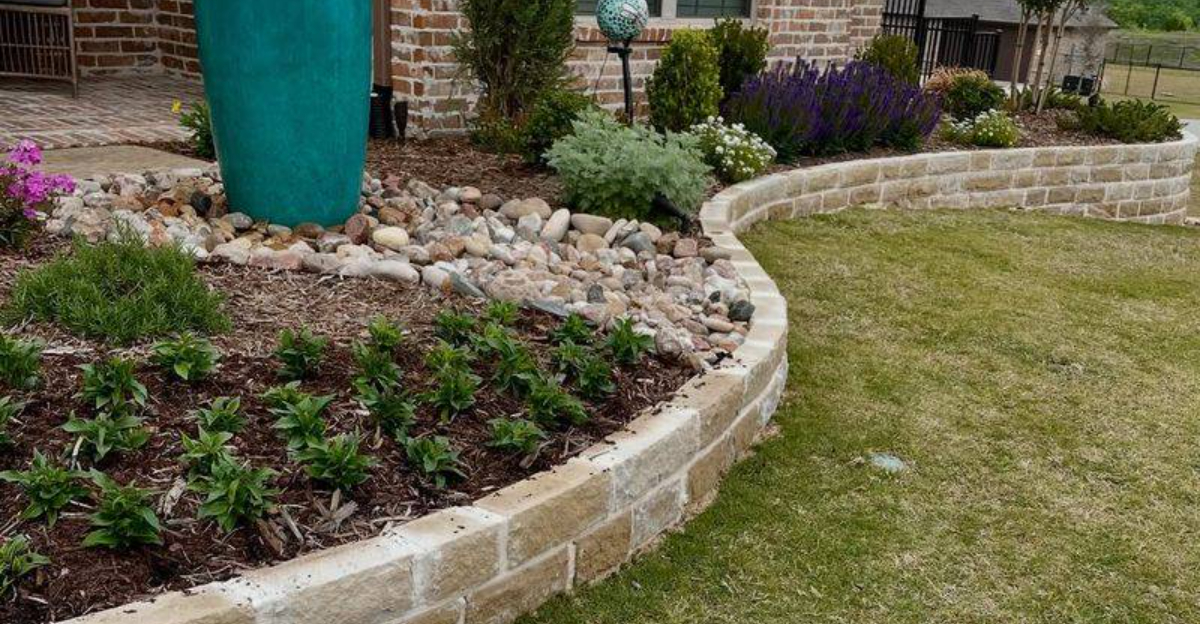
8. Edge Your Beds For Clean Lines And Better Structure

Well-defined bed edges create visual appeal and serve practical purposes that benefit your spring bloomers. Edging prevents grass from creeping into planting areas where it competes with flowers for nutrients and water.
It also makes mowing easier and gives your garden a polished, professional appearance that highlights your plants rather than looking messy or undefined.
Use a sharp spade or half-moon edger to cut a clean line between lawn and garden bed. Create a slight trench about four inches deep and three to four inches wide.
You can leave the trench open or install edging material like metal, plastic, or stone to maintain the boundary. Recut edges annually to keep them looking sharp.
For beds bordered by paths or driveways, edging creates a clear transition and prevents mulch from spilling onto hard surfaces.
This boundary helps maintain proper mulch depth in beds and reduces maintenance time spent sweeping or blowing mulch back where it belongs.
Clean edges also make it easier to spot and remove weeds before they become established.
Taking time to edge beds now means less work during busy spring months when you want to enjoy your garden rather than fight with maintenance tasks. Defined edges frame your spring blooms beautifully, making even simple plantings look intentional and well-designed.
The structure you create now supports the visual impact of all the other tasks you’ve completed.
9. Feed Beds With Slow-Release Fertilizer
Applying slow-release fertilizer in fall or early winter gives your spring bloomers a nutritional boost exactly when they need it.
These fertilizers break down gradually over several months, releasing nutrients as soil temperatures warm and plants begin active growth.
This timing matches plant needs perfectly and reduces the risk of nutrient runoff during heavy winter rains.
Choose a balanced fertilizer or one formulated specifically for flowering plants. Organic options like bone meal, blood meal, or composted manure work beautifully and feed soil microbes as well as plants.
Follow package directions for application rates, spreading fertilizer evenly over bed surfaces and watering it in lightly if rain isn’t expected soon.
Avoid using quick-release fertilizers in fall, as these can encourage tender new growth that won’t survive winter cold. Slow-release formulas provide gentle, steady nutrition that supports root development without pushing top growth at the wrong time.
The nutrients will be waiting in the soil when your bulbs and perennials wake up hungry in spring.
Well-fed plants produce more flowers with better color and longer bloom periods. They also resist stress better and recover more quickly from pest or weather damage.
This single application in fall can reduce or eliminate the need for additional feeding during the spring bloom period, giving you more time to simply enjoy the beautiful results of your preparation work.