Oregon Gardeners: Here’s How To Grow Stunning Irises That Actually Bloom
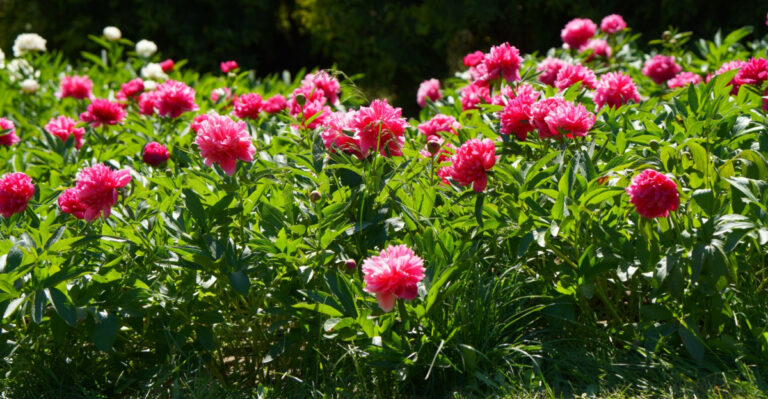
Irises are one of those plants that can instantly make a garden feel elegant and colorful, but getting them to bloom consistently in Oregon can sometimes feel like a mystery.
Many gardeners plant them and wait… and wait… only to see leaves without flowers.
The trick isn’t magic—it’s understanding their needs and giving them the right care at the right time.
Sunlight, soil, spacing, and proper planting depth all play a role in whether irises thrive and reward the garden with stunning blooms.
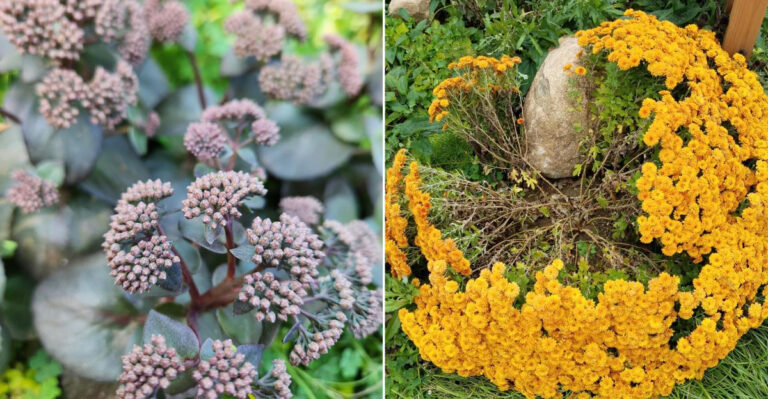
Even small adjustments, like removing old foliage or dividing crowded rhizomes, can make a big difference in encouraging healthy, vibrant flowers year after year.
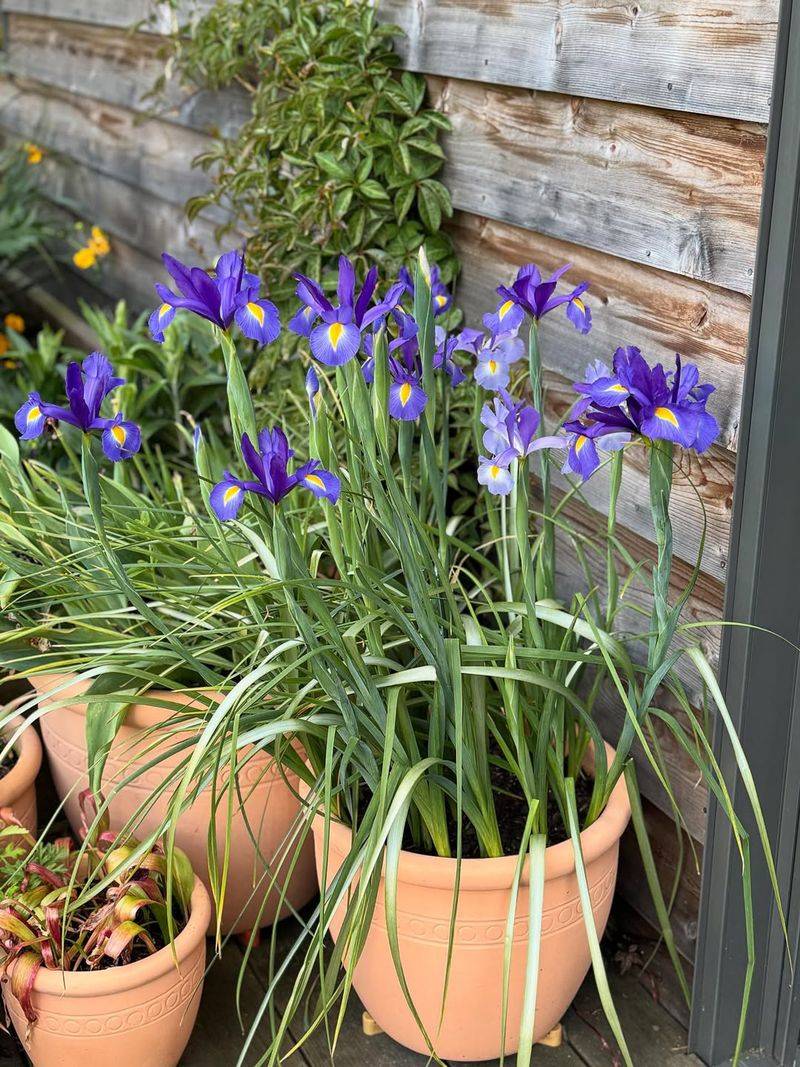
Irises also offer the bonus of attracting pollinators and adding architectural interest to garden beds.
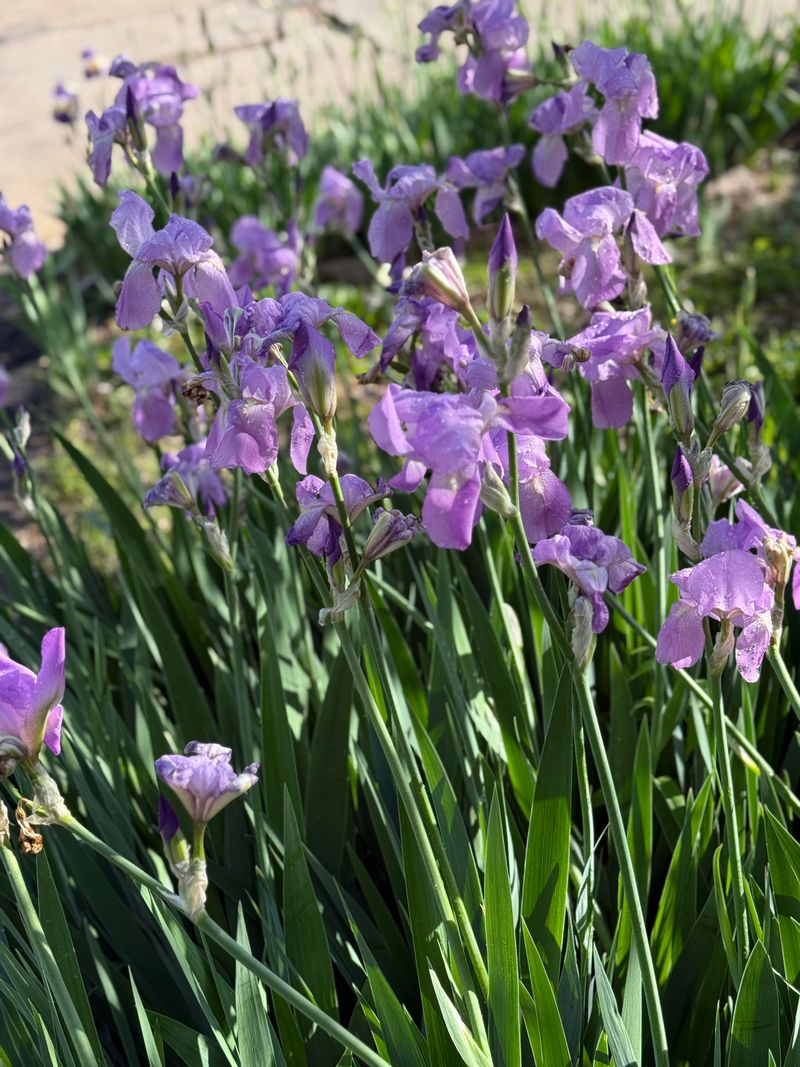
With a few smart strategies, they can become a highlight of the spring and early summer garden, showing off bold colors and delicate patterns that draw the eye.
For Oregon gardeners ready to see their irises bloom beautifully, following some simple, practical tips can make all the difference. With the right planting, care, and timing, it’s possible to enjoy a garden full of these striking flowers season after season.
1. Choosing Iris Varieties That Thrive In Oregon
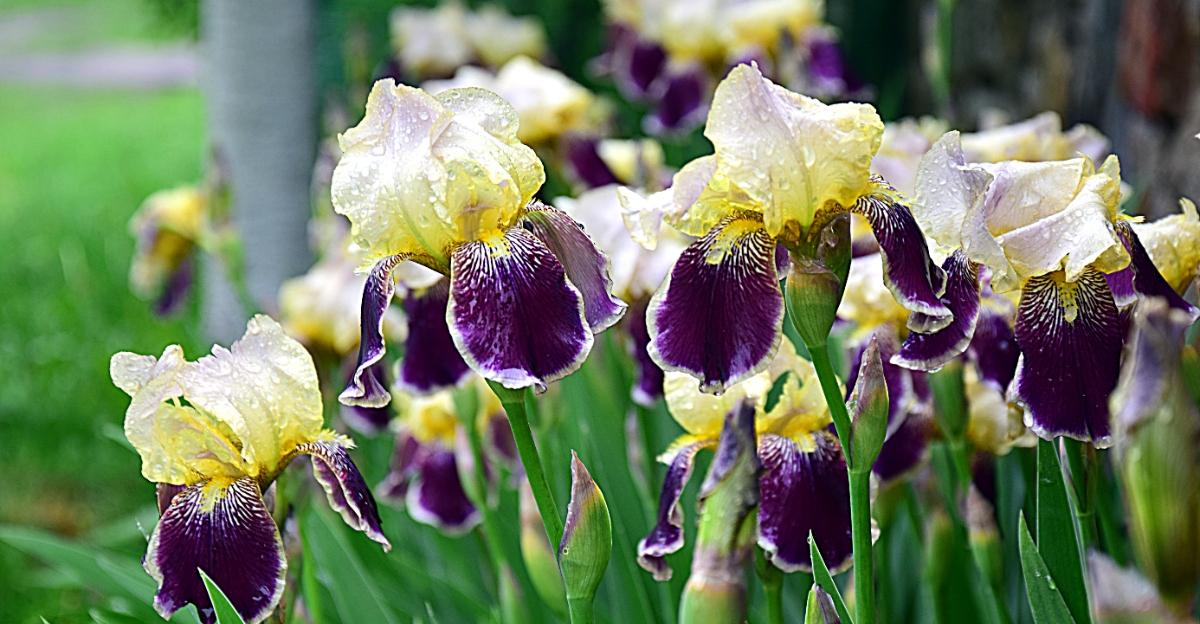
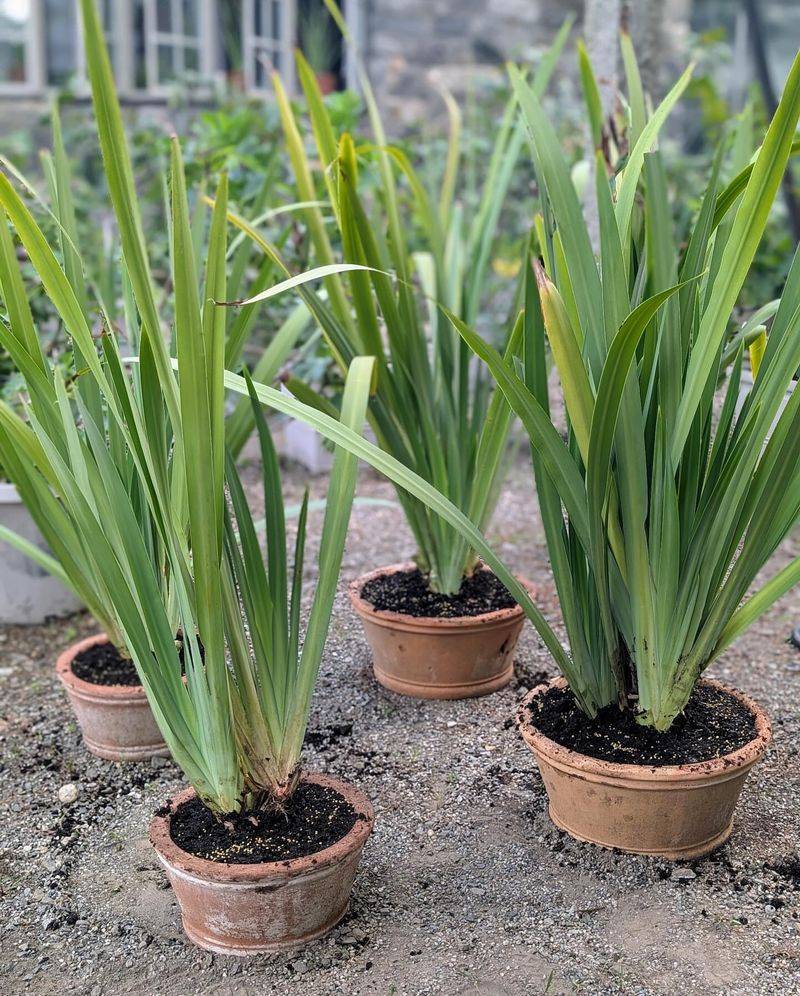
Bearded irises are the most reliable bloomers for Oregon backyards because they handle our wet springs better than most other types.
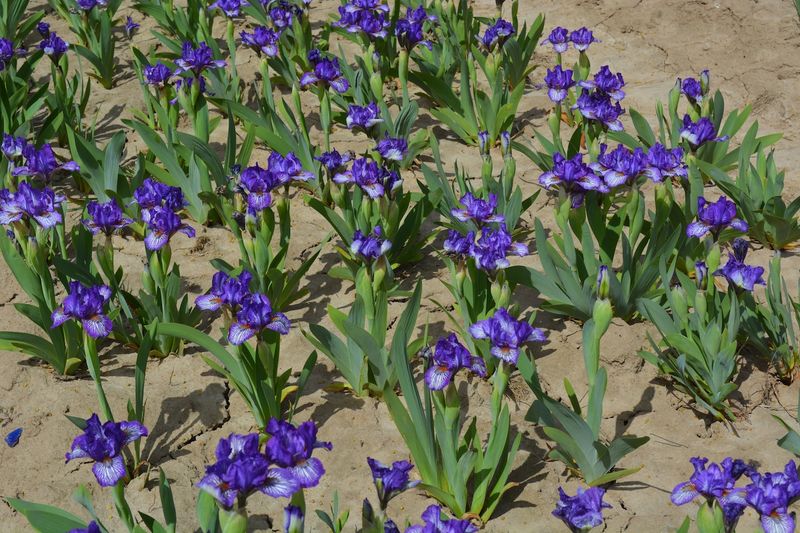
Tall bearded varieties give you dramatic height along fences and borders, while dwarf bearded types work beautifully in front of perennial beds.
Siberian irises also perform wonderfully here since they tolerate moisture and bloom a bit later than bearded types, extending your iris season into early summer.
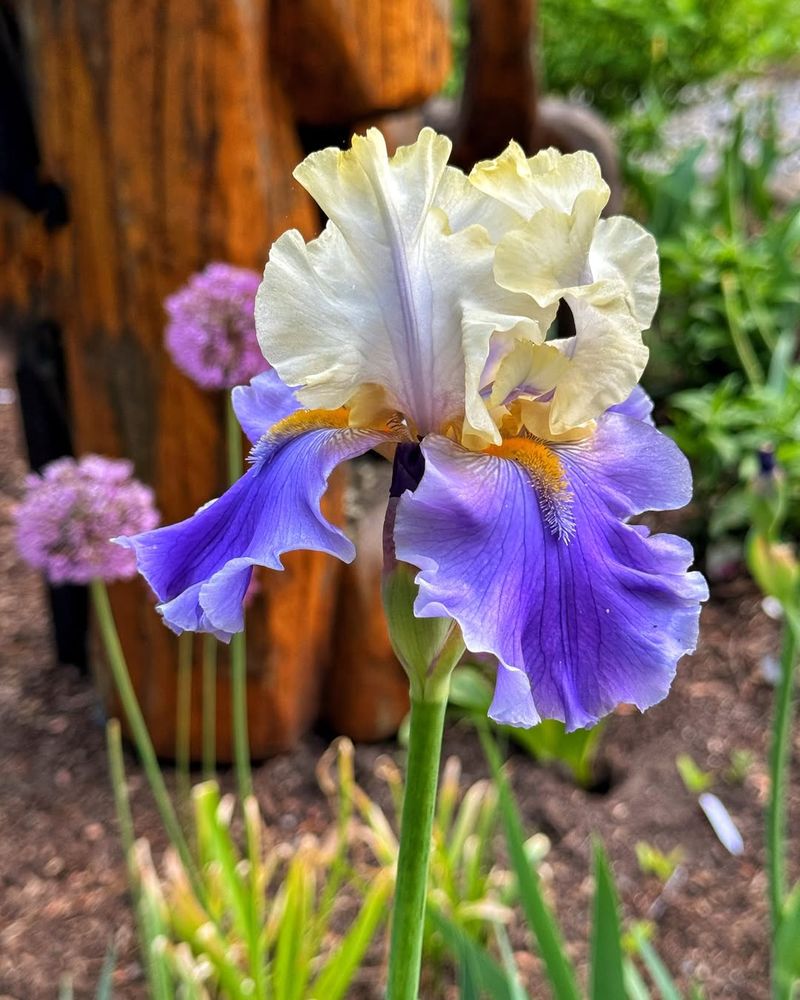
When you visit local nurseries in spring, look for varieties labeled as vigorous bloomers with strong disease resistance.
Oregon growers often recommend classics like Immortality, a white rebloomer that flowers twice per season, and Beverly Sills, a coral-pink variety that multiplies quickly.
Local garden centers carry rhizomes already adapted to our climate, which gives you a better start than mail-order rhizomes shipped from warmer regions.
Avoid tender varieties bred for California or the Deep South, as they struggle with our cool, wet springs and may rot before they ever bloom. Stick with cold-hardy selections rated for zones 6 through 8.
Once you find varieties that bloom reliably in your garden, divide them every few years and replant the healthiest rhizomes to keep your collection strong and floriferous for decades.
2. Planting Location And Sun Requirements
Irises bloom best when they receive at least six hours of direct sunlight each day, especially during the morning and early afternoon.
South-facing or west-facing spots along your house, fence line, or driveway usually provide the brightest light.
Without enough sun, iris rhizomes produce plenty of leaves but skip flowering altogether, leaving you with green clumps that never deliver the blooms you planted them for.
Check your planting site throughout the day to see how shadows move across the area. Trees and shrubs that leaf out in spring can block light just when irises need it most for bud development.
Your Oregon Garden Changes Every Week. Your Plan Should Too.
Gardening in Oregon changes quickly throughout the season. Every Friday you’ll receive a simple weekly plan showing exactly what to plant, prune, fertilize, harvest, and protect so you never miss the right timing.
- ✅Know exactly what to plant this week
- ✅Stay ahead of pests and diseases
- ✅Never miss short planting windows
- ✅Simple weekend gardening checklist
- ✅Full archive of every weekly guide
Only $49/year (less than $1 per week)
Friday’s guide goes out soon. Join today to receive this week’s edition.
🟢 Unlock This Week’s Oregon Garden Plan
Join 2,000+ Oregon gardeners who never wonder what to do next.
If your garden has limited sunny spots, prioritize irises over shade-tolerant plants like hostas or ferns, which will happily grow in areas your irises would hate.
Avoid planting irises in low-lying areas where water pools after Oregon’s winter rains, as soggy soil encourages rhizome rot and fungal diseases.
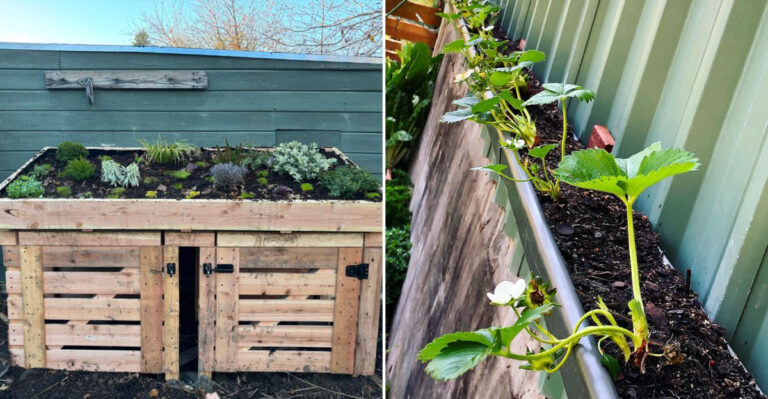
Raised beds, berms, or slightly sloped areas work beautifully because they provide the drainage irises crave.
Even a gentle slope of just a few inches can make the difference between healthy blooms and disappointing clumps that rot away before they ever flower properly.
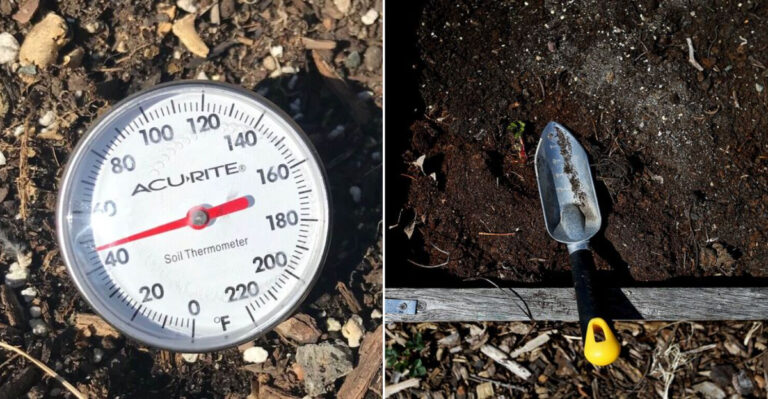
3. Soil Preparation For Healthy Rhizomes
Oregon’s native clay soil holds water far too long for iris rhizomes, which prefer quick-draining conditions that dry out between rains.
Before planting, work several inches of coarse compost, aged bark, or perlite into your planting bed to improve drainage and create air pockets around the roots.
Heavy, compacted soil suffocates rhizomes and prevents the strong root growth needed to support abundant blooms.
Aim for a slightly alkaline to neutral soil pH between 6.5 and 7.0, which you can achieve by adding a handful of lime per square yard if your soil tests acidic.
Most Oregon soils lean acidic naturally, so testing your pH every few years helps you maintain the conditions irises prefer.
You can pick up an inexpensive soil test kit at any garden center and adjust your soil accordingly before planting or during your annual spring cleanup.
Avoid adding fresh manure or nitrogen-heavy amendments directly to iris beds, as too much nitrogen encourages lush leaf growth at the expense of flowers. Instead, mix in a balanced slow-release fertilizer at planting time and let the rhizomes establish themselves.
Once your irises are growing strongly, they need very little feeding to bloom well year after year in our relatively fertile Oregon soils.
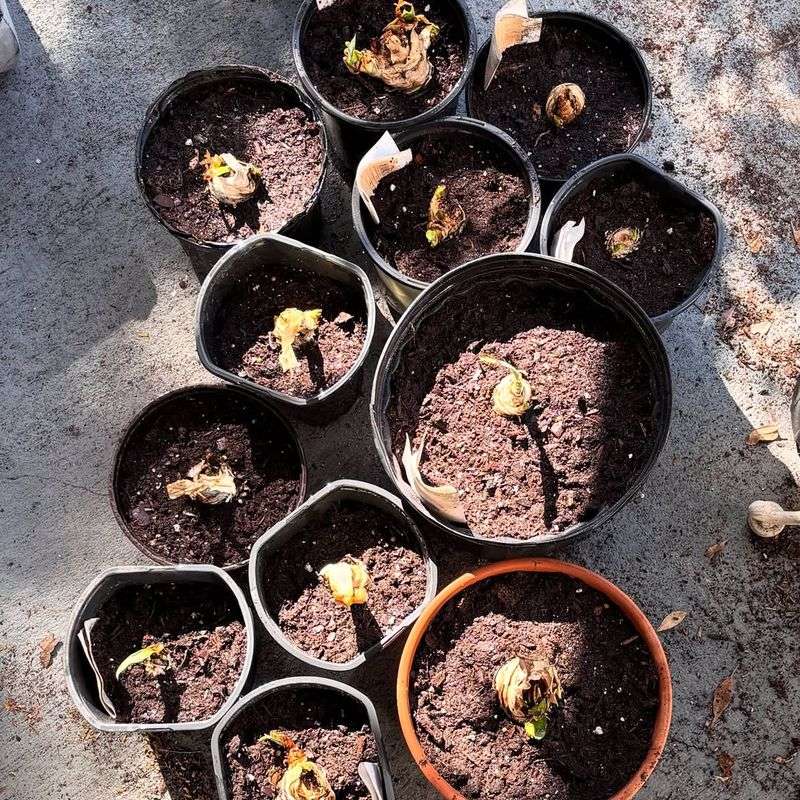
4. Proper Planting Depth And Spacing
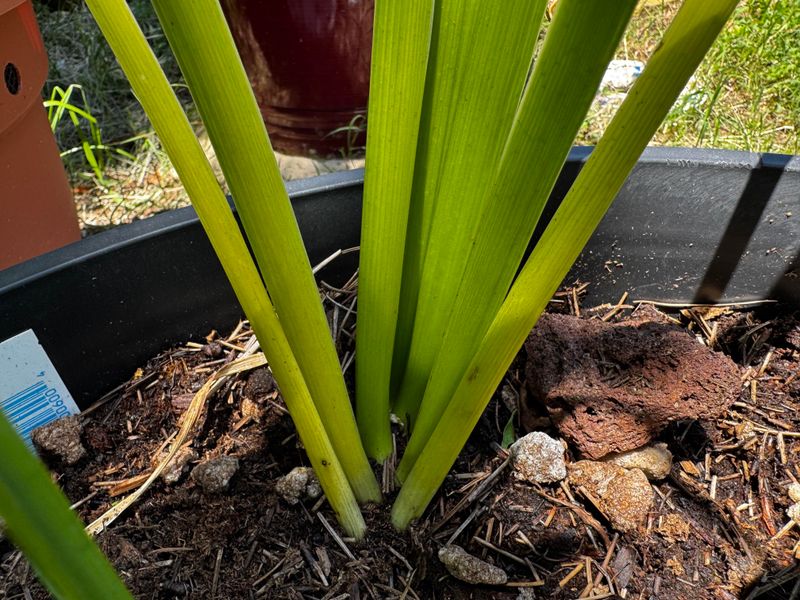
Plant iris rhizomes so the top surface sits just barely exposed at the soil line, almost like a duck floating on water.
Burying rhizomes too deeply is one of the most common reasons irises refuse to bloom, since they need sunlight and warmth on their backs to trigger flower bud formation.
When you finish planting, you should be able to see the top of each rhizome without having to dig around to find it.
Space individual rhizomes about twelve to eighteen inches apart to allow room for growth and air circulation between plants.
Crowding irises together might look fuller initially, but within two or three years the clumps will compete for light and nutrients, resulting in fewer blooms and weaker plants.
Proper spacing also reduces humidity around the foliage, which helps prevent fungal diseases during Oregon’s damp spring weather.
Point the leafy fan of each rhizome in the direction you want it to grow, usually outward from the center of your bed. Irises grow by sending new rhizomes forward each year, so thoughtful placement at planting time keeps your clumps expanding in an organized way.
Firm the soil gently around the roots but leave the rhizome top exposed, then water thoroughly to settle everything in place without creating muddy, waterlogged conditions.
5. Watering Practices That Encourage Blooms
Irises need regular water during their active growing season from spring through early summer, but they prefer the soil to dry out somewhat between waterings.
Deep watering once or twice a week works better than frequent shallow sprinklings, as it encourages roots to grow downward and establish strong anchor systems.
Once bloom season ends in late June or July, you can cut back watering significantly and let summer drought conditions naturally harden off the rhizomes.
Oregon’s rainy springs usually provide all the moisture irises need for blooming, so avoid overwatering during this period. Too much water during bud development dilutes bloom color and can cause buds to rot before opening.
If we experience an unusually dry spring, water your iris beds deeply once per week, but always check soil moisture first by sticking your finger a few inches down to see if the soil feels damp or dry.
After blooms fade and summer arrives, reduce watering to almost nothing unless we face extreme heat or drought. Irises naturally go semi-dormant in summer, and keeping them too moist during this rest period can lead to rot and disease.
This summer dryness actually helps next year’s bloom buds form properly inside the rhizomes, so resist the urge to keep watering them like your other perennials.
6. Fertilizing Without Reducing Flower Production
Feed irises lightly in early spring just as new growth emerges, using a low-nitrogen fertilizer with a formula like 5-10-10 or 6-12-12 that emphasizes phosphorus and potassium over nitrogen.
Phosphorus supports strong root development and abundant bloom production, while potassium improves overall plant health and disease resistance.
Sprinkle a small handful of fertilizer around each clump, keeping it away from direct contact with the rhizomes to avoid burning them.
Avoid high-nitrogen lawn fertilizers or fresh compost, as excess nitrogen pushes irises to produce lush, floppy foliage instead of flowers.
Many Oregon gardeners make the mistake of feeding irises the same way they feed roses or vegetables, but irises actually bloom better when slightly underfed.
If your soil is reasonably fertile, you might only need to fertilize every other year rather than annually.
Apply a second light feeding right after blooms fade to help rhizomes store energy for next year’s flowers. This post-bloom feeding should be even lighter than the spring application, just enough to support healthy growth without encouraging excessive foliage.
Water the fertilizer in thoroughly if rain is not expected within a day or two, but avoid creating soggy conditions that could lead to rhizome rot during the transition into summer dormancy.
7. Managing Oregon’s Wet Springs
Oregon’s heavy spring rains can waterlog iris beds and encourage bacterial soft rot, which turns rhizomes into mushy, foul-smelling messes.
If your planting area tends to stay soggy, consider building raised beds eight to twelve inches high to lift rhizomes above the water table.
Even a simple mound of amended soil works wonders for improving drainage during our wettest months.
Check your iris clumps regularly during rainy periods for signs of rot, including yellowing leaves, soft spots on rhizomes, or a strong unpleasant odor.
If you find rot, dig up affected rhizomes immediately, cut away all diseased tissue with a clean knife, and let the healthy portions dry in the sun for a day before replanting in fresh, well-drained soil.
Acting quickly can save most of the clump even if a few rhizomes are lost.
Mulching around irises can help prevent mud from splashing onto leaves during heavy rains, but keep mulch pulled back several inches from the rhizomes themselves.
Mulch that covers rhizomes traps moisture against them and blocks the sun they need to bake and harden properly.
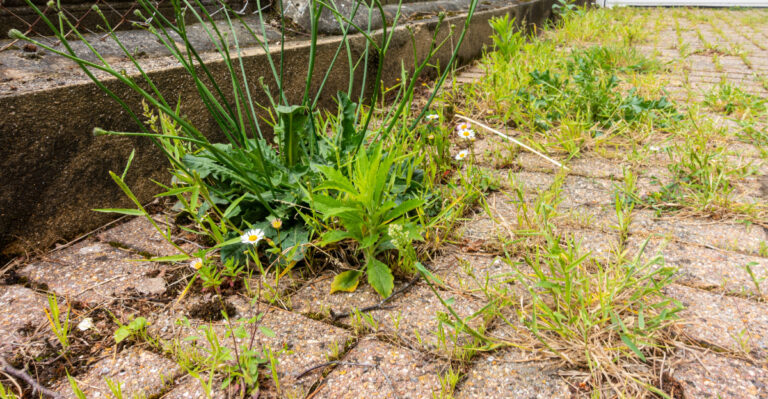
A light layer of small bark chips or gravel around the clumps works well for weed control without creating the damp, dark conditions that encourage disease.
8. Dividing Overcrowded Iris Clumps
Iris clumps need dividing every three to four years when rhizomes become so crowded they push each other up out of the ground and bloom production drops off noticeably.
Late summer, from mid-July through September, is the perfect time to divide irises in Oregon because the weather is dry and rhizomes have time to establish new roots before winter.
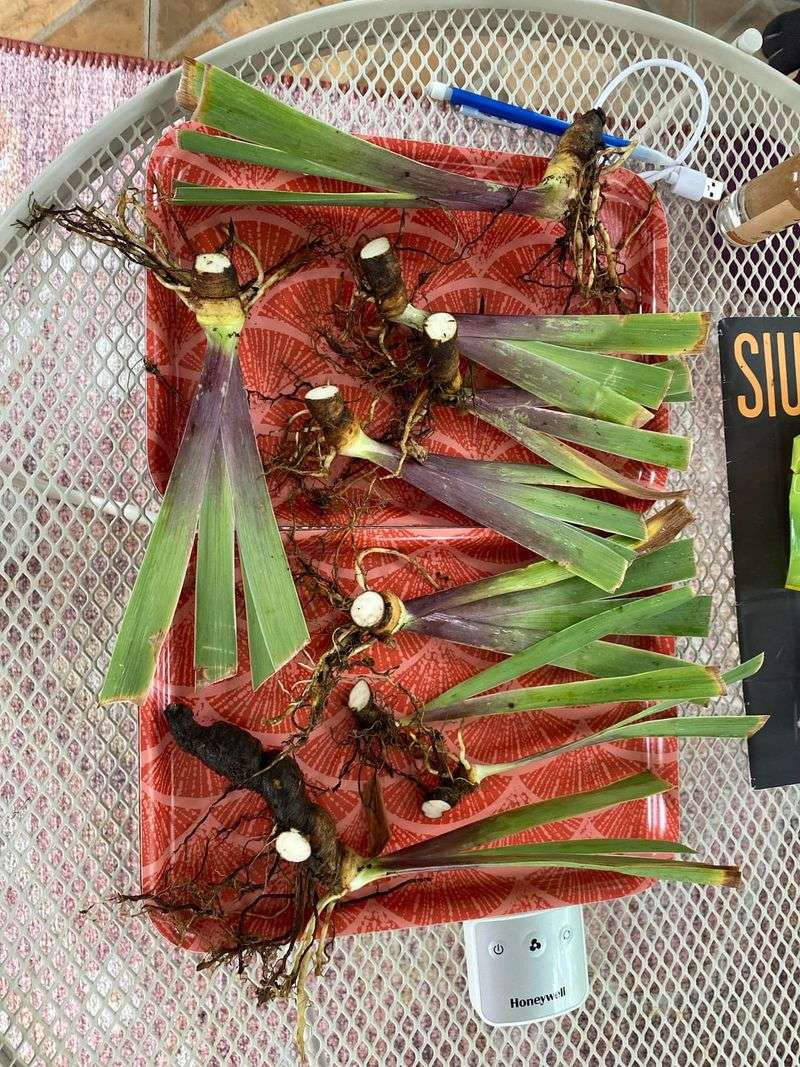
Digging up a clump reveals a tangled mass of rhizomes, with the youngest, healthiest ones growing around the outer edges.
Use a sharp knife or garden spade to separate individual rhizomes, keeping only the firm, plump ones with healthy leaf fans attached. Discard old, woody rhizomes from the center of the clump, as these rarely bloom well even if replanted.
Trim leaves back to about six inches to reduce water loss, and cut roots to about three inches long to encourage fresh root growth after replanting.
Replant divisions immediately in freshly amended soil, spacing them properly to allow several years of growth before they need dividing again. If you have more divisions than you need, share them with neighbors or add them to other sunny spots in your garden.
Freshly divided irises usually skip blooming the first spring after transplanting, but by the second year they reward you with vigorous growth and abundant flowers.
9. Common Reasons Irises Fail To Bloom

When irises produce leaves but no flowers, the most likely culprit is insufficient sunlight or rhizomes planted too deeply.
Check your planting site again to confirm irises receive at least six hours of direct sun, and gently brush away soil to make sure rhizome tops are exposed.
Sometimes soil settles over rhizomes during winter rains, burying them just enough to prevent blooming even though the plants otherwise look healthy.
Overcrowding ranks as the second most common bloom-blocking problem, especially in established beds that have not been divided in five or more years.
When rhizomes pack together tightly, they compete for light, water, and nutrients, and eventually stop producing flowers even though the clumps keep expanding.
Plan to divide crowded clumps this summer, and you will likely see blooms return the following spring or the year after.
Overfertilizing with nitrogen-rich products, planting in too much shade, or keeping soil too wet during summer dormancy can all prevent blooming as well. Take an honest look at your care routine and growing conditions to identify what might be holding your irises back.
Most bloom failures can be corrected with simple adjustments, and once you get conditions right, irises become incredibly reliable performers that bloom beautifully year after year with minimal fuss.