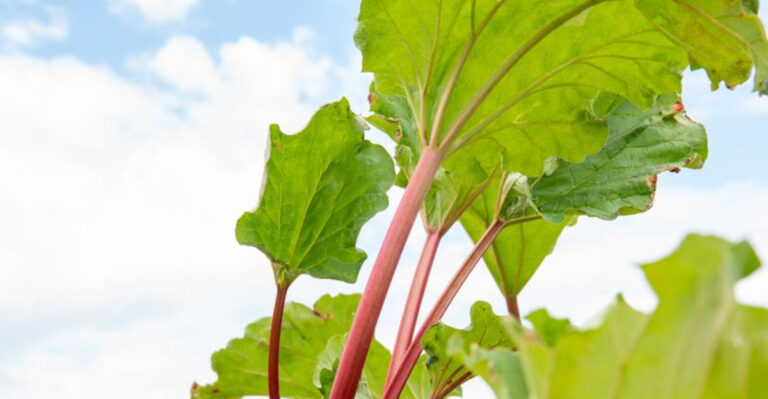
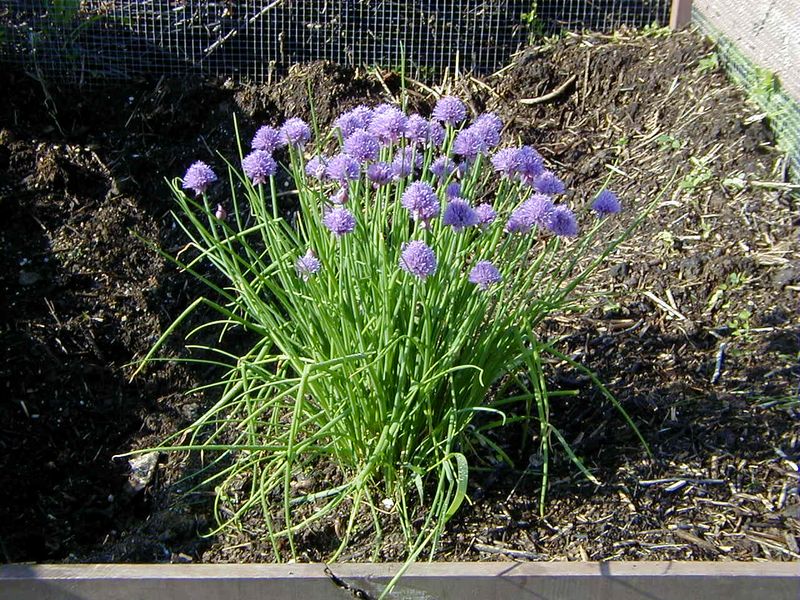
Wisconsin Gardeners Reveal 8 Tricks For Lush And Bushy Chives
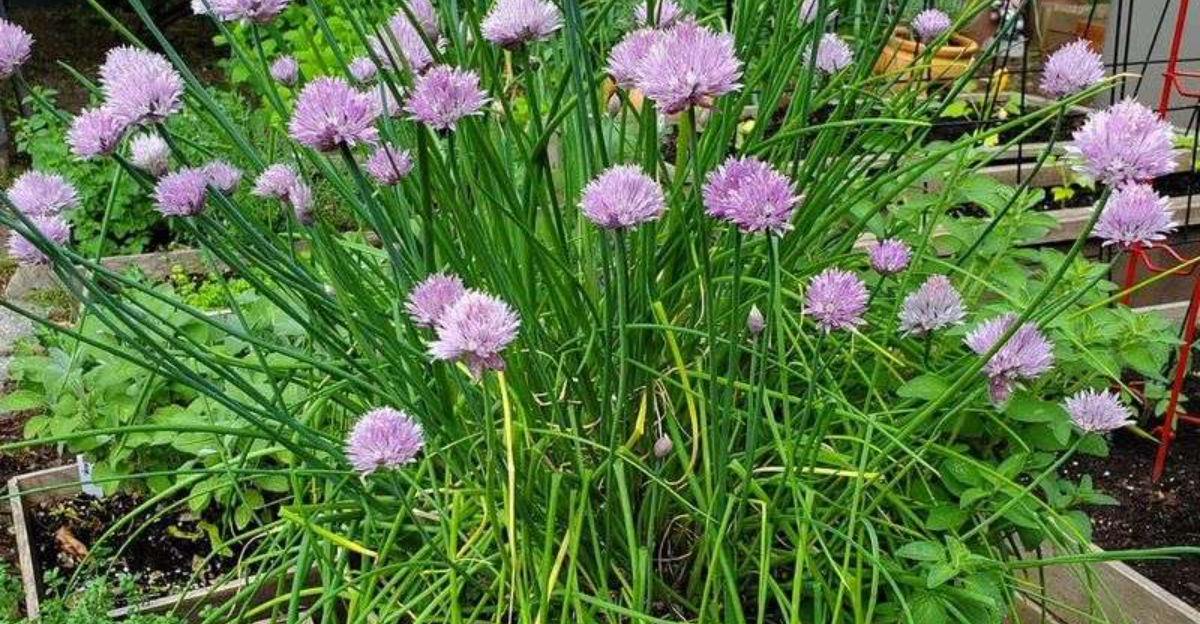
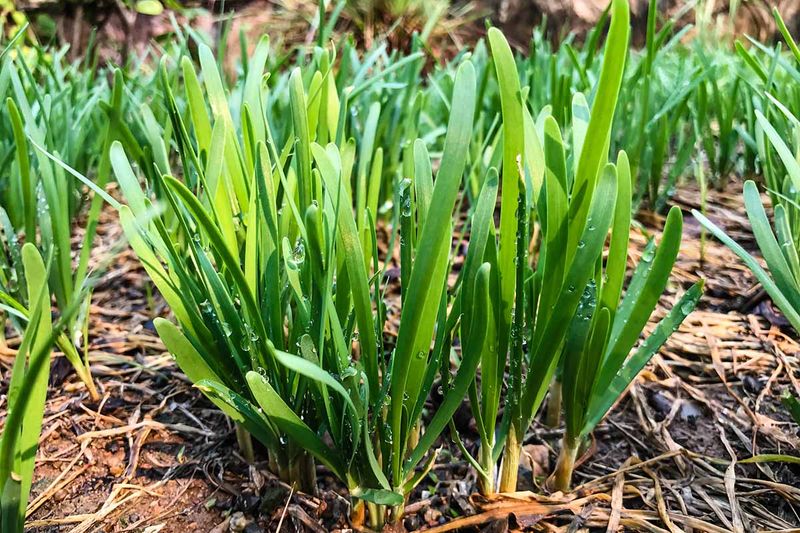
Chives are a favorite in Wisconsin gardens because they are flavorful, hardy, and easy to grow.
But getting thick, lush clumps that keep producing all season takes more than planting seeds and waiting. Experienced gardeners have discovered tricks that help chives thrive and look full.
Your chives can go from sparse to spectacular with a few smart techniques. These tips cover everything from soil preparation and proper spacing to watering, pruning, and fertilizing.
Wisconsin gardeners know that timing, sunlight, and regular maintenance make a big difference in plant health and yield.
Following these steps ensures your chives remain productive, flavorful, and visually appealing year after year. Healthy soil and careful care turn ordinary chives into a garden showpiece.
By using these practical strategies, Wisconsin gardeners enjoy robust, bushy chives that enhance salads, soups, and garnishes while brightening their gardens. Grow fuller, tastier chives and enjoy the harvest all season long.
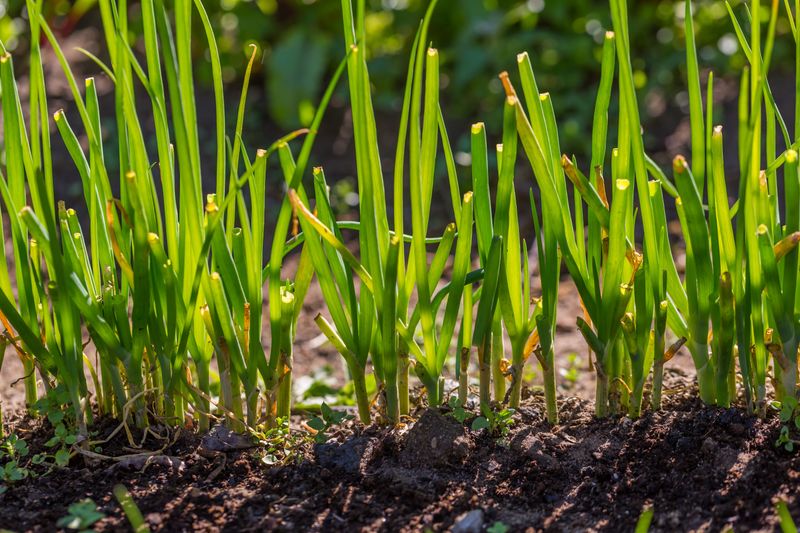
1. Start From Established Clumps Or Divisions
Wisconsin’s growing season can feel surprisingly short, especially when spring arrives late and autumn frosts come early.
Starting chives from seed means waiting weeks for germination and even longer for plants to reach a harvestable size. Divisions, on the other hand, give you a head start that’s hard to beat.
When you plant a division from an established clump, you’re working with a mature root system that’s ready to grow the moment soil temperatures warm up. These divisions typically produce thick, flavorful leaves within just a few weeks of planting.
Seeds, by contrast, can take an entire season to develop into anything resembling a full plant. Local gardeners often share divisions in spring, making this an affordable and community-friendly way to expand your herb garden.
You can also purchase potted chive plants from nurseries, which are essentially divisions already rooted and ready to transplant. Either way, you’re skipping the slow seedling stage entirely.
Planting divisions also means you can enjoy your first harvest much sooner, which is especially valuable if you love using fresh chives in cooking.
The faster growth and fuller appearance make divisions the smart choice for anyone serious about growing lush, productive chives in Wisconsin’s unique climate.
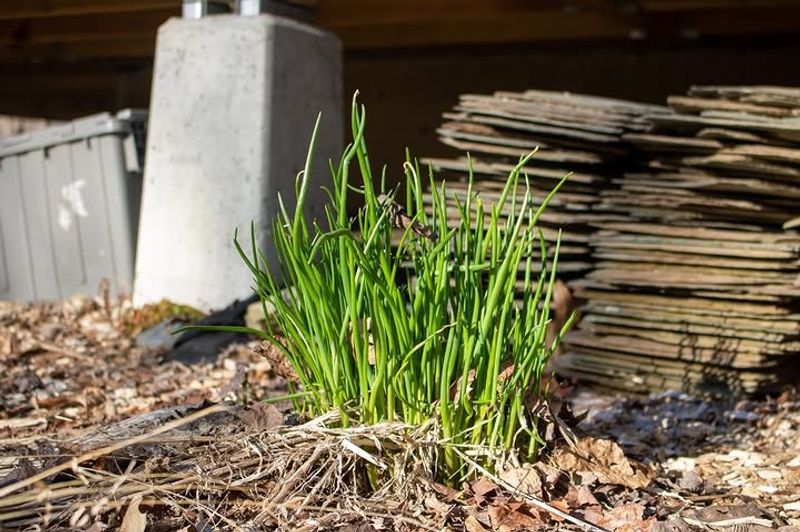
2. Plant In Full Sun For Maximum Leaf Production
Sunlight is the secret ingredient that turns ordinary chive plants into thick, vibrant clumps bursting with flavor.
Chives thrive when they receive at least six hours of direct sunlight each day, and Wisconsin gardeners who prioritize sunny spots consistently report the best results.
More sun means more photosynthesis, which translates directly into more leaf production and stronger flavor.
Shaded chive plants tend to grow tall and spindly as they stretch toward available light, producing fewer leaves and a weaker taste. Full sun, however, encourages compact, bushy growth with plenty of tender shoots perfect for snipping.
The difference is noticeable even to casual observers. Choosing the right planting location makes all the difference. Look for a spot in your garden that gets morning and midday sun, ideally with some protection from intense late-afternoon heat during summer’s peak.
South-facing beds or borders along sunny fences work beautifully. Even container-grown chives benefit from full sun exposure, so place pots on patios, decks, or balconies where they’ll soak up plenty of rays.
The investment in a sunny spot pays off quickly with lush, flavorful leaves you can harvest throughout the growing season. Sunlight truly is the foundation of healthy, productive chive plants.
3. Use Well-Draining, Fertile Soil
Soil quality can make or break your chive-growing success, and Wisconsin gardeners have learned that the right mix creates plants that practically grow themselves.
Chives prefer soil that drains quickly while still holding enough moisture and nutrients to fuel vigorous growth.
Heavy clay soils that stay soggy can lead to crown rot, a condition that weakens plants and reduces their productivity. Adding compost is the single best way to improve soil structure and fertility.
Compost lightens heavy soils, improves drainage, and provides a slow, steady supply of nutrients that chives love.
Mix several inches of finished compost into your planting area before setting out divisions or transplants.
Well-draining soil also warms up faster in spring, giving chives an earlier start to the growing season. This is especially valuable in Wisconsin, where every extra week of growth counts.
The combination of good drainage and rich organic matter creates an ideal environment for root development and leaf production.
Testing your soil’s pH can also help; chives prefer slightly acidic to neutral conditions, typically between 6.0 and 7.0. If your soil falls outside this range, amendments like lime or sulfur can bring it into balance.
Healthy soil equals healthy chives, and the effort you put into soil preparation pays dividends all season long.
4. Water Consistently But Don’t Overwater

Finding the right watering rhythm is essential for growing chives that look and taste their best.
Consistent moisture encourages steady leaf production and keeps plants looking fresh and vibrant throughout the growing season. However, too much water can quickly become a problem, leading to root damage and stunted growth.
Chives appreciate soil that stays evenly moist but never waterlogged. A good rule of thumb is to water when the top inch of soil feels dry to the touch.
During hot, dry stretches in summer, this might mean watering every few days, while cooler, rainy periods require much less intervention.
Overwatering is one of the most common mistakes gardeners make, especially in Wisconsin’s clay-heavy soils that naturally retain moisture.
Waterlogged roots struggle to absorb oxygen, which weakens the entire plant and makes it more susceptible to disease. Proper drainage, as mentioned earlier, helps prevent this issue.
Mulching around chive plants can help maintain consistent soil moisture by reducing evaporation and moderating soil temperature. Just be sure to keep mulch a few inches away from the base of the plants to prevent crown rot.
With the right balance of moisture, your chives will reward you with thick, tender leaves and robust growth all season long.
5. Trim Frequently To Promote Bushiness
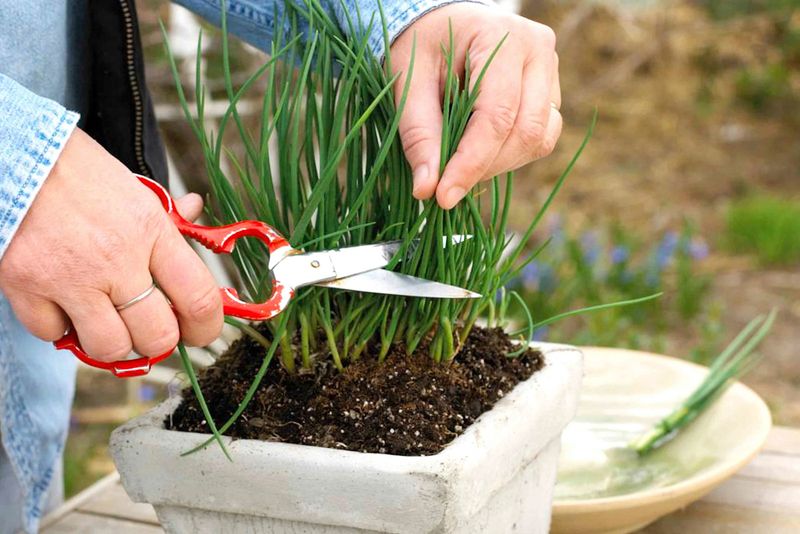
Regular trimming might seem counterintuitive, but it’s actually one of the best ways to encourage thick, bushy chive plants.
Every time you cut leaves, the plant responds by sending up new shoots, creating a fuller, more productive clump. This natural response is the key to achieving that lush, abundant look Wisconsin gardeners love.
Start harvesting when plants reach about six inches tall, cutting leaves down to about two inches above the soil line. Use sharp scissors or garden shears to make clean cuts that heal quickly.
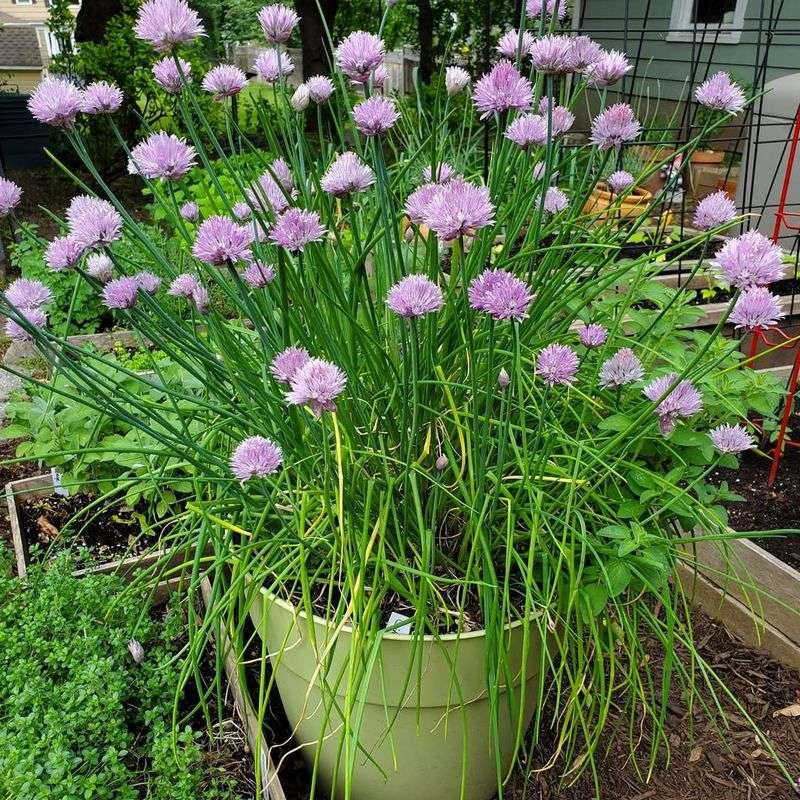
Avoid tearing or pulling, which can damage the plant and slow regrowth. Frequent harvesting also prevents chives from putting too much energy into flowering.
While the purple blooms are lovely and edible, allowing plants to flower extensively can reduce leaf production and cause the remaining leaves to become tougher and less flavorful. Trimming keeps plants focused on producing tender, tasty foliage.
Even if you don’t need chives for cooking right away, trimming every few weeks throughout the growing season keeps plants looking their best. You can freeze or dry the extra leaves for later use, ensuring nothing goes to waste.
Regular cutting transforms ordinary chive plants into impressive, bushy specimens that enhance any garden.
6. Apply Balanced Fertilizer In Early Spring
After a long Wisconsin winter, chives emerge from dormancy ready to grow, and a well-timed feeding can make all the difference in how quickly they bounce back.
Applying a balanced fertilizer in early spring provides the nutrients plants need to produce abundant, flavorful foliage right from the start of the season.
Look for a balanced formula with equal or near-equal amounts of nitrogen, phosphorus, and potassium, such as a 10-10-10 or 5-5-5 blend.
Nitrogen is especially important for leafy growth, but too much can lead to excessive foliage at the expense of flavor and plant health. A balanced approach ensures chives get everything they need without overdoing it.
Apply fertilizer just as new growth begins to emerge, typically in late March or early April depending on your location in Wisconsin. Follow package directions carefully to avoid burning plants with too much fertilizer.
A light application is usually sufficient, as chives aren’t heavy feeders. Organic options like compost tea or fish emulsion work beautifully and provide additional micronutrients that synthetic fertilizers might lack.
These gentle, slow-release options are less likely to cause nutrient imbalances or environmental harm. With the right spring feeding, your chives will grow vigorously and produce plenty of leaves for harvesting throughout the season.
7. Mulch Lightly To Protect Early Growth
Spring in Wisconsin can be unpredictable, with warm days followed by sudden cold snaps and late frosts that threaten tender new growth.
A light layer of mulch provides valuable protection for emerging chive shoots without creating the problems that heavy mulching can cause.
Straw and shredded leaves are ideal choices that insulate plants while allowing air and water to reach the soil. Apply mulch in a thin layer, no more than an inch or two thick, around the base of plants once they begin to emerge in spring.
This provides just enough insulation to moderate soil temperature and protect against light frosts. Avoid piling mulch directly against the crown of the plant, as this can trap moisture and promote rot.
Mulch also helps suppress weeds that compete with chives for nutrients and water, and it reduces soil moisture loss during dry spells. As organic mulches break down over time, they add valuable organic matter to the soil, improving its structure and fertility.
This creates a positive cycle that benefits your chives season after season. Remove or thin mulch as the weather warms and plants become established, allowing soil to heat up and encouraging vigorous growth.
The key is using mulch strategically to protect without smothering, giving your chives the gentle support they need during Wisconsin’s challenging spring weather.
8. Divide Clumps Every 3–4 Years
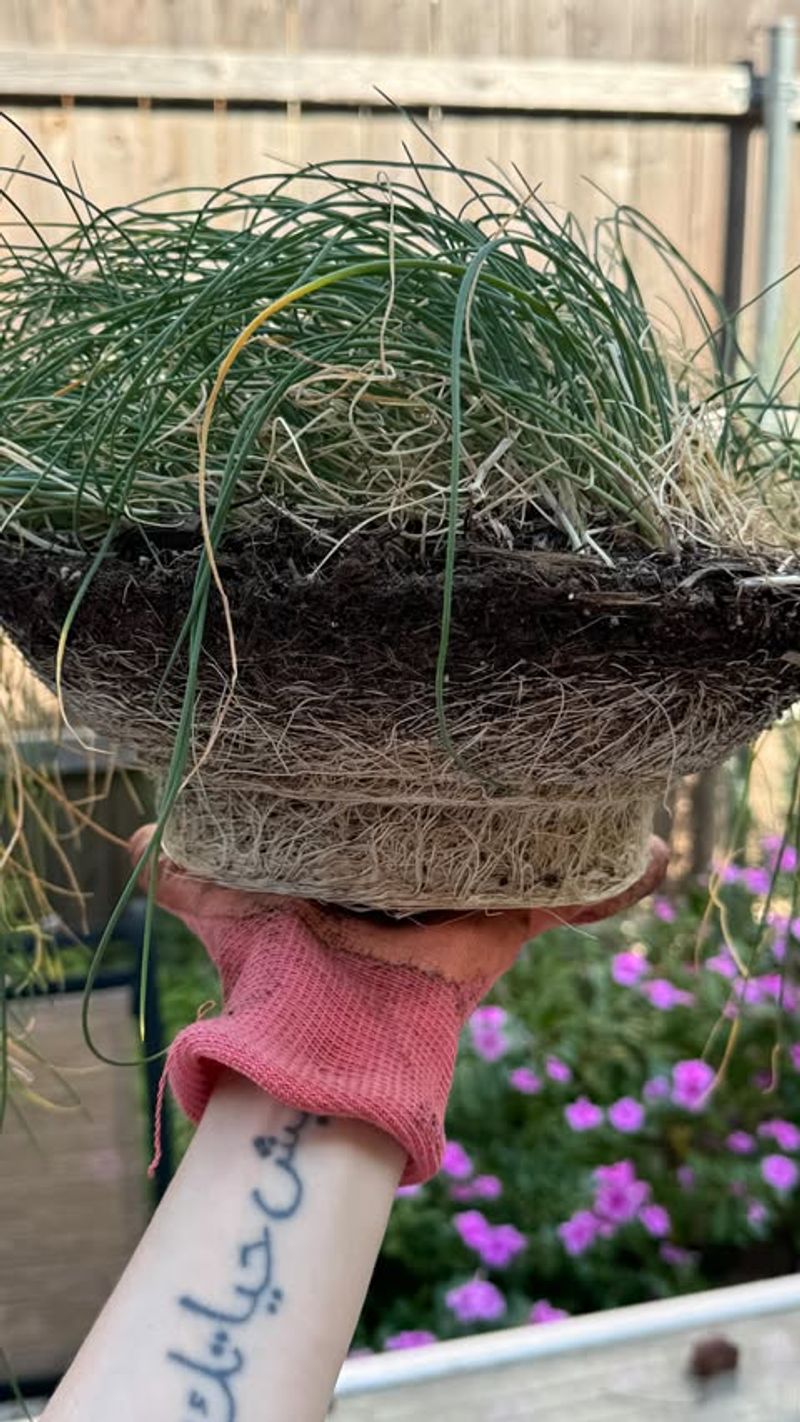
Even the healthiest chive plants eventually become overcrowded, with too many shoots competing for limited space, water, and nutrients.
Dividing clumps every three to four years rejuvenates older plants, restores their vigor, and gives you plenty of divisions to expand your garden or share with friends. This simple maintenance task is one of the best investments you can make in long-term chive health.
Signs that your chives need dividing include reduced leaf production, smaller leaves, and a dense, tangled root mass that’s difficult for water and nutrients to penetrate.
When you notice these symptoms, it’s time to carefully lift the entire clump with a garden fork and separate it into smaller sections, each with its own roots and shoots.
Spring or early fall are the best times for dividing chives in Wisconsin, giving plants time to establish before extreme weather arrives.
Replant divisions immediately at the same depth they were growing before, spacing them about eight to twelve inches apart to allow room for future growth. Water thoroughly after planting to help roots settle in.
Dividing chives not only improves plant health but also prevents the center of old clumps from becoming woody and unproductive. Fresh divisions grow vigorously and produce abundant, tender leaves that taste better than those from overcrowded plants.
Regular division keeps your chive patch looking lush and productive year after year.