Vermont Gardeners Share 8 Tips For Growing Thick And Bushy Chives
Chives are a staple in Vermont gardens, valued for their flavor, fragrance, and ease of growth. But producing thick, lush clumps that keep yielding all season requires more than planting and waiting.
Experienced gardeners have discovered techniques that help chives thrive and look full. Your chives can go from sparse to spectacular with a few simple strategies.
These eight tips cover soil preparation, proper spacing, watering routines, pruning, and fertilization. Vermont gardeners know that timing, sunlight, and consistent care make a big difference in plant health and productivity.
Following these steps ensures your chives remain flavorful, visually appealing, and highly productive year after year. Healthy soil and careful maintenance turn ordinary chives into a garden standout.
Vermont gardeners who apply these practical strategies enjoy abundant, bushy chives that enhance salads, soups, and garnishes while adding texture and color to their gardens. Grow fuller, tastier chives and enjoy a bountiful harvest.
1. Start With Healthy Clumps Or Divisions
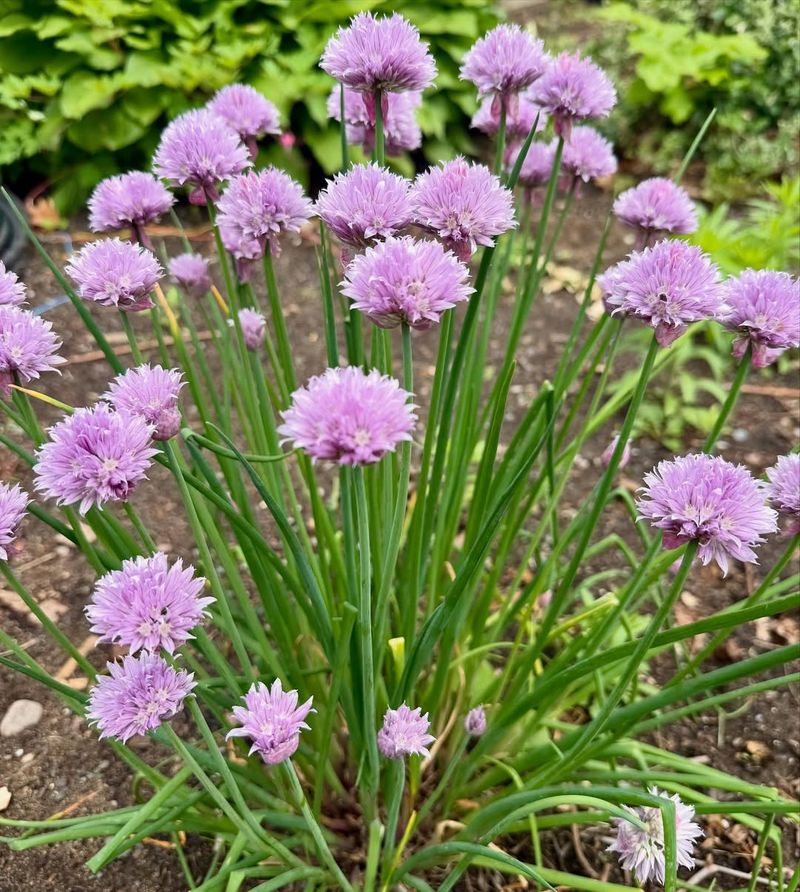
Beginning your chive journey with established divisions rather than seeds gives you a serious head start, especially in Vermont where our growing season can feel frustratingly short.
When you plant a healthy clump that’s already developed a strong root system, you’re essentially skipping the slow seedling stage and jumping straight to productive growth.
Many experienced gardeners divide their own chives in early spring or get divisions from neighbors, and these transplants settle in quickly, often producing harvestable leaves within just a few weeks.
Seed-grown chives can take an entire season just to establish themselves, which means you might not get a decent harvest until the following year. Divisions, on the other hand, are ready to roll from day one.
They’ve already proven their vigor, and you can see exactly what you’re getting in terms of leaf thickness and clump density before you even put them in the ground. When selecting divisions, look for clumps with multiple shoots and healthy white roots.
Avoid any that look sparse or have yellowing foliage, as these won’t give you the thick, bushy growth you’re after.
Plant them at the same depth they were growing previously, and they’ll reward you with rapid establishment and abundant leaves throughout the season.
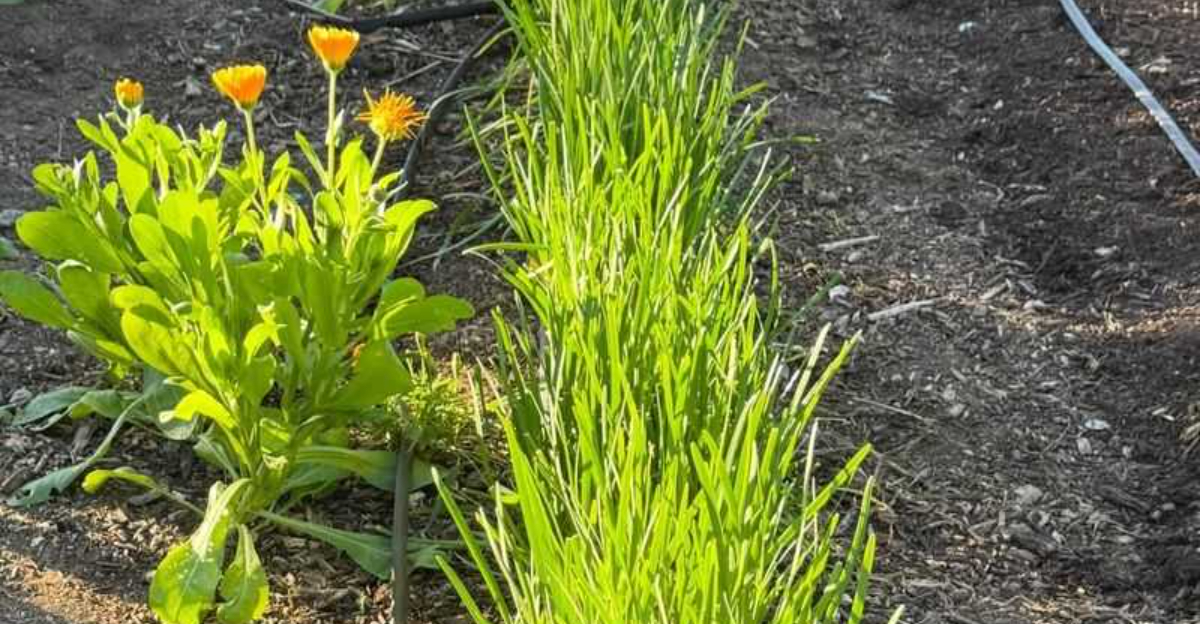
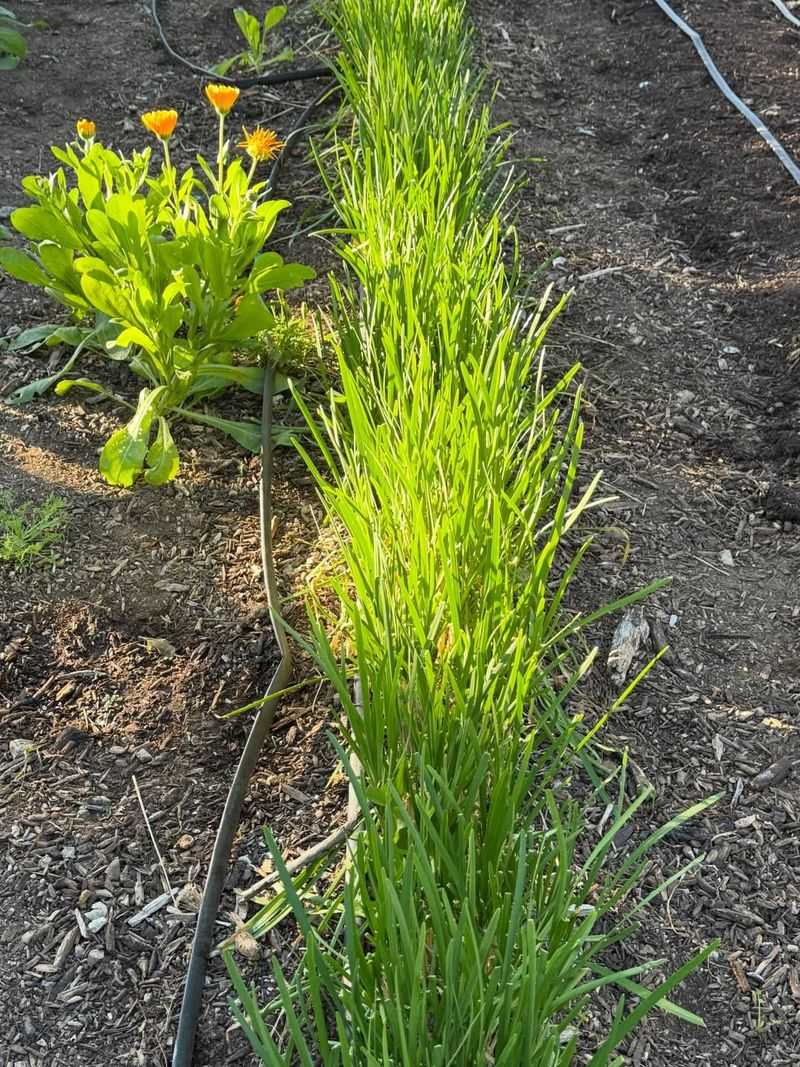
2. Plant In Full Sun For Maximum Leaf Production

Sunlight is absolutely essential if you want your chives to grow thick and bushy rather than thin and straggly.
While chives can technically survive in partial shade, they won’t thrive or produce the dense, vigorous growth that makes them so valuable in the kitchen and garden.
Aim for at least six hours of direct sunlight each day, and if you can give them even more, they’ll reward you with darker green leaves and more robust clumps that fill out beautifully.
In Vermont’s climate, where cloudy days aren’t uncommon and our summer sun angle is lower than in southern states, choosing the sunniest spot in your garden becomes even more important.
South-facing beds or areas that get unobstructed morning and midday sun are ideal. The extra light energy fuels photosynthesis, which translates directly into more leaf production and stronger overall plant vigor.
Shadier locations tend to produce chives with fewer, thinner leaves that grow more slowly and have less intense flavor.
The plants also become more susceptible to fungal issues when they don’t get enough sun to dry morning dew quickly.
If your garden space is limited, consider planting chives in containers that you can move to follow the sun throughout the day, ensuring they get maximum exposure during our precious growing season.
3. Use Fertile, Well-Draining Soil
Soil quality makes or breaks your chive growing success, particularly here in Vermont where many of us are dealing with heavy clay that holds water like a sponge and doesn’t always provide the nutrients these hungry herbs need.
Chives absolutely love rich, fertile soil that’s been generously amended with compost or well-rotted manure.
The organic matter not only feeds the plants but also improves soil structure, creating those air pockets that roots need to breathe and expand.
When you’re preparing your chive bed, work in several inches of quality compost before planting.
This creates a loose, crumbly texture that allows roots to penetrate easily while also holding just enough moisture without becoming waterlogged.
In clay-heavy areas, you might even consider building raised beds or mounding the soil to improve drainage further, as chives sitting in soggy soil will struggle and may develop root problems that stunt their growth.
The fertility aspect is equally important because chives are surprisingly heavy feeders for such a delicate-looking herb.
Rich soil packed with organic nutrients supports the constant leaf production that creates those thick, bushy clumps.
Test your soil pH as well, aiming for slightly acidic to neutral conditions between 6.0 and 7.0, which is where chives perform their best and absorb nutrients most efficiently.
4. Water Consistently Without Overwatering

Finding the sweet spot with watering is crucial for developing those lush, thick chive clumps that keep producing all season long.
Chives prefer soil that stays evenly moist, similar to a wrung-out sponge, which means regular watering during dry spells but never to the point where the soil becomes saturated or waterlogged.
Consistent moisture encourages steady leaf production and prevents the stress that can cause plants to bolt prematurely or produce tough, bitter-tasting leaves.
During Vermont’s typically wet springs, you might not need to water at all, but come July and August when things can get dry, you’ll want to check your chives regularly.
Stick your finger into the soil near the base of the plants, and if the top inch feels dry, it’s time to water deeply.
Shallow, frequent watering encourages shallow root systems, while deep, less frequent watering promotes strong roots that can better withstand drought and support more vigorous top growth.
Overwatering is just as problematic as underwatering, potentially leading to root issues that weaken the entire plant and reduce leaf production.
If you notice yellowing leaves or stunted growth despite good sunlight and soil, waterlogged roots might be the culprit.
In heavy soils, this is especially common, so always err on the side of slightly drier rather than constantly wet conditions.
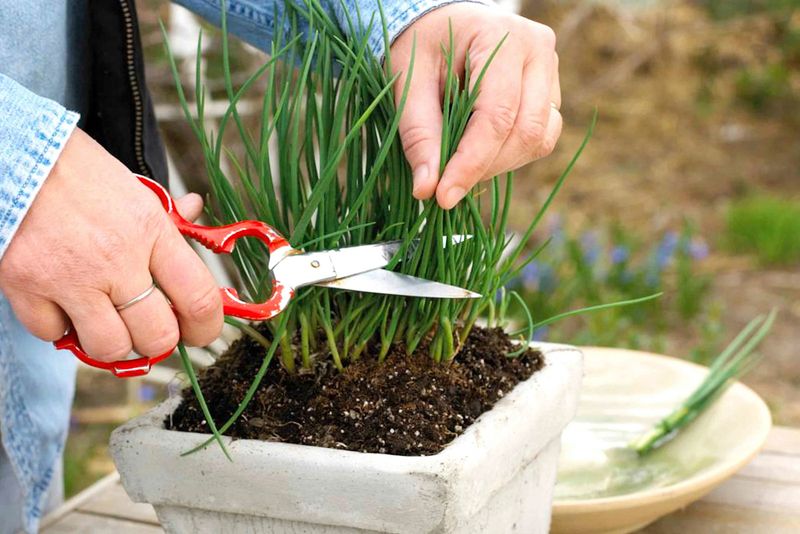
5. Trim Regularly To Encourage Bushiness
Regular harvesting is actually one of the best things you can do for your chives, and it’s a happy coincidence that what’s good for the plant also puts fresh herbs on your table.
Each time you snip chive leaves, you’re sending a signal to the plant to produce more shoots from the base, which is exactly how you build those thick, bushy clumps that look so impressive in the garden.
Frequent trimming prevents the plant from putting all its energy into flowering and seed production, keeping it focused on vegetative growth instead.
The technique matters here: always cut leaves down to about two inches from the soil line rather than just snipping the tips.
This might seem drastic, but it encourages the plant to send up multiple new shoots rather than just elongating the ones you partially trimmed.
Use sharp scissors or garden shears to make clean cuts that heal quickly, and harvest from different sections of the clump to maintain an even appearance while maximizing regrowth.
Even if you’re not using chives in your cooking every day, trim them anyway and compost the excess or share with neighbors.
Plants that are regularly harvested throughout the season develop denser root systems and more numerous growing points, resulting in progressively thicker clumps year after year.
Vermont’s growing season gives you plenty of opportunities to harvest, so take advantage and watch your chives respond with increasingly vigorous growth.
6. Fertilize Lightly In Early Spring

Timing your fertilizer application to coincide with early spring growth gives chives the nutritional boost they need to bounce back vigorously after Vermont’s long winter dormancy.
As soon as you see those first green shoots poking through the soil in late March or April, it’s the perfect moment to apply a balanced, nitrogen-rich fertilizer that will fuel rapid leaf development and help your plants build thick, healthy clumps quickly.
Nitrogen is particularly important because it’s the primary nutrient responsible for lush, green foliage growth.
You don’t need to go overboard with fertilizer, as chives aren’t particularly heavy feeders compared to vegetables like tomatoes or corn.
A light application of compost tea, fish emulsion, or a balanced organic granular fertilizer with an NPK ratio around 10-10-10 works beautifully.
Spread it around the base of the plants according to package directions, being careful not to let concentrated fertilizer sit directly on the foliage where it might cause burning.
Some gardeners also do a second light feeding in midsummer if their chives seem to be slowing down or if they’ve been harvesting heavily. This keeps the plants productive through the entire growing season.
Avoid fertilizing too late in the season, though, as you want your chives to naturally slow down and harden off before winter rather than pushing tender new growth that won’t survive the cold.
7. Mulch To Protect Soil And Roots
A light layer of organic mulch around your chive plants serves multiple purposes that all contribute to healthier, bushier growth throughout the season.
Straw, shredded leaves, or fine bark mulch spread about two inches deep helps maintain consistent soil moisture by reducing evaporation, which means less frequent watering and more stable growing conditions.
This moisture retention is particularly valuable during Vermont’s sometimes unpredictable summer weather when we might go from heavy rain to dry spells within the same week.
Mulch also acts as an effective weed suppressant, preventing competing plants from stealing nutrients and water that your chives need for optimal growth.
Fewer weeds mean less competition and less time spent on your hands and knees pulling unwanted plants from between your herb clumps.
Just be careful not to pile mulch directly against the base of the chive plants, as this can trap excess moisture and create conditions favorable for fungal issues or rot.
During early spring when late frosts are still a concern in Vermont, mulch provides valuable insulation for chive roots, protecting them from temperature fluctuations that can stress plants and slow growth.
As the mulch breaks down over time, it also adds organic matter back into the soil, continuously improving soil structure and fertility.
Refresh your mulch layer annually in late spring after the soil has warmed up, and your chives will thank you with vigorous, healthy growth all season long.
8. Divide Clumps Every Few Years
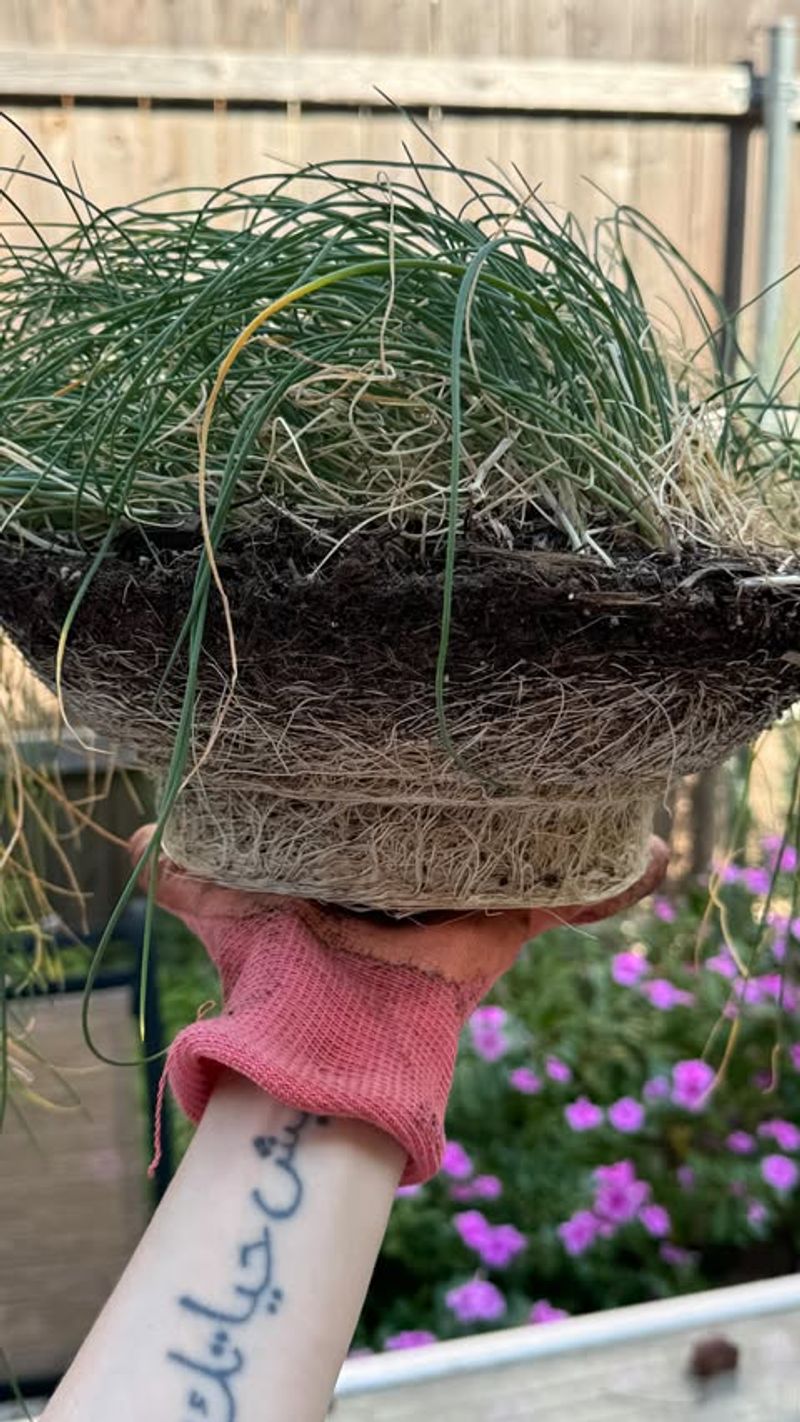
Even the healthiest chive clumps eventually become overcrowded, and when that happens, you’ll notice declining vigor, smaller leaves, and less productive growth overall.
Dividing your chives every three to four years rejuvenates them completely, essentially resetting the clock and giving you multiple vigorous new plants from one tired clump.
This simple maintenance task is one of the most effective ways to ensure your chives remain thick, bushy, and productive for many years to come.
The best time to divide chives in Vermont is early spring, just as new growth is beginning but before the plants have put too much energy into leaf production.
Using a sharp spade or garden fork, carefully lift the entire clump from the soil and shake off excess dirt so you can see the root structure clearly.
You’ll notice the clump is made up of many individual plants crowded together, and your job is to gently pull or cut these apart into sections that each contain several shoots and a healthy portion of roots.
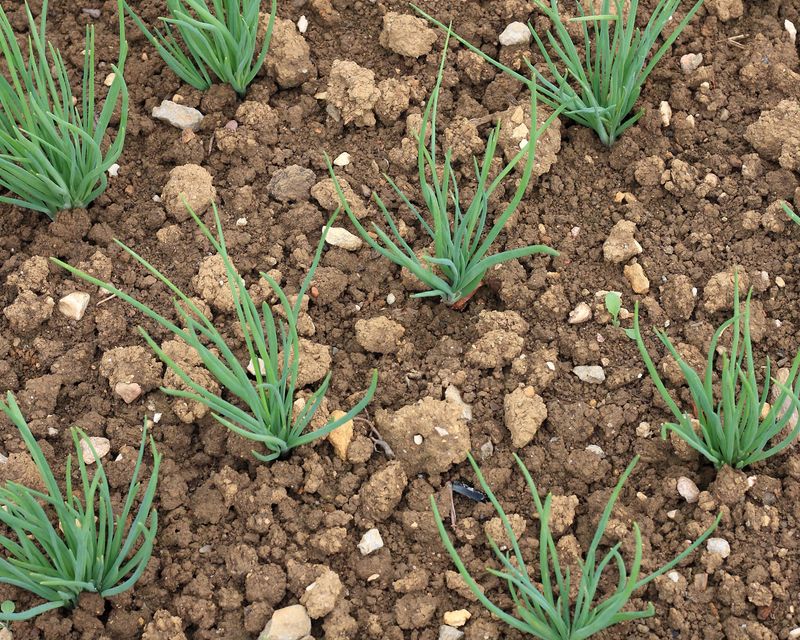
Replant the divisions at the same depth they were growing previously, spacing them about eight to twelve inches apart to give them room to expand into thick clumps again.
Water them well after replanting, and you’ll be amazed at how quickly they establish and begin growing vigorously.
You can plant the extras in other parts of your garden, share them with friends, or even pot some up for indoor growing during winter.