Nevada Gardeners Follow 8 Simple Steps To Repot Aloe Vera Successfully
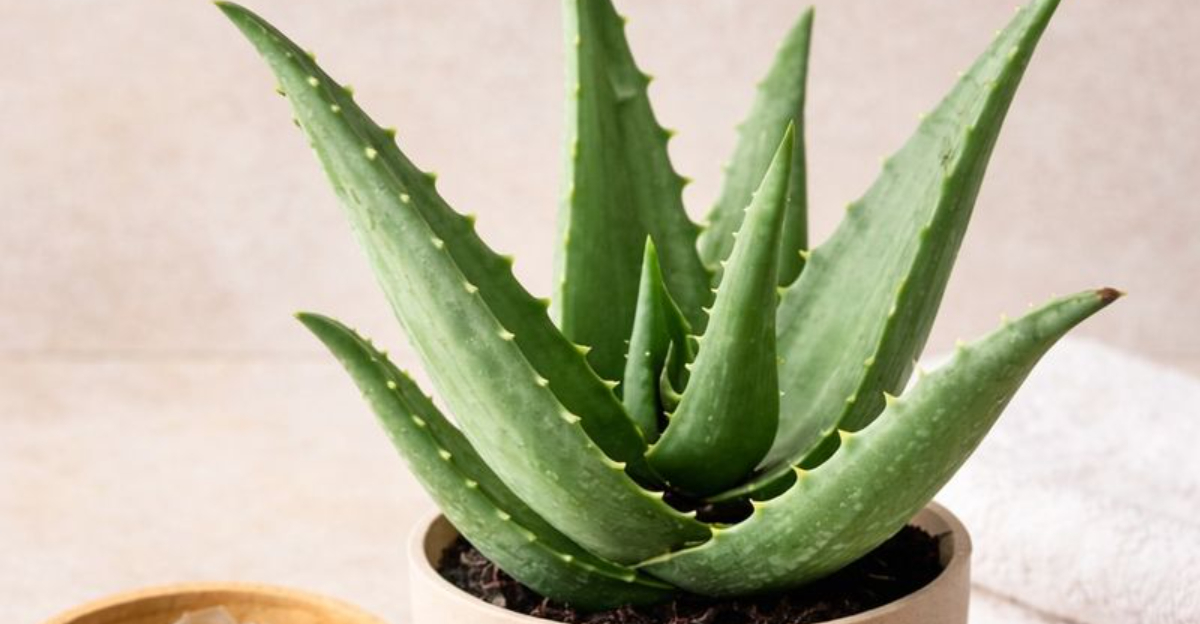
Aloe vera is a popular succulent in Nevada gardens because it is hardy, low-maintenance, and useful for home remedies.
Repotting it correctly ensures healthy growth, prevents root rot, and keeps the plant thriving for years. Give your aloe the best start in a new pot with the right steps.
These eight steps guide gardeners through choosing the right container, preparing well-draining soil, removing the plant carefully, and positioning it properly in its new home.
Proper watering, light placement, and post-repotting care help aloe establish quickly and continue to grow strong. Simple techniques can make the difference between a struggling plant and a thriving aloe.
Nevada gardeners who follow these steps enjoy robust, healthy aloe vera that adds greenery, function, and beauty to their indoor or outdoor spaces. Repot aloe successfully and keep your succulent flourishing for years.
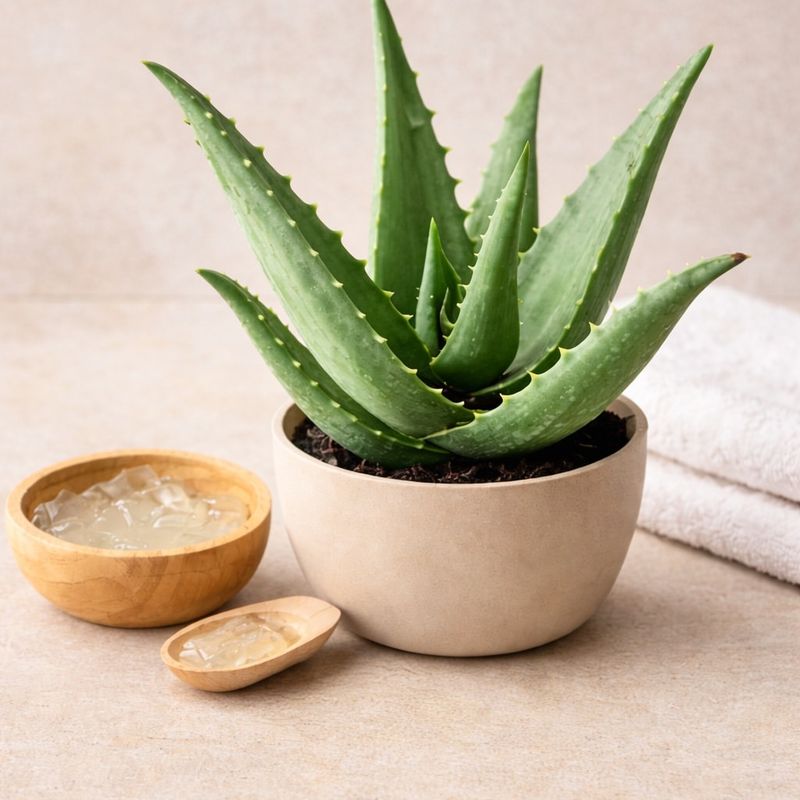
1. Choose The Right Container
Finding the perfect pot for your aloe vera can make all the difference between a thriving plant and one that struggles to establish itself.
A container that offers excellent drainage is absolutely essential because aloe vera roots are highly sensitive to excess moisture.
Without proper drainage holes at the bottom, water can accumulate and create an environment where root rot develops quickly, especially in Nevada’s fluctuating temperatures.
Size matters tremendously when selecting your new pot. Aim for a container that is one to two inches larger in diameter than your current one.
This gives the roots enough room to spread and grow without overwhelming the plant with too much soil, which can retain unnecessary moisture. Material choice also plays a role in your aloe’s health.
Terra cotta and unglazed ceramic pots are fantastic options because they allow moisture to evaporate through the walls, keeping the soil drier.
Plastic pots work too, but they retain more water, so you’ll need to be extra cautious with your watering schedule. The right container sets the foundation for a healthy repotting experience.
When your aloe has a well-suited home, it can focus its energy on growing lush, vibrant leaves that bring beauty and benefits to your Nevada garden space.
2. Use A Well-Draining Soil Mix
Soil choice can be the secret weapon that keeps your aloe vera happy for years to come.
Standard potting soil tends to hold too much moisture, which is problematic for succulents that prefer their roots to dry out between waterings.
In Nevada’s dry climate, you might think moisture retention would be beneficial, but aloe vera actually thrives when the soil drains quickly and efficiently. A specialized cactus or succulent soil mix provides the ideal foundation.
These blends are formulated specifically for plants that need fast drainage and minimal water retention. You can find them at most garden centers, and they take the guesswork out of creating your own mix.
For even better results, consider enhancing your soil with amendments like coarse sand or perlite. Mixing these materials into your cactus soil at a ratio of about one part amendment to two parts soil creates an incredibly porous growing medium.
Your Nevada Garden Changes Every Week. Your Plan Should Too.
Gardening in Nevada changes quickly throughout the season. Every Friday you’ll receive a simple weekly plan showing exactly what to plant, prune, fertilize, harvest, and protect so you never miss the right timing.
This allows water to flow through quickly while still providing enough structure to support the roots. The beauty of a well-draining mix is that it mimics the natural desert conditions where aloe vera originates.
Your plant will respond with vigorous growth and those thick, gel-filled leaves that make aloe so valuable for gardeners throughout Nevada.
3. Remove The Aloe Carefully From Its Old Pot
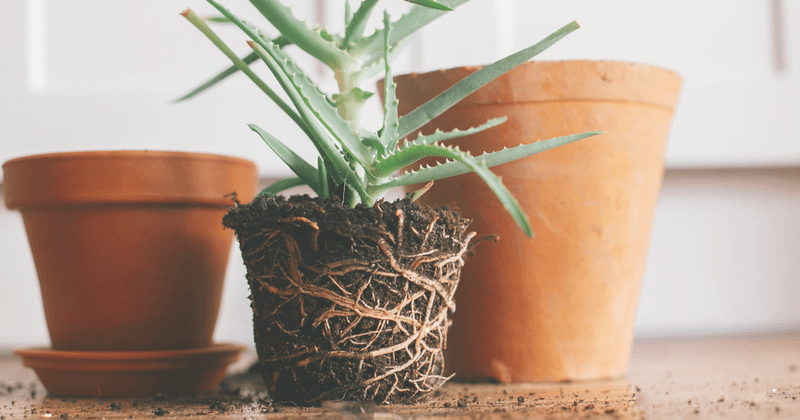
Extraction requires patience and a gentle touch to avoid damaging your precious plant.
Start by running a butter knife or thin trowel around the inside edge of the current pot to loosen any roots that may have attached themselves to the sides.
This simple step prevents tearing and makes the whole process much smoother. Turn the pot on its side and gently tap the bottom and sides to encourage the root ball to release.
If your aloe has been in the same container for a long time, the roots might be quite snug. Don’t panic if it takes a few moments of coaxing to free the plant.
Once the aloe begins to slide out, support the base of the plant with one hand while pulling the pot away with the other. Never yank the plant by its leaves, as this can cause breakage or damage to the sensitive tissue at the base.
The goal is to keep the root system as intact as possible. After removing the plant, gently shake off or brush away any compacted soil clinging to the roots.
This old soil may be depleted of nutrients or harbor pests, so clearing it away gives your aloe a fresh start in its new home with optimal growing conditions.
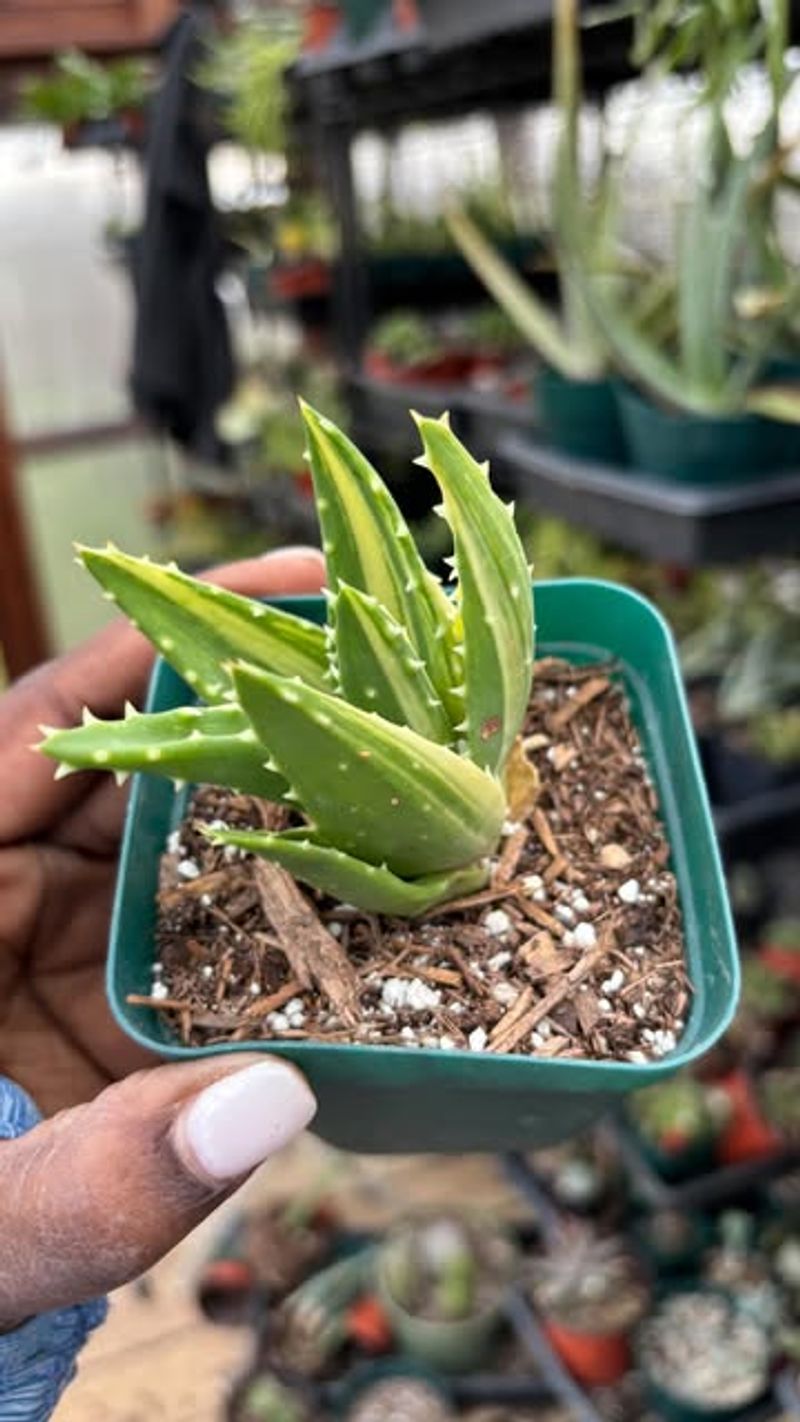
4. Inspect And Trim Roots If Necessary
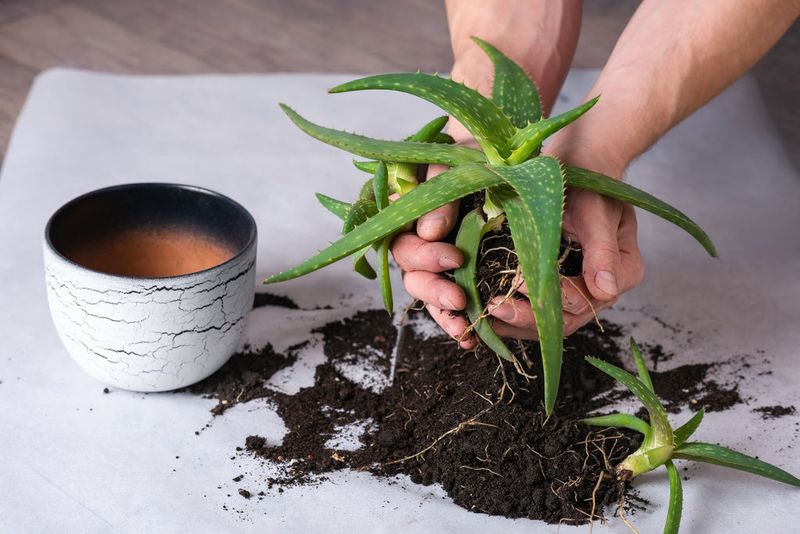
Root inspection is your opportunity to ensure your aloe vera enters its new home in peak condition. Once you’ve removed the plant from its old pot, take a close look at the root system.
Healthy roots should appear firm and white or light tan in color, indicating they’re actively absorbing nutrients and water. Sometimes you’ll discover roots that look mushy, brown, or blackened.
These are signs of rot or damage that need to be addressed before repotting. Using clean, sharp scissors or pruning shears, carefully trim away any compromised roots, cutting back to healthy tissue.
Root trimming might seem scary, but it actually encourages your aloe to produce fresh, vigorous new roots. Plants have an amazing ability to regenerate, and removing problem areas prevents potential disease from spreading throughout the root system.
Just be sure your cutting tools are sanitized with rubbing alcohol to avoid introducing bacteria. If your aloe has become rootbound with roots circling tightly around the root ball, gently tease them apart with your fingers.
This encourages the roots to grow outward into the new soil rather than continuing to circle.
A little root massage goes a long way toward helping your plant establish itself quickly and thrive in its new Nevada garden spot.
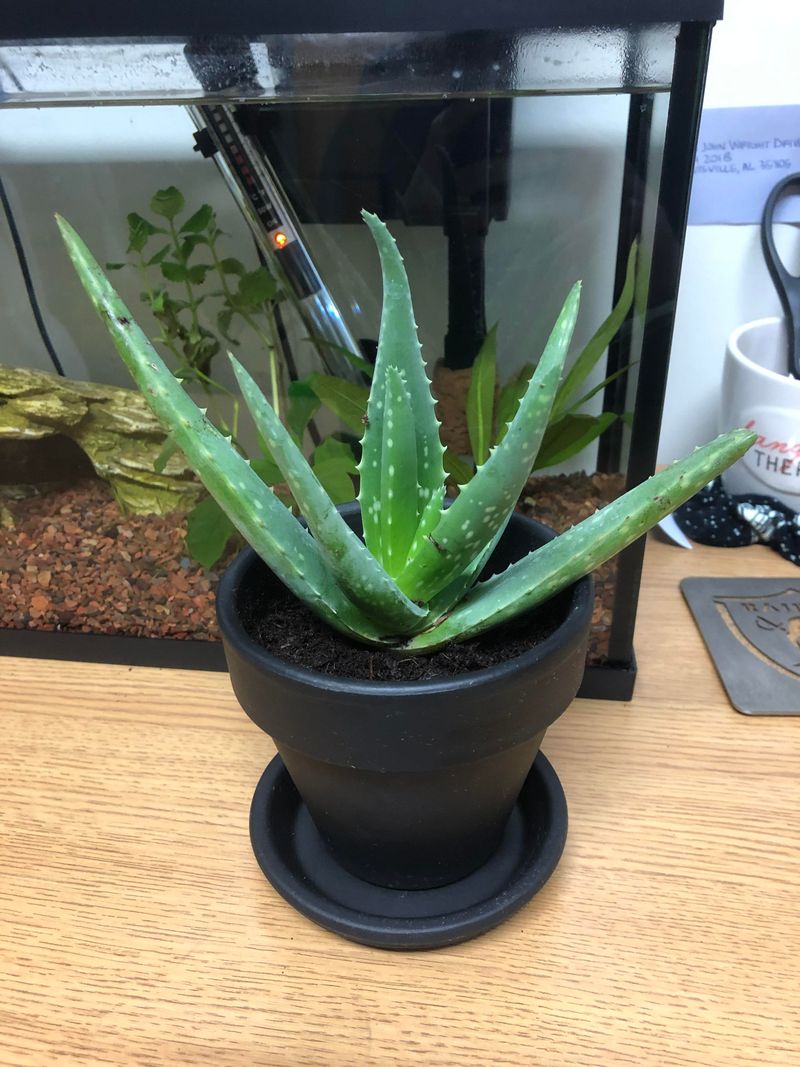
5. Position The Aloe Correctly In The New Pot
Proper positioning ensures your aloe vera sits at just the right height for optimal health and growth.
Begin by adding a layer of your well-draining soil mix to the bottom of the new container, creating a foundation that will support the root ball. The amount you add depends on how deep you want the plant to sit.
Place your aloe in the center of the pot and adjust the soil level beneath it so that the base of the plant rests just slightly above the soil line.
This is crucial because burying the base too deeply can lead to stem rot, especially when the soil retains any moisture. The leaves should point upward naturally without leaning to one side.
Take a moment to check the plant from all angles. Rotate the pot and make sure your aloe looks balanced and centered. If it tilts or leans, now is the time to make adjustments before adding more soil.
Getting the positioning right from the start saves you from having to dig up and reposition your plant later.
When your aloe sits at the perfect height with its leaves reaching proudly upward, it can focus all its energy on establishing strong roots and producing those beautiful, succulent leaves that Nevada gardeners treasure.
6. Backfill With Soil Without Compacting
Filling in around your aloe vera requires a delicate balance between securing the plant and maintaining soil aeration.
Begin by spooning or pouring your well-draining soil mix around the roots, working your way around the entire pot to ensure even distribution.
Take your time with this step, as rushing can lead to air pockets or overly compacted soil. As you add soil, gently tap the sides of the pot with your hand or lightly jiggle it on your work surface.
This natural settling helps the soil find its way between the roots without the need for heavy-handed pressing.
The goal is to eliminate large air gaps while preserving the loose, airy structure that succulent roots love. Resist the urge to pack the soil down firmly with your fingers or tools.
Compacted soil restricts airflow to the roots and can retain too much moisture, creating exactly the conditions that lead to root problems. A light pat on the surface is all you need once the pot is filled.
Leave about half an inch of space between the soil surface and the rim of the pot. This gap makes watering easier and prevents soil from washing over the sides. Your aloe is now securely nestled in its new home, ready to stretch its roots and flourish.
7. Avoid Watering Immediately

Patience after repotting can be challenging, but waiting to water is one of the most important steps for long-term success.
When roots are disturbed during the repotting process, tiny tears and cuts often occur even with the most careful handling. These small wounds need time to callus over and seal themselves naturally.
Introducing water too soon can cause moisture to seep into these vulnerable spots, creating an entry point for bacteria and fungi that cause rot.
By waiting two to three days before watering, you give your aloe’s natural healing processes time to work. During this waiting period, the plant draws on its internal moisture reserves, which aloe vera is perfectly equipped to do.
This dry period also encourages the roots to begin seeking out moisture in their new environment. When you finally do water, the roots will be ready and eager to absorb nutrients from the fresh soil.
The anticipation actually stimulates stronger root development. Nevada’s dry climate works in your favor during this waiting period, as the low humidity helps prevent any moisture-related issues.
When the two to three days have passed, give your aloe a thorough but gentle watering, allowing excess water to drain completely through those all-important drainage holes you selected earlier.
8. Place In Bright, Indirect Light First
Acclimation to a new environment helps your aloe vera recover from the stress of repotting without additional challenges.
Even though aloe vera loves bright light, the repotting process temporarily weakens the plant’s ability to handle intense sun exposure. Starting in a gentler location gives it time to adjust and regain its strength.
Find a spot that receives plenty of bright light but where the sun’s rays are filtered through a sheer curtain or reflected off nearby surfaces.
A location near an east-facing window works wonderfully, providing morning light that’s less intense than afternoon sun.
This environment mimics the dappled shade found under desert shrubs in the plant’s natural habitat. Keep your aloe in this protected spot for about one to two weeks while it establishes its roots in the new soil.
Watch for signs that it’s adjusting well, such as firm leaves that maintain their upright posture. Leaves that look pale or stretched might need a bit more light, while reddish or brown-tinged leaves could indicate too much sun too soon.
After this acclimation period, you can gradually move your aloe to its permanent home, whether that’s a sunny windowsill indoors or a bright spot in your Nevada garden.
This gentle transition ensures your newly repotted aloe vera will thrive for years to come, rewarding your care with robust growth and beautiful, healthy leaves.