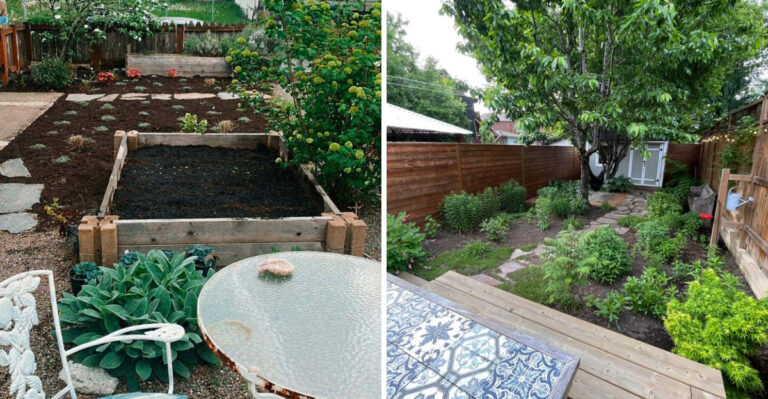
How To Keep Your Raised Beds From Getting Waterlogged In Oregon
Oregon gardeners know that winter and early spring can bring a lot of rain, and don’t get me wrong, that’s great for plants, but not so great for raised beds.
Too much water can lead to soggy soil, root rot, and stressed plants, turning what should be a thriving garden into a swampy mess.
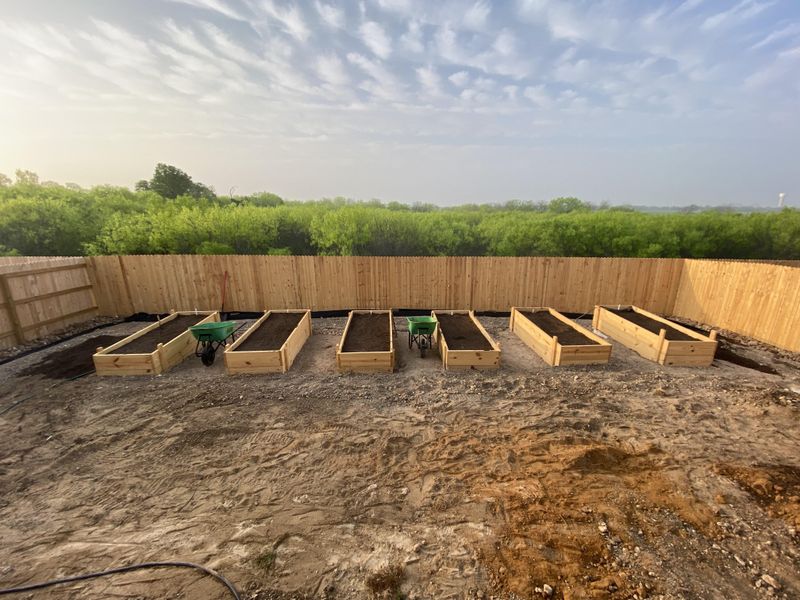
The key is good drainage and smart bed management. Raised beds already give plants a head start by lifting roots above heavy soil, but even they can struggle if water pools or drains too slowly.
Adding soil amendments, creating proper bed height, and paying attention to slope and structure all help keep moisture in balance.
With a few simple strategies, it’s possible to prevent waterlogging, protect your plants, and keep your raised beds productive all season long.
From choosing the right soil mix to adding layers that improve drainage, small tweaks now can save a lot of headaches later.
1. Add Drainage Holes To The Bottom
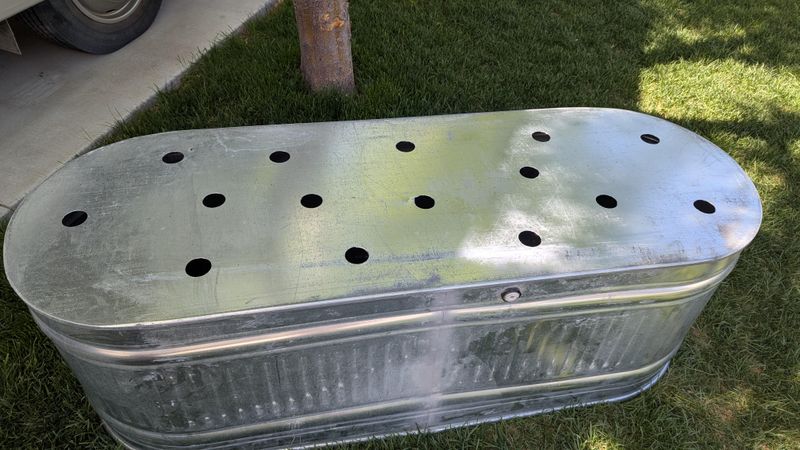
Drainage holes work like emergency exits for extra water. When rain pours down hard, these openings give the water somewhere to go instead of just sitting there.
Without them, your raised bed becomes more like a bathtub than a garden.
You can drill holes along the sides near the bottom if your bed sits on the ground. Space them about six to eight inches apart.
If your bed has a solid bottom, drill several holes right through it.
The size matters too. Holes about half an inch wide work well for most situations.
They let water escape but keep your soil from washing out. Some gardeners use a spade bit to make clean openings.
Think about where the water will go once it leaves your bed. You want it to drain away from the structure, not pool underneath.
Placing your bed on a slight slope helps water move away naturally.
Check your drainage holes every few months. Sometimes they get clogged with roots or soil particles.
A quick poke with a stick or old screwdriver clears them right up. Good drainage starts with these simple openings that give water an easy escape route.
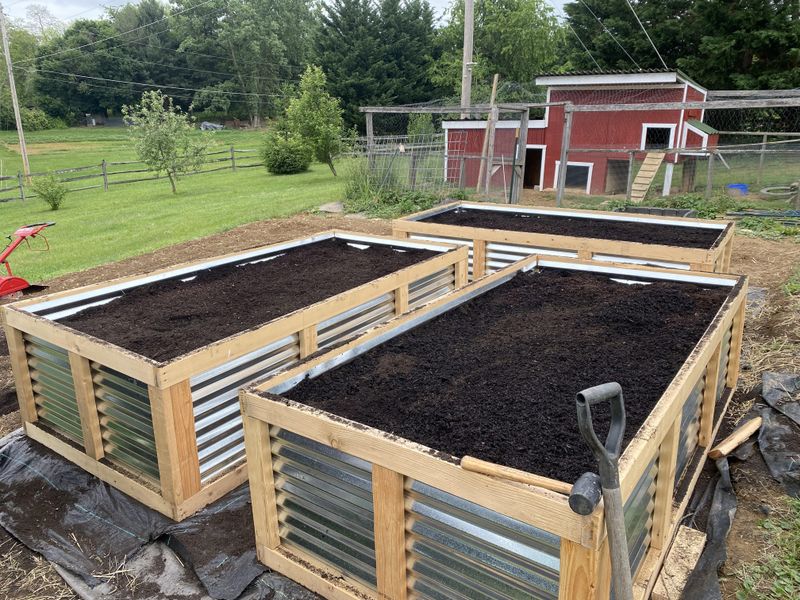
2. Use Coarse Materials At The Base
A layer of rocks or gravel at the bottom creates a reservoir for water to collect before it drains away. This technique comes from ancient gardening wisdom and still works beautifully today.
The coarse layer acts like a buffer zone between wet and dry.
Start with about two to four inches of material. River rocks, pea gravel, or even broken pottery pieces work great.
Avoid sand because it actually blocks water instead of helping it move through.
This base layer does double duty. It improves drainage while also preventing soil from washing out through your drainage holes.
The rocks stay put while water flows around them freely.
Larger gardens sometimes use broken bricks or chunks of concrete. These recycled materials cost nothing and perform just as well as store-bought gravel.
Just make sure the pieces are clean and free from chemicals.
Cover your rock layer with landscape fabric before adding soil. This keeps the two layers separate so soil doesn’t filter down and fill the spaces between rocks.
The fabric lets water pass through easily while keeping everything organized and working properly for years to come.
3. Choose Well-Draining Soil Mix
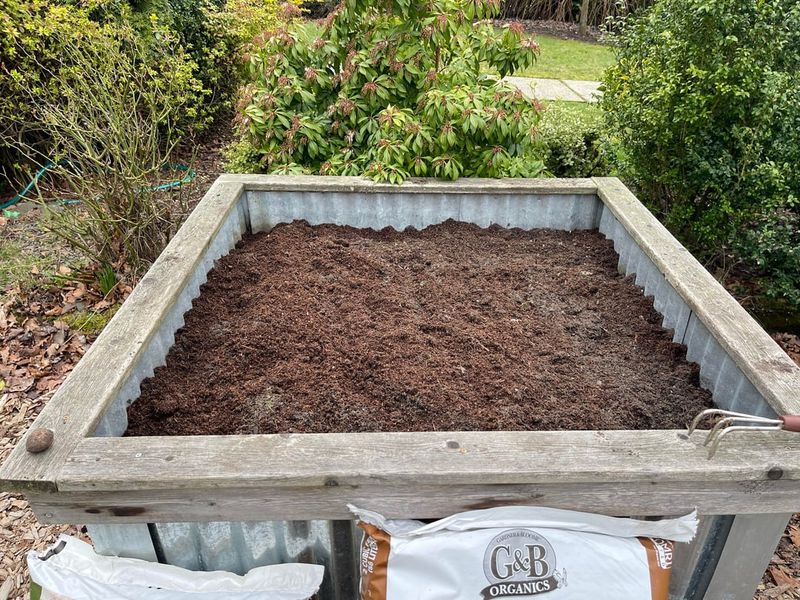
Your soil mix makes or breaks your drainage system. Heavy clay soil holds water like a sponge and creates problems fast.
A proper blend drains well while still holding enough moisture for plant roots to access.
The ideal mix combines compost, peat moss or coco coir, and perlite or vermiculite. Aim for roughly one-third of each ingredient.
This balance gives you nutrients, water retention, and air spaces all at once.
Compost adds nutrition and helps soil structure. Peat moss or coco coir keeps things light and fluffy.
Perlite or vermiculite creates tiny air pockets that let water flow through instead of pooling.
You can test your mix before filling your beds. Grab a handful and squeeze it tight.
When you open your hand, the soil should crumble apart easily rather than staying in a dense ball. That crumbly texture means good drainage.
Avoid using plain garden soil or topsoil from bags. These products often compact over time and create drainage problems.
Spending a bit more on quality ingredients saves you headaches later. Your plants will reward you with stronger growth and better harvests when their roots can breathe properly.
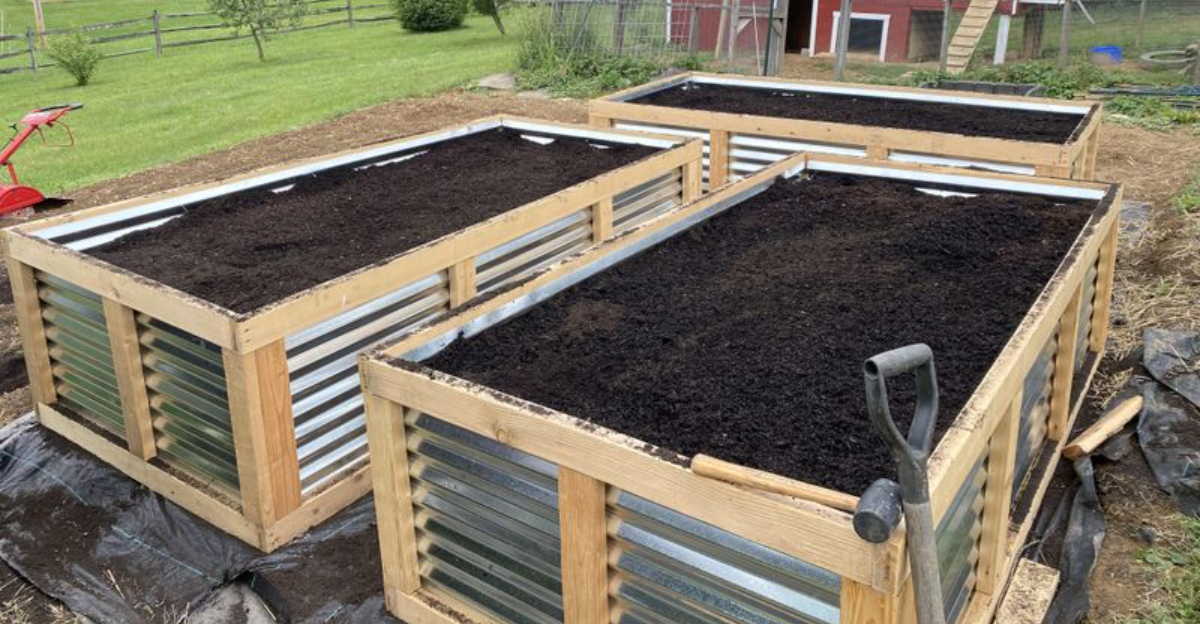
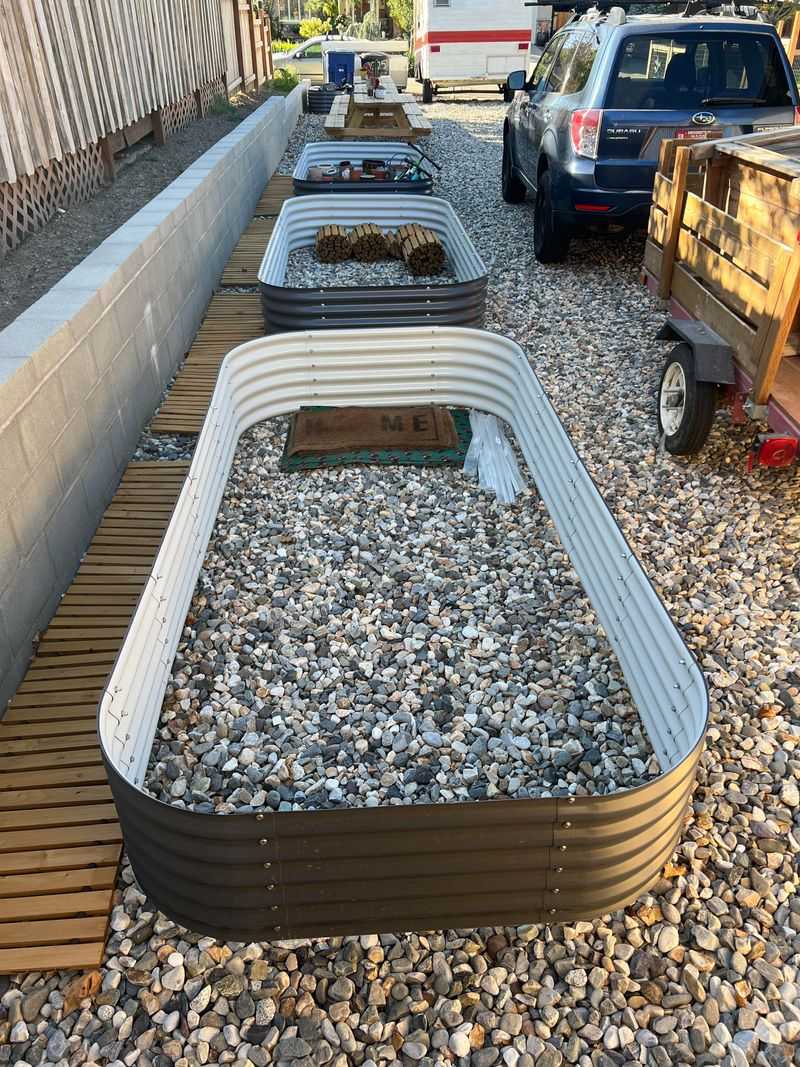
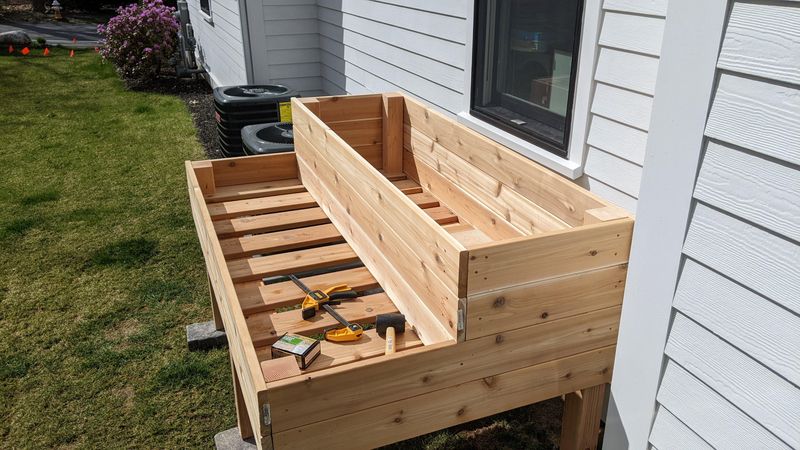
4. Elevate Your Beds Off The Ground
Raising your beds a few inches creates an air gap that helps water escape. This simple trick prevents your beds from sitting in puddles during heavy Oregon rains.
Even a small lift makes a big difference.
You can use concrete blocks, bricks, or wooden feet attached to the corners. Just four to six inches of clearance lets air circulate underneath.
This airflow helps dry out excess moisture faster.
The elevation also protects the bottom of wooden beds from constant ground contact. Wood that sits in wet soil rots much faster than wood with air flowing around it.
Your beds last longer when they stay a bit elevated.
Some gardeners build permanent stands using treated lumber or metal frames. Others prefer stackable blocks they can adjust as needed.
Both approaches work well depending on your situation and budget.
Consider your back too. Higher beds mean less bending when you plant, weed, and harvest.
Many people find beds at waist height much easier to work with. You solve drainage problems while making your garden more comfortable to maintain throughout the growing season.
5. Install A French Drain Nearby

French drains sound fancy but they’re really just trenches filled with gravel and a perforated pipe. They capture water that drains from your beds and carry it away to a safe spot.
This keeps water from pooling around your garden area.
Dig a trench about a foot deep and six inches wide alongside your raised beds. Slope it gently away from your garden, dropping about one inch for every eight feet of length.
This grade helps water flow naturally.
Line the trench with landscape fabric, add a few inches of gravel, then lay perforated drainage pipe on top. The holes in the pipe face down so water can enter from below.
Cover everything with more gravel and fold the fabric over the top.
The drain directs water toward a rain garden, dry well, or other drainage area away from your beds. You can disguise the drain with a thin layer of soil and mulch on top if you want it hidden.
French drains handle large volumes of water during storm season. They work quietly in the background, protecting your garden from flooding.
Once installed, they need very little maintenance and keep working year after year.
6. Add Organic Matter Regularly
Organic matter improves soil structure over time, creating pathways for water to move through. Compost, aged manure, and leaf mold all work wonders for drainage.
They break up dense soil and create a healthier environment for roots.
Add a couple inches of compost to your beds each spring and fall. Work it into the top few inches of soil with a garden fork.
This constant addition keeps your soil loose and prevents compaction.
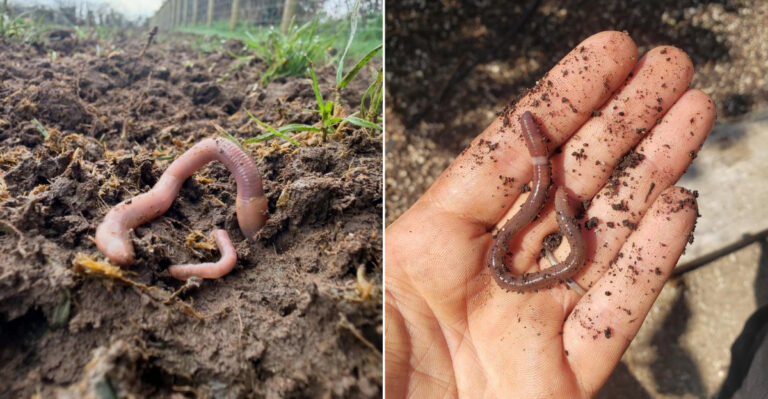
Worms love organic matter and they become your drainage helpers. As they tunnel through the soil, they create tiny channels that let water flow downward.
Their castings also improve soil structure naturally.
Different organic materials break down at different rates. Fresh compost works faster while wood chips take longer.
Using a variety gives you both quick and long-term benefits for soil health.
Avoid walking on your beds once you’ve added organic matter. Foot traffic compresses the soil and undoes all your good work.
Use stepping stones or boards if you need to reach the center of larger beds. Keeping soil fluffy means water drains properly instead of sitting on the surface where it can cause problems for your plants.
7. Create Gentle Slopes In Your Beds
Flat beds can develop low spots where water collects. Building a subtle slope encourages water to flow toward drainage points instead of pooling.
Even a slight angle makes a noticeable difference during heavy rains.
Shape your soil so it’s slightly higher in the center and lower at the edges. The slope should be gentle, just an inch or two over the width of the bed.
You won’t even notice it when you look at the bed, but water will.
Some gardeners prefer sloping from back to front instead of center to edges. This works especially well for beds against walls or fences.
Water flows forward where it can drain away more easily.
Use a level to check your work as you build the slope. You want consistency across the whole bed.
Uneven spots can still trap water even if most of the bed drains well.
The slope helps during both rain and irrigation. When you water with a hose or sprinkler, excess water moves naturally toward the edges.
Your plants get what they need while the surplus drains away before it can cause soggy conditions or oxygen-starved roots.
8. Use Landscape Fabric Wisely
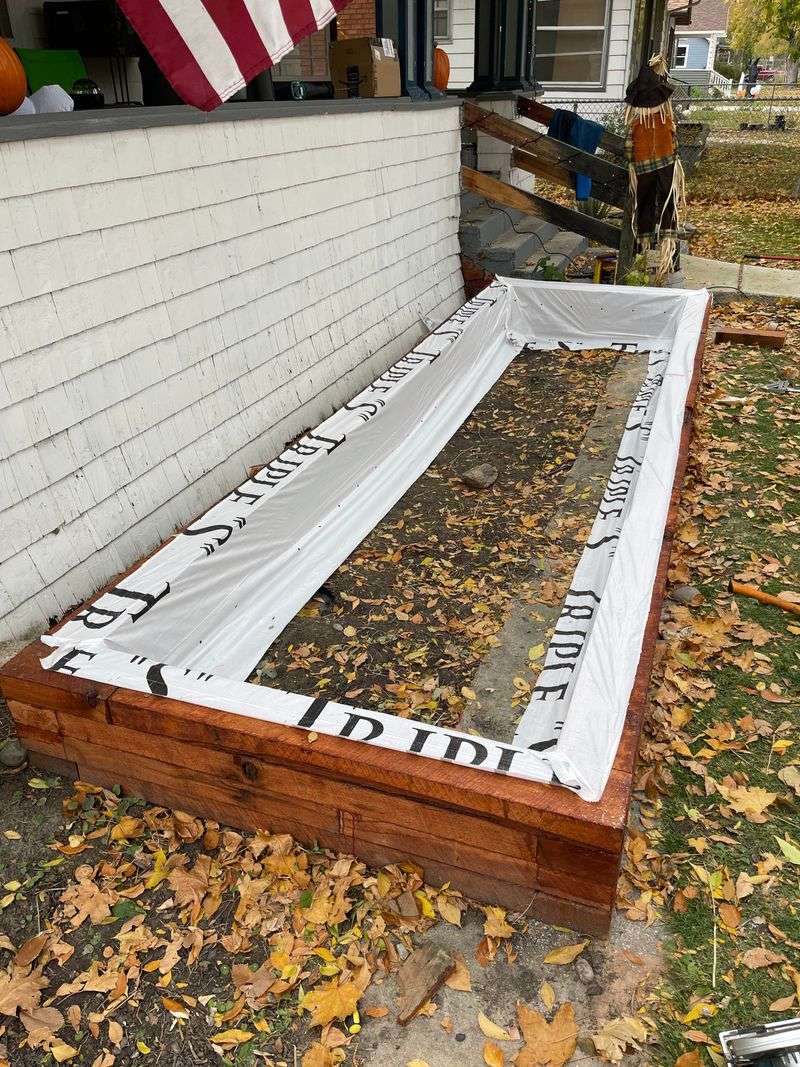
Landscape fabric can help or hurt drainage depending on how you use it. The right approach keeps soil in place while letting water pass through.
The wrong approach creates a waterproof barrier that causes exactly the problem you’re trying to avoid.
Choose breathable, permeable landscape fabric rather than plastic sheeting. Check the package to make sure it allows water to drain through.
Heavy-duty weed barrier fabrics usually work well for this purpose.
Place the fabric between your drainage layer and your soil layer. This keeps soil from filtering down into the gravel while still allowing water to pass through.
Cut the fabric to fit the bed dimensions with a few inches of overlap at the seams.
Never use landscape fabric as a bottom liner under your drainage layer. This traps water underneath and defeats the whole purpose of good drainage.
The fabric should separate layers, not seal off the bottom.
Replace the fabric every few years as it breaks down. Over time, roots and decomposition can create holes or cause the material to deteriorate.
Fresh fabric keeps your drainage system working properly and prevents soil from clogging up your rock layer below.
9. Monitor And Adjust Watering Practices

Sometimes waterlogged beds happen because we water too much on top of natural rainfall. Oregon gets plenty of rain from fall through spring, so your beds might not need any extra water during those months.
Paying attention saves your plants and conserves water.
Stick your finger two inches into the soil before watering. If it feels moist, skip watering that day.
Your plants can handle slightly dry conditions better than constantly wet roots. Most vegetables prefer soil that dries out a bit between waterings.
Rain gauges help you track how much water falls from the sky. If you get an inch of rain in a week, your beds probably don’t need supplemental watering.
Keep a simple journal or use your phone to note rainfall amounts.
Drip irrigation works better than overhead sprinklers for raised beds. It delivers water right to the root zone without saturating the entire bed.
You can control the amount precisely and avoid overwatering.
During rainy periods, consider covering your beds with clear plastic sheeting supported on hoops. This keeps some rain off while still letting light through.
Remove the covers on dry days so plants get fresh air and you can work in your beds comfortably.