Want Better Plants In Oregon? Try These 9 Soil Prep Tips
Healthy plants always start with healthy soil, but this is the part many Oregon gardeners skip or rush through. If you’ve ever planted something that didn’t grow the way you hoped, the problem often isn’t the plant itself.
It’s what’s happening underground. Soil quality affects everything from root strength to water retention and nutrient uptake.
Oregon’s soil can vary a lot depending on where you live. Some areas deal with heavy clay, others with sandy or compacted ground.
That’s why a one-size-fits-all approach doesn’t always work. Taking a little time to prepare your soil the right way can make gardening easier and more rewarding.
You don’t need fancy tools or expensive products to see results. Small changes, like improving drainage or adding organic matter, can make a noticeable difference in how your plants grow.
Even beginner gardeners can get great results with a few simple steps.
If you want stronger plants, better harvests, and fewer problems throughout the season, soil prep is one of the best places to focus. It sets the foundation for everything else you do in the garden.
1. Test Your Soil Before Adding Anything
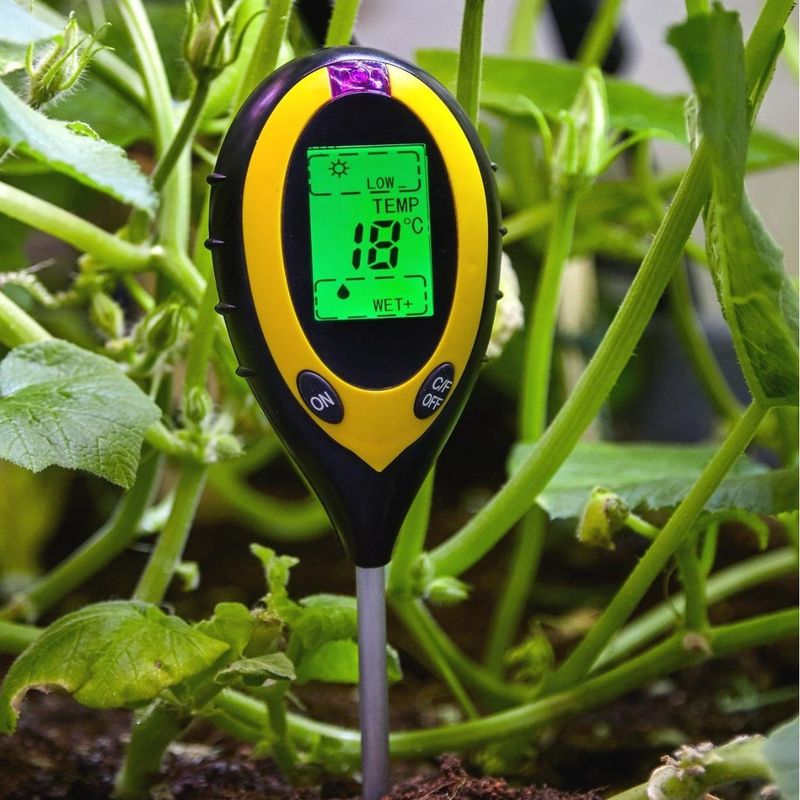
You wouldn’t bake a cake without knowing what ingredients you already have, right? Your soil works the same way.
Too many gardeners dump fertilizer and compost into their beds without understanding what’s actually missing, which wastes money and sometimes makes problems worse.
Oregon soils vary wildly depending on where you live. West of the Cascades, you’re likely dealing with acidic, clay-heavy ground that holds onto water like a sponge.
East of the mountains, soils tend to be alkaline and sandy, losing moisture fast during summer.
A simple soil test tells you your pH level, nutrient levels, and organic matter content. You can pick up a basic kit at any garden center or send a sample to Oregon State University Extension for detailed results.
Once you know what your soil lacks, you can add exactly what it needs instead of guessing.
This one step saves you from over-fertilizing, which can burn roots or create nutrient imbalances. It also helps you understand whether your soil needs lime to raise pH or sulfur to lower it.
Testing isn’t glamorous, but it’s the smartest move you can make before planting anything serious.
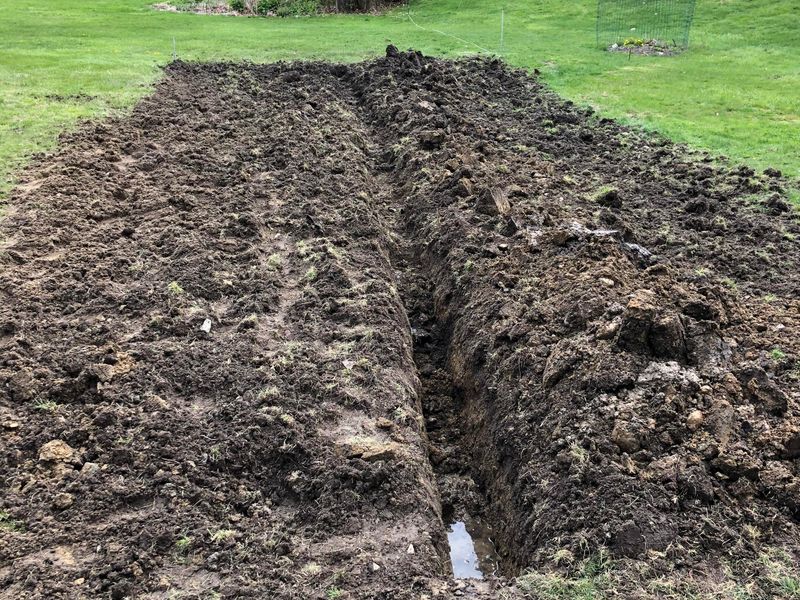
2. Break Up Compacted Ground
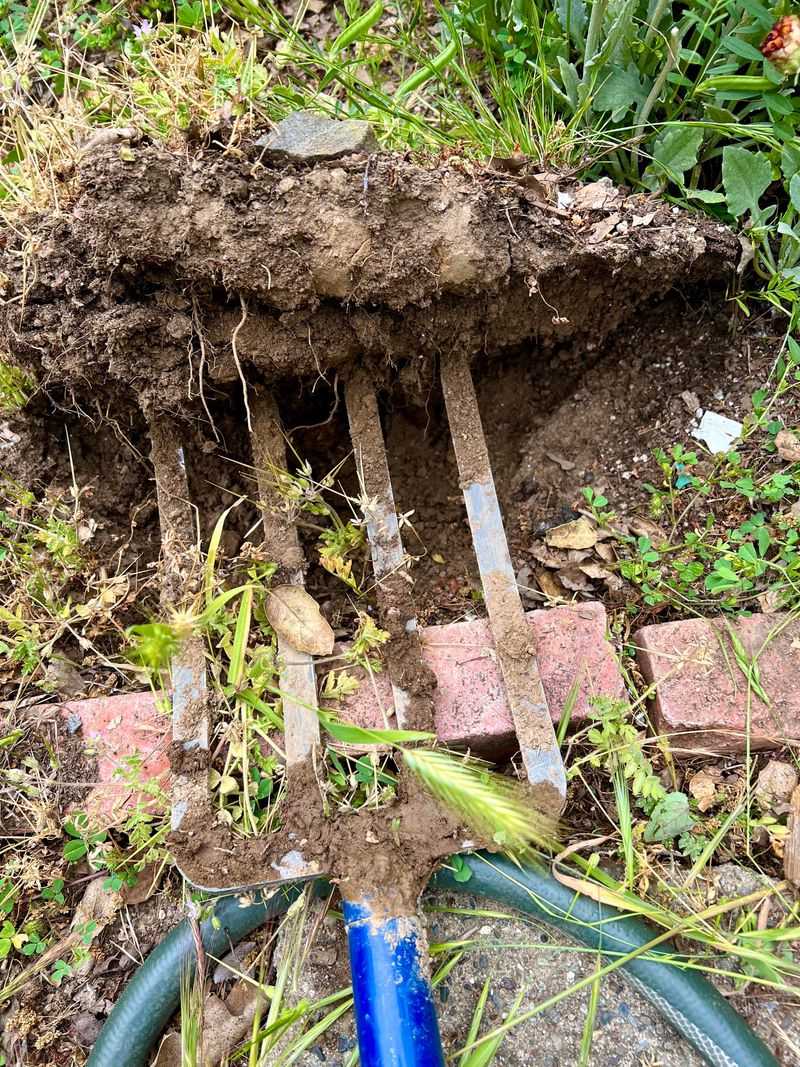
Ever tried digging into soil that feels like concrete? Compacted ground is one of the biggest reasons plants struggle in Oregon gardens.
When soil gets pressed down too hard, roots can’t push through, water pools on the surface, and air can’t reach the root zone where plants need it most.
Heavy winter rains are often the culprit here. All that water weighs down on clay particles, squeezing them together and creating a dense, airless layer.
Walking on wet beds makes it worse, as does tilling soil when it’s too damp.
Breaking up compacted soil doesn’t mean you need a rototiller. A sturdy garden fork works wonders.
Push it into the ground, rock it back and forth gently, and repeat across the bed. You’re creating space for roots and water without destroying soil structure the way aggressive tilling does.
If your soil is seriously compacted, consider double-digging the first year or adding a layer of compost before loosening. The goal isn’t to fluff the soil into powder but to open pathways that let roots grow freely.
Once you loosen compacted ground, your plants will thank you with stronger growth and better yields.
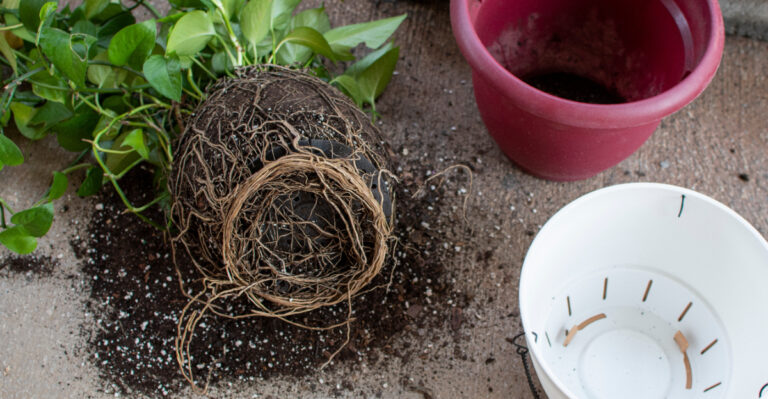
3. Add Organic Matter Regularly
Organic matter is the secret ingredient that transforms difficult Oregon soil into something plants actually love. Compost, aged manure, leaf mold, and grass clippings all count, and they do more than just feed your plants.
They improve drainage in heavy clay, help sandy soil hold moisture, and create a healthy environment for beneficial microbes.
In Oregon’s wet climate, clay soil benefits the most from organic matter because it loosens those tight particles and prevents waterlogging. Sandy soils on the east side gain water-holding capacity, which helps plants survive dry summer stretches.
Either way, organic matter is your best friend.
Add a two- to three-inch layer of compost to your beds each spring and fall. Work it gently into the top few inches of soil, or simply lay it on top and let worms do the mixing for you.
Avoid digging it in too deeply, as that can disturb beneficial soil layers.
Over time, regular additions build rich, dark soil that crumbles easily in your hand. Your plants will grow faster, resist disease better, and produce more flowers or vegetables.
Organic matter isn’t a one-time fix, but a habit that pays off season after season.
4. Improve Drainage In Heavy Soils
Standing water after a rainstorm is a clear sign your soil isn’t draining properly. Heavy clay soils, common across western Oregon, hold water so tightly that roots sit in soggy conditions for days or even weeks.
This drowns roots, encourages rot, and invites fungal diseases that thrive in damp environments.
Improving drainage doesn’t mean you need expensive drainage systems. Start by mixing coarse sand or perlite into clay soil to create larger pore spaces where water can move.
Organic matter also helps by binding clay particles into crumbs that drain better while still holding moisture plants can use.
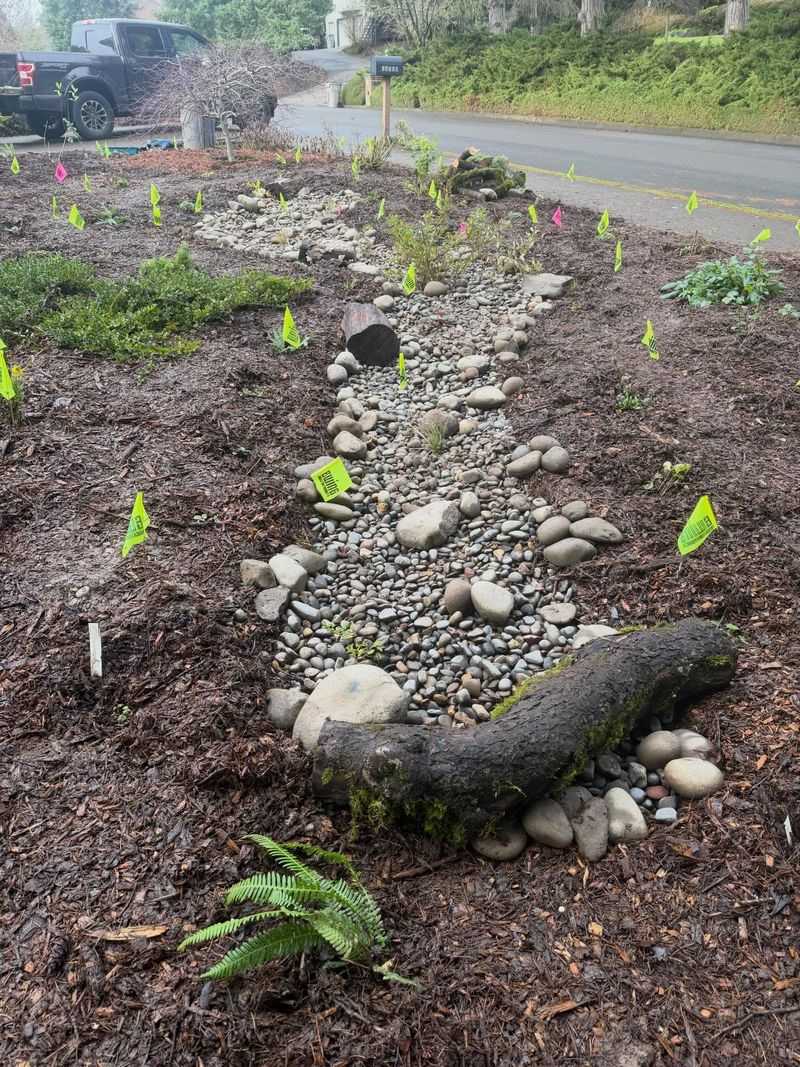
If your yard has a low spot that collects water, consider creating a shallow swale or planting moisture-loving natives there instead of fighting nature. For vegetable beds, raised beds solve drainage problems beautifully by lifting roots above the waterlogged zone.
Another trick is to avoid walking on wet soil, which compresses it and reduces pore space. Lay down boards or stepping stones to distribute your weight.
Better drainage means healthier roots, stronger plants, and fewer frustrating losses during Oregon’s long, wet winters. You’ll notice the difference almost immediately once water starts moving through instead of sitting on top.
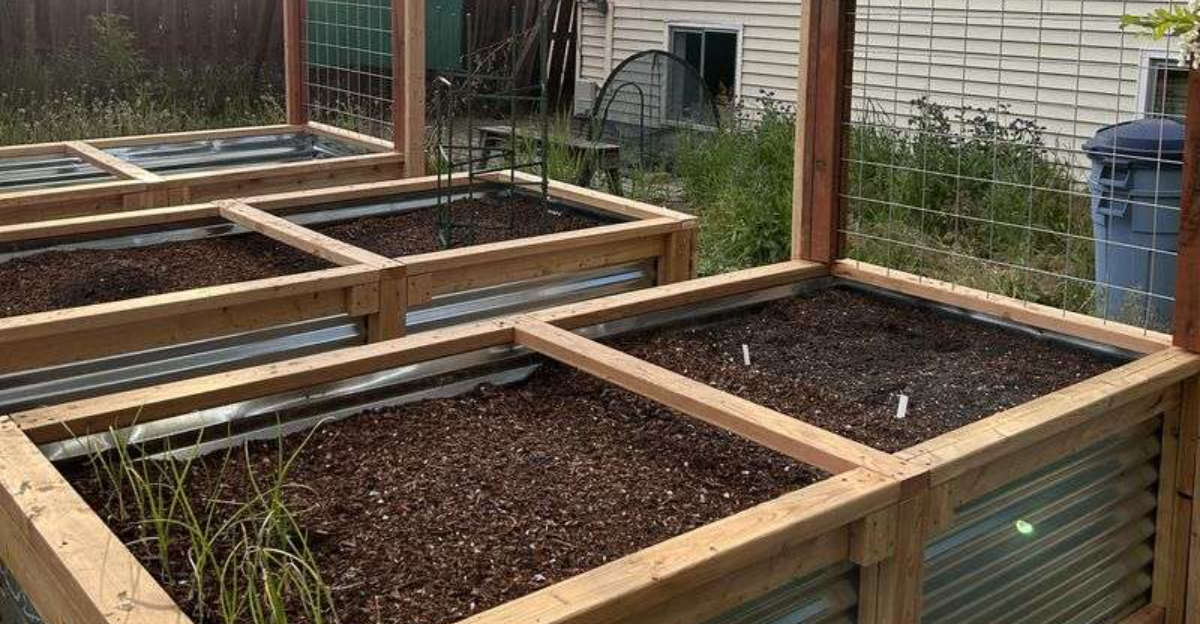
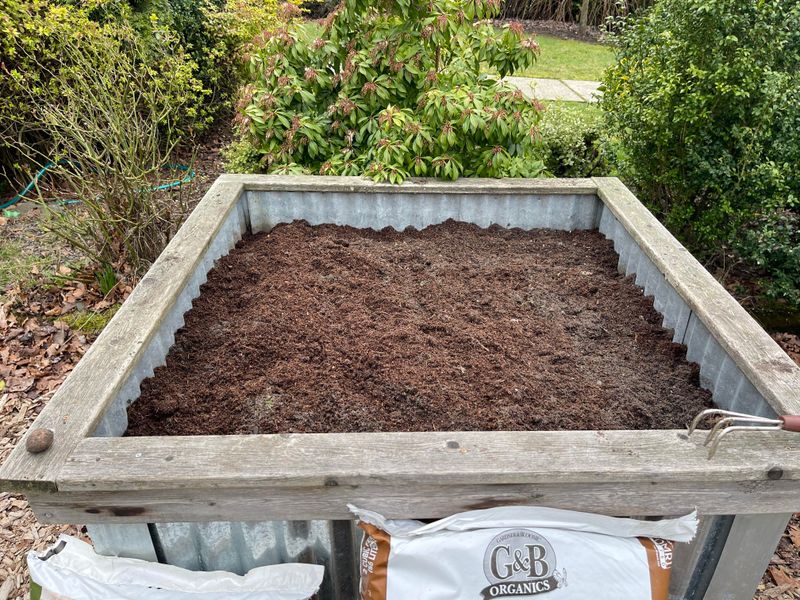
5. Build Up Raised Beds When Needed

Sometimes the best way to deal with problem soil is to build up instead of digging down.
Raised beds give you total control over soil quality, drainage, and root depth, which is especially helpful if you’re stuck with heavy clay, poor drainage, or contaminated ground you can’t easily fix.
In Oregon, raised beds warm up faster in spring because they sit above the cold, wet ground. This means you can start planting earlier and give heat-loving crops like tomatoes and peppers a better chance.
They also drain beautifully, which prevents root rot during our soggy winters.
You don’t need fancy materials. Untreated cedar or fir boards, concrete blocks, or even stacked logs work fine.
Fill your beds with a mix of compost, topsoil, and peat moss or coconut coir for a light, fluffy growing medium that roots love.
Raised beds also make gardening easier on your back and knees, and they keep pathways clear so you’re not compacting soil by walking on it. If you’ve struggled with waterlogged beds or stubborn clay for years, building raised beds might be the single best investment you make.
Your plants will grow faster, healthier, and more productively than they ever did in the ground.
6. Adjust pH Slowly And Carefully
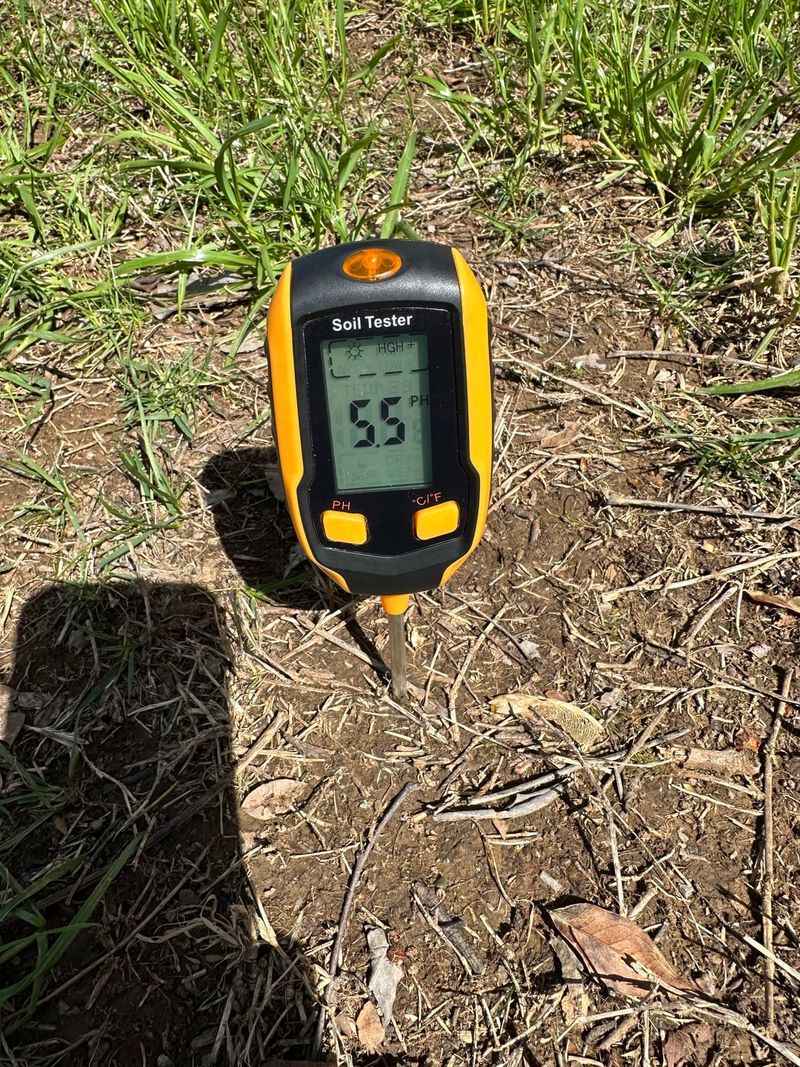
Soil pH might sound like chemistry class, but it’s actually simple and incredibly important. Most plants prefer a pH between 6.0 and 7.0, but Oregon soils west of the Cascades tend to run acidic, often below 6.0.
East of the mountains, soils can be alkaline, above 7.5. Either extreme locks up nutrients so plants can’t absorb them, even if the nutrients are there.
If your soil test shows low pH, add lime to raise it. Dolomite lime works well and also adds calcium and magnesium.
If pH is too high, sulfur brings it down gradually. The key word here is gradually.
Soil pH changes slowly, and dumping too much lime or sulfur at once can shock plants and create new imbalances.
Apply amendments in fall so they have time to work into the soil over winter. Retest in spring to see if you need more.
Most gardeners find they need to adjust pH every few years, not every season.
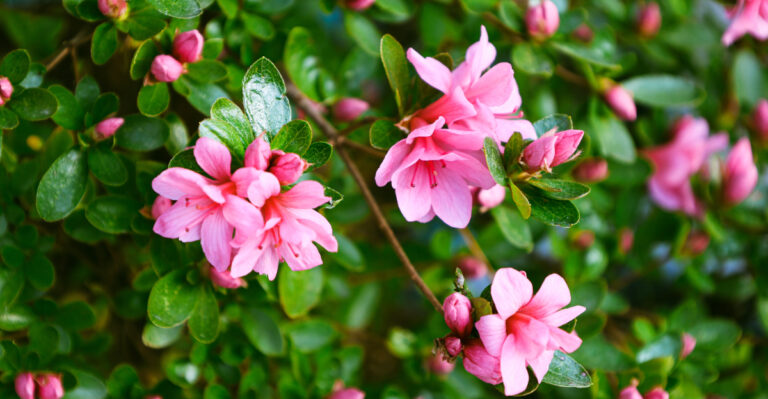
Blueberries, rhododendrons, and azaleas love acidic soil, so don’t lime beds where they’re growing. Vegetables and most flowers do best in neutral to slightly acidic soil.
Adjusting pH takes patience, but it unlocks nutrients and helps plants thrive.
7. Remove Weeds And Roots First
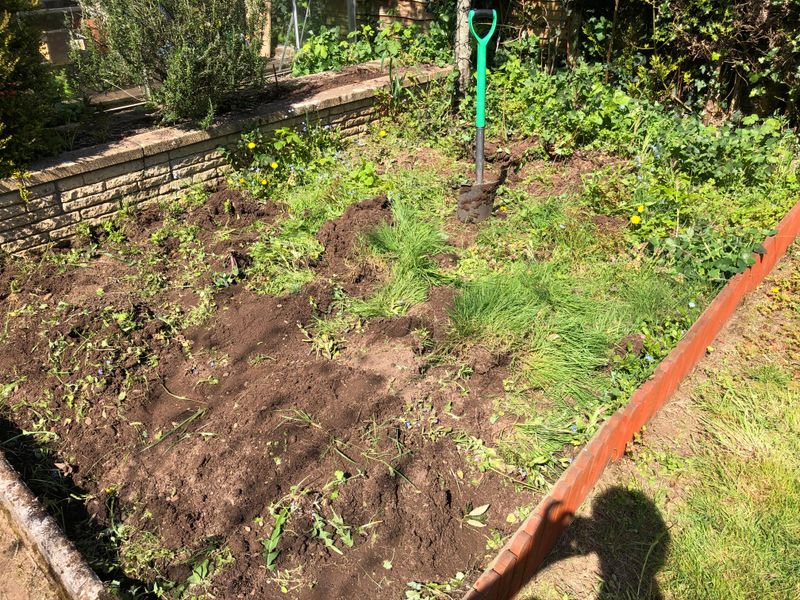
It’s tempting to skip weeding and just start planting, but those weeds aren’t going anywhere. In fact, they’ll compete with your plants for water, nutrients, and sunlight, and some of them spread so aggressively that they’ll choke out everything you worked hard to grow.
Oregon gardeners know the usual suspects: bindweed, quackgrass, dandelions, and blackberry vines. These perennial weeds have deep or spreading root systems that regenerate even if you pull the tops.
Before you prep your beds, dig out as many roots as you can, especially the tough, white rhizomes of grasses and the sprawling roots of bindweed.
If the bed is completely overrun, consider smothering weeds with cardboard or thick layers of newspaper covered with compost. Leave it in place for a few months, and the weeds will die back without chemicals.
This works beautifully in Oregon’s damp climate where decomposition happens quickly.
Once the bed is clear, add a layer of mulch to prevent new weeds from sprouting. Starting with clean soil means your plants get all the resources they need instead of sharing with invasive weeds.
It’s hard work upfront, but it saves you hours of frustration later.
8. Mulch After Preparing Beds
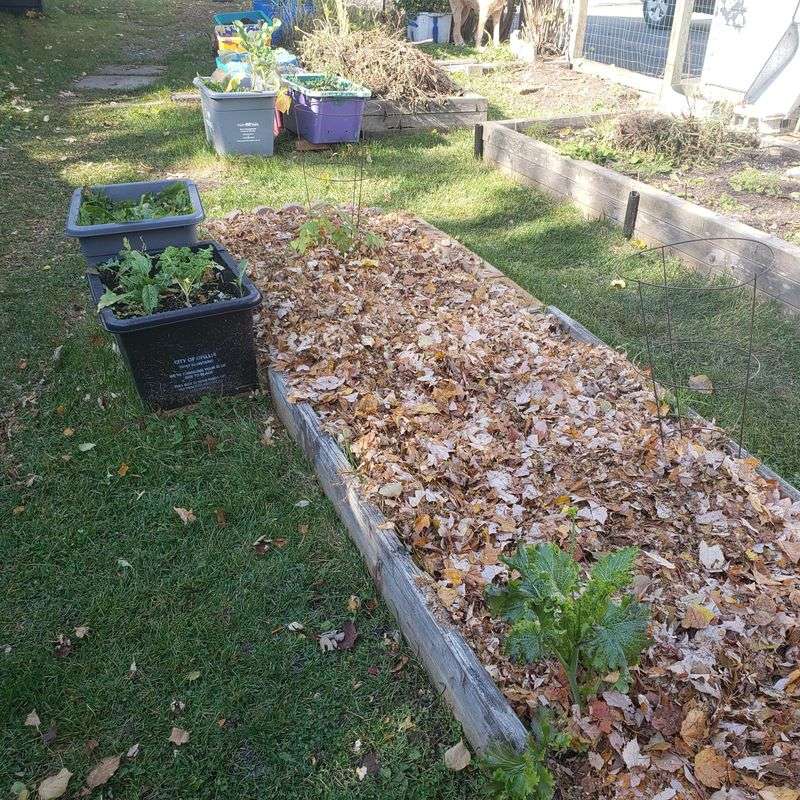
Once your soil is prepped and planted, don’t leave it bare. Mulch is like a protective blanket that keeps soil moist, suppresses weeds, regulates temperature, and slowly breaks down to add organic matter.
It’s one of the easiest ways to keep your garden healthy with almost no effort.
In Oregon, mulch helps in every season. During summer, it keeps soil cool and prevents moisture from evaporating too quickly.
In winter, it protects roots from temperature swings and reduces erosion from heavy rains. Wood chips, straw, shredded leaves, and compost all work well, depending on what you’re growing.
Apply mulch two to three inches deep around plants, but keep it a few inches away from stems to prevent rot. As mulch breaks down, it feeds beneficial microbes and earthworms, which improve soil structure over time.
Avoid piling mulch too thick, as this can suffocate soil and create habitat for slugs, which are already a problem in Oregon’s damp climate. Refresh mulch once or twice a year as it decomposes.
Mulching feels simple, but it’s one of those small habits that makes a huge difference in plant health, soil quality, and how much time you spend weeding and watering.
9. Avoid Working Soil When It’s Too Wet
This might be the most important tip for Oregon gardeners, and it’s the one most people ignore. When you dig, till, or walk on wet soil, you destroy its structure.
Clay particles smear together into dense clumps that dry into hard bricks, and air pockets collapse, leaving roots with nowhere to grow.
Oregon’s long, wet winters make this a constant challenge. You’re eager to get started in early spring, but the ground is still soggy from months of rain.
Working soil too early sets you back instead of giving you a head start.
Here’s a simple test: grab a handful of soil and squeeze it. If it forms a tight ball that doesn’t crumble when you poke it, it’s too wet.
Wait a few days for the surface to dry, then test again. Patience here pays off in healthier soil that plants can actually grow in.
If you absolutely must work in wet conditions, use boards or stepping stones to distribute your weight and avoid compacting the soil. Better yet, plan your beds in fall so they’re ready when spring arrives.
Wet soil is fragile, and treating it gently preserves the structure that roots need to thrive.