Winter Sowing In Oregon: The Fun Beginner-Friendly Guide That Actually Works
Winter sowing in Oregon sounds fancy, but it’s actually simple and fun. You don’t need a greenhouse.
You don’t need expensive tools. You just need a few containers, some soil, and a little patience.
If you’ve ever wanted to grow more flowers or veggies with less effort, this is for you. Winter sowing lets nature handle much of the work.
Rain often helps keep seeds moist. Cold temperatures help many seeds break dormancy at the right time.
And spring can reward you with strong, hardy seedlings.
I started winter sowing because I was tired of babying seedlings indoors. Now it’s one of my favorite gardening methods.
It saves space, saves money, and feels a bit magical.
I’ll show you how to get started the easy way. No stress.
No confusion. Just simple steps that work well in Oregon’s climate.
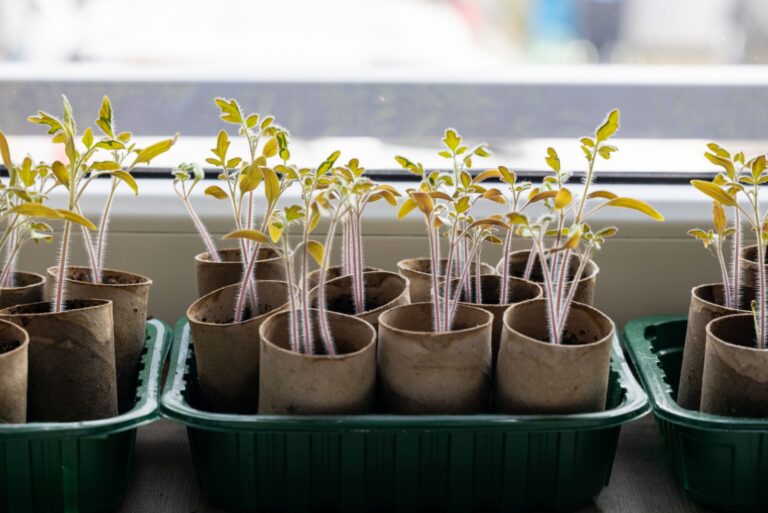
1. Choose The Right Containers First
Picture this: you excitedly plant seeds in a shallow takeout container, set it outside, and a week later find the whole thing blown across the yard. Happens more often than you’d think, especially during Oregon’s blustery winter storms.
Container choice matters tremendously for winter sowing success.
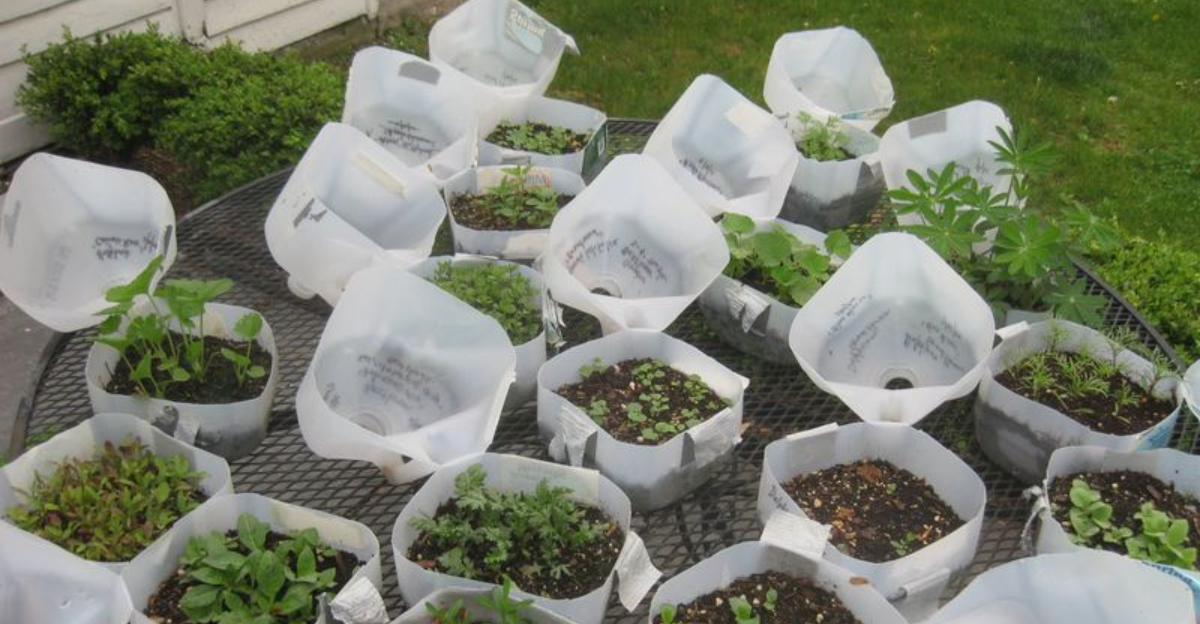
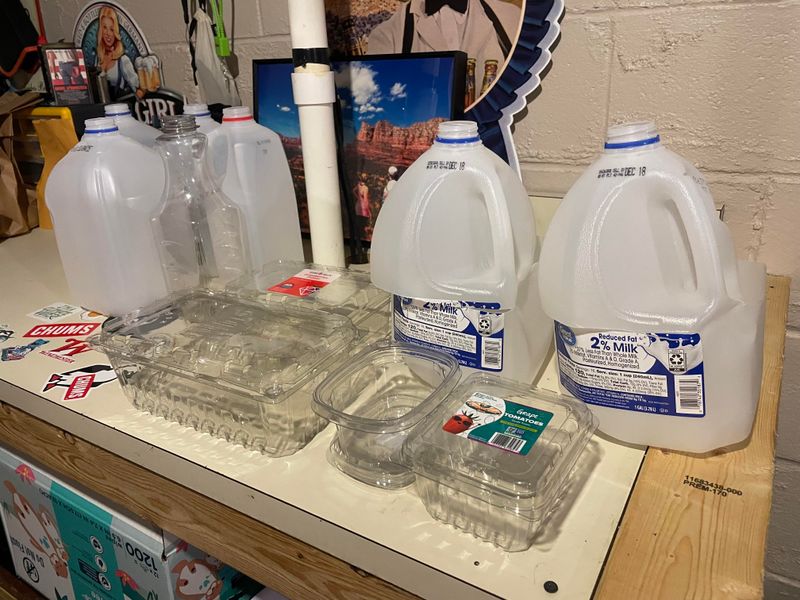
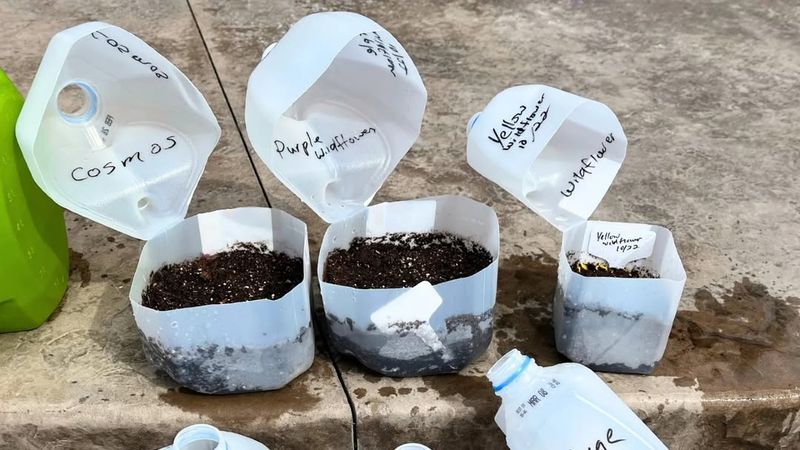
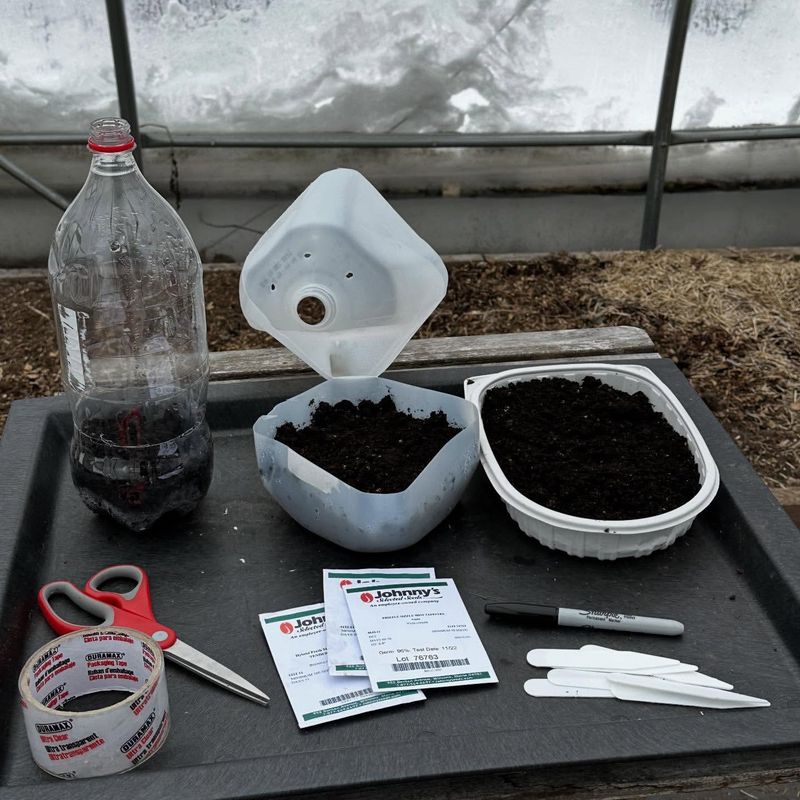
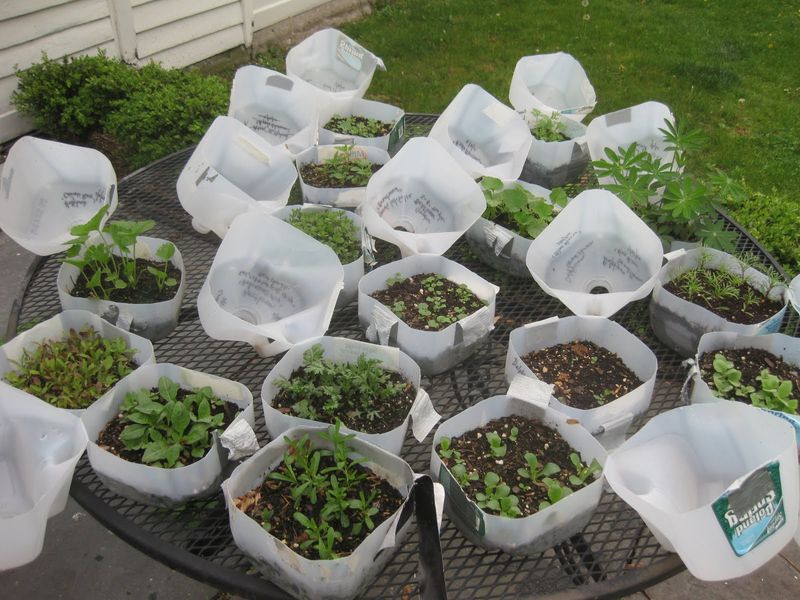
You want containers that act like mini greenhouses, trapping warmth and moisture while protecting seeds from harsh weather. Recycled milk jugs work beautifully because they’re sturdy, clear, and have built-in handles for easy moving.
Cut them in half horizontally, leaving a hinge on one side so the top acts like a lid. Clear plastic salad containers, rotisserie chicken containers, and two-liter soda bottles also work well.
Make sure your containers are at least three to four inches deep to give roots room to grow. Clear plastic is strongly recommended because it allows light to reach seedlings as they develop.
Avoid colored or opaque containers that block sunlight. Stability is key in Oregon’s rainy, windy winters, so choose containers with wide bases that won’t tip over easily.
Always clean containers thoroughly with soapy water before using them. This helps reduce the risk of mold and disease affecting young seedlings.
Once you’ve selected sturdy, clear containers, you’re ready to create protective seed-starting environments that can handle Oregon’s changing winter conditions.
2. Select Seed That Work Well
Not every seed thrives when winter sown, and beginners often make the mistake of trying to sprout heat-loving tomatoes in January only to watch them struggle. Save yourself frustration by choosing seeds that are suited to cold-season germination.
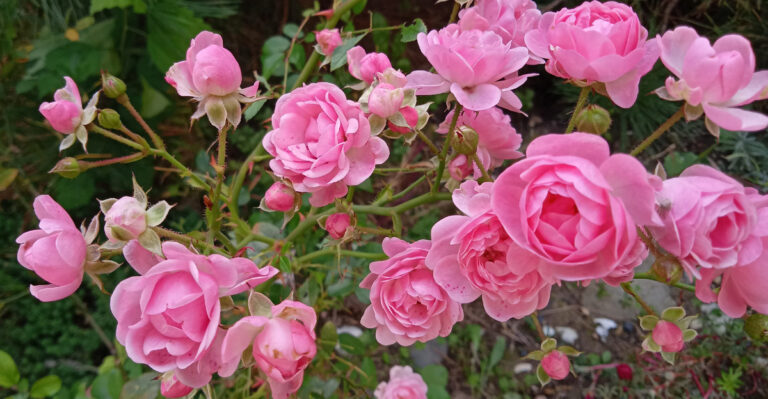
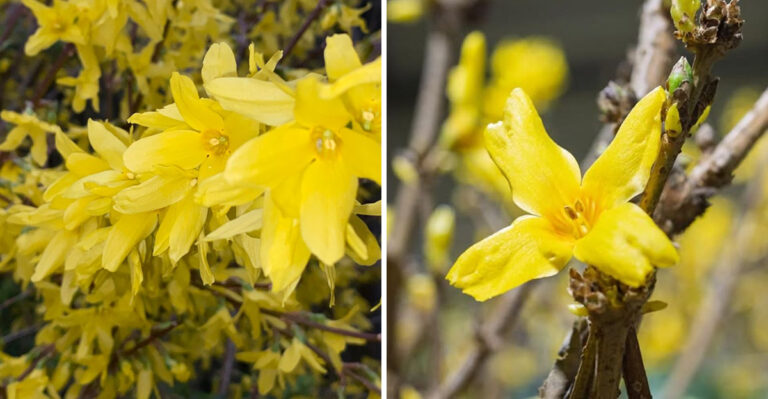
Hardy annuals and perennials tend to perform especially well with winter sowing. Think calendula, sweet peas, bachelor’s buttons, snapdragons, and poppies.
These flowers often reseed themselves naturally and tolerate cool conditions, making them good candidates for this method. Vegetables like kale, lettuce, spinach, and broccoli also winter sow successfully because they prefer cooler weather.
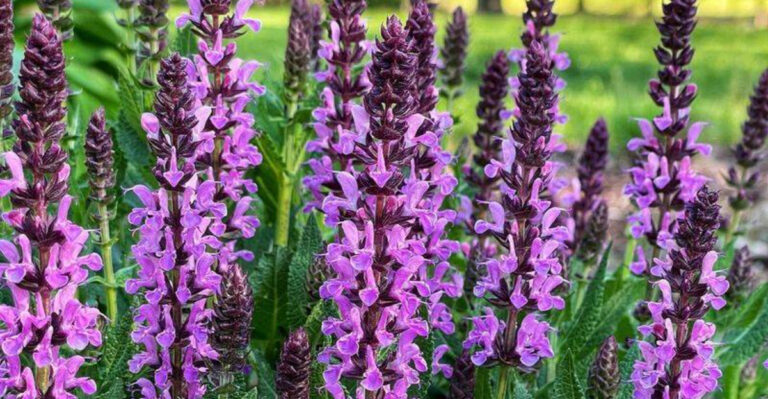
Many perennials benefit from cold stratification, meaning they need exposure to cold temperatures before sprouting. Echinacea, black-eyed Susans, and columbines commonly respond well to this process.
Winter sowing mimics natural outdoor cycles, providing conditions that many cold-hardy seeds respond to naturally.
Your Oregon Garden Changes Every Week. Your Plan Should Too.
Gardening in Oregon changes quickly throughout the season. Every Friday you’ll receive a simple weekly plan showing exactly what to plant, prune, fertilize, harvest, and protect so you never miss the right timing.
Check seed packets for phrases like cold hardy, direct sow early spring, or requires stratification. These clues help identify seeds suitable for winter sowing.
Avoid tender annuals like zinnias, marigolds, basil, and peppers until late winter or early spring when temperatures begin to warm.
Start with easy, forgiving seeds your first year. Once you gain experience with varieties like lettuce or bachelor’s buttons, you can expand into other plants with more confidence.
3. Prep Containers With Soil And Drainage
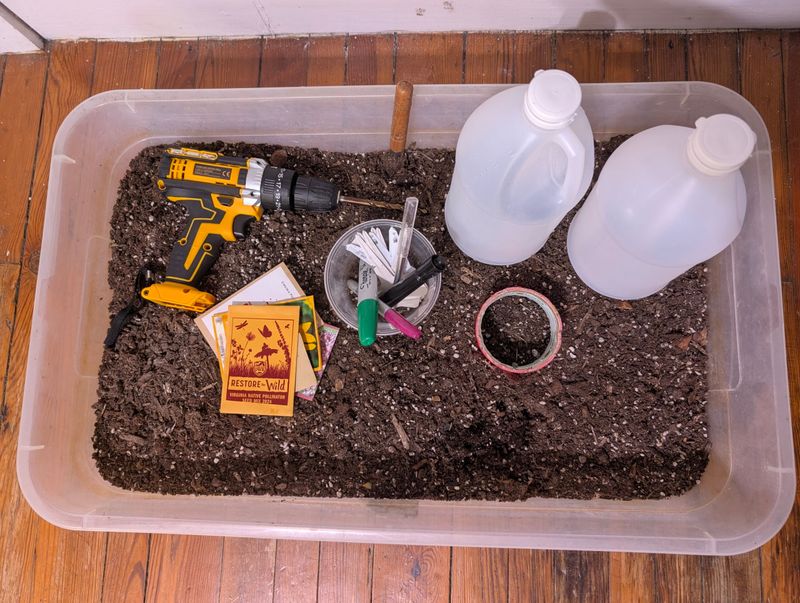
One common disappointment for new winter sowers is opening a container in spring to find seeds damaged by excess moisture. Oregon’s winter rains can be persistent, and without proper drainage, containers can hold too much water.
Start by poking drainage holes in the bottom of your containers using a heated ice pick, screwdriver, or drill. Space holes about an inch apart across the bottom surface.
Multiple drainage holes help excess water escape efficiently. Add several small ventilation holes near the top of containers to improve airflow and reduce mold risk.
For soil, use a quality seed-starting mix rather than garden soil. Seed-starting mixes are typically lightweight and formulated to drain well while retaining moisture.
Garden soil often compacts when wet and can restrict root growth. Fill containers with about three inches of moistened seed-starting mix, leaving room at the top.
Moisten soil before planting by mixing water into the medium until it feels like a wrung-out sponge. This helps prevent seeds from shifting when watered later.
Press soil gently to remove large air pockets without compacting it.
Good drainage and proper soil preparation create a strong foundation for germination despite Oregon’s wet winter conditions.
4. Sow Seeds At The Proper Depth
Planting depth plays a major role in germination success. Seeds contain limited stored energy, and planting too deeply can prevent them from reaching the surface.
A general guideline is to plant seeds at a depth equal to two to three times their diameter. Tiny seeds like lettuce or snapdragons often need only light contact with the soil surface.
Medium seeds like calendula typically go about a quarter inch deep. Larger seeds like sweet peas handle deeper planting.
Always check seed packet instructions when available since some seeds require light exposure to germinate and should remain uncovered.
Space seeds generously to allow airflow and reduce competition. Leaving about an inch between seeds helps prevent overcrowding.
After placing seeds, gently press them into soil for proper contact. Avoid compacting soil heavily.
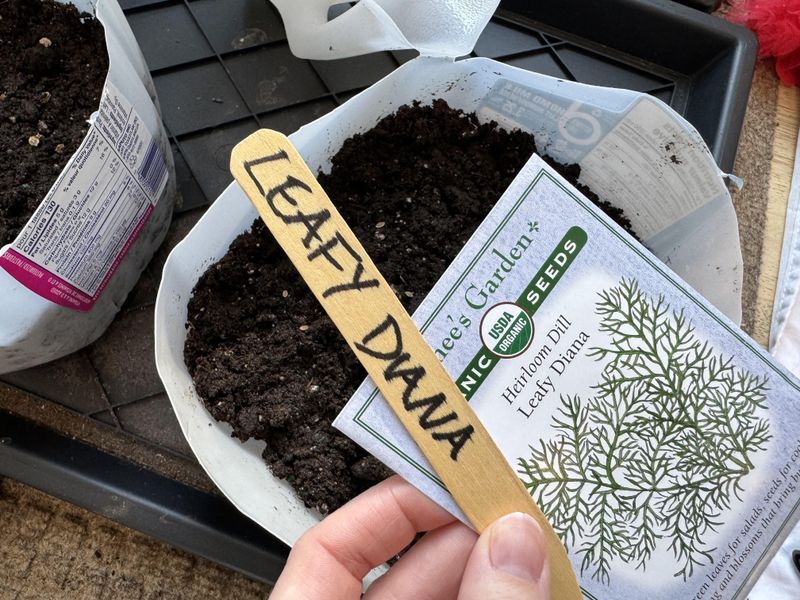
Label containers immediately to prevent confusion later, especially when planting multiple varieties.
5. Label Each Container Clearly

It’s easy to forget what you planted once seedlings begin emerging. Labeling saves guesswork and helps track progress.
Label containers immediately after sowing. Use permanent markers on plastic labels, tape, or write directly on containers with paint pens.
Include plant names, varieties if available, and planting dates. This information becomes useful when comparing germination times and planning future seasons.
Oregon’s winter weather can fade ink, so waterproof labeling methods work best. Pencil on plastic tags also holds up well.
Place labels where they remain visible without opening containers.
Keeping a garden journal or taking photos of labeled containers provides helpful backup records.
Clear labeling improves organization and helps you learn what performs best in your local microclimate.
6. Water Lightly But Consistently
Seeds need balanced moisture levels to germinate successfully. Too much water encourages rot, while too little can prevent sprouting.
Water containers thoroughly after planting until moisture drains from the bottom. This initial watering settles seeds into place.
During Oregon’s rainy months, containers often receive adequate moisture naturally, but conditions vary by location and weather patterns.
Check soil weekly by feeling moisture through drainage holes or briefly opening lids. Soil should remain damp but not soggy.
During dry winter periods, lightly mist soil as needed. Gentle watering avoids disturbing surface-planted seeds.
Once seedlings emerge, consistent moisture supports healthy root development. The greenhouse effect created by containers often helps retain moisture naturally.
7. Place Containers In A Safe Outdoor Location
Your carefully prepared containers won’t do much good if they tip over in strong wind or get knocked around during winter storms. Placement plays a major role in winter sowing success, especially in Oregon where weather can change quickly.
Choose a location that receives full sun or at least six hours of daylight when possible. South-facing areas often perform best because they capture more winter sunlight and warm up slightly faster during the day.
This extra light helps seedlings grow sturdier once they emerge.
Protect containers from strong winds by placing them near fences, walls, or garden structures. Wind can dry out soil faster than expected and may even blow lids open during storms.
Some shelter helps, but avoid placing containers completely under roof overhangs where rain can’t reach them naturally.
Elevating containers slightly using bricks, wooden boards, or pallets improves drainage and keeps them from sitting in standing water after heavy rain. This also discourages slugs and other pests that crawl along the ground.
Grouping containers together adds stability and makes them easier to monitor. You can surround groups with bricks or stones to create a wind buffer and prevent tipping.
Avoid placing containers in high-traffic areas where pets, kids, or foot traffic might disturb them. Setting up a small dedicated winter sowing zone keeps everything organized and reduces accidental damage.
A stable, sunny location gives seeds the best chance to germinate naturally and grow strong without constant intervention.
8. Protect Seeds From Extreme Weather
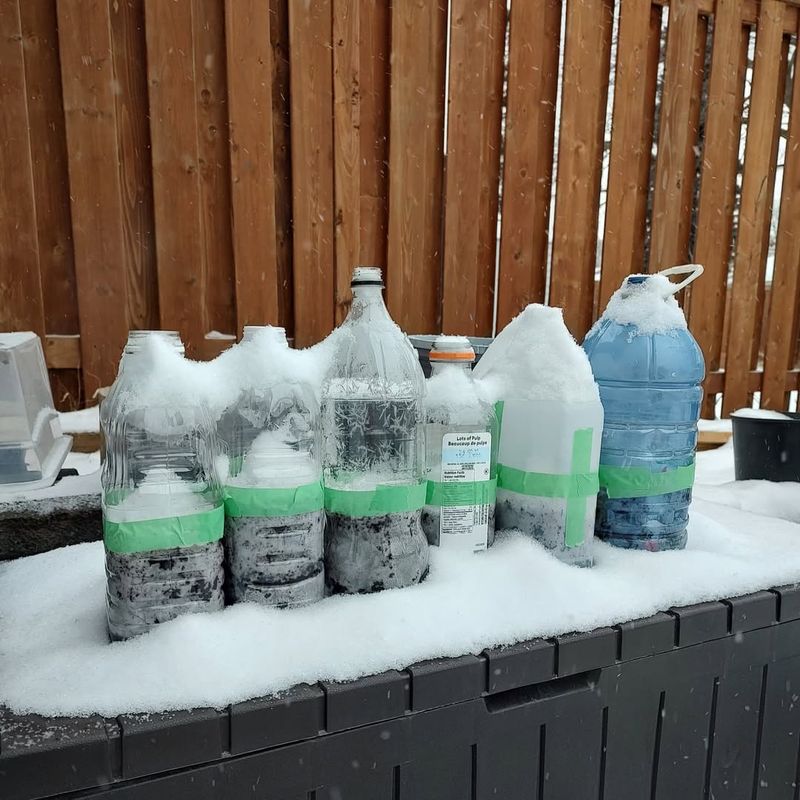
While Oregon winters are generally mild compared to colder regions, extreme weather events still happen. Cold snaps, ice storms, and heavy snow can stress winter sowing containers if they aren’t monitored.
Most cold-hardy seeds tolerate freezing temperatures well, especially when protected inside closed containers that provide insulation and block wind. However, extended periods of deep cold may require additional protection.
If temperatures drop below 20°F for multiple nights, consider covering containers with old blankets, frost cloth, or row covers. This adds insulation without sealing moisture inside.
Remove coverings once temperatures rise so seedlings receive fresh air and sunlight.
Heavy snow can pile up on containers and block light. Gently brush snow off lids so emerging seedlings aren’t left in darkness for long periods.
A few days under snow is usually fine, but extended coverage can slow growth.
During unusually warm winter days, temperatures inside containers can rise quickly. Opening lids for a few hours helps release excess heat and prevents overheating.
Always close containers again before nighttime temperatures fall.
Ice storms may temporarily limit access to containers. If severe weather is forecast, moving containers to a sheltered porch or protected outdoor space can help prevent damage.
Return them to their sunny location as soon as conditions improve.
Staying flexible and responding to weather changes helps keep seedlings healthy throughout winter.
9. Monitor Seedling Growth
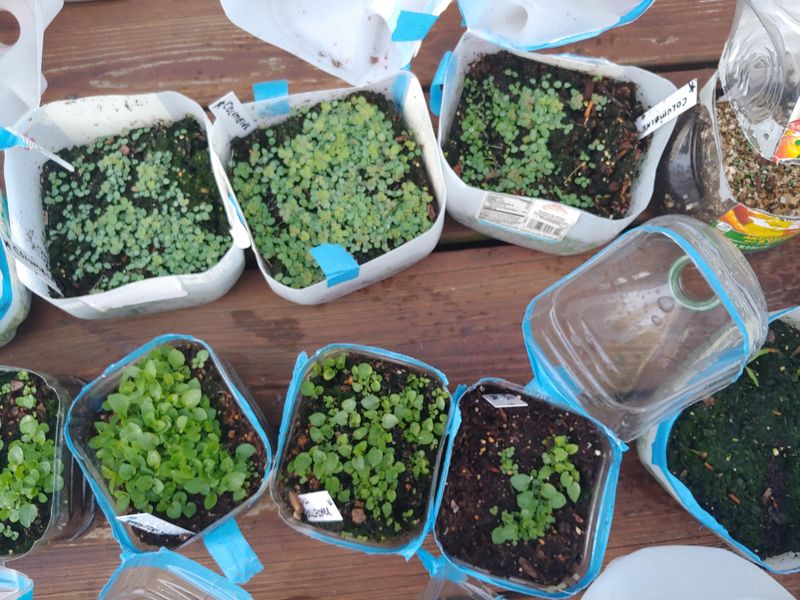
One of the best parts of winter sowing is watching seedlings emerge naturally when conditions are right. Unlike indoor seed starting, you don’t need to guess timing — seeds respond to real outdoor temperatures and light.
Check containers weekly without opening them too often. Look for condensation inside the plastic, which indicates healthy moisture levels.
Watch closely for the first hints of green, which usually appear between late February and April depending on plant type and weather patterns.
Different seeds germinate at different speeds. Fast growers like lettuce and calendula may sprout quickly, while perennials often take much longer.
Don’t give up on slow containers because seeds are often developing underground before visible growth appears.
Once seedlings emerge, gradually increase airflow by opening lids during mild daytime temperatures. Close lids again overnight if cold weather returns.
This process helps seedlings adjust to outdoor conditions while still providing protection.
As seedlings grow, overcrowding can become an issue. Thin extras by cutting them at soil level with scissors instead of pulling them out.
This avoids disturbing roots of nearby plants.
Healthy seedlings appear compact, sturdy, and deep green. Pale or stretched seedlings usually indicate insufficient light or overcrowding.
Monitoring growth allows you to make small adjustments before problems become serious.
10. Transplant When Ready
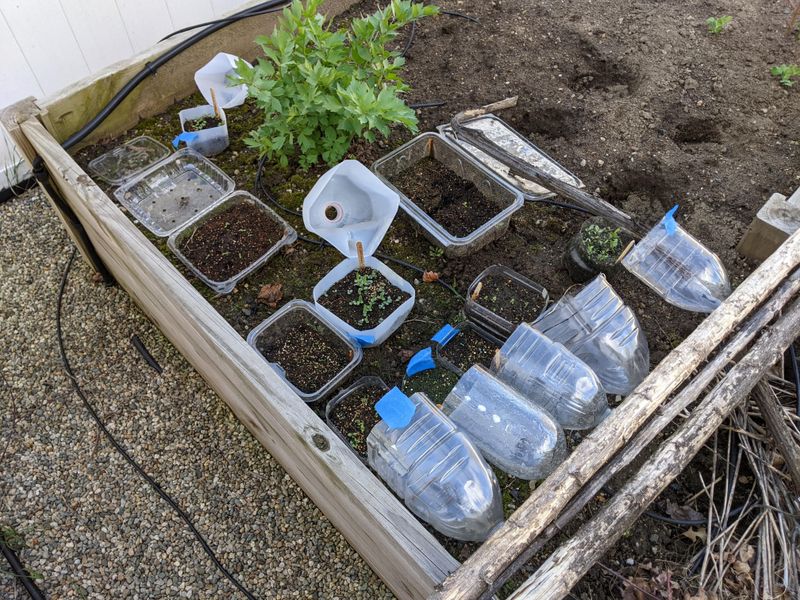
The final stage of winter sowing arrives when seedlings are strong enough to move into the garden.
This usually happens when plants develop several sets of true leaves and nighttime temperatures stay consistently above freezing.
Although winter-sown seedlings are naturally hardened off, they still benefit from a short transition period. Leave container lids fully open for about a week before transplanting so plants adjust to full wind, sun, and temperature exposure.
Choose an overcast day or transplant in the evening to reduce stress. Oregon’s spring weather often provides cloudy or drizzly days that are ideal for transplanting young plants.
Water containers thoroughly a few hours before transplanting. This helps soil stay intact around roots.
Gently remove seedlings, keeping as much soil attached as possible, and plant them at the same depth they were growing previously.
Firm soil gently around roots and water immediately after planting. Space plants according to seed packet guidelines to allow proper airflow and reduce disease pressure in Oregon’s humid spring climate.
Water transplants regularly during the first week as roots establish. Gradually reduce watering frequency once plants settle in.
Winter-sown seedlings often adapt quickly and develop strong growth because they’ve already experienced outdoor conditions.
Over time, you’ll begin harvesting vegetables or enjoying flowers that cost far less than store-bought starts and required very little indoor equipment.