7 Hydrangea Tasks You Must Do This February In California
February is an important month for hydrangeas in California. The plants are still resting, but spring growth is right around the corner.
What you do now can shape how well they perform for the rest of the year.
Skipping early-season care often leads to weaker blooms and messy growth later. A little attention in February helps hydrangeas wake up strong and healthy.
It also makes the busy spring season much easier to manage.
California’s mild winter weather creates the perfect window for basic maintenance. This is the time to clean up old growth, improve soil, and prepare plants for new leaves and flowers.
Taking care of these simple tasks now sets hydrangeas up for better color, fuller blooms, and stronger plants all season long.
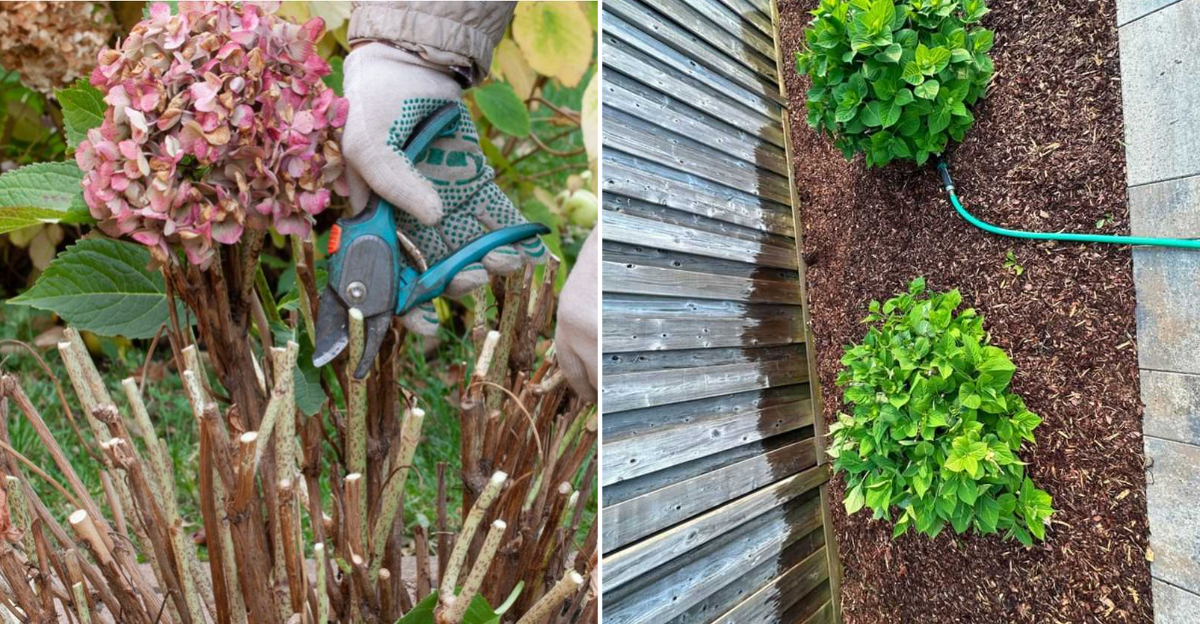
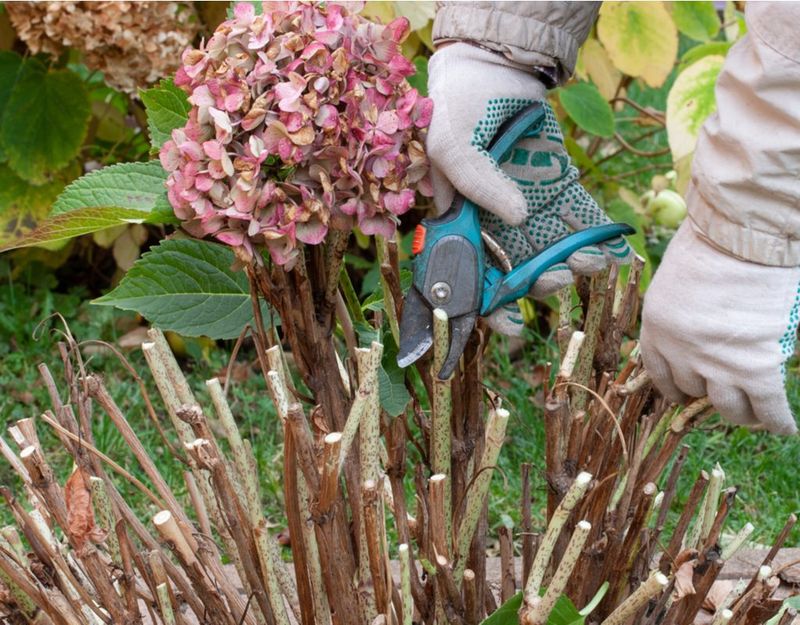
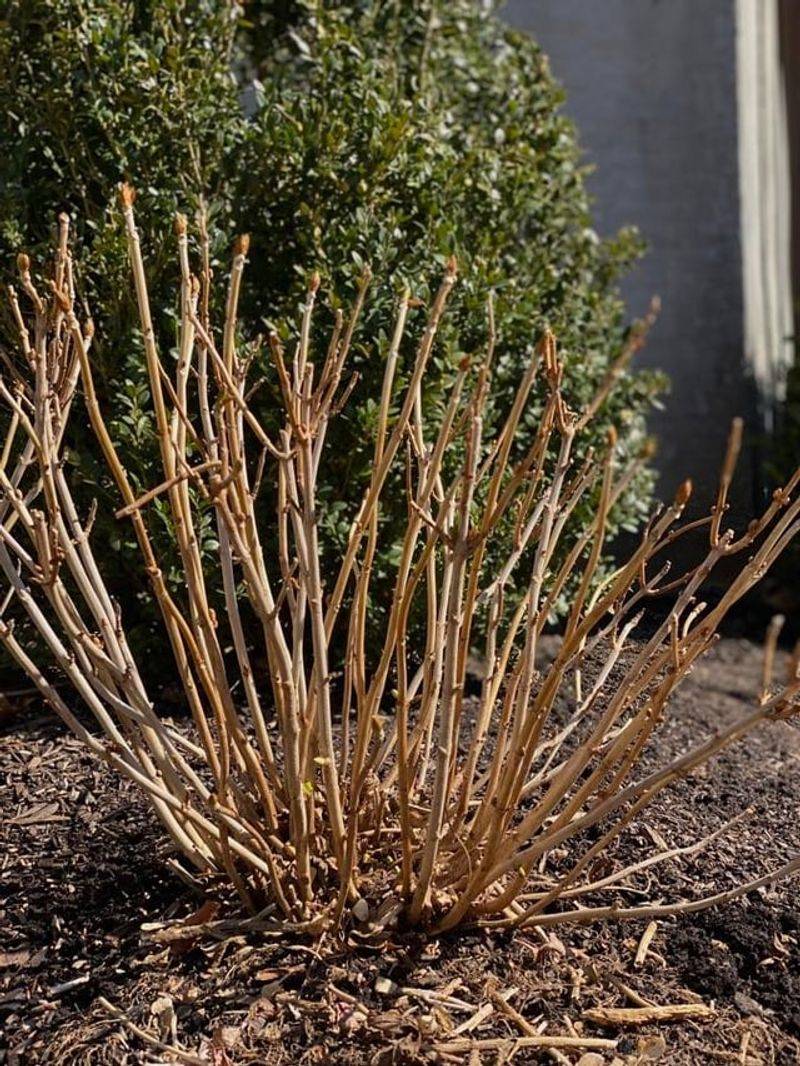
1. Remove Winter-Damaged Stems
Late winter is your window to survey your hydrangeas for damage caused by cold snaps, wind, or disease. California winters are generally mild, but occasional frost or storms can leave stems brittle, cracked, or discolored.
Walking through your garden now lets you spot trouble before new growth begins, saving your plant energy it would waste on damaged wood.
Start by examining each stem from the base upward. Look for splits in the bark, blackened tips, or sections that feel hollow or papery when you squeeze gently.
Healthy stems remain firm and green or tan under the outer layer. If you scratch the bark lightly with your fingernail and see green tissue, that stem is still alive.
Use clean, sharp bypass pruners to cut damaged stems back to healthy tissue, making your cut just above a node or bud. Angle your cuts slightly to shed water and discourage rot.
Dispose of all pruned material away from your garden to prevent disease spread.
Removing damaged wood improves air circulation around the plant, reducing fungal problems as humidity rises in spring. It also directs the plant’s resources toward strong, productive stems that will carry this year’s blooms.
February timing works well in California because most hydrangeas are still dormant or just beginning to wake, minimizing stress from pruning.
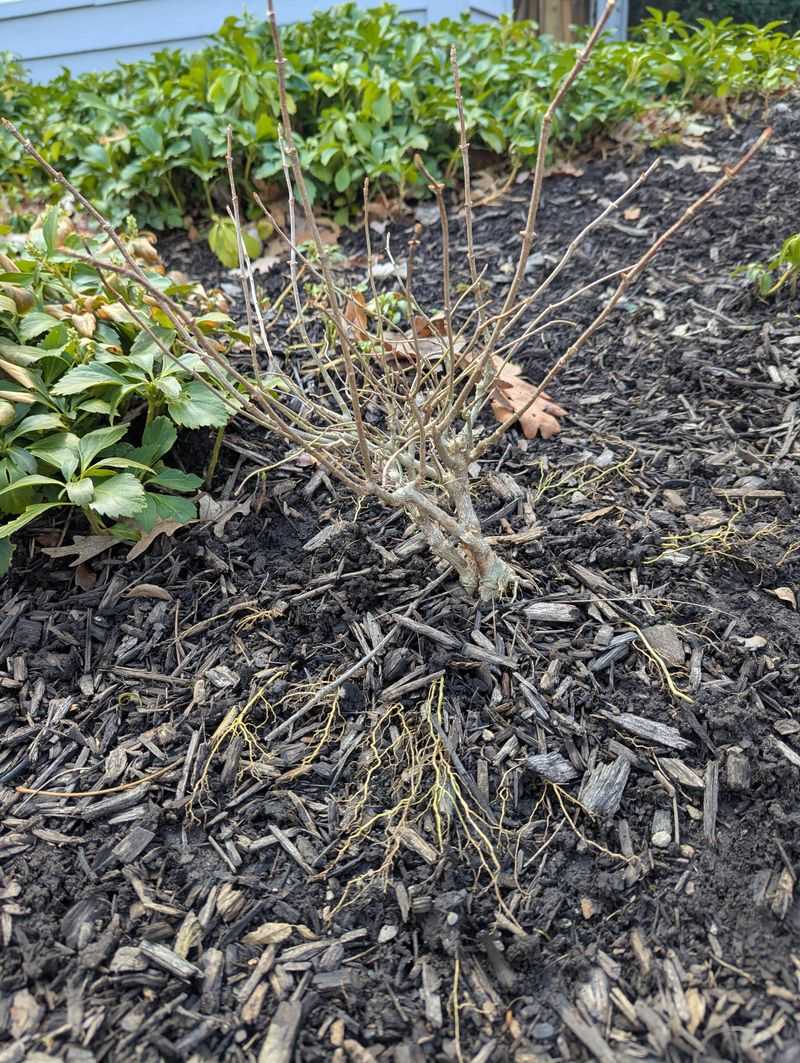
2. Clear Debris Around The Base
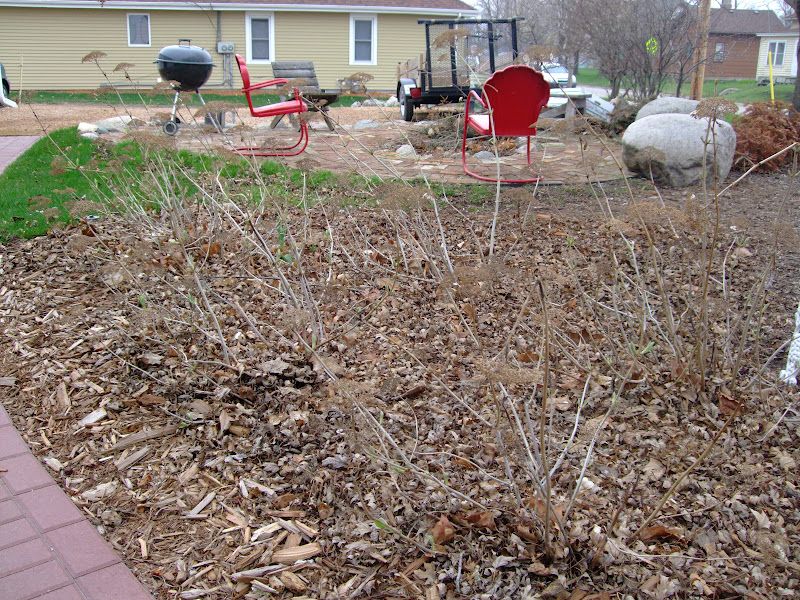
Fallen leaves, spent blooms, and twigs tend to pile up around hydrangea bases over winter. This debris might seem harmless, but it creates a cozy home for pests, slugs, and fungal spores that can attack tender new shoots as they emerge.
Clearing away this layer now gives your plants a clean slate and lets you see what’s happening at soil level.
Use a garden rake or your gloved hands to gently pull away leaf litter, old mulch that has broken down into muck, and any decaying plant material. Work carefully to avoid disturbing shallow feeder roots near the surface.
As you clear, watch for signs of pests like snail eggs or overwintering insects tucked into the debris.
Once the area is clean, inspect the base of each plant for crown rot, which shows up as soft, mushy tissue at the soil line. Healthy crowns feel firm and look green or tan.
Your California Garden Changes Every Week. Your Plan Should Too.
Gardening in California changes quickly throughout the season. Every Friday you’ll receive a simple weekly plan showing exactly what to plant, prune, fertilize, harvest, and protect so you never miss the right timing.
If you spot rot, trim away affected tissue with sterilized pruners and improve drainage around the plant.
Clearing debris also lets winter rains reach the root zone more effectively, which is important during California’s unpredictable wet season. A tidy base makes it easier to apply fresh mulch later and helps you monitor soil moisture as temperatures warm.
This simple task takes just a few minutes per plant but pays off in healthier growth and fewer pest problems.
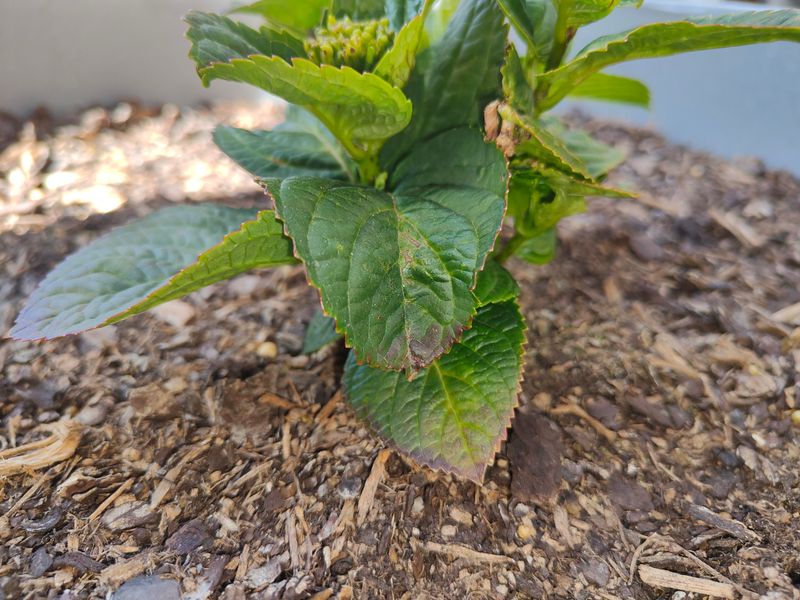
3. Inspect Buds Before Pruning
Hydrangea buds hold the blueprint for this year’s blooms, and understanding which stems carry them is the key to smart pruning.
Different hydrangea types set buds at different times and places, so a close inspection in February helps you avoid cutting off your summer flower show.
Bigleaf and oakleaf hydrangeas bloom on old wood, meaning buds formed last summer and overwintered on the stems. Panicle and smooth types bloom on new wood produced this spring.
Examine your plants carefully, looking for plump, rounded buds along the stems. Bigleaf hydrangeas typically show fat buds near the tips and at nodes down the stem.
These buds often have a slightly different color or texture than leaf buds, appearing more swollen and clustered in pairs. If you see these, avoid cutting those stems unless they are damaged.
For new-wood bloomers like panicle hydrangeas, buds form on stems that grow after pruning, so you have more flexibility. Still, inspecting now helps you understand your plant’s health and growth pattern.
Look for strong stems with healthy buds and note any areas that seem sparse or weak.
Taking time to inspect before you prune prevents the common mistake of removing flower buds by accident. California’s mild climate sometimes confuses gardeners because plants may not fully defoliate, making it harder to see buds.
Get close, use your fingers to gently feel for bud swelling, and prune with confidence once you know what you’re working with.
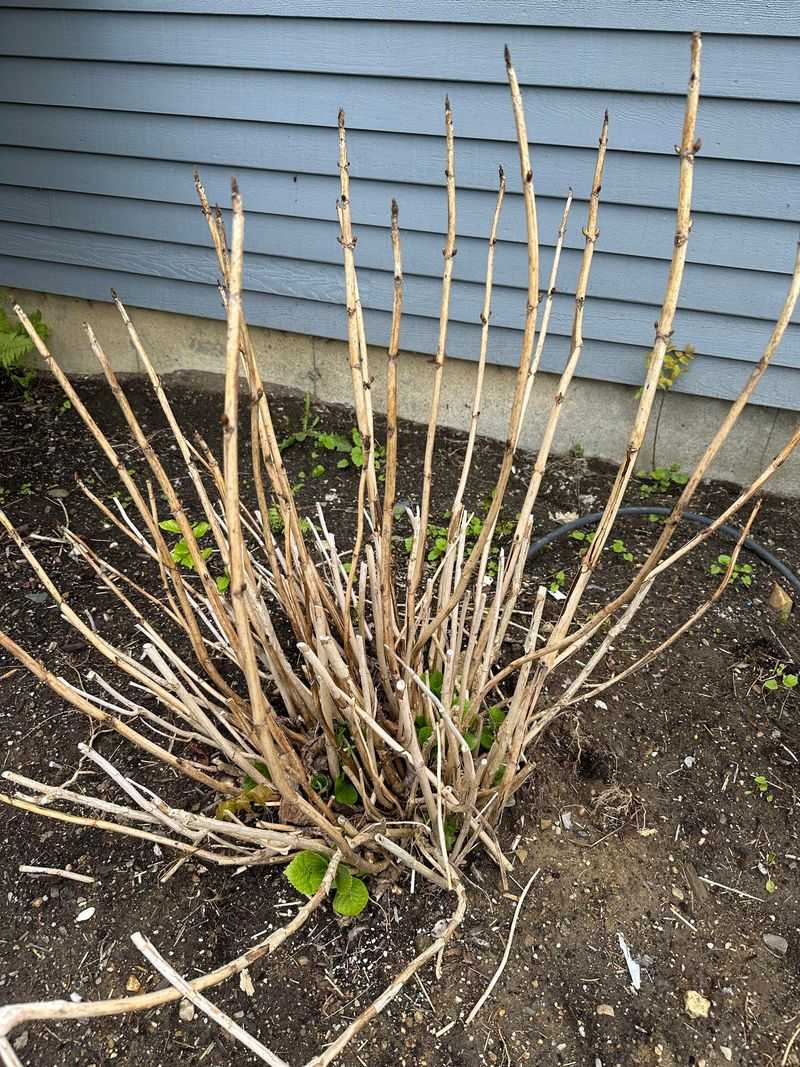
4. Prune New-Wood Types
If you grow panicle or smooth hydrangeas, February is an ideal time to prune them back before active growth begins. These varieties bloom on new wood, meaning flowers appear on stems that grow in the current season.
Pruning now encourages vigorous new shoots and larger, more abundant blooms. California’s mild winters mean these plants often break dormancy earlier than in colder regions, so getting this task done by mid-to-late February is smart timing.
For panicle hydrangeas like ‘Limelight’ or ‘Vanilla Strawberry,’ you can prune quite hard if you want a compact shape and big flower heads. Cut stems back by one-third to one-half their height, making cuts just above a pair of healthy buds.
For smooth hydrangeas like ‘Annabelle,’ you can prune even more aggressively, cutting stems down to 12 to 18 inches from the ground if desired.
Use sharp bypass pruners or loppers for thicker stems, and make clean cuts at a slight angle. Remove any weak, crossing, or inward-growing stems to open up the center of the plant for better air circulation.
This reduces the chance of mildew as humidity increases in spring and summer.
Avoid pruning bigleaf or oakleaf hydrangeas now unless you’re only removing withered wood, since they bloom on old wood and late-winter pruning will remove flower buds.
If you’re unsure which type you have, look up the variety or wait to see where buds form as growth starts.
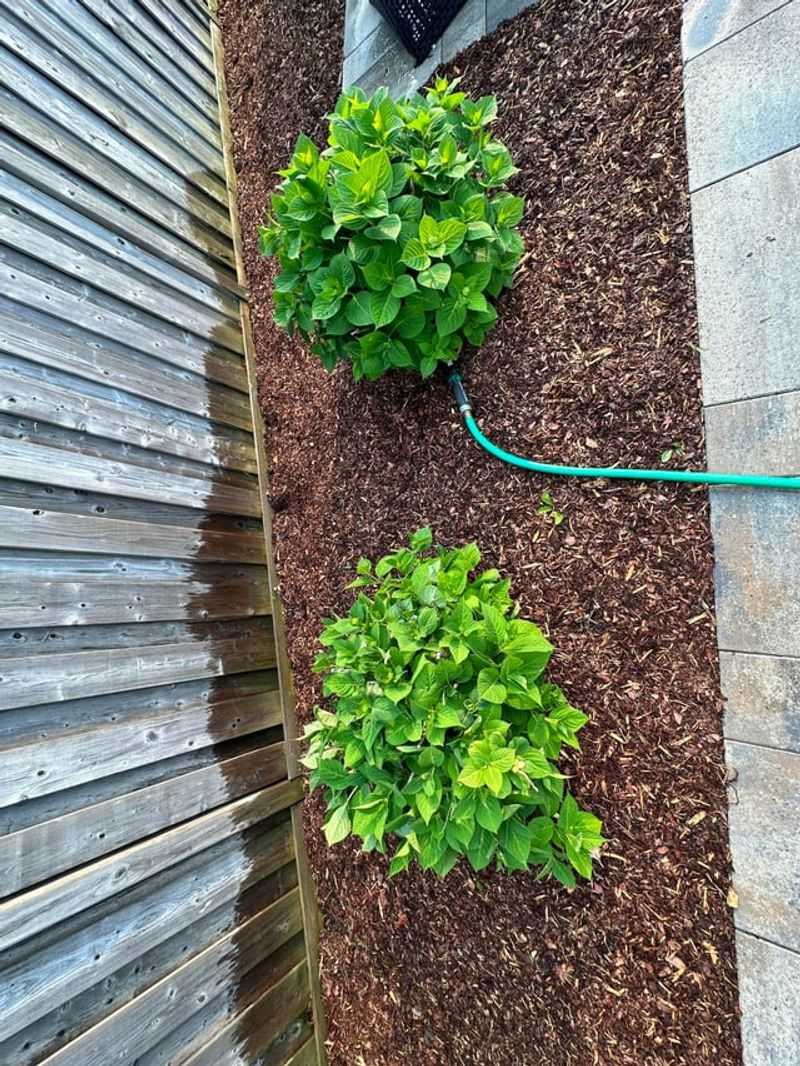
5. Mulch To Conserve Moisture
A fresh layer of mulch in February protects hydrangea roots from temperature swings and helps the soil retain moisture as California’s rainy season winds down.
Hydrangeas have shallow, fibrous root systems that benefit from the insulation and consistent moisture mulch provides.
Even in our mild climate, soil temperatures can fluctuate, and mulch buffers those changes, keeping roots comfortable and encouraging healthy growth.
Choose organic mulch like shredded bark, compost, or aged wood chips. Spread a layer about two to three inches deep around the base of each plant, extending the mulch out to the drip line where the outermost branches reach.
Keep the mulch a few inches away from the main stems and crown to prevent rot and discourage pests from nesting against the plant.
As organic mulch breaks down over time, it adds valuable nutrients and organic matter to the soil, improving structure and drainage. This is especially helpful in California’s heavy clay soils or sandy coastal soils that drain too quickly.
Mulch also suppresses weeds that would compete with your hydrangeas for water and nutrients.
If you mulched last fall, check the depth now and top it up if it has settled or decomposed. February is a great time for this task because the soil is usually moist from winter rains, and the mulch will be in place to conserve that moisture as spring arrives and temperatures rise.
Proper mulching reduces your watering workload later and keeps your hydrangeas healthier and more resilient.
6. Plan Soil Amendments For Spring Growth
Hydrangeas thrive in rich, well-draining soil with plenty of organic matter, and February is the right time to plan soil improvements before the spring growth surge.
Testing your soil now gives you a clear picture of pH, nutrient levels, and any deficiencies that could limit blooming or cause yellowing leaves.
California soils vary widely, from alkaline clay in some inland areas to acidic sandy soils along the coast, so knowing your baseline helps you make smart amendments.
Pick up a soil test kit from a garden center or send a sample to your local extension service. The results will show pH and nutrient levels.
Hydrangeas generally prefer slightly acidic soil with a pH between 5.5 and 6.5, though some varieties tolerate a wider range. If your soil is too alkaline, sulfur or acidic compost can help lower the pH over time.
If it’s too acidic, lime can raise it.
Based on your test results, plan to add compost, aged manure, or other organic matter to improve soil structure and fertility.
Work these amendments into the top few inches of soil around your hydrangeas in late February or early March, being careful not to damage shallow roots.
Adding organic matter improves drainage in clay soils and boosts water retention in sandy soils.
If your hydrangeas have shown signs of iron deficiency, such as yellow leaves with green veins, you might need to apply chelated iron or adjust pH to make iron more available.
Planning these amendments now means they’ll be in place when plants start actively growing, giving them the nutrients they need for strong stems and vibrant blooms.
7. Track Water In Rising Temps
February in California often brings a mix of rainy days and warmer, drier spells as winter transitions toward spring. Hydrangeas need consistent moisture, and this transitional period requires you to pay closer attention to watering.
While winter rains may have kept the soil moist, a few sunny, breezy days can dry out the top layer of soil quickly, stressing shallow roots just as new growth is about to begin.
Check soil moisture by sticking your finger two inches into the ground near the base of each plant. If it feels dry at that depth, it’s time to water.
Hydrangeas prefer deep, infrequent watering that encourages roots to grow down rather than shallow, frequent sprinkling. Aim to moisten the soil to a depth of at least six to eight inches.
Use a soaker hose or drip irrigation to deliver water slowly and directly to the root zone, minimizing evaporation and keeping foliage dry. Wet leaves can encourage fungal diseases, which become more common as temperatures and humidity rise.
Water in the morning so any moisture on leaves has time to dry before evening.
If February stays rainy, hold off on supplemental watering and focus on ensuring good drainage around your plants. Standing water or soggy soil can lead to root rot, especially in heavy clay.
If temperatures spike or Santa Ana winds blow through, increase watering frequency to keep plants from wilting. Monitoring moisture now sets a good habit for the growing season ahead and keeps your hydrangeas healthy and ready to bloom.