Most Oregon Gardeners Are Starting Native Seeds Wrong, Here’s What To Fix
Oregon native plants are tough, resilient, and naturally adapted to the state’s climate. Yet many gardeners still struggle to get them started successfully from seed.
The trouble usually begins right at the seed stage. Skipping preparation steps, planting at the wrong time, or using the wrong growing medium can delay germination or prevent it entirely.
Some seeds benefit from cold exposure. Others prefer light.
Some simply need steady moisture and patience.
One small mistake can leave trays empty and gardeners frustrated. The good news is these problems are easy to fix once you understand what needs adjusting.
With the right approach, native seeds sprout stronger, grow sturdier stems, and develop better root systems. If you want healthier plants and better success this season, it’s time to fine-tune your method.
These common mistakes are simple to avoid and can completely change your results.
1. You Are Skipping Cold Stratification
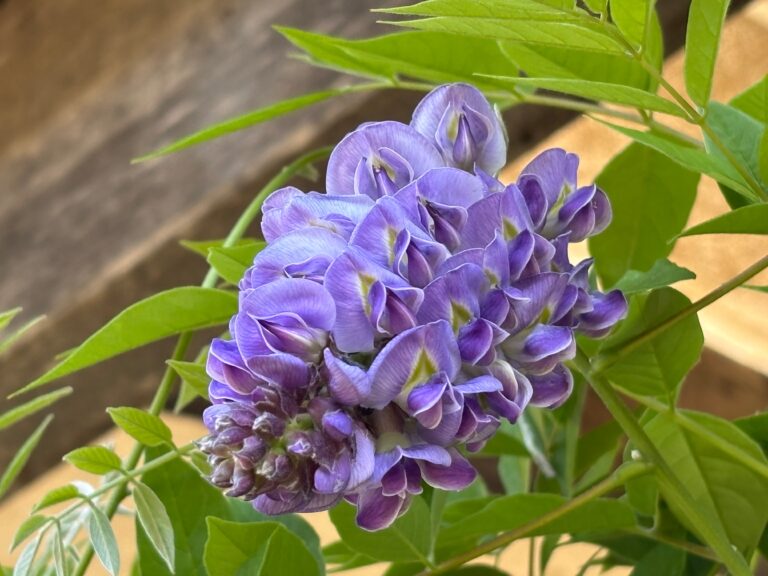
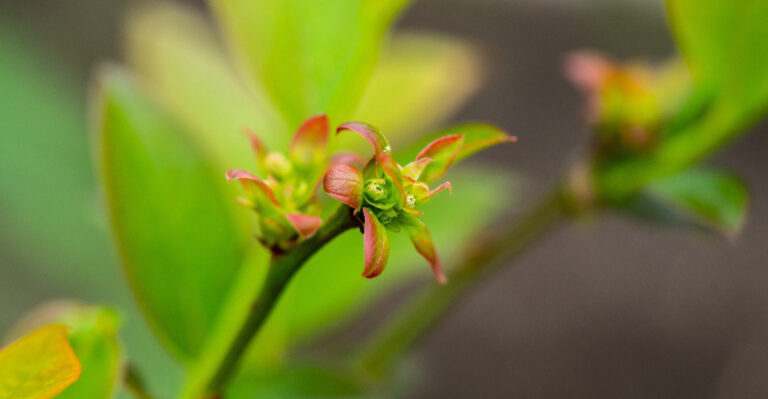
Many Oregon native seeds germinate better after experiencing a period of cold, moist conditions similar to winter. Species such as camas, Oregon iris, western columbine, and some lupines evolved to wait for spring warmth before sprouting.
When these seeds are planted directly into warm soil without preparation, they may remain dormant even when moisture and light are available. Their internal dormancy mechanisms have not yet received the environmental signal needed to activate growth.
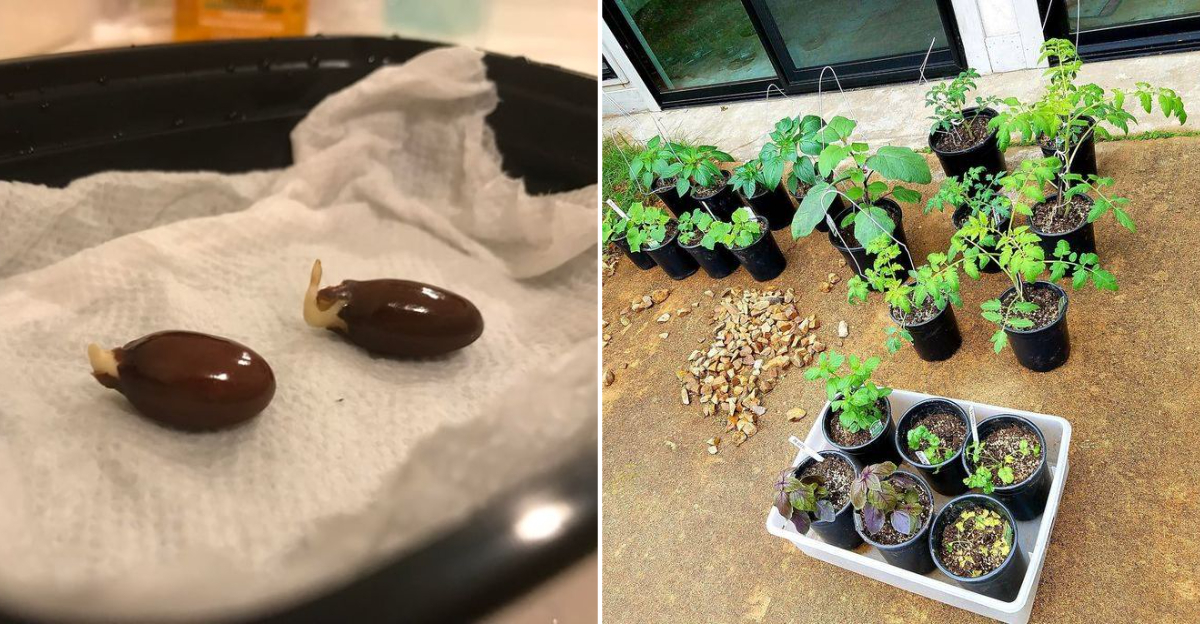
Cold stratification mimics natural winter conditions by exposing seeds to temperatures between 33–40°F while kept slightly moist. Place seeds in damp sand or vermiculite inside a sealed bag and refrigerate them for the recommended time.
Some woodland and mountain species need 60–90 days of chilling. Others require only 30 days.
Prairie annuals and many wildflowers may not need stratification at all.
Always research each species individually. Label bags clearly and track dates so seeds are not forgotten in the refrigerator.
Once stratification is complete, sow seeds promptly and maintain consistent moisture. The shift from cold storage to warmer growing conditions signals spring and encourages reliable germination.
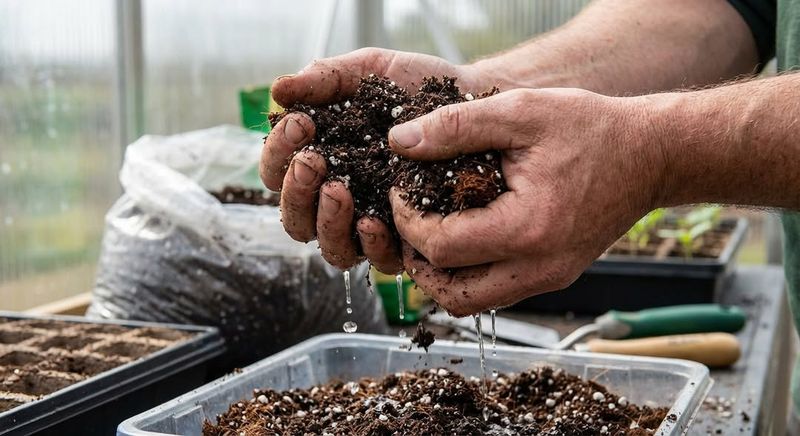
2. You Are Using A Standard Potting Mix
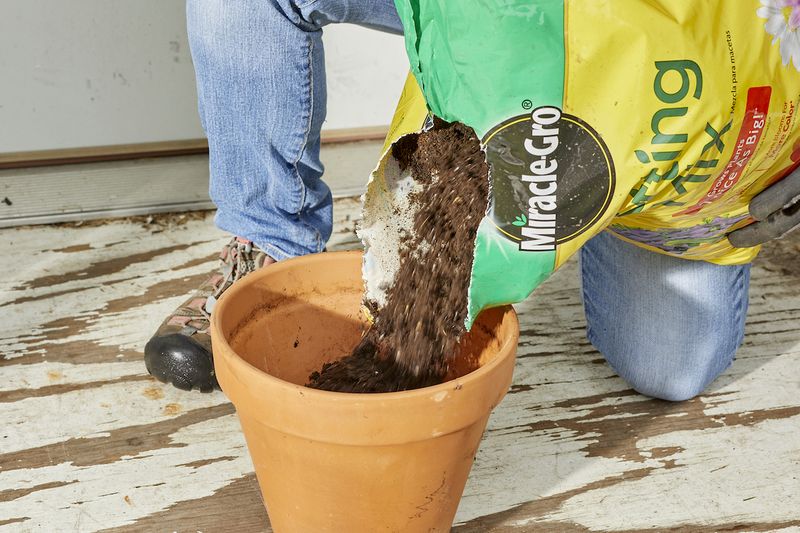
Many gardeners reach for regular potting soil when starting native plants. While this works for vegetables and houseplants, it often causes problems for native seedlings.
Most Oregon natives evolved in soils with excellent drainage and relatively low nutrient levels. Heavy or moisture-retaining mixes stay wet too long, increasing the risk of damping off disease and weak root development.
Instead, use a light seed-starting mix or create a custom blend with peat or coconut coir combined with perlite or coarse sand. This improves airflow and prevents waterlogged conditions.
Avoid mixes labeled “moisture control” or heavily fertilized blends. Native seeds already contain the energy they need to germinate and establish early roots.
There is no need to sterilize soil at home. Focus on using clean containers, fresh growing medium, and good air circulation to reduce disease risk naturally.
Different species prefer slightly different textures. Some tolerate sandier mixes while others prefer more organic matter.
Adjust based on plant type and your indoor growing environment.
3. Planting Seeds At The Wrong Depth
Planting depth has a major impact on germination success. Tiny native seeds such as penstemon, monkeyflower, and yarrow often require light to sprout and should be pressed gently into the soil surface.
Larger seeds like oak acorns or bigleaf lupine benefit from deeper planting that maintains moisture and protects emerging roots.
A common guideline is planting seeds about three times as deep as their diameter, but this rule does not apply to all species. Always check individual requirements.
Surface-sown seeds dry quickly in Oregon’s spring breezes. Light misting or short-term humidity covers can help maintain moisture, but trays should be ventilated daily.
Remove covers as soon as seedlings appear to prevent fungal growth. Keep records of what works best in your growing space and adjust with each planting season.
4. Ignoring Scarification For Hard-Coated Seeds
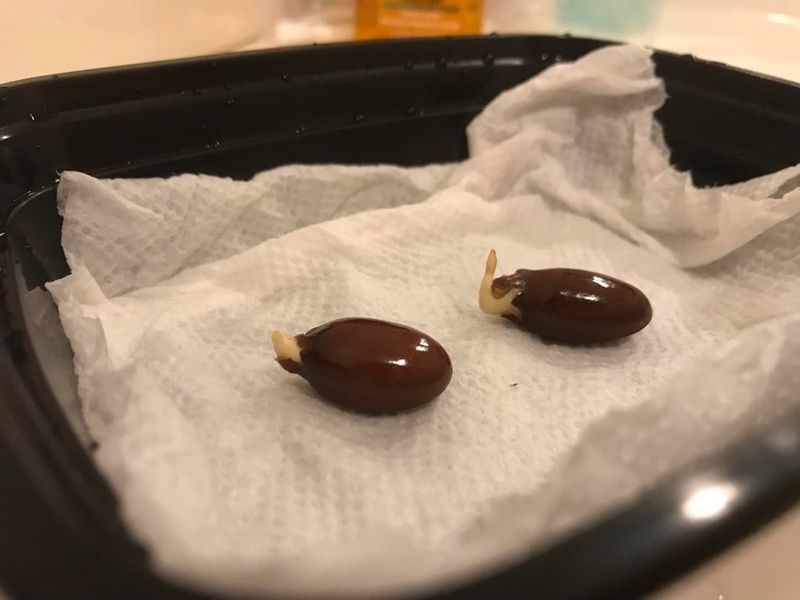
Some native seeds have thick outer shells designed to protect them in harsh environments. Species like lupine, wild rose, and redbud may stay dormant unless the seed coat is breached.
Mechanical scarification is the safest method. Lightly rub seeds against sandpaper or nick the outer layer with a file until a lighter interior color becomes visible.
This allows moisture to penetrate and trigger germination.
Warm water soaking can also help certain species. Use hot tap water rather than boiling temperatures and soak seeds as the water cools.
Seeds that swell have successfully absorbed water and are ready to plant. Seeds that remain hard may require mechanical scarification instead.
If both scarification and cold stratification are required, scarify first so moisture can enter during the chilling process.
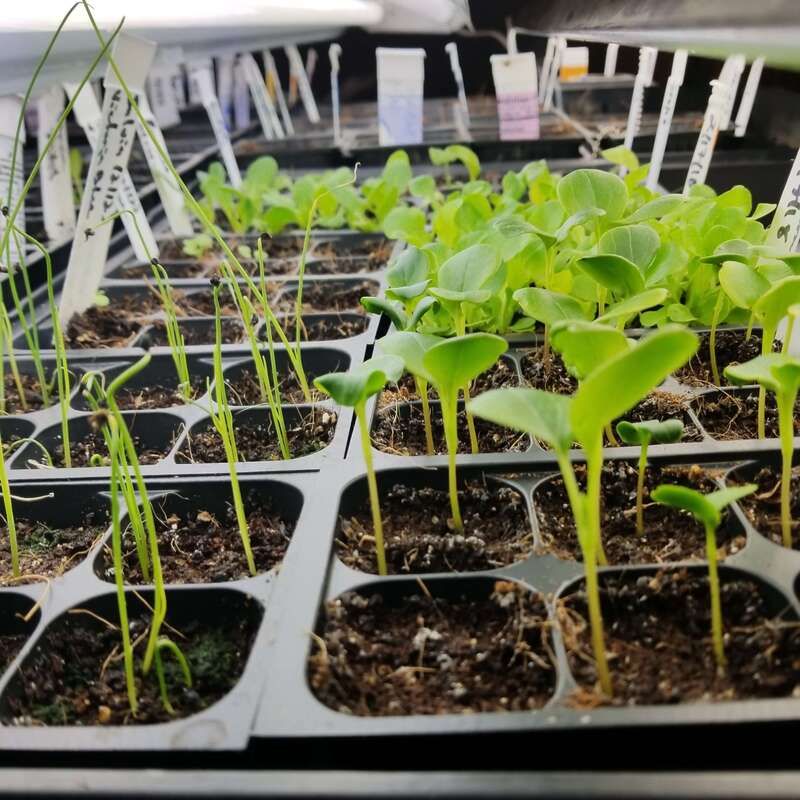
5. Starting Seeds Indoors At The Wrong Time

Timing plays a major role in seedling success. Starting too early produces weak, stretched plants that outgrow containers before outdoor conditions are ready.
Starting too late prevents seedlings from developing strong root systems before summer heat arrives.
Western Oregon gardeners usually see last frost dates between mid-April and early May. Eastern Oregon may experience frost into June.
Some natives perform best when direct-sown outdoors in fall or early spring, allowing natural temperature cycles to guide germination.
If starting indoors, match each species to its growth speed. Fast-growing annuals need less lead time than slow-growing perennials.
Track your microclimate carefully. Coastal areas, valleys, and foothills all experience different temperature patterns.
Adjust schedules based on experience rather than generic planting charts.
6. Overwatering Or Underwatering Seedling Trays
Water management is one of the biggest challenges when starting seeds, especially with native plants that are sensitive to both excess moisture and drought.
Too much water fills air spaces in the soil, suffocates roots, encourages fungal growth, and often leads to damping off disease that can wipe out trays overnight.
On the other hand, letting soil dry out too much can interrupt germination and kill seeds just as they begin to sprout, wasting time and effort.
Bottom watering is one of the easiest ways to maintain steady moisture without soaking the soil surface. Set trays into a shallow container of water and allow moisture to absorb upward through drainage holes.
Remove trays once the surface feels evenly damp, not saturated.
Check moisture levels daily by touching the soil and lifting trays to judge weight. Heavy trays indicate excess water, while very light trays signal the need to rehydrate.
After seedlings emerge, keep moisture consistent but allow the top layer of soil to dry slightly between waterings. This encourages stronger root growth and reduces disease pressure.
Always use room-temperature water and adjust your watering schedule based on indoor temperature, airflow, and seasonal humidity changes.
7. Providing Inadequate Or Excessive Light
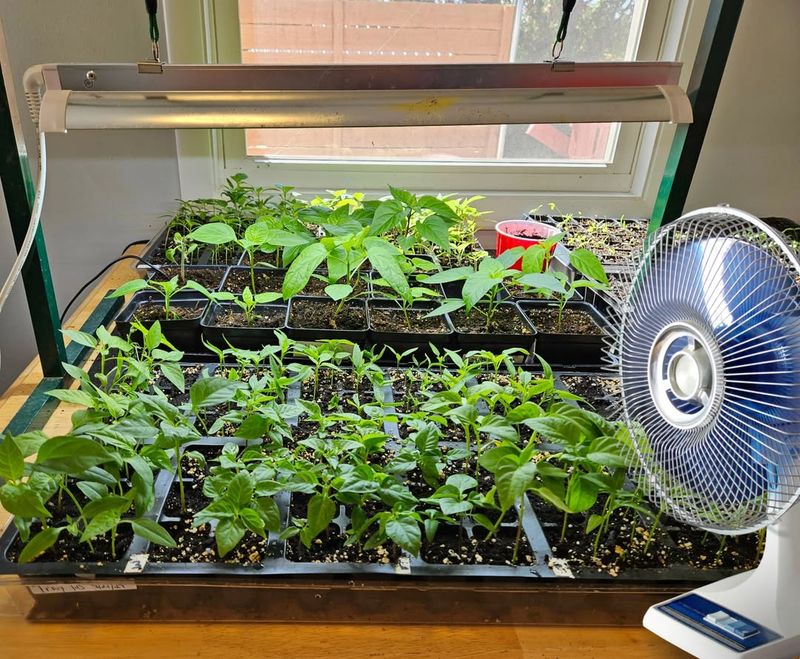
Light quality plays a major role in seedling strength and long-term plant health. When seedlings do not receive enough light, they stretch upward searching for brightness, creating tall, thin stems that bend, flop, or break easily.
These weak seedlings struggle to survive transplanting and often fail to establish strong root systems. At the same time, excessive light intensity or heat can scorch tender leaves, stress young plants, and cause soil to dry out far too quickly.
Position grow lights about 2–4 inches above seedlings and adjust the height as plants grow to maintain even exposure. Most native seedlings benefit from 12–16 hours of light per day, depending on the species and time of year.
Using a timer helps maintain consistency and prevents accidental overexposure.
Window light alone is rarely reliable enough, especially during Oregon’s cloudy spring months. Seedlings near windows often lean toward the light source, so rotate trays regularly and add supplemental lighting when growth appears uneven.
Different native species have different light preferences. Woodland plants often prefer softer, indirect light, while prairie species tolerate brighter conditions.
Watch leaf color, stem thickness, and growth patterns to fine-tune your setup.
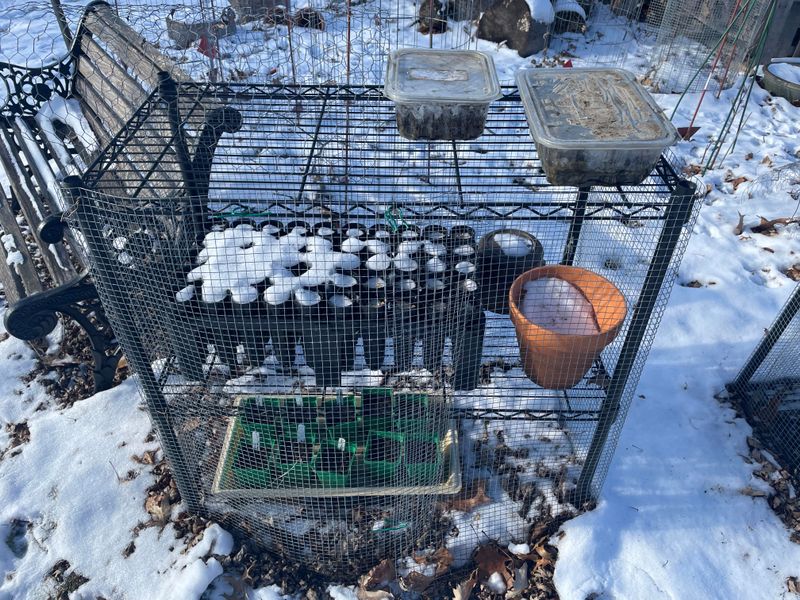
8. Failing To Harden Off Before Transplanting
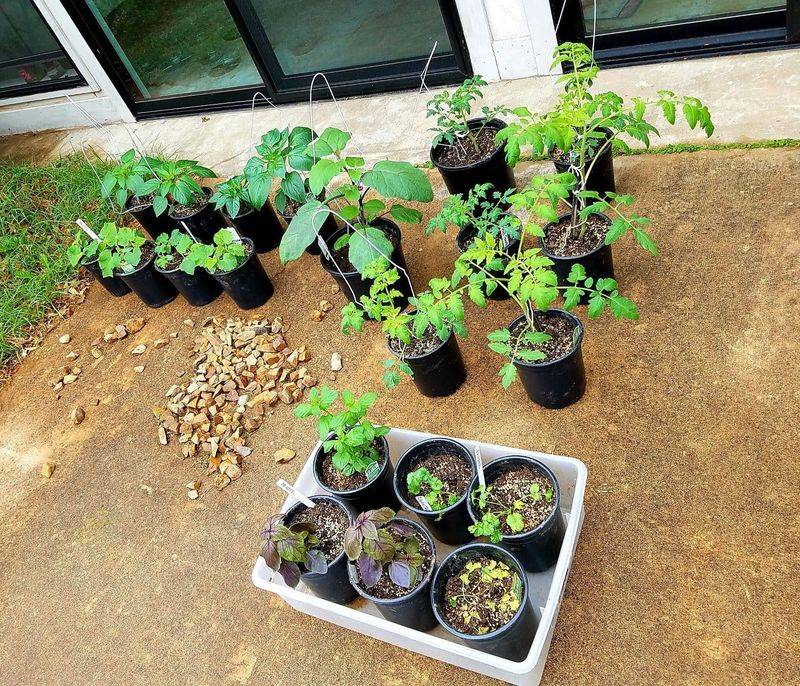
Indoor seedlings are not naturally prepared for the stress of outdoor conditions. Inside, they grow in stable temperatures with no wind, gentle light, and consistent moisture.
When plants are suddenly moved outdoors, strong sunlight, temperature swings, and drying winds can shock tender tissues and cause wilting, leaf burn, or stalled growth.
Begin the hardening-off process about 7–10 days before your planned transplant date. Start by placing seedlings outside for one to two hours in a protected area with filtered light.
Early morning or late afternoon is ideal because conditions are gentler.
Gradually increase outdoor exposure each day, slowly introducing brighter light and longer periods outside. Avoid strong winds and intense midday sun during the first few days, as these conditions can stress young plants quickly.
Wait until nighttime temperatures stay consistently above 45–50°F before leaving seedlings outdoors overnight. Sudden cold snaps can undo progress made during the hardening period.
Water seedlings before and after outdoor exposure to prevent dehydration. Use sheltered locations such as patios, porches, or near buildings early in the process.
With proper hardening, seedlings adapt more smoothly and establish stronger root systems once planted in the garden.