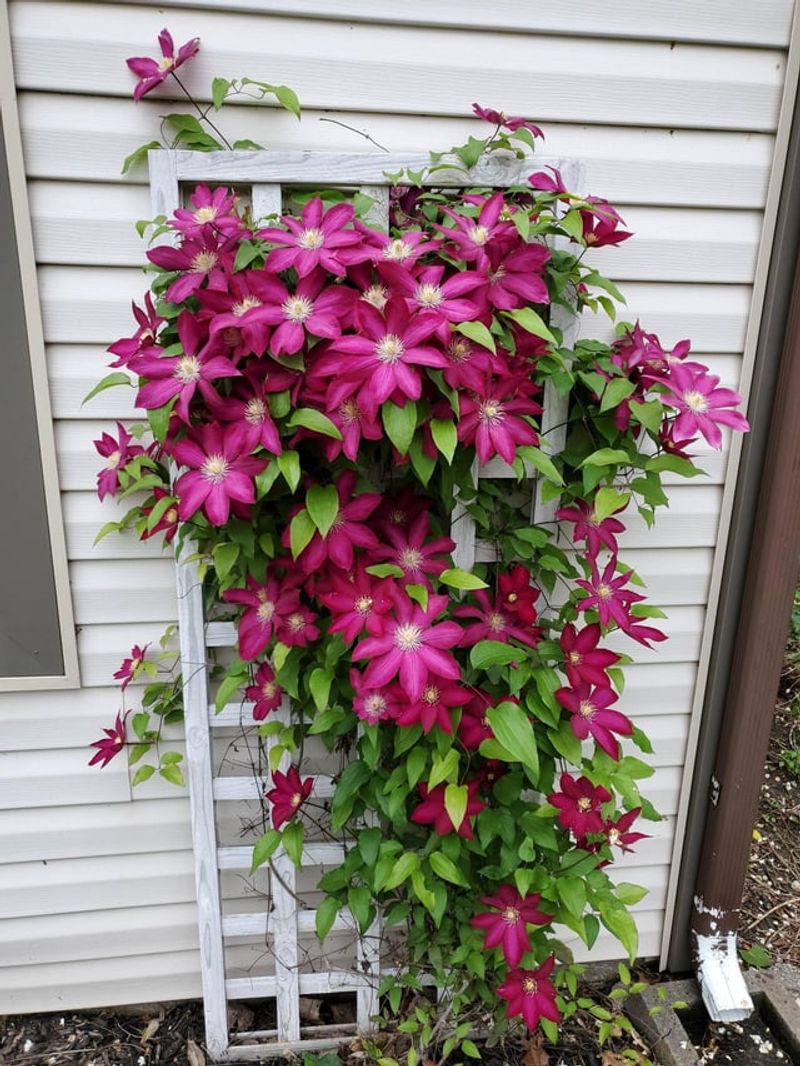
This Is How To Set Up Your Clematis Trellis Now For Oregon Growing Season
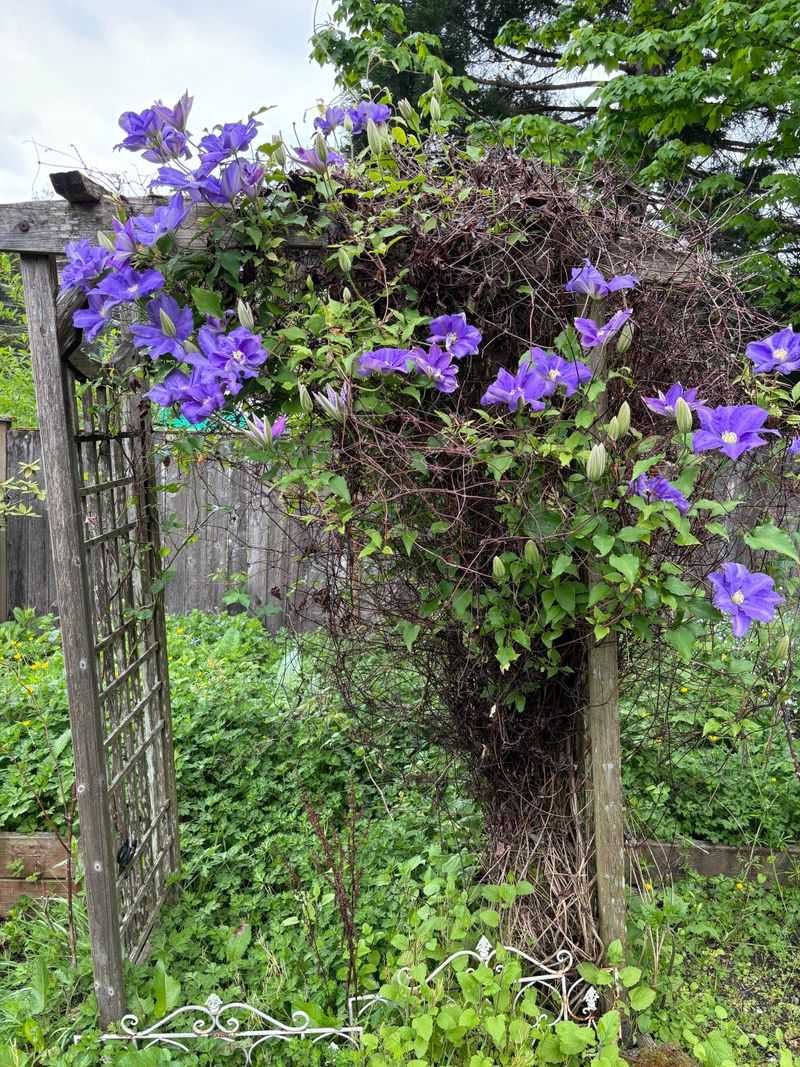
Clematis vines don’t magically climb into perfect shape on their own. The secret starts with setting up the trellis the right way before growth takes off.
In Oregon, spring moisture and mild temperatures push clematis into fast, eager climbing mode. Miss this setup window and vines tangle, flop, or grow in awkward directions that are hard to fix later.
A well-placed trellis gives young shoots clear support, better airflow, and balanced sunlight from day one. It also makes future pruning and training much easier.
This is the moment to guide your plant instead of chasing it all season. With a few smart placement and spacing choices now, your clematis can grow taller, bloom heavier, and look more polished once flowering begins.
A strong start sets the stage for a spectacular climbing display.
1. Choose The Right Location
Picking the right spot for your clematis trellis sets the stage for everything else. In Oregon, you want a location that gets at least six hours of sunlight daily, though some varieties tolerate partial shade beautifully.
Morning sun works particularly well in warmer inland areas, while coastal gardeners can often provide more direct light without scorching delicate petals. Wind exposure matters more than many gardeners realize.
Strong gusts can snap tender new growth and damage flowers, so consider placing your trellis near a fence, wall, or shrub border that offers some protection.
This becomes especially important in spring when Oregon’s weather shifts unpredictably between calm mornings and breezy afternoons.
Your microclimate plays a big role too. South-facing walls create warmer pockets that help early-blooming varieties get started faster, while north-facing spots stay cooler and suit late-season bloomers.
East-facing locations provide gentler conditions that work well for nearly any clematis type. Take time to observe your yard throughout the day before committing to a spot.
Notice where shadows fall, how wind moves through different areas, and which spots stay drier after Oregon’s frequent rain.
This observation period helps you avoid common mistakes like planting in soggy low spots or overly exposed areas that stress your vine before it even gets established.
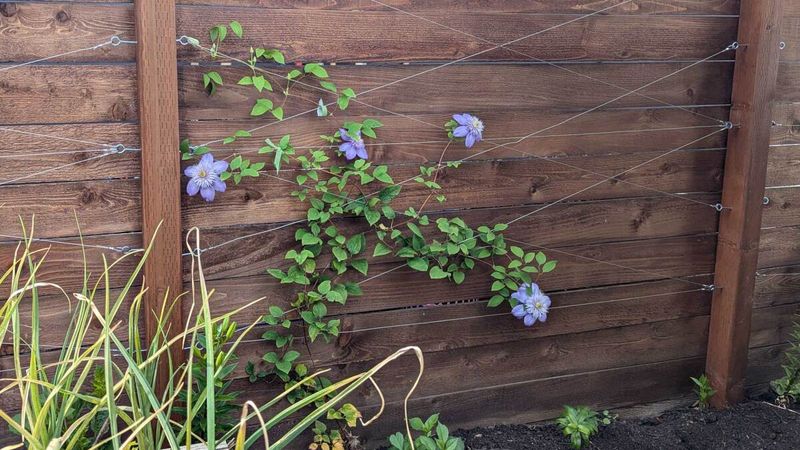
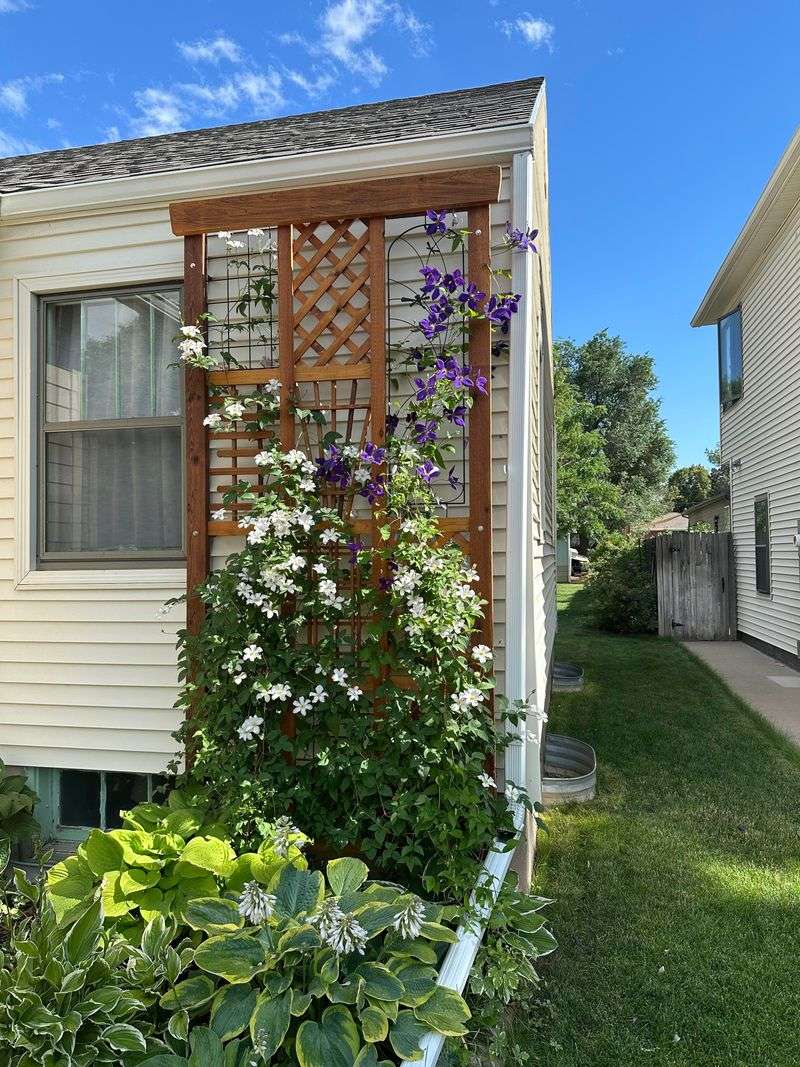
2. Select A Sturdy Trellis
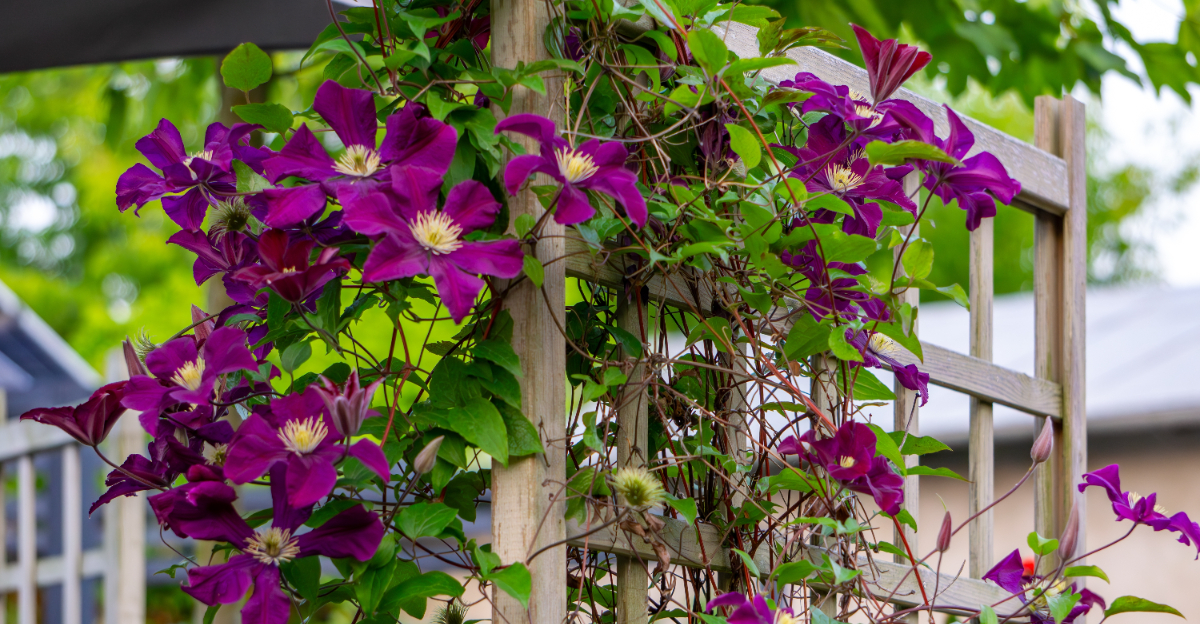
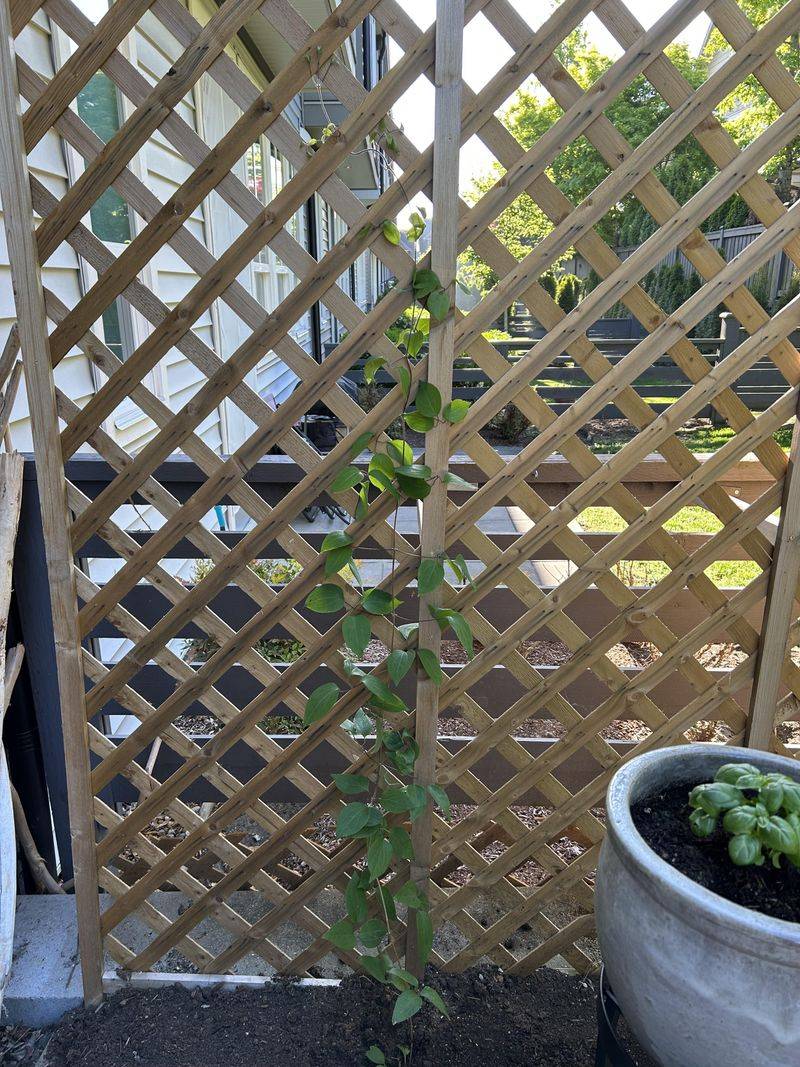
Not all trellises work equally well for clematis, and choosing the wrong style can lead to frustration down the road. These vines climb by wrapping their leaf stems around supports, so they need structures with openings small enough for those stems to grasp easily.
Lattice panels with four to six-inch openings, wire grids, or specially designed clematis supports all work wonderfully. Size matters when selecting your trellis.
Small-flowered varieties might only reach six to eight feet, while vigorous types can easily climb twelve feet or more in Oregon’s favorable growing conditions.
Match your trellis height to your chosen variety, adding an extra foot or two for good measure since healthy clematis often exceed their expected dimensions.
Strength becomes critical in Oregon’s winter weather. Rain-soaked vines get heavy, and wind loads increase dramatically when foliage fills in completely.
Choose materials that can handle this weight without bending or pulling away from walls. Galvanized metal and rot-resistant cedar both outlast cheaper options and provide better long-term support.
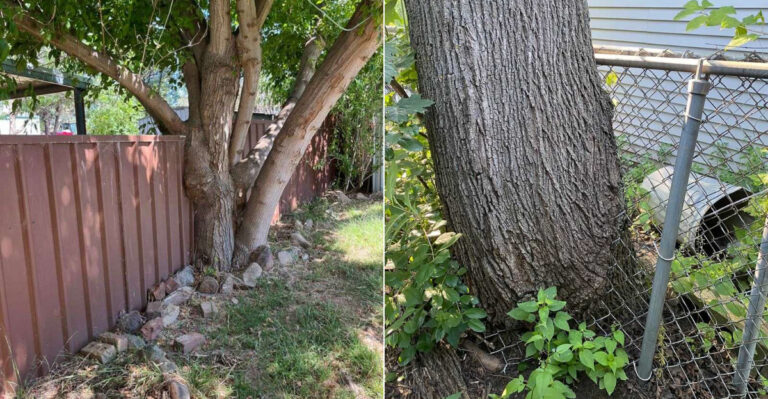
Consider how your trellis attaches to buildings or posts. Standoffs that hold the structure a few inches away from walls allow better air circulation, reducing disease problems common in Oregon’s damp climate.
This spacing also makes it easier to paint or maintain the surface behind your vine without disturbing established growth patterns.
3. Prepare The Soil And Base
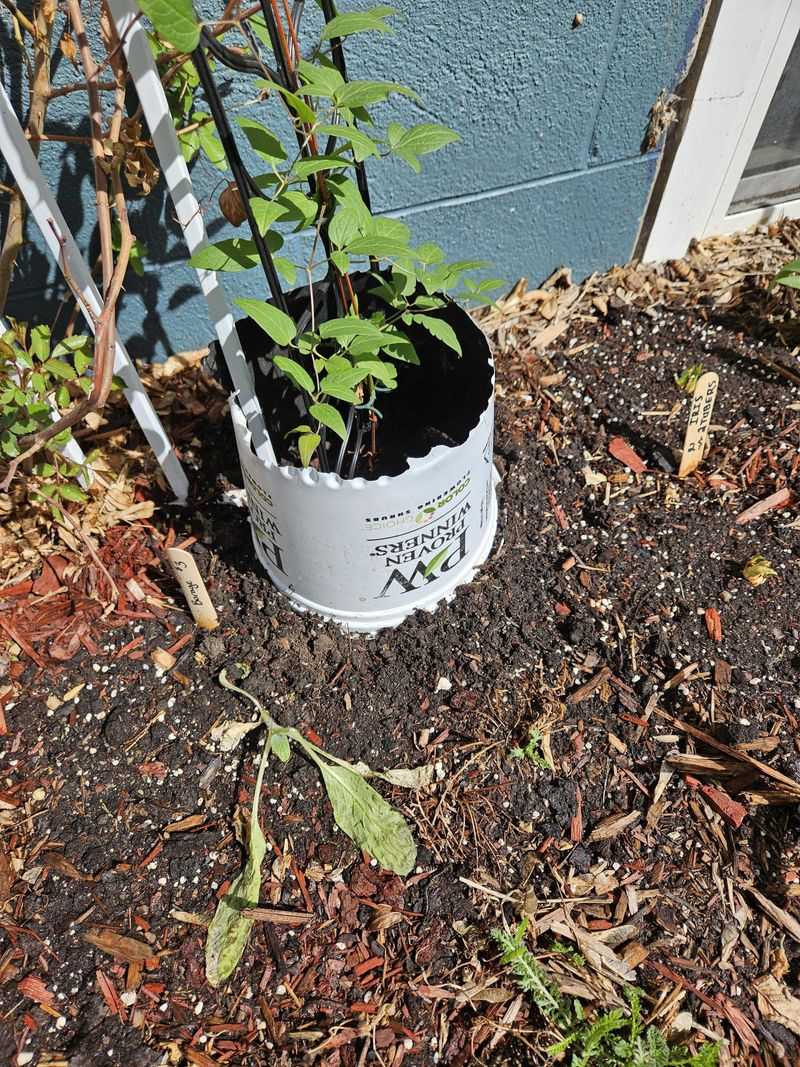
Clematis roots need specific conditions to support vigorous top growth and abundant blooms.
Start by testing your soil to understand what you’re working with, since Oregon soils vary considerably from clay-heavy types in the Willamette Valley to sandier compositions near the coast.
Your clematis prefers neutral to slightly alkaline conditions, so you might need to add lime if your soil tests acidic. Drainage ranks as the single most important factor for clematis root health.
These plants despise sitting in waterlogged soil, which becomes a real concern during Oregon’s rainy winters and springs. If your planting area holds water after storms, work in plenty of compost and consider creating a slightly raised bed to improve drainage naturally.
Dig your planting hole wider and deeper than you think necessary. A space roughly eighteen inches across and fifteen inches deep gives roots room to spread without hitting compacted soil.
Mix the soil you removed with compost, well-rotted manure, or other organic matter to improve both drainage and fertility. Add a layer of gravel or coarse sand at the bottom of your hole if drainage concerns you.
This extra step takes only a few minutes but prevents root rot problems that can kill even well-established vines.
Position your trellis base securely before planting, since driving posts or anchoring supports becomes much harder once your clematis gets established and you risk damaging tender roots.
4. Install The Trellis Before Growth Starts
Timing your trellis installation correctly saves you from accidentally damaging new growth. In most Oregon locations, late winter through very early spring provides the ideal window when clematis remains dormant but soil conditions allow you to work comfortably.
Coastal areas often stay workable all winter, while inland gardeners might need to wait until the ground thaws and dries slightly. Getting your trellis absolutely secure before planting prevents wobbly supports that stress vines and break stems.
Sink posts at least two feet deep, or deeper in loose soils that don’t provide much grip. Use concrete to anchor larger structures, letting it cure fully before attaching lattice or wire components.
Check that your trellis stands perfectly vertical using a level. Even slight tilts become obvious once vines fill in, and correcting the problem later means disturbing established roots and possibly breaking stems.
Take extra time during installation to get everything straight and properly aligned. Space your trellis slightly away from walls or fences when possible.
This gap improves air circulation around leaves and flowers, reducing fungal diseases that thrive in Oregon’s damp conditions.
Even two or three inches makes a noticeable difference in plant health and makes maintenance tasks like pruning much easier.
Test your trellis stability by applying firm pressure from different angles. If anything shifts or flexes significantly, reinforce it now before your clematis depends on that support.
A structure that seems solid in March can fail under the weight of summer growth and wind pressure.
5. Train Young Vines Gradually
Young clematis shoots grow surprisingly fast once warm weather arrives in Oregon, sometimes adding several inches in a single week during peak growing periods. Start training as soon as stems reach eight to ten inches long, gently guiding them toward your trellis rather than letting them wander across the ground or wrap around themselves.
Use soft materials for tying stems to supports. Garden twine, plant ties, or even strips of old t-shirts work better than wire or rigid fasteners that can cut into tender growth.
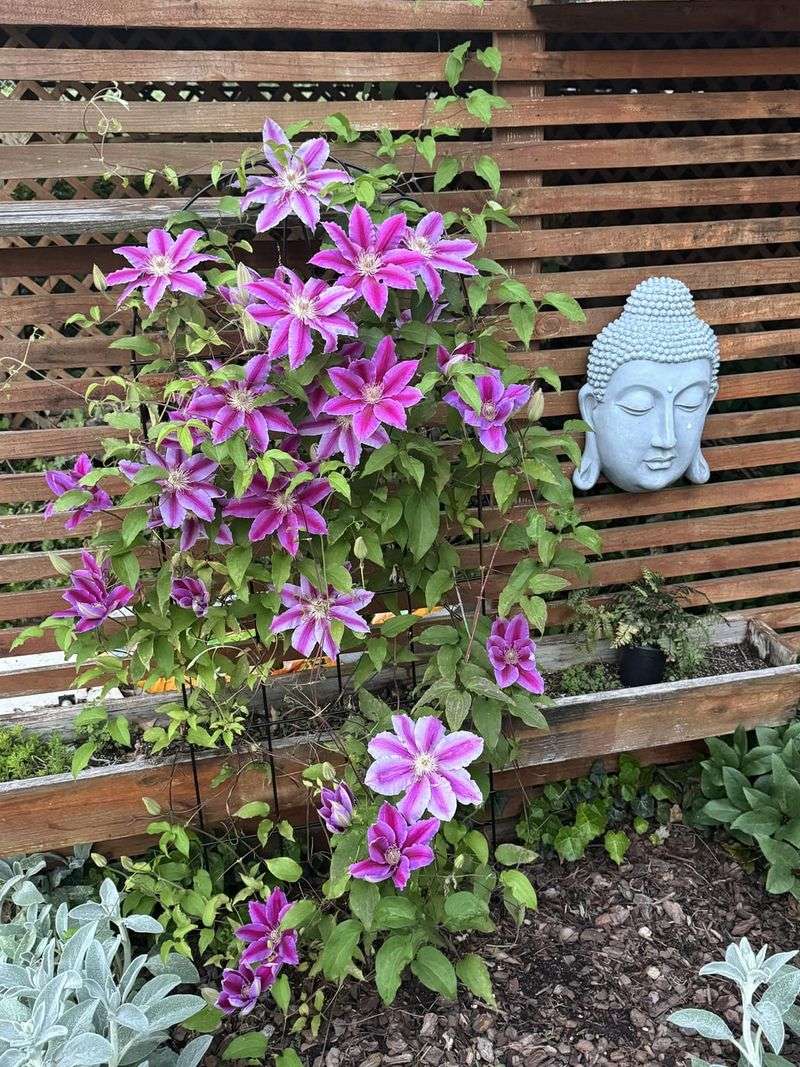
Tie loosely enough that stems can expand as they mature, checking every few weeks to loosen any ties that start looking tight. Spread stems across your trellis rather than letting everything climb straight up in a narrow column.
This horizontal training encourages more flowering shoots to develop along the entire length of each stem. In Oregon’s climate, well-spaced vines also dry faster after rain, reducing disease pressure from prolonged moisture on leaves.
Watch for stems that try to climb nearby plants or structures instead of your trellis. Redirect these wanderers promptly while they remain flexible, since older stems become woody and break easily when bent.
Some varieties show more determination to explore than others, requiring more frequent attention during their first season. Avoid forcing stems into unnatural positions or making sharp bends that kink the tissue inside.
If a shoot won’t reach your trellis easily, let it grow longer before training it, or provide a temporary stake that guides it in the right direction gradually.
6. Prune Based On Your Clematis Type
Understanding your clematis pruning group determines how you manage growth on your trellis throughout the season. Group 1 varieties bloom on old wood from the previous year, so they need minimal pruning beyond removing damaged stems.
These early bloomers perform beautifully in Oregon’s mild springs when trained carefully to preserve their flowering wood. Group 2 clematis produces flowers on both old and new wood, requiring a bit more attention.
Light pruning in late winter removes weak growth and shapes the plant, while deadheading spent blooms often encourages a second flush of flowers. Training these varieties involves spreading both old and new stems across your trellis to maximize bloom coverage.
Group 3 types bloom on new growth, so you can cut them back hard in late winter without sacrificing flowers. This aggressive pruning keeps plants manageable and prevents the bare, woody bases that sometimes develop on neglected vines.
Oregon’s long growing season gives Group 3 clematis plenty of time to regrow and bloom abundantly even after severe pruning. Keep records of which varieties you plant, since identifying pruning groups becomes difficult once tags disappear.
Take photos when plants bloom to help remember which type you have, or keep a simple garden journal noting bloom times and characteristics. Adjust your trellis training based on pruning needs.
Group 1 plants benefit from permanent training that you maintain year after year, while Group 3 varieties need flexible approaches since you’re starting fresh each spring with new growth.
7. Maintain Your Trellis
Regular trellis maintenance prevents small problems from becoming major headaches as your clematis grows. Walk around your plant every week or two during active growth, looking for loose ties, stems growing in wrong directions, or damage from wind and weather.
Quick adjustments take only minutes but keep your vine healthy and attractive. Check attachment points where your trellis connects to walls, posts, or other structures.
Oregon’s wet winters can loosen hardware, and summer heat sometimes causes wood to shrink and fasteners to work free. Tighten any loose screws or bolts before they allow enough movement to stress your vine.
Remove damaged or diseased stems promptly rather than letting problems spread. Withered leaves and broken stems not only look messy but can harbor pests and diseases that affect healthy growth.
This becomes particularly important in Oregon’s humid conditions where fungal issues spread quickly through dense foliage. Adjust ties as stems thicken throughout the season.
What fit perfectly in May might become constrictive by August, potentially girdling stems and restricting nutrient flow. Loosen or replace ties that look tight, and add new ones where growth needs additional support.
Monitor how weight distributes across your trellis as foliage fills in. Sometimes one section bears more load than others, potentially causing structural problems.
Redistribute growth by training stems to underutilized areas, or add supplemental supports if certain sections show signs of stress or sagging under the vine’s weight.