Easy Guide To Growing Mint In Plastic Bottles In Your Pennsylvania Home
Ever thought about growing fresh mint at home without needing a garden or fancy pots? In Pennsylvania, mint is one of the easiest herbs to grow, and using simple plastic bottles makes the process even more fun and practical.
This clever method saves space, reduces waste, and lets you enjoy fragrant, flavorful mint right from your kitchen or windowsill.
Mint grows quickly, adapts well to indoor conditions, and does not demand much attention once you set it up properly.
Many Pennsylvania home gardeners love this easy project because it is beginner friendly and perfect for small spaces. With just a little light, water, and care, your mint can stay lush, green, and ready for tea, cooking, or fresh aroma around the home.
Growing mint in plastic bottles turns a simple idea into a rewarding and refreshing indoor gardening experience.
1. Choosing The Right Plastic Bottles For Your Mint Garden
Picking the right bottle makes everything easier from the start. You want bottles that are clear or light-colored so sunlight can reach the roots and you can see how wet the soil is.
Two-liter soda bottles work best because they give mint plenty of room to spread out. Smaller bottles like the one-liter size can work too, but your mint won’t grow as big.
Make sure the plastic is clean and doesn’t have any weird smells left over. Pennsylvania tap water and dish soap will clean them just fine.
Rinse them really well so no soap stays inside because that could hurt your plant later. Check that the bottles don’t have cracks or weak spots that might leak water all over your counter.
Some people like using bottles with wider openings at the top because they’re easier to work with. The shape doesn’t matter as much as the size and cleanliness.
You can even decorate the outside with paint or stickers to make them look nicer in your Pennsylvania home, but keep the inside plain so nothing touches the plant.
Avoid bottles that held chemicals or cleaning products even if you wash them really well. Stick with bottles that had drinks or food in them originally.
Save a few extra bottles in case you want to grow more mint later or if one gets damaged. Having backups means you can start new plants whenever you feel like it without searching for more containers.
2. Preparing Your Bottles With Proper Drainage And Cutting
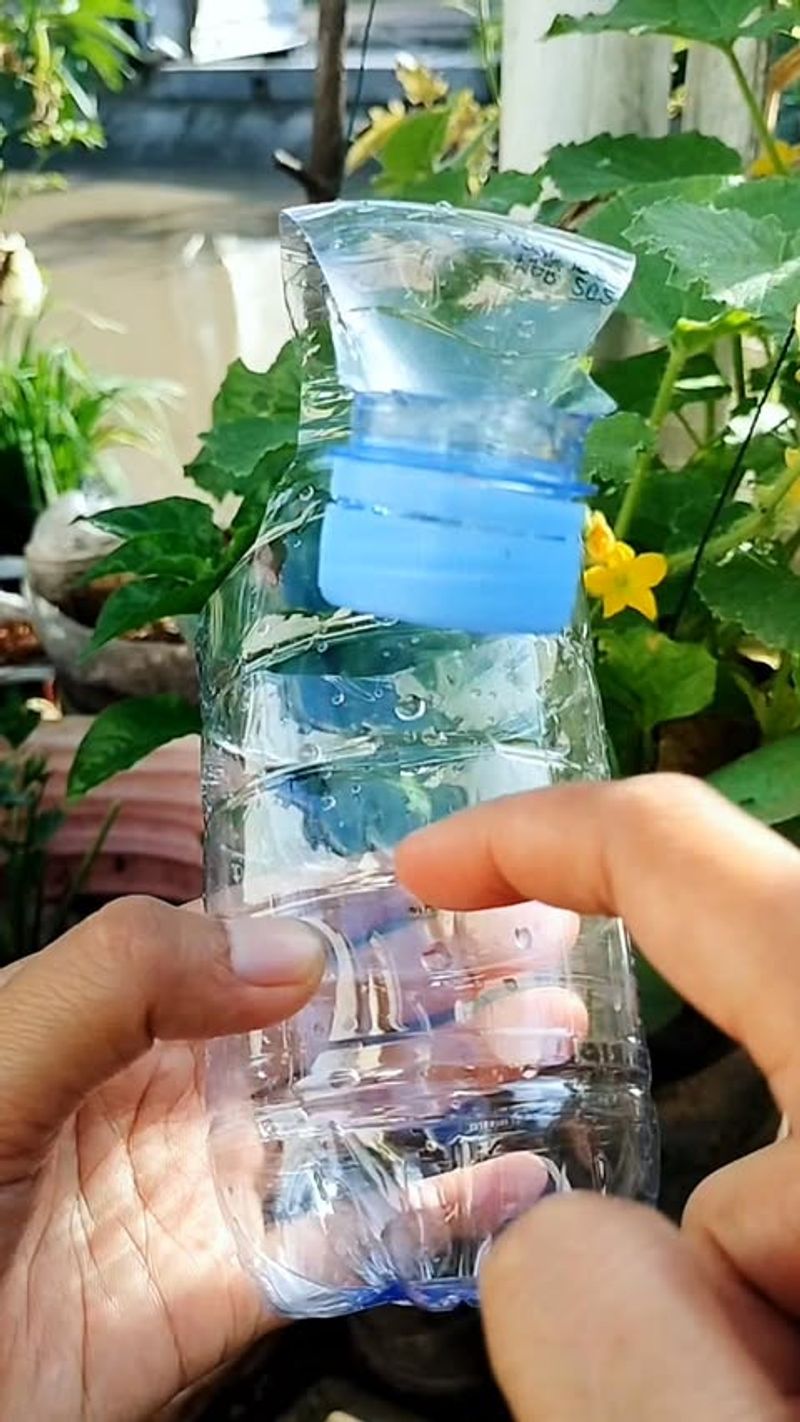
Getting your bottle ready is like setting up a home for your mint. First, you need to cut the bottle to make it work as a planter.
Take a sharp pair of scissors or a utility knife and cut the bottle about one-third from the top. The bottom part becomes your main planter and the top part can be used as a funnel for watering or even as a second small planter.
Drainage holes are super important because mint hates sitting in water that doesn’t drain. Use a nail, screwdriver, or even a hot metal skewer to poke four or five holes in the bottom of your bottle.
Make the holes big enough that water flows through but not so big that soil falls out. Pennsylvania homes can get humid, so good drainage stops root problems before they start.
The edges where you cut might be sharp and rough. Use sandpaper or just rub them with a nail file to smooth them down.
This keeps you from getting scratched when you’re working with your plants. Some people like to tape the edges with colorful duct tape for extra safety and decoration.
If you want to get fancy, you can cut windows in the sides of the bottle for extra air flow. Just make sure you leave enough plastic to keep the structure strong. Test your bottle by filling it with water to see if it drains well before adding any soil.
3. Selecting The Best Soil Mix For Healthy Mint Growth
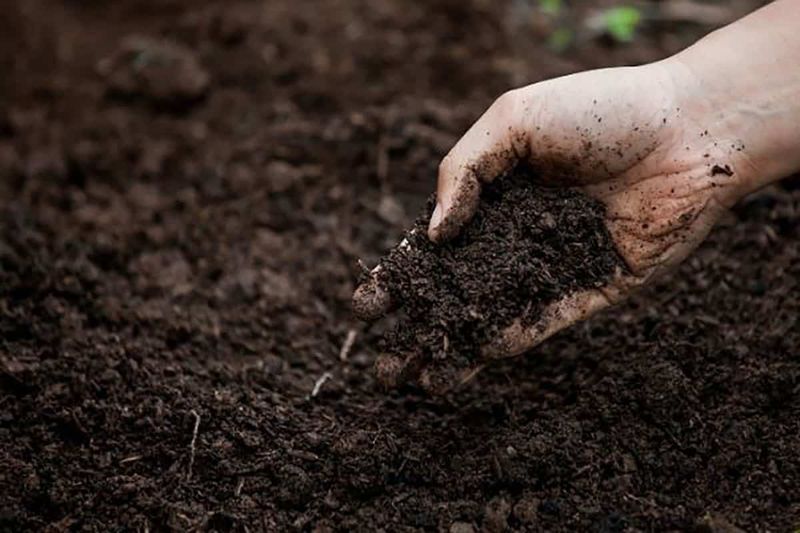
Soil might seem like just dirt, but the right mix makes mint grow like crazy. Regular garden soil from outside is too heavy and doesn’t drain well in bottles.
You want potting mix from a garden center, which is lighter and fluffier. Pennsylvania garden stores sell bags of potting soil that work perfectly for herbs like mint.
Mint likes soil that holds some moisture but doesn’t get soggy. A good mix is three parts potting soil to one part perlite or sand.
Perlite looks like tiny white rocks and helps water drain faster. You can find it at any garden center in Pennsylvania, usually near the potting soil. Mix everything in a bucket before putting it in your bottles so it’s evenly blended.
Some people add a little compost to give the mint extra nutrients. About one handful of compost per bottle is plenty.
Don’t use fertilizer right away because the potting mix already has food for the plant. Too much fertilizer actually hurts mint and makes it taste weird.
The soil should feel damp but not wet when you squeeze it in your hand. If water drips out, it’s too wet and you should add more dry mix.
Fill your bottle almost to the top, leaving about an inch of space. Pat the soil down gently but don’t pack it super tight because roots need air spaces to grow through.
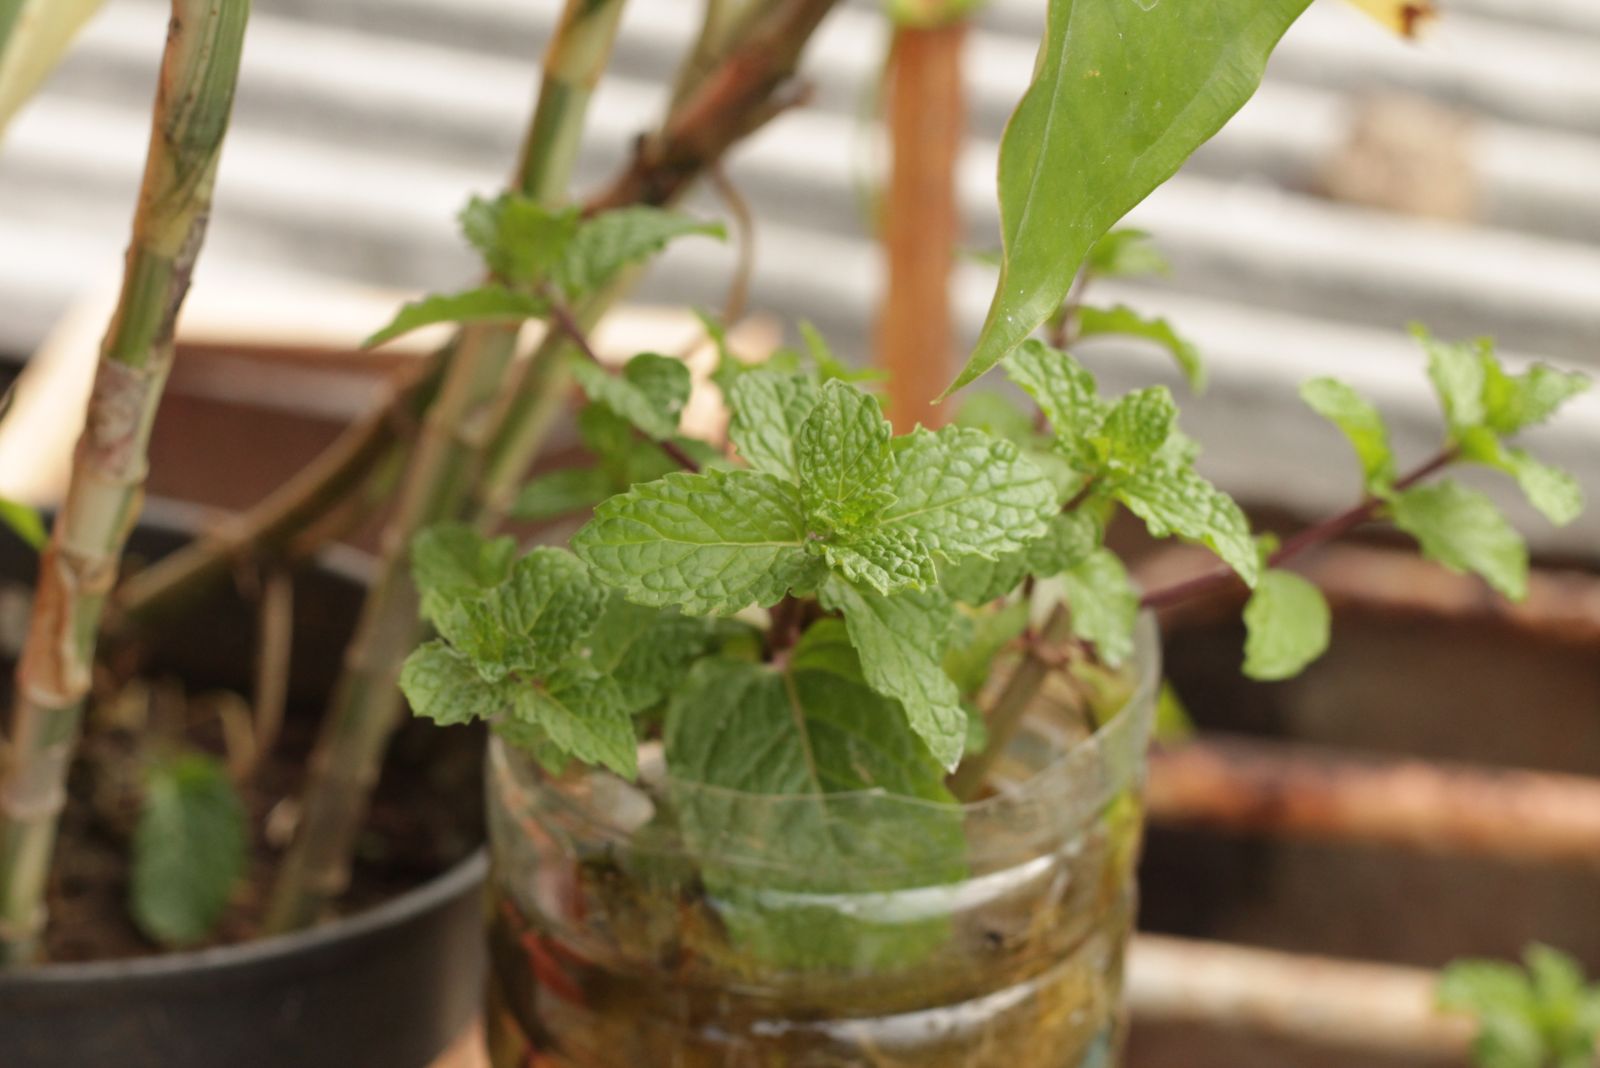
4. Planting Mint Cuttings Or Seeds In Your Bottle System
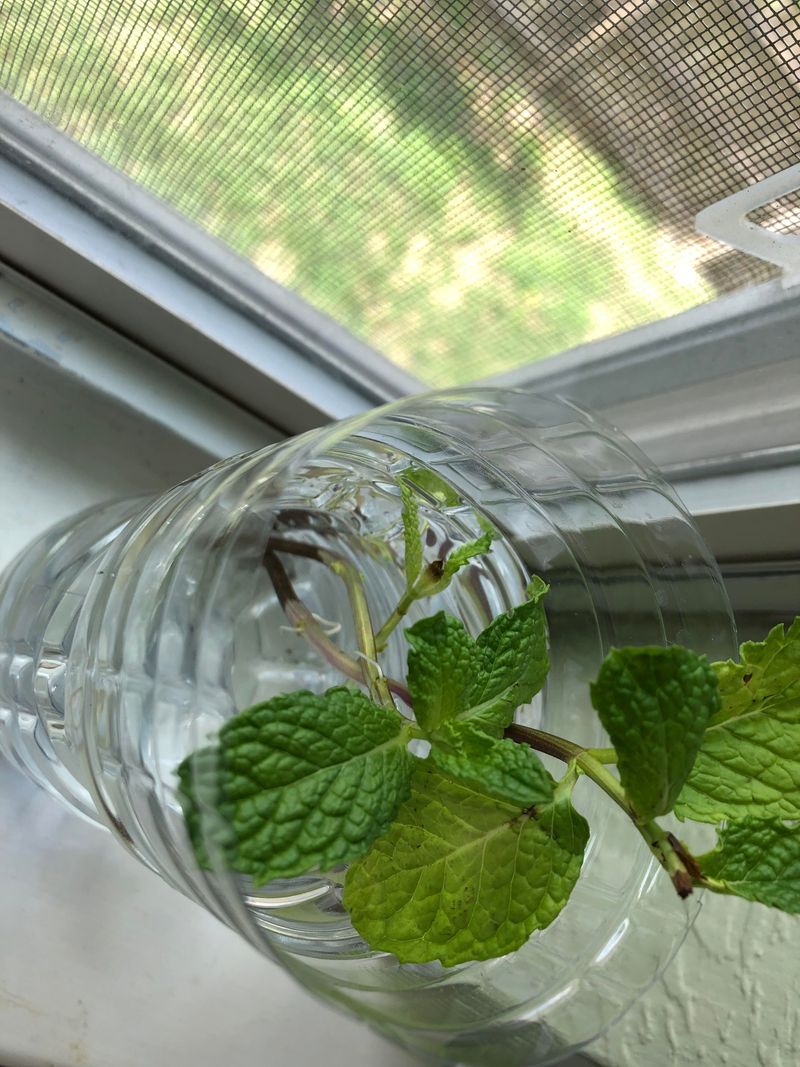
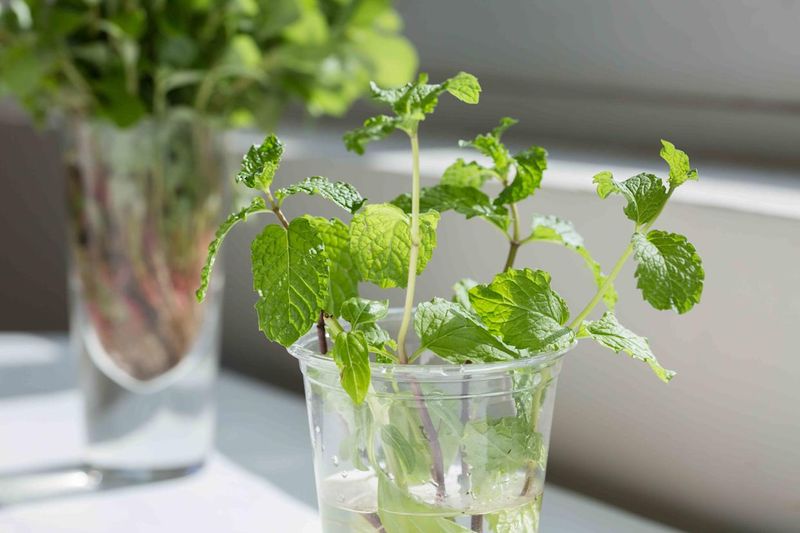
Starting your mint is easier than you might think. You have two choices: seeds or cuttings. Cuttings are faster and almost always work better. If you know someone in Pennsylvania who already grows mint, just ask for a stem cutting about four inches long.
Cut it right below where leaves attach to the stem because that’s where roots grow from. Pull off the bottom leaves so you have a bare stem to stick in the soil. Push the cutting about two inches deep into your prepared bottle and pat the soil around it firmly.
Water it right away so the soil settles around the stem. Cuttings usually start growing roots in about a week if you keep the soil moist.
Seeds take longer but they’re fun to watch grow from nothing. Sprinkle about five or six seeds on top of the soil and cover them with just a tiny bit more soil.
Mint seeds are super small, so don’t bury them deep. Mist the top with water from a spray bottle to keep it damp. You should see baby plants popping up in about ten to fifteen days.
Keep your newly planted bottle in a warm spot in your Pennsylvania home but not in direct hot sunlight yet. Young plants need gentle conditions at first.
Once you see new growth starting, you can move the bottle to a sunnier location. Only plant one mint cutting or keep the strongest seedling per bottle because mint needs space.
5. Providing Ideal Light And Water Conditions In Pennsylvania Homes
Mint is pretty easygoing but it does have preferences about light and water. Pennsylvania homes are perfect because we get good natural light without the extreme heat of southern states.
Put your mint bottles near a window that gets about four to six hours of sunlight each day. East or west-facing windows work best because the light isn’t too intense.
If your windows don’t get much sun, mint will still grow but slower and with smaller leaves. You can use a regular desk lamp with a daylight bulb to give it extra light.
Keep the lamp about six inches above the plant and leave it on for about ten hours a day. This trick works great during Pennsylvania winters when days are shorter and cloudier.
Watering is where most people mess up. Mint likes to stay consistently moist but not soaking wet.
Stick your finger about an inch into the soil every day. If it feels dry, add water until you see it dripping from the drainage holes.
If it still feels damp, wait another day. Pennsylvania homes with heating in winter can dry out plants faster, so check more often during cold months.
Room temperature water works fine. Really cold water can shock the roots, so let it sit out for a bit if it’s super cold from the tap.
Mint leaves will droop and look sad if they need water, but they bounce back quickly once you water them. Yellow leaves usually mean too much water, so let the soil dry out a bit more between waterings.
6. Harvesting And Maintaining Your Bottle Mint Garden
Watching your mint grow is exciting, but using it is even better. You can start picking leaves once your plant has at least six sets of leaves on each stem.
Never take more than one-third of the plant at once because it needs leaves to keep growing. Pinch or cut stems right above where two leaves meet because this makes the plant grow bushier instead of taller and scraggly.
Fresh mint is amazing in tea, lemonade, or even just ice water on hot Pennsylvania summer days. You can also dry the leaves by hanging stems upside down in a warm, dry spot for about a week.
Dried mint keeps for months in a jar and still tastes great. The more you harvest, the more your mint grows, so don’t be shy about using it.
Every few weeks, check your bottle for problems. Look under leaves for tiny bugs or weird spots.
If you see bugs, spray the plant with soapy water and rinse it off after a few hours. Remove any yellow or brown leaves because they won’t get better and they can attract problems.
Trim off any stems that are growing way taller than the others to keep the plant shaped nicely.
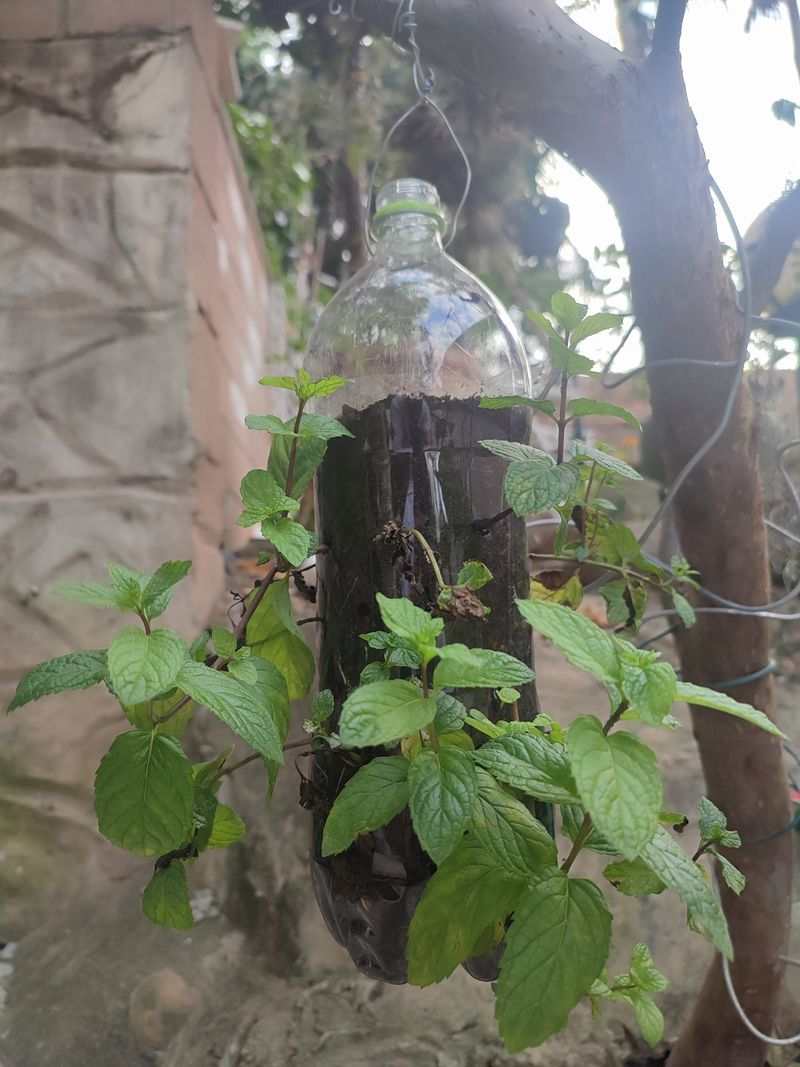
After about six months, your mint might need fresh soil because it uses up the nutrients. You can either move it to a new bottle with fresh soil or just add some compost on top.
Mint can grow for years in the same bottle if you take care of it. Pennsylvania’s climate is perfect for keeping mint alive indoors year-round, so you’ll have fresh herbs even when snow is falling outside.