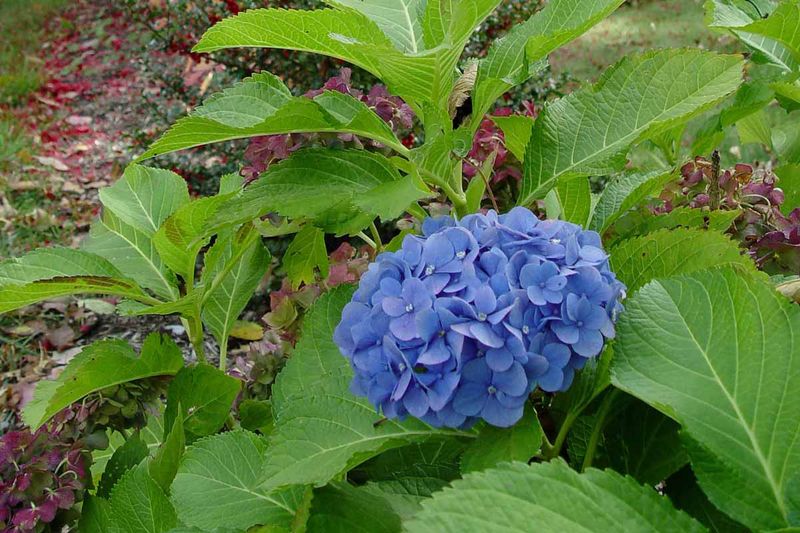
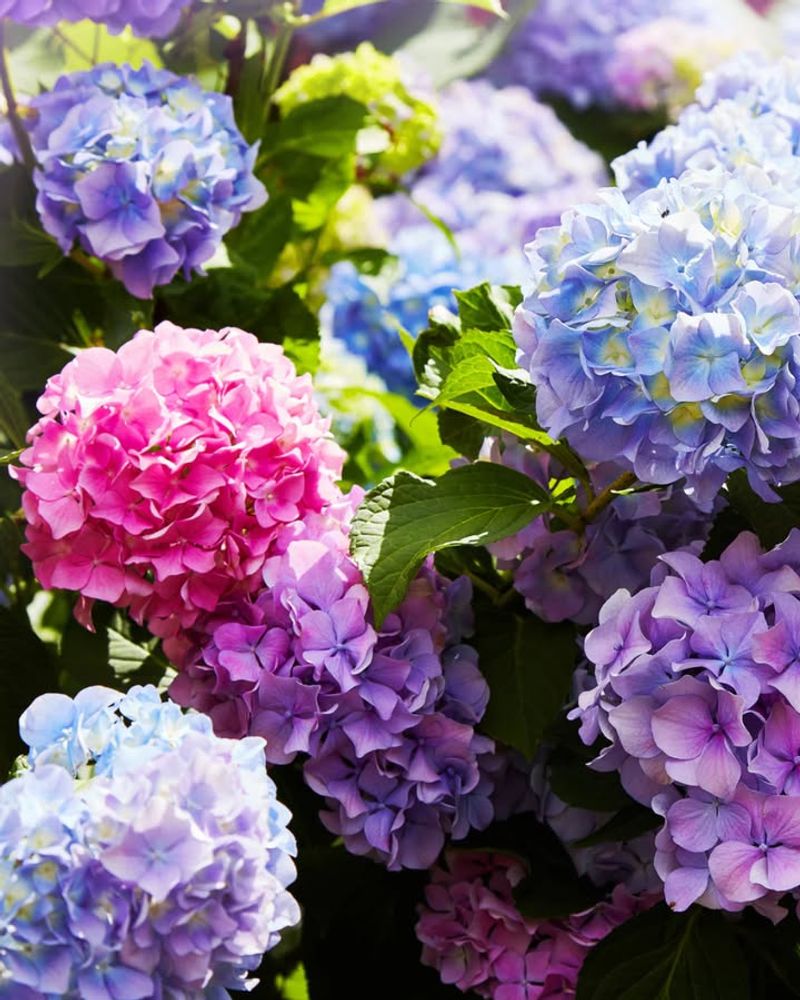
Common Hydrangea Problems Explained For North Carolina Gardeners
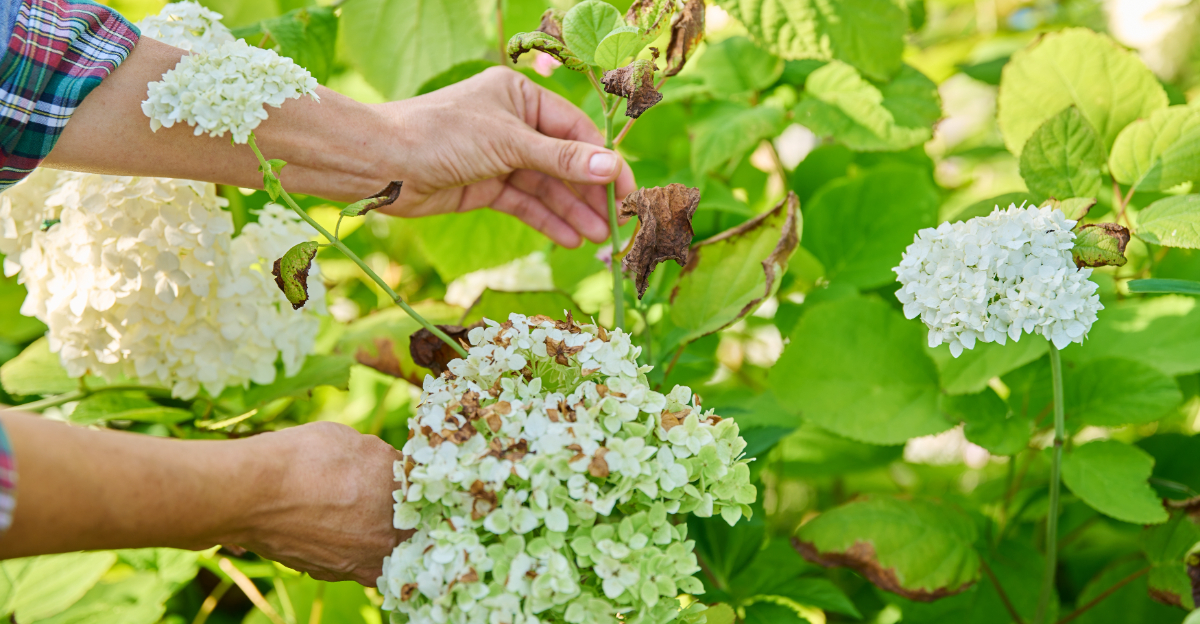
Few shrubs steal the spotlight like hydrangeas, and in North Carolina they can turn any yard into a burst of color when they are happy. But many gardeners know the frustration when those lush plants suddenly struggle.
Humid summers, changing soil conditions, and shifting temperatures from the coast to the mountains can trigger problems that leave leaves drooping, blooms fading, or spots appearing without warning.
Sometimes the issue is simple, other times it hides beneath the surface. The key is learning to read the signs early. When you understand what causes common hydrangea troubles and how to correct them, everything changes.
Plants grow stronger, flowers become fuller, and your garden begins to look the way you imagined. With the right care and a few smart fixes, hydrangeas can thrive beautifully across North Carolina, bringing reliable color and classic charm season after season.
1. Wilting Leaves From Drought Stress
Hydrangeas are thirsty plants that need consistent moisture to stay perky and healthy. When temperatures soar during North Carolina summers, these shrubs can quickly show signs of distress.
You’ll notice leaves drooping dramatically, especially during the hottest part of the afternoon.
The good news is that drought-stressed hydrangeas usually bounce back quickly once watered properly. Check soil moisture by sticking your finger two inches deep into the ground. If it feels dry, your plant needs a good drink right away.
During peak summer months, established hydrangeas typically need about one inch of water per week.
Newly planted shrubs require even more attention, sometimes needing water every other day. Morning watering works best because it allows foliage to dry before evening.
Adding a three-inch layer of mulch around your hydrangeas helps retain soil moisture and keeps roots cool. Pine bark or shredded leaves work wonderfully for this purpose. Keep mulch a few inches away from the main stems to prevent rot.
If your hydrangeas wilt regularly despite watering, consider relocating them to a spot with afternoon shade.
East-facing locations provide morning sun while protecting plants from intense afternoon heat. Consistent care prevents the stress that weakens plants over time and reduces their ability to produce those stunning blooms we all love.
2. Leaf Yellowing From Nutrient Deficiency
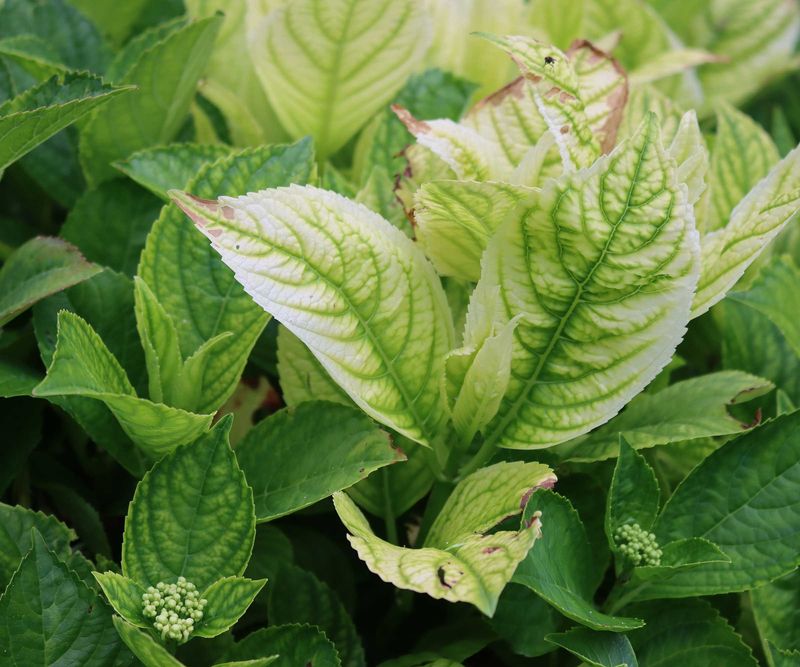
Yellow leaves on your hydrangeas often signal that something’s missing from their diet. North Carolina soils can be naturally low in certain nutrients, especially iron and nitrogen.
When hydrangeas can’t get what they need, their leaves lose that vibrant green color and turn pale or yellow.
Iron deficiency shows up as yellowing between leaf veins while the veins themselves stay green.
This condition, called chlorosis, happens more often in alkaline soils. Nitrogen deficiency causes older leaves to turn yellow first, starting from the bottom of the plant and working upward.
Getting a soil test from your local extension office is the smartest first step. These tests cost just a few dollars and tell you exactly what your soil needs. You’ll receive specific recommendations tailored to your garden’s unique chemistry.
For iron deficiency, applying chelated iron or sulfur helps lower pH and makes iron more available. Nitrogen-hungry plants benefit from balanced fertilizers applied in early spring and midsummer.
Organic options like compost or fish emulsion work beautifully and release nutrients slowly.
Avoid over-fertilizing, which can cause more problems than it solves. Too much fertilizer burns roots and encourages excessive leaf growth at the expense of flowers.
Follow package directions carefully and remember that more isn’t always better when feeding your plants.
3. Leaf Burn From Excess Sun
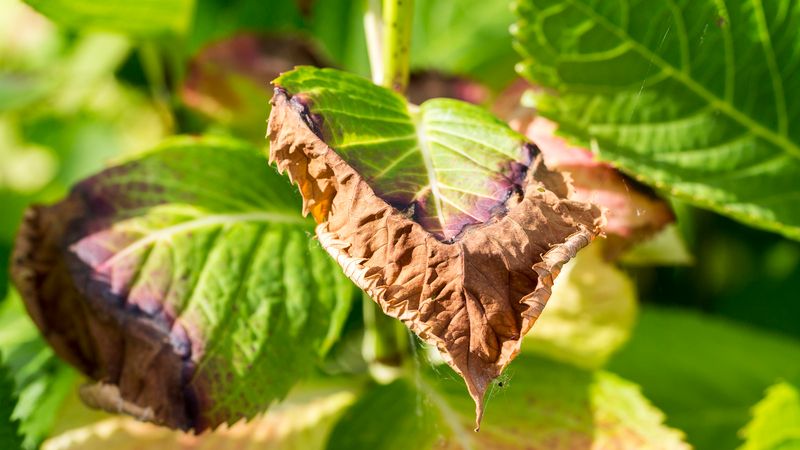
Hydrangeas love light, but too much of a good thing causes real problems. When these shade-appreciating shrubs get blasted by intense afternoon sun, their leaves develop brown, crispy edges. The damage looks like someone took a lighter to the leaf margins, and it’s not pretty.
Most hydrangea varieties prefer morning sun and afternoon shade, especially in North Carolina’s warm climate.
Six hours of direct sun might work fine up north, but here it’s often too intense. The combination of heat and bright light overwhelms the plant’s ability to keep leaves hydrated.
Leaf scorch appears first on the most exposed parts of the plant. You’ll see browning along leaf edges and tips, sometimes spreading inward. In severe cases, entire leaves turn brown and become papery.
Unfortunately, scorched leaves won’t recover and simply need to be removed. If your hydrangeas are planted in full sun, consider creating shade during the hottest part of the day.
Shade cloth provides temporary relief while young trees grow larger. Strategic planting near taller shrubs or structures offers natural protection from harsh afternoon rays.
When planning new hydrangea beds, choose locations that receive gentle morning light and dappled afternoon shade. East-facing spots work wonderfully, as do areas under high tree canopies.
Proper placement from the start prevents this frustrating problem and keeps your plants looking their absolute best throughout the growing season.
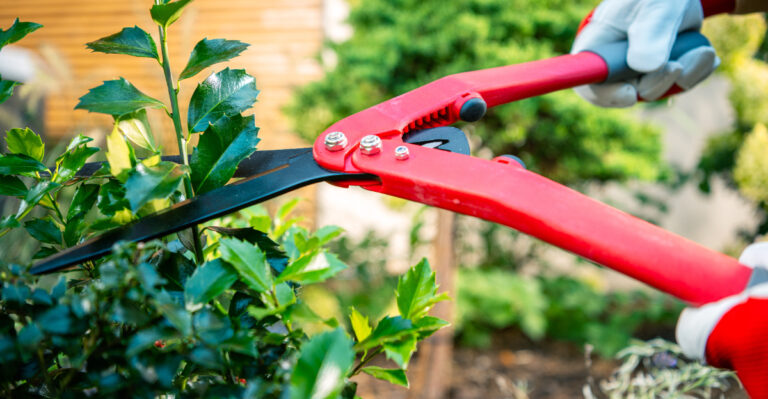
4. Poor Flowering From Improper Pruning
Nothing disappoints gardeners more than a hydrangea covered in leaves but lacking those gorgeous blooms.
Pruning mistakes rank as the top reason hydrangeas refuse to flower. The timing of your cuts makes all the difference between spectacular blooms and bare branches.
Understanding your hydrangea variety is absolutely essential before picking up those pruners.
Bigleaf hydrangeas and oakleaf types bloom on old wood, meaning they set flower buds the previous summer. Pruning these varieties in fall, winter, or early spring removes next year’s flowers completely.
Smooth hydrangeas and panicle types bloom on new wood, producing flowers on current-season growth. These varieties can be pruned in late winter or early spring without sacrificing blooms. Knowing which type you have prevents heartbreaking pruning errors.
If you’re unsure about your hydrangea variety, wait until after flowering to prune. This safe approach works for all types and ensures you won’t accidentally remove flower buds. Simply trim spent blooms and shape the plant lightly after the show ends.
Reblooming varieties like Endless Summer offer more forgiveness because they flower on both old and new wood.
Even if you prune at the wrong time, you’ll still get some blooms. However, proper timing maximizes flower production and creates the most spectacular display your garden can achieve.
5. Root Rot From Overwatering

While hydrangeas need plenty of water, too much creates a dangerous situation underground.
Roots sitting in constantly soggy soil can’t breathe properly and become vulnerable to fungal diseases. Root rot develops silently beneath the surface before you notice problems above ground.
Early symptoms include wilting leaves even when soil is wet, yellowing foliage, and stunted growth. Plants with root rot often look similar to drought-stressed plants, which confuses many gardeners. The key difference is that soil remains consistently damp or muddy.
North Carolina’s clay soils hold water longer than sandy soils, increasing rot risk. Heavy rains combined with poor drainage create perfect conditions for fungal pathogens. Once root rot establishes itself, saving the plant becomes extremely difficult and sometimes impossible.
Prevention beats treatment every single time with this problem. Plant hydrangeas in well-draining soil amended with compost or pine bark. Avoid low spots where water collects after storms.
Raised beds work beautifully in areas with heavy clay or poor natural drainage. Water deeply but infrequently rather than giving small amounts daily.
This encourages roots to grow deeper and become more resilient. Allow the top inch of soil to dry slightly between waterings.
Installing proper drainage before planting saves you from watching your beautiful hydrangeas slowly decline from this preventable condition.
6. Powdery Mildew On Leaves
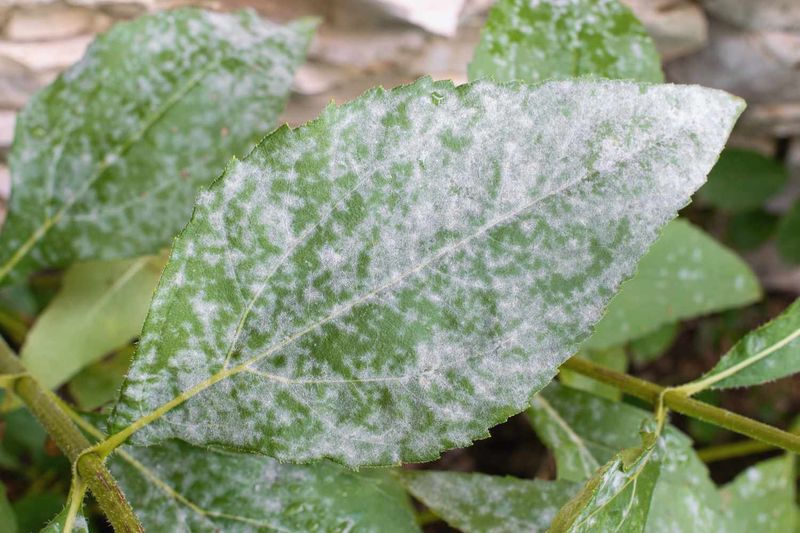
That white dusty coating on your hydrangea leaves isn’t dirt or pollen. Powdery mildew is a fungal disease that thrives in North Carolina’s humid summers.
It looks exactly like someone sprinkled baby powder across the foliage, and it spreads quickly when conditions are right.
Unlike many fungal diseases, powdery mildew doesn’t need wet leaves to develop. It actually prefers dry foliage combined with high humidity, making it particularly troublesome during our muggy summers.
Crowded plants with poor air circulation suffer most from this opportunistic fungus. While powdery mildew rarely causes serious harm, it’s unsightly and can weaken plants over time. Infected leaves may curl, yellow, or drop prematurely.
Heavy infections reduce the plant’s ability to photosynthesize effectively and produce energy for next year’s blooms.
Good cultural practices prevent most mildew problems without chemical treatments. Space plants adequately to allow air movement through branches. Water at the base rather than overhead to keep foliage dry.
Remove infected leaves promptly and dispose of them in the trash, not your compost pile. Several hydrangea varieties show excellent mildew resistance, including many panicle types and newer bigleaf cultivars.
When shopping for new plants, look for varieties specifically bred for disease resistance. Organic treatments like neem oil or baking soda sprays can help manage existing infections without harsh chemicals.
7. Aphid Infestation
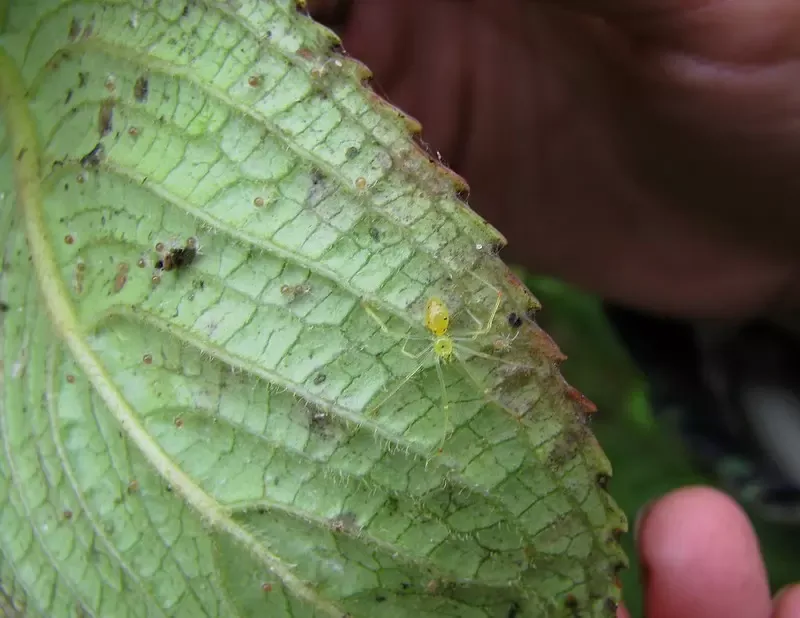
Those tiny pear-shaped bugs clustering on your hydrangea’s new growth are aphids, and they’re more than just creepy.
These soft-bodied insects pierce plant tissue and suck out nutritious sap. Large populations can cause leaves to curl, yellow, or become distorted as they grow.
Aphids reproduce incredibly fast, with females giving birth to live young without even mating.
A small problem can explode into a major infestation within days. They also secrete sticky honeydew that coats leaves and encourages black sooty mold growth, making plants look dirty and unhealthy.
The good news is that aphids are among the easiest pests to control. A strong spray from your garden hose knocks them off plants, and most won’t climb back up. Repeat this treatment every few days until populations decrease significantly.
Beneficial insects like ladybugs and lacewings absolutely love eating aphids. Avoid using broad-spectrum pesticides that harm these helpful predators. Instead, encourage beneficial insects by planting flowers like alyssum, yarrow, and dill nearby.
These garden allies provide free, natural pest control. For stubborn infestations, insecticidal soap or neem oil works effectively without harming most beneficial insects.
Spray thoroughly, coating both tops and bottoms of leaves where aphids hide. Early morning or evening applications prevent leaf burn and give treatments time to work before beneficial insects become active during the day.
8. Spider Mite Damage

Spider mites are nearly invisible troublemakers that cause visible damage. These microscopic pests are actually related to spiders rather than insects. They thrive in hot, dry conditions and can quickly turn healthy green leaves into stippled, bronze-colored messes.
Look closely at affected leaves and you’ll see tiny yellow or white dots where mites have sucked out cell contents.
In severe infestations, fine webbing appears on leaf undersides and between stems. Leaves may eventually turn completely yellow or brown and drop off prematurely.
North Carolina’s hot summer weather creates ideal conditions for spider mite explosions. Drought-stressed plants are particularly vulnerable because mites reproduce faster when humidity is low.
One female can lay hundreds of eggs in her short lifetime, creating multiple generations within weeks.
Regular inspection is your best defense against these sneaky pests. Check leaf undersides weekly during summer, especially during dry spells. Early detection makes control much easier before populations explode.
A magnifying glass helps you spot these tiny troublemakers before damage becomes severe.
Increasing humidity around plants discourages mite activity. Regular hosing of leaf undersides disrupts their lifecycle and washes away many mites. Insecticidal soap or horticultural oil sprays smother mites effectively when applied thoroughly.
Avoid using harsh pesticides that eliminate beneficial predatory mites that naturally keep spider mites in check throughout your garden.
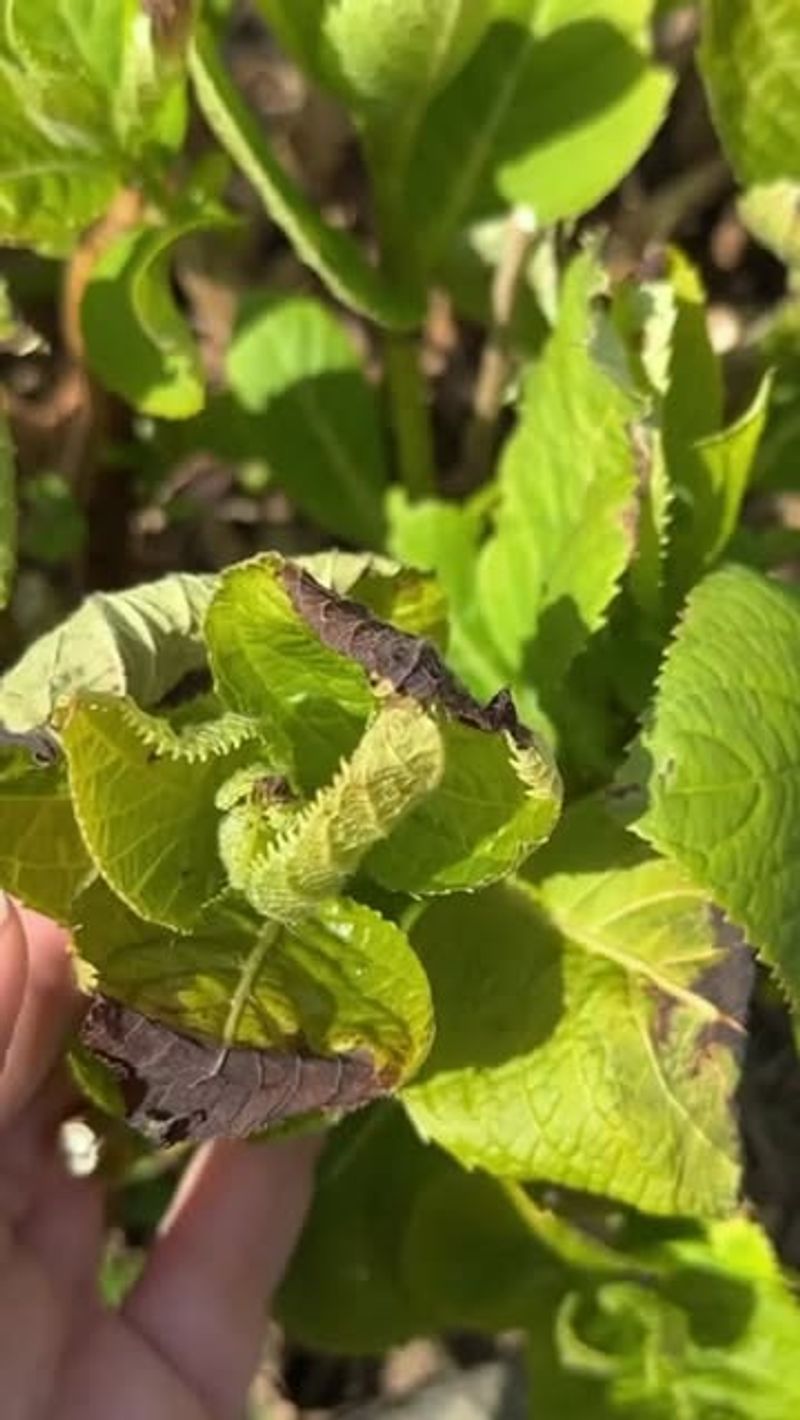
9. Leaf Curl From Environmental Stress
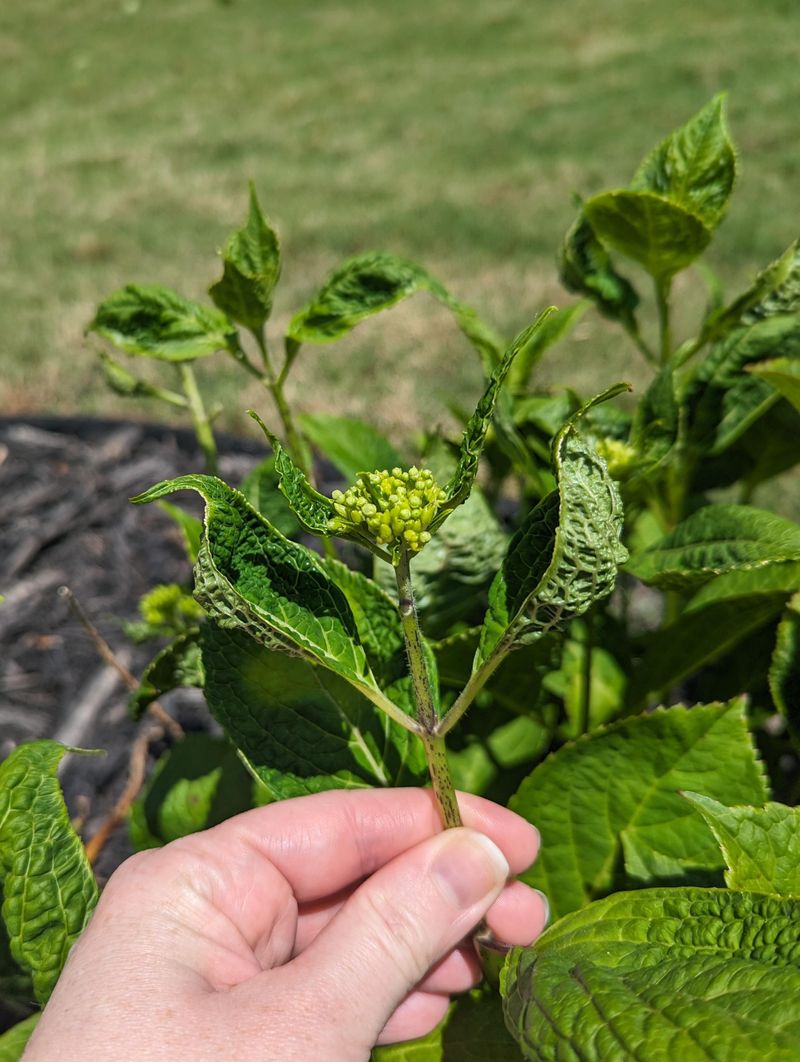
Curled, twisted leaves on hydrangeas often puzzle gardeners because the cause isn’t always obvious.
Environmental stress triggers this protective response as plants try to reduce water loss. Temperature swings, drought, or sudden weather changes all contribute to this frustrating problem.
When temperatures fluctuate wildly between day and night, hydrangeas sometimes struggle to adjust.
Spring brings particular challenges as warm days encourage new growth that’s vulnerable to cold nights. Leaves may curl or pucker as cells expand unevenly in response to these stressful conditions.
Inconsistent watering also causes leaf curling as plants try to conserve moisture. When soil dries out and then gets soaked repeatedly, roots can’t establish a steady water supply.
This roller coaster stresses plants and leads to distorted growth patterns that affect overall appearance.
Maintaining even soil moisture helps prevent stress-related curling. Apply mulch to buffer temperature extremes and reduce moisture fluctuations. During unpredictable spring weather, be prepared to cover tender new growth if late freezes threaten.
Row covers or old sheets work perfectly for this purpose. Once leaves curl, they usually won’t flatten out again.
The good news is that new growth typically emerges normally once conditions stabilize. Focus on creating consistent growing conditions rather than trying to fix already-affected foliage.
Proper site selection with afternoon shade and wind protection minimizes environmental stress throughout the growing season.
10. Flower Color Variation From Soil pH
Hydrangea flowers changing color might seem like magic, but it’s actually chemistry in action.
Soil pH determines flower color in bigleaf and mountain hydrangeas, creating a natural color palette that shifts based on aluminum availability. This fascinating phenomenon lets you potentially influence bloom colors through soil amendments.
Acidic soils with pH below 6.0 produce blue flowers because aluminum becomes available for plant uptake.
Alkaline or neutral soils with pH above 6.5 result in pink blooms since aluminum remains locked up. White hydrangeas and most panicle varieties don’t change color regardless of pH levels.
North Carolina soils tend toward acidity naturally, especially in mountain regions where pine trees thrive.
Coastal areas sometimes have more neutral soils. Testing your soil reveals its current pH and helps you understand why your hydrangeas bloom in certain colors.
Changing flower color takes patience and consistent effort. To encourage blue blooms, apply aluminum sulfate or sulfur to lower pH gradually. For pink flowers, add lime to raise pH toward neutral.
Changes won’t happen overnight since it takes time for soil amendments to work. Some gardeners embrace whatever color their soil naturally produces rather than fighting chemistry.
This approach saves time and money while working with your garden’s unique conditions. Remember that soil pH also affects nutrient availability, so dramatic changes might create other problems if not done carefully and thoughtfully.
11. Bud Drop From Late Frost
Few things frustrate hydrangea lovers more than losing flower buds to late spring frosts. North Carolina’s unpredictable spring weather creates risky conditions, especially in mountain areas where freezing temperatures can strike well into April.
Those swollen buds that promised beautiful blooms suddenly turn brown and refuse to open.
Bigleaf hydrangeas are particularly vulnerable because they set buds the previous summer. A single cold snap can wipe out an entire season’s flower display.
The buds themselves are more tender than the woody stems and suffer damage at temperatures that don’t harm other plant parts.
Mountain gardeners face the greatest frost risk, but even Piedmont areas occasionally experience damaging late freezes.
Weather forecasts become essential reading during spring when buds are swelling. Paying attention to frost warnings gives you time to protect vulnerable plants before temperatures drop.
When frost threatens, cover hydrangeas with frost cloth, old sheets, or even large cardboard boxes. Remove coverings once temperatures rise above freezing. This simple protection can save your flower display.
Avoid using plastic directly on plants since it conducts cold and can cause more damage. Choosing reblooming varieties or those that flower on new wood provides insurance against frost damage.
If old-wood bloomers lose their buds, they won’t flower that year. New-wood bloomers simply produce buds later on fresh growth, ensuring you still get flowers despite spring’s unpredictable nature.
12. Deer Browsing
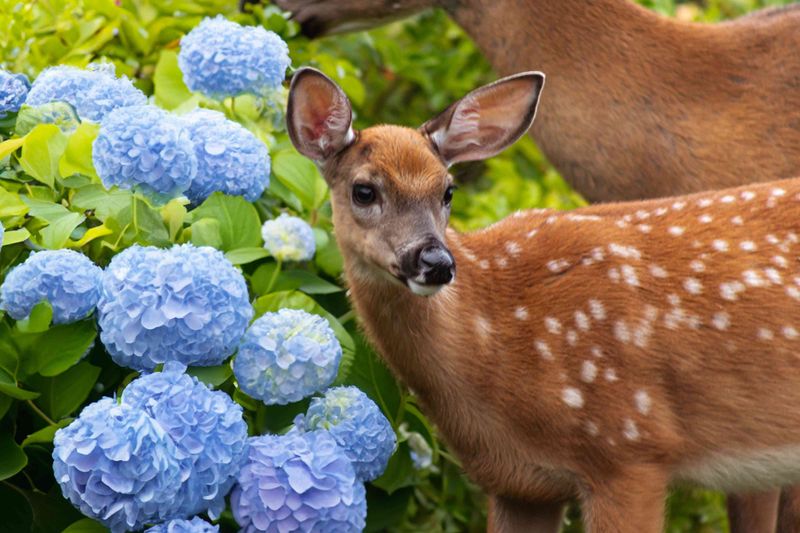
Deer find hydrangeas absolutely delicious, which creates problems for gardeners who love these shrubs.
These graceful browsers can strip plants overnight, munching tender leaves, shoots, and flower buds. In areas with high deer populations, growing hydrangeas successfully requires creative strategies and persistent effort.
Young plants suffer most from deer damage since they lack the size to recover quickly from browsing.
Established shrubs usually survive being nibbled but may lose their blooms for the season. Deer particularly target new spring growth when other food sources are scarce after winter.
Physical barriers work best for protecting hydrangeas from hungry deer. Fencing at least eight feet tall keeps deer out reliably, though it’s not always practical or attractive.
Individual plant cages made from wire mesh protect specific shrubs without enclosing your entire garden. Remove cages once plants grow large enough to withstand some browsing.
Repellents provide temporary protection but need frequent reapplication, especially after rain. Products containing putrefied eggs or hot pepper work reasonably well. Rotate different repellent types since deer eventually become accustomed to smells and tastes.
Motion-activated sprinklers startle deer and teach them to avoid your garden. Planting deer-resistant companions around hydrangeas sometimes helps by creating an unappetizing buffer.
Strongly scented herbs, thorny roses, or fuzzy-leaved plants might discourage browsing. However, truly hungry deer will eat almost anything, so combining multiple strategies gives you the best chance of keeping your hydrangeas intact and beautiful.