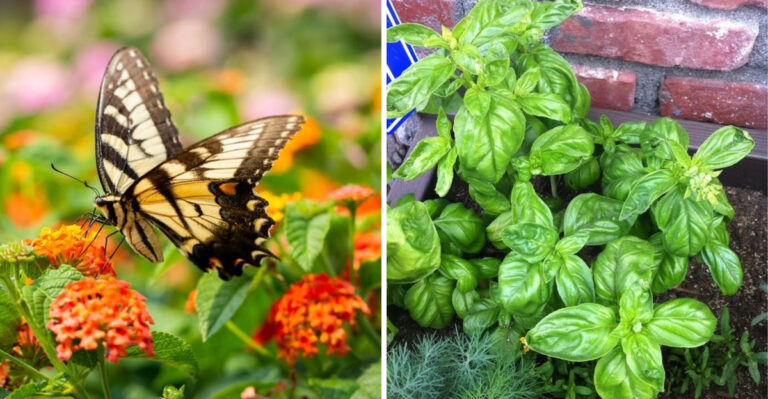
When To Dig And Divide Hostas In Georgia Before Spring Growth Begins
Hostas may look easygoing, but dividing them at the wrong time can set them back for an entire season. In Georgia, where winters are mild and spring can arrive quickly, the window for success is smaller than many gardeners realize.
Move too soon or wait too long, and those lush leaves you love may struggle to bounce back.
Crowded clumps lose vigor, produce smaller leaves, and compete for nutrients beneath the soil. Dividing at the right moment restores airflow, improves growth, and gives each section room to thrive before the growing season takes off.
The key is understanding exactly when conditions are right in Georgia and how to make the move without stressing the plant. Get it right, and your hostas return fuller, stronger, and ready for a standout spring display.
1. Late February Through Early March Is The Ideal Window
Georgia gardeners have a sweet spot for dividing hostas that other regions don’t always enjoy. Our winters are mild enough that the ground rarely freezes solid, but we still get enough cold weather to send hostas into proper dormancy.
Late February through early March hits that perfect balance where the soil has warmed just enough to work with, but the plants haven’t started their spring push yet.
Check the weather forecast before you plan your dividing day. You want temperatures consistently above freezing at night, ideally in the 40s or low 50s during the day.
The soil should be moist but not waterlogged from winter rains. If we’ve had a particularly wet February in Georgia, wait a few days after the last rain so you’re not working in mud.
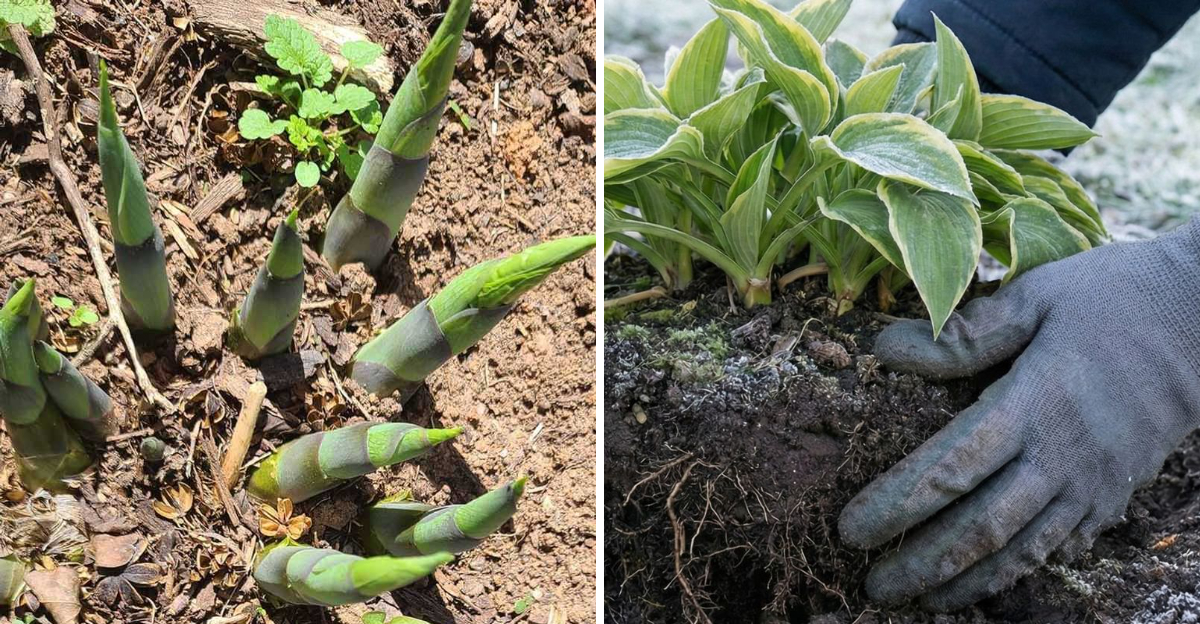
Look at your hostas themselves for clues. The crowns should still be completely dormant with no visible shoots poking through the mulch or soil surface.
Once you see those pointy green tips emerging, you’ve waited too long for the easiest division. The plants are already putting energy into new growth, and disturbing them now will set them back.
North Georgia gardeners might need to wait until early March if you’re in the mountains where spring comes later. South Georgia and coastal areas can often start in mid to late February.
Your local frost date is a good guide, aim to divide about three to four weeks before your average last frost.
2. Watch For Emerging Shoots Before Disturbing The Soil
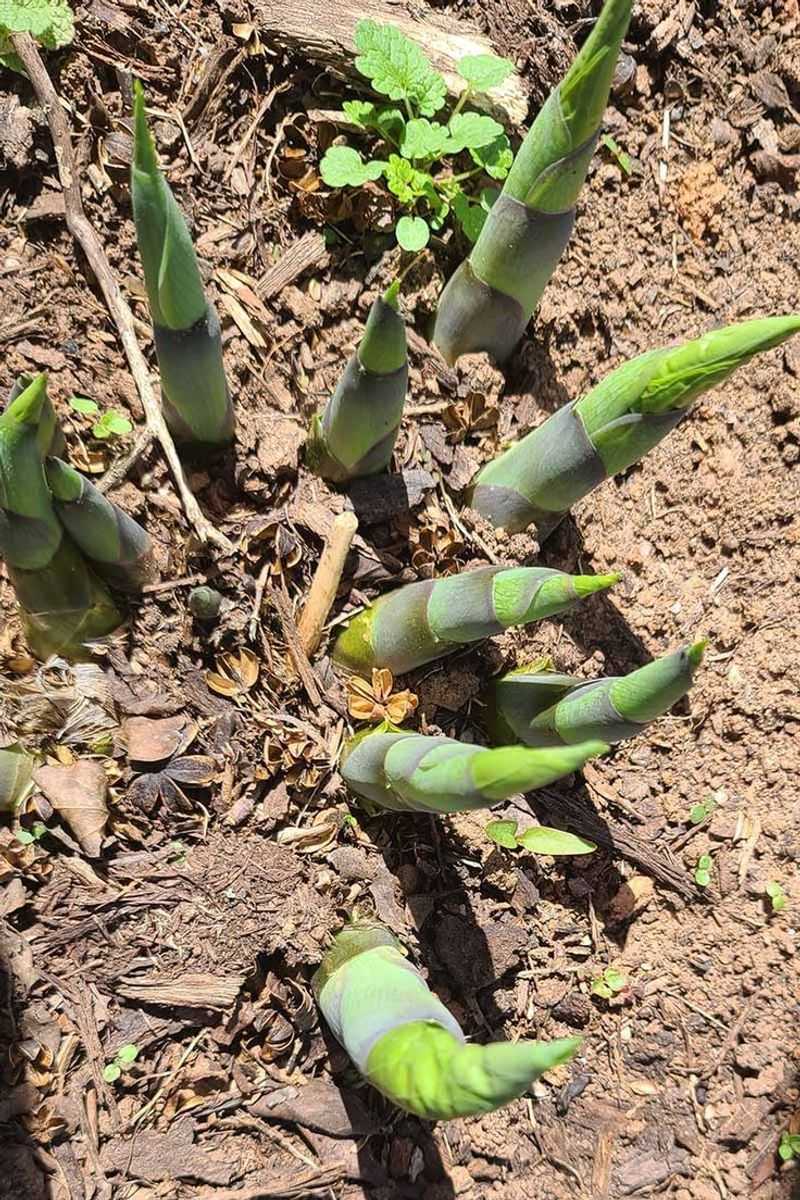
Timing your division based on shoot emergence can make the difference between plants that bounce back quickly and ones that sulk for half the season.
Hostas send up their first shoots when soil temperatures hit certain triggers, and in Georgia, that can happen earlier than you think.
One warm week in late February can wake up your plants, especially if they’re in a sunny spot or near a south-facing wall.
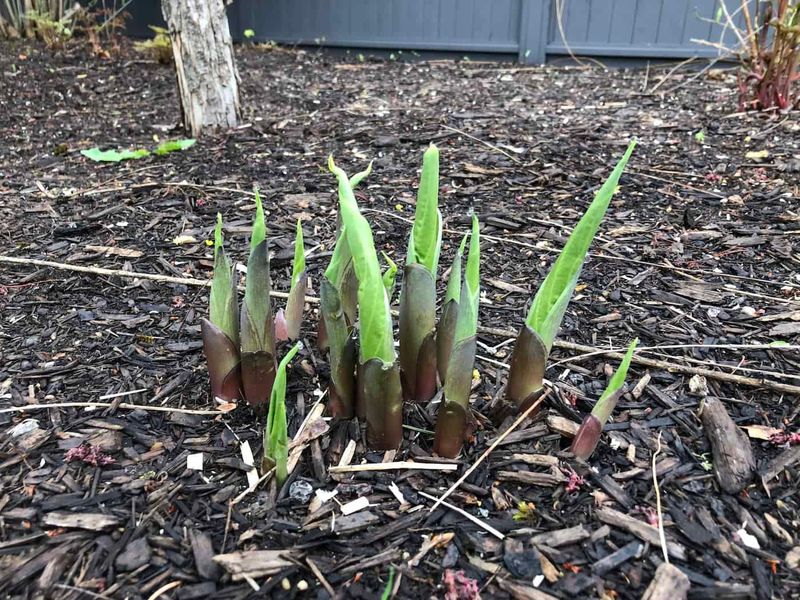
Pull back the mulch around your hosta clumps every few days starting in mid-February. You’re looking for those characteristic pointy shoots that look like tightly rolled cigars pushing up from the crown.
If you don’t see anything yet, that’s your green light to proceed with division. If you spot shoots that are less than an inch tall, you can still divide, but work extra carefully not to break them off.
Once shoots reach two or three inches and start unfurling their first leaves, it’s better to wait until fall for division. At this stage, the plant has already committed significant energy to that new growth.
Digging it up now forces it to restart that process, which wastes resources and delays the full leafing out. Your hosta will survive, but it won’t look its best this season.
Different hosta varieties wake up at different times, even in the same Georgia garden. Early risers like ‘Sum and Substance’ often shoot up before smaller varieties.
Check each clump individually rather than assuming they’re all on the same schedule.
3. Get Your Tools And Garden Beds Ready
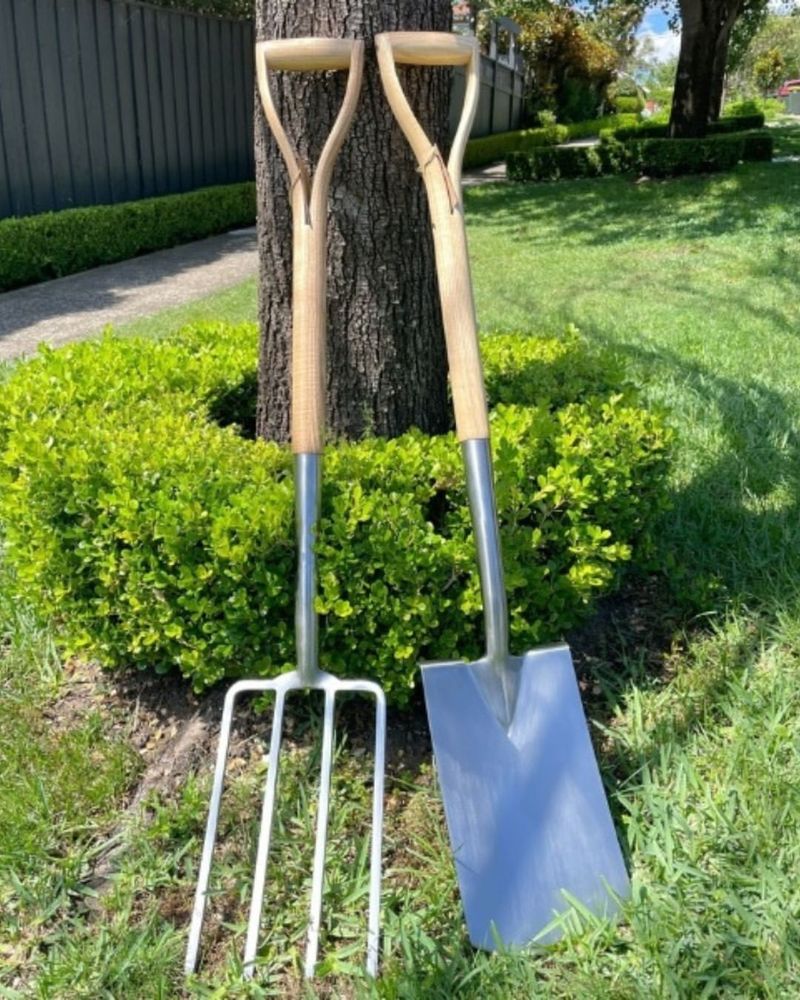
Sharp tools make hosta division so much easier and reduce damage to the plants. A dull shovel tears through roots instead of cutting cleanly, which creates ragged wounds that take longer to heal.
Before you start digging, sharpen your spade with a file or have it professionally sharpened. You’ll also want a sturdy garden fork for loosening soil around the clump and a sharp knife or old bread knife for cutting through tough crowns.
Prepare your new planting locations before you dig up any hostas. Georgia’s clay soil needs amendment in most areas, so work in several inches of compost or aged pine bark to improve drainage and add organic matter.
Hostas appreciate soil that holds moisture without staying soggy, which can be tricky in our heavy clay. If you’re working with sandy soil in coastal Georgia, add extra compost to help retain water during our hot summers.
Have a tarp or large piece of cardboard ready to place your divided hostas on while you work. This keeps the roots from drying out and makes it easier to see what you’re doing when you separate the clumps.
A bucket of water nearby is helpful too, you can dip the roots if they start looking dry while you’re preparing the new holes.
Consider the mature size of your hostas when spacing the new divisions. Small varieties need about 12 inches between plants, medium ones need 18 to 24 inches, and large hostas should be spaced 30 to 36 inches apart.
Georgia’s long growing season means they’ll fill in faster than in northern climates.
4. Lift Each Clump Carefully To Protect Roots
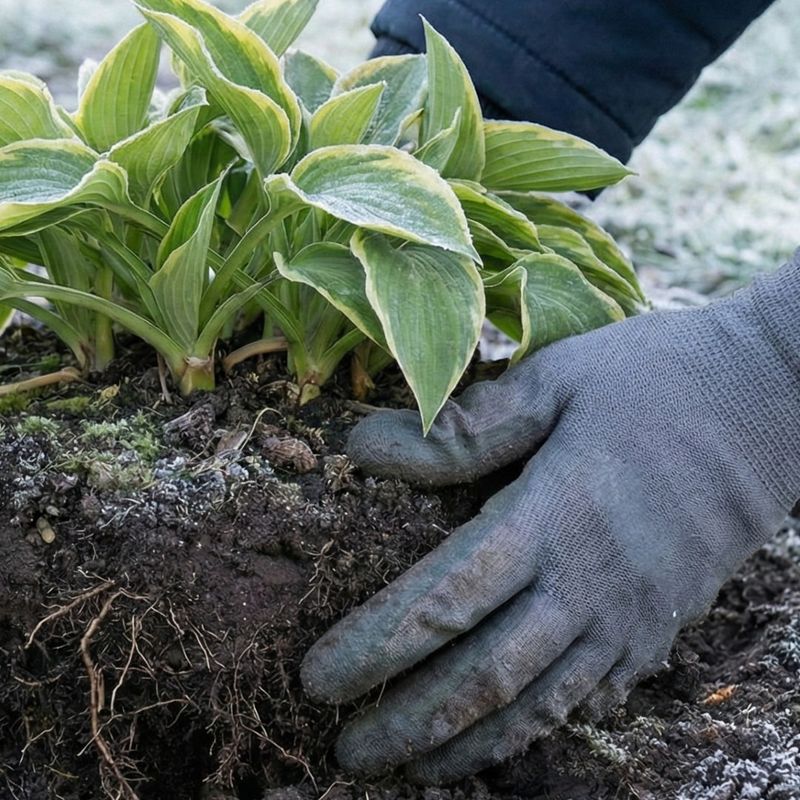
Start digging about six to eight inches away from the visible edge of the hosta clump. Hostas spread their roots wider than you might expect, and cutting too close to the crown severs the feeding roots that help the plant establish quickly after division.
Push your spade straight down into the Georgia soil, working your way around the entire clump in a circle.
Rock the spade back and forth gently to loosen the root ball rather than trying to pry it up all at once. Heavy clay soil can really grip those roots, and forcing it can tear the crown apart before you’re ready.
If you hit resistance, dig a little deeper or make your circle wider. Older, well-established hostas might need you to go down eight to ten inches to get under the main root mass.
Once you’ve worked all the way around, slide your garden fork under the clump from one side. Use it as a lever to gently lift while someone else supports the foliage if you’re working with a large specimen.
Really big hostas can weigh quite a bit when you include all that soil, so don’t be shy about asking for help or taking your time.
Shake off the excess soil once the clump is out of the ground. This lets you see the natural divisions in the crown where separate growing points have formed.
Georgia’s red clay will cling to the roots, so you might need to rinse them gently with a hose to get a clear view of what you’re working with.
5. Separate Clumps Into Healthy Sections With Enough Leaves
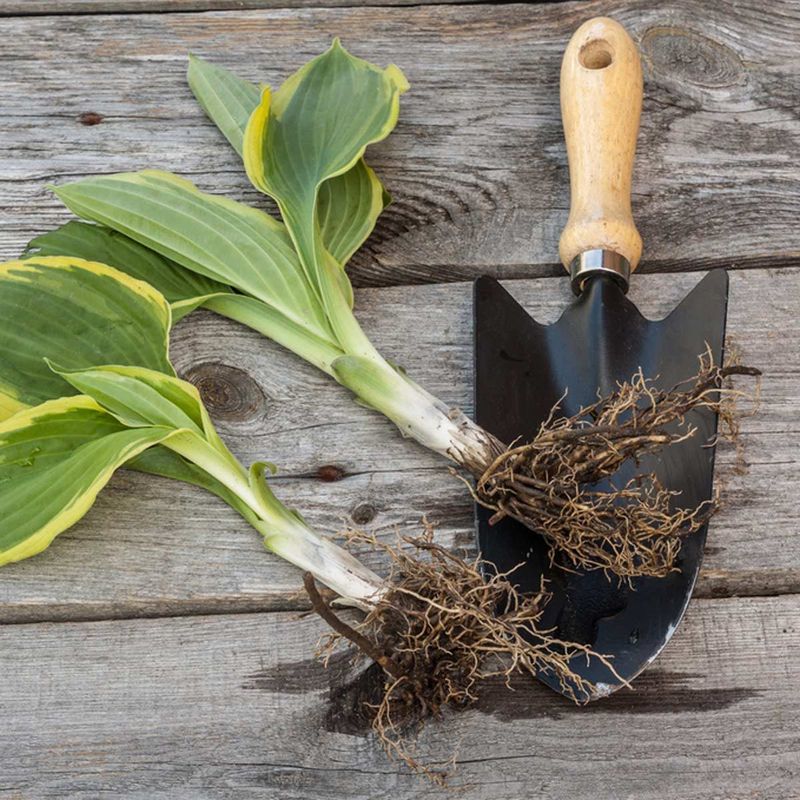
Each division needs at least three to five eyes, those are the growing points where new shoots emerge from the crown. Smaller divisions will survive, but they’ll take an extra year or two to look substantial in your Georgia garden.
Larger divisions with eight to ten eyes will give you a fuller plant right away, which is nice if you’re filling a prominent spot.
Look for natural separation points in the crown where you can pull or cut the clump apart with the least damage. Sometimes you can simply push two sections apart with your hands if the connection between them is loose.
Other times you’ll need that sharp knife to slice through the thick, fleshy roots that hold the crown together. Make clean cuts rather than sawing back and forth.
Inspect each division for any soft, mushy, or discolored areas in the crown. Healthy hosta tissue should be firm and white or cream colored.
If you find any questionable spots, cut them away completely with clean cuts. Our humid Georgia springs can encourage rot if you leave damaged tissue in the division.
Trim off any roots that are broken, excessively long, or damaged during the digging process. Cutting roots back to about six inches encourages the plant to grow fresh new feeder roots quickly.
Don’t worry about removing too much, hostas are tough and will regenerate their root systems rapidly once they’re back in the ground. Just make sure each division has some root mass to work with initially.
6. Replant Each Section At The Correct Depth And Give Them Space To Grow
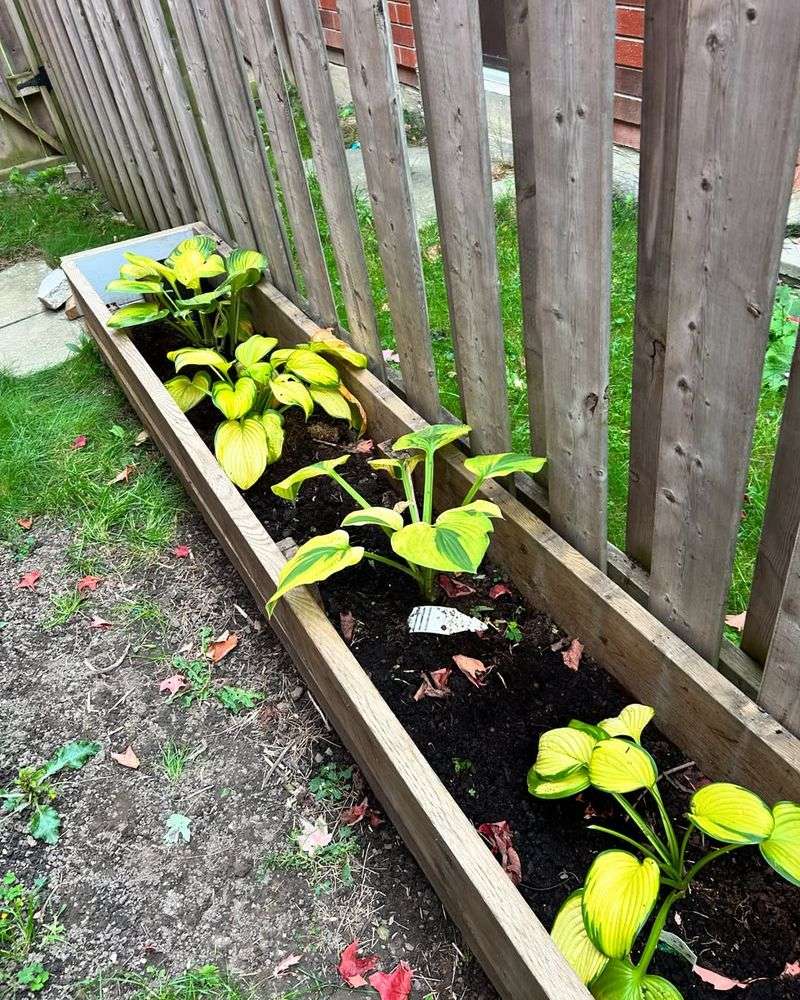
Planting depth matters more than many Georgia gardeners realize. The crown of your hosta division should sit right at the soil surface, not buried underneath and not sticking up above it.
Too deep and the crown can rot in our humid climate. Too shallow and the roots dry out during hot weather.
Use the old soil line on the division as your guide, plant it at the same depth it was growing before.
Dig your planting hole about twice as wide as the root spread but only as deep as needed to maintain that proper crown depth. Loosen the soil at the bottom of the hole with your fork so new roots can penetrate easily.
Create a small mound of soil in the center of the hole and spread the roots over it, which helps prevent air pockets from forming under the crown.
Fill in around the roots with your amended soil, working it in gently with your fingers to eliminate gaps. Press down firmly but don’t compact the soil so hard that water can’t penetrate.
The goal is good root-to-soil contact without creating a brick-like environment. Water thoroughly as you fill to help settle the soil naturally around the roots.
Space your divisions based on their mature size, remembering that Georgia’s long growing season will have them filling in by mid-summer. Resist the temptation to crowd them just because they look small now.
Proper spacing improves air circulation, which helps prevent the fungal issues that can pop up in our humid climate. It also means you won’t be dividing them again quite as soon.
7. Water Well And Add Mulch To Help Plants Settle
Water is critical immediately after planting your hosta divisions. Give each one a thorough soaking that penetrates down to the bottom of the root zone, not just a quick sprinkle on the surface.
You want the soil to be evenly moist throughout, which might take a gallon or more of water per division depending on your soil type. Georgia’s clay soil can be deceiving, the surface might look wet while six inches down it’s still dry.
Continue watering regularly for the first month after division, especially if we hit a dry spell. Your hostas need consistent moisture while they’re growing new roots and can’t yet reach down into deeper soil layers.
Check the soil every few days by sticking your finger down a couple of inches. If it feels dry at that depth, it’s time to water again.
Once established, hostas are fairly drought tolerant, but newly divided plants need extra attention.
Apply a two to three inch layer of mulch around each division, keeping it pulled back slightly from the crown itself. Pine straw works beautifully in Georgia and breaks down to add organic matter to the soil.
Shredded hardwood bark is another good choice. The mulch keeps the soil temperature more consistent, holds in moisture, and suppresses weeds that would compete with your hostas while they’re getting established.
Watch for signs that your divisions are settling in over the next few weeks. You should see new shoots emerging within two to three weeks if you divided before any growth started.
The foliage might look a little stressed at first, but it should perk up quickly with proper watering and care.