Follow These 8 Brilliant Tips For Pruning Hydrangeas And Get More Captivating Blossoms
For me—and most gardeners—hydrangea season is pure magic. These show-stoppers steal the spotlight in any garden bed, pot, or border.
The best part? They’re low-maintenance beauties. No fussing or pampering needed—just blooms galore.
But here’s the catch: skip pruning, and you might kiss those blossoms goodbye. It’s not rocket science, but knowing your variety is key.
I’ll admit, I was once all thumbs with pruning. But I cracked the code—and now I’m here to help you do the same!
1. Before You Start Pruning
I’m sure you already know that hydrangeas are flowering shrubs. But you may not know that some types of hydrangeas produce new growth on old wood and some on new wood.
This is essential for pruning since you can’t use the same technique. So before doing anything else, check which hydrangea variety you have. Use all available resources because you don’t want them to fail to bloom the next season.
Another thing you should do before pruning is prepare the tools. You must use a sharp and clean pair of scissors or pruners whenever handling your hydrangeas.
This way you’ll avoid breaking the stems or leaving wounds sensitive to pests and diseases.
Now it’s time to reveal the pruning needs of the most common hydrangea varieties!
2. This Is How You Prune Mophead And Lacecap Hydrangeas
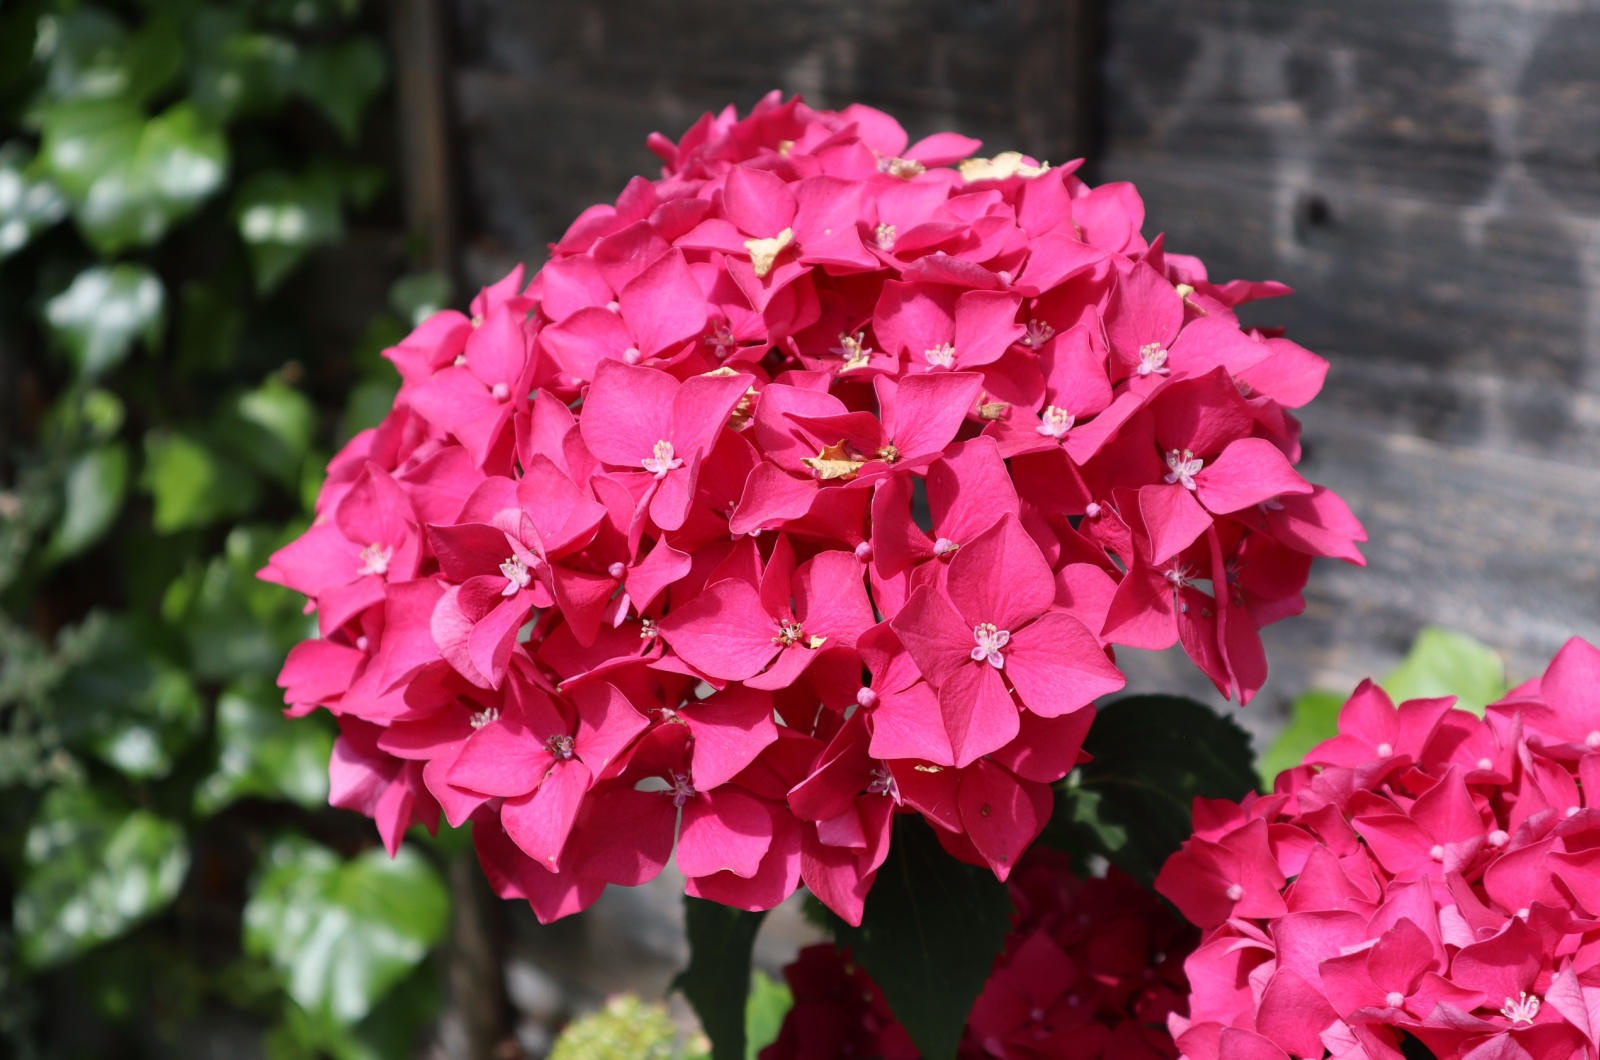
The hydrangea group called bigleaf hydrangeas includes two famous types: mophead and lacecap. All varieties within this group have the same pruning requirements.
The mophead species are renowned for their massive and full flower heads with gorgeous blue, pink, green, or white petals. If you dream of a cottage garden design, these varieties are a must!
On the other hand, lacecap species feature smaller blooms in the center of the flower surrounded by larger petals.
If you have any of them, the best time to prune them is in late winter or early spring.
I was really surprised when I learned that removing spent blooms after the season isn’t necessary. Their main role is to protect new buds from being damaged by frost. Incredible, right?
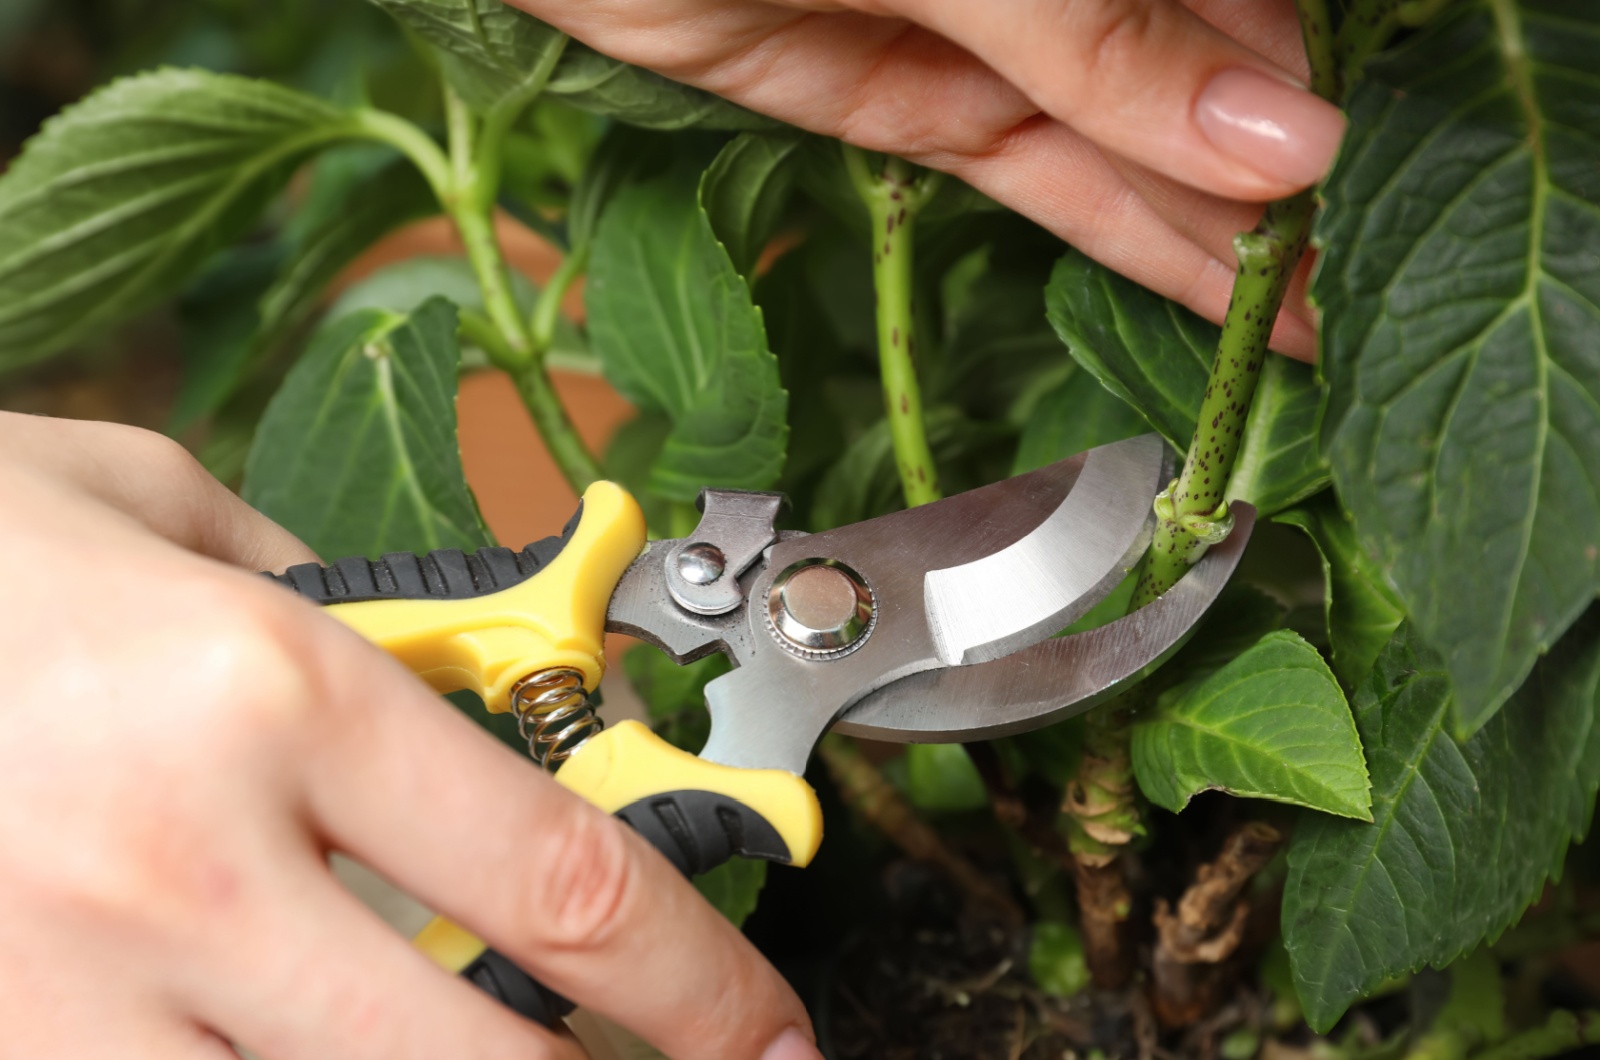
Here’s how I prune bigleaf hydrangeas, step by step:
1. I observe the base of my hydrangea and look for the weakest and oldest stems. I don’t typically remove more than 2 of these stems. The main goal of this step is to enhance new growth and more flowers.
2. Now I cut off the old flower heads that are located just above a pair of buds.
I have to warn you to be extra careful at this point to avoid removing the flower buds.
3. For bushy and neglected bigleaf varieties with tangled branches, you can use the hard pruning technique. This refers to cutting the hydrangea stems down to the base of the plant.
I recommend regular pruning every year because hard-pruned hydrangeas may not bloom the next season. Who can wait for another year to see those splendid blooms?!
3. If You Have Climbing Hydrangeas, This Is The Best Way
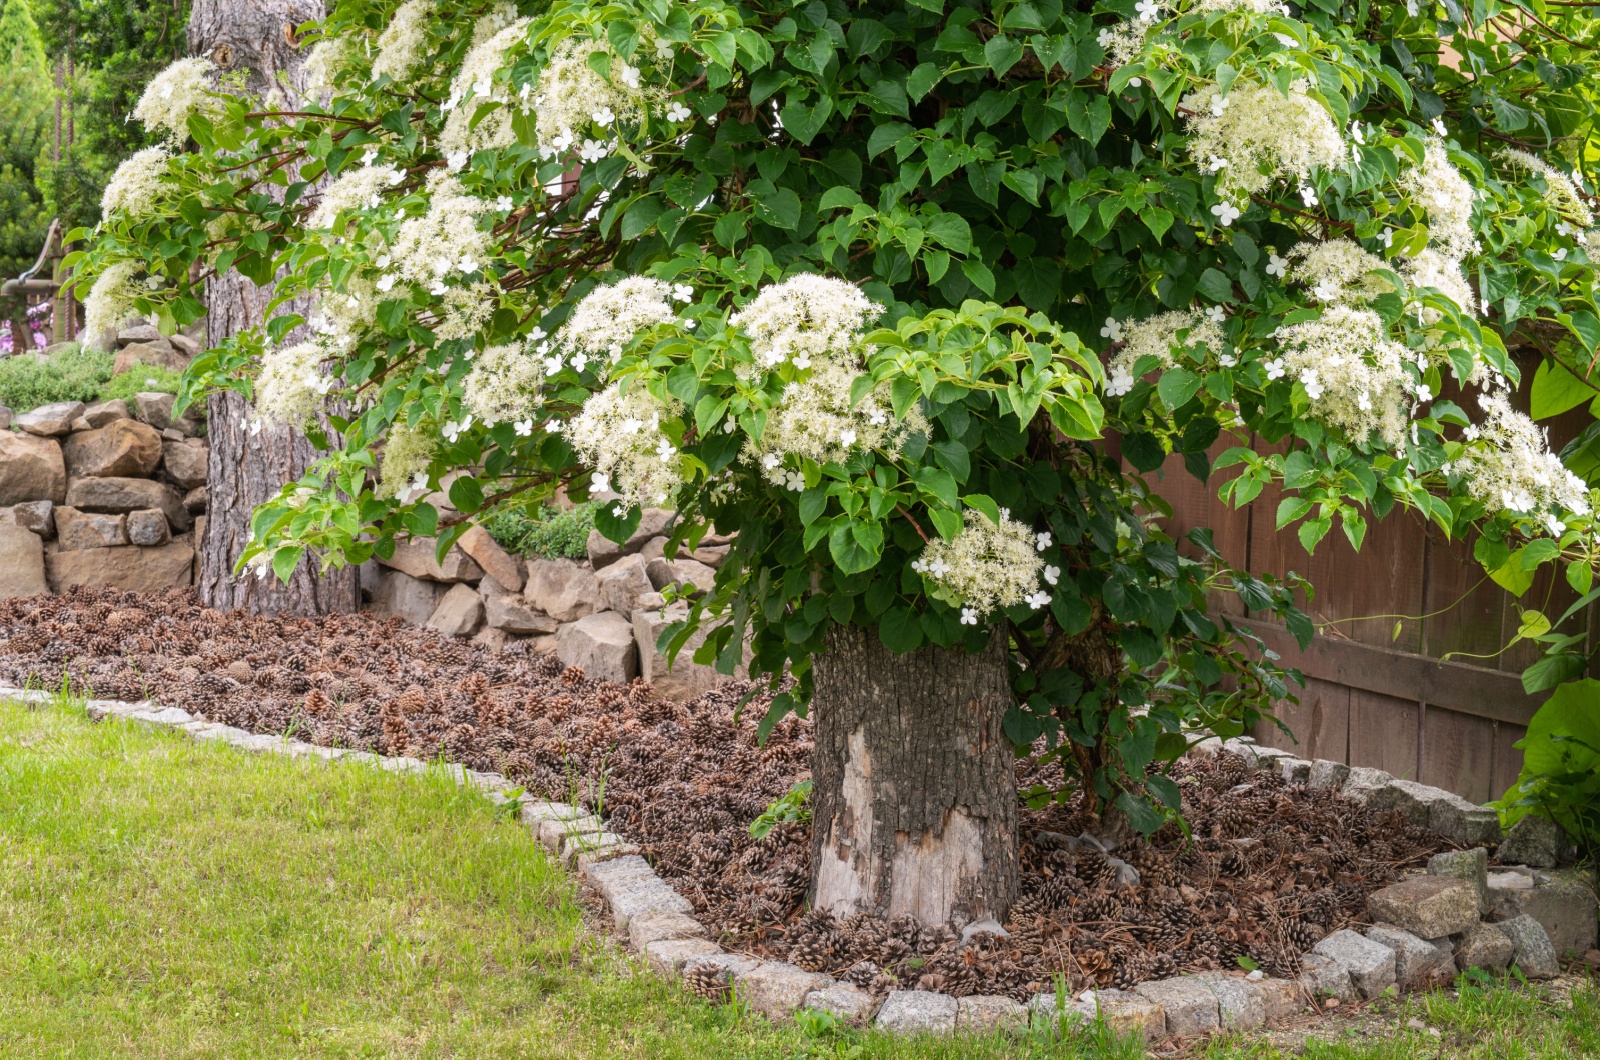
I simply adore climbing plants and, of course, climbing hydrangeas are the best!
The best time of year to prune these beauties is summer or when they exit the flowering stage.
Climbing varieties bloom on old wood, which means you’ll remove last year’s growth in summer. If you prune them in early spring, you risk removing flowers for that year.
I have a few petiolaris varieties and they’re trained to climb against the wall. I only shorten branches that grow out of the wall, but I wait until they finish flowering.
If you don’t see any unruly branches, you can just trim the damaged or diseased branches, if any.
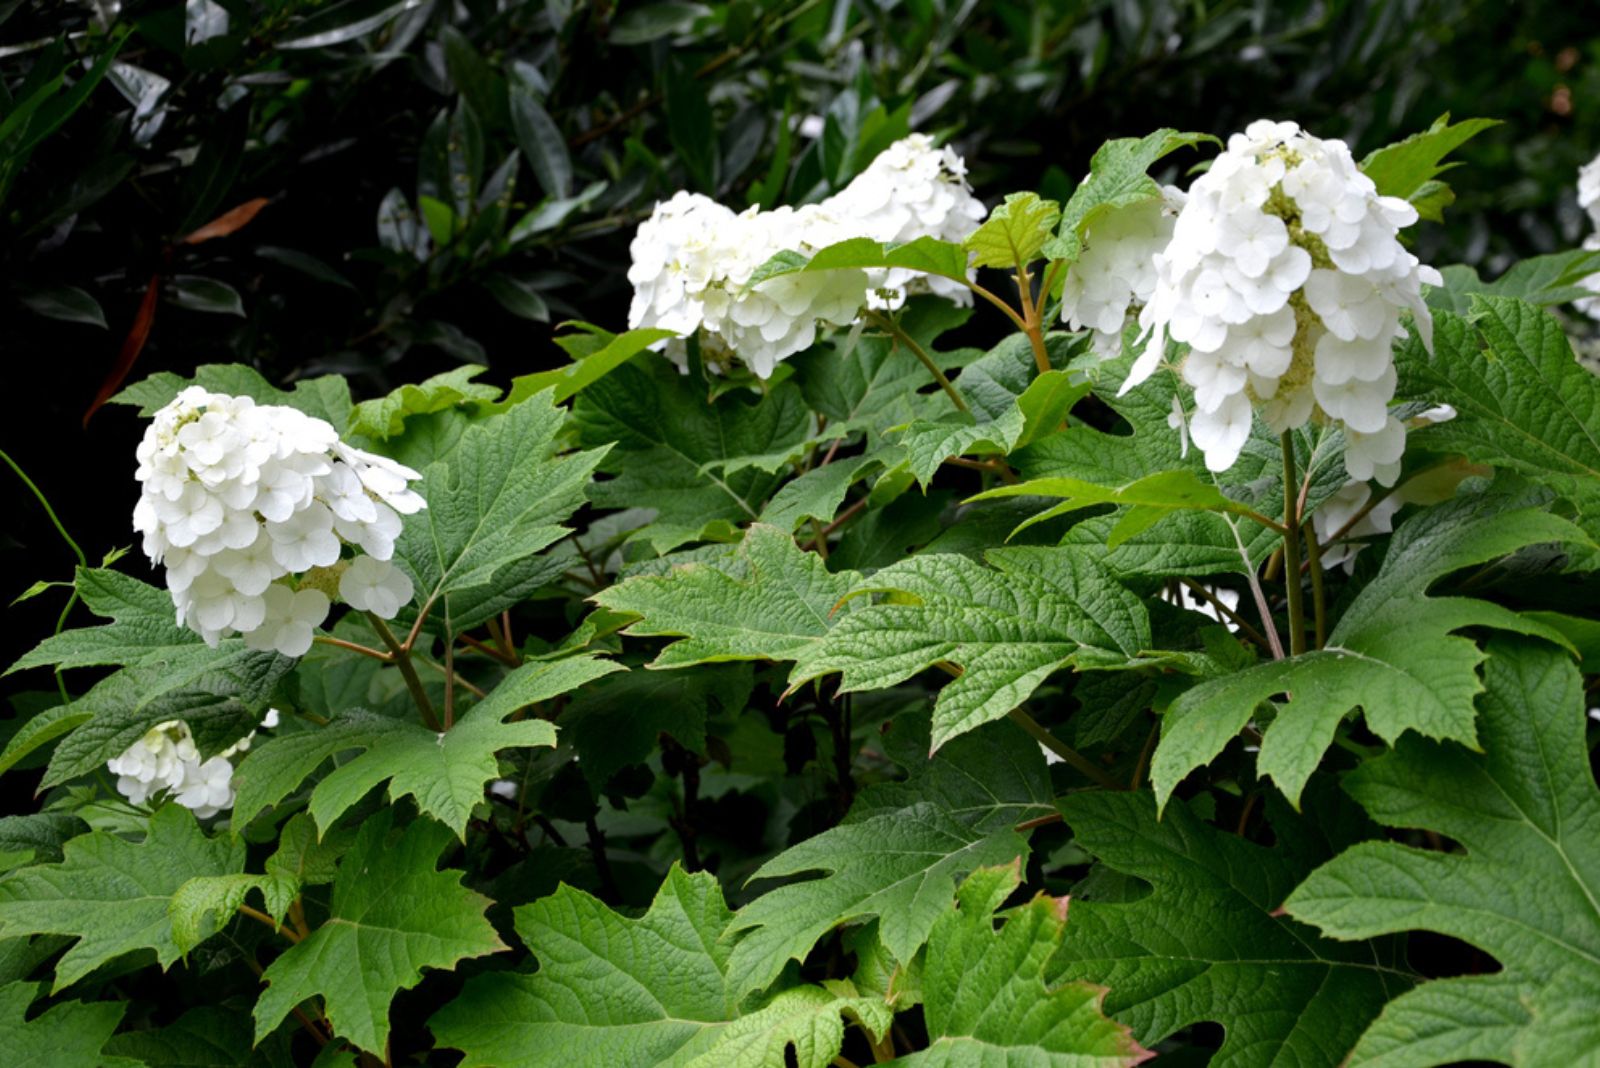
4. Use This Method For Paniculata And Arborescens Hydrangeas
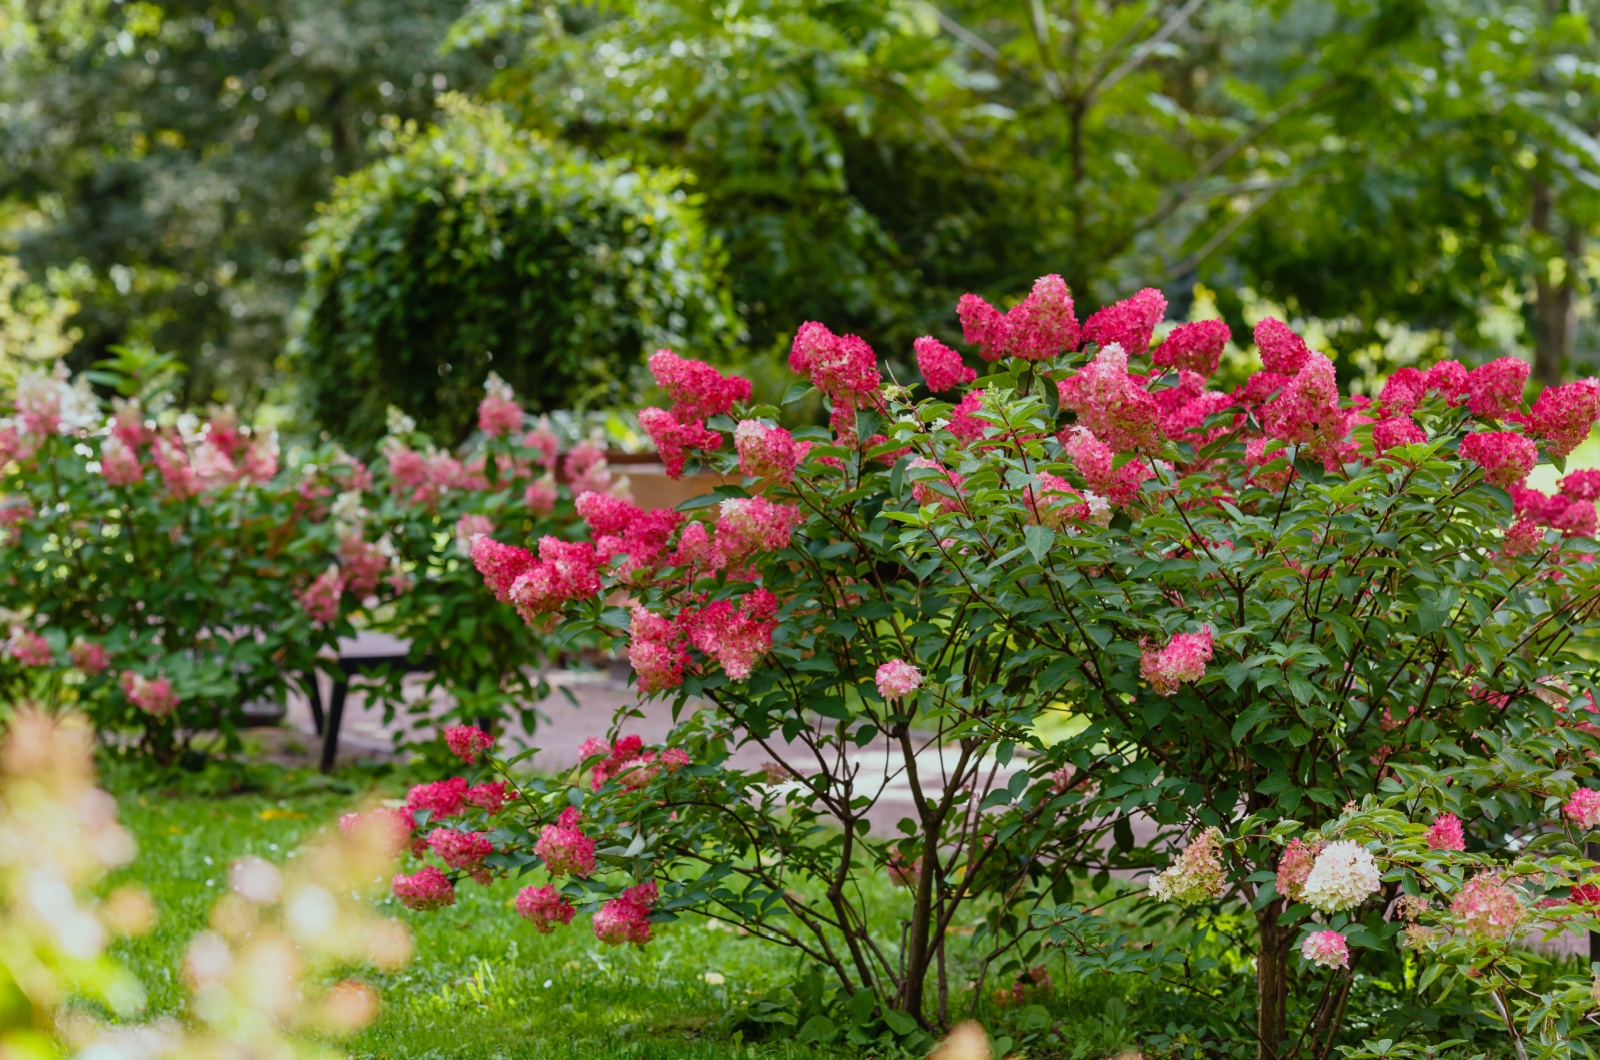
And the last group of hydrangeas I’ll discuss are the ones we should prune in spring. This includes paniculata varieties with cone-like flower heads, and arborescens varieties with distinct spherical bloom heads.
Unlike climbing hydrangeas, they produce blooms on new wood, so harder spring pruning won’t affect this year’s blossoms.
When I’m pruning my Annabelle hydrangeas (paniculata variety), I just remove the oldest branches that are close to the lowest pair of entirely healthy buds. The main goal is to get a neat framework. You can do this with all paniculata and arborescens varieties.
The good thing is that you won’t do any harm to these hydrangeas if you don’t prune them. They may get too tall and unruly but they won’t die back.
But I’m always for light trimming to maintain vigor and shape.
And there’s one method I use for my hydrangeas to get a better display. I simply cut the stems at different heights and the blossom heads are produced at different levels.
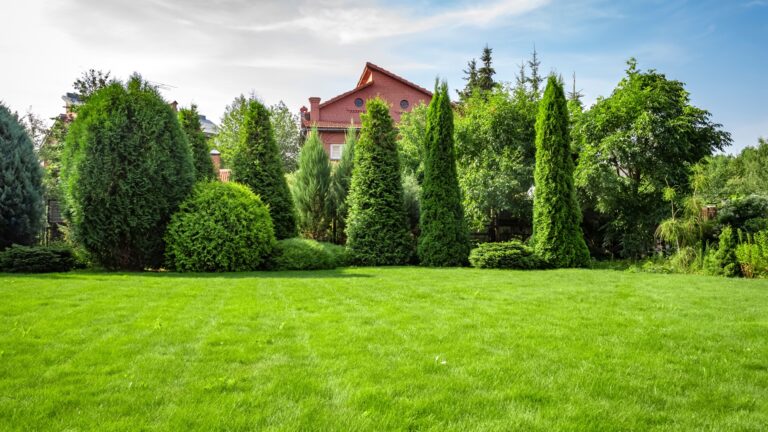
5. Choose The Right Season
Timing can make all the difference. Pruning at the right time stimulates growth and enhances flowering. Hydrangeas need specific seasons for trimming, usually late winter or early spring. Knowing when to prune ensures maximum flower production.
Observe your plant’s growth cycle. This knowledge aligns pruning with the natural rhythm, promoting a vibrant garden. Seasonal adjustments are vital, ensuring the plant’s energy is directed towards blooming rather than unnecessary growth. Timing is everything in gardening.
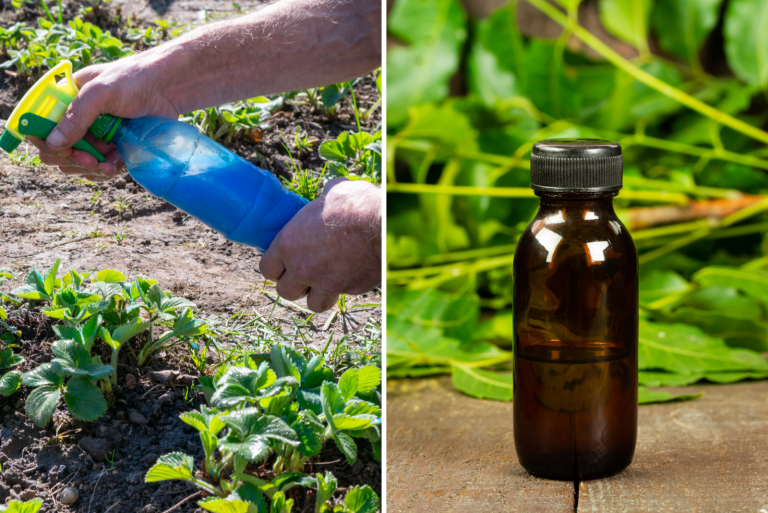
6. Watch For Pests
Vigilance pays off. Monitoring for pests ensures your plant remains healthy and robust. Hydrangeas can attract aphids and spider mites. Regular inspection helps in early detection and control.
Use environmentally friendly pesticides if needed. Encouraging natural predators like ladybugs can also help. Keeping pests at bay is essential for maintaining a lush garden. A watchful eye is a gardener’s best defense against unwelcome visitors.
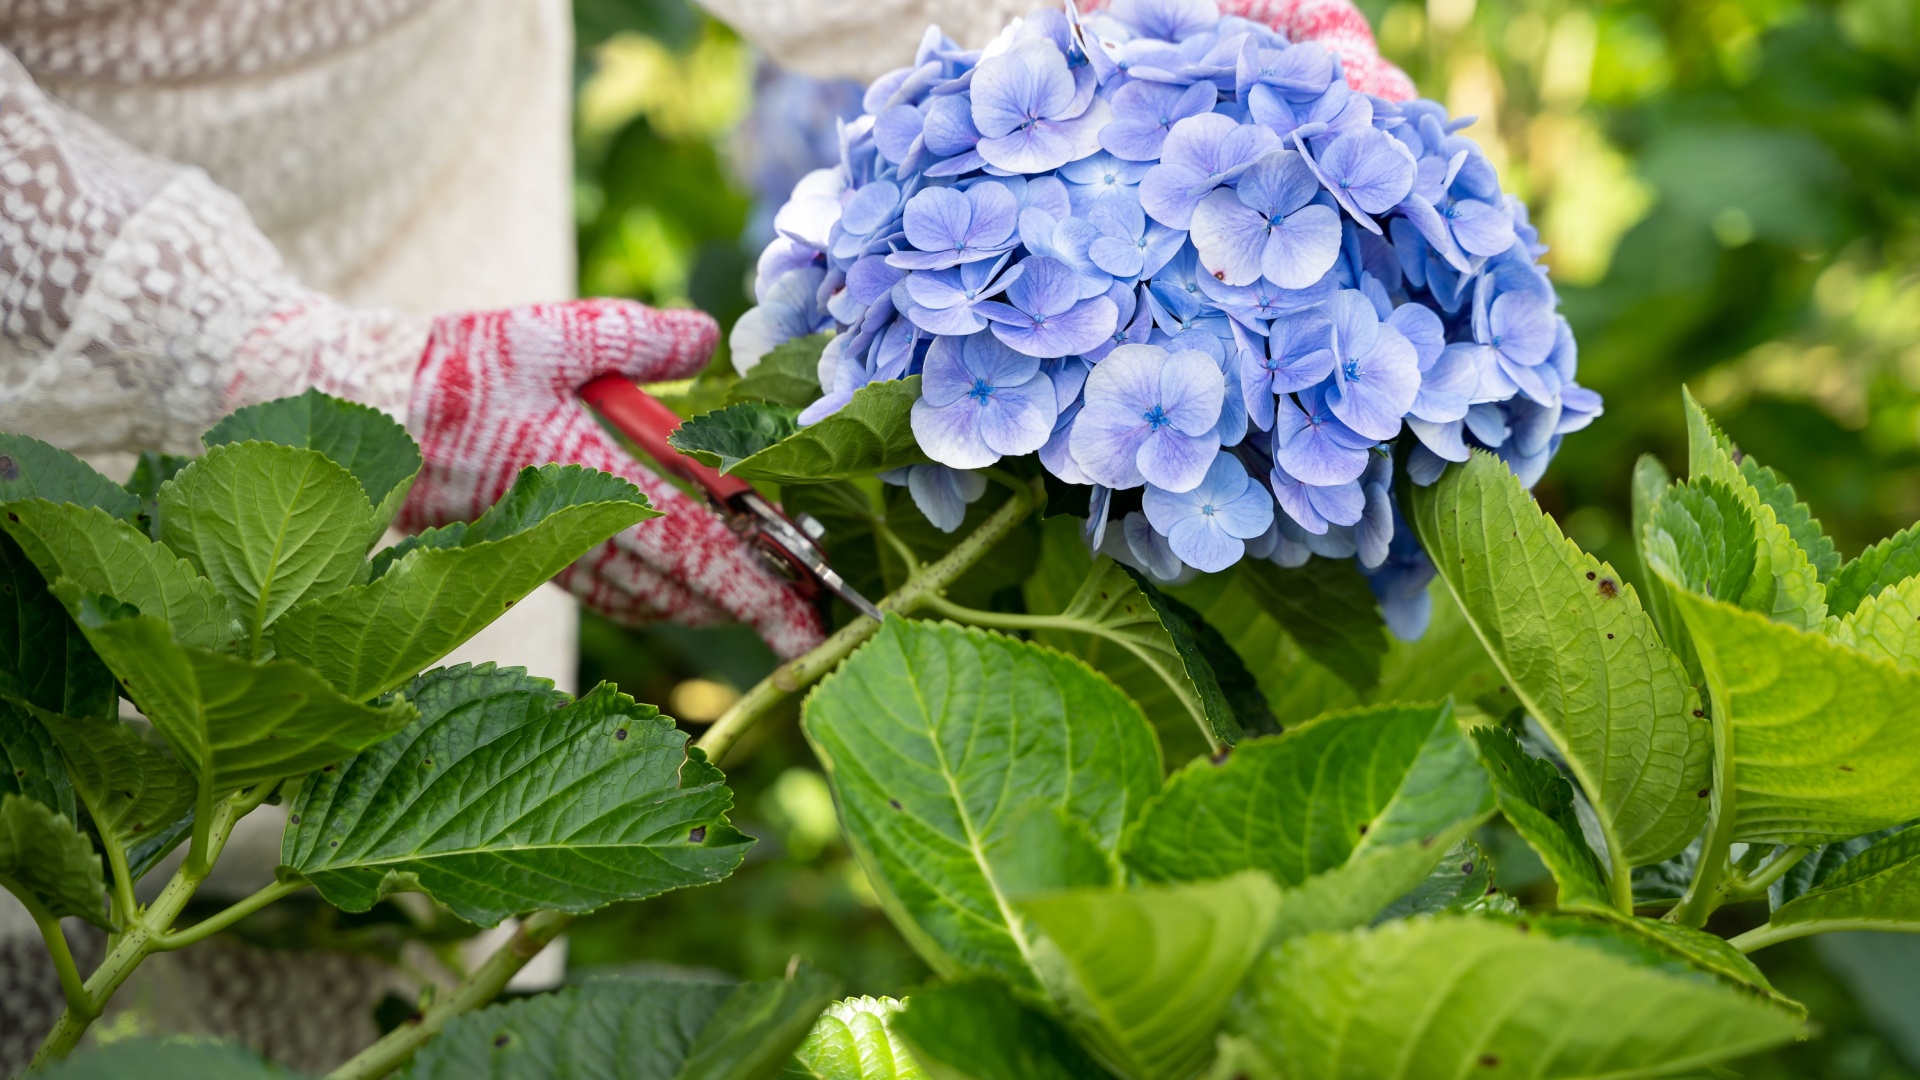
7. Don’t Forget to Deadhead After Blooming
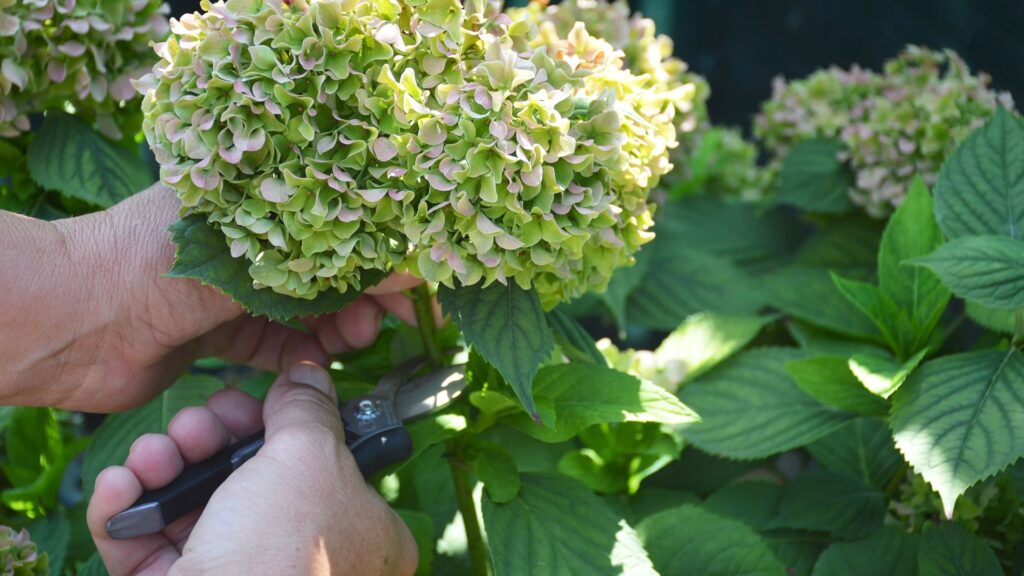
Deadheading spent blooms isn’t just about tidiness—it encourages better overall plant health and can redirect energy into stronger growth. While not all hydrangea types require deadheading, many benefit from it, especially the ones that bloom multiple times in a season.
For varieties like paniculata and arborescens, I gently snip off the faded flower heads just above the first healthy set of leaves. Avoid deadheading in late fall—those fading blooms can still act as winter protection. This little habit helps keep my hydrangeas looking neat while setting the stage for next year’s blossoms.
8. Mulch After Pruning To Retain Moisture
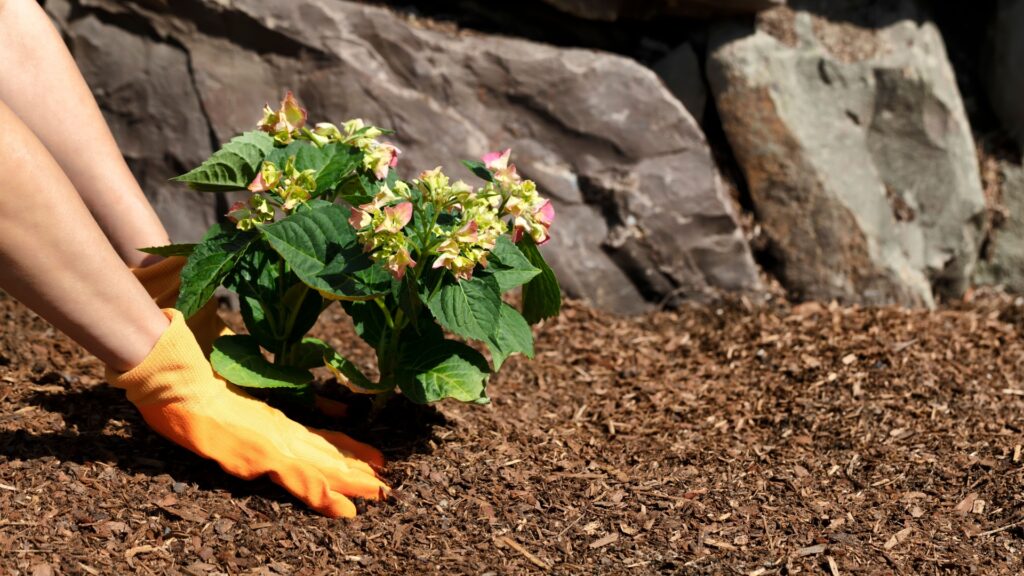
After pruning, it’s a good idea to mulch around the base of your hydrangeas. This simple step locks in moisture, regulates soil temperature, and helps suppress weeds that compete for nutrients.
I use organic mulch like bark or compost and apply a 2-3 inch layer, keeping it a couple of inches away from the main stems to prevent rot. Especially in warmer climates like mine, mulching gives the plants a boost and supports healthy regrowth after their trim. Think of it as a cozy blanket that helps your hydrangeas recover and thrive.
Ready to make the best out of your hydrangeas? Pruning is a great way to go and I’m sure you’ll be rewarded with numerous captivating flower heads!