How To Tell If Ohio Clay Soil Is Too Wet To Plant Without Digging Up The Whole Bed
Ohio clay soil keeps its own schedule, and it rarely lines up with a gardener’s enthusiasm in spring. The calendar says it’s time to plant, the weather has been decent, and the urge to get things in the ground is strong.
Then a handful of that clay comes up looking and feeling like something between modeling dough and cold porridge, and the question becomes whether planting now is actually a good idea or just an expensive mistake.
Working clay soil too wet is one of the most common ways Ohio gardeners set their beds back.
It compacts the structure in ways that take a full season to recover from, squeezes out the air pockets roots depend on, and turns what should be a productive bed into something dense and hostile before a single plant goes in.
The frustrating part is that most gardeners know this in theory but struggle with it in practice.
Digging up a test patch feels wasteful. Waiting another week feels like losing ground.
And the soil surface can look and feel completely different from what’s happening a few inches down. A few quick checks done right at the bed tell you exactly what you need to know without disturbing anything you’ve already worked to prepare.
1. Squeeze A Handful Before You Grab A Shovel
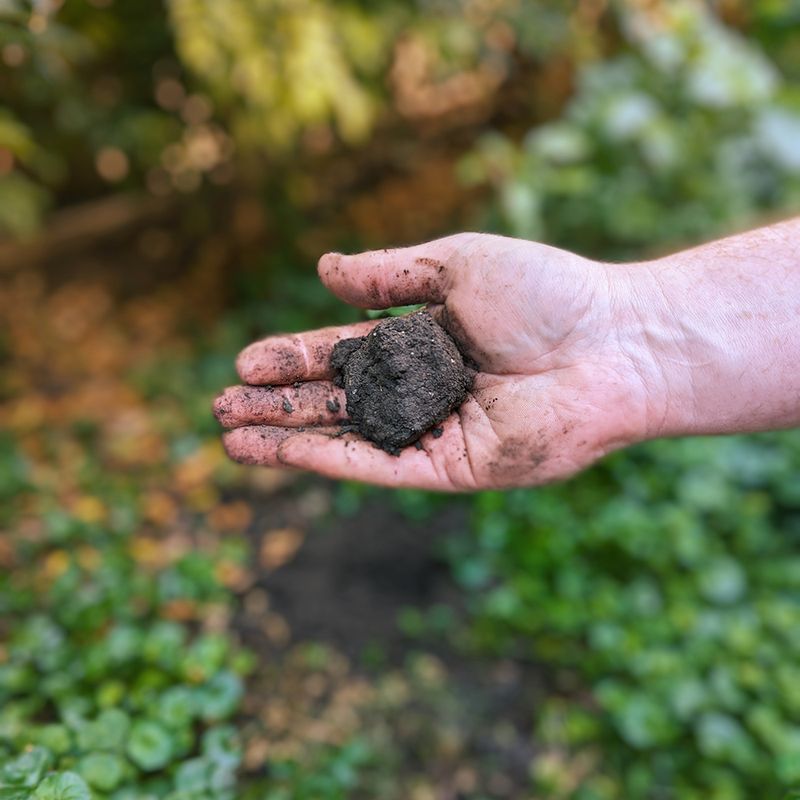
Reach down and grab a small handful of soil from the planting area, about the size of a golf ball, and squeeze it firmly in your fist. Open your hand and watch what happens.
That one simple action can tell you more about whether your bed is ready than any amount of guessing from the porch.
If the soil crumbles apart when you nudge it with your thumb, the moisture level is likely in a workable range. If it holds a tight, shiny ball and keeps the shape of your fingers, the clay still has too much water in it.
Ohio State University Extension describes a simple squeeze test for soil workability: if soil remains in a tight ball, wait; if it crumbles, it is ready to work.
Central and western Ohio yards tend to have some of the heaviest clay soils in the state, so this test matters especially in those regions. A bed that passed the squeeze test yesterday may still need checking again after an overnight rain.
Repeat the test in a few spots across the bed, because low corners and shaded edges often hold moisture longer than sunnier sections. Patience here protects the whole season ahead.
2. Look For Soil That Smears Instead Of Crumbles

Rub a small pinch of soil between your thumb and index finger and pay attention to the texture. Wet clay that is not ready to plant tends to feel slick and smooth, almost like modeling clay or putty, and it leaves a shiny smear across your skin or a trowel blade.
Soil that breaks into small rough crumbles instead of smearing is a much better sign.
Soil scientists describe this smearing behavior as a result of clay particles aligning under pressure when the soil is saturated. When clay is worked in that state, those particles pack tightly together and reduce pore space, which is the air and water space roots depend on.
Your Ohio Garden Changes Every Week. Your Plan Should Too.
Gardening in Ohio changes quickly throughout the season. Every Friday you’ll receive a simple weekly plan showing exactly what to plant, prune, fertilize, harvest, and protect so you never miss the right timing.
Working wet clay can damage soil structure and create compaction that may take significant time and repeated organic-matter additions to improve.
The smear test works quickly and requires no tools. Run it along the edge of a hand trowel after lifting a small sample, and check whether the blade comes out shiny and coated or relatively clean.
Shiny and coated means wait. This check is especially useful in newer subdivisions around Columbus, Cleveland, or Dayton, where construction grading may have already left subsoil exposed and compaction risk is higher than in established gardens.
3. Step Lightly And Watch For Sticky Footprints
Before walking into a bed, try pressing one foot gently near the edge and lifting it back. If your shoe sinks more than an inch, leaves a shiny compressed print, or pulls up a heavy clump of clay, the bed is telling you something worth listening to.
Foot traffic on wet clay is one of the fastest ways to compact a garden bed, and that compaction does not fix itself after the soil dries.
Ohio State University Extension notes that compacted soil limits root penetration, reduces drainage, and cuts off the air supply that roots need to function.
Once clay is compressed into a dense layer, breaking it up again usually requires significant effort, and even then, the structure may not fully recover for a full growing season.
Walking on wet beds in spring is a common mistake that shows up as poor plant performance all summer long.
Protect planting areas by laying down boards, stepping stones, or old pallets as temporary paths when you need to access a wet bed. Keep foot traffic on permanent paths rather than in planting zones.
Northern Ohio beds near Lake Erie often stay wet and cold well into May, so checking footprint depth before entering those beds can prevent lasting damage that no amount of summer fertilizing will fully correct.
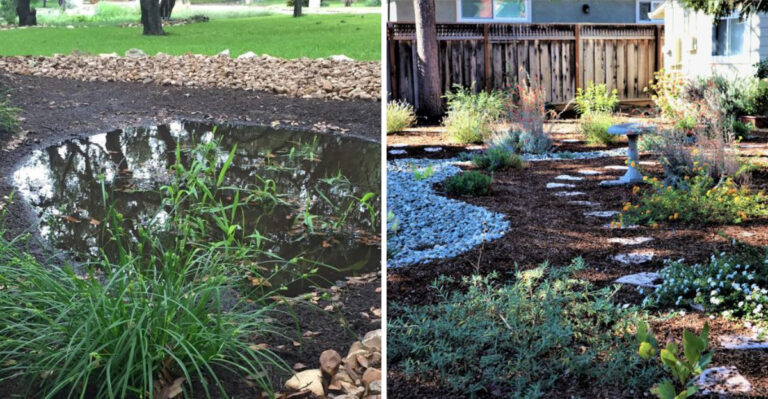
4. Check For Standing Water In Low Spots
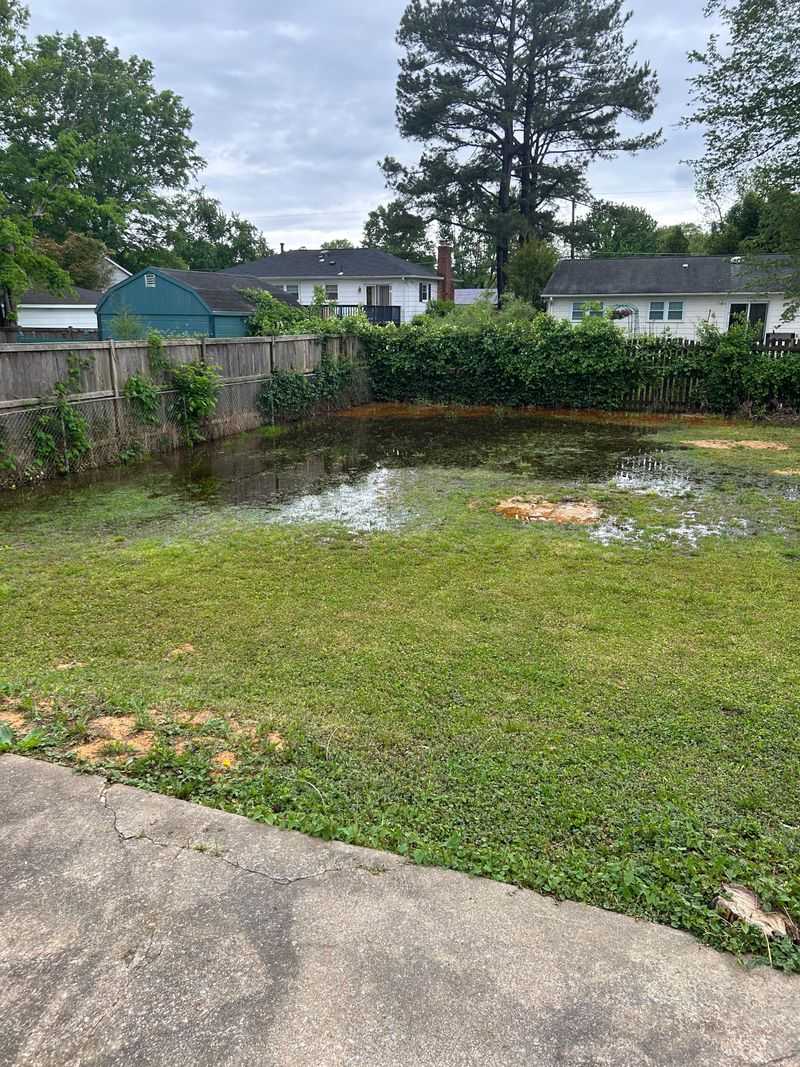
After a spring rain, walk around the entire garden before reaching for any tools. Puddles sitting in the corners of beds, soggy patches near bed borders, or water pooling along path edges are clear signals that the soil has not had enough time to drain.
Low spots in a bed can stay saturated for hours or even days after the rest of the surface looks dry.
Clay soil drains slowly by nature because its fine particles hold water tightly. The Ohio Department of Natural Resources notes that much of central and western Ohio sits on glacially deposited clay-heavy soils with naturally slow internal drainage.
A bed that looks fine on top may still have saturated layers just a few inches down, especially after back-to-back rainy days common in April and May weather patterns.
Before planting moisture-sensitive crops like tomatoes, peppers, or beans, observe where water sits for at least thirty minutes after rain stops. Avoid planting in any spot that still has visible standing water or feels spongy underfoot.
Raised areas and sloped sections of the same bed may be workable while low corners are not. Planting only in the drier sections and returning to the low spots later is a practical way to move forward without risking the whole bed.
5. Use A Trowel Test Near The Bed Edge
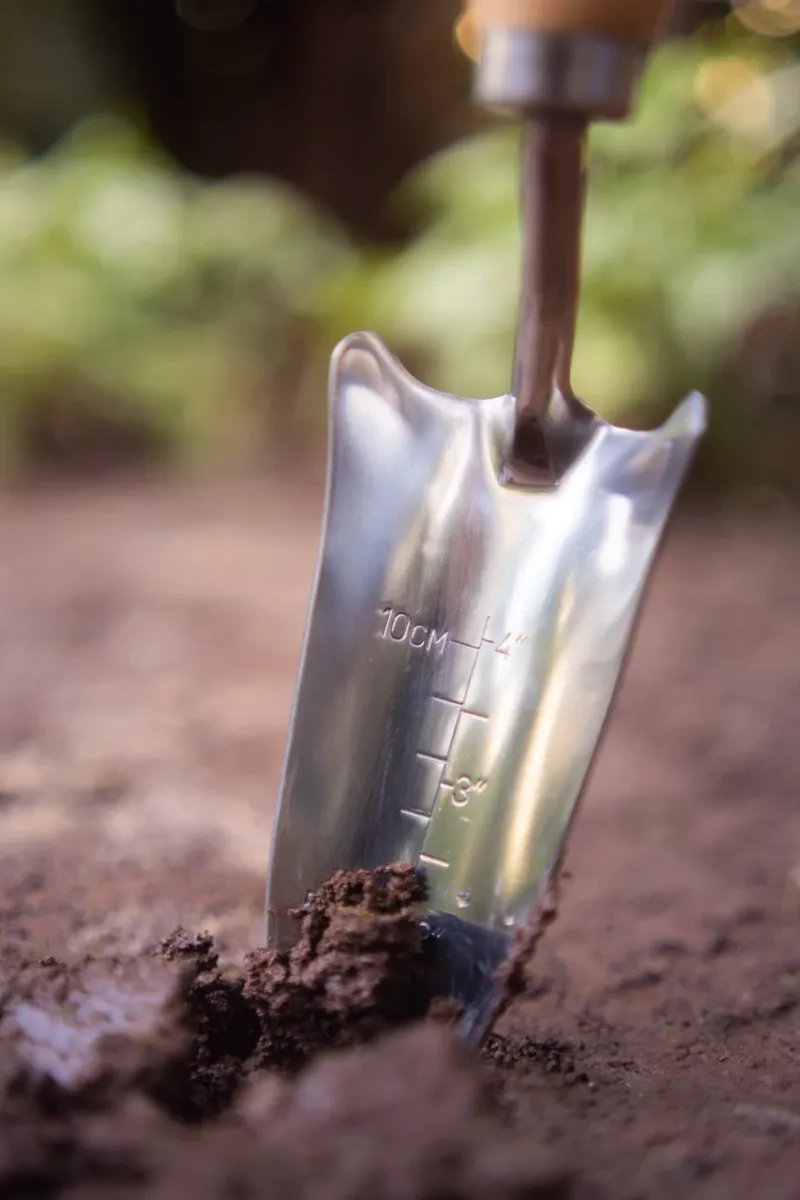
One of the smartest moves a gardener can make is checking moisture a few inches below the surface without disturbing the whole bed.
Push a hand trowel into the soil near the edge of the bed, where the disturbance will matter less, and lift a small plug about three to four inches deep.
Look at what comes up rather than just what you see on top.
Surface soil dries out faster than deeper layers, especially in clay. A bed can look and feel dry on the surface while the layer where roots actually grow is still cold and saturated.
Ohio State University Extension advises checking soil conditions at root depth rather than relying only on surface appearance when deciding whether to plant transplants or direct sow seeds.
If the sample from the trowel feels sticky, cold, and holds together in a slick lump, give the bed more drying time before planting. If it breaks apart with some resistance and does not smear across the trowel blade, conditions are improving.
Southern Ohio gardens often dry and warm earlier in spring than northern Ohio beds, but even in warmer areas, a deep trowel check after a wet week can reveal surprising moisture hiding below a deceptively dry-looking surface.
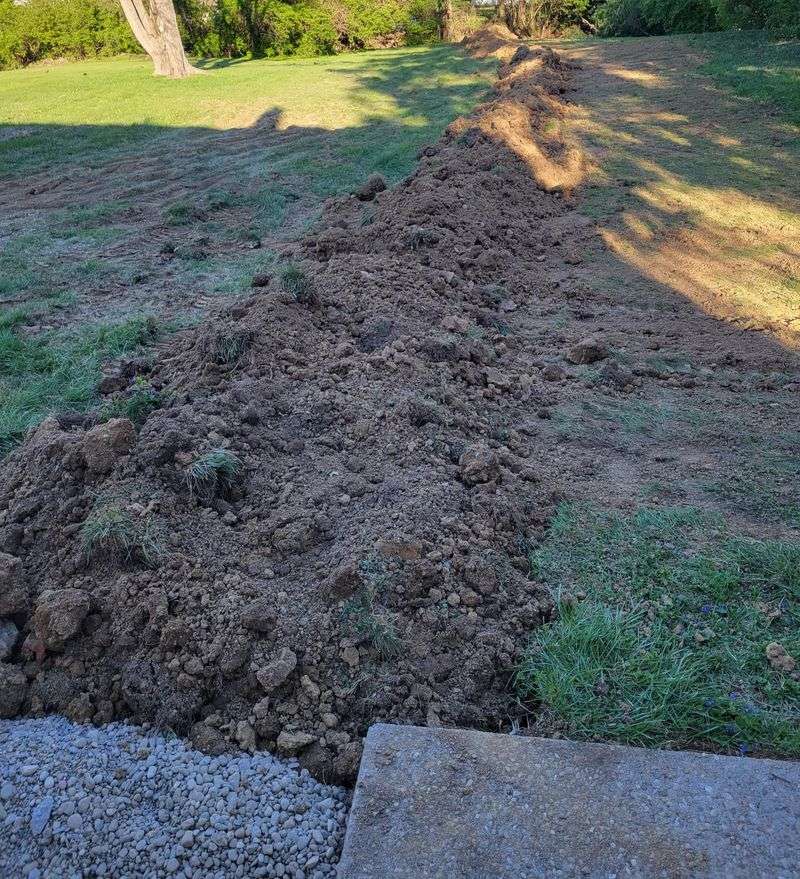
6. Wait When Soil Clings To Tools In Clumps
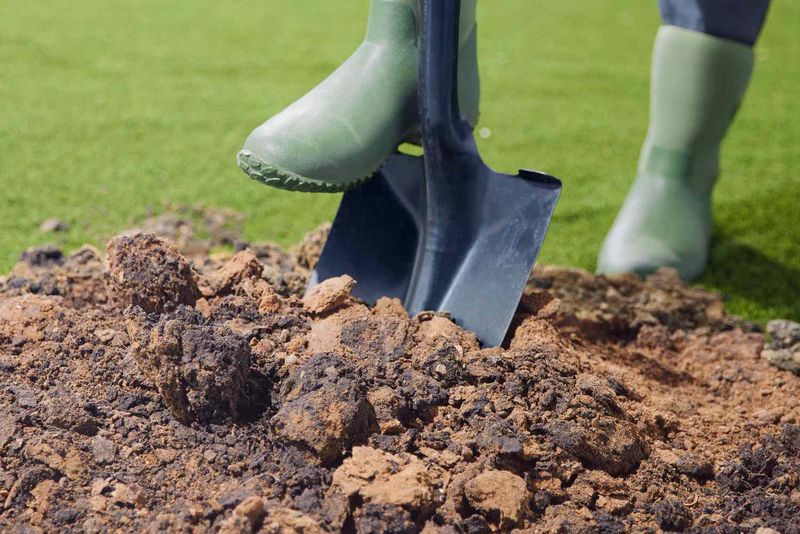
Pick up a shovel or garden fork, push it into the bed, and lift it back out. If thick clumps of clay cling stubbornly to the blade and refuse to shake free, that feedback alone is worth paying attention to.
Tools covered in heavy, sticky soil are not just annoying to clean. They are showing you that the clay is too wet to work without causing damage.
When wet clay is turned, sliced, or compressed by tools, it forms dense clods that can harden into brick-like chunks as the soil dries. Those clods create an uneven, poorly aerated seedbed that makes it harder for seeds to germinate and harder for transplant roots to spread.
University of Illinois Extension, which covers similar Midwest clay conditions, notes that working wet soil is one of the leading causes of long-term structural damage in garden beds.
Wait until tools come out of the soil with only light dusting or small loose crumbles sticking to the blade. That change in tool feedback signals that the clay has dried enough to work without smearing or compacting.
Returning to the same spot every day or two after a wet stretch and running a quick tool check costs almost no time and can prevent weeks of frustration from a poorly structured seedbed that struggles to support healthy plants.
7. Let Raised Beds Dry Faster Than In-Ground Soil
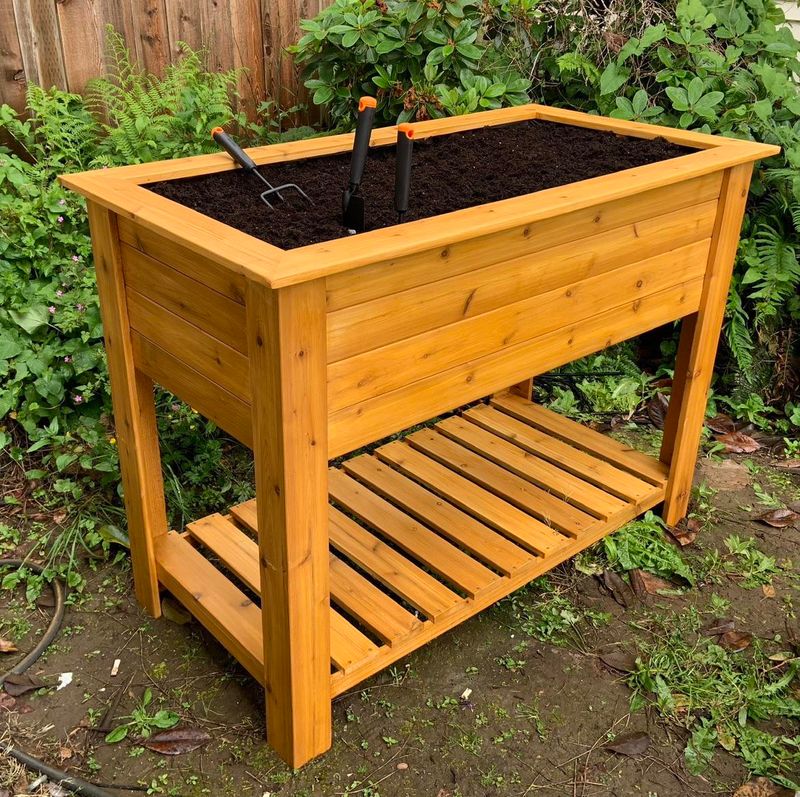
Raised beds have a real advantage in springs because they drain faster and warm up sooner than in-ground clay beds. But faster does not mean automatic.
A raised bed filled with a mix heavy in compost and topsoil can still hold significant moisture after a rainy week, and a shaded raised bed may lag behind a sunny in-ground section by several days.
Bed height matters too. A six-inch raised bed sitting directly on heavy clay may drain slowly if the clay beneath is saturated and acting like a plug.
A twelve-inch or taller bed with better drainage material underneath will dry more reliably.
Mulch left over from the previous season can also slow drying by holding moisture against the soil surface, so removing old mulch before checking bed readiness gives a more accurate picture.
Check each raised bed individually rather than assuming all beds are ready at the same time. Run the squeeze test or smear test in each one, especially if they sit in different light conditions or were filled with different soil mixes.
A bed on the south side of the house may be workable while a shaded north-facing bed is still too wet by several days. Treating each bed as its own microenvironment saves transplants from being set into conditions they are not ready for.
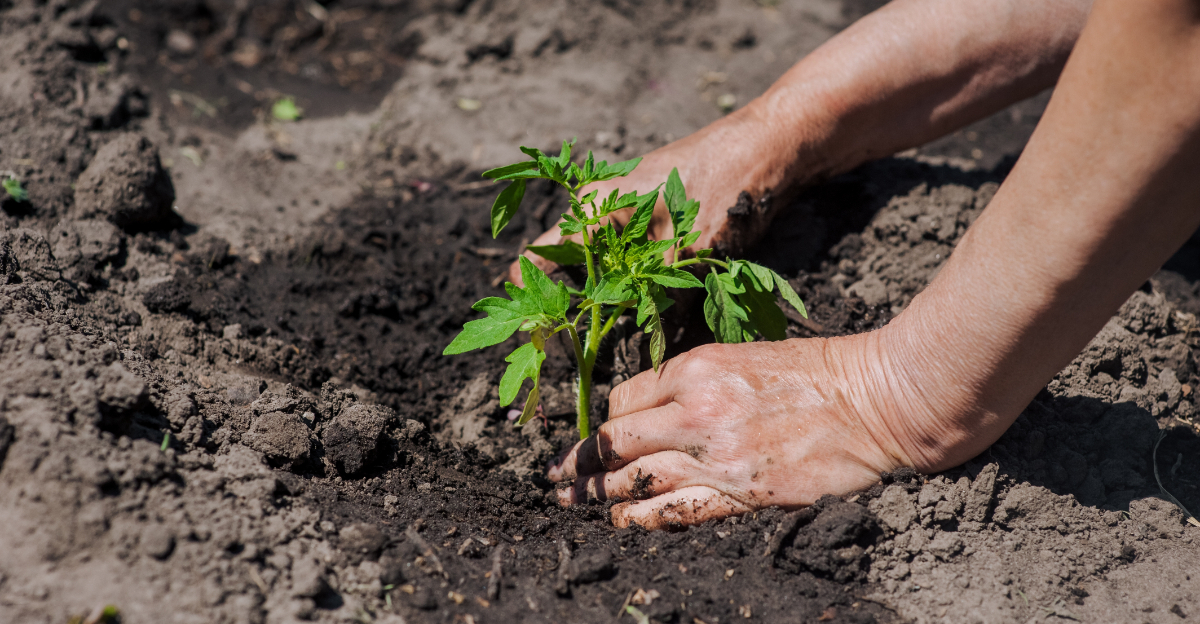
8. Plant Only When Roots Can Breathe Again
Roots need two things to get established: moisture and oxygen. Saturated clay soil delivers plenty of the first and almost none of the second.
When pore spaces between soil particles fill entirely with water, roots in that zone struggle to take up nutrients and can suffer from oxygen deprivation even in soil that looks perfectly moist and dark.
Ohio State University Extension explains that soil oxygen is just as critical as water for root function, and that saturated conditions prevent the gas exchange roots depend on.
Transplants set into waterlogged clay often show slow growth, yellowing lower leaves, and poor establishment even when surface conditions later improve.
The damage happens underground before any visible symptoms appear above.
Waiting even two to three extra days after a wet stretch can make a measurable difference in how well transplants establish.
Tomatoes, peppers, squash, and most annual flowers prefer soil that is moist but not saturated, with enough structure to allow roots to push through without hitting dense, airless layers.
Run the squeeze test one more time before planting day, and if the ball still holds tight without crumbling, give the bed one more day.
A short wait before planting is far less stressful for both the plants and the gardener than trying to rescue a struggling transplant mid-season.
9. Protect Wet Clay From Compaction Before Planting
While waiting for clay soil to dry to a workable state, the worst thing a gardener can do is keep walking through the bed or trying to loosen it with tools.
Every footstep and every pass of a tiller on wet clay presses particles closer together and reduces the pore space that roots and soil organisms depend on.
Protecting the bed during wet periods is just as productive as planting into it when conditions are right.
Lay boards or stepping stones across the bed if access is needed for weeding or checking on overwintered plants. Keep foot traffic on established paths and off planting zones entirely.
If the bed has bare soil exposed to spring rains, a light layer of straw or shredded leaves over the surface can slow erosion and reduce surface crusting without adding significant moisture.
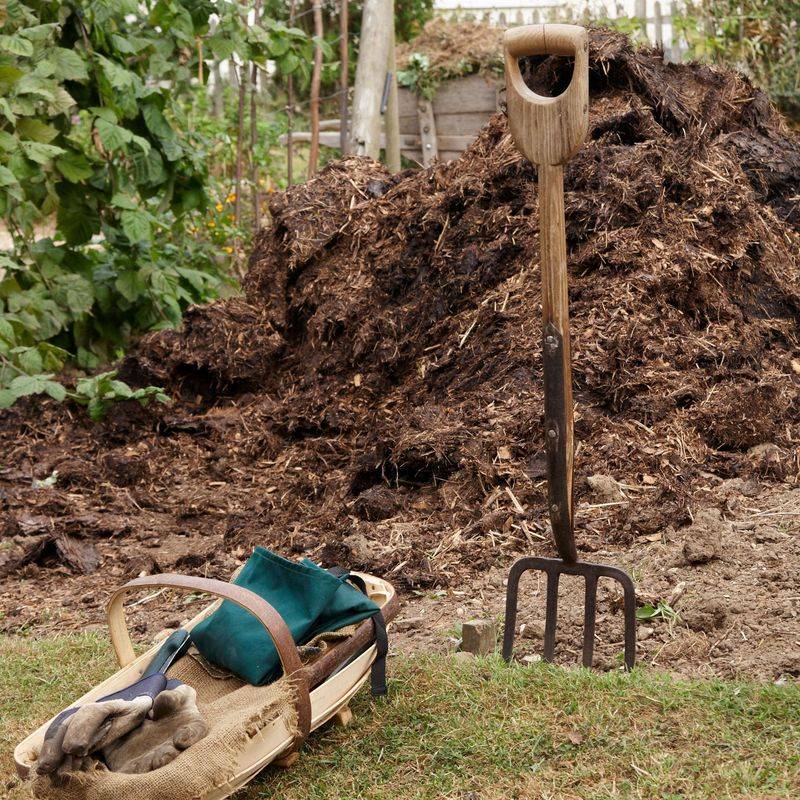
Over the long term, adding compost each season is the most reliable way to improve clay soil. Compost increases the size of soil aggregates, improves drainage, and makes the soil less prone to compacting when wet.
Ohio State University Extension recommends working compost into clay beds in fall when soil conditions allow, rather than forcing amendments into saturated spring soil.
Improving clay is a gradual process, and each season of good timing and careful handling moves the bed closer to the loose, workable structure every gardener hopes for.