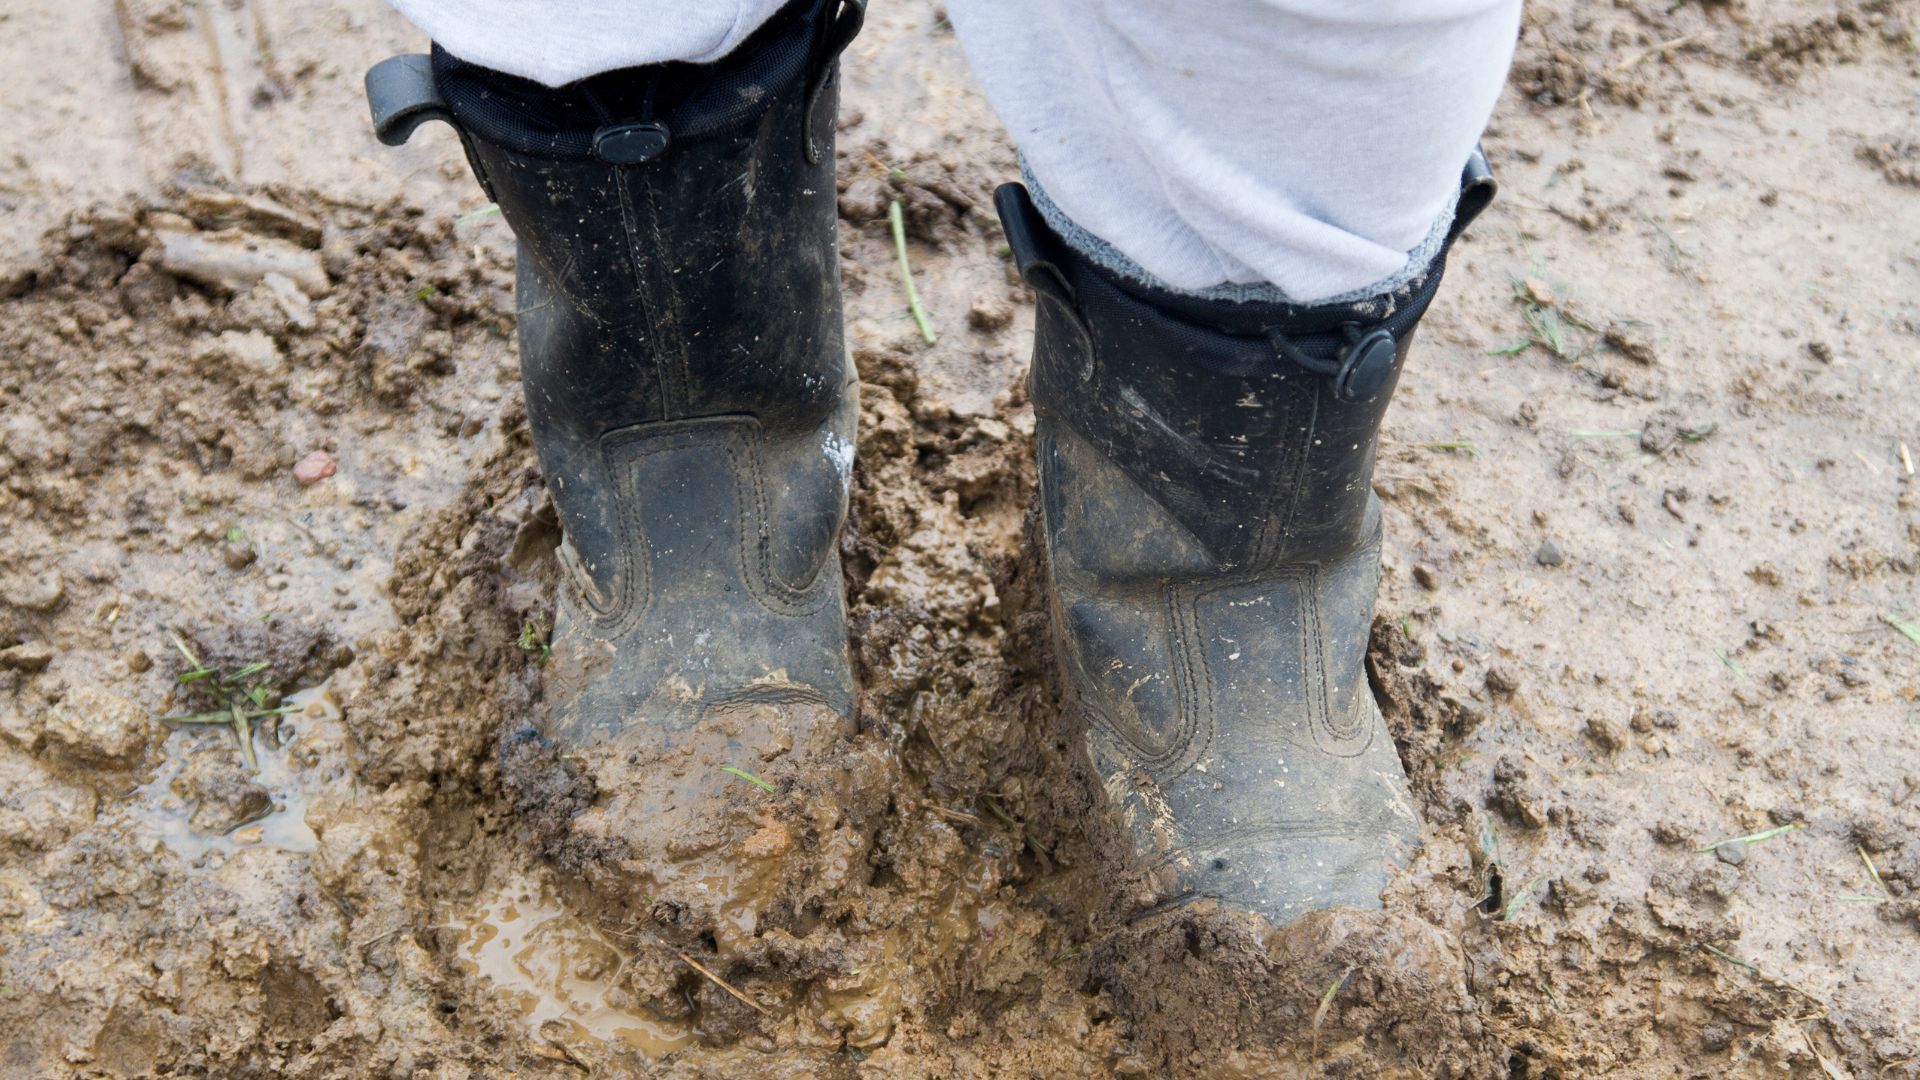
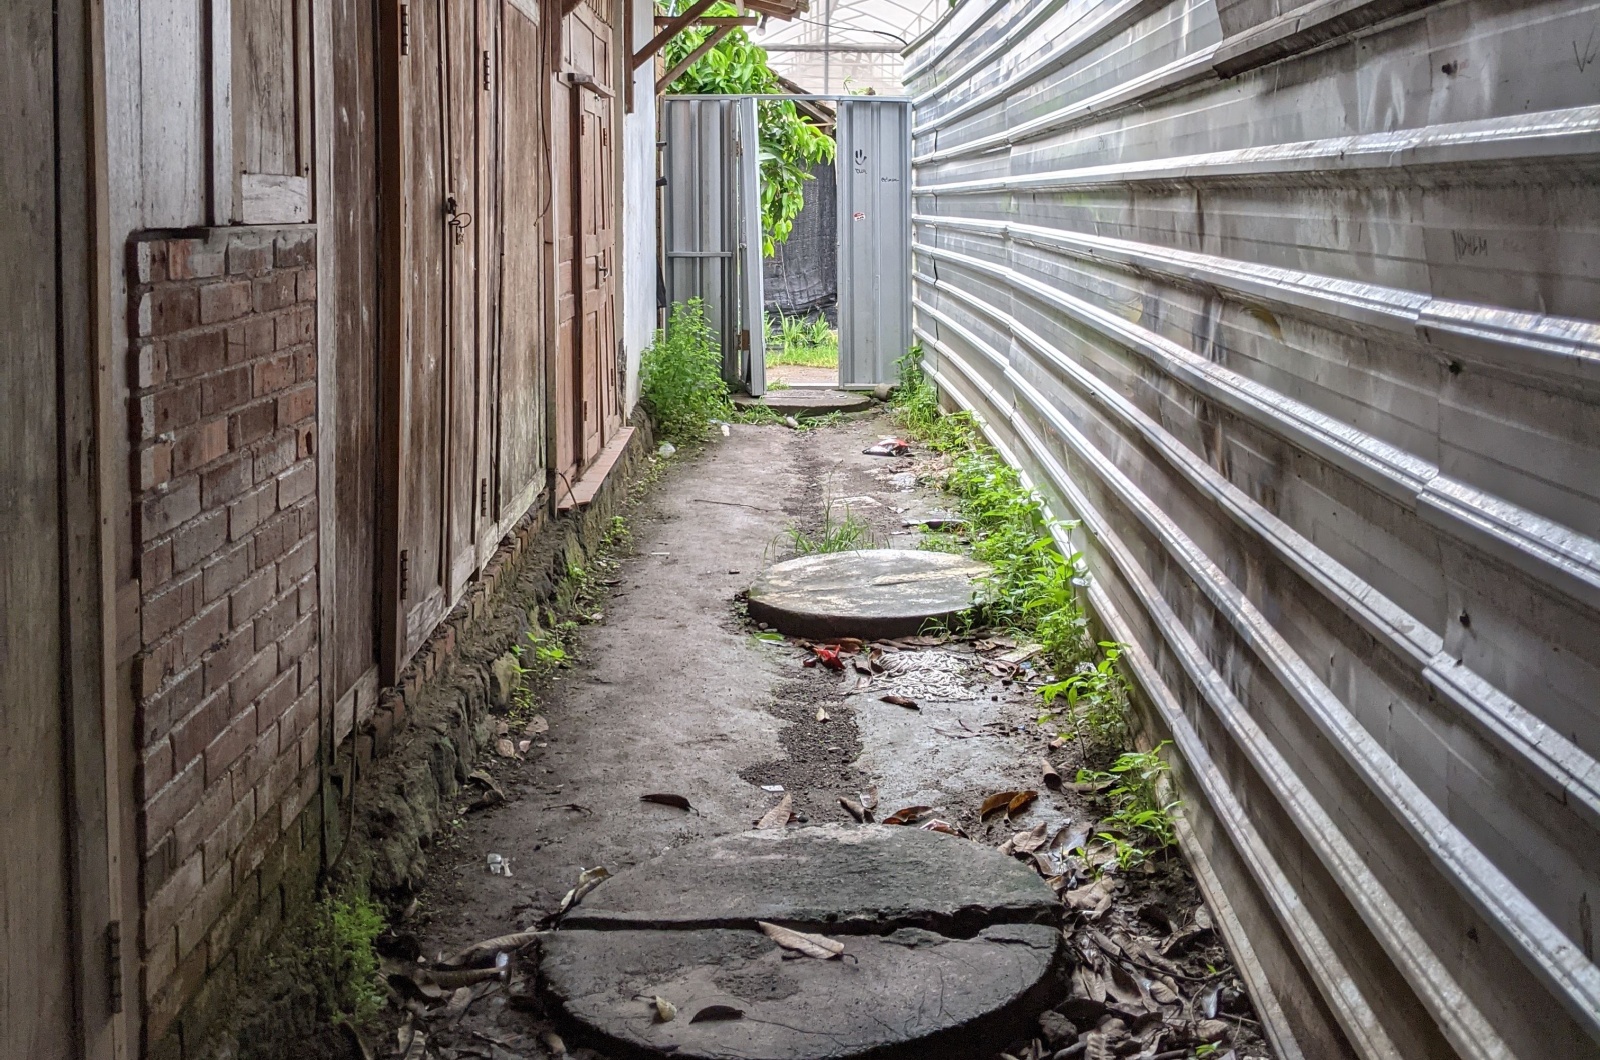
Tired of that muddy mess between houses that turns every rainy day into an obstacle course? I’ve been there – tiptoeing through puddles, trying not to ruin my shoes, and wishing for a magic fix.
The good news is, the solution isn’t magic; it’s a simple, DIY paver project!
Not only will it save your shoes, but it’ll also transform that eyesore of a path into a charming, functional walkway. Grab your gloves and start turning that mudslide into a masterpiece!
Step 1: Map It Out And Prep The Area
First, I grabbed some lawn chalk and outlined the future path. It felt a bit like drawing on a giant canvas.
Once I had the shape just right, I dug out about 4 inches of soil inside the lines, piling it neatly onto a tarp for easy cleanup. Trust me, removing the grass layer is a workout, but it’s worth it!
Then, I compacted the soil with a hand tamper – it’s oddly satisfying to see the ground level out so perfectly.
Step 2: Start With A Solid Base
The key to a sturdy path is a good foundation.
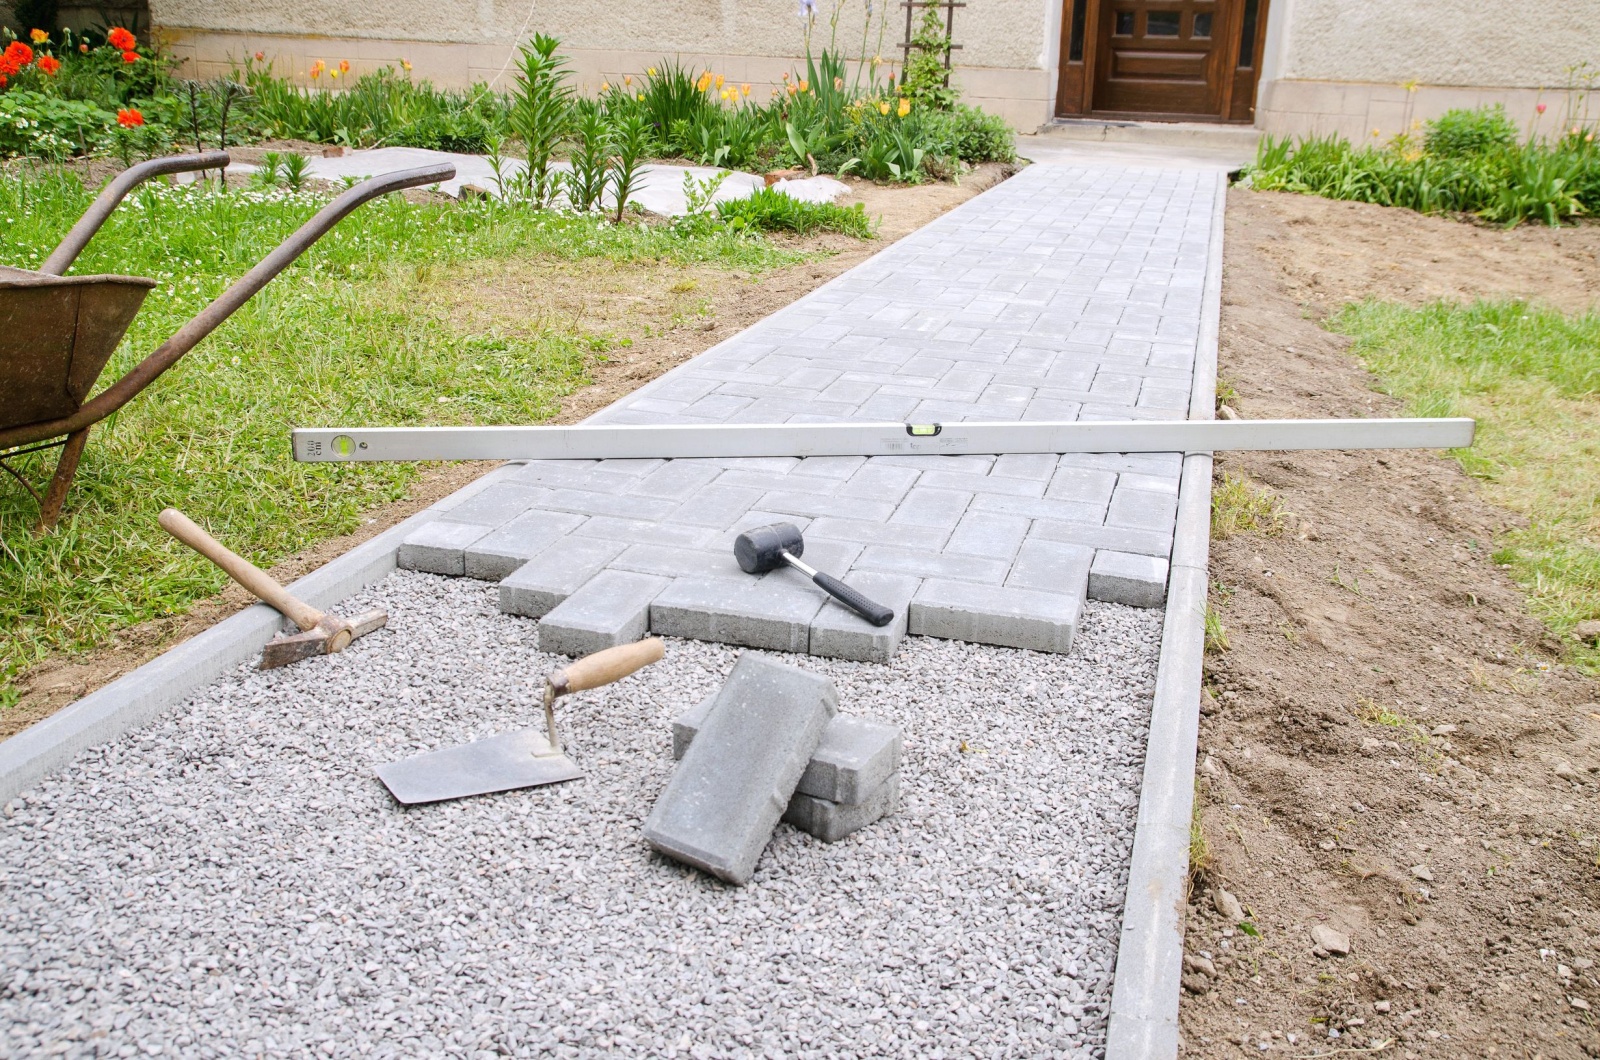
I laid a bottom layer of drainage gravel (around 1/2 to 1 inch in size). This gravel not only provides a stable base but also helps with water drainage, so no more swampy puddles!
After spreading it evenly, I gave it a quick spray with the garden hose and tamped it down again. This step feels like setting the stage for something amazing.
Step 3: Place Your Pavers Like A Pro
Now comes the fun part – placing the pavers!
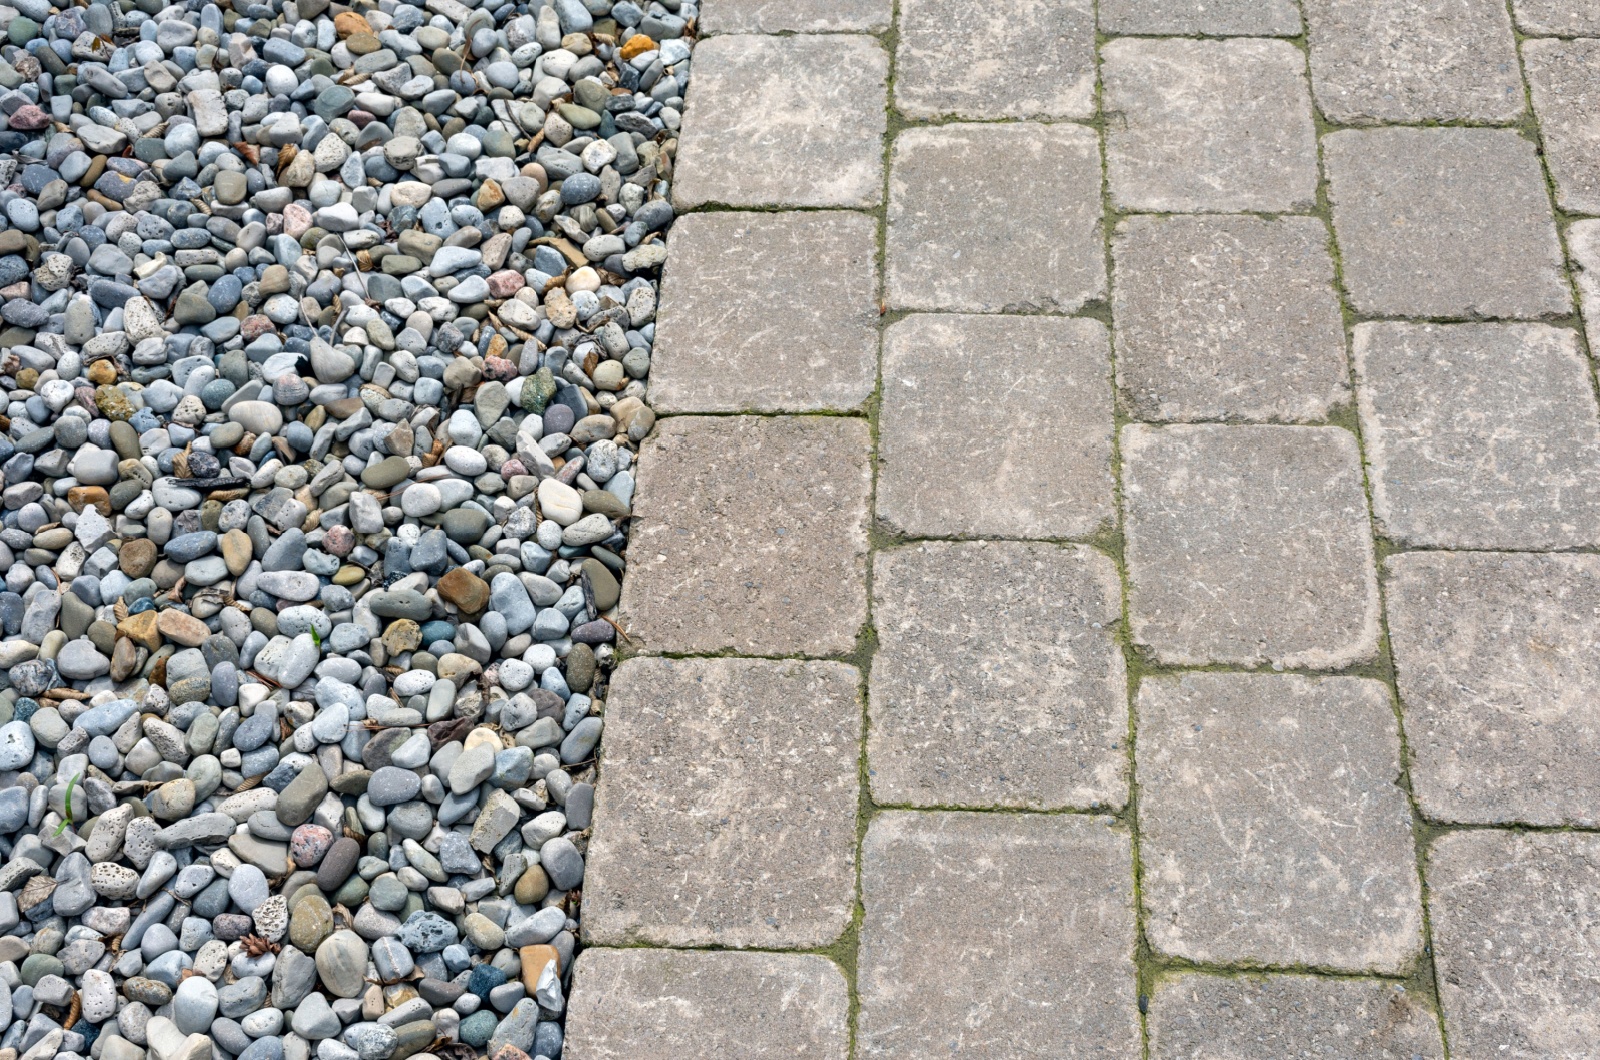
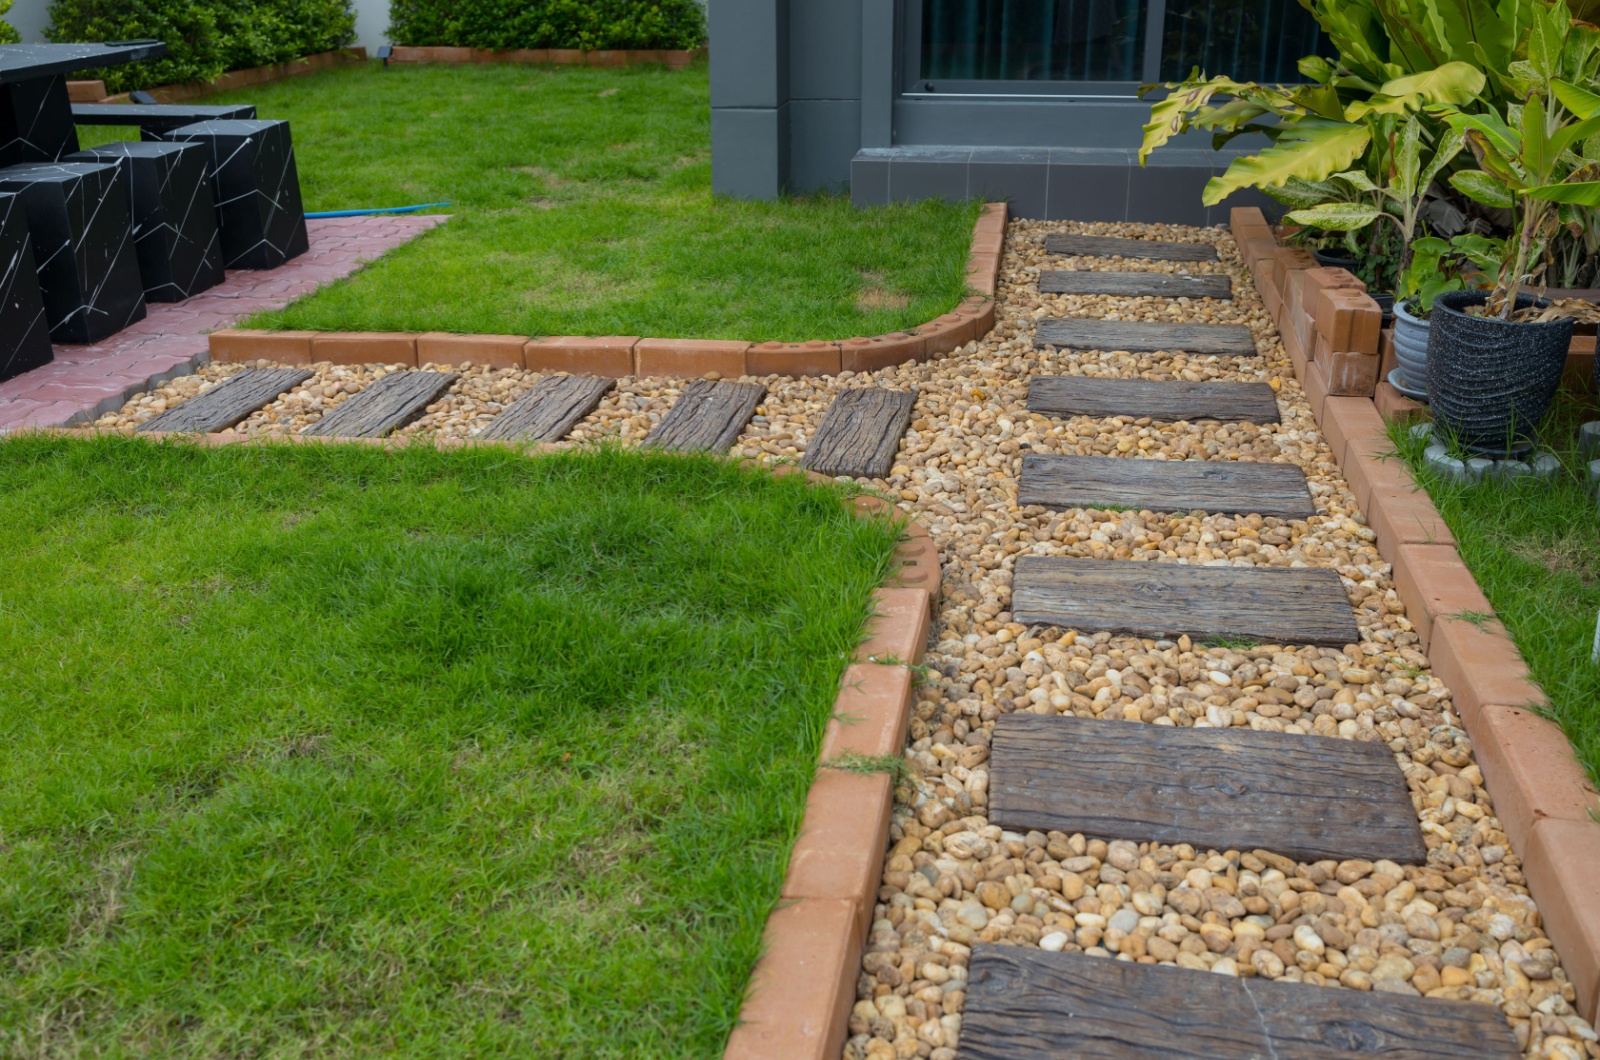
I went with some mismatched pieces for a whimsical vibe, but you can choose anything from sleek concrete pavers to old-world flagstones.
A thin layer of builder’s sand underneath each paver keeps them stable and level. I spaced them about 2 feet apart, making it easy to walk while still letting the gravel shine through.
Step 4: Top It Off With Decorative Gravel
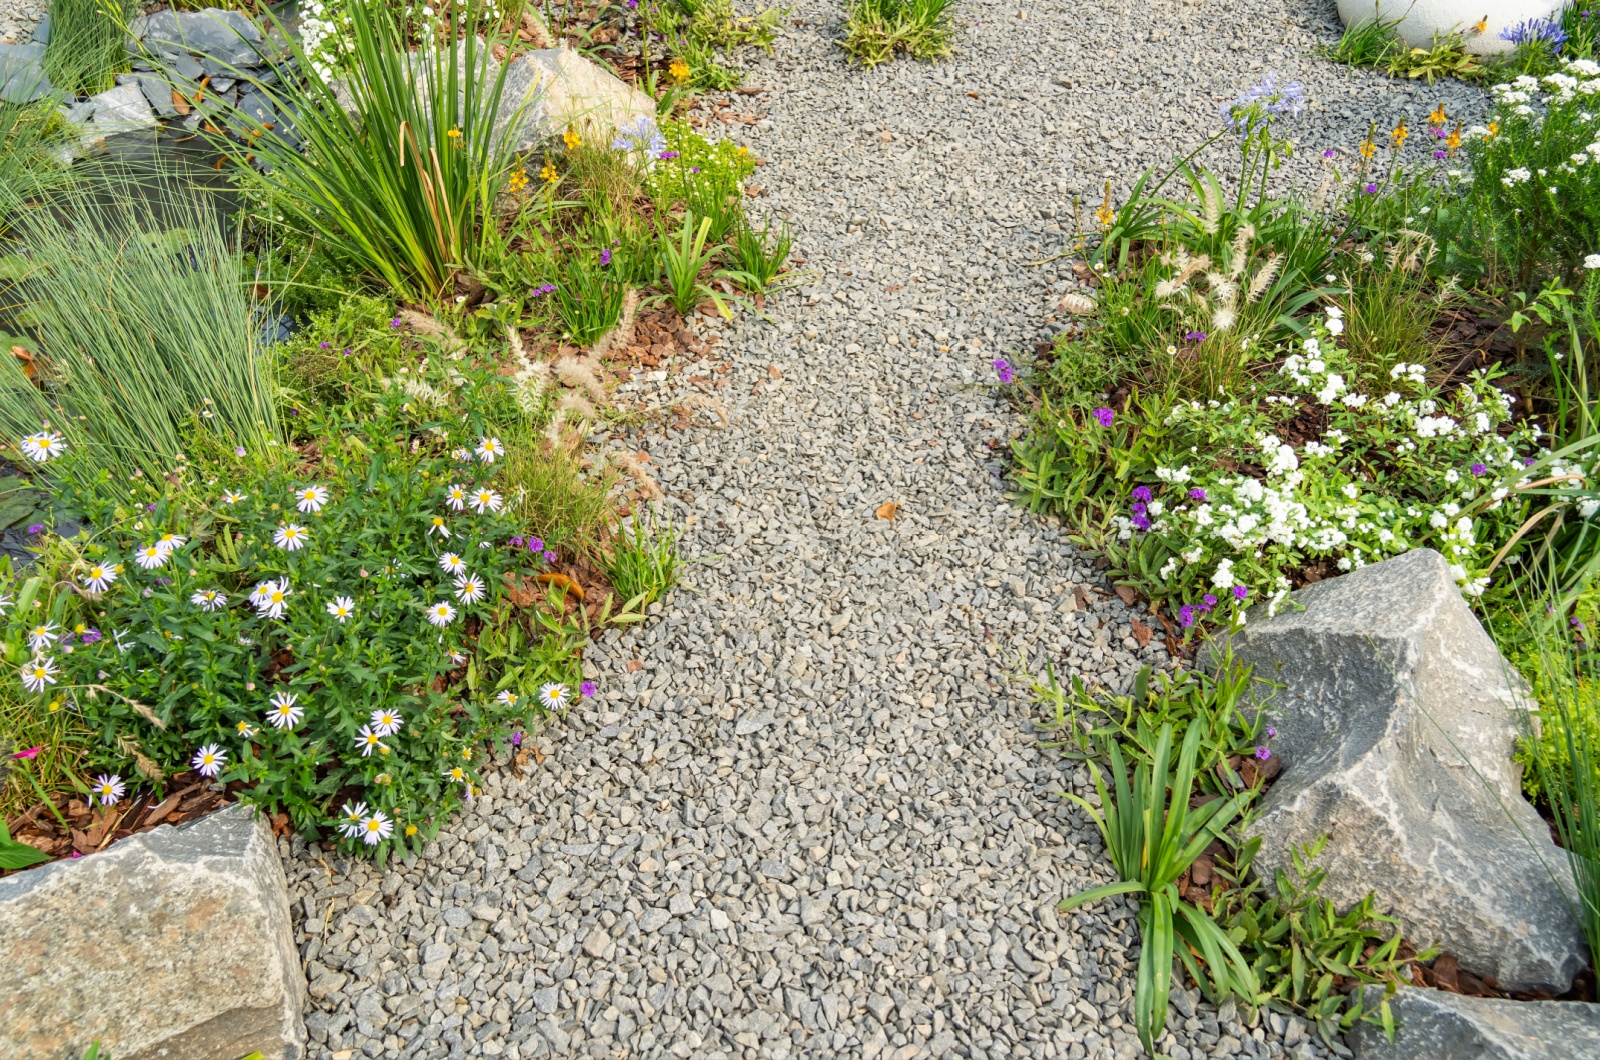
To finish, I spread decorative gravel over the path.
Pea gravel worked perfectly – it’s comfortable to walk on and has that polished yet natural look. I used a rake to level it out and tucked the edges in with some simple bricks for a clean finish.
Bonus: the gravel acts as a natural drainage system, keeping water from pooling and making the path as functional as it is pretty.
To really make the path stand out, you can add a few rat-repelling plants like daffodils along the edges and a simple set of wind chimes nearby. Not only did it elevate the look, but it also helped keep critters at bay.
Your Mud-Free Masterpiece Awaits
Creating this paver path not only saved my shoes but also turned a messy shortcut into a feature I’m proud of.
If you’re tired of tiptoeing through mud and puddles, this DIY project is your perfect solution. It’s practical, pretty, and the best part?
You get to enjoy the satisfaction of creating something with your own hands. Give it a try – you’ll thank yourself every rainy day!

