Keeping A Poinsettia Alive Past The Holidays Is Easier With These 10 Tips
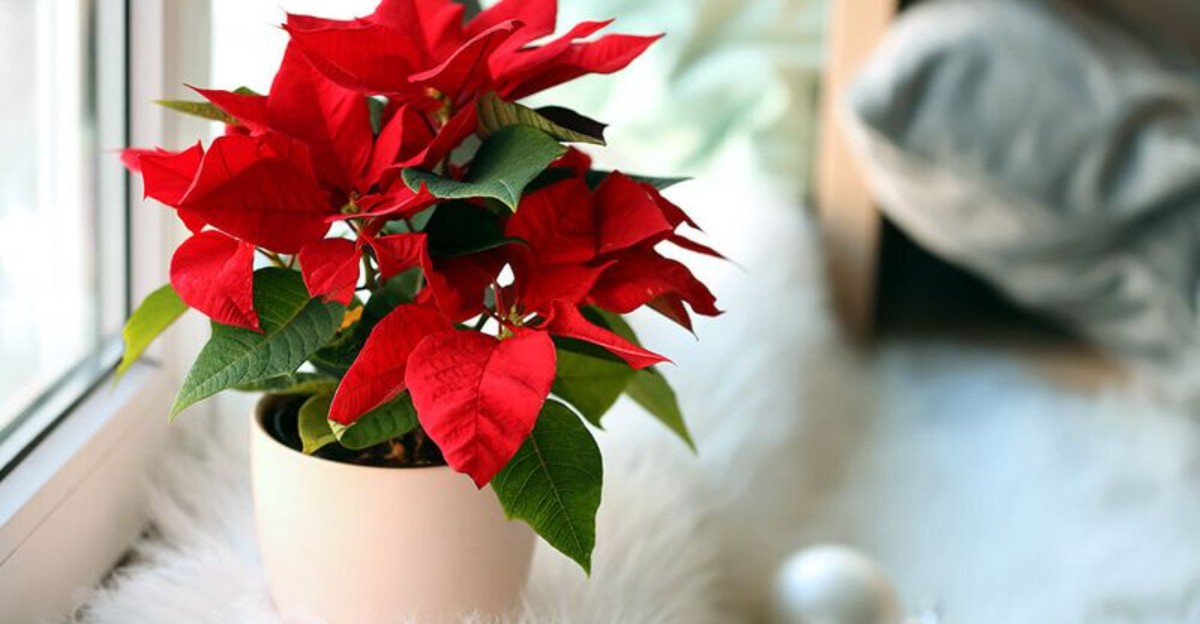
Every December, a bright red beauty shows up on your table like a guest in its fanciest sweater. The whole room seems to smell like pine, cocoa, and holiday cheer.
Then January arrives, and the party guest starts dropping leaves like confetti after midnight. Suddenly, the glowing star of the season looks tired and gloomy.
Most people shrug and toss it out with the wrapping paper. Here is a little secret, though, because that plant wants to stick around.
With a few simple tricks, it can stay green all year and blush red again next winter. September is the perfect month to start paying attention.
Picture your friends gasping when last year’s decoration shows up looking better than ever. It might be the only holiday guest who arrives in a fancier sweater the second time.
1. Find A Bright Spot Without The Harsh Glare
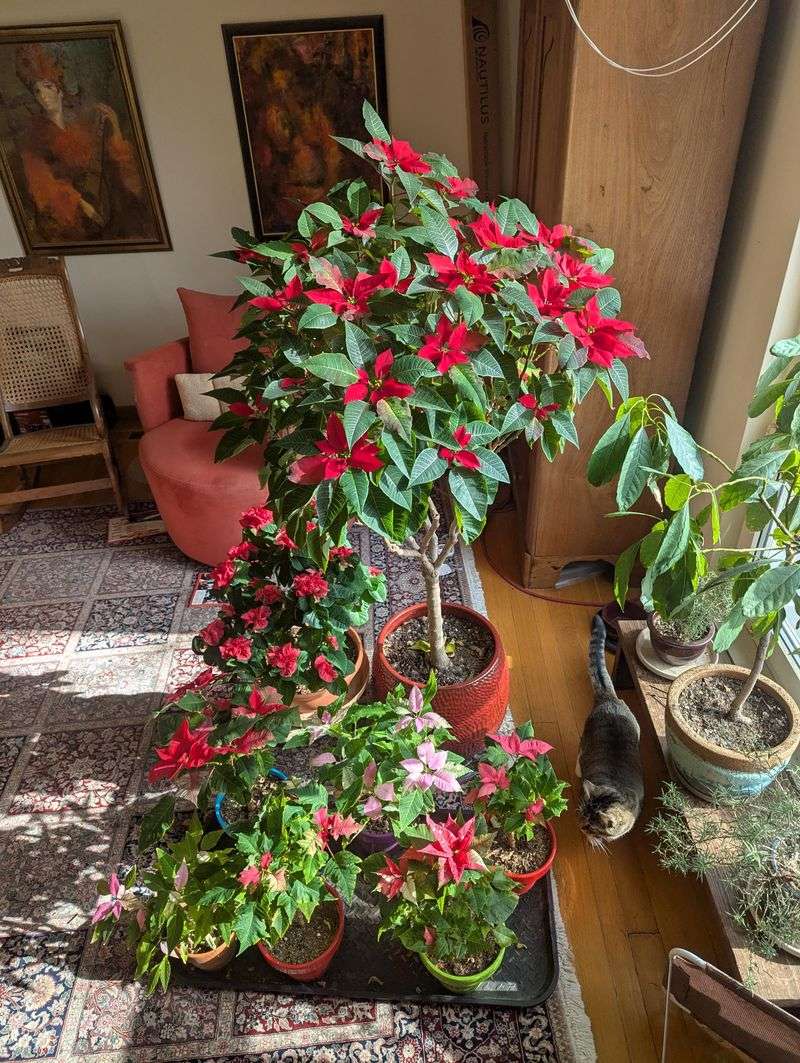
Picture a cat stretched out in a warm sunbeam, and you have the right idea. Your plant wants that same cozy glow, just without the scorching heat.
Bright, indirect light is the sweet spot for keeping leaves colorful and healthy. An east-facing or south-facing window with a sheer curtain works beautifully.
Aim for about six hours of filtered light each day if you can manage it. Less light often leads to droopy stems and leaves that fall early.
Direct afternoon sun through glass can act like a magnifying glass, though. Faded patches or crispy edges are clues that the rays are too strong.
If your home feels a bit dim, a simple LED grow light can fill the gap. Set it on a timer so you do not have to remember it daily.
Give the pot a quarter turn every few days as well. Otherwise, the plant leans toward the window like a kid pressing against a candy shop.
Right now in September, the sun sits lower in the sky and shifts through your rooms. Take a quick walk around your home to spot the new bright corners.
Moving your plant a few feet may be all it takes to keep it glowing. Small changes in light can make a surprisingly big difference over the season.
2. Water Only When The Soil Feels Thirsty
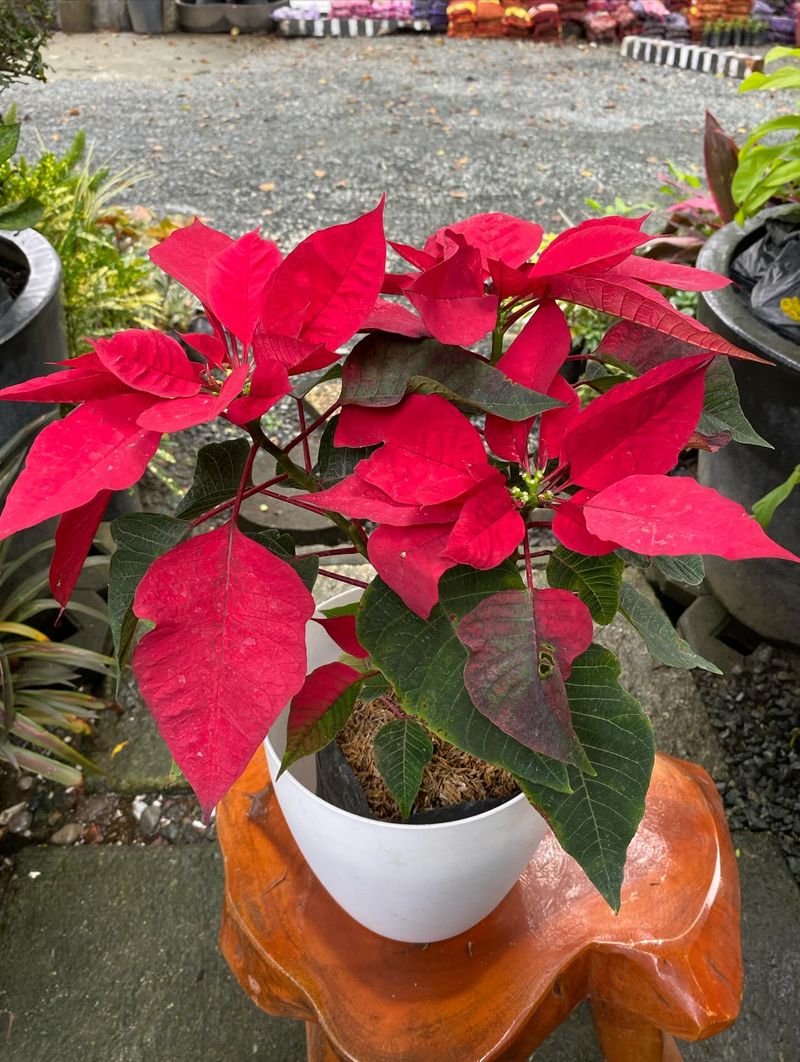
More houseplants suffer from too much love than too little. A soggy pot is the fastest way to turn a cheerful plant into a sad one.
Before you grab the watering can, poke a finger about an inch into the soil. If it feels dry, go ahead and water, but if damp, wait a day or two.
When you do water, soak the soil until a little drips from the bottom. Then empty the saucer so the roots are not sitting in a puddle.
Roots need air just as much as they need moisture. Waterlogged soil squeezes out the oxygen and invites root rot, which is hard to reverse.
Room temperature water is best, since cold water can shock the roots. Fill your can the night before so it warms up while you sleep.
Yellow leaves near the bottom often point to overwatering. Wilting with bone-dry soil means your plant is begging for a drink.
In general, most homes need to water about once a week. Heated rooms in winter may dry things out faster, so keep checking.
A lightweight pot is another handy clue for busy plant owners. Lift it after watering, and you will soon learn the difference between full and empty.
Think of it as a small daily habit, like checking the weather. Your plant will thank you with sturdy stems and bright, lasting color.
3. Keep Chilly Drafts Far Away From The Leaves
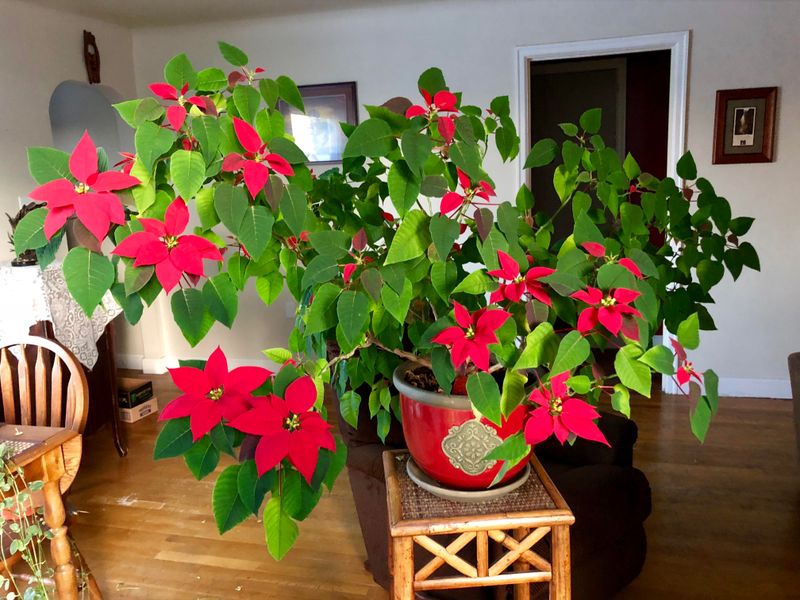
Native to the warm hillsides of Mexico, this plant has zero patience for chilly air. Even a quick cold blast can make its leaves drop overnight.
Keep your pot away from front doors, drafty windows, and air conditioning vents. Those spots bring sudden temperature swings that stress the plant out.
Heaters and fireplaces are just as risky, even though they feel cozy to us. Hot, dry air pulls moisture from the leaves and makes them curl.
The happy zone sits between 65 and 75 degrees during the day. At night, a slight dip to around 60 degrees is perfectly fine.
Try not to let the leaves touch cold window glass in fall and winter. That frosty contact can leave brown, mushy spots behind.
Here is a fun fact about the name. It honors Joel Poinsett, the first US ambassador to Mexico, who brought cuttings home in the 1820s.
Travel matters too, especially on the ride home from the store. Wrap the plant in a paper sleeve so it stays snug during short trips.
A good test is to stand where your plant sits and notice how you feel. If you reach for a sweater, your plant probably wants a new spot.
Moving it just a few feet away from trouble can buy it months of healthy growth. Little tweaks like that keep the green going strong.
4. Ditch The Foil Wrapper Right Away
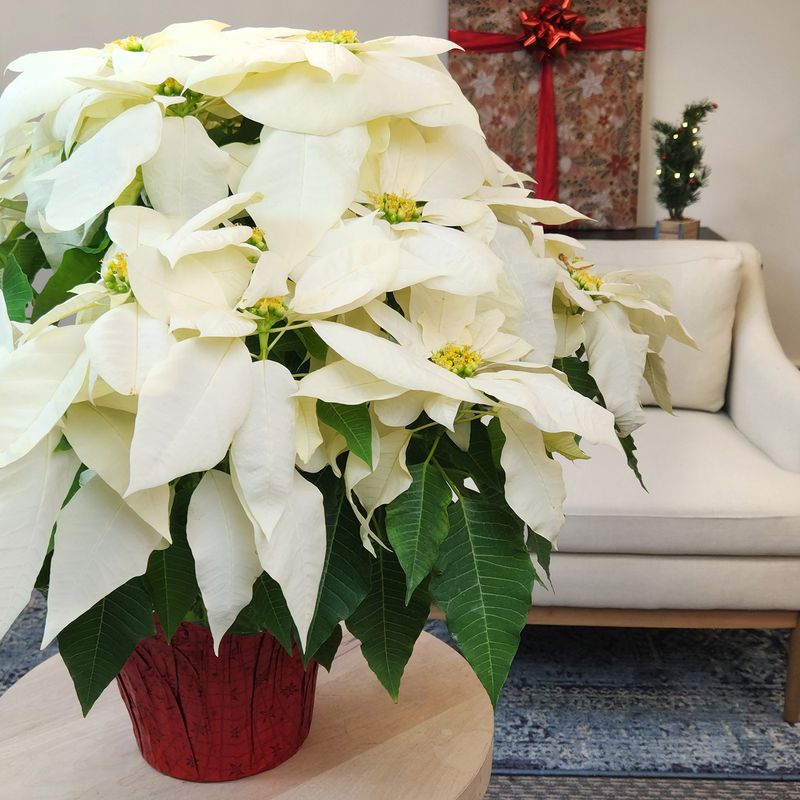
That shiny holiday foil looks festive on the store shelf. Sadly, it can turn into a hidden swimming pool for your plant’s roots.
Decorative wraps trap water at the bottom of the pot with nowhere to go. Roots soak in that puddle and slowly start to rot away.
Once you get home, peel the foil off or poke several holes in the bottom. A plain saucer underneath will catch drips without holding extra water.
Prefer the pretty look for a party? Just remove the pot before watering, let it drain in the sink, and then slip it back inside.
Foil also blocks air from reaching the soil. Good airflow helps the potting mix dry evenly and keeps mold from moving in.
While you are at it, check the plastic grower pot underneath. Many come with drainage holes, but a few are sealed and need swapping.
Swap in a clay or ceramic pot with holes if you want something nicer to look at. Clay breathes well and helps extra moisture escape faster.
Some growers even tuck a coffee filter over the drain hole before adding soil. It stops dirt from washing out while still letting water flow through.
This tiny step takes less than a minute and saves a lot of heartache. Your plant gets to breathe easy all year long.
5. Feed It Lightly Once Spring Arrives

Imagine running a marathon on an empty stomach. Your plant faces a similar problem when spring growth kicks in without any food.
During the holiday bloom, skip the fertilizer altogether. The plant is busy showing off, not building new roots or stems.
Once new green shoots appear in spring, it is time to start feeding. A balanced houseplant fertilizer, like a 10-10-10 mix, works well.
Dilute it to half the strength listed on the label. Too much food can burn the roots and leave crispy brown tips on the leaves.
Feed about every two to four weeks through spring and summer. Mark the dates on a calendar so you do not lose track.
Water the soil first, then add the fertilizer mix. Feeding dry roots is like eating hot sauce without a glass of milk nearby.
Slow-release pellets are a handy option for forgetful plant parents. Sprinkle them on top once, and they feed a little with each watering.
Pale leaves with green veins might mean a missing nutrient like magnesium. A pinch of Epsom salt in water once a month can help perk things up.
As fall arrives, slowly cut back on feeding. By early October, your plant should rest before its big color change.
Think of fertilizer as a vitamin boost, not a full meal plan. A light, steady touch keeps your plant strong without overdoing it.
6. Prune Hard For A Bushier Comeback
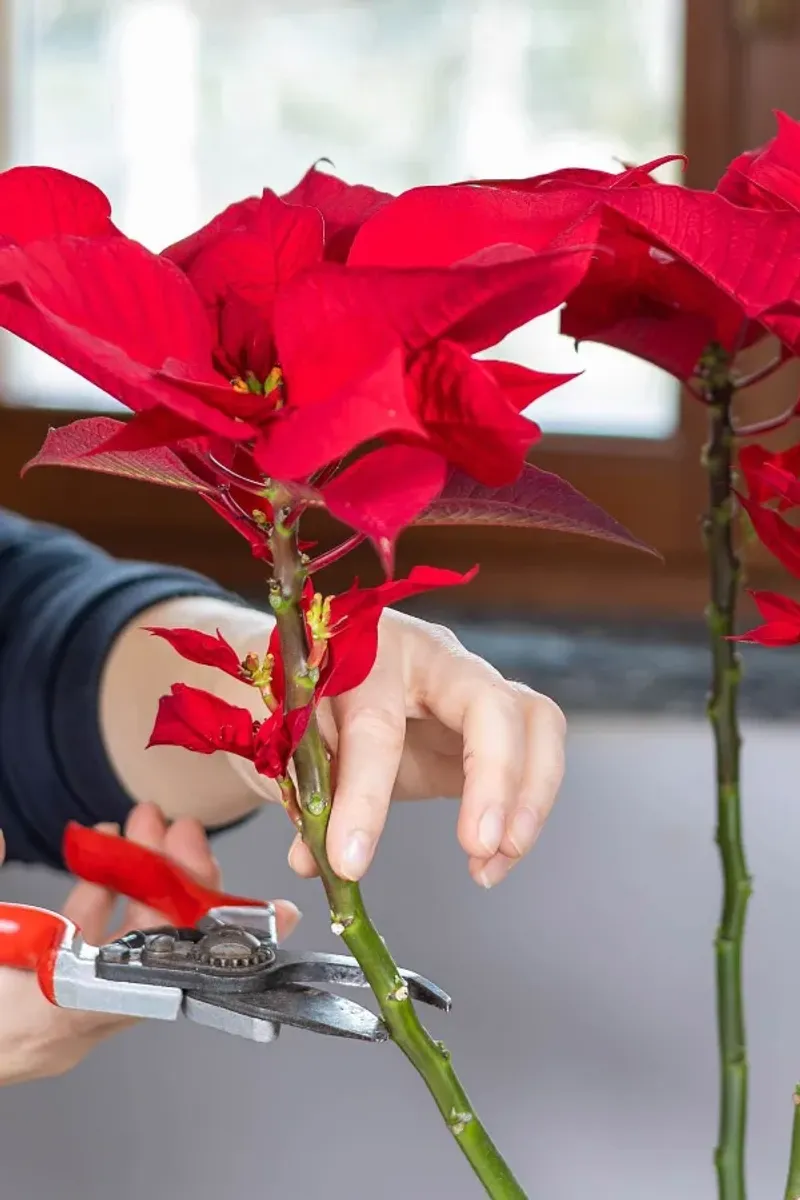
Grabbing scissors and cutting your plant down may feel scary at first. Trust the process, because this is how bushy, full plants are made.
In early spring, usually around March or April, trim the stems back to about six inches tall. Leave a few healthy leaves on each stem.
It will look a little bare for a few weeks. Soon, fresh shoots will pop out from spots just below each cut.
Pinch the tips of new growth again in early summer. Each pinch encourages two new branches, turning one stem into a tiny tree.
Stop pinching by early September so buds have time to form. That timing matters a lot for a colorful display later on.
Wear gloves when you trim, since the stems ooze a milky white sap. It can irritate skin and is best kept away from pets and eyes.
Clean, sharp scissors make neat cuts that heal quickly. Wipe the blades with a disinfecting solution first to avoid spreading germs.
Want a bonus? Healthy cuttings about four inches long can root in moist soil and become brand new plants.
Skipping this step often leads to tall, leggy plants with only a few leaves on top. A good trim keeps everything compact, sturdy, and much more attractive.
Consider it a haircut that sets the stage for the next season. A little bravery now pays off with a fuller plant later.
7. Repot Into Fresh Soil For A Fresh Start
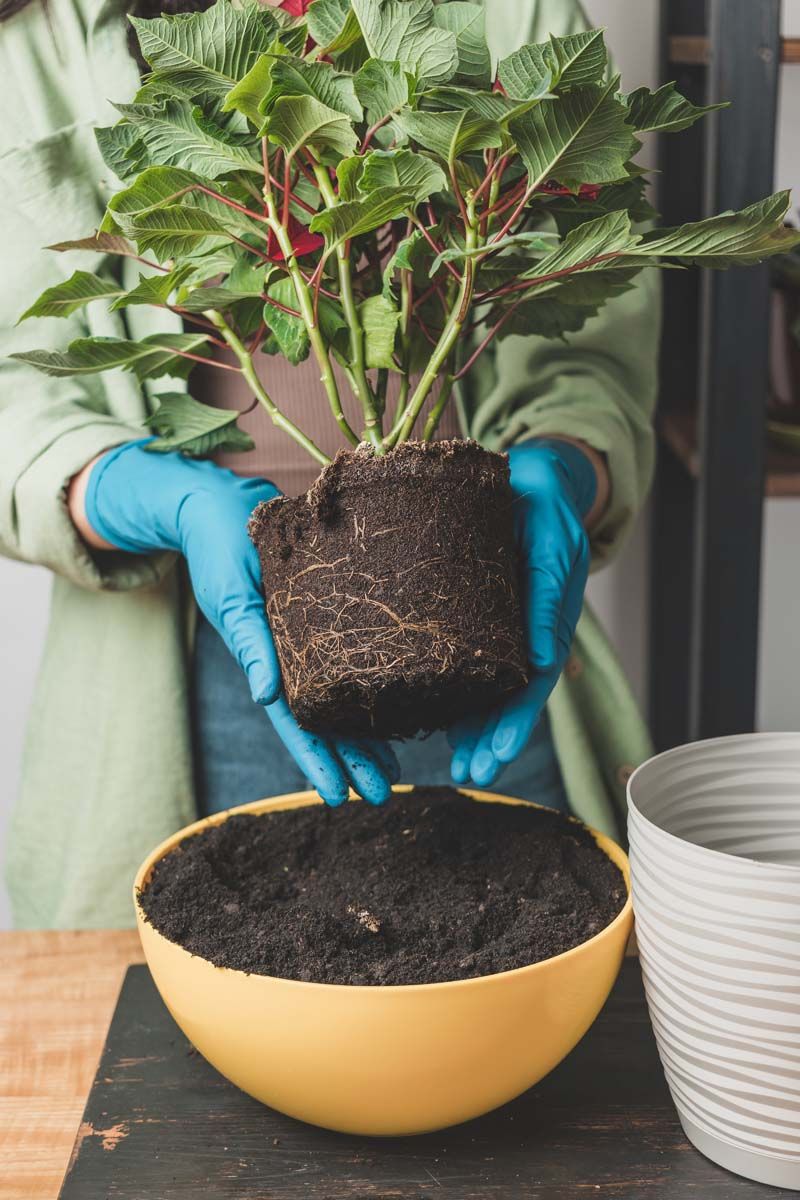
Roots circling the bottom of the pot are a plant’s way of saying it feels cramped. Late spring or early summer is the perfect time for an upgrade.
Choose a new pot just one or two inches wider than the old one. Going too big leaves extra soil that stays wet for too long.
Pick a light, well-draining potting mix made for indoor plants. Adding a handful of perlite helps water flow through with ease.
Gently tip the plant out and loosen any tangled roots with your fingers. Trim away mushy or dark roots, since healthy ones look firm and white.
Set the plant at the same depth it grew before. Burying the stem deeper can lead to rot along the base.
Fill in around the sides and press the soil lightly with your hands. Water well afterward to help everything settle into place.
Expect a few droopy days while the plant adjusts to its new home. Keep it out of harsh sun until it perks back up.
Fresh soil brings back nutrients that the old mix lost over time. That new supply gives roots room to spread and stems a chance to thicken.
Here is a handy bonus tip before you begin. Lay newspaper down first, and cleanup becomes a quick fold and toss.
Most plants only need this refresh once every year or two. Treat it like moving into a roomier apartment with a better view.
8. Send It Outside For A Fresh Air Break
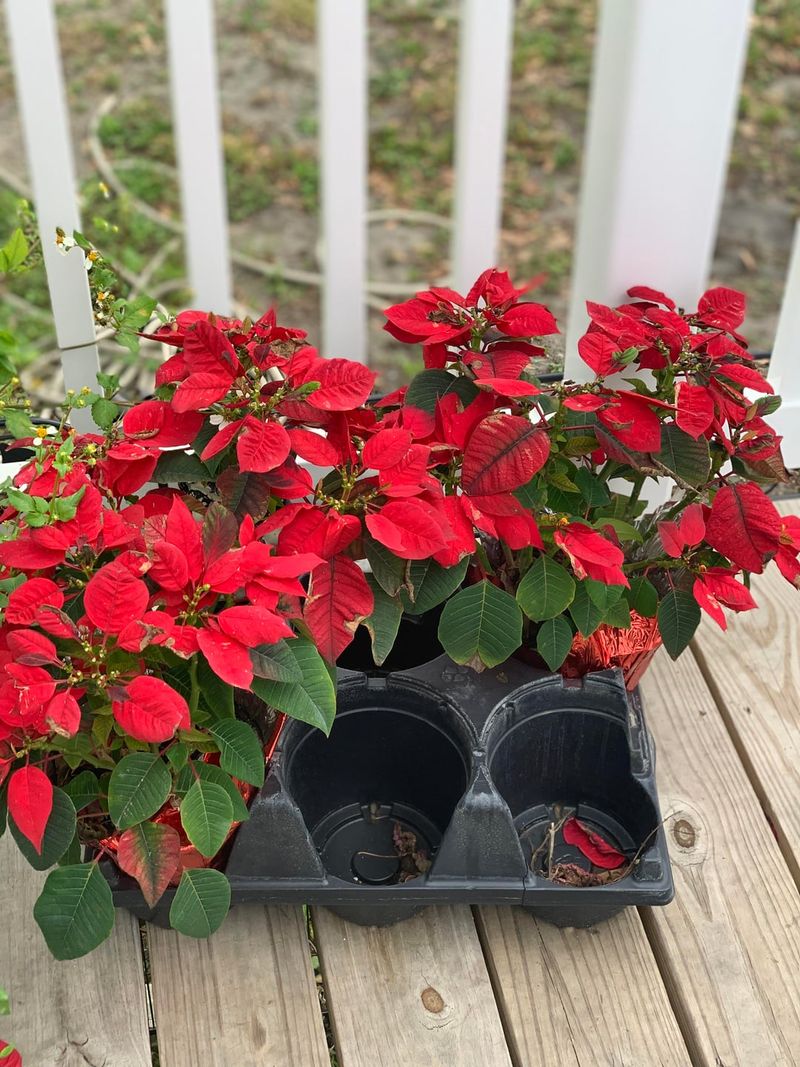
Houseplants love a summer getaway as much as we do. Once nights stay above 55 degrees, your plant can head outdoors for fresh air.
Start slowly by placing it in full shade for a few days. Then move it bit by bit into a spot with morning sun and afternoon shade.
Skipping this adjustment can lead to sunburned leaves with pale, papery patches. Plants need time to toughen up, just like our skin does.
Outdoor pots dry out much faster in heat and wind. Check the soil every day during hot spells and water when the top feels dry.
Keep the plant in its pot rather than planting it in the garden. That makes the trip back indoors much easier later.
Watch the forecast closely as September rolls along. When nighttime temperatures drop near 55 degrees, it is time to bring your plant inside.
Before moving it in, rinse the leaves with a gentle spray from the hose. Look under each leaf for bugs that might want to hitch a ride.
Placing it on a covered porch for a few days eases the shift back indoors. Sudden changes in light can cause leaves to drop from stress.
Many growers notice thicker stems and richer green leaves after a summer outdoors. Fresh air and natural light really do work wonders.
Think of it as summer camp for your favorite plant. It comes home stronger, greener, and ready for the next big step.
9. Watch For Tiny Pests Before They Multiply
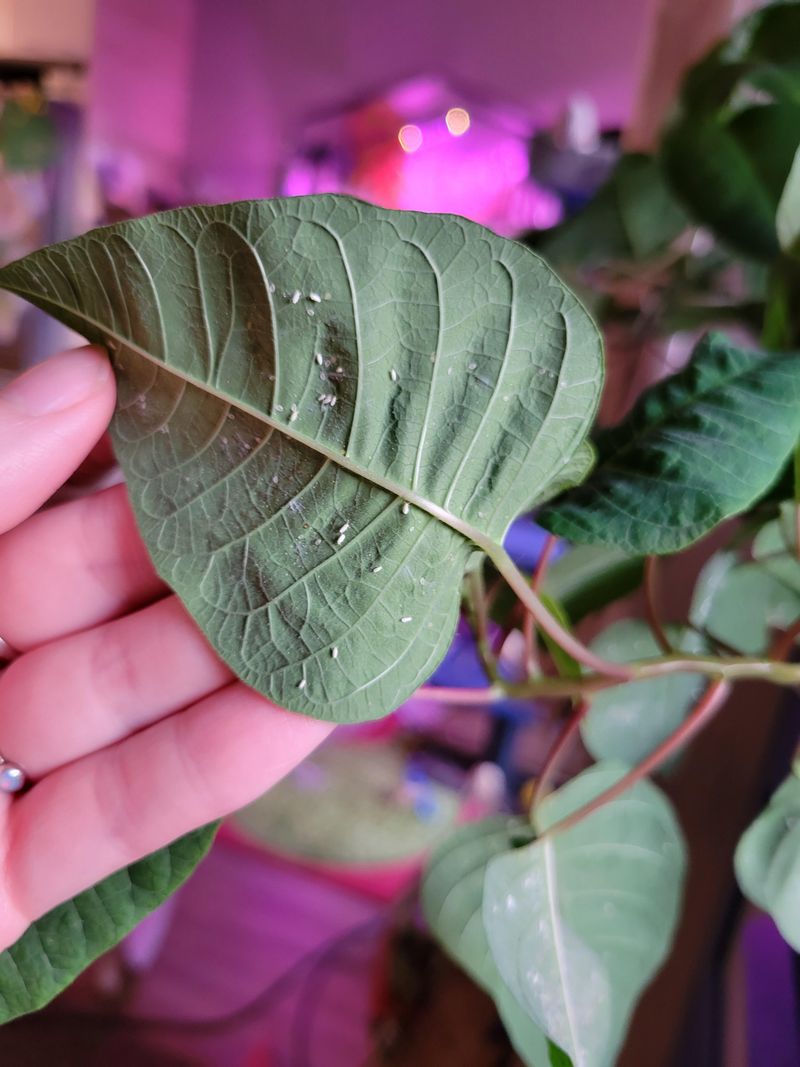
Whiteflies are small, but they can cause big trouble for your plant. Shake a branch, and a cloud of tiny white specks may flutter up.
Other common visitors include spider mites, mealybugs, and fungus gnats. Each one feeds on plant juices or roots, leaving leaves weak and spotty.
Make a habit of checking under the leaves once a week. Many pests hide there, where they stay out of sight and out of mind.
Fine webbing between stems is a telltale sign of spider mites. White, cottony blobs in leaf joints usually point to mealybugs.
Catching problems early makes treatment much simpler. A gentle rinse in the shower can knock off many bugs in just a few minutes.
For stubborn pests, insecticidal soap or neem oil works well on most houseplants. Spray all leaf surfaces, including the undersides, every five to seven days.
Yellow sticky traps near the pot help catch flying insects like whiteflies and gnats. They also show you how big the problem really is.
Keep a new or sick plant apart from others for a couple of weeks. That simple step stops bugs from spreading around your home.
Fungus gnats love soggy soil, so letting the top inch dry out helps a lot. Less moisture means fewer places for their larvae to grow.
Stay calm if you spot a few critters. With quick action and steady care, your plant can bounce back and keep growing strong.
10. Tuck It Into Darkness To Bring Back The Red
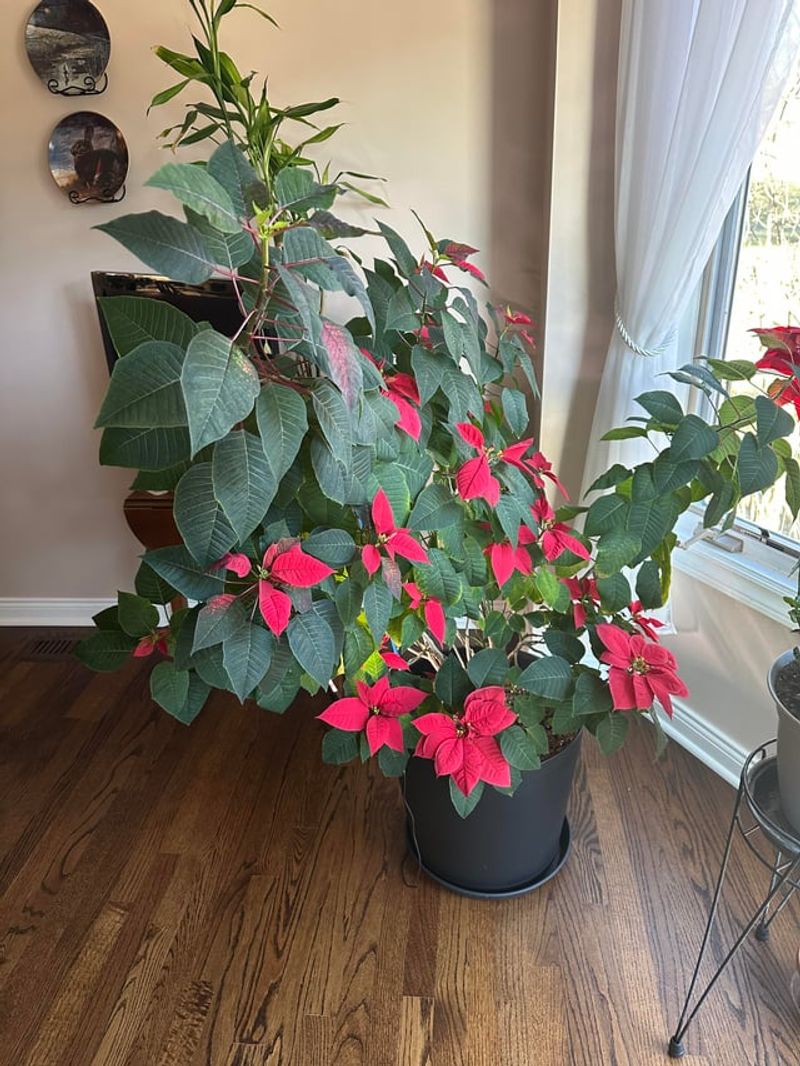
Here is the secret that surprises most people. Those famous red tops are not flowers at all, but special leaves called bracts.
Bracts change color only when nights grow long and dark. To trigger the show, your plant needs about 14 hours of unbroken darkness each night.
Start this routine in late September or early October. Aim for roughly eight to ten weeks of steady nightly darkness.
Each evening around 5 PM, place the plant in a closet or cover it with a cardboard box. Bring it back out around 7 AM for bright daytime light.
Even a quick flash of lamplight can reset the process. Pick a spot where nobody will flip on a switch by accident.
Keep watering and giving it daytime sun as usual during this period. Hold off on fertilizer once the colors start to show.
Slowly, the top leaves will blush pink, red, cream, or even speckled shades. By late November, your plant should be ready for its big encore.
Setting a phone reminder makes the daily routine much easier to follow. Some families even turn it into a fun chore for the kids.
Patience is the hardest part of this whole trick. Missing a night or two may delay the color, so stay consistent.
Pulling off a second bloom feels like winning a small prize. Your plant becomes a holiday tradition that keeps coming back year after year.