Get Amaryllis Blooming By Christmas With These 10 Simple Tips
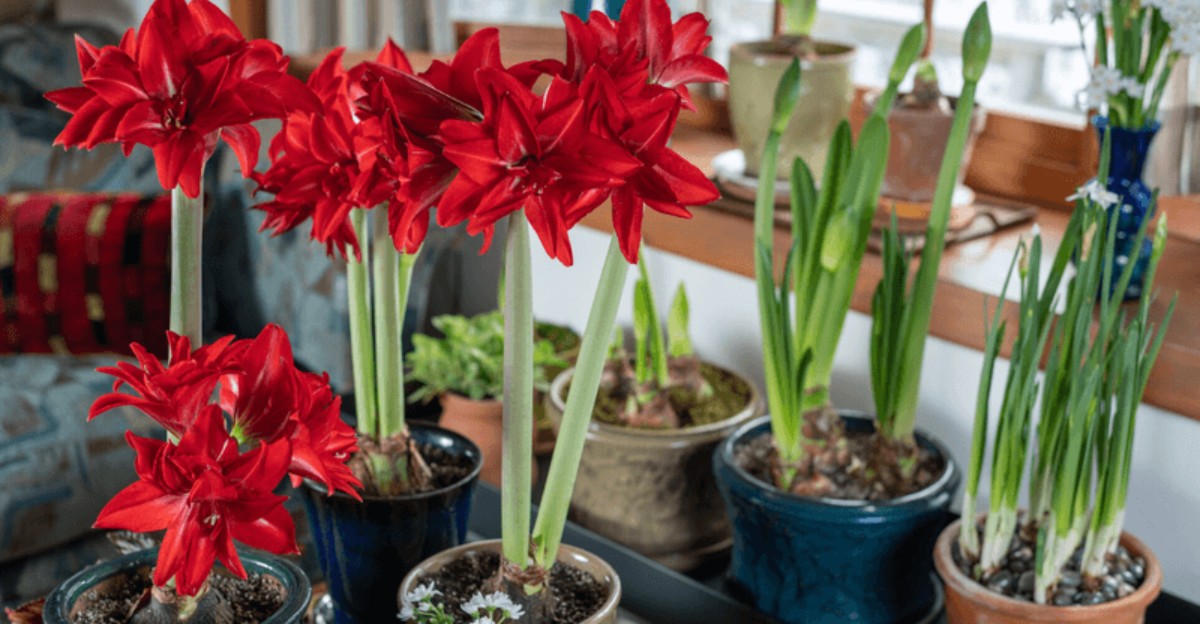
Picture a snowy morning, cocoa steaming, and a giant red flower glowing on your windowsill like a stoplight. Your cousins gasp, and even the grumpiest relative at the table stops chewing his cookie.
Now picture the other version, where a stubby green stalk just sits there looking bored. It seems to have forgotten the party started and is still asleep upstairs.
Holiday flowers can be surprisingly dramatic about their timing, just like cats deciding when dinner happens. Some show up weeks early, while others stroll in after the wrapping paper is recycled.
You do not need a greenhouse or a lucky charm to pull this off. A calendar, a sunny window, and a few smart moves can do the heavy lifting.
September is the perfect moment to start plotting your flower surprise. Just be warned that your relatives may start asking if you take requests for Easter.
1. Pick A Plump Bulb That Feels Heavy
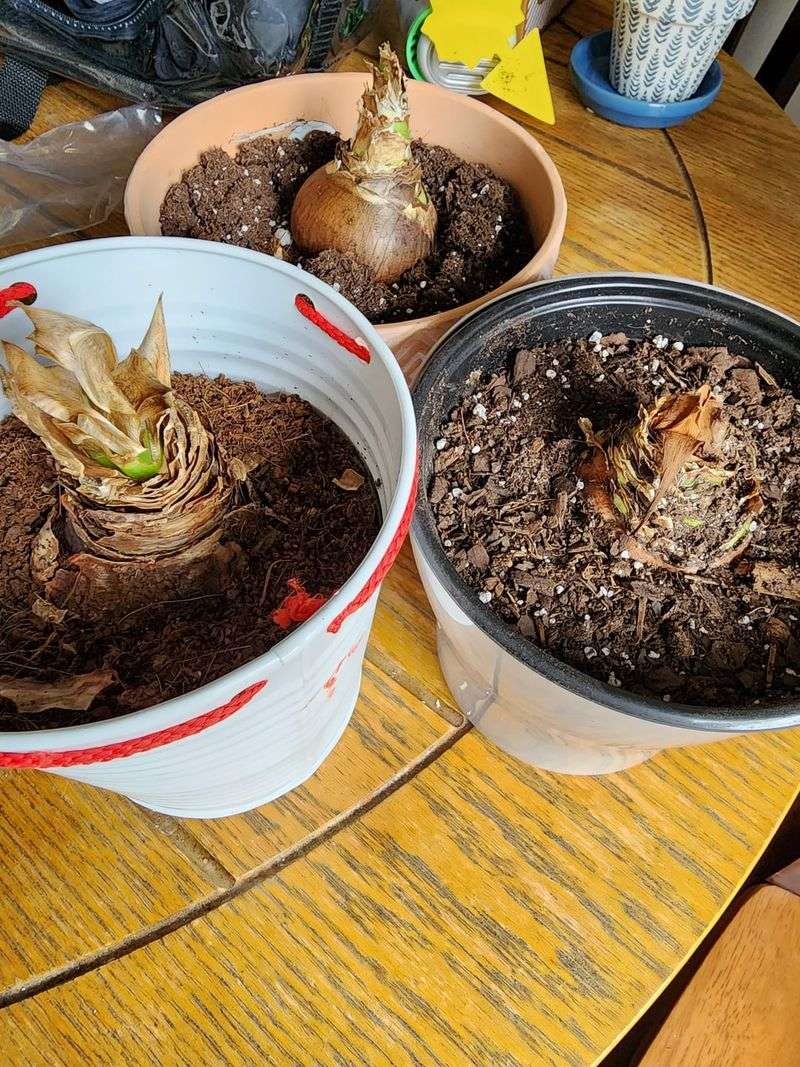
Picture yourself at the garden center, squeezing bulbs like a shopper testing melons. That silly-looking habit matters more than you might think for a great holiday show.
A big, firm bulb holds more stored food, and that stored food turns into flowers. Larger bulbs often send up two or even three tall stalks instead of just one.
Look for bulbs that measure at least 26 centimeters around, which is about the size of a large orange. Many packages list the size, so check the label before you buy.
Skip any bulb that feels soft, mushy, or strangely light in your hand. Moldy spots, deep cuts, or a sour smell are also clues that the bulb had a rough trip.
A few dry, papery outer layers are normal and nothing to worry about. Healthy roots at the base should look plump and pale, not shriveled or dark brown.
September is a smart time to shop because stores and catalogs have the best selection right now. Popular colors like deep red and snowy white can sell out quickly by late fall.
Store your new bulbs somewhere cool and dry until planting day arrives. A paper bag in a closet works nicely, just keep it away from fruit and heat.
Fun fact: these bulbs originally come from South America, where they grow wild on rocky hillsides. Your store-bought beauty has some pretty adventurous relatives out there.
2. Count Back Eight Weeks From Christmas
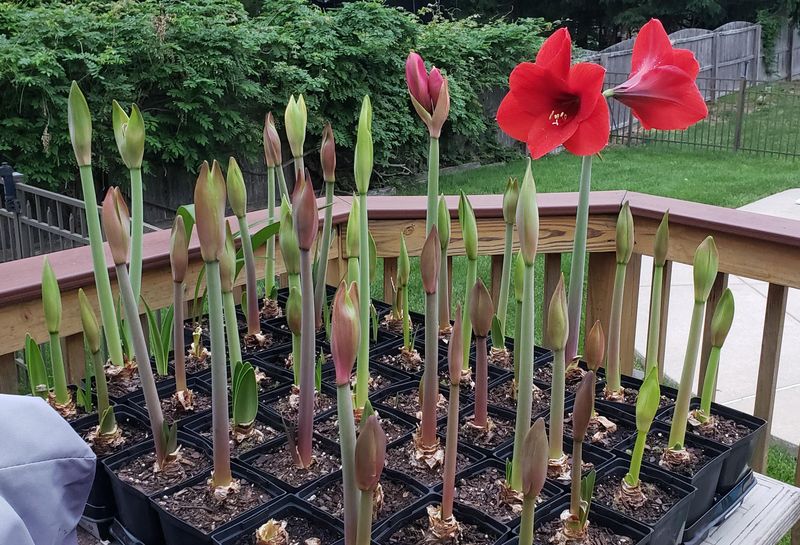
Here is a little math problem that ends with flowers instead of homework. Most of these bulbs need six to ten weeks from planting to full, glorious bloom.
Grab a calendar and find December 25, then count backward about eight weeks. That puts your ideal planting window somewhere between late October and early November.
Planting too early can mean flowers open around Thanksgiving and fade before the big day. Planting too late might leave you staring at a tall green stalk on Christmas morning.
Different varieties move at different speeds, so read the package for timing clues. Some types, like waxed bulbs or certain fast-blooming cultivars, bloom a bit faster.
Warm rooms speed things up, while cooler rooms slow the whole process down. If your house runs chilly in winter, lean toward the earlier side of the window.
Writing the date on a sticky note or phone reminder keeps you from forgetting in the busy fall months. School events and Halloween can easily push garden plans out of your mind.
Since you are reading this in September, you have plenty of time to plan. Use these weeks to gather pots, soil, and a sunny spot before planting day arrives.
Think of it like baking cookies with a very slow oven. Patience plus good timing gives you a warm, colorful reward right when the family gathers.
3. Choose A Snug Pot With Good Drainage
Surprisingly, these bulbs love a tight fit, a bit like a cat curled up in a small box. A pot only one or two inches wider than the bulb works best.
Too much space means too much soil, and extra soil holds extra water. Soggy soil around the roots can lead to rot, which is the fastest way to lose a bulb.
Drainage holes at the bottom are a must-have, not a nice extra. Water needs a way to escape, or it will pool around the roots like a tiny swamp.
Heavy pots made of clay or ceramic help, too, because the flower stalks grow tall and top-heavy. A lightweight plastic pot might tip over just as the blooms open.
If you love a fancy decorative pot without holes, use it as an outer cover. Place a plain plastic pot with holes inside, and empty any extra water after watering.
Fill the pot with a light, fast-draining potting mix made for indoor plants. Skip heavy garden soil, which packs down hard and holds moisture far too long.
Adding a handful of perlite or small bark bits helps air reach the roots. Healthy roots breathe, and breathing roots grow the strong base your flowers need.
Planting several bulbs together? Keep them close, almost touching, in a wider pot for a crowded, cheerful display.
4. Leave The Shoulders Peeking Above Soil
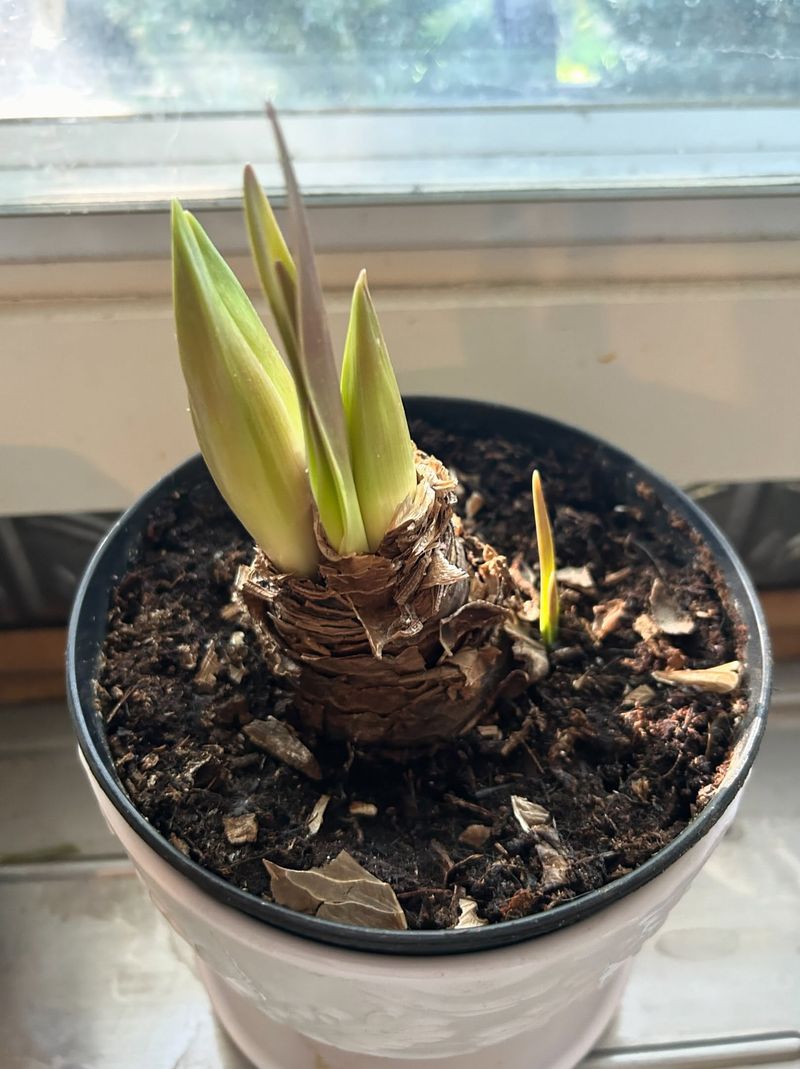
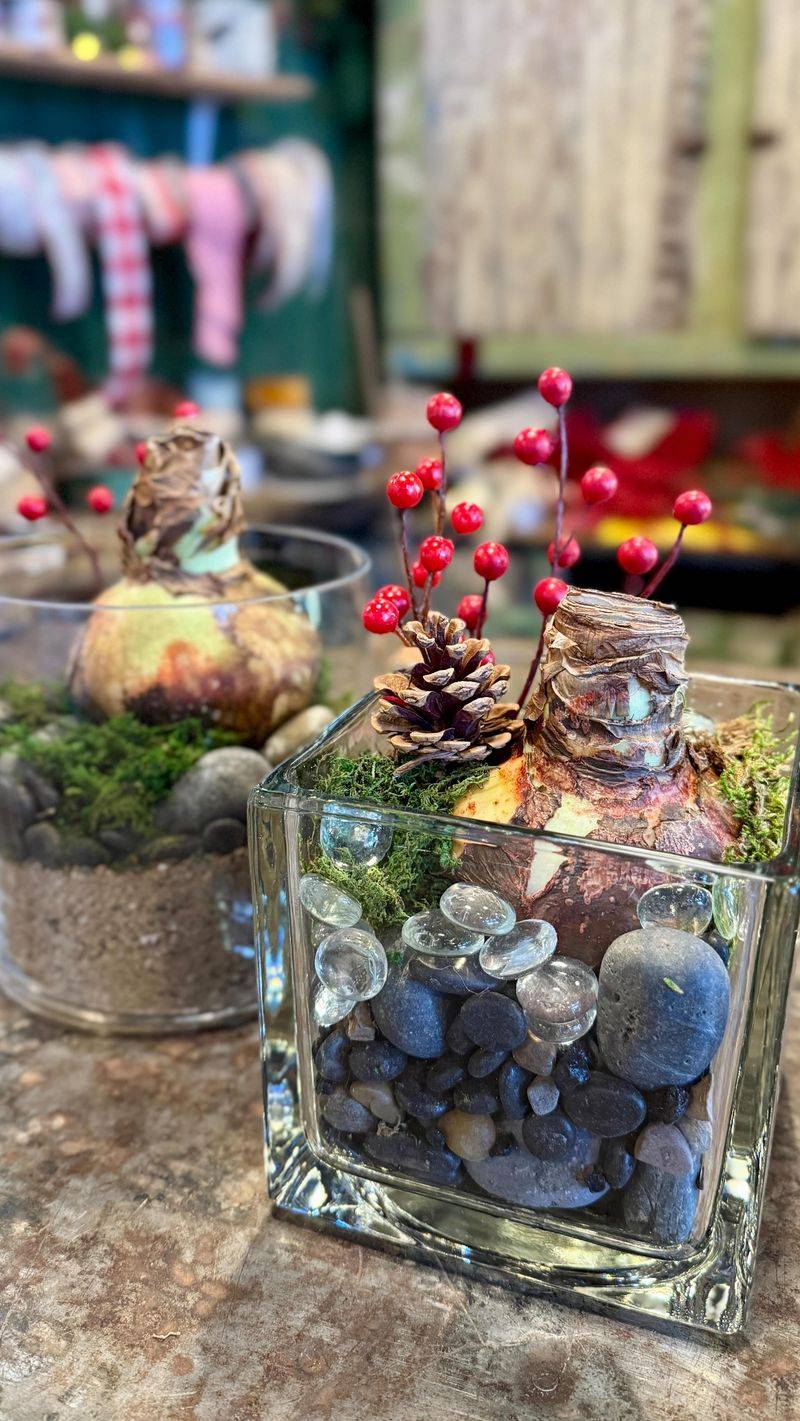
Think of the bulb as a shy swimmer who only wants to dip halfway into the pool. The top third, often called the shoulders, should stay above the soil line.
Burying the whole bulb traps moisture around its neck, which invites rot and fungus. Leaving the shoulders exposed lets air move around the top and keeps things dry.
Start by adding a few inches of potting mix to the bottom of your pot. Set the bulb on top with the roots spread gently downward, like a little skirt.
Now fill in around the sides, pressing the soil lightly with your fingers as you go. Stop when about one third of the bulb still sits proudly above the surface.
Firming the soil matters because loose soil lets the bulb wobble as the stalk grows. A wobbly bulb can lean, crack its roots, or tip right out of the pot.
The pointed end goes up, and the flat, rooty end goes down. It sounds obvious, but plenty of first-time growers have planted one upside down by mistake.
Some folks top the soil with moss or small pebbles for a finished, holiday look. Just keep that layer away from the bulb itself so the neck stays dry.
Once planted, your bulb looks like a sleepy onion wearing a cozy blanket. It will not stay sleepy for long once the next few steps kick in.
5. Wake The Roots With A Warm Soak
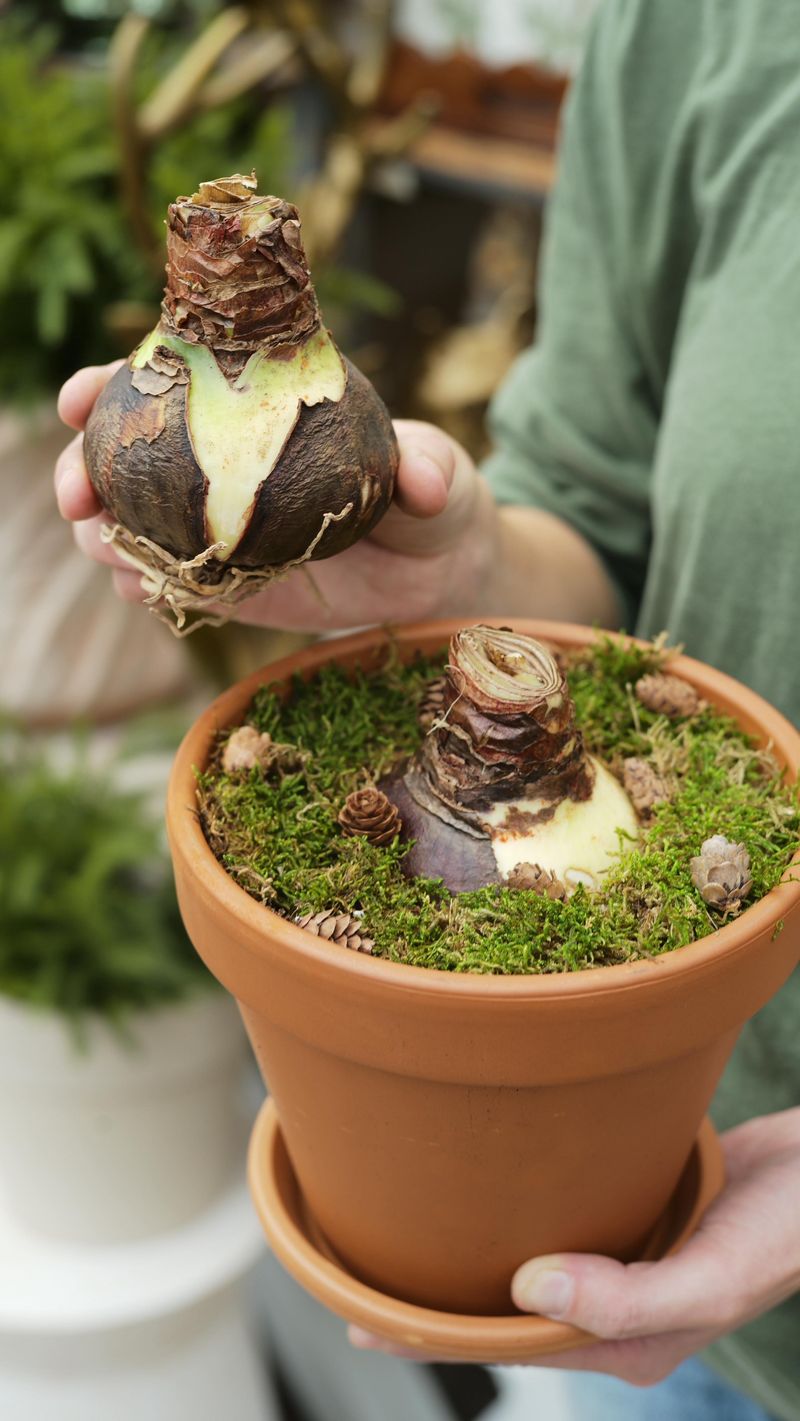
Before planting, many experienced growers give their bulbs a spa treatment. It sounds fancy, but it only takes a bowl of water and a little bit of patience.
Fill a shallow dish with lukewarm water, about the temperature of a comfy bath. Set the bulb so only the roots and the flat base sit in the water.
Let the roots soak for a few hours or overnight at the very most. This gentle drink helps dry, sleepy roots plump up and get ready for their new home.
Keep the bulb itself out of the water, since a wet bulb body can start to rot. Only the stringy roots at the bottom should get their feet wet.
You will often notice the roots look a bit fuller and lighter in color afterward. That change is a good sign that the bulb is waking up and paying attention.
Trim off any roots that look dark, dried out, or mushy before you plant. Clean scissors work well, and removing damaged pieces helps prevent problems later.
Think of this step as a morning cup of cocoa for your bulb. Warm, simple, and cozy, it gently nudges the plant from rest into growing mode.
Once the soak ends, plant right away so those refreshed roots do not dry out again. A quick move from bowl to pot keeps all that good energy working.
6. Water Sparingly Until Green Shows Up
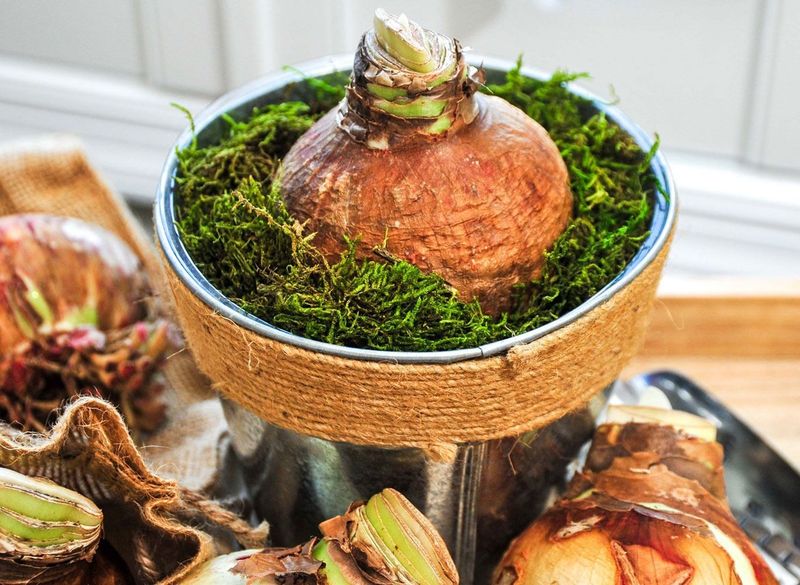
Loving your bulb too much is the most common mistake beginners make. Pouring on water every day feels caring, but it can quietly rot the bulb from below.
Right after planting, water once until the soil feels evenly damp and extra water drains out. Then step back and let the pot rest in a warm spot.
Until you see green growth poking up, the bulb has very few roots to drink with. Extra water just sits in the soil, making things soggy.
Test moisture by pushing a finger about one inch into the soil. If it feels dry at that depth, add a small drink, maybe a quarter cup.
Once a bud or leaves show up, the plant gets thirstier and more active. At that point, water whenever the top inch dries, usually about once a week.
Room-temperature water is kinder than icy water straight from the tap. Cold water can shock roots, while lukewarm water feels more like a gentle spring rain.
Aim the water at the soil instead of pouring it over the top of the bulb. Water trapped in the neck is a sneaky path to rot and mold.
Here is a helpful memory trick: no green, no drink, or only a tiny sip. It is easy to remember and keeps your eager watering hands in check.
A saucer under the pot catches drips, but empty it within thirty minutes. Nobody, not even a bulb, enjoys standing in a puddle for hours.
7. Park Your Pot In Bright Warm Light
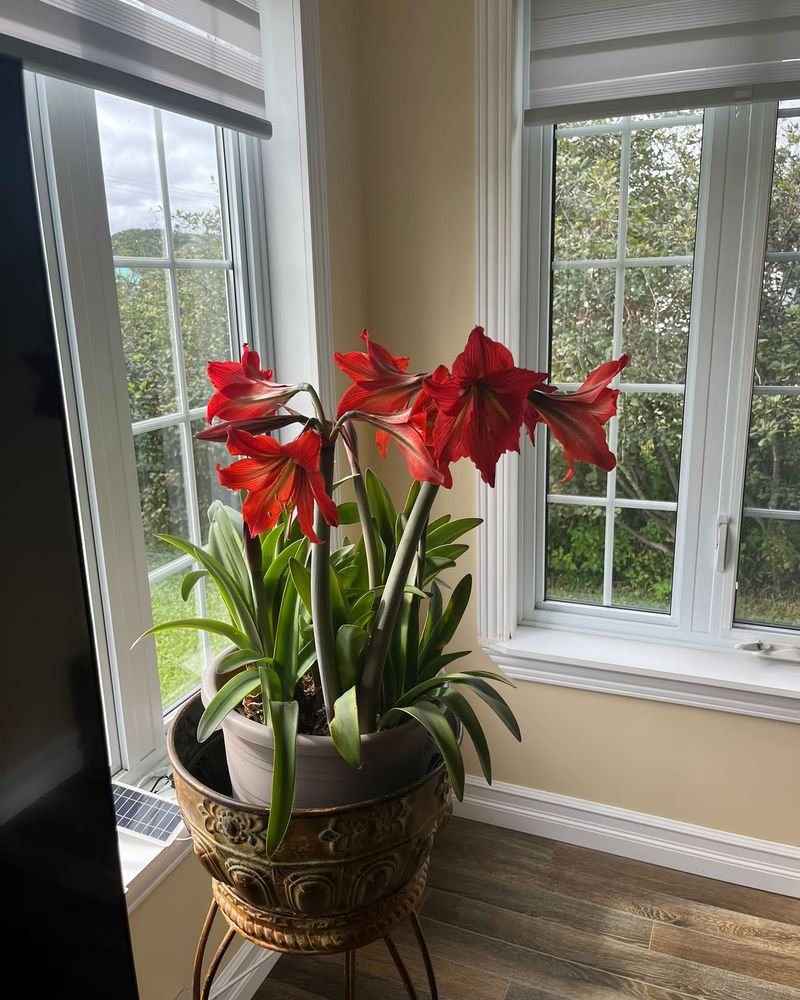
Sunshine is basically rocket fuel for these holiday flowers. Once growth starts, your pot needs a bright spot where it can soak up plenty of light each day.
A south-facing or west-facing window usually works best in fall and winter. Aim for at least four to six hours of bright, indirect or gentle direct light.
Warmth matters just as much as light for waking the bulb. Temperatures between 68 and 75 degrees Fahrenheit help roots grow and stems rise faster.
Some growers set the pot on top of the fridge for bottom heat until a shoot appears. Just move it to a sunny window once green growth starts showing.
Keep the plant away from cold drafts, like leaky windows or outside doors. Blasts of chilly air can slow growth and make buds sulk for days.
Heater vents cause trouble too, because hot, dry air dries soil quickly and stresses leaves. Find a warm spot that feels cozy, not like a desert wind.
Low light leads to tall, floppy stalks that stretch and lean like tired dancers. Bright light keeps stems shorter, sturdier, and much more likely to stand up straight.
If your home is dim, a simple LED grow light can fill the gap nicely. Keep it on for about twelve hours a day, placed a foot above the plant.
In September, start scouting the sunniest windowsill in your house now. By late October, you will know exactly where your future flower star will take the stage.
8. Turn The Pot To Keep Stems Straight
Plants are sun chasers, and these tall stalks are especially dramatic about it. Leave the pot facing one way, and the stem will lean toward the window like a curious puppy.
A quick quarter turn every day or two keeps growth even on all sides. It takes about two seconds and makes a huge difference in how your plant looks.
Some people link it to a daily habit, like brushing teeth or feeding the dog. Pairing tasks makes the turning easy to remember without extra reminders.
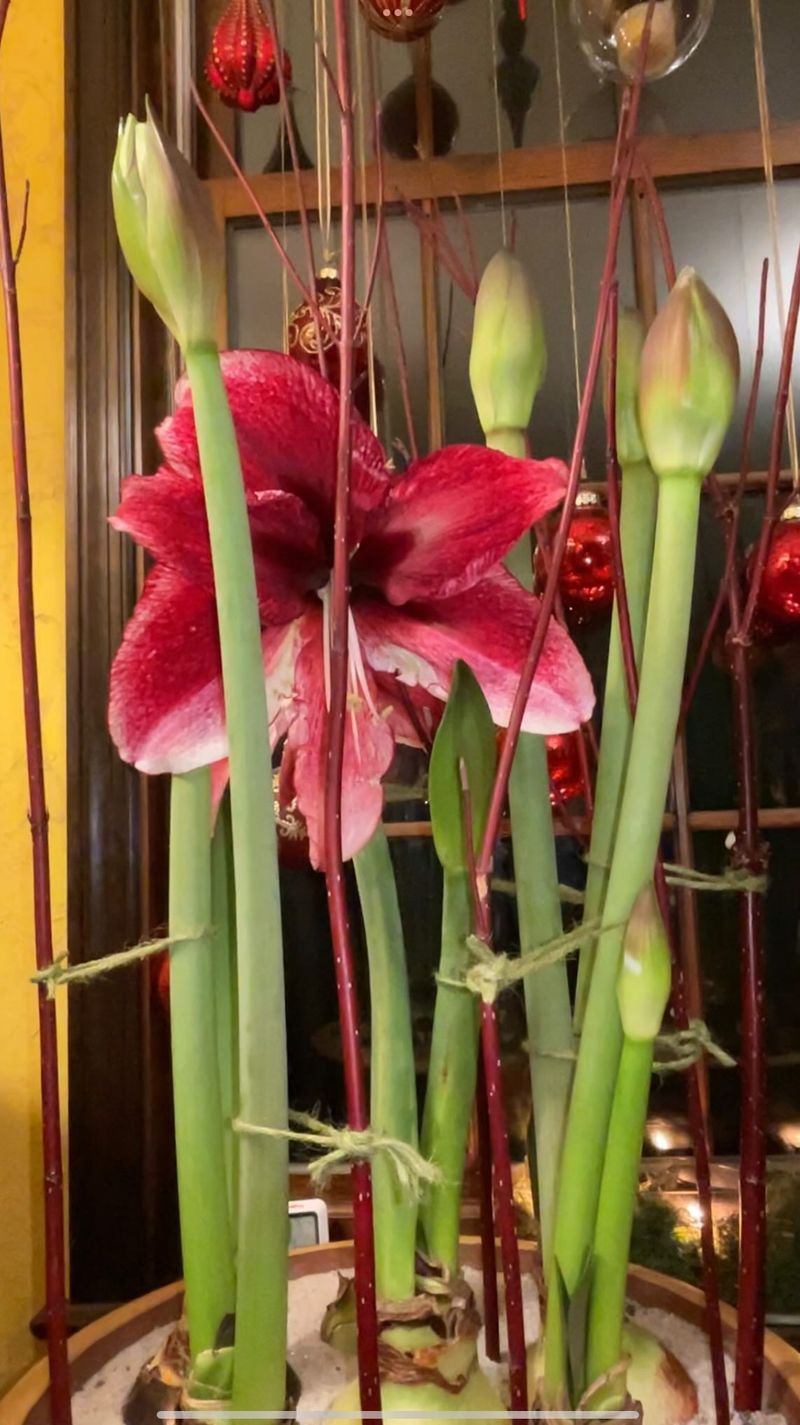
Even with turning, the flower heads can become heavy once several blooms open at once. A thin bamboo stake slid into the soil gives the stalk a sturdy friend to lean on.
Place the stake near the pot edge to avoid stabbing the bulb or its roots. Tie the stem loosely with soft yarn, ribbon, or a strip of old fabric.
Holiday ribbon works wonderfully here and adds a festive touch to the display. A red or gold bow turns a practical support into part of the decoration.
Here is a curious fact about these stalks. They are hollow inside, which explains why they bend or snap more easily than you might expect.
Cooler nights around 60 degrees also help stems grow shorter and thicker. Just keep daytime spots warm so the plant keeps moving toward bloom.
With regular turning and a little support, your plant will stand tall and proud. Guests will think you hired a professional florist for the season.
9. Stagger Your Plantings For Backup Blooms
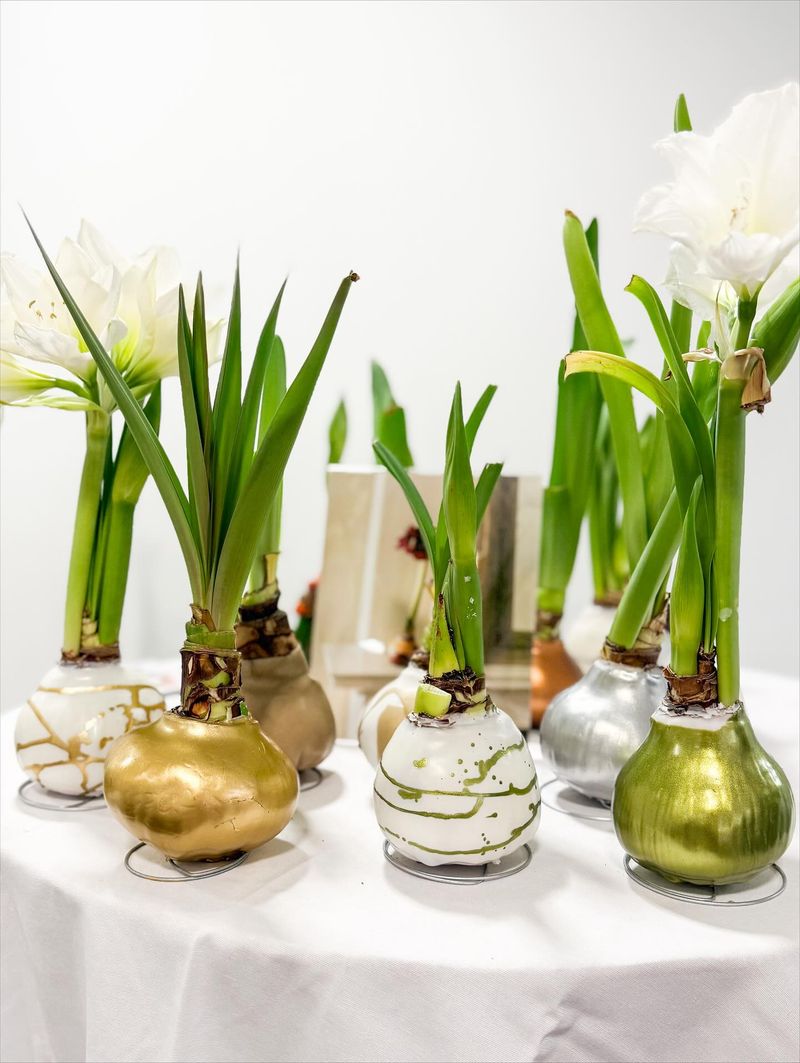
Gardeners have a clever trick for beating the calendar, and it works like a relay race. Instead of planting every bulb at once, spread them out over a few weeks.
Try planting one bulb in mid-October, another in late October, and a third in early November. One of them is very likely to peak right around Christmas.
Bulbs can be moody, and even identical ones may grow at different speeds. Staggering gives you a safety net if one decides to take its sweet time.
Extra blooms also mean flowers from Thanksgiving through New Year’s Day. Your home can stay bright and cheerful for weeks instead of just a few days.
Label each pot with its planting date using a craft stick and marker. Later, you can compare results and learn which timing worked best in your house.
Stagger colors, too, for a fun rolling show of red, white, pink, and striped petals. A candy cane striped variety called Minerva makes a playful holiday addition.
Blooming bulbs also make lovely last-minute gifts for teachers, neighbors, or grandparents. A later planting can be timed to be ready for a special holiday visit.
Keep your waiting bulbs cool and dry until their turn comes. A basement shelf or closet around 50 to 55 degrees keeps them resting peacefully.
By December, you may have pots at every stage, from buds to full flowers. It feels a little like running your own tiny flower shop.
10. Chill Blooms Slightly To Stretch The Show
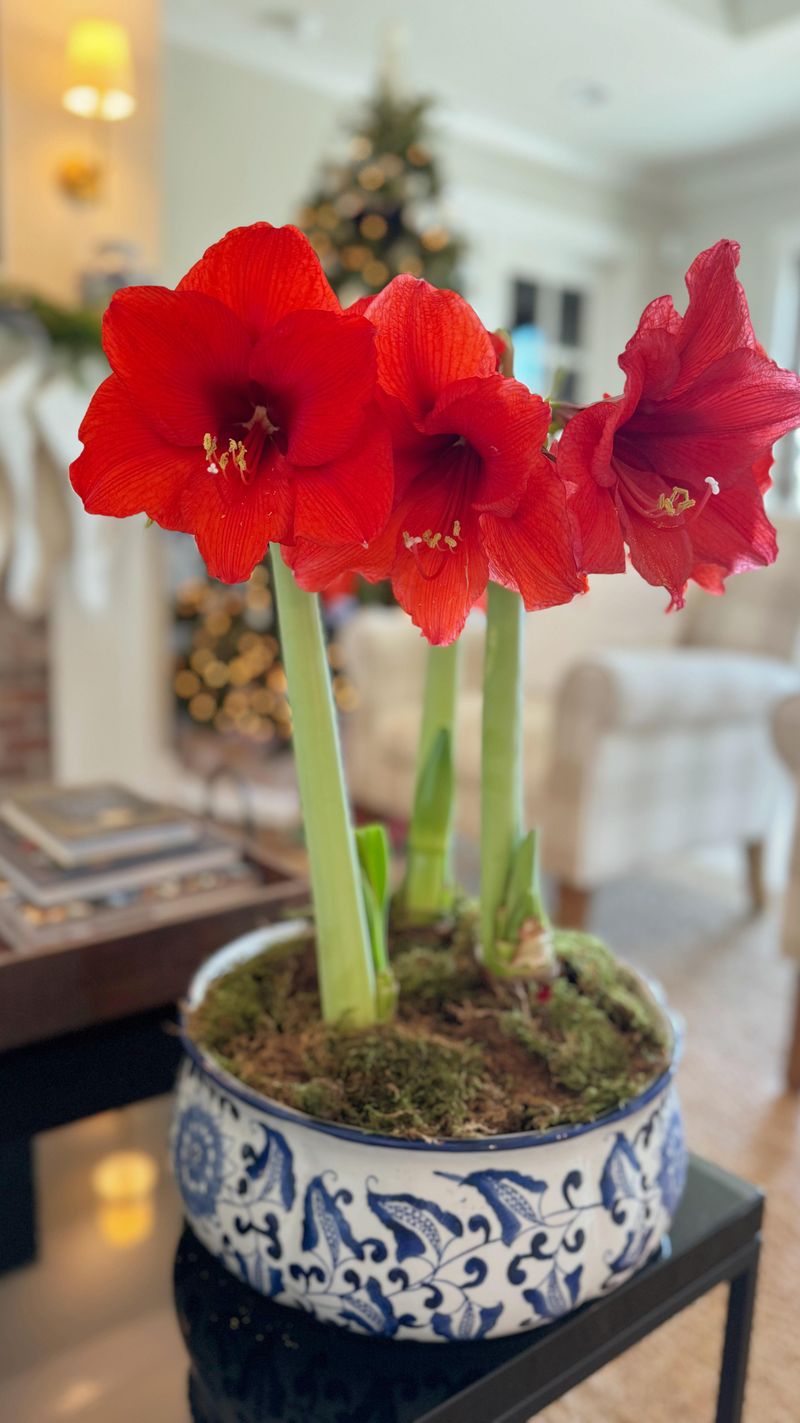
After weeks of waiting, those first flowers finally pop open like fireworks. Now the goal shifts from growing to making that glorious show last as long as possible.
Once buds show color, move the pot out of direct sun into bright, indirect light. Hot sunlight speeds up blooming, which also speeds up fading.
Cooler temperatures work like a pause button for petals. A room around 60 to 65 degrees can stretch the display by a week or more.
At night, some folks move the pot to a chilly entryway or cooler bedroom. In the morning, bring it back to the main room where everyone can enjoy it.
Snip off the yellow pollen-covered parts in the flower center, called anthers, with small scissors. Without pollen, flowers last longer, and nothing stains your tablecloth.
Pull off each flower as it fades, leaving the others on the stalk. Once all blooms finish, cut the stalk a few inches above the bulb.
Keep the leaves growing through winter and spring, because they refill the bulb with energy. With care, that same bulb can bloom again next holiday season.
Did you know these bulbs can live and rebloom for decades? Some families pass them down like treasured recipes from one generation to the next.
So enjoy every bright red petal this December. You earned that festive glow with a little planning, patience, and plenty of warm, cheerful sunshine.