10 Steps To Get Your Vegetable Garden Ready For Winter And Boost Next Year’s Harvest
Right now, beneath your boots, soil organisms are staying remarkably busy. Worms tunnel while you sleep, and fungi stretch threads toward your future tomatoes.
Microbes keep working while your soil stays mild, giving you a useful planting window. Spread shredded leaves across your beds, layering them as thick as a brick.
Tuck garlic cloves into the ground now, and you will harvest large bulbs by July. You can compost healthy tomato vines and bin any spotted ones.
Test your soil pH with a cheap kit, since autumn lime needs months to work. Cover bare patches with rye seed, and you will suppress weeds before they sprout.
Sketch a map of your beds now so you can rotate crops. Choose a dry afternoon, because soggy soil clumps when you dig. Your reward arrives as sweet carrots and heavy squash next summer.
1. Clear Out The Spent Summer Plants
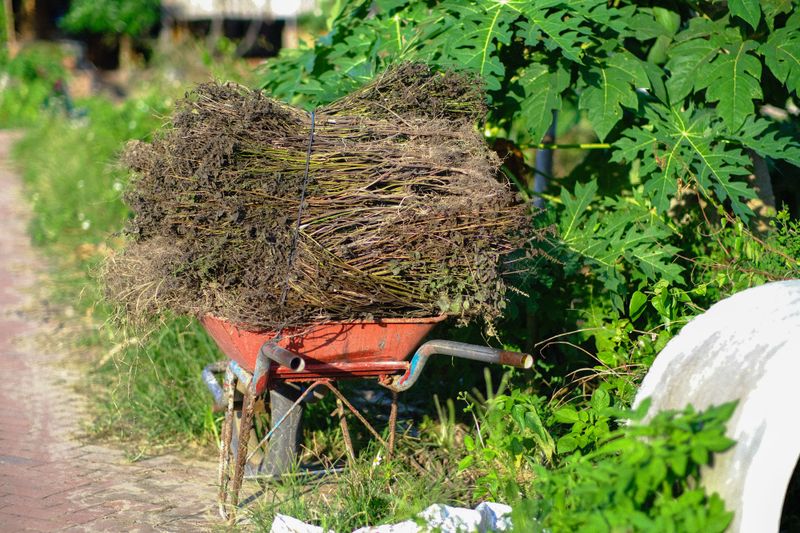
Picture a tomato vine in late October, brown and crispy like old toast. It looks harmless, but it can hide fungus spores and bug eggs waiting for spring.
Pulling out spent plants is a useful chore for this month. Diseases like early blight can spend winter on leftover stems, and powdery mildew sometimes does too.
Start by pulling out finished squash and cucumbers, roots and all. Cut beans at soil level and leave their roots to feed the soil. Shake loose soil back into the bed so you keep it where it belongs.
Healthy plant leftovers can go straight into your compost pile. Anything with spots or mold should go in the trash or yard waste bin instead.
Some gardeners leave a few hollow stems standing for helpful insects like native bees. That is a kind choice, as long as those plants looked healthy all season.
Keep an eye out for fallen fruit too, since rotting tomatoes can sprout surprise seedlings. A clean bed now means fewer headaches when you plant again next spring.
Wear gloves, play some music, and treat it like a backyard spring cleaning in fall. The whole job often takes an afternoon or less for a small garden.
2. Test And Feed The Tired Soil
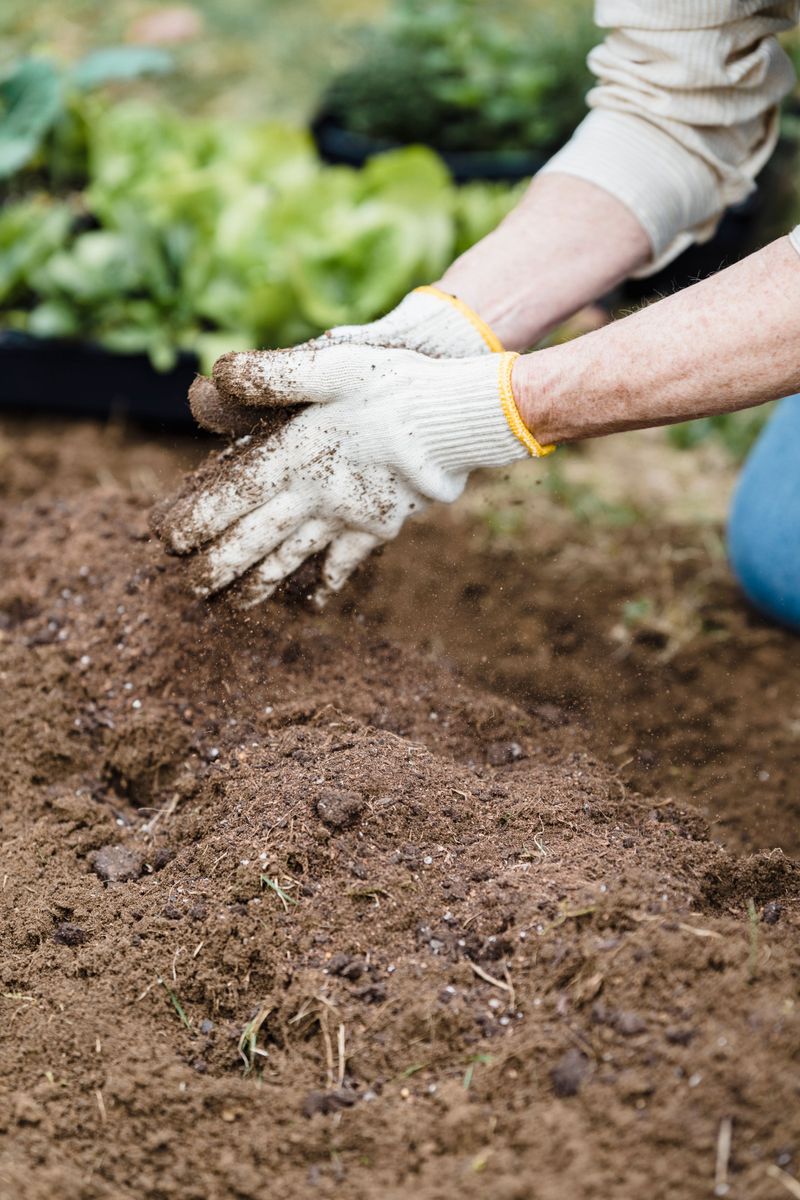
Your soil worked hard all summer, feeding each pepper and carrot you picked. By October, it is ready for a refill after a season of heavy production.
A simple soil test tells you what is missing before you guess and waste money. Basic kits are affordable at garden centers, or your local extension office can help.
Most tests check pH, which measures how sour or sweet your dirt is. Vegetables usually grow best when the pH sits between about 6.0 and 7.0.
If results show acidic soil, garden lime can raise the pH slowly over winter. Soil that is too alkaline may need sulfur, added in small amounts.
Fall is a good time for these fixes because lime and sulfur take months to work. By planting time, your beds will be balanced and ready to go.
A lab test also shows nutrient levels like phosphorus and potassium, while home kits give only rough estimates. Slow-release organic fertilizers such as bone meal or kelp meal can fill those gaps gently.
A teaspoon of healthy soil can hold millions of living microbes or more. Feeding them now keeps them active through winter.
3. Spread A Thick Blanket Of Mulch
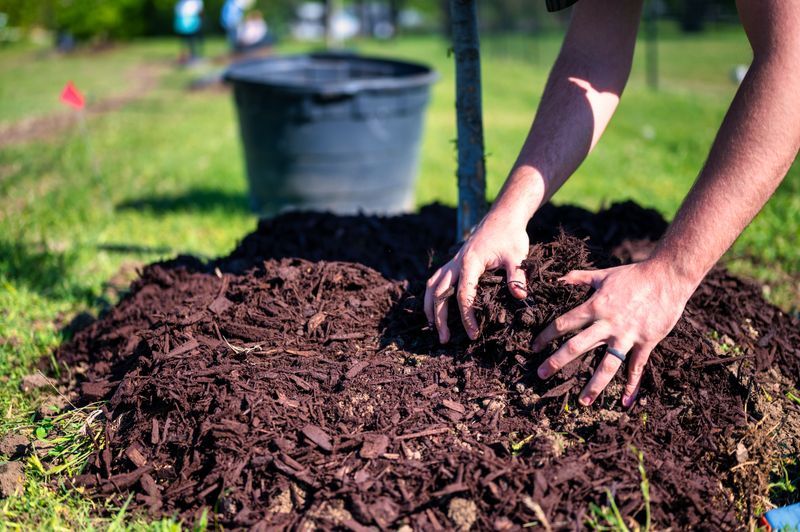
Cold floors feel unpleasant on bare feet, and your garden beds feel the same way. Mulch acts like a fluffy rug that keeps the ground snug through frosty nights.
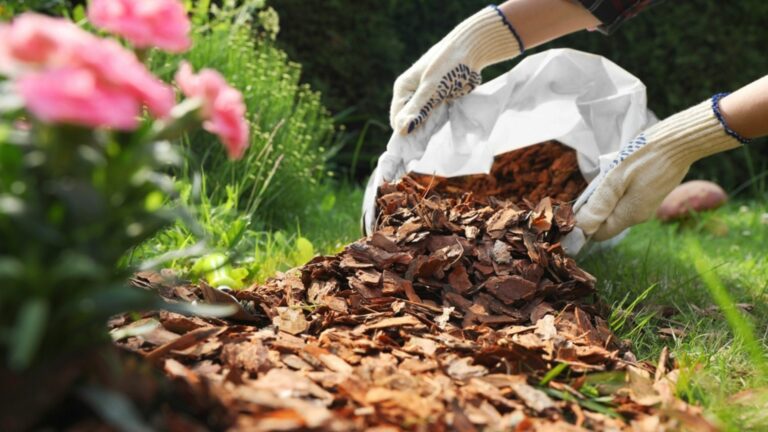
A layer two to four inches deep (five to ten centimeters) protects soil from washing away in heavy rain. It also reduces the freeze and thaw swings that can push roots out of the ground.
Mulch beds that will rest all winter, and sow cover crops in the beds you will not mulch. Good choices include straw, shredded leaves, pine needles, or aged wood chips. Skip hay if you can, since it often carries weed seeds that sprout next spring.
Wait until the ground cools a bit before spreading it around perennial crops like asparagus. Mulching too early can invite mice looking for a warm winter home.
Keep mulch an inch or two away from plant stems and a few inches away from tree trunks. Piling it right against them can trap moisture and lead to rot.
Over winter, the mulch slowly breaks down and feeds earthworms below the surface. Those wiggly workers turn it into rich, crumbly soil by the time spring arrives.
Straw is cheap, light, and easy to spread with your hands, even for kids. One bale can cover a small raised bed with plenty left over for later.
4. Plant A Cover Crop For Winter
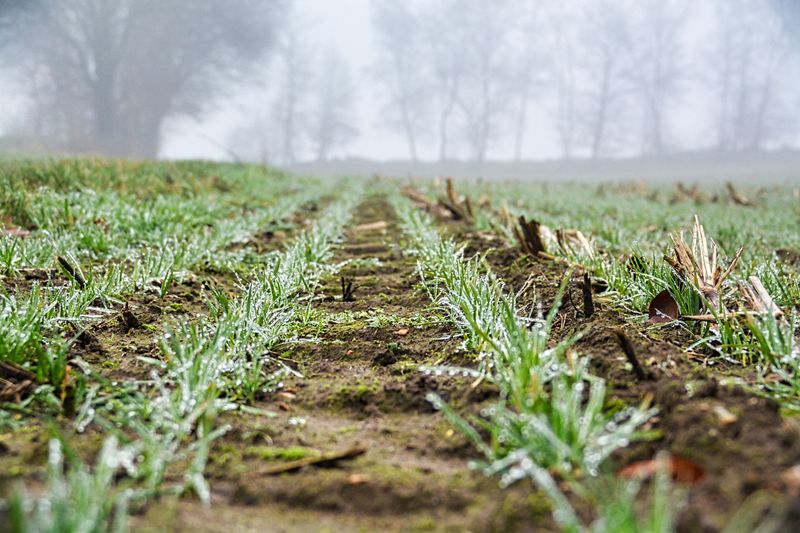
Bare soil in winter sits exposed to wind and rain. Wind can blow topsoil away, and rain can wash nutrients out.
Cover crops fix that problem by growing a living blanket over your beds. Farmers have used them for centuries, and backyard gardeners can borrow the same trick.
Dates in this guide suit a temperate Northern Hemisphere climate, so adjust them to your local frost dates.
Winter rye, crimson clover, and hairy vetch are popular picks for fall planting. Sow rye in early to mid October.
Crimson clover is less hardy, so choose rye or hairy vetch in colder regions. Sow clover and vetch four to six weeks before your first hard frost.
Clover and vetch pull nitrogen from the air and store it in their roots. When you turn them into the soil, they release a free natural fertilizer.
Rye grows deep roots that break up hard, packed dirt like tiny drills. Those roots also hold the soil in place during snowmelt and spring rain.
Scatter the seeds by hand, rake them in lightly, and water well. Within a week or two, you should see a fuzzy green carpet popping up.
In spring, cut the plants down about three weeks before planting your vegetables. Chop them up and mix them in, and your soil will support stronger crops.
5. Pull The Weeds Before They Seed

One weed left alone in fall can drop thousands of seeds by the first frost. A single pigweed plant, for example, may produce over one hundred thousand seeds.
An old saying warns that one year of seeds means seven years of weeds, and many weed seeds do last for years. Pulling them now saves you hours of back-bending work next summer.
Damp soil after an autumn rain makes weeding much easier on your hands. Grab each weed low near the base and pull slowly to get the whole root.
Tough perennial weeds like dandelions and bindweed may need a digging fork or weeding tool. Leaving root pieces behind lets them sprout right back in spring.
Pay special attention to weeds with seed heads already forming. Bag those up and toss them, since home compost piles may not get hot enough to break down seeds.
Check the edges of beds, fence lines, and paths where weeds often establish. Those spots often spread seeds back into your garden without you noticing.
After weeding, cover the bare spots with mulch or a cover crop right away. Weeds struggle against competition, and a covered bed gives them very little room to return.
6. Build A Compost Pile With Fall Leaves
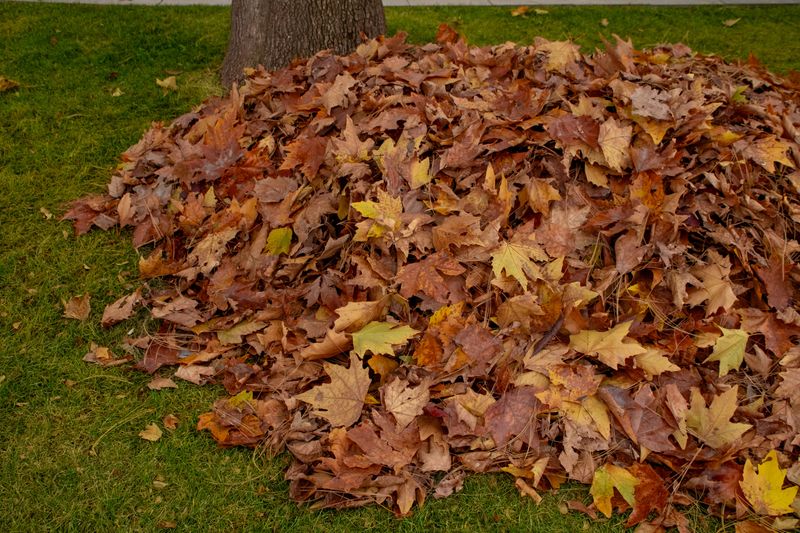
Each autumn, deciduous trees drop a free treasure right into your yard. Those crunchy leaves are packed with minerals that tree roots pulled up from deep underground.
Instead of bagging them for the curb, turn them into compost for next year’s garden. Gardeners sometimes call finished leaf compost black gold for good reason.
A good pile mixes brown materials like leaves with green ones like kitchen scraps or grass clippings. Aim for about three parts brown to one part green.
Shred leaves first by running a lawn mower over them a few times. Smaller pieces break down much faster than whole leaves, which tend to mat together.
Keep the pile about as damp as a wrung-out sponge. Turn it with a pitchfork every couple of weeks to give the helpful microbes fresh air.
Even in cold weather, the center of a big pile can stay surprisingly warm. Active piles can reach 130 to 160 degrees Fahrenheit (54 to 71 degrees Celsius) inside, even when frost covers the yard.
Got extra leaves? Pile them in a wire bin, and in a year they become crumbly, moisture-holding leaf mold.
By spring, spread any finished compost from older piles over the beds like dark, crumbly frosting. Compost adds organic matter and nutrients that support healthy vegetable growth.
7. Plant Garlic For An Early Summer Prize
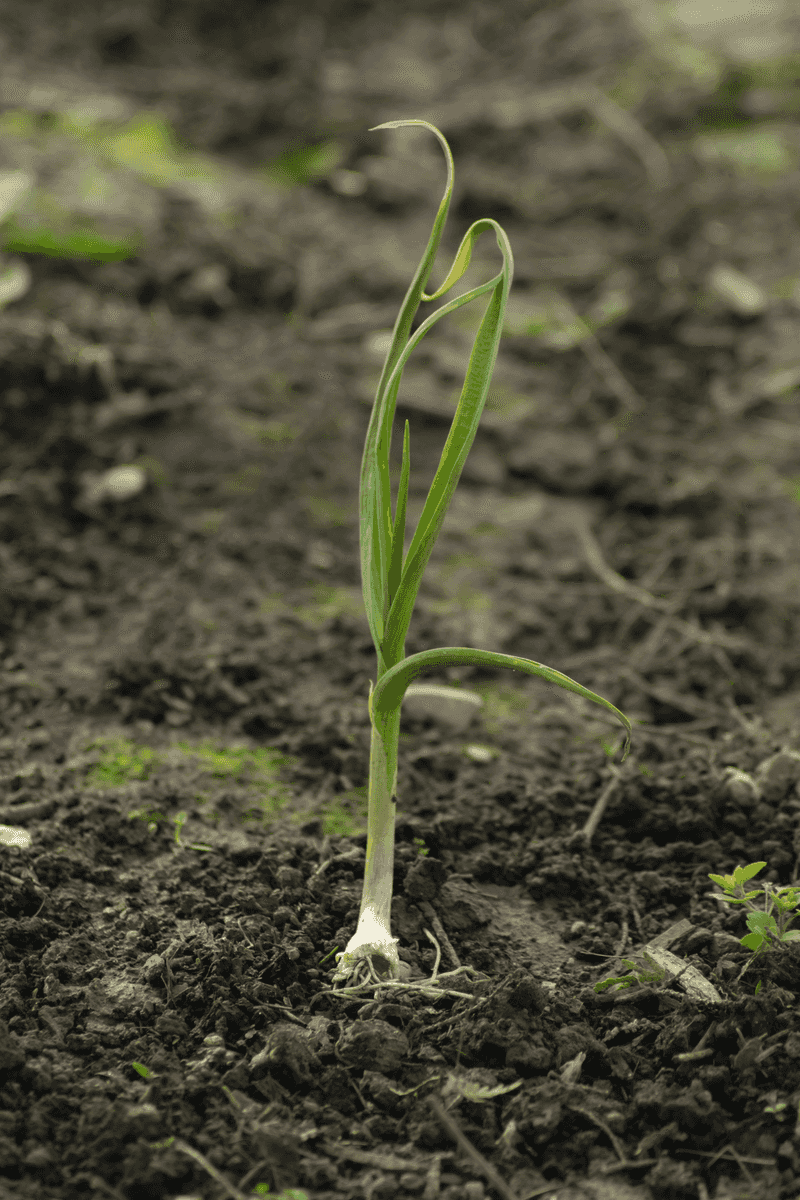
Gardeners have planted garlic in autumn for generations, tucking cloves into the ground like secret gifts. Come July, they pull up large, papery bulbs and grin like they won a prize.
Garlic is one of the few crops that actually needs cold weather to grow well. A long chilly rest helps each clove split into a full, rich bulb.
Plant cloves about four to six weeks before the ground freezes, which is often October in temperate regions. Buy seed garlic from a nursery, since grocery store garlic may be treated to stop sprouting.
Break the bulb apart and push each clove pointy end up, about two inches (five centimeters) deep. Space them roughly six inches (15 centimeters) apart in loose, well-fed soil.
Cover the bed with a thick layer of straw after planting. Green shoots may poke up before winter, but they handle frost just fine.
Hardneck varieties grow well in colder areas and produce curly flower stalks called scapes. Those scapes make a tasty bonus snack in early summer, sauteed in butter.
Shallots and perennial onions can go in the ground now too. Tuck a few beside your garlic, and next summer’s kitchen will smell amazing.
8. Clean And Store Your Garden Tools
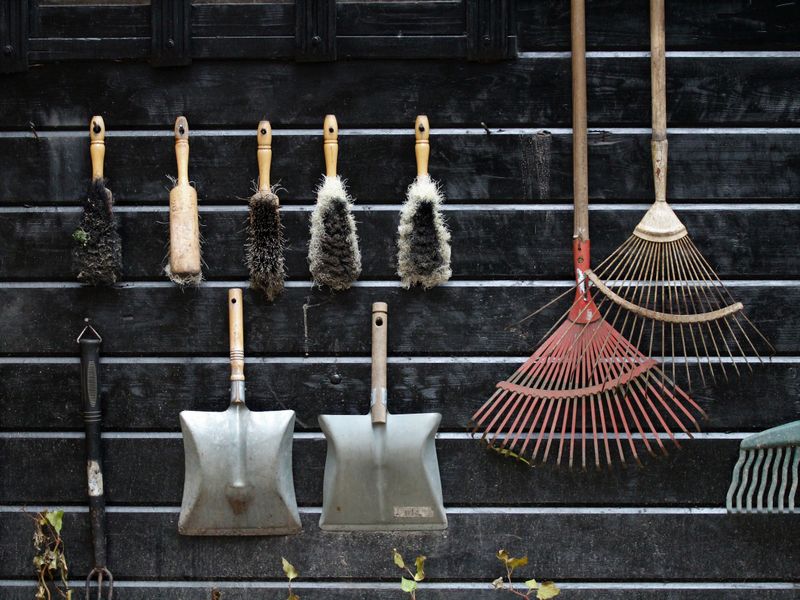
Ever pulled a rusty shovel out of the shed in April and sighed loudly? A little care in October can spare you that sad spring moment.
Dirt left on tools holds moisture, and moisture leads to rust and rot. Scrub off soil with a stiff brush and a bucket of soapy water.
Once tools are clean, dry them well with an old towel. Then rub a light coat of mineral or machine oil on metal parts to block rust.
Sharpen pruners, hoes, and shovels with a simple file or sharpening stone. Sharp edges cut cleanly, which helps plants heal faster and saves your arms effort.
Wooden handles also need attention after a long season in the sun. Sand rough spots smooth and wipe them with boiled linseed oil so they resist cracking.
Lay oily rags flat outdoors to dry, since they can ignite on their own.
Drain garden hoses fully and coil them loosely before storing them indoors. Water left inside can freeze, expand, and crack the hose.
Some gardeners keep a bucket of sand mixed with mineral oil near the shed door. Plunging tools in after each use cleans and protects them.
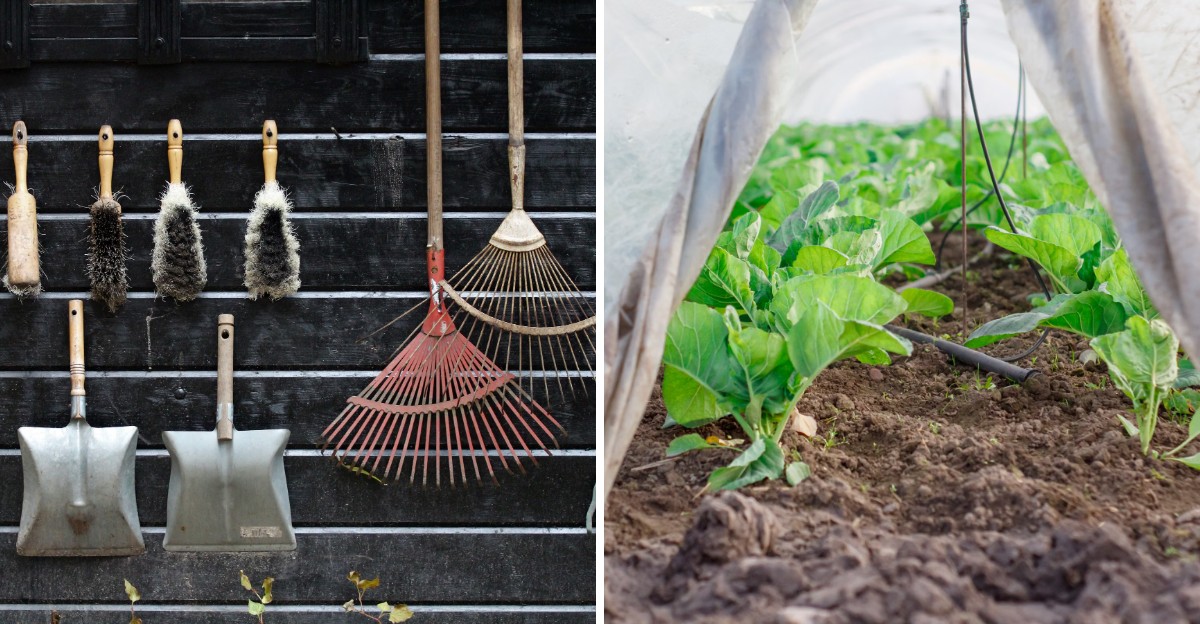
Hang everything on hooks or a pegboard so you can spot missing items quickly. Organized tools make spring planting feel like a treat instead of a treasure hunt.
9. Protect Hardy Crops With Covers
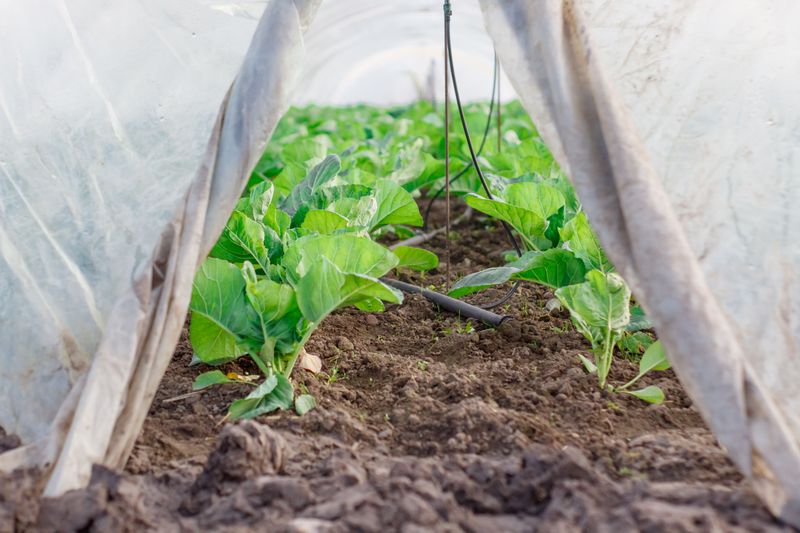
Who says the harvest has to stop when the weather turns chilly? Kale, spinach, carrots, and Brussels sprouts can stay harvestable well into late fall and early winter.
Many cool-season crops taste even sweeter after a light frost touches their leaves. Cold weather makes plants turn starches into sugars, which act like a natural antifreeze.
Floating row covers are lightweight fabric sheets that trap warmth from the soil. Draped over hoops, they can add a few degrees of frost protection, depending on fabric weight.
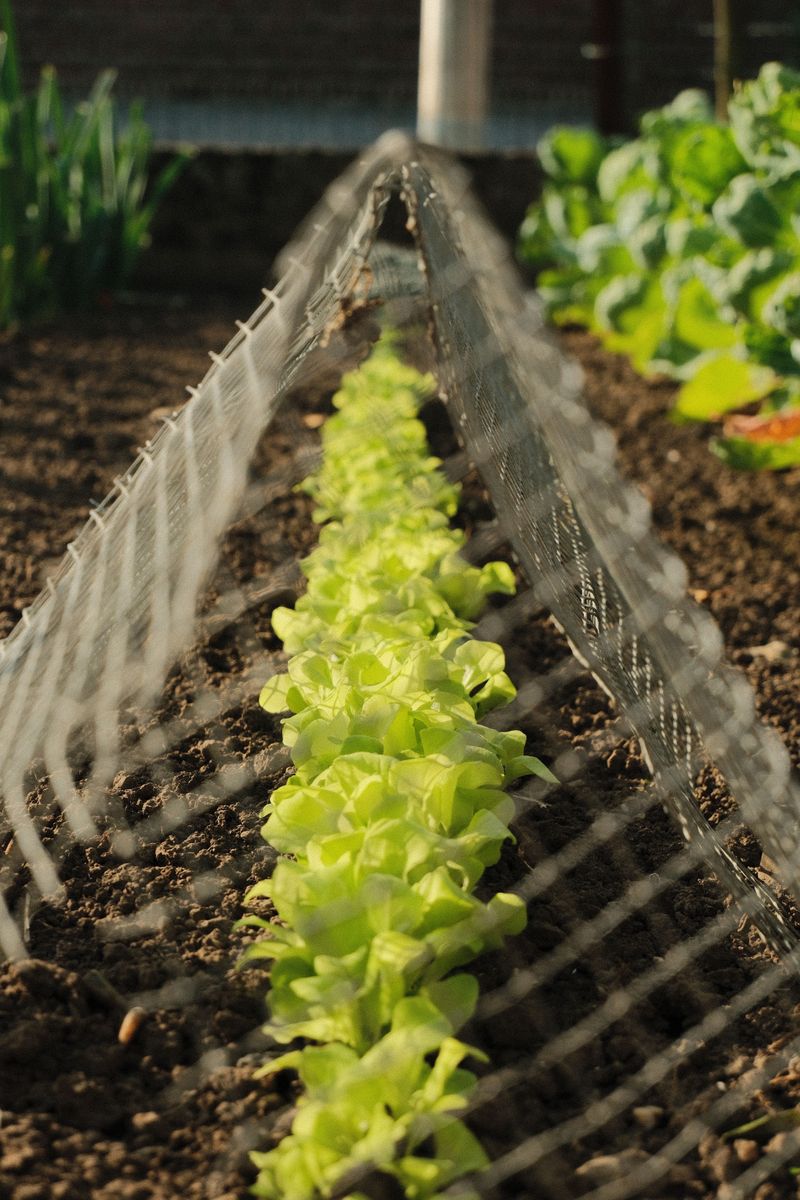
A cold frame works like a mini greenhouse built from wood and an old window. Lettuce and radishes can grow inside one even when snow dusts the yard.
On sunny days, crack the lid or lift row covers so plants do not overheat. Close them again in the late afternoon to hold the warmth overnight.
Carrots can stay in the ground under a thick straw layer in moderate climates. Lift beets before hard freezes, and pull carrots as needed for fresh veggies in December.
Weigh down cover edges with rocks, bricks, or sandbags so wind cannot carry them away. Checking them after big storms keeps your cozy setup working all season.
10. Write Down What Worked This Year
Memory fades quickly, especially when you try to recall last spring’s planting dates. Writing things down now turns this year’s lessons into next year’s success.
Grab a notebook or open a notes app while the season is still fresh in your mind. List which crops thrived, which struggled, and which ones nobody in your family ate.
Sketch a simple map showing where each vegetable grew this year. Crop rotation works best when you move plant families to new spots each season.
Tomatoes, peppers, and eggplants belong to the same family and share many diseases. Planting them in a fresh bed next year helps break the cycle.
Jot down pest problems, weather surprises, and the dates of your first and last frosts. Those small details help you time planting better and avoid repeat mistakes.
Write down favorite varieties too, like the cherry tomato that kept producing until October. Saving seed packets in a box with your notes makes reordering simple.
Winter is also the perfect time to browse seed catalogs by a cozy window. With your notes nearby, you will choose crops that truly fit your garden.
Some gardeners keep the same journal for decades and love reading old pages. Your notebook might become a treasured family keepsake someday.