Can You Plant Grocery Store Garlic? What Gardeners Should Know
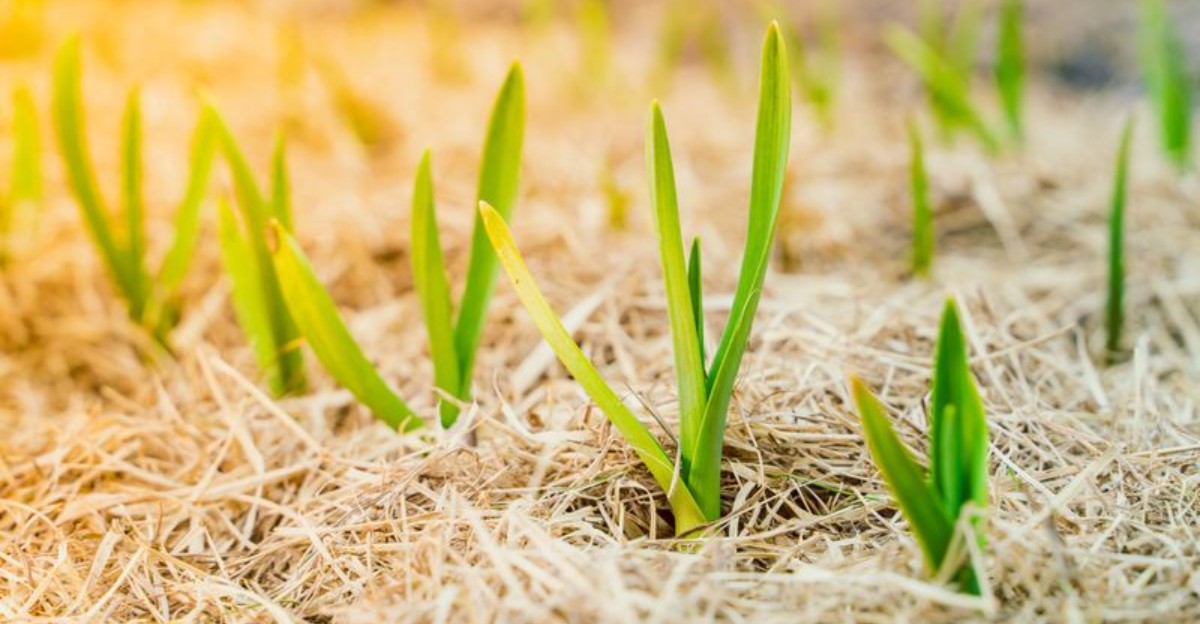
That bulb in your grocery cart can influence your harvest before you plant it. Some supermarket garlic arrives treated with sprout inhibitors, so your cloves may stay sleepy.
Imported varieties may mismatch your climate, and you may see noticeably smaller heads. Yet you can still get good results with the right cloves.
Organic bulbs often skip the inhibitor treatment, which gives you better odds. Local growers sell cultivars proven in your region, so you can ask questions.
Planting depth decides whether you harvest fat bulbs or tiny ones. Timing matters too, because you need cold weeks to trigger clove division.
Soil fungi can sometimes travel on bulbs and move into your beds. Choices made this month show up in July, when adjusting gets much harder. Inspect that bulb right now, and you may spot a clue about its sprouting power.
1. Know That Store Bulbs Can Actually Grow
Plenty of home gardeners have grown a whole row of fat bulbs from a bag bought for soup. They laugh when neighbors ask which fancy nursery supplied their seed stock.
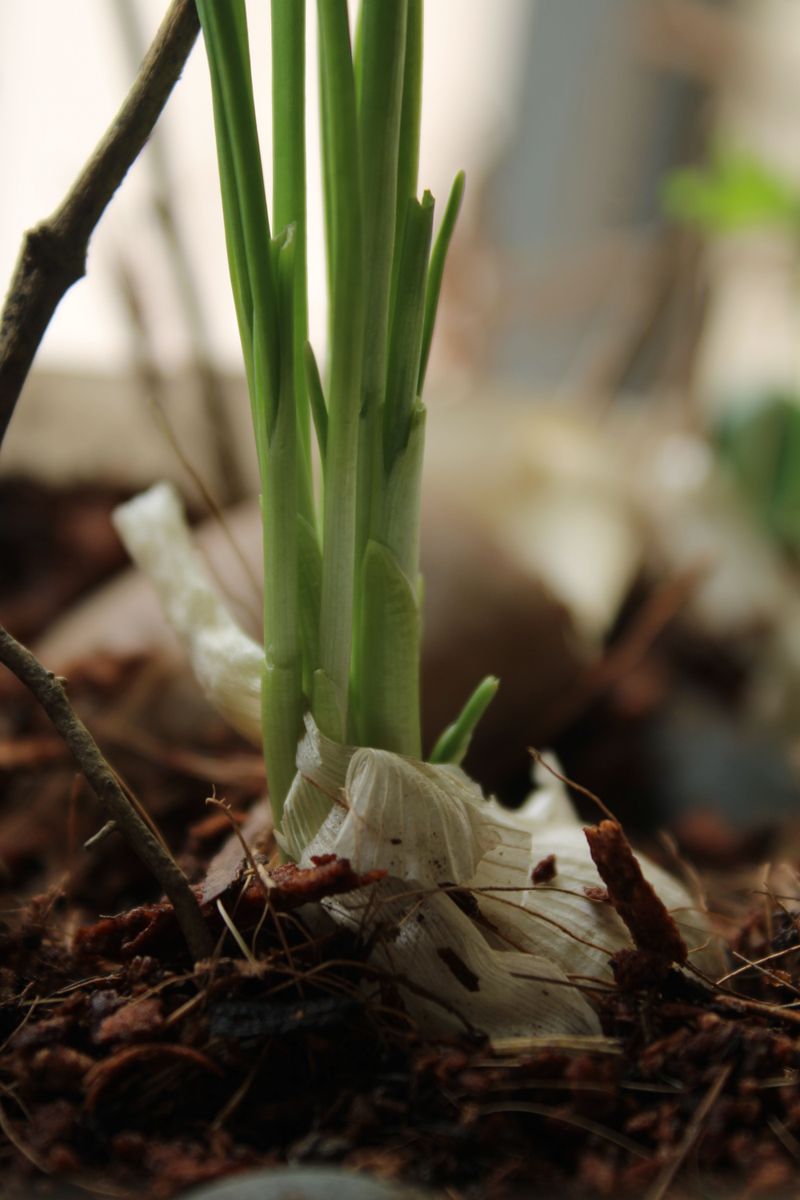
Grocery store garlic is a living plant, just resting in a dormant state. Each clove holds the energy it needs to sprout roots and push up green shoots.
So yes, planting it is possible, and many home gardeners do it each fall. The real question is whether your particular bulb will cooperate.
Success depends on a few factors, like how the garlic was treated and where it was grown. Some bulbs perform beautifully, while others sit in the ground and wait quietly.
Think of store garlic as a friendly experiment rather than a guaranteed win. A few cloves cost pennies, so testing them carries very little risk.
Pick bulbs that feel firm and heavy, with tight, unbroken skins. Skip any that look shriveled or feel soft when you press them.
Plant a small test patch alongside a few certified seed cloves if you can. Comparing the two next summer can teach you plenty about your soil.
Write down which store and brand you used for future reference. That simple note turns a lucky guess into real garden knowledge.
Beginners often worry about wasting effort. Gardeners learn by planting, and each bulb you tuck into the soil teaches you something useful about your yard.
2. Watch Out For Sprout Inhibitors
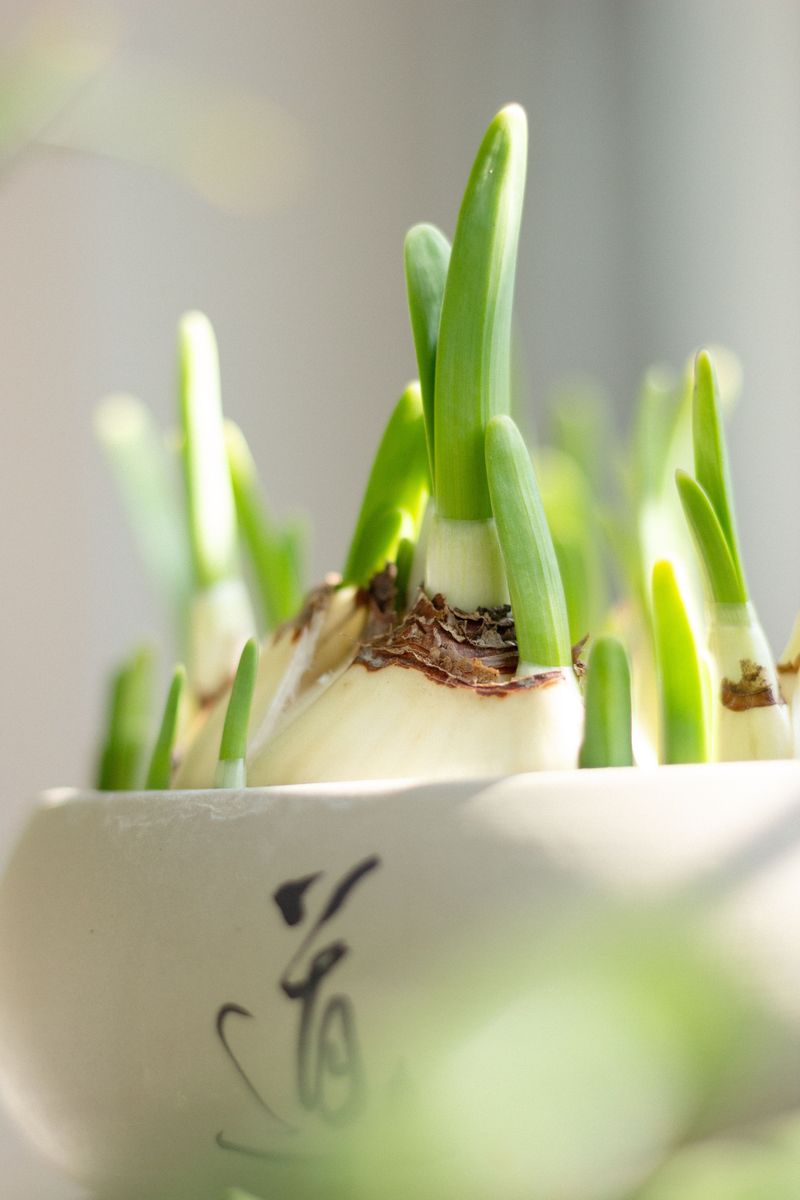
Ever noticed how some store garlic sits in your pantry for months without a single green sprout? Long dormancy is normal, though some treatments extend it.
Some commercial growers treat bulbs with sprout inhibitors to extend shelf life. These treatments keep cloves sleepy so they look fresh on shelves much longer.
Treated garlic may still grow, but often slowly and with pale, thin leaves. Roots might appear late, or the clove may simply soften in cold soil.
Some imported garlic, especially from overseas, may be treated or irradiated before shipping. Labels can be unclear about it, so shopping gets tricky.
A simple kitchen test can help you spot the sleepers. Place a few cloves on a damp paper towel tucked inside a plastic bag.
Leave the bag in a warm, dark spot for about a week. Healthy, untreated cloves usually show tiny white root nubs by then.
No roots after ten days may hint that something is holding them back. Save those cloves for dinner instead of the garden bed.
Peeking at the base of a clove helps too. A green tip already poking out the top is a cheerful sign of life.
Roots or a green tip are the clue the intro promised, since they show a clove is ready to wake up. Give slow starters a week or two, because some surprise you.
3. Choose Organic Bulbs When You Can
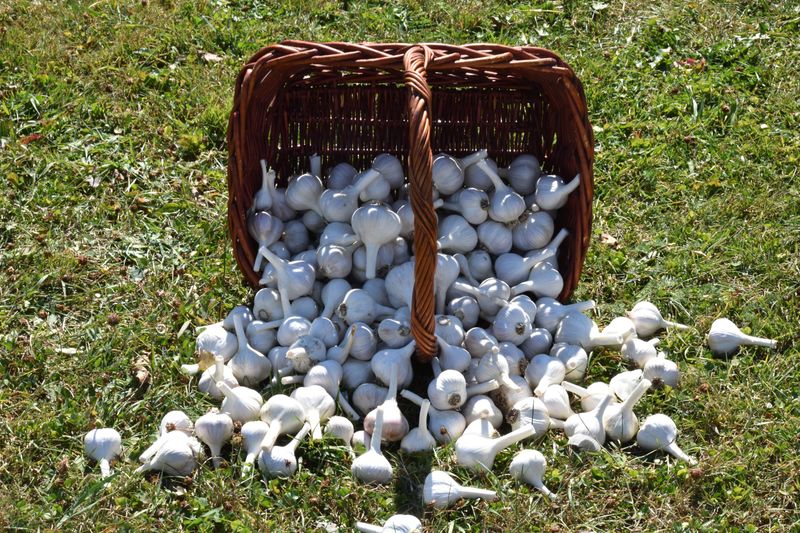
Here is a shopping trick that seasoned gardeners recommend. Head straight for the organic bin when hunting for planting garlic.
Organic rules in the United States do not allow synthetic sprout inhibitors or irradiation. That gives organic bulbs a better chance to wake up and grow.
Local farmers markets are even better hunting grounds in October. Garlic sold there was likely grown nearby, so it already suits your weather.
Chatting with the farmer can reveal the variety name and growing tips. Many growers love talking about their crops and might share planting advice for free.
Organic bulbs cost a bit more, but the difference is usually small. Spending an extra dollar beats wasting a whole season on cloves that stay asleep.
Look for bulbs with large outer cloves, since big cloves grow big heads. Tiny inner cloves still taste great roasted, so little goes to waste.
Keep your organic bulbs whole until planting day to prevent drying out. Store them somewhere cool, dark, and airy, like a mesh bag in the pantry.
Your future self will appreciate the extra care at harvest time. Plump, healthy bulbs are a sweet reward for one smart shopping choice.
Ask the seller when the garlic was harvested. Fresh bulbs from the current season carry more vigor, and a friendly answer often points to reliable varieties.
4. Pick The Right Type For Your Climate
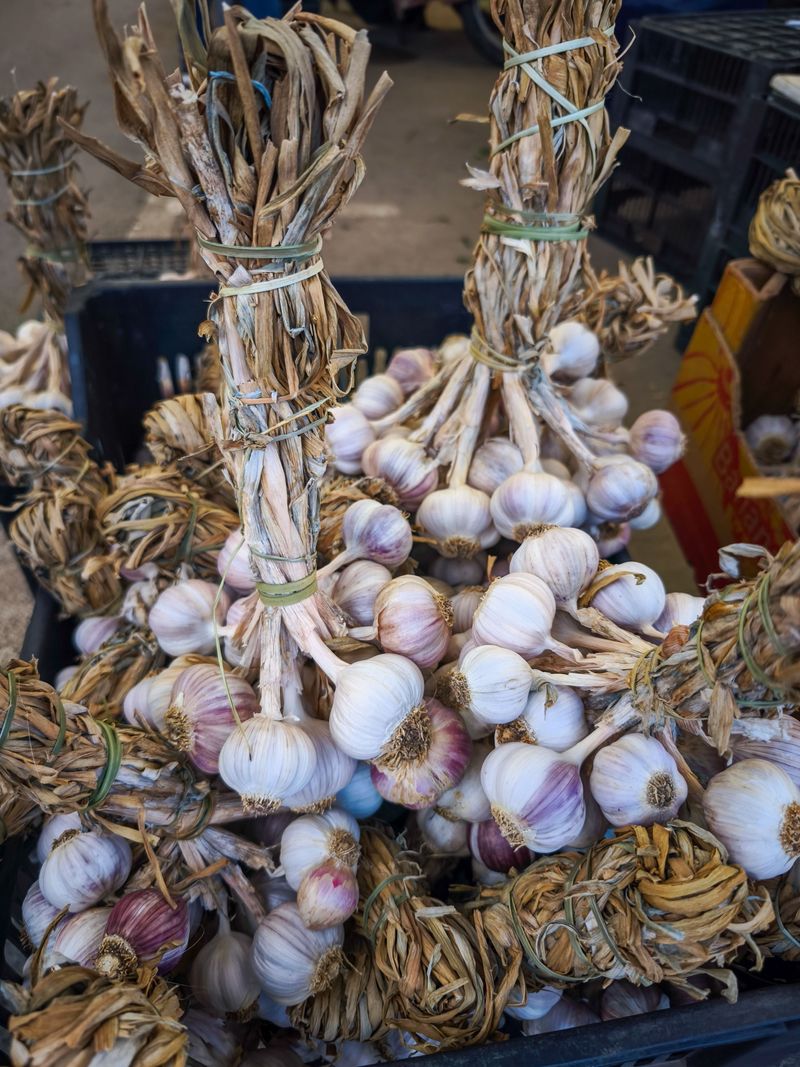
Garlic comes in two main families, and they behave like cousins with very different personalities. Hardneck types love cold, while softneck types prefer milder weather.
Many grocery store bulbs are softneck, the kind with many small cloves and a flexible stem. They store well, which is why big stores stock them so often.
Gardeners in warm southern areas often do great with store softnecks. The bulbs handle mild winters and still form nice heads by late spring.
Folks in chilly northern regions may face a bigger challenge. Softneck garlic grown in California might need extra help during a snowy Minnesota winter.
Hardneck garlic needs a long cold spell to divide into cloves properly. It also sends up curly stalks called scapes, which taste great in stir-fries.
Cold-climate gardeners can still try store softnecks with extra mulch for protection. Results vary, so plant a few hardneck cloves as backup insurance.
Checking where your bulb was grown helps a lot. Garlic raised in a climate like yours has a better shot at thriving in your soil.
Feeling unsure about your zone? A quick search for your USDA hardiness zone takes less than a minute online.
Local extension offices share planting calendars for your area. Their advice, built on years of regional trials, helps you match a bulb to your winter.
5. Plant In October For The Best Results
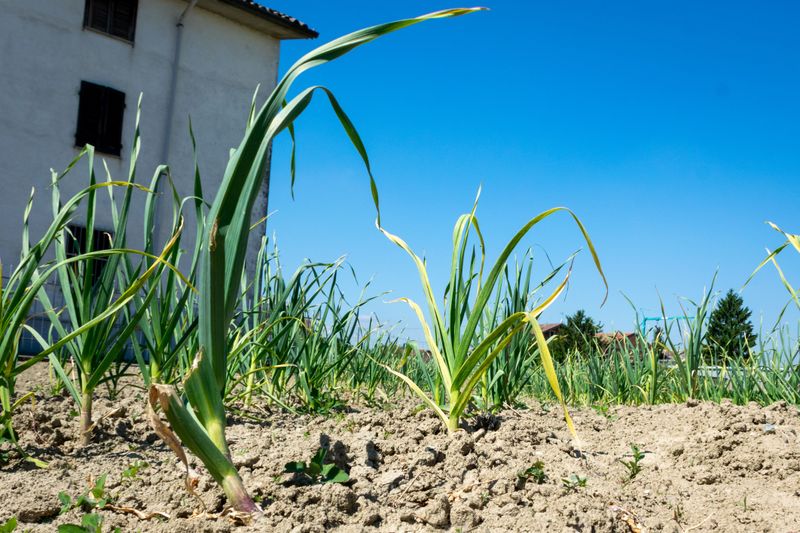
Timing matters a great deal with garlic, and October hands you an ideal window. Cloves planted now have weeks to grow roots before the ground freezes.
Aim to plant about four to six weeks before the ground freezes. In many northern areas, that lands somewhere in early to mid October.
Southern gardeners can wait until late October or even November. Warmer soil means cloves grow fast, so planting too early may cause floppy leaves.
Garlic needs a chilly winter rest to form a proper bulb. Gardeners call this process vernalization, a fancy word for cold treatment.
Skipping winter by planting in spring often gives you one round bulb with no cloves. That bulb still tastes fine, but it looks more like an onion.
Choose a sunny spot with loose, well-drained soil before you start. Mixing in compost gives the cloves a cozy, nutrient-rich home through winter.
Raised beds work wonderfully if your yard tends to hold soggy puddles. Garlic dislikes wet feet, and standing water can soften the cloves.
Mark your planting date on a calendar or in a garden journal. Next October, you will know when to start the fun again.
Check the soil with your finger before digging in. Crumbly earth that feels cool and damp tells you the bed is ready to welcome your cloves.
6. Separate And Space The Cloves Correctly
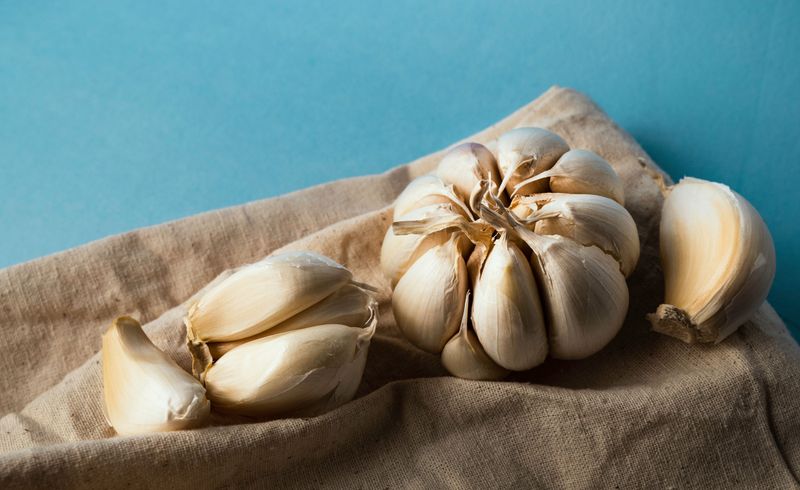
Breaking apart a garlic bulb feels oddly satisfying, like popping bubble wrap for gardeners. Wait until planting day, though, because separated cloves dry out quickly.
Gently pull the cloves apart, keeping the papery skin on each one. That thin wrapper protects the clove from moisture and curious soil critters.
Choose the biggest, healthiest cloves for planting and set small ones aside for cooking. Bigger cloves usually mean bigger bulbs come summer.
Point the flat, root end down and the pointy tip up. Planting upside down slows growth because the shoot must curl around to find light.
Push each clove about two inches deep into loose soil. In very cold areas, going three inches deep offers extra winter protection.
Space cloves roughly six inches apart in each direction. Crowded garlic competes for food and water, leaving you with small heads.
A simple trick is using your hand as a guide. A full hand span is a little wider than six inches, so aim for slightly less.
Rows about a foot apart make weeding much easier later on. Your back will thank you when spring weeds start popping up between the plants.
Firm the soil gently over each clove right after planting. A light pat helps remove air pockets that could dry out the roots.
Label each row with a small stake as you plant. Names and dates written now save you from guessing later, especially with several varieties.
7. Mulch And Water With Care
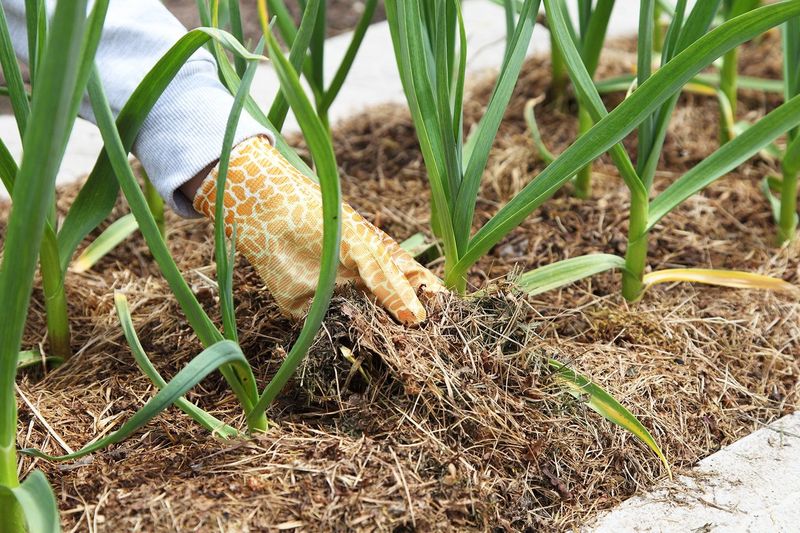
Imagine sleeping outside through winter with no blanket. Garlic cloves feel the same way, which is why mulch matters so much.
After planting, spread four to six inches of straw or shredded leaves over the bed. Fallen October leaves are free, plentiful, and handy for the job.
Mulch keeps soil temperatures steady and stops cloves from heaving out during freeze and thaw cycles. It also limits weeds and holds moisture in.
Water the bed well right after planting to settle the soil. Then let fall rains handle much of the work until the ground freezes.
Soggy soil is a common challenge for garlic during winter. Too much water leaves cloves soft and unhappy, so skip extra watering if rain is steady.
Many growers pull back some mulch in early spring once green shoots appear. That lets sunlight warm the soil and helps young leaves grow strong.
Spring garlic loves about one inch of water each week. Stop watering a few weeks before harvest so the bulbs can firm up.
Feeding plants with a little compost or nitrogen fertilizer in spring boosts leaf growth. More leaves mean more energy stored in the bulb below.
Think of mulch as a cozy quilt and water as a careful snack. Balance both, and your garlic will greet spring in style.
Check the bed after a windy week. Mulch can shift, and a quick fluff of straw over bare spots keeps your cloves tucked in safely.
8. Harvest And Save Your Best Bulbs
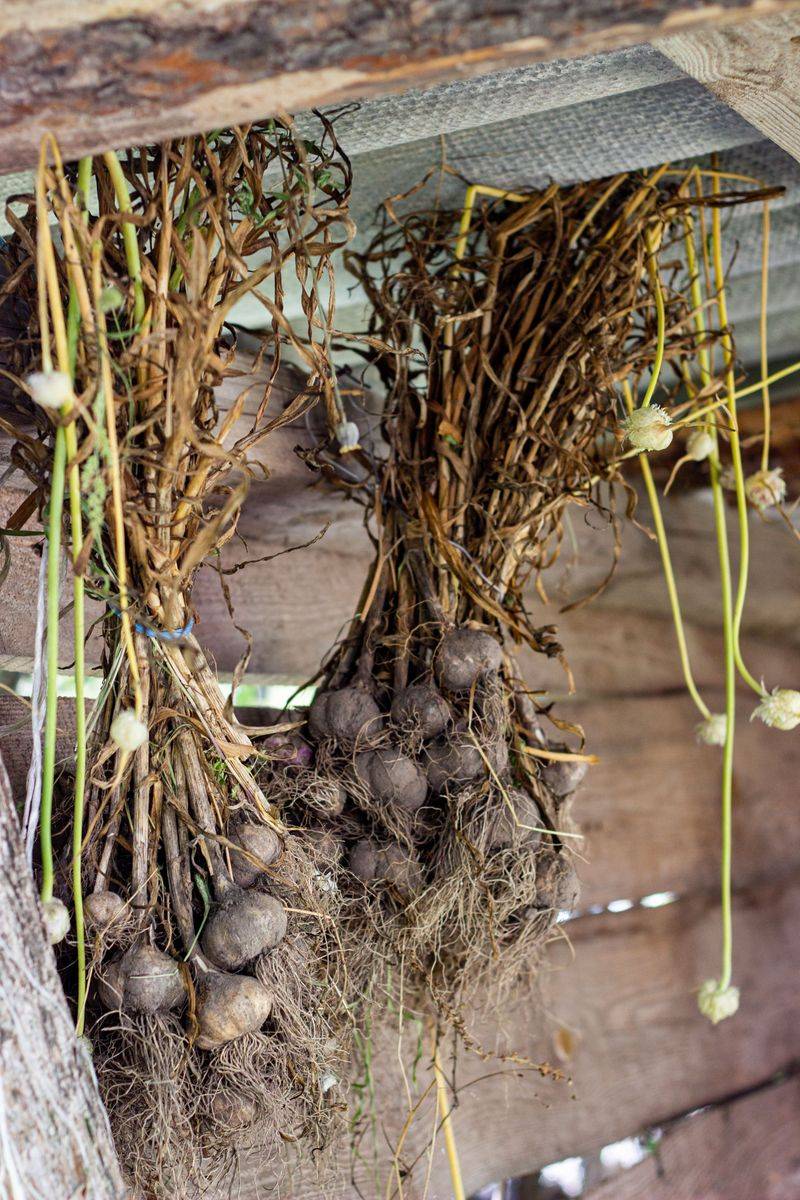
Nine months of patience pays off when you tug that first bulb from the soil. Many garlic varieties are ready in early to mid summer.
Watch the leaves for your signal to harvest. When about half the leaves turn brown, it is time to dig.
Use a garden fork to loosen the soil instead of tugging on stems. Pulling too hard can detach the neck and mark the bulb.
Brush off loose dirt, but do not wash the bulbs. Hang them in bundles somewhere shady and airy for two to three weeks.
Curing dries the outer skins and helps garlic store for months. Once cured, trim the roots and cut stems about an inch above the bulb.
Set aside your biggest, prettiest bulbs for planting next October. Over time, saving your own seed garlic helps it adapt to your garden.
Gardeners call this process building a local strain, and it often works well. After a few years, your garlic may outperform many store bulbs.
Store eating garlic in a cool, dry spot away from sunlight. Mesh bags, baskets, or braids hung in the kitchen each work well.
Braiding softneck stems makes a lovely homemade gift, too. Friends will be impressed that it started with a grocery store bulb.
Mark your calendar for next summer. Gardeners who save seed from their strongest plants often notice bigger, better adapted bulbs within a few seasons.