Plant Garlic This Month And Get Bigger Bulbs Next Summer
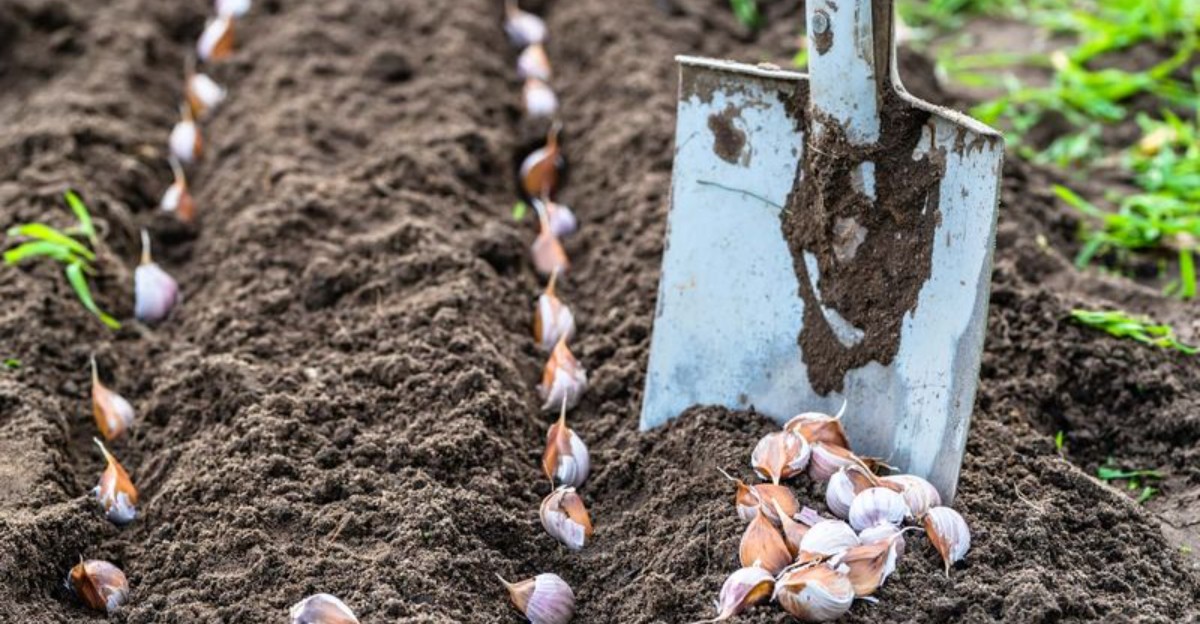
A single clove tucked into cold October soil can swell into a bulb with up to ten cloves by summer. I find that trade amazing, and it costs almost nothing except a little patience and a shovel.
A big part of the secret is winter chill, and university extension experts say these cloves need weeks of cold to form bulbs. Planted in spring, many of them stay small with a single onion-like shape and no divisions.
Fall planting also gives the roots a head start, with weeks of growth underground ahead of the first hard freeze. You get a sturdier plant in spring, and it races toward bigger bulbs with energy to spare.
October happens to be the sweet spot for planting across much of the country, with cool soil and crisp mornings. So which mistakes shrink the harvest, and what steps help those cloves grow fat and full next year?
Your Cloves Need A Long Winter Chill
Garlic grown in cold country often makes the fattest heads, and the reason comes down to a process called vernalization. In plain words, each clove must sit in cold soil for weeks before it can divide into a full bulb.
Many university extension services point to several weeks of soil temperatures between roughly 32 and 50 degrees Fahrenheit. That steady cold acts like an internal switch, preparing the plant to split into separate cloves later on.
Skip the cold, and you often end up with a single round bulb that looks like a small onion. Gardeners call these rounds, and they taste fine but rarely give you the big harvest you hoped for.
Fall planting handles the chill for you, since winter does the work while you rest indoors with cocoa. Your main job is getting the cloves in the ground early enough for roots to settle in first.
Roots matter as much as the cold, because a strong root system feeds the plant once spring warms up. Cloves planted in October usually grow roots for several weeks, though green shoots may stay mostly hidden underground.
A few leaves poking up before winter is normal, so you do not need to panic about frost. Garlic is tough, and those early sprouts often handle cold weather far better than most vegetable crops.
Personally, I think of fall planting as a gift to my future self, wrapped up in chilly dirt. Give the cloves their winter nap, and next summer they will thank you with plump, papery heads.
October Is Your Planting Sweet Spot
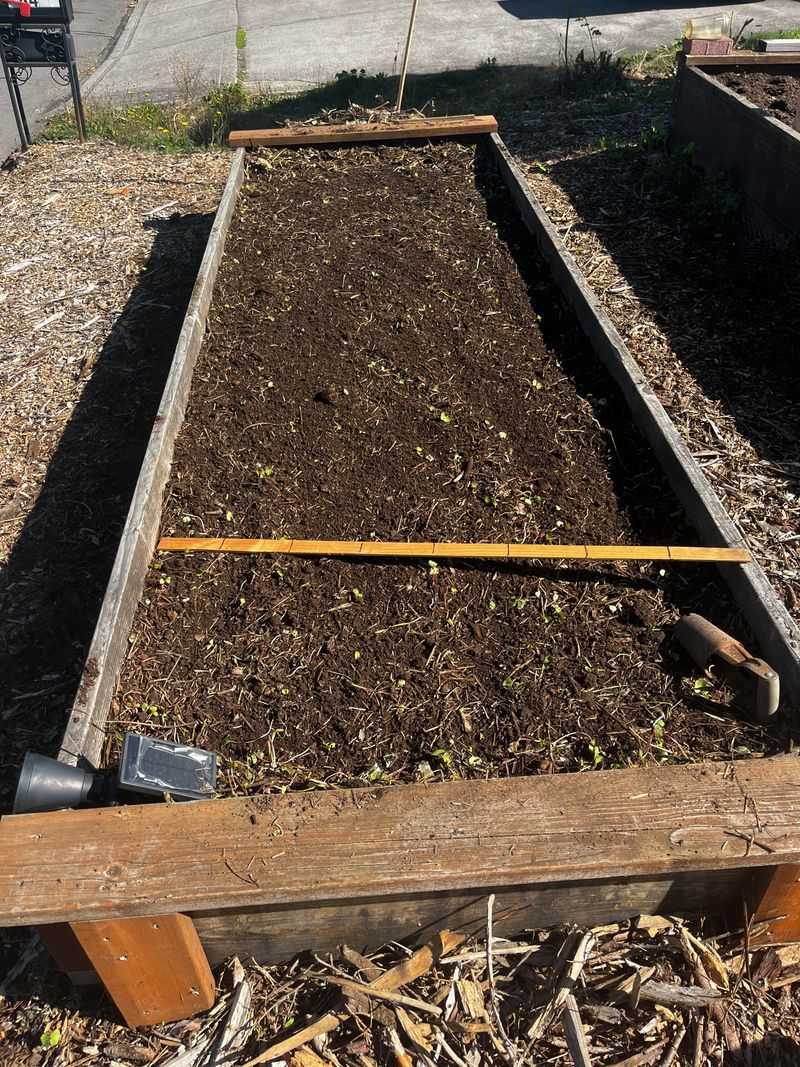
Right now in October, the soil is still soft enough to dig, and that window matters more than gadgets. Most extension guides suggest planting garlic about four to six weeks before the ground freezes solid.
That timing gives cloves enough warmth to grow roots but not enough to push lots of tender leaves. Plant too early, and the green tops can grow tall, leaving them exposed when hard freezes finally arrive.
Plant too late, and roots struggle to settle in before the cold locks the soil up for months. Those weak starts often lead to smaller bulbs, which is the exact opposite of what you want.
In northern states, early to mid October usually works well for gardeners with cold winters ahead. Farther south, many growers wait until late October or even November, when soil cools down a bit more.
A simple soil thermometer helps, and many sources suggest planting once soil hits about 50 degrees Fahrenheit. You can also watch nature, since the first light frosts often signal that planting time has arrived.
Your local extension office can share average freeze dates for your county, which takes out most guesswork. Count back about a month and a half from that date, and you have a solid target.
I like circling the date on my kitchen calendar, right next to apple picking and raking leaves. Garlic planting feels like a cozy fall ritual, and the payoff lands right in the middle of summer.
Big Cloves Grow Big Bulbs
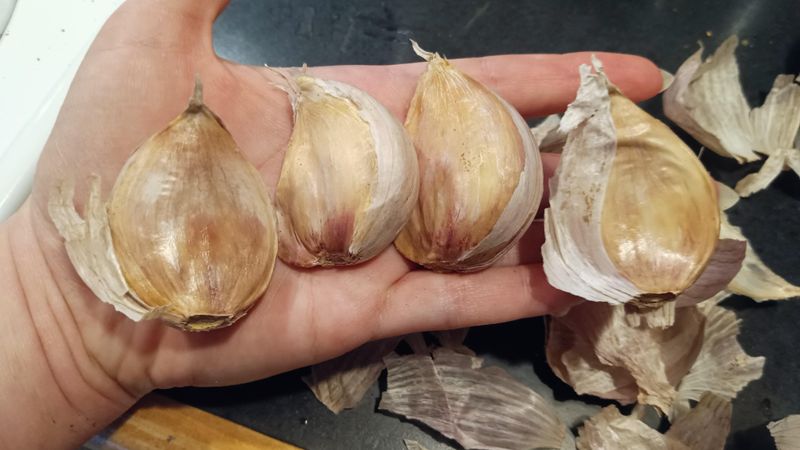
Size in, size out is a common saying among garlic farmers, and research mostly backs it up. Larger cloves usually grow into larger bulbs, because they carry more stored food for the young plant.
So when you break apart a head, save the plump outer cloves for planting in your garden bed. Those skinny inner cloves still taste great, so toss them into soups, roasted veggies, or pasta tonight.
Grocery store garlic is tempting, but it may be treated to slow sprouting or come from distant climates. Many extension experts recommend buying seed garlic from a local farm or trusted garden supplier instead.
Locally grown seed stock often adapts better to your weather and is less likely to carry hidden diseases. Look for firm heads with tight skins, and pass on any that feel soft, moldy, or shriveled.
Variety choice matters too, since hardneck garlic handles cold northern winters well and produces tasty curly scapes. Softneck garlic often suits milder regions and stores longer, which makes it popular for braiding at harvest.
Fun fact for your next dinner party, garlic rarely produces true seeds, so growers plant cloves instead. Every clove is basically a clone of its parent, which explains why good stock matters so much.
Break heads apart only a day or two before planting, which keeps the cloves from drying out early. Leave the papery skins on each clove, since that thin wrapper offers a bit of natural protection underground.
Your Soil Deserves A Little Prep First
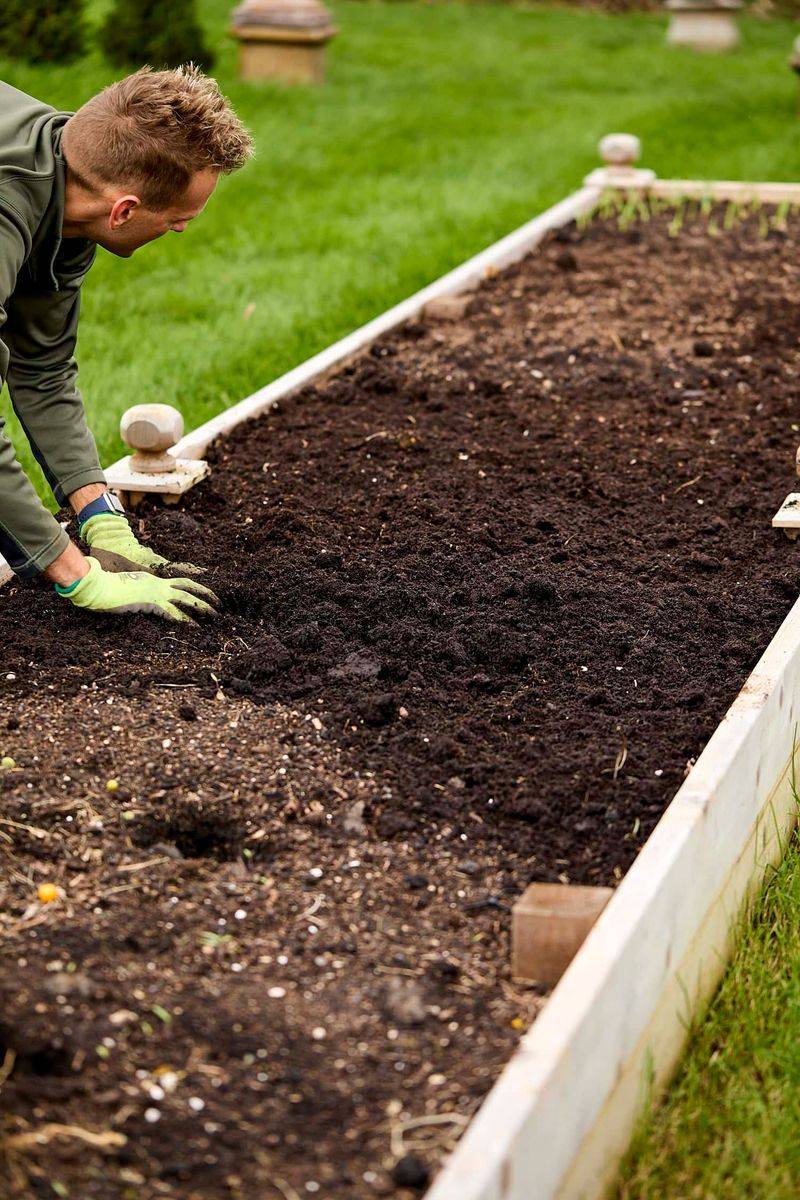
Loose, rich soil is like a comfy mattress for garlic, and roots stretch out happily when nothing blocks them. Heavy clay or soggy ground can lead to rot, so drainage should be your first concern this month.
Pick a sunny bed that gets at least six hours of direct light on most days of the growing season. Raised beds work wonderfully if your yard tends to puddle after heavy rain, especially during late fall storms.
Mix two or three inches of compost into the top few inches of soil before you plant anything. Garlic prefers a soil pH between about 6.0 and 7.0, and a simple soil test will confirm yours.
Push each clove into the ground pointy end up, with the flat root end facing down toward the earth. Aim for about two inches deep, which keeps the clove snug without burying it too far down.
Spacing matters for bulb size, so leave roughly six inches between cloves and about a foot between rows. Crowded plants compete for water and nutrients, and they often reward you with smaller heads next summer.
Try to rotate your garlic patch, avoiding spots where onions, leeks, or garlic grew in the past few years. Rotation helps reduce soil diseases and pests that target the onion family, like white rot and onion maggots.
After planting, water the bed well if the soil feels dry, then let autumn rain take over. I love that quiet moment of patting down the last row, knowing the hardest part is finished.
A Thick Straw Blanket Protects Your Crop
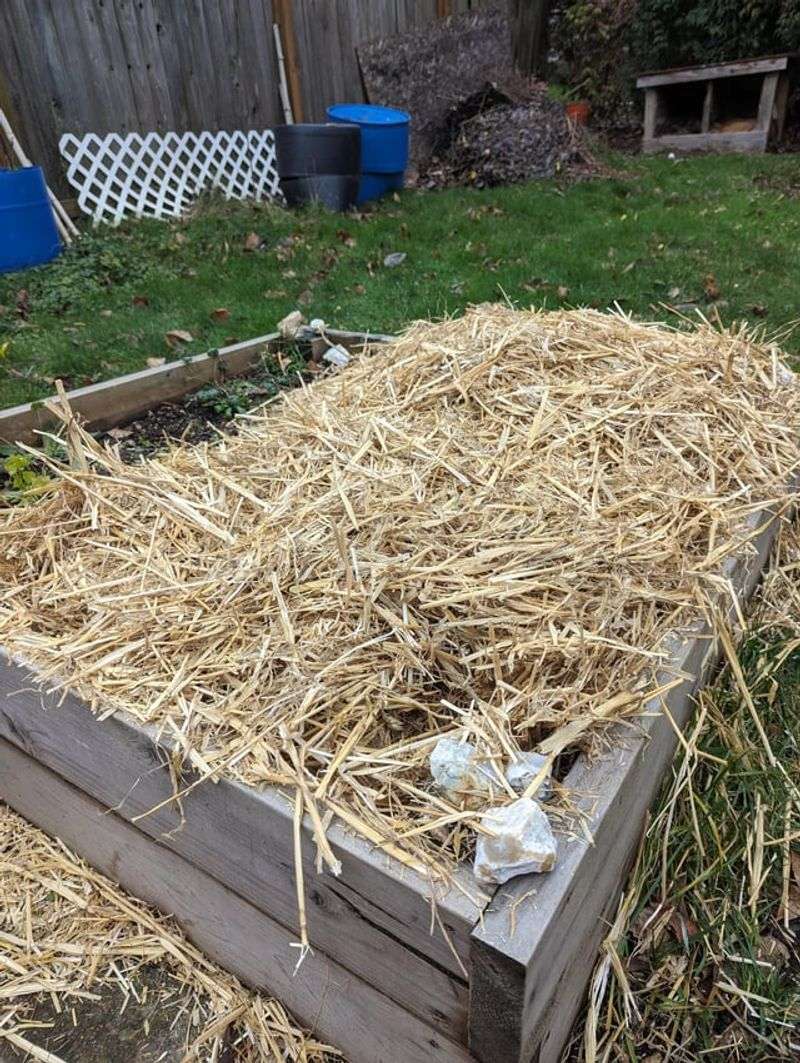
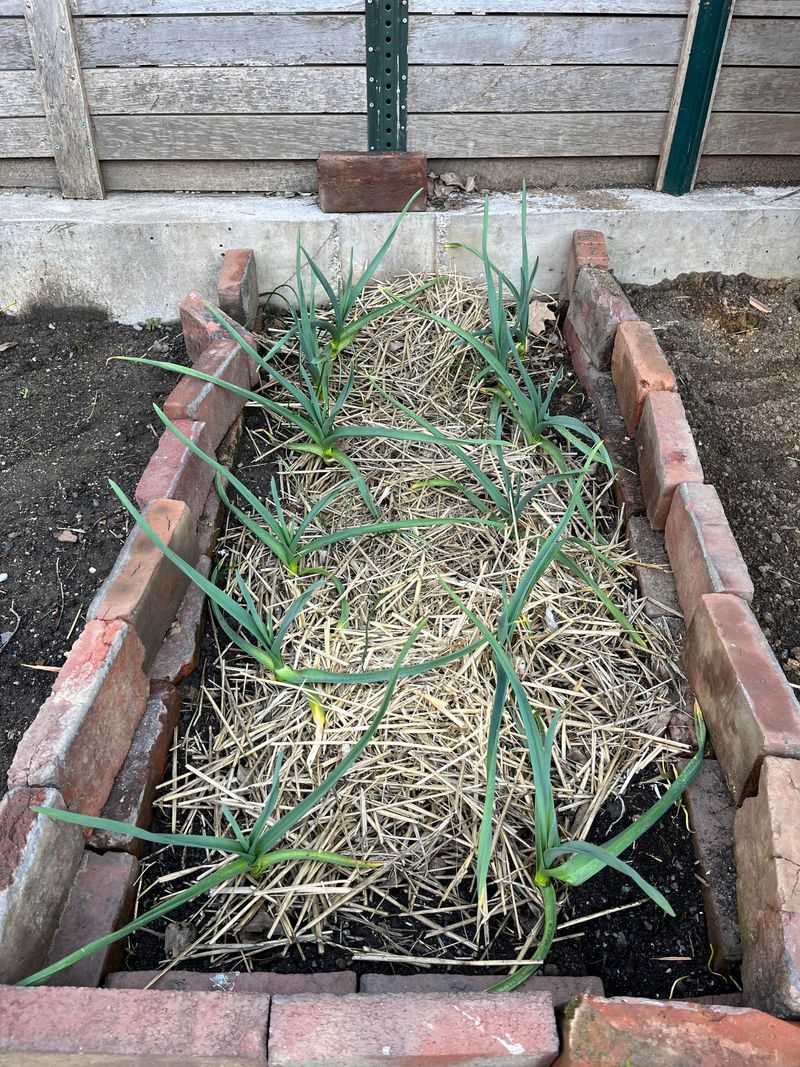
A fluffy layer of straw might look messy, yet it works like a warm quilt over your sleeping cloves. Many university guides recommend adding four to six inches of mulch after the ground begins to freeze.
Mulch protects against heaving, which happens when soil freezes and thaws over and over during winter. That constant shifting can push cloves right out of the ground, leaving them exposed to bitter wind.
Clean straw is a favorite choice, but shredded leaves or seed-free hay can also do the job nicely. Steer clear of whole leaf piles, since they can mat down into a soggy layer that blocks air.
Your fall leaf pile becomes a free mulch source this month, especially once you run a mower over it. Chopped leaves break down slowly and add organic matter, which feeds soil life for seasons to come.
Mulch also holds moisture in the soil and keeps weeds from sprouting around your young garlic plants. Garlic hates competition, and weedy beds can shrink bulb size by a surprising amount, according to extension research.
In early spring, pull some mulch back if the soil stays cold and wet for too long. Green shoots usually poke right through a loose layer, so many gardeners simply leave it in place.
I can’t imagine skipping this step, especially after watching bare beds crack and buckle during a hard winter. Spread the straw, step back, and enjoy how tidy and golden your garden looks under the October sky.
Snap Off Those Curly Scapes Next Year
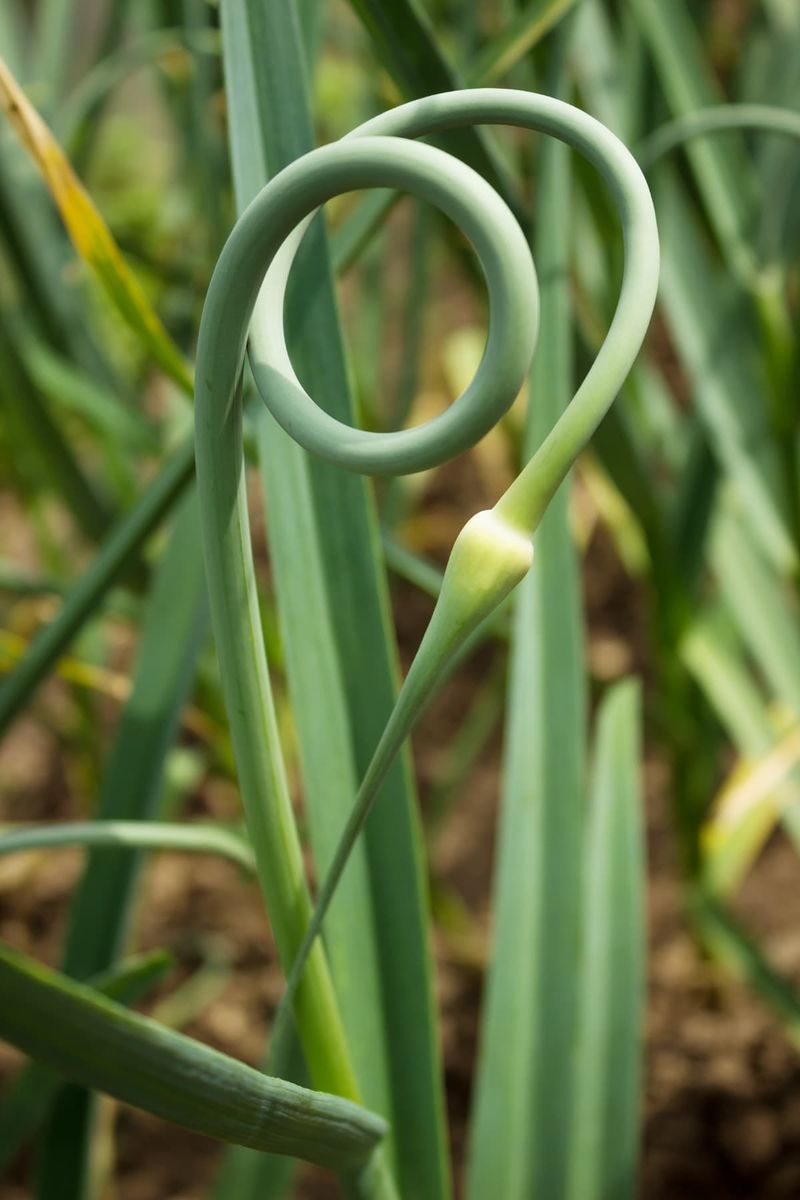
Those curly green stems on hardneck garlic look fun, but they quietly steal energy from the bulb below. Snapping off these scapes in late spring can boost bulb size, and several extension trials support this habit.
Wait until the scape curls into a loop, then cut or snap it off near the top leaves. Your reward is a bonus crop with a mild, garlicky flavor that shines in pesto, eggs, or stir-fries.
Feeding matters too, since garlic grows hungry once green leaves start stretching upward in early spring. A side dressing of nitrogen-rich fertilizer or compost at that point helps build strong leaves and bigger bulbs.
Each leaf links to a wrapper layer around the bulb, so more healthy leaves usually mean a plumper head. Water about an inch per week during dry spells, then ease off as harvest time gets closer.
Harvest usually lands in early to mid summer, once the lower leaves turn brown while upper ones stay green. Dig gently with a garden fork, because bruised bulbs tend to rot instead of storing well through winter.
Cure your harvest in a shady, airy spot for about two to three weeks before trimming roots and stems. Well cured garlic can keep for months, giving you homegrown flavor deep into the next cold season.
Save a few of your biggest heads for replanting next October, and your garlic patch keeps improving. Over a few seasons, those cloves adapt to your yard, and the bulbs often grow even more impressive.