The November Daylily Task That Can Double Your Flowers Next Summer
A single flower on this plant opens for one day and then it is done. One healthy clump can still push out hundreds of those blooms in a summer. I find that both thrilling and a little unfair to the rest of my garden.
Here is what bugs me, though. After a few years, those same tough clumps start sending up fewer flower stalks. The leaves still look fine, so most of us blame the weather, the soil, or plain bad luck.
I learned the hard way that the real problem often hides underground. Roots get crowded, plants compete, and the summer show quietly shrinks year after year. You can fix it with a shovel and one cool afternoon.
Call me stubborn, but my favorite garden chore happens when everything else is winding down. Ready to find out which job earns you a bigger summer?
That Thinning Daylily Clump Is Trying To Tell You Something
Last July, I counted only six blooms on a daylily clump that used to light up my whole fence line. The leaves were thick and green, so I could not figure out what went wrong.
Plenty of gardeners hit this same wall. Daylilies are famously tough, and that toughness can fool you. A clump keeps spreading outward for years, adding new fans of leaves around the edges while the center gets packed tight.
Once that happens, the roots underground start fighting each other for water, nutrients, and space. University extension experts, including those at the University of Georgia, point to overcrowding as a common reason daylilies bloom less over time.
Watch for a few clues in your own beds. Fewer flower stalks, called scapes, are the biggest hint. Smaller blooms and a hollow or bare middle in the clump are others.
Shade can play a role too, so check whether a nearby tree has grown taller. Daylilies flower best with at least six hours of sun. If the light looks fine and the clump looks crowded, you have likely found your answer. One simple fall job can turn things around, and it involves a sturdy shovel.
Dividing Daylilies In Late Fall Still Gives Roots A Head Start
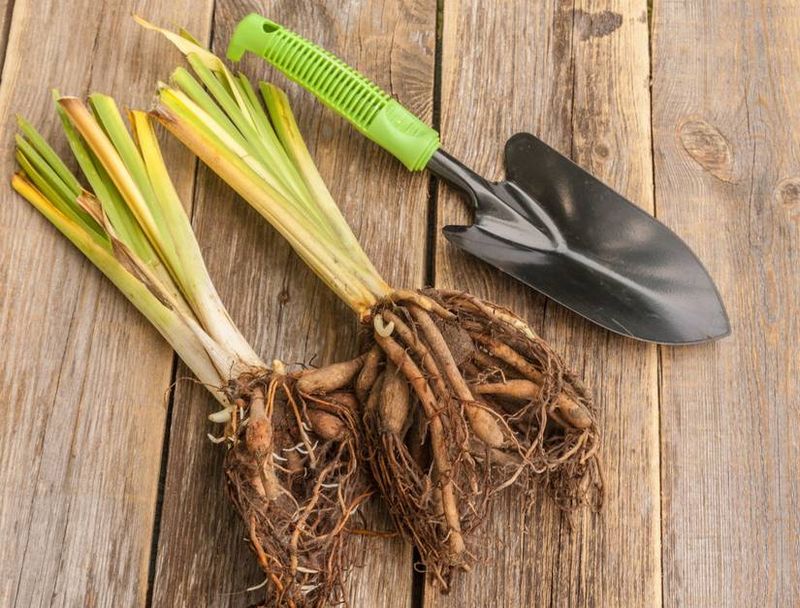
Splitting up crowded clumps is the big November secret. Most experts suggest dividing daylilies every three to five years, or whenever flowering slows down.
Why fall? Cooler air means less stress on the plants, while the soil still holds just enough warmth for new roots to grow. Many extension guides recommend finishing the job about four to six weeks before your ground freezes.
Timing depends on where you live. Gardeners in northern states, such as Minnesota or Michigan, have usually missed the window by November and are better off waiting until early spring. Folks in warmer southern regions, like Georgia or Texas, can still divide now, and even into December in the mildest areas.
Will your flowers truly double? That depends on how crowded the clump was. A plant that has gone years without dividing often responds with stronger stalks and more buds once each section has room. A recently divided clump may need a season to settle before showing off.
One fair warning belongs here too. A freshly split division sometimes blooms lightly its first summer while it builds roots. By the second season, most gardeners notice a big jump. Patience pays, and your reward is several healthy plants instead of one tired one.
Give Those Daylily Leaves A Haircut Before You Dig
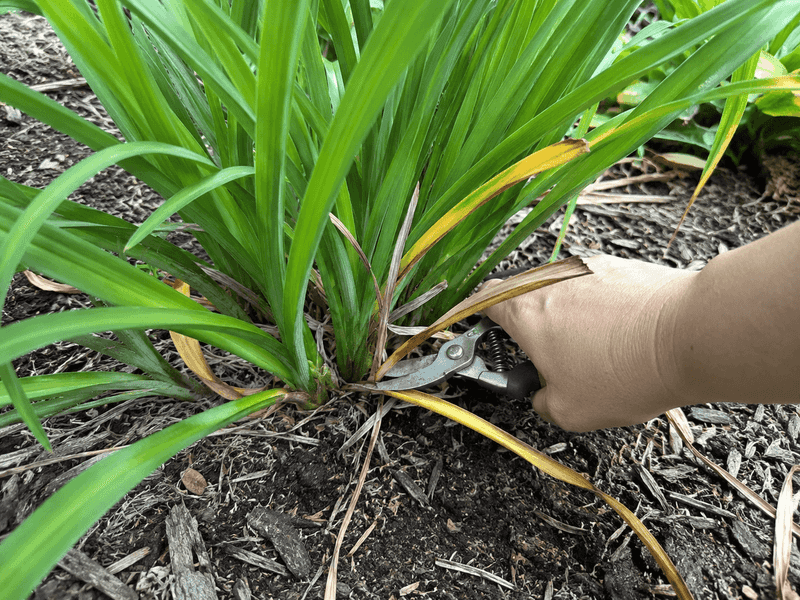
Honestly, digging through a jungle of floppy leaves is no fun at all. A quick trim first makes the whole process faster and much less messy.
Cut the foliage back to roughly four to six inches above the crown. That short stub still lets you see each fan clearly, which helps when you start separating pieces. It also cuts down on water loss while the new roots get going.
Snip off any tall, bare flower stalks while you are at it. If you spot plump green seed pods, remove those as well. Making seeds uses up energy that the plant could store for next year instead.
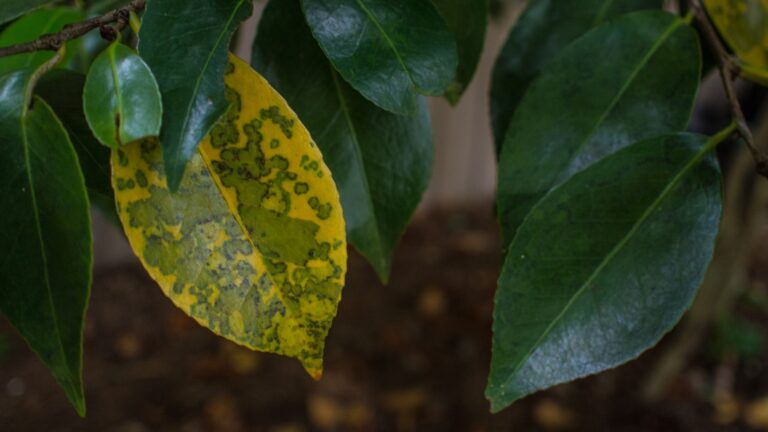
Toss the trimmings in your compost pile if they look healthy. If you noticed streaky leaves or signs of daylily rust this year, bag them up and put them in the trash instead. Rust spores can linger on old foliage.
Clean tools matter more than many people realize. Wipe your shears and shovel with rubbing alcohol or a mild bleach mix between beds. My shears look happier for it, and so does the garden.
Splitting A Daylily Root Ball Is Easier Than It Looks
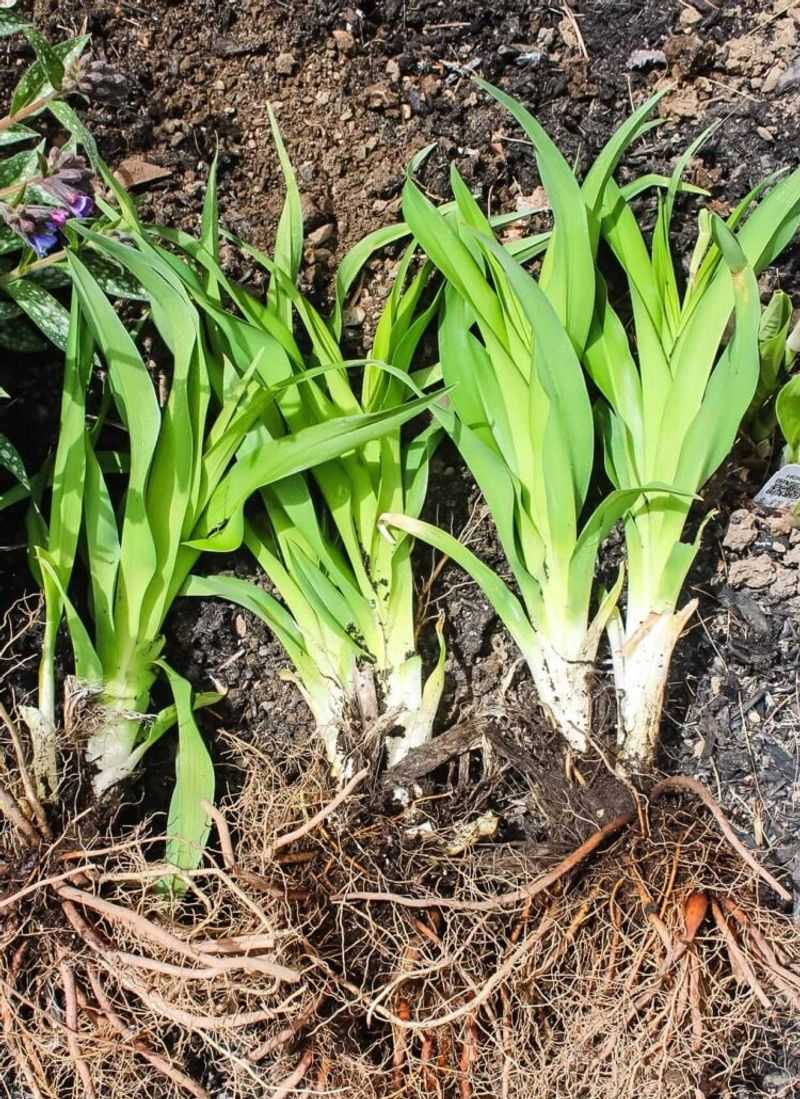
My first time, I stared at that giant root ball like it was a puzzle with no instructions. Thankfully, daylilies forgive a lot of clumsy handling.
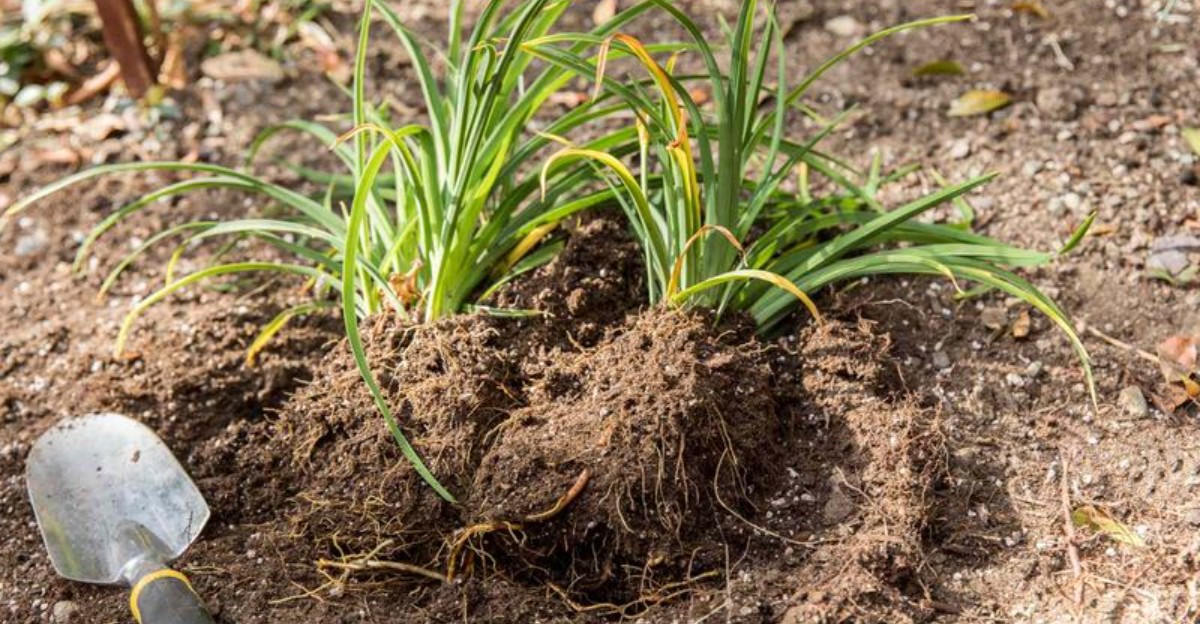
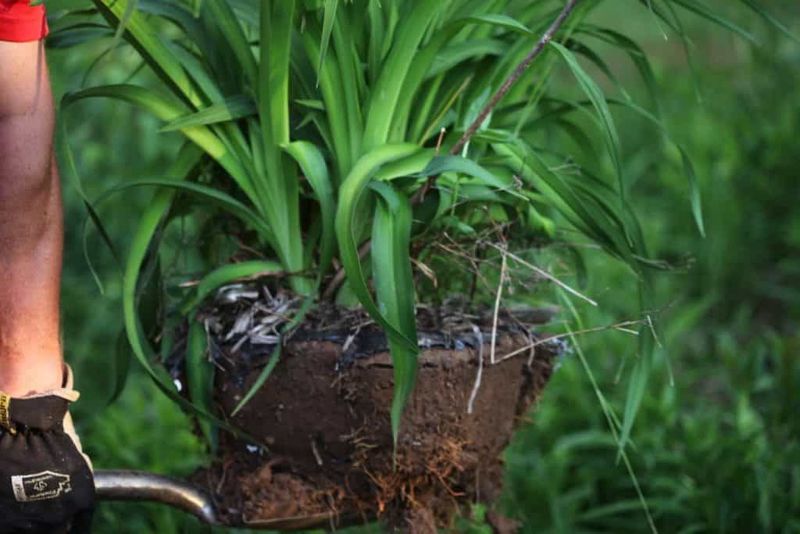
Start by digging a wide circle around the clump, several inches out from the leaves. Lift it with a spading fork, then shake or hose off the loose soil so you can see the crowns and fleshy roots.
Small clumps often pull apart by hand. Larger ones may need two garden forks pushed in back to back and pried outward. A sharp spade or old bread knife works too when the center feels woody.
Aim for divisions with about two or three fans of leaves each and a healthy set of roots. Bigger pieces of three to five fans tend to bloom sooner. Tiny single fans grow fine but may take a couple of years to flower well.
Toss the old, worn-out middle if it looks hollow or weak. Keep the vigorous outer sections instead. Work in the shade if you can, and cover waiting divisions with a damp towel so the roots stay moist.
Planting Daylily Divisions At The Right Depth Matters
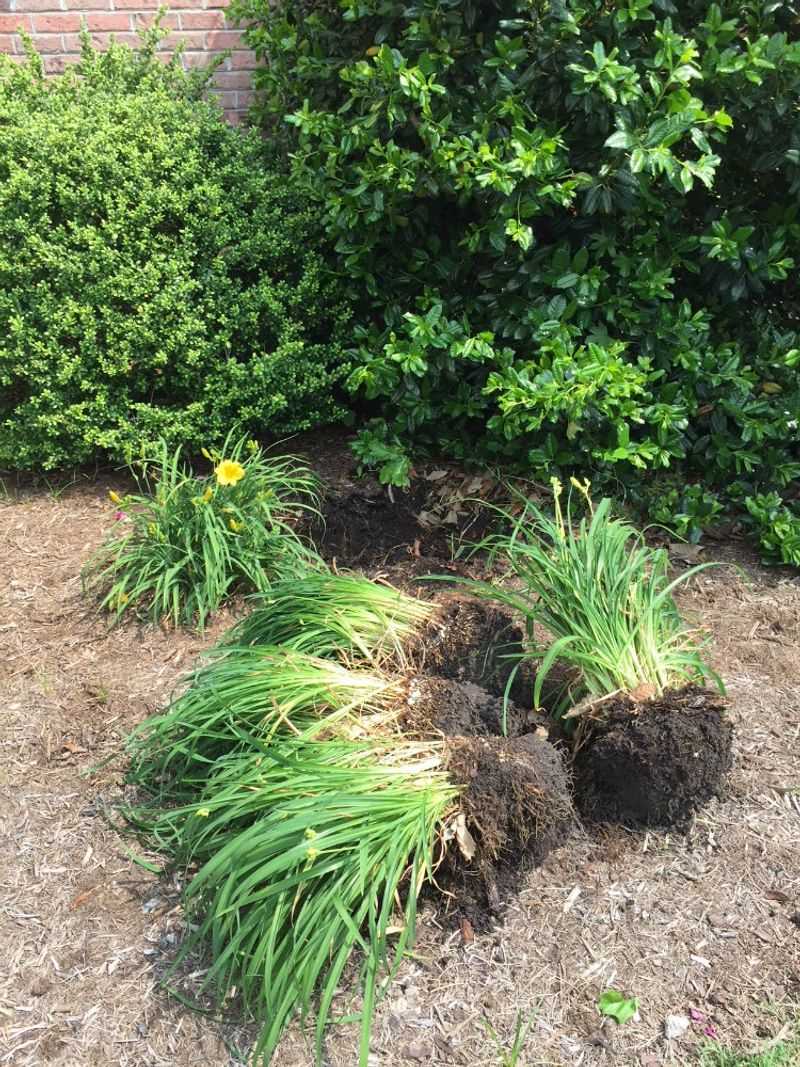
Depth is where so many good divisions go wrong. Plant too deep and blooms suffer. Plant too shallow and roots dry out.
Dig each hole wider than the roots and about a foot deep. Mix in some compost to loosen heavy clay or help sandy soil hold moisture. Then build a small mound of soil in the center of the hole.
Spread the roots over that mound like a little skirt. Set the crown, where leaves meet roots, about one inch below the soil surface. Fill in around the roots and press gently to remove air pockets.
Spacing helps you avoid this whole chore again too soon. Give each division about 18 to 24 inches of room. It looks sparse at first, but those plants will fill in faster than you expect.
Water deeply right after planting so the soil settles around the roots. Keep the bed lightly moist, not soggy, for the next few weeks until the ground freezes.
Pick a sunny spot with good drainage. Daylilies tolerate a lot, yet they shine brightest with plenty of sunshine on their faces.
Skip The Heavy Fertilizer On Freshly Divided Daylilies
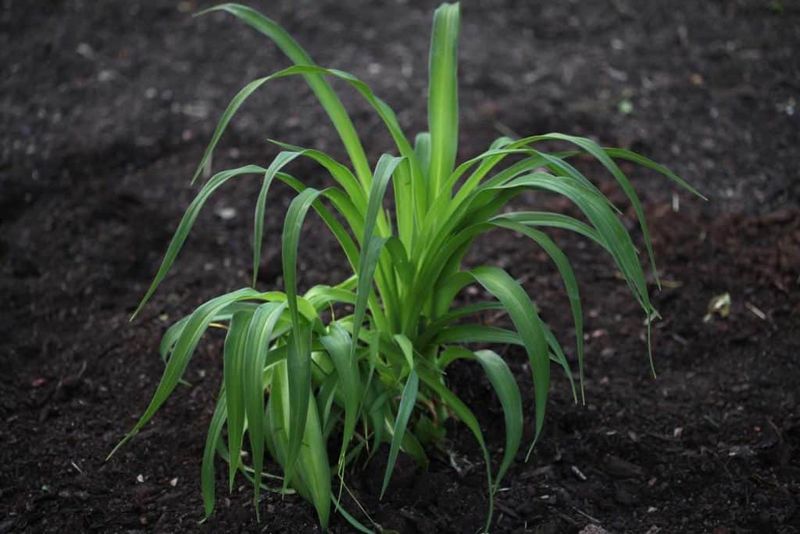
Guilty as charged: I once dumped a big scoop of fertilizer on new divisions, hoping to speed things up. All it did was push soft leaves right before frost.
Fall is a time for roots, not lush top growth. Heavy nitrogen in autumn can encourage tender new leaves that struggle when freezing weather hits. Many extension sources suggest saving most feeding for spring, when new shoots appear.
A thin layer of compost works nicely right now. It feeds the soil slowly, improves texture, and helps hold moisture. Your new divisions will appreciate the gentle boost without any rush to grow leaves.
Curious about what your soil actually needs? A soil test through your local county extension office costs little and tells you a lot. Daylilies usually prefer slightly acidic to neutral soil, roughly a pH of 6.0 to 7.0.
Fun fact for your next garden chat: the scientific name Hemerocallis comes from Greek words meaning beauty and day. That fits perfectly, since each bloom lasts just one day. More buds per stalk means more beautiful days, so smart feeding in spring really pays off.
A Cozy Layer Of Mulch Helps Daylily Divisions Settle In
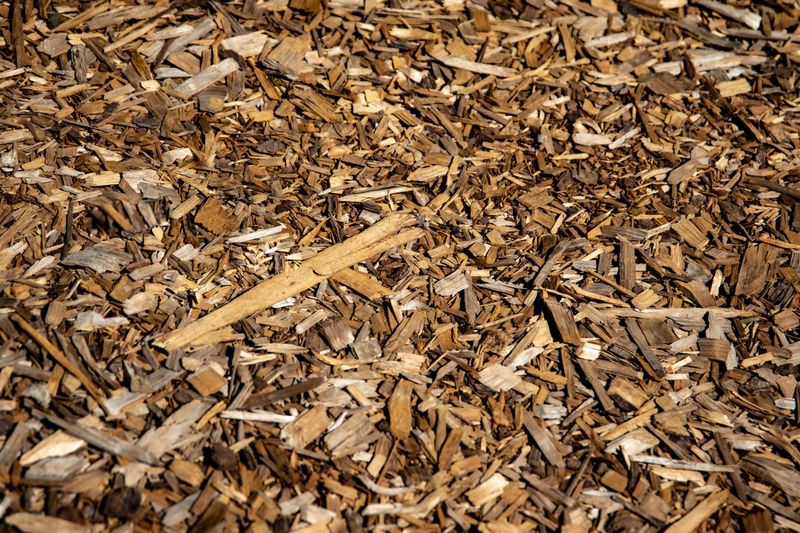
After all that digging, tucking your new plants in for winter feels downright satisfying. A blanket of mulch is the finishing touch they need.
Once the ground has cooled, spread two to three inches of shredded bark, pine straw, or chopped leaves around each division. Keep it a couple of inches away from the crowns so moisture does not sit against them.
Mulch protects new roots from frost heave, which happens when soil freezes and thaws over and over. That motion can push young plants right out of the ground in colder states. Mulch also holds moisture and keeps early spring weeds down.
Rake out fallen leaves, weeds, and old daylily debris from the bed before mulching. Pests and disease spores love a messy hiding spot over winter.
Jot down which varieties went where, too. A simple garden note or plant tag saves you plenty of guessing next July. Then mark your calendar for another division in three to five years. Do that, and your daylilies can keep rewarding you with fuller, brighter summers for decades.