How To Harvest And Cure Olives From A California Backyard Tree
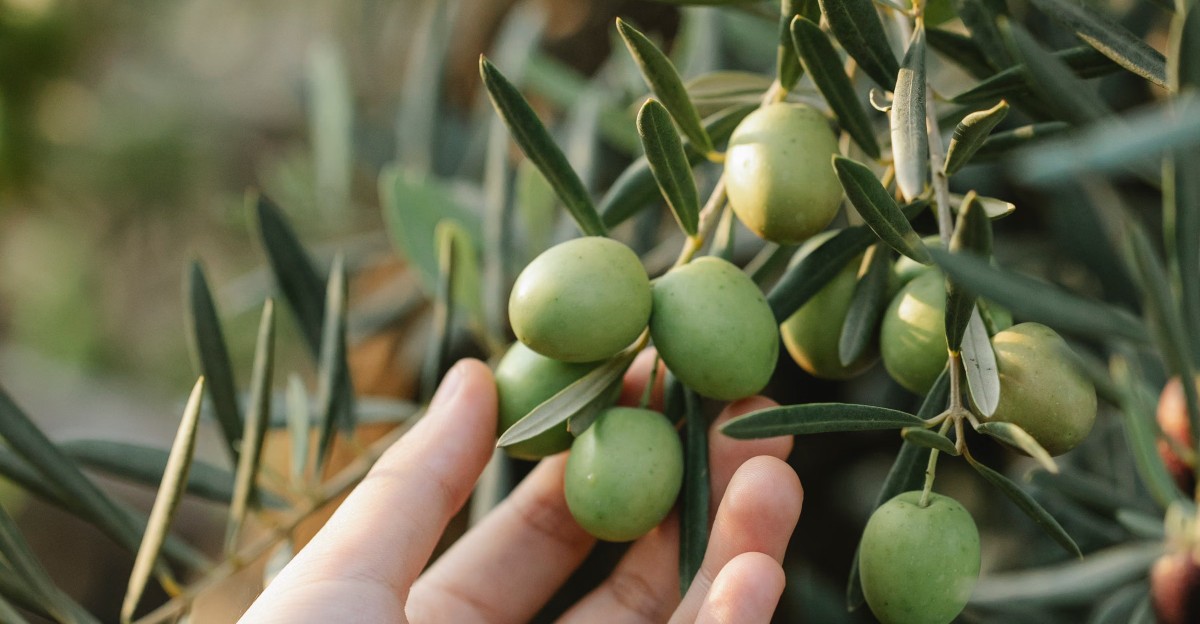
Those green and black snacks on a relish tray can come from the very same tree. The only real difference is timing, as the fruit slowly shifts from bright green to straw yellow, then reddish purple, then glossy black.
Fresh off the branch, though, every one is shockingly bitter. My first taste test ended with me spitting into the hydrangeas. A natural compound causes that pucker, and a little kitchen patience coaxes it out with water and salt.
November is prime picking time for many California trees, with cooler coastal spots often stretching into December. My jars are lined up on the counter right now, and the kitchen smells faintly of salt and lemon peel.
Your tree may be loaded this week, branches bending under all that fruit. Will that crop become a counter full of jars, or another season of sticky sidewalk mush?
That Bitter Taste On Your Fresh Olives Has A Name
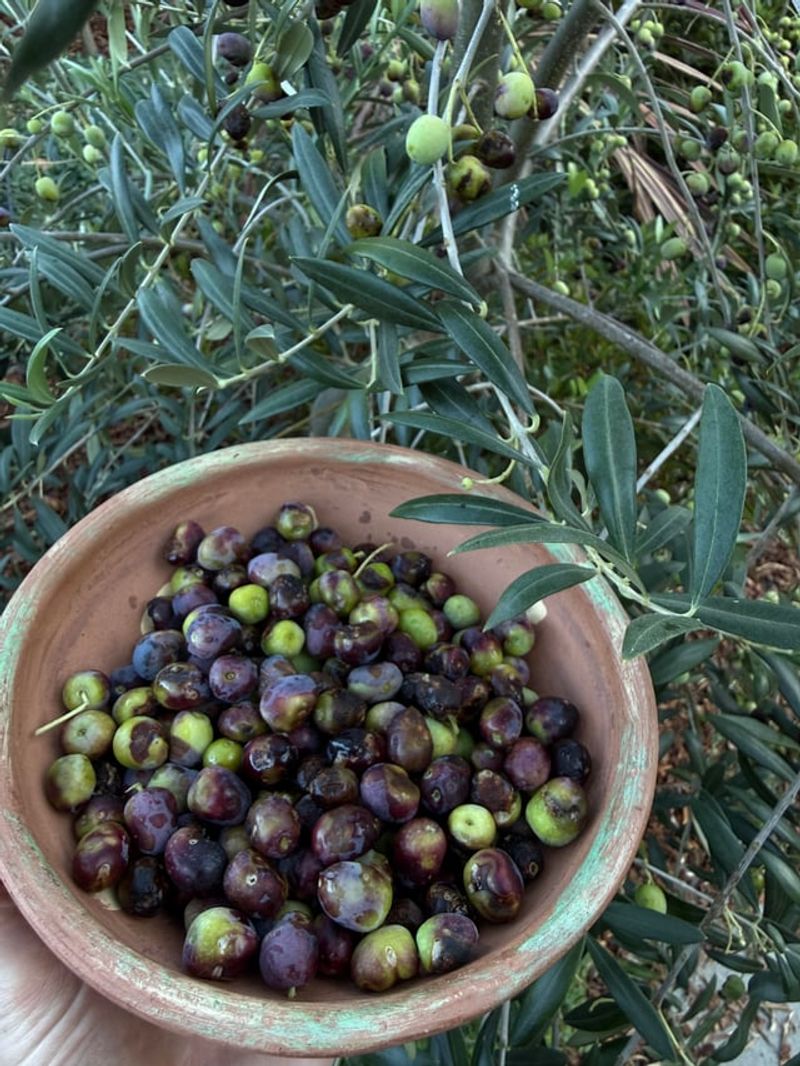
Bite a raw olive once and you will remember it for years. The flavor is sharp, dry, and puckery, like chewing on aspirin. That reaction comes from oleuropein, a natural compound the tree makes to protect its fruit.
Every curing method has one main job. It either breaks down oleuropein or slowly pulls it out of the flesh. Once that bitterness drops, the buttery, fruity taste underneath finally gets a chance to shine.
California has grown olives since Spanish missionaries planted them at the missions in the late 1700s. The Mission variety still grows in many older yards today. Manzanillo and Sevillano trees are also common, and both make great table olives at home.
Not sure what you have? Look at the fruit size and shape. Sevillano olives are large and plump, Manzanillo fruit is medium and rounded, and Mission olives are smaller and slightly oval.
Small oil types like Arbequina can be cured too, though the pit takes up much of each bite. I still cure a few for snacking. Knowing your variety helps you pick the best method, since larger, fleshier fruit usually rewards your effort with a meatier, more satisfying olive.
Green Or Black Olives Depend On When You Pick
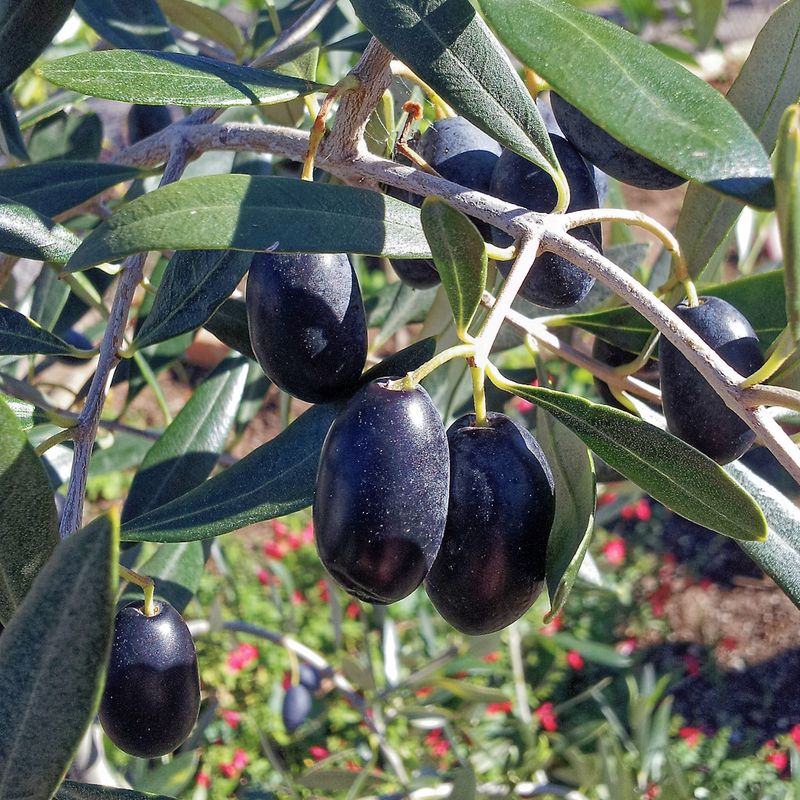
Green and black olives can come from the very same tree. The only real difference is timing. Olives start green, shift to straw yellow, blush reddish purple, and finally turn deep black.
In most of California, picking season runs from about September through November. Hot inland valleys often ripen first, while cooler coastal spots may stretch into December. Watch your own tree rather than the calendar, because weather shifts things each year.
For crisp green olives, pick when the fruit is full sized, firm, and turning from bright green to a pale yellow-green. Squeeze one gently. It should feel solid, and the juice should look milky or cloudy.
For softer, richer black olives, wait until most fruit has darkened all the way through. Cut one open to check. Purple color reaching toward the pit is a good sign.
Ripe black olives bruise easily and can turn mushy in curing, so handle them with care. They also cure faster than green ones. I like picking a batch at each stage, then comparing flavors side by side. It is a fun kitchen experiment, and it helps you find your favorite style.
Hand Picking Olives Keeps The Fruit Bruise Free
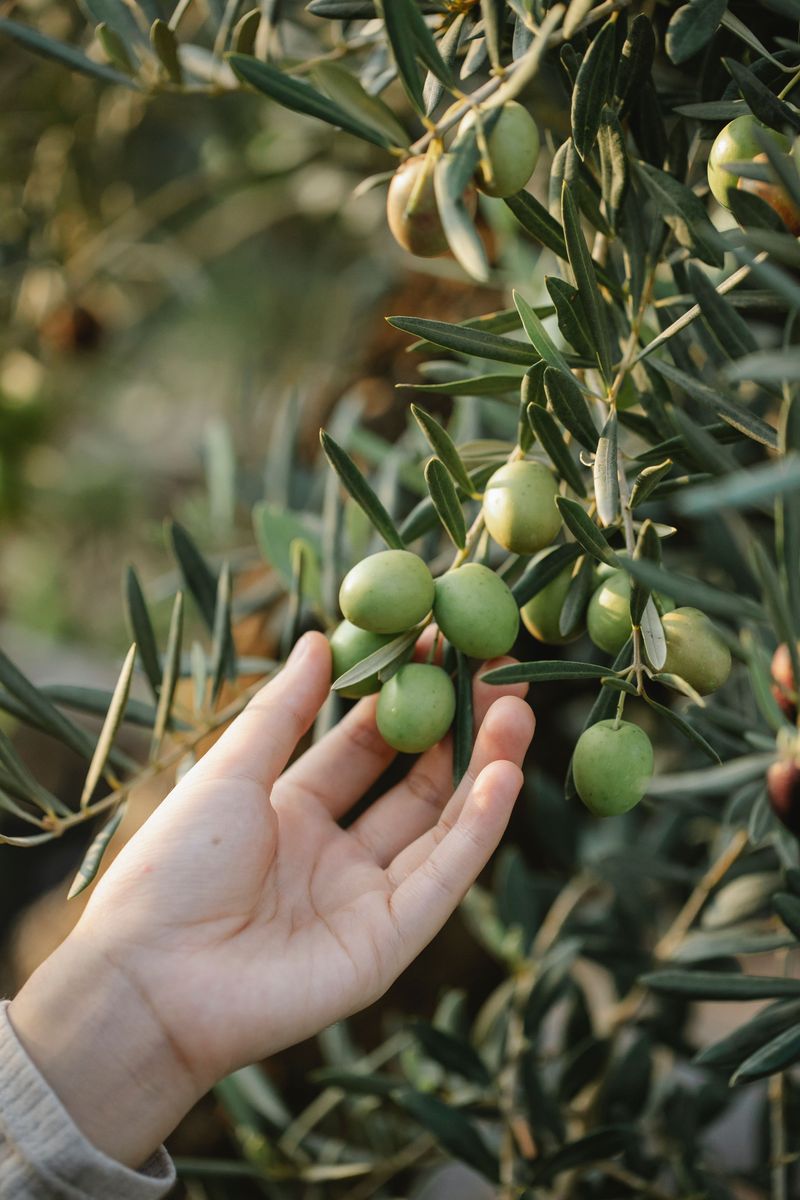
Bruises sound minor, but they show up later as soft brown spots in the jar. For table olives, hand picking is the best way to protect your crop. It is slow, relaxing work, and it pairs nicely with a podcast.
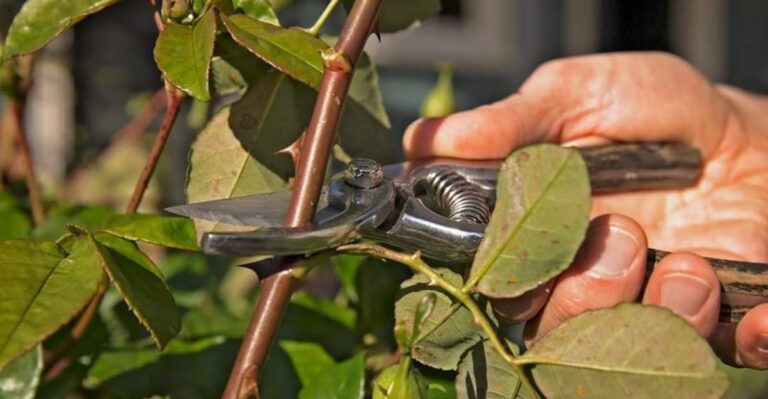
Grab a shallow basket or bucket so the fruit does not pile up too deep. Pull olives off with a gentle twist. For high branches, a sturdy step ladder beats yanking limbs down toward you.
Some gardeners spread a clean tarp under the tree and comb branches with a small plastic rake. That works well for ripe black olives that drop easily. Try to collect fallen fruit the same day, though.
Skip any olive with holes, scars, or tiny dimples. Those can be signs of olive fruit fly, a pest found across much of California. Infested fruit often turns soft and mushy during curing.
Start curing within a day or two of picking. Fresh fruit holds its texture best. Rinse your harvest in cool water, then sort by size and color so each batch cures evenly and finishes around the same time.
Cracked Olives Soaking In Water Make The Easiest Start
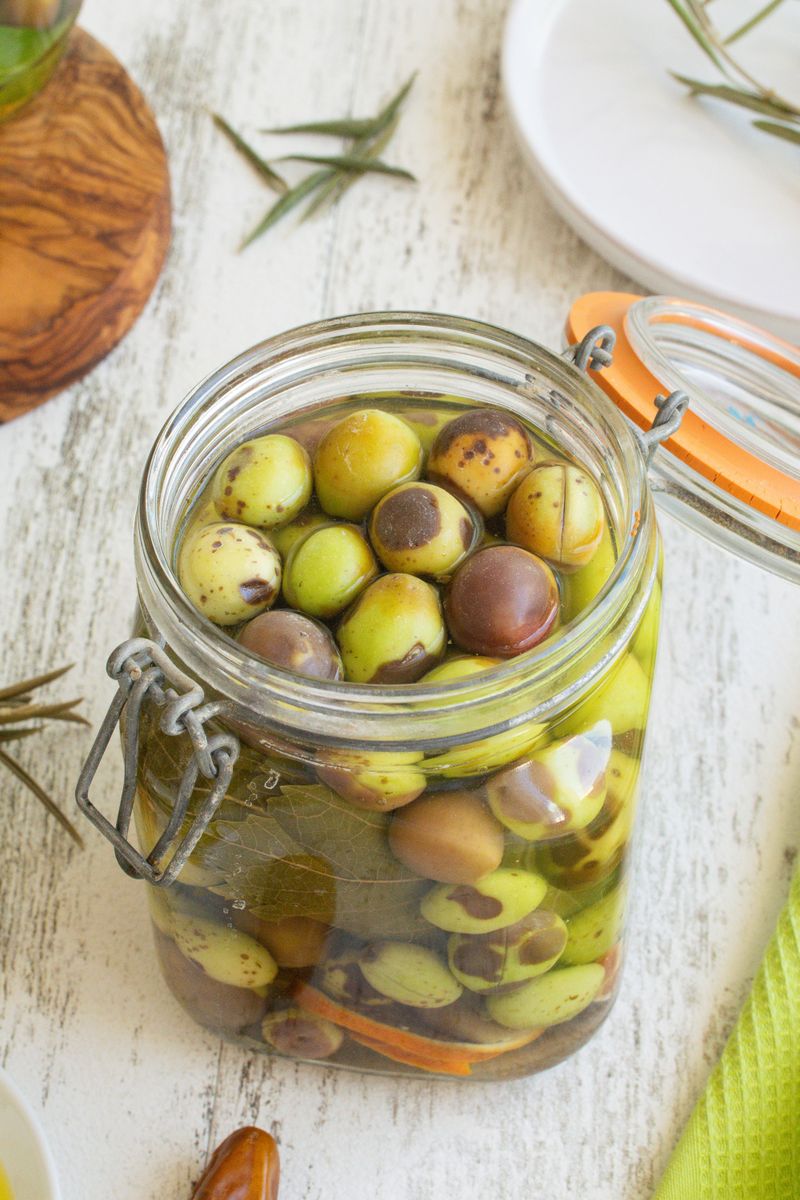
Water curing feels almost too simple to work. You need olives, cold water, and a little daily attention. It is my favorite method for beginners and anyone nervous about chemicals.
Start by cutting a slit down one side of each olive, or crack it gently with a flat mallet. Avoid smashing the pit. Those openings help the bitter oleuropein escape into the water much faster.
Pack the olives into a clean glass jar or food-grade bucket and cover them with cold water. Set a small plate or water-filled bag on top to keep them submerged. Any fruit floating above water can darken or spoil.
Drain and refill with fresh water every day. Most batches take one to three weeks, depending on size and ripeness. Large green olives usually need the longest soak.
Around day seven, start tasting one olive each day. A little bitterness is normal and pleasant, a bit like dark chocolate. When it tastes good to you, the water stage is done.
The olives are not ready to store yet, though. Water alone does not preserve them, so they need to move into a salt brine next.
Salty Brine Turns Your Olives Into Real Snacks
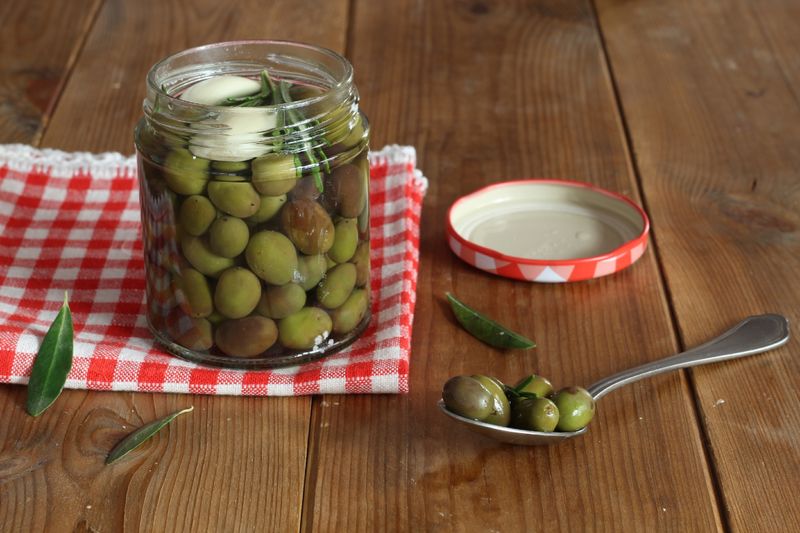
Salt is where the magic gets serious. A good brine seasons the fruit, firms it up, and helps protect it from spoilage. Olives that taste flat after water curing suddenly come alive.
A common home recipe uses roughly 1 cup of pickling or kosher salt per gallon of water. Pick salt without iodine or anti-caking agents, since those can cloud the brine. Stir until the salt dissolves fully.
Some cooks skip the water stage and cure whole olives in brine from the start. It works, but it takes patience. Expect several weeks to a few months, with the brine changed every week or two.
Keep every olive under the liquid with a weight or plate. Store jars somewhere cool and dark, like a pantry corner or garage shelf. A thin white film on top may appear, and you can skim it off, but fuzzy mold or a bad smell means toss that batch.
The fun part comes at the end. Add garlic, lemon peel, fennel seed, oregano, or dried chili to the final brine. I love a lemon and rosemary jar, because it tastes like a sunny California afternoon.
Your Finished Olive Jars Belong In The Fridge
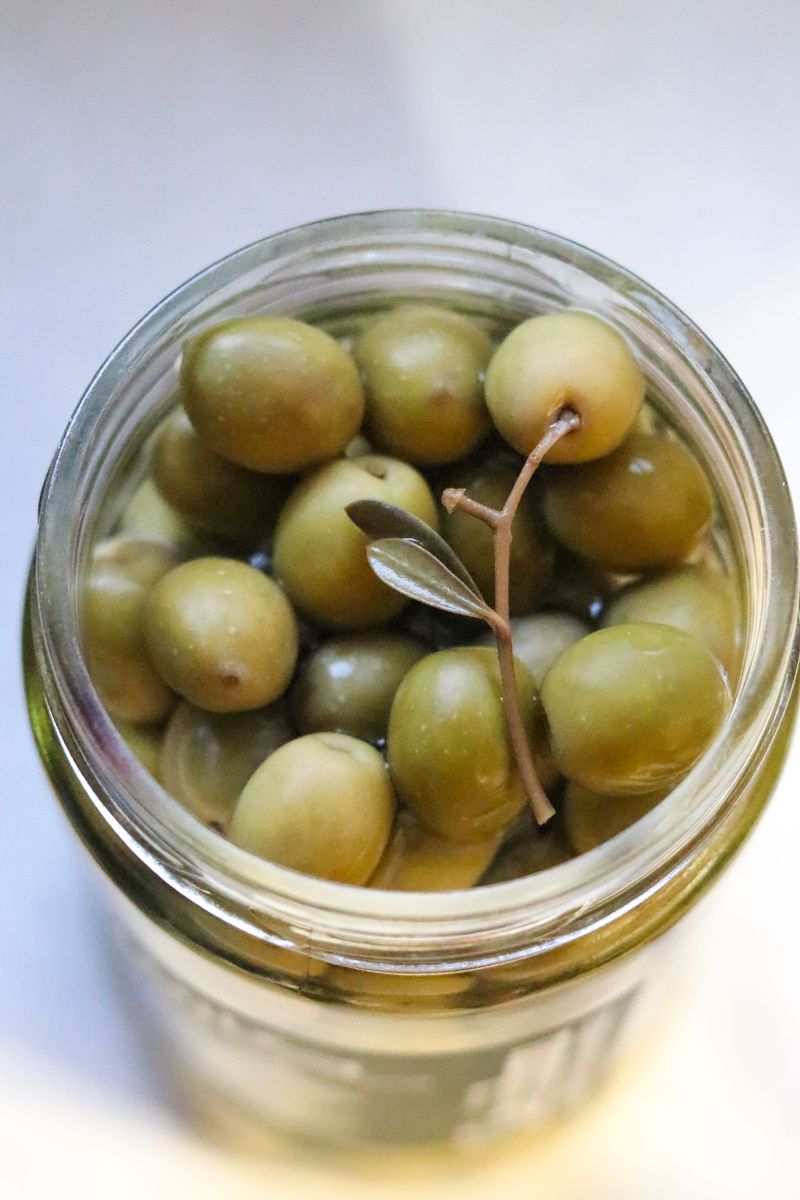
Finished olives deserve a safe home. Homemade cured olives are a low-acid food, so storage matters more than most people expect. The fridge is your best friend here.
Pack olives into clean jars and cover them with fresh brine. A splash of vinegar adds tang and a bit more protection. Seal the lids tightly, then label each jar with the date and the flavors you added.
Refrigerated olives in brine usually keep for several months. Check them now and then. Cloudy brine, slimy fruit, or an off smell signals it is time to throw them out.
Do not store homemade olives in plain oil at room temperature. Oil blocks air and can create conditions where botulism bacteria grow. If you love oil-marinated olives, mix a small batch and keep it chilled, eating it within a week or two.
Freezing works too, though texture softens a little. Canning cured olives at home requires a pressure canner and a tested low-acid recipe, not a water bath. When in doubt, UC Master Food Preserver programs across California offer reliable guidance and local classes worth checking out.