The Fall Mulching Step That Can Help Protect Next Year’s Hydrangea Buds
Next summer’s flowers on some of my favorite shrubs are already sitting on the branches right now. They formed back in late summer, tiny and tucked inside the stem tips, waiting out the winter like stowaways.
Truth be told, I ignored that fact for years. Then one mild February was followed by a nasty March freeze, and my big blue shrubs gave me leaves and almost nothing else.
I learned the hard way that a tough plant and a tough flower bud are two different things. The roots and stems can shrug off a cold snap, but those swollen buds often can’t handle wild temperature swings.
One humble fall chore helps tip the odds back in your favor. It costs very little, it uses something your yard probably drops in piles every October, and the timing matters more than most folks realize. So when should you actually do it?
Those Hydrangea Flower Buds Are Already Waiting on This Year’s Stems
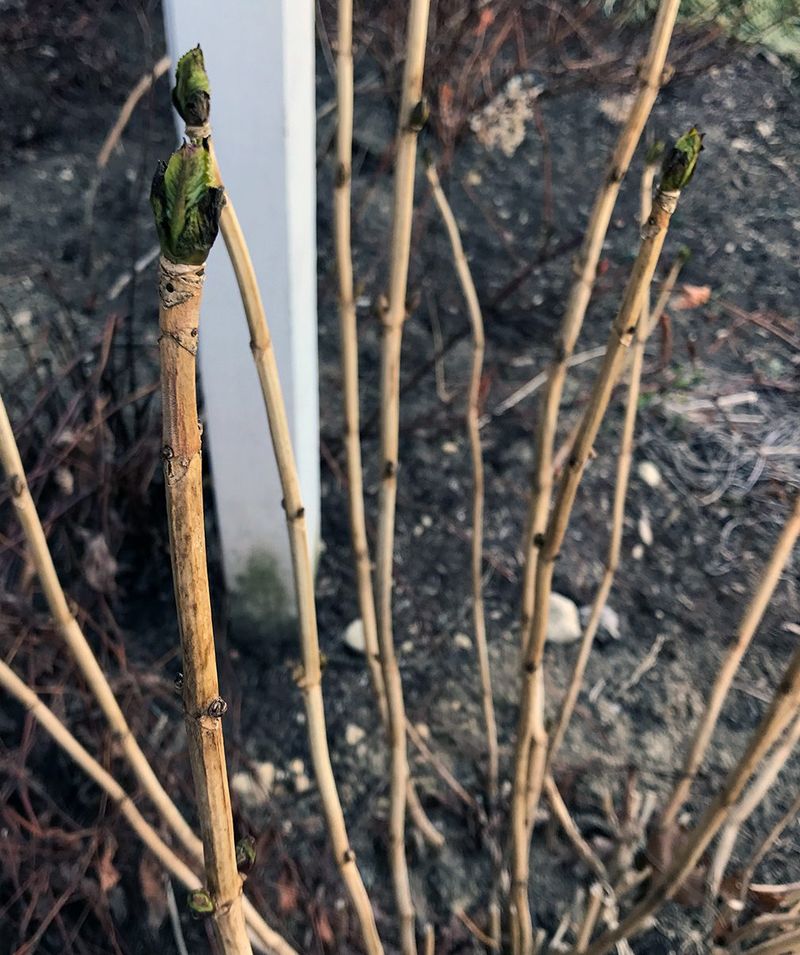
Snap a stem tip off a bigleaf hydrangea in October and peek inside. You may find a tiny, folded flower cluster already packed and ready for next summer.
Bigleaf hydrangeas, which include mopheads and lacecaps, mostly bloom on old wood. Oakleaf hydrangeas follow the same pattern. That means they set their flower buds in late summer and early fall on stems that grew this year, and those buds must ride out the whole winter.
University extension experts point to two big troubles. Deep winter cold can harm buds in colder zones, and late spring freezes can zap buds that have already swelled during a warm spell. Either way, you get a leafy shrub with few blooms.
Panicle and smooth hydrangeas, like Limelight or Annabelle, are different. They bloom on new wood grown in spring, so winter bud damage rarely costs you flowers.
Some newer reblooming types, such as the Endless Summer series, can flower on both old and new wood. They still bloom best when their old-wood buds survive.
So before you grab a single bag of mulch, figure out which type you own. That one detail decides how much winter fussing your shrub truly needs.
A Thick Mulch Blanket Keeps Hydrangea Roots and Crowns Steady
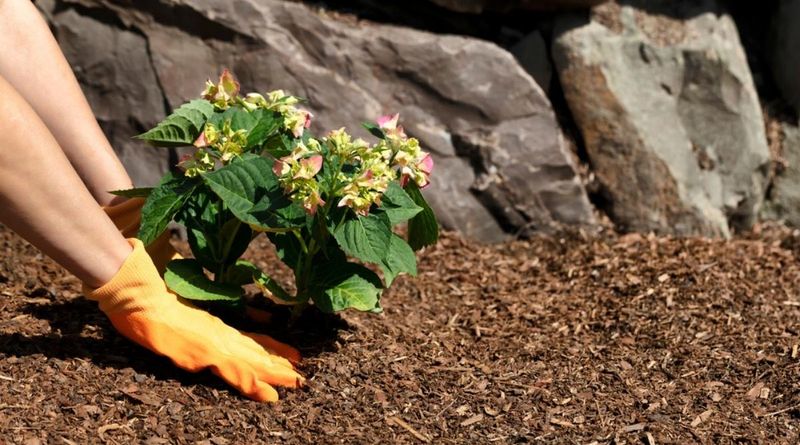
Here’s the step in plain terms. Spread a generous layer of organic mulch over the root zone of your hydrangea in late fall.
Soil that freezes, thaws, and refreezes all winter can stress shallow roots and even heave young plants upward. A good mulch layer acts like insulation. It slows those swings and keeps the ground at a steadier temperature.
Mulch also protects the crown, the spot where stems meet the soil. If a brutal winter does harm the tops of a bigleaf hydrangea, a healthy crown and living low buds give the plant a better shot at recovering.
There’s a moisture bonus, too. Winter winds can dry out shrubs, especially when the ground is frozen and roots can’t pull up much water. Mulch holds soil moisture in, so the plant enters winter well hydrated.
Fair warning, though. Mulch at the base mainly guards roots, crowns, and the lowest buds. The flower buds higher up on the stems still face the open air, and in cold regions they may need extra help.
Think of mulch as the foundation of winter care. Everything else you do builds on it.
Wait for That First Hard Frost Before You Mulch Your Hydrangeas
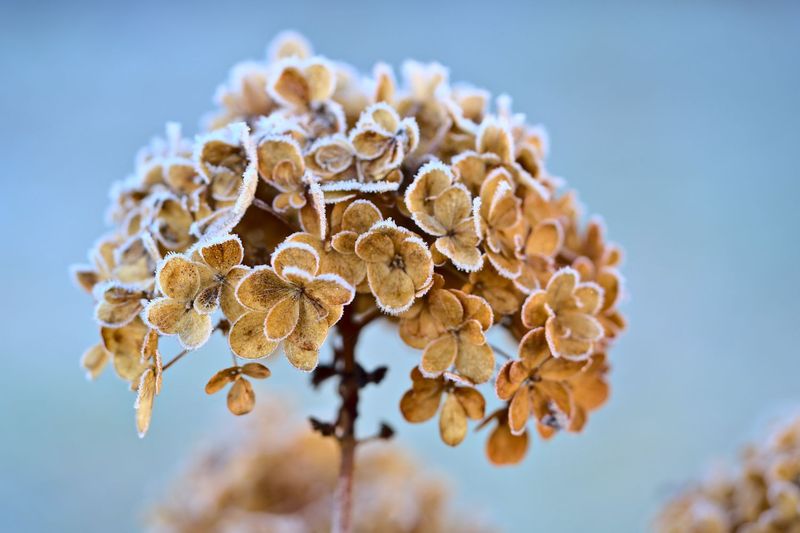
Guilty as charged, I used to mulch the moment the first leaves fell. It felt productive, but my timing was off.
Winter mulch works best once the ground has cooled. The usual advice is to wait until after a hard frost or two, when temperatures dip into the mid to upper 20s and the plant has settled into dormancy. In many northern states, that lands in November.
Why hold off? Warm, damp soil under a heavy blanket can stay soggy and invite rot. Early mulch can also give mice and voles a snug home right next to tasty stems before winter even starts.
The goal is to keep cold soil evenly cold, not to keep it warm. You’re preventing the up and down swings that cause trouble.
Regional timing varies quite a bit. Gardeners in Minnesota or Maine may mulch by early November, while folks in Virginia or the Carolinas might wait until December. In mild Southern zones, winter mulch is less about cold and more about moisture.
Watch your local forecast and your soil. When the garden looks tired, frosty, and sleepy, it’s go time.
Shredded Leaves Make a Free and Fluffy Hydrangea Mulch
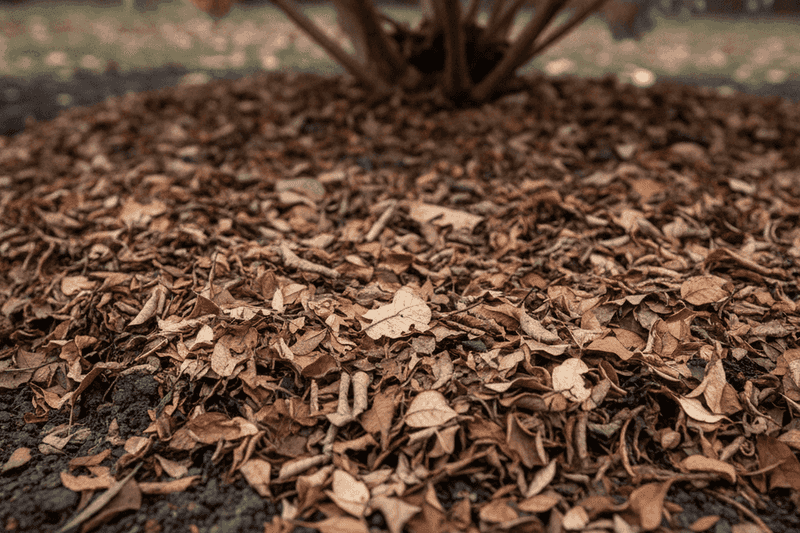
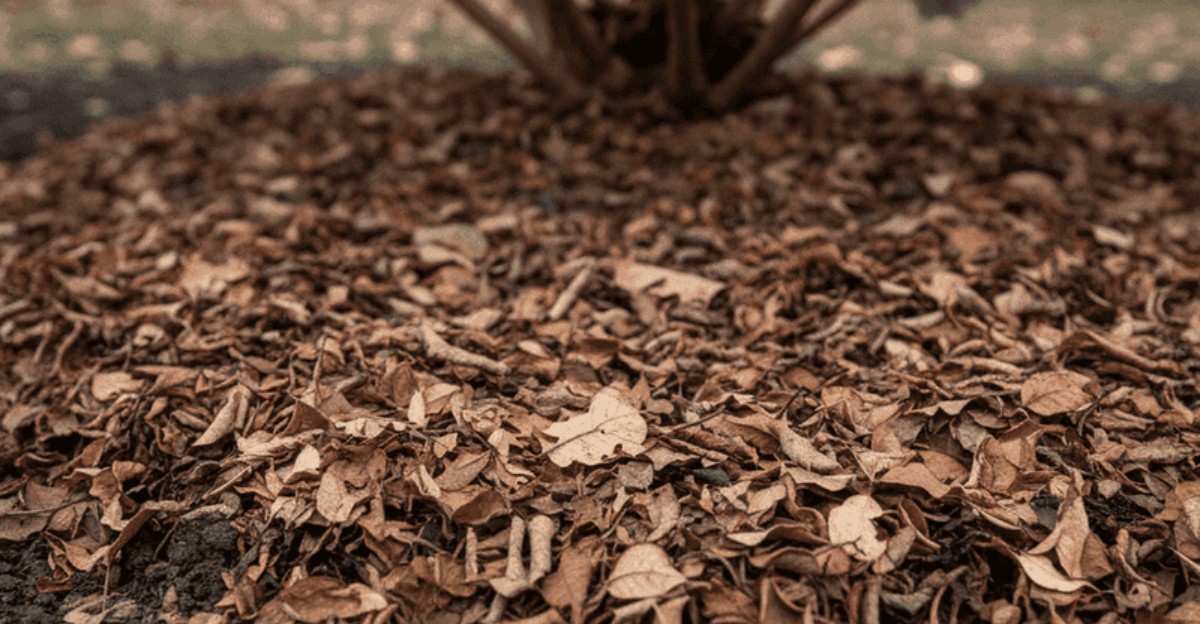
Every fall, my lawn hands me the best hydrangea mulch for free. All I do is run the mower over the leaves first.
Shredded leaves are a top pick because they stay loose and airy. Whole leaves, especially big maple leaves, tend to mat into a soggy layer that sheds water and blocks air. Shredding solves that problem nicely.
Other solid choices include clean straw, pine needles, pine bark, and shredded hardwood. Straw is light and insulates well, though it can carry weed seeds. Pine needles stay fluffy all winter.
How deep should you go? For winter protection in cold areas, many gardeners pile on 4 to 6 inches, and some go deeper with loose materials like leaves or straw that settle over time. Dense bark mulch works well at a shallower 2 to 3 inches.
A fun twist on color: some folks hope pine mulch will turn pink blooms blue. It may nudge soil acidity slightly over years, but it rarely changes flower color much. Aluminum in acidic soil drives the blue.
As organic mulch breaks down, it feeds soil life and adds organic matter. Your hydrangea gets a cozy blanket and a slow snack.
Skip the Mulch Volcano Around Hydrangea Stems
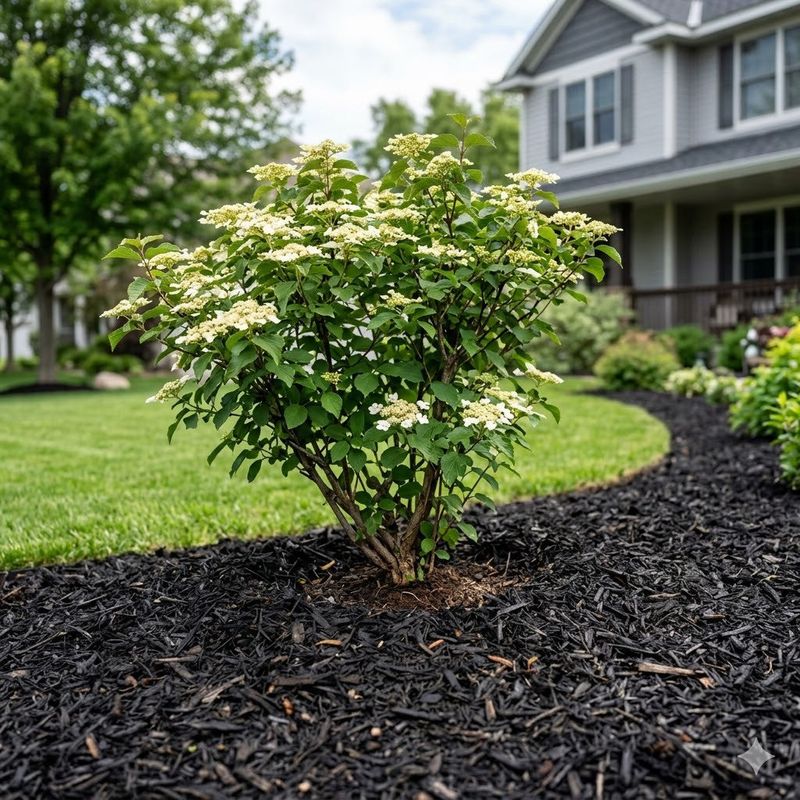
Ever seen mulch piled up against a shrub like a little brown mountain? Landscapers call it a mulch volcano, and hydrangeas don’t love it.
Mulch packed tight against stems keeps the bark damp for weeks. That steady moisture can soften tissue, invite fungal trouble, and give rodents a hidden spot to chew bark through the winter.
The fix is simple. Spread mulch in a wide donut shape, keeping it a few inches back from the main stems at the soil surface. Extend the ring out toward the drip line, where the outer branches end, since that’s where many feeder roots sit.
Some cold-climate guides do suggest mounding loose leaves or straw higher to cover low buds. That’s fine with airy materials, as long as they stay fluffy and you pull them away from stems in spring. Heavy, wet bark is the real problem.
Quick check after a few weeks: brush the mulch near the base with your hand. If it feels slimy or packed, loosen it up.
A little breathing room around those stems goes a long way. Your shrub stays protected without sitting in a soggy pile all season.
Chicken Wire Cages Filled With Leaves Shield Hydrangea Buds in Cold Zones
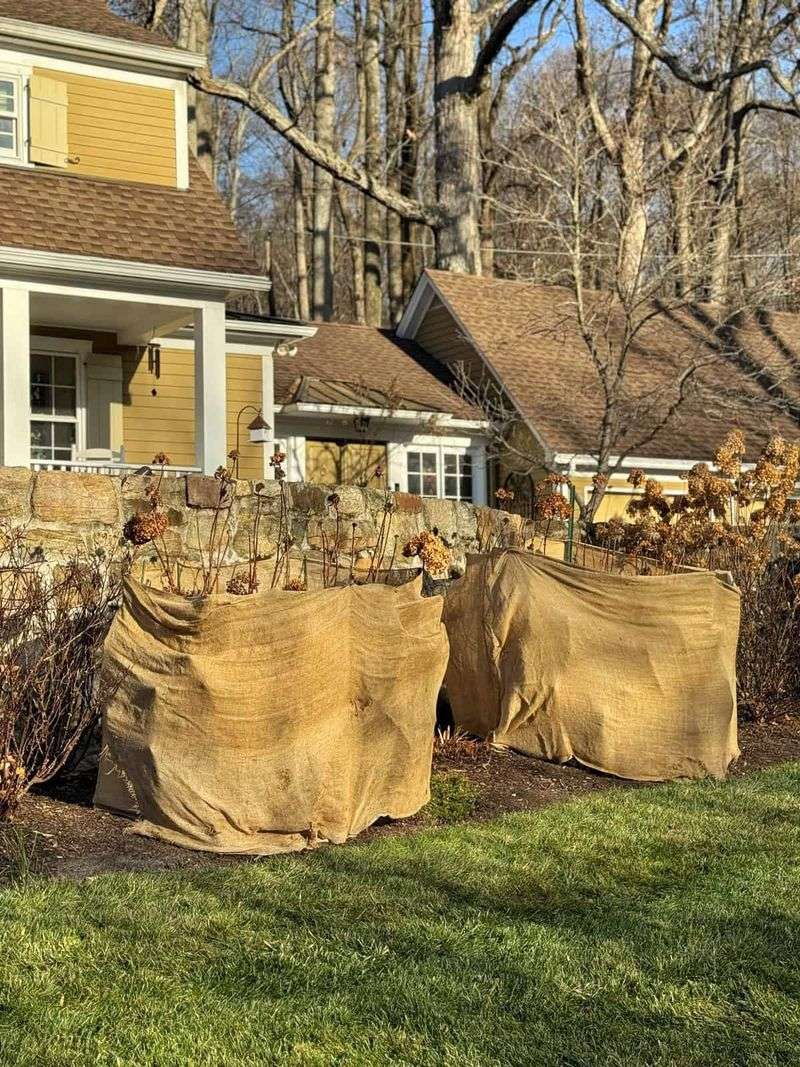
Okay, confession. My first leaf cage looked like a lopsided laundry hamper, and the neighbors definitely noticed.
Still, it worked. In USDA zones 5 and 6, and sometimes colder spots in zone 7, base mulch alone often can’t save the flower buds sitting higher on bigleaf hydrangea stems.
Here’s the method many extension services describe. Push a few stakes into the ground around the shrub after a hard frost. Wrap them with chicken wire or burlap to form a loose cylinder, then fill it with dry shredded leaves or straw so the stems are buried.
Skip plastic wraps or tarps. They trap moisture and heat on sunny days, which can do more harm than good.
Keep the filling dry and loose so air still moves. Pine needles or oak leaves hold their shape better than soft leaves that turn to mush.
Timing the removal matters just as much. Take the cage off gradually in spring as the danger of hard frost passes, and keep an old sheet handy for surprise freezes after buds swell.
It’s a bit of work, but for gardeners up north, it often means the difference between a few blooms and a full show.
Spring Hydrangea Blooms Start With a Few Smart Fall Habits
Picture-perfect blooms in July really begin with what you skip doing in September. Honestly, restraint is half the battle.
Put the pruners away for bigleaf and oakleaf hydrangeas in fall. Cutting those stems back removes the very buds you’re trying to protect. Leave the dried flower heads, too, since many gardeners find they add winter interest and a little cover.
Stop fertilizing by late summer. Late feeding can push tender new growth that struggles when cold weather arrives.
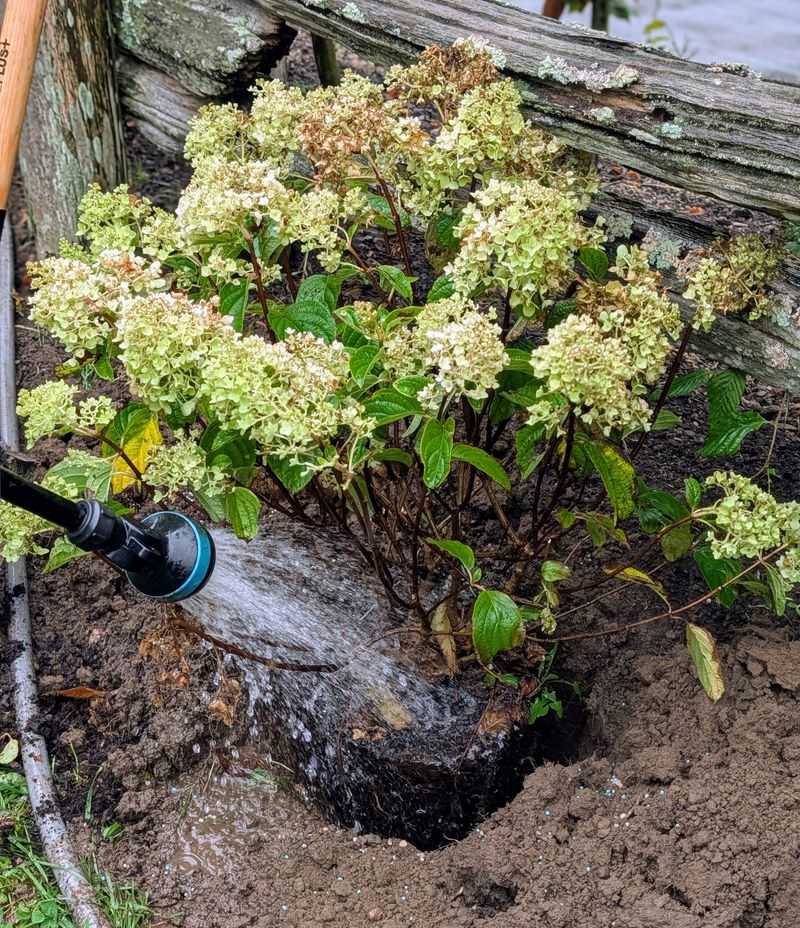
Water deeply in autumn if rain is scarce, right up until the ground freezes. A well-hydrated shrub handles winter wind far better than a thirsty one.
Then add your mulch after a hard frost, give it that donut shape, and cage the stems if you live in a colder zone. Come spring, pull mulch back from the stems and wait for new leaves before trimming, so you can see which wood is still alive.
Not every winter will cooperate, and a surprise April freeze can still nip buds. But these simple habits tilt the odds in your favor. A few fall chores now could mean a summer full of big, bold flower heads.