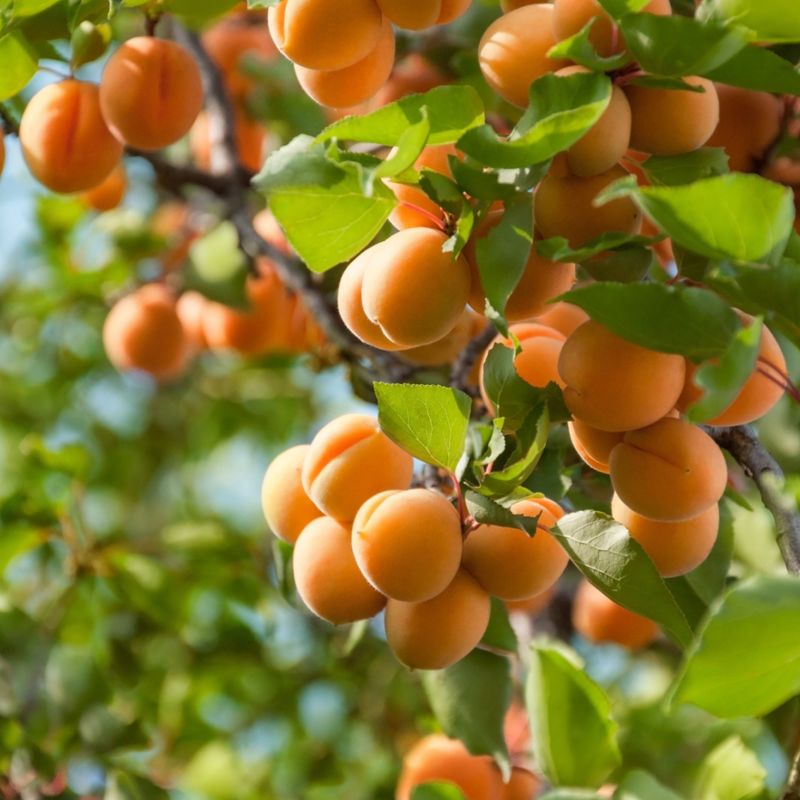
30 Ways To Grow An Apricot Tree From Seed (And Common Mistakes To Avoid)
Growing an apricot tree from seed is like embarking on an adventure that’s part patience, part excitement. I remember the first time I tried – it felt like I was nurturing a little dream!
From picking the right seed to carefully planting it, every step is filled with wonder. But let’s be honest, I’ve made my fair share of mistakes – like overwatering or not being patient enough for that first sprout!
But each hiccup taught me something new. I’ll share what I’ve learned (the hard way) to help you grow your own flourishing apricot tree with ease.
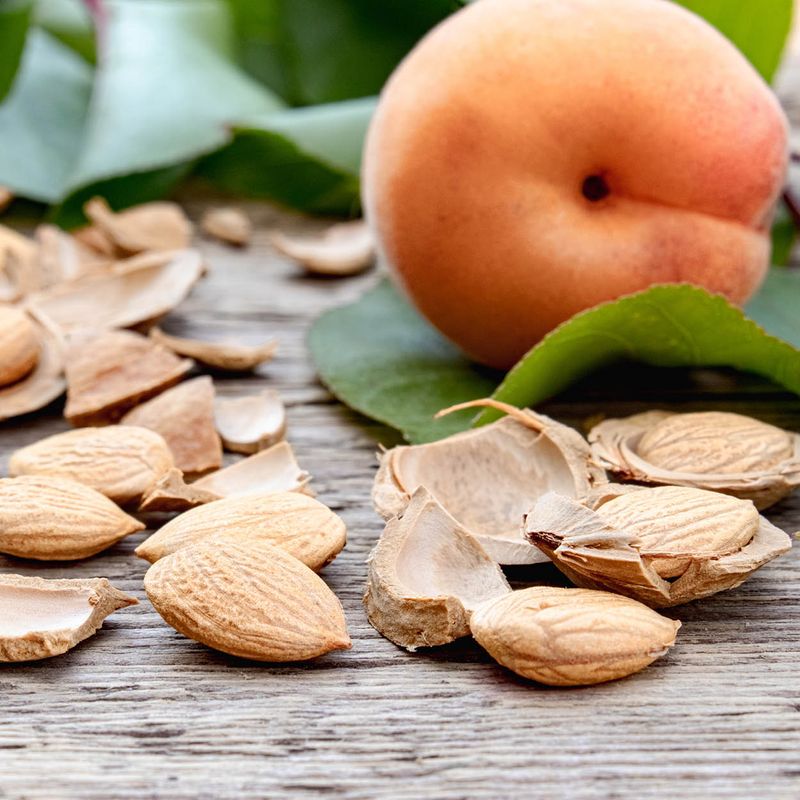
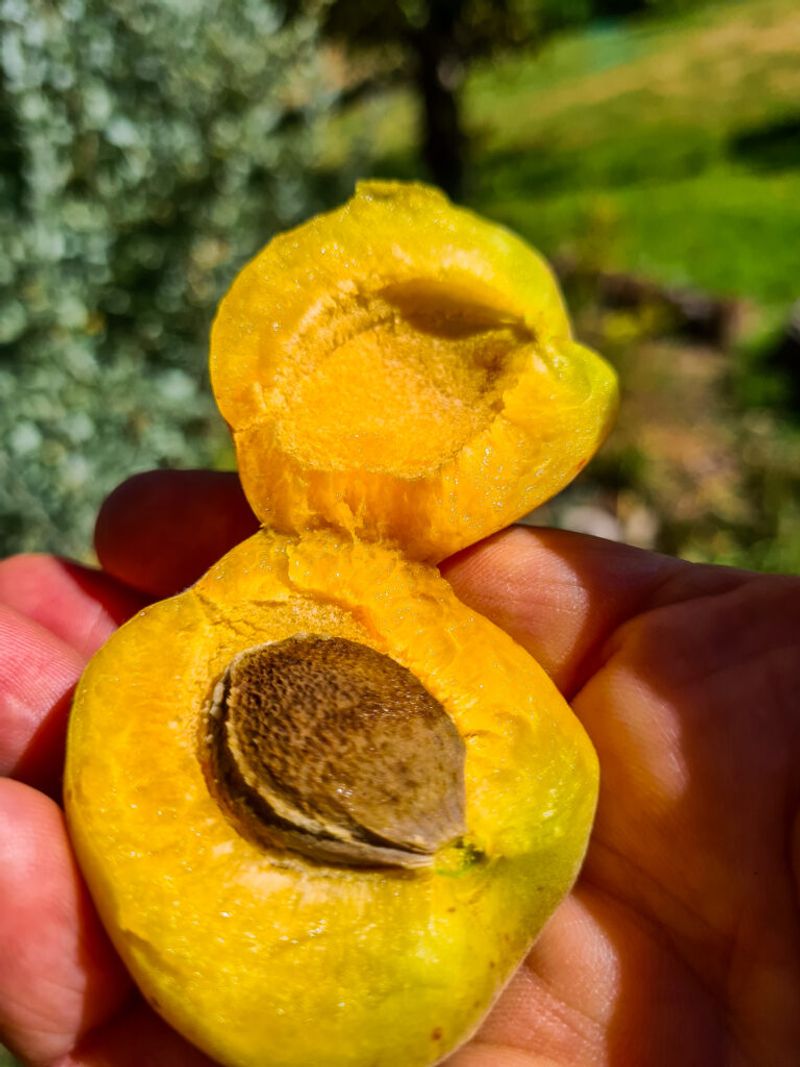
1. Select a Ripe Apricot
Start with a ripe fruit, one that speaks to your senses. Apricots are a delight to the palate, but they also house the potential for growth.
The key is to choose one that’s fully matured, offering the best chance for a viable seed. A fruit that’s past its prime might seem like a good idea, but often, its seed may not be up to the task.
So, always opt for ripeness with care. Remember, a good start leads to promising results.
2. Remove the Seed from the Fruit
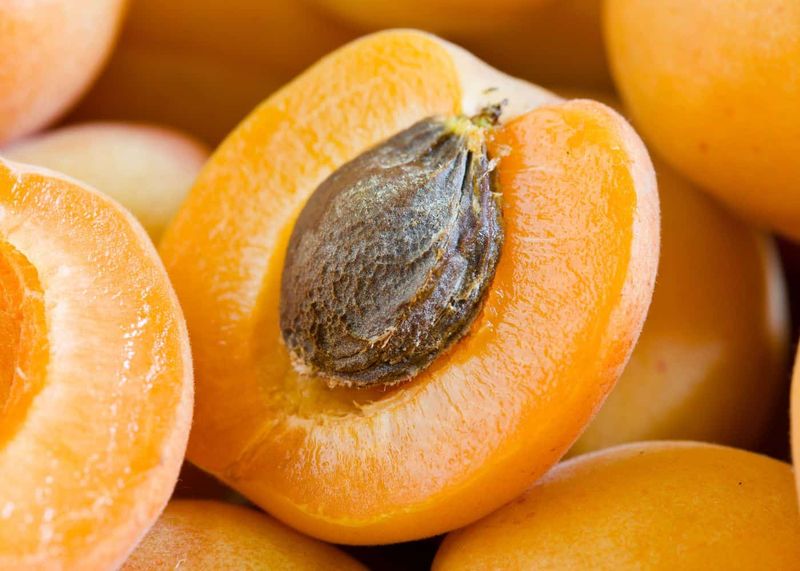
The seed extraction process is a delicate affair. Once you’ve savored the fruit, gently scoop out the pit without damaging it.
Each seed is a world of potential, waiting to be unlocked. It’s tempting to rush this stage, especially after enjoying the fruit, but patience pays off.
Haste can lead to scrapes or cracks, which might hamper future growth. Handle with care, for this little seed is your ticket to a flourishing tree.
3. Clean the Seed to Remove All Flesh
Cleaning the seed is like giving it a fresh start. With the seed in hand, wash away any lingering flesh under running water.
This not only prevents mold but also sets the stage for germination. Some might skip this step, thinking it’s trivial.
However, neglecting it can lead to unwanted fungal growth, which is a common pitfall. A clean seed is more than just aesthetics; it’s about creating a healthy beginning for your tree.
4. Soak the Seed in Water for 24 Hours
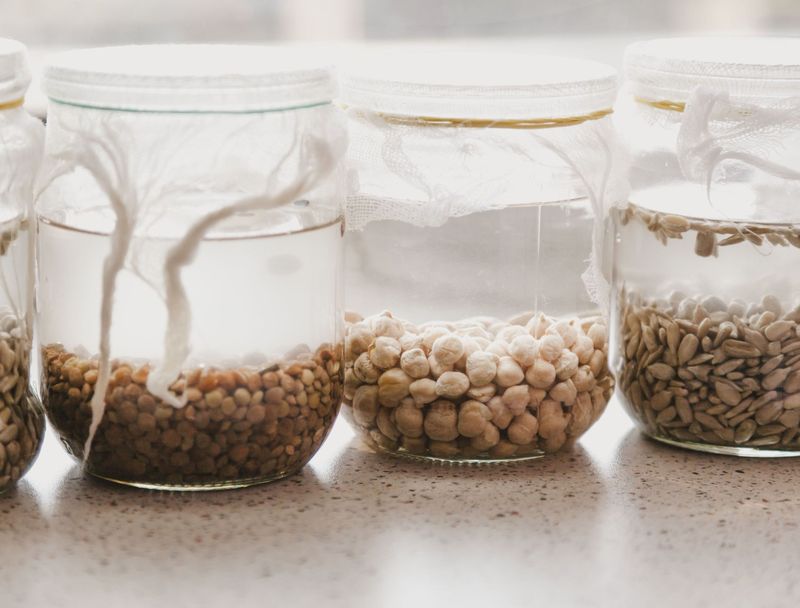
Submerge the seed in water and let it soak overnight. This process mimics nature’s way of softening the seed coat, encouraging germination.
Skipping this step might seem harmless, but dry seeds struggle in sprouting. Water is life, even for seeds poised for growth.
An overnight soak ensures the seed is well-prepared for the journey ahead. It’s a simple act with significant impact, setting the foundation for future success.
5. Scarify the Seed by Gently Nicking the Surface
Scarification is an age-old trick, a gentle art. By lightly nicking the seed’s surface, you enhance water absorption, promoting germination.
It sounds daunting, but it’s a mere scratch, not a cut. Skipping this step might lead to prolonged dormancy.
The seed needs a little help to usher in life, and scarification is that nudge. It’s a small intervention with big rewards, a journey of transformation begins with this act.
6. Place the Seed in a Damp Paper Towel

The damp paper towel technique is a cozy blanket for seeds. Wrapped snugly, it maintains the perfect moisture balance essential for sprouting.
Many overlook this step, opting for direct soil planting, but a damp towel ensures the seed stays moist, not waterlogged.
It’s about creating a nurturing environment before the big leap. Think of it as a gentle embrace, preparing the seed for its next adventure.
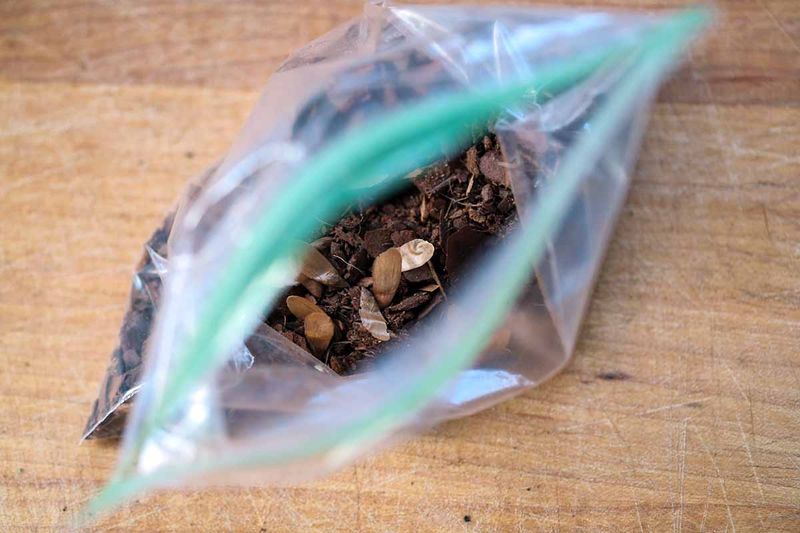
7. Store the Seed in a Plastic Bag in the Fridge for Stratification
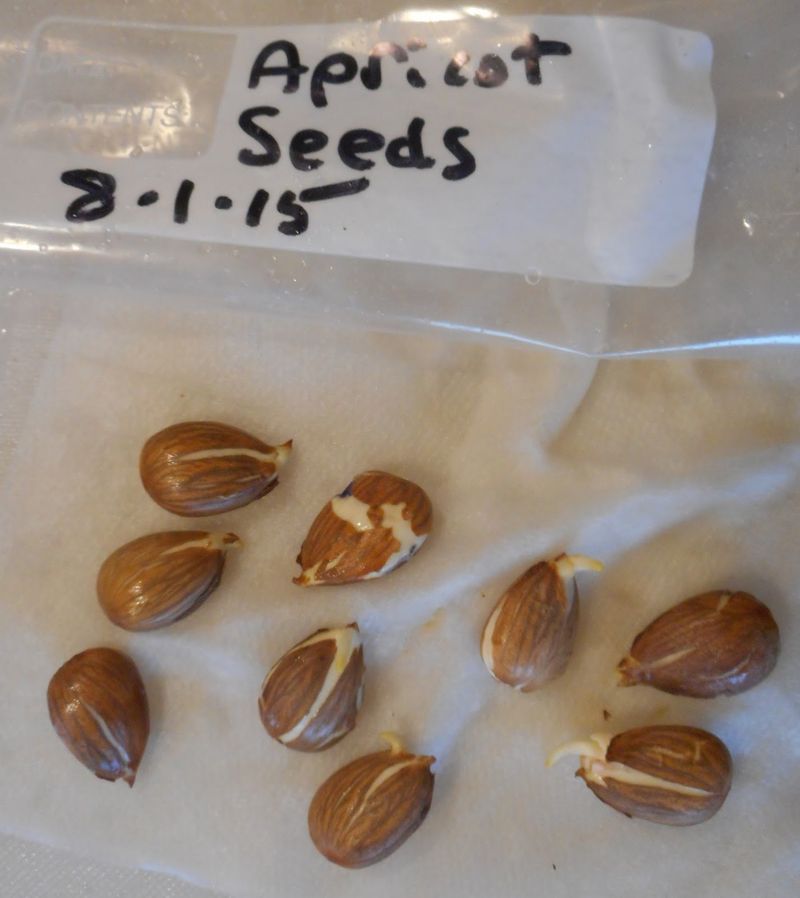
The art of stratification mimics winter conditions, signaling seeds to break dormancy. By placing seeds in the fridge, you trigger this natural awakening.
Neglecting stratification can mean a dormant seed, unresponsive to planting efforts. It’s not about freezing but creating a controlled chill.
This step ensures seeds are primed and ready for planting. A little cold goes a long way, turning potential into promise.
8. Check the Seed for Sprouting After 6-8 Weeks
After weeks of anticipation, it’s time to check for sprouts. This moment holds excitement and sometimes surprise.
Seeds sprout at their own pace, teaching patience. Not all seeds sprout, a fact to bear in mind. Checking too early might disappoint, but waiting brings joy.
A sprouted seed is a tiny miracle, a testament to your efforts. Embrace this stage as a prelude to planting, the future is bright with possibilities.
9. Prepare a Pot with Well-Draining Soil
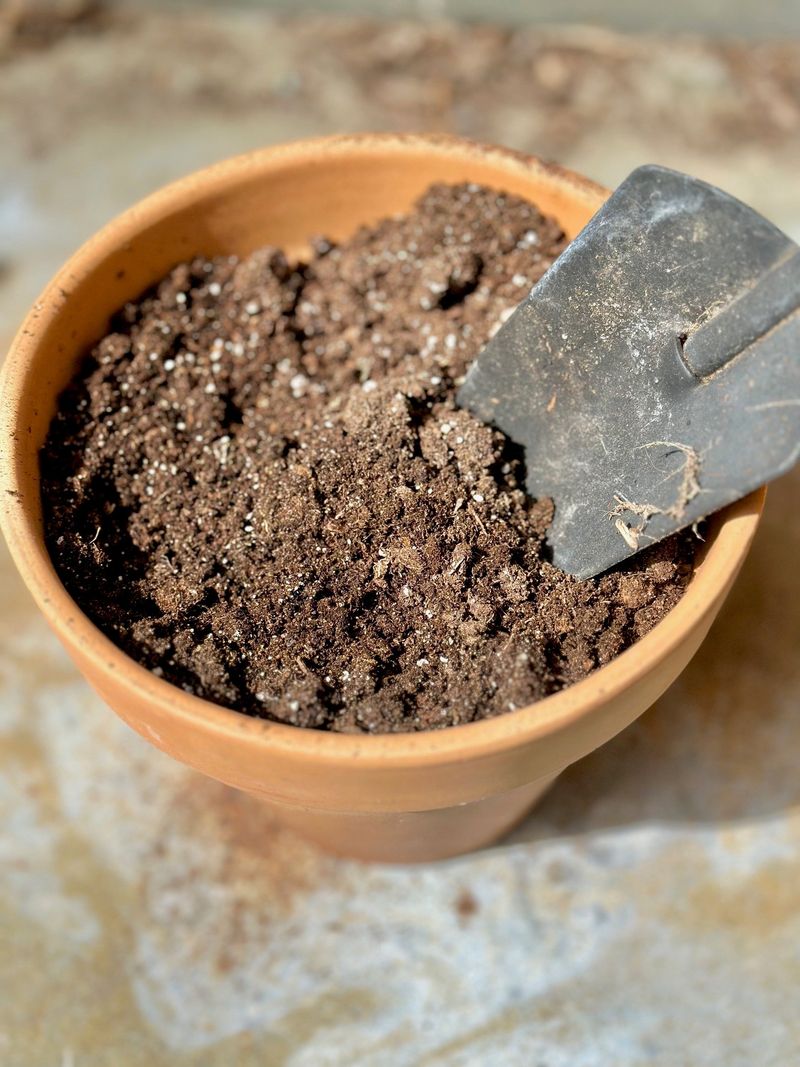
Proper pot preparation is a cornerstone of planting. The secret lies in well-draining soil, a must for avoiding root rot.
Overlook this, and your seedling might suffer. It’s tempting to use garden soil, but it often lacks the texture needed. A mix of potting soil and sand works wonders.
Think of the pot as your seedling’s first home, make it cozy and supportive. The plant thrives when the foundation is right.
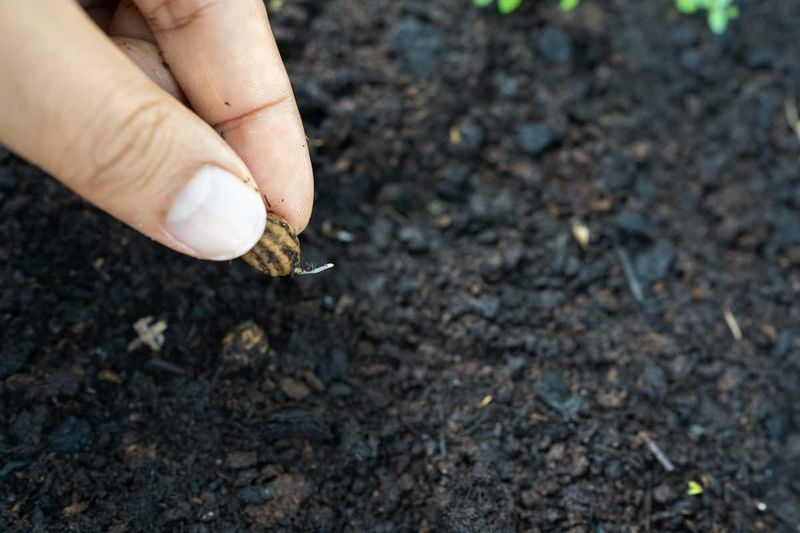
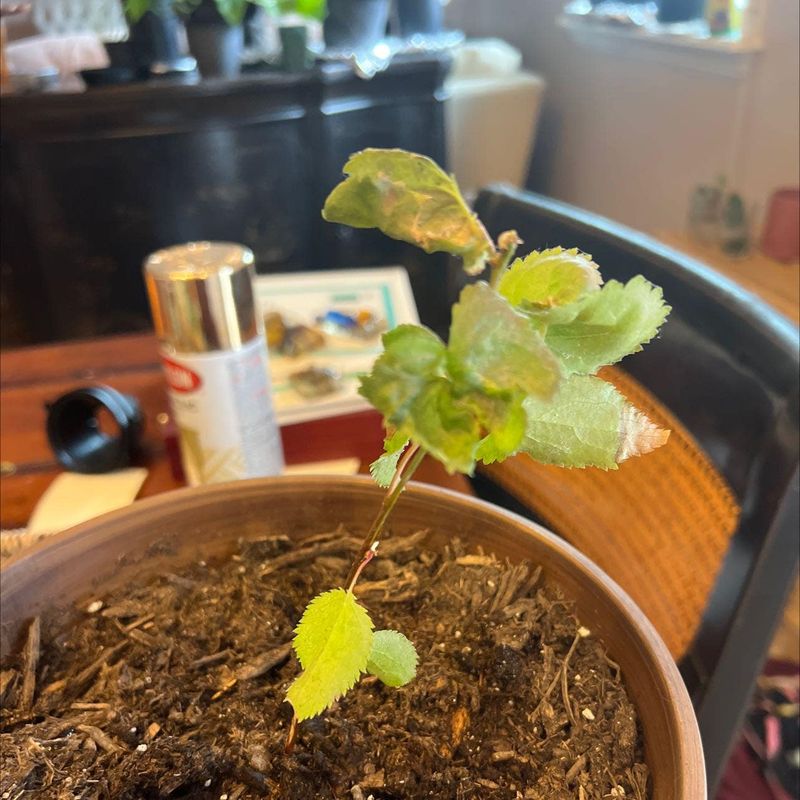
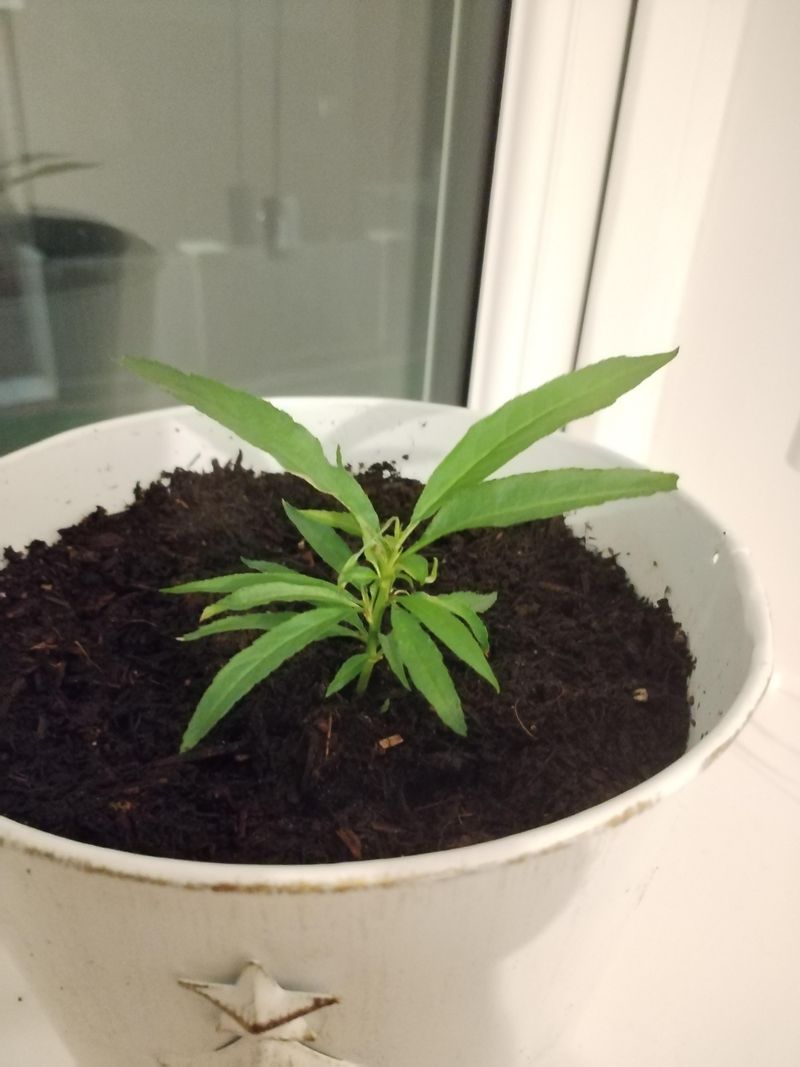
10. Plant the Sprouted Seed in the Soil
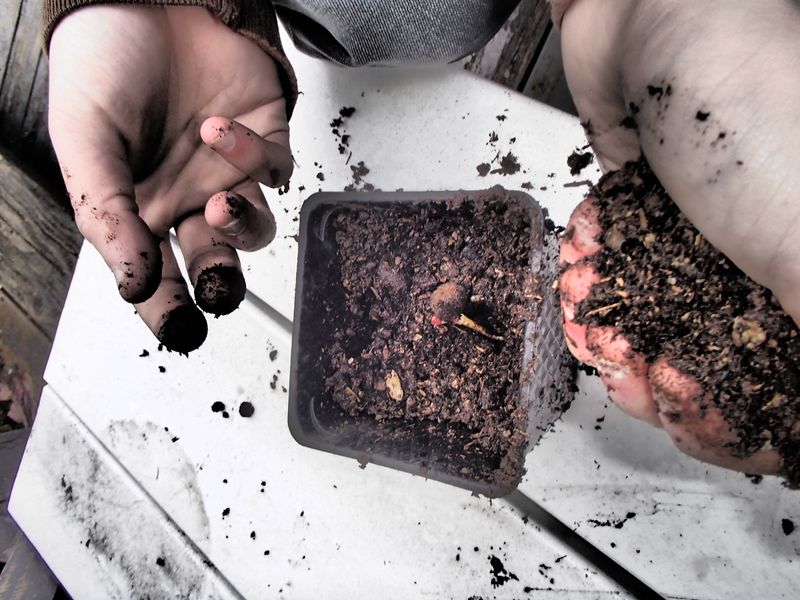
Planting time arrives with a sense of purpose. Gently place the sprouted seed into the soil, shoot side up. Depth matters, too deep and it struggles, too shallow and it falls.
It’s easy to rush planting, but patience ensures success. The seed has waited this long, now give it the best start.
This act of planting is a commitment, nurturing life from seed to tree. Each step builds on the last, creating a lush future.
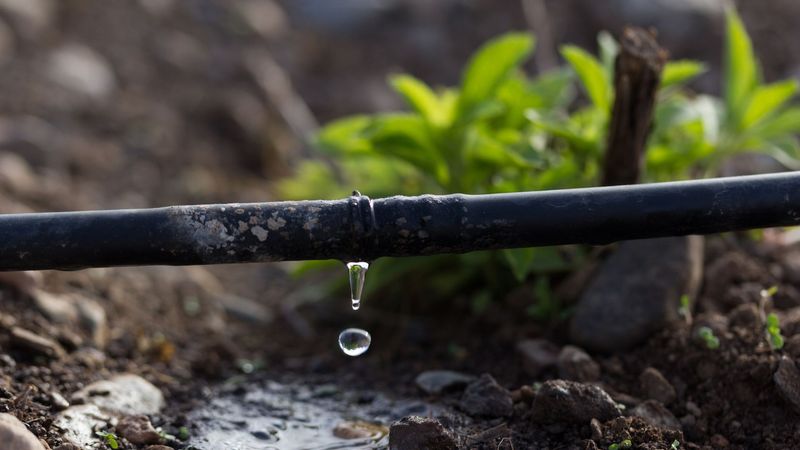
11. Keep the Soil Moist but Not Soggy
Watering is an art, not a chore. Maintaining the right moisture balance is crucial, as seedlings dislike soggy soil. Too much water and roots drown; too little, and they wither.
Many beginners overwater, thinking it helps growth. In reality, moderation rules. The soil should feel damp, like a wrung-out sponge.
This balance keeps roots healthy, supporting robust growth. Water wisely, and watch the seedling stretch towards the sun. It’s a daily dance, sustaining life with care.
12. Place the Pot in a Sunny Spot
Light is life, especially for budding seedlings. Position the pot where it can soak in the sun’s rays. Seedlings need around six hours of sunlight daily.
Skimping on light means weak growth, a common oversight. A sunny windowsill or a bright balcony works wonders. The warmth boosts vitality, encouraging healthy development.
It’s like giving your seedling a daily dose of energy, propelling it towards a flourishing future. With sunlight, dreams of a fruitful tree become reality.
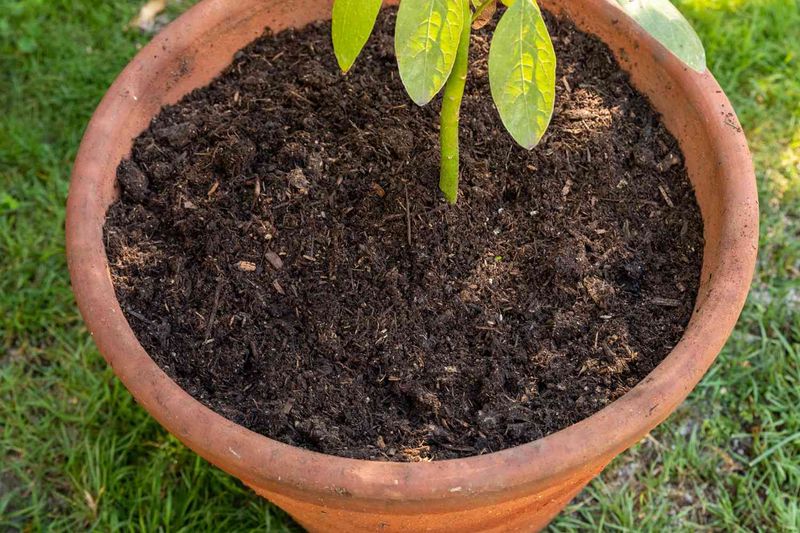
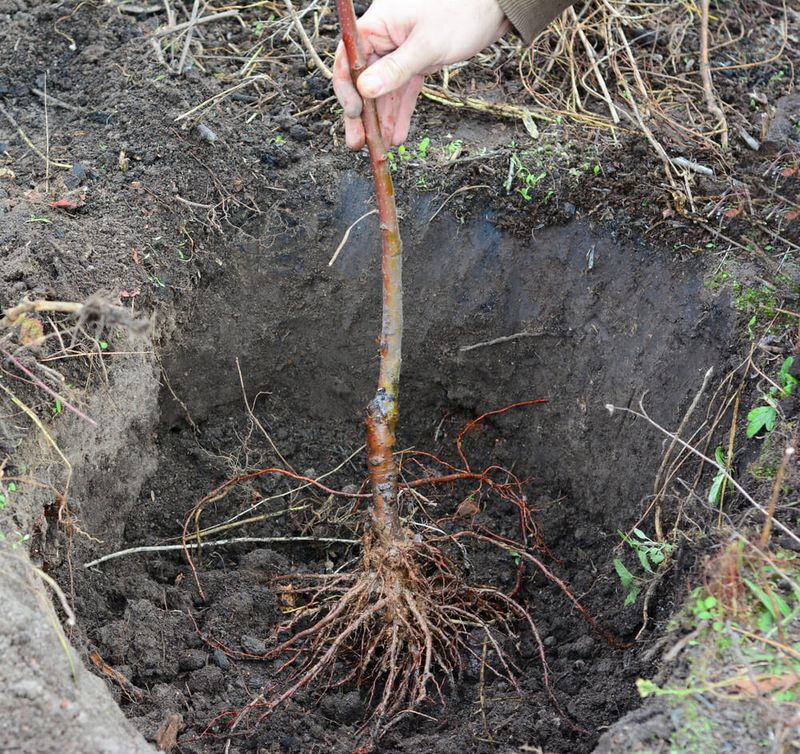
13. Transplant the Sapling When It Grows Strong Enough
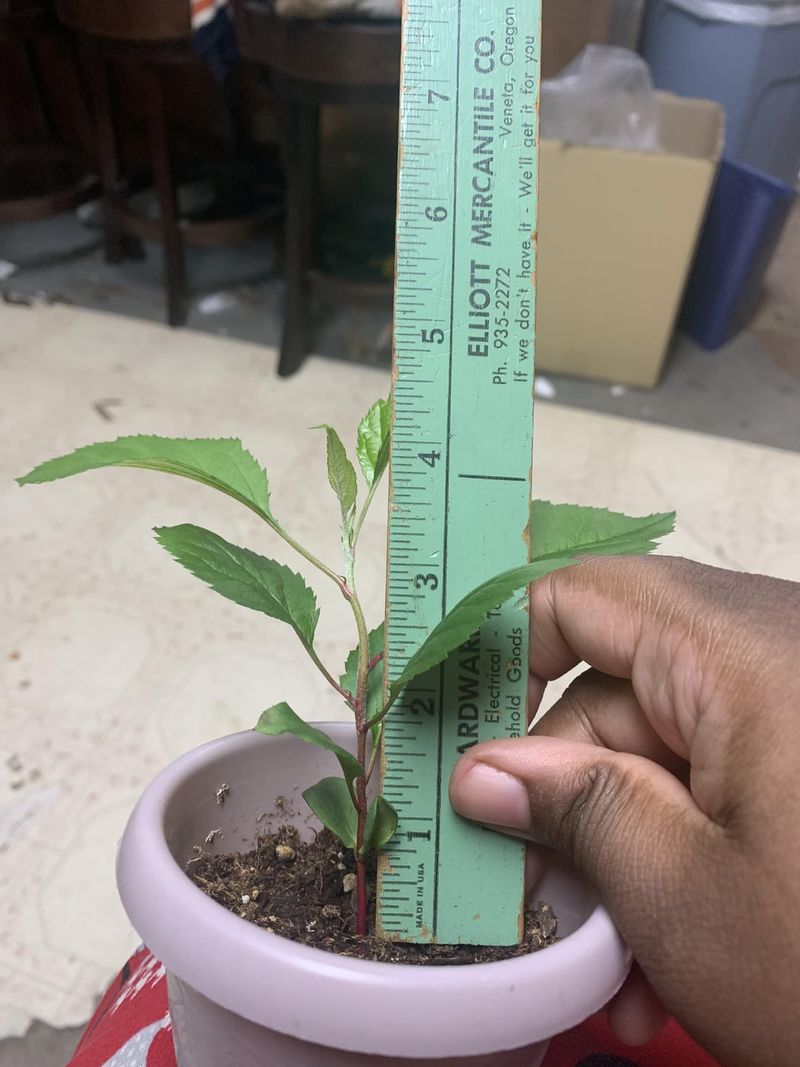
Transplanting is a milestone in your tree’s journey. When the sapling outgrows its pot, it’s time for a bigger home.
Rushing this can lead to shock, but waiting too long stunts growth. Look for sturdy stems and leaves as signs. The new space should offer room to grow, ensuring roots spread freely.
It’s a pivotal moment, akin to a child’s first steps. Successful transplanting sets the stage for robust growth, a testament to your nurturing touch.
14. Prune the Tree to Encourage Healthy Growth
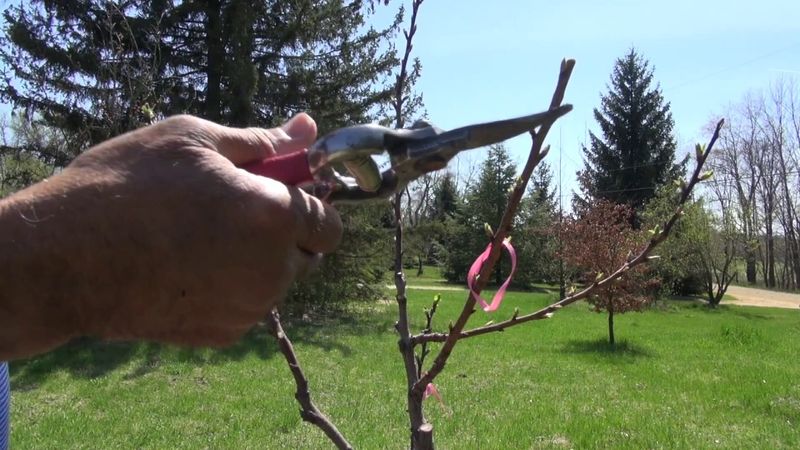
Pruning is both an art and a science. Regular trimming keeps your tree healthy and promotes vigorous growth. It’s tempting to let nature take its course, but pruning shapes future yields.
Over-pruning or neglect can both harm. Aim for balance, removing dead branches and allowing sunlight to penetrate. This practice fosters strong structure and abundant fruiting.
Think of it as guiding rather than controlling, helping your tree realize its full potential. With careful pruning, each branch becomes a promise.
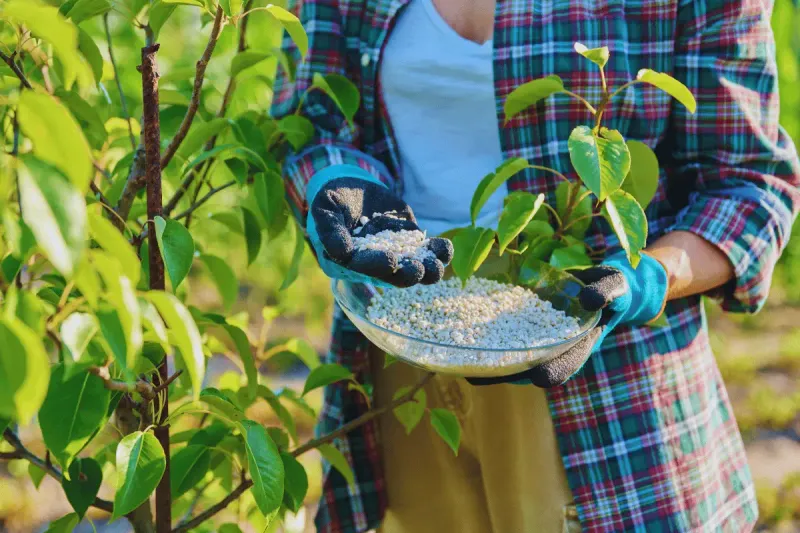
15. Fertilize the Tree Regularly
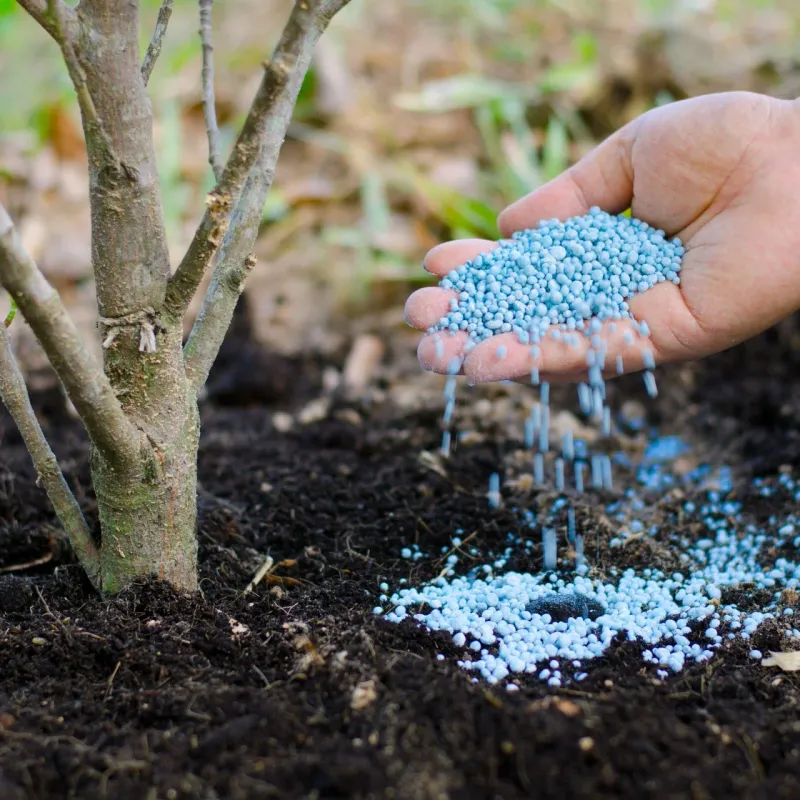
Feeding your tree is vital for its health and productivity. Fertilize regularly but wisely, using a balanced mix suited for fruit trees.
Over-fertilization is a common trap, leading to lush foliage but poor fruiting. It’s about quality, not quantity. Proper nourishment supports flowering and fruit development.
Choose organic options for an eco-friendly approach. With the right nutrients, your tree grows strong and resilient, ready to bear the fruits of your labor. Fertilizing is an investment in your tree’s future.
16. Avoid Overcrowding the Roots

Roots need space to breathe and grow. Overcrowding leads to competition for nutrients, stunting development. When planting, ensure ample room for roots to spread.
Compacting them in a small area is akin to wearing shoes too tight. Think of roots as the tree’s lifeline, deserving care and space.
Transplanting offers an opportunity to correct spacing. By giving roots the room they need, you ensure a healthy tree. It’s a simple yet crucial step in fostering robust growth.
17. Ensure Proper Drainage to Avoid Root Rot
Good drainage is essential for root health. Without it, waterlogged soil leads to root rot, a common killer of young trees.
Ensure pots have adequate holes, or plant on raised beds. The urge to overwater can be strong, but it’s wise to resist. Proper drainage allows excess water to escape, safeguarding roots.
Think of it as a safety net, preventing disaster before it strikes. By prioritizing drainage, you lay the groundwork for a thriving tree, free from avoidable woes.
18. Don’t Overwater, As Apricot Trees Are Drought-Tolerant
Apricot trees have a resilience that’s often underestimated. They tolerate dry spells, making overwatering a common mistake.
While they need regular watering, especially when young, it’s essential to let the soil dry slightly between sessions. This balance prevents root rot and fosters deep rooting.
It’s easy to equate more water with better growth, but moderation is key. Letting the soil dry mimics natural conditions, encouraging a robust and healthy tree. It’s about knowing when to water, not how much.
19. Avoid Planting in an Area with Poor Sunlight

Sunlight is non-negotiable for apricot trees. Planting in a shaded area leads to weak growth and poor fruiting. Consider your tree’s location carefully, favoring spots with ample sun.
It’s a mistake to overlook this vital element. Trees crave sunlight for photosynthesis, which fuels growth. A sunny disposition ensures strong branches and abundant fruit.
Think of sunlight as your tree’s best friend, essential for its well-being. Plant wisely, and your tree will bask in the success of proper placement.
20. Protect Young Trees from Extreme Temperatures

Young apricot trees need shielding from harsh conditions. Extreme cold or heat can stunt growth or damage young branches.
Use burlap or frost cloth in winter, and mulch to retain moisture in summer. Ignoring temperature swings can lead to setbacks. It’s about creating a buffer, ensuring consistent conditions for growth.
Protecting your tree is akin to dressing for the weather, adapting to changes. With care, your tree braves the elements, emerging stronger and more resilient each season.
21. Don’t Forget to Thin the Fruits as They Grow
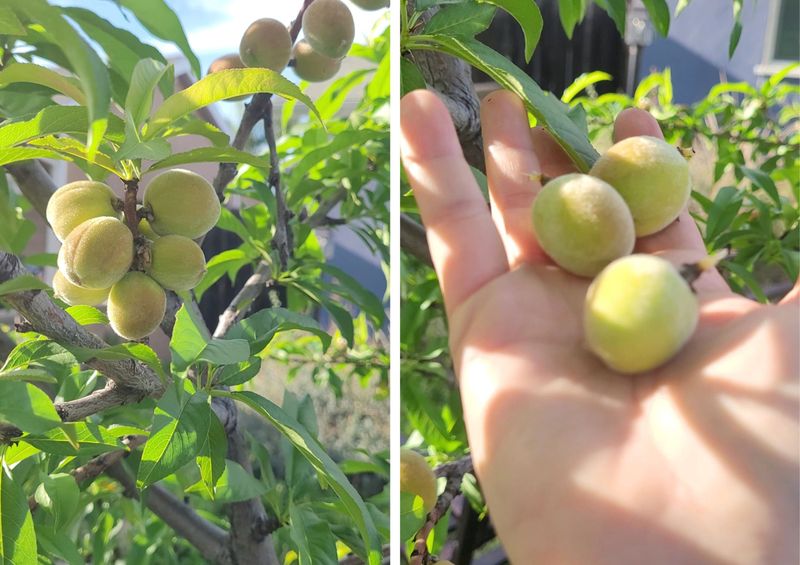
Thinning fruits might seem counterintuitive, but it’s vital for quality. Overloading branches leads to smaller fruits and breakage.
By selectively removing some apricots, you allow the remaining ones to grow larger and sweeter. It’s like editing for quality over quantity. Many skip this step, eager for a bountiful harvest.
However, thinning is about balance, ensuring branches aren’t overburdened. With fewer fruits, the tree directs energy into developing better produce. It’s a strategic move, ensuring a delightful yield.
22. Avoid Using High-Nitrogen Fertilizers
High-nitrogen fertilizers can lead to lush foliage but sparse fruiting. Apricot trees need balanced nutrition, focusing on phosphorus and potassium for flowering and fruit development.
It’s a common error to seek quick growth, forgetting fruit quality. Excess nitrogen encourages leaf production at the expense of flowers. Choose fertilizers designed for fruit trees, supporting balanced growth.
Think of it as nourishing body and soul, not just outward appearances. With the right mix, your tree flourishes, bearing fruit as nature intended.
23. Don’t Neglect Pest Control for Young Trees
Pests are a persistent threat to young apricot trees. Vigilance is key, as early detection prevents infestations. Regularly inspect leaves and stems for signs.
Many assume pests won’t strike young trees, but this oversight can be costly. Use organic pesticides or beneficial insects as deterrents. Protecting your tree is an ongoing effort, akin to safeguarding a treasure.
With consistent care, you keep pests at bay, ensuring healthy growth. It’s a small price for peace of mind and a thriving tree.
24. Avoid Planting Too Close to Other Trees

Space is a commodity that trees cherish. Planting too close to others leads to competition for sunlight, water, and nutrients. It’s tempting to maximize garden space, but crowding stifles growth.
Think of each tree as needing its territory to thrive. By allowing ample room, you ensure unhindered development and airflow. This spacing is crucial for preventing disease and promoting robust health.
It’s about giving your tree the best shot at success, unhindered by competition. Space wisely, and your garden flourishes.
25. Be Patient as Apricot Trees Take Time to Fruit
Patience is a gardener’s virtue. Apricot trees require time to mature and bear fruit, often taking several years. It’s easy to become impatient, expecting quick results.
However, the slow journey is part of the charm. Watching a tree grow from seed to fruit-bearing is a lesson in nature’s timing. Celebrate each milestone; growth is progress.
With patience, your tree rewards you with abundant harvests. It’s a reminder that good things come to those who wait, and nature operates on its own schedule.
26. Keep the Tree Away from High Winds

Windbreaks are a must for young trees. High winds can damage branches or uproot saplings. Situate your tree in a sheltered spot or use windbreaks to shield it.
Ignoring wind exposure can lead to setbacks. Consider the tree’s location, ensuring it’s not in the direct path of strong gusts. Wind protection is like providing a sturdy foundation against life’s storms.
With this safeguard, your tree stands tall, growing strong and resilient against the elements. It’s a simple step with lasting impact.
27. Avoid Transplanting During Extreme Weather

Timing is everything in gardening. Transplanting during extreme weather stresses trees, hindering establishment. Choose mild days for this task, avoiding heatwaves or frosty spells.
Many rush to transplant, eager to see growth, but patience ensures success. The right timing allows roots to settle without shock. It’s about giving your tree the best start in its new home.
By considering weather, you prevent setbacks and promote healthy growth. It’s a strategic move, aligning nature’s rhythm with your gardening goals.
28. Don’t Use a Pot That’s Too Small for the Roots

Pot size matters for young trees. A cramped pot restricts root growth, stunting development. Choose a pot with room to grow, allowing roots to spread freely.
It’s tempting to start small, but this oversight hinders progress. Think of pots as shoes; a good fit promotes comfort and growth.
As your tree grows, repotting might be necessary to accommodate expanding roots. By choosing the right pot, you set the stage for a healthy tree. It’s a small change with significant benefits.
29. Be Cautious of Planting in Alkaline Soil
Soil pH influences growth, and apricots prefer slightly acidic to neutral conditions. Alkaline soil can hinder nutrient absorption, affecting health and yield.
Testing soil before planting is wise, preventing future issues. Many overlook pH, focusing on other factors. However, soil composition is foundational. Amend alkaline soil with organic matter or sulfur to balance pH.
Think of it as laying the groundwork for success. With the right conditions, your tree thrives, producing abundant fruit. It’s a proactive step, ensuring a fruitful future.
30. Avoid Pruning Too Much, Especially in Early Growth Stages
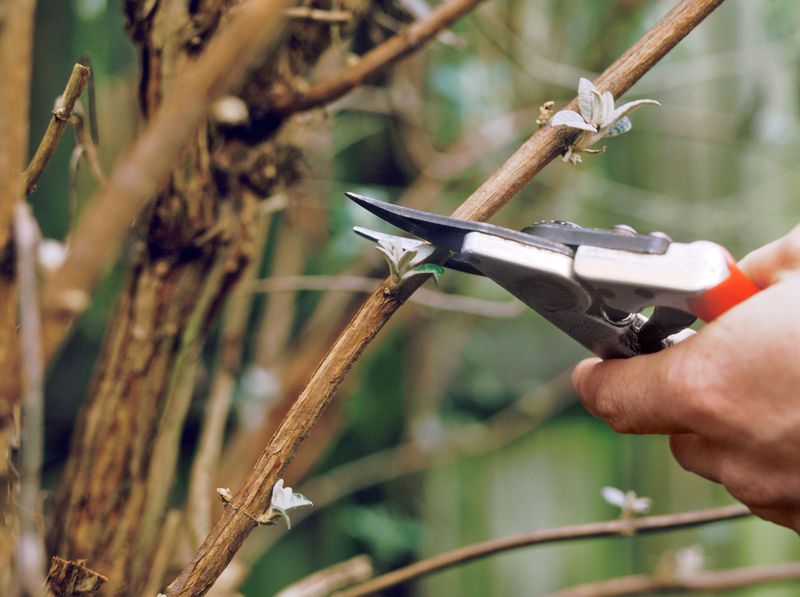
Pruning is essential but requires restraint. Excessive pruning in early stages can harm development. Focus on removing dead or crossing branches, allowing the tree to establish its structure.
Overzealous pruning leads to stress and poor growth. It’s about nurturing, not controlling. Think of pruning as gentle guidance, shaping without hindering.
With time, your tree forms a strong framework, ready for future growth. It’s a balancing act, ensuring health and vitality. Prune wisely, and your tree flourishes, rewarding your patience and care.