If Peonies Aren’t Right For Your Area, This Flower Will Flourish
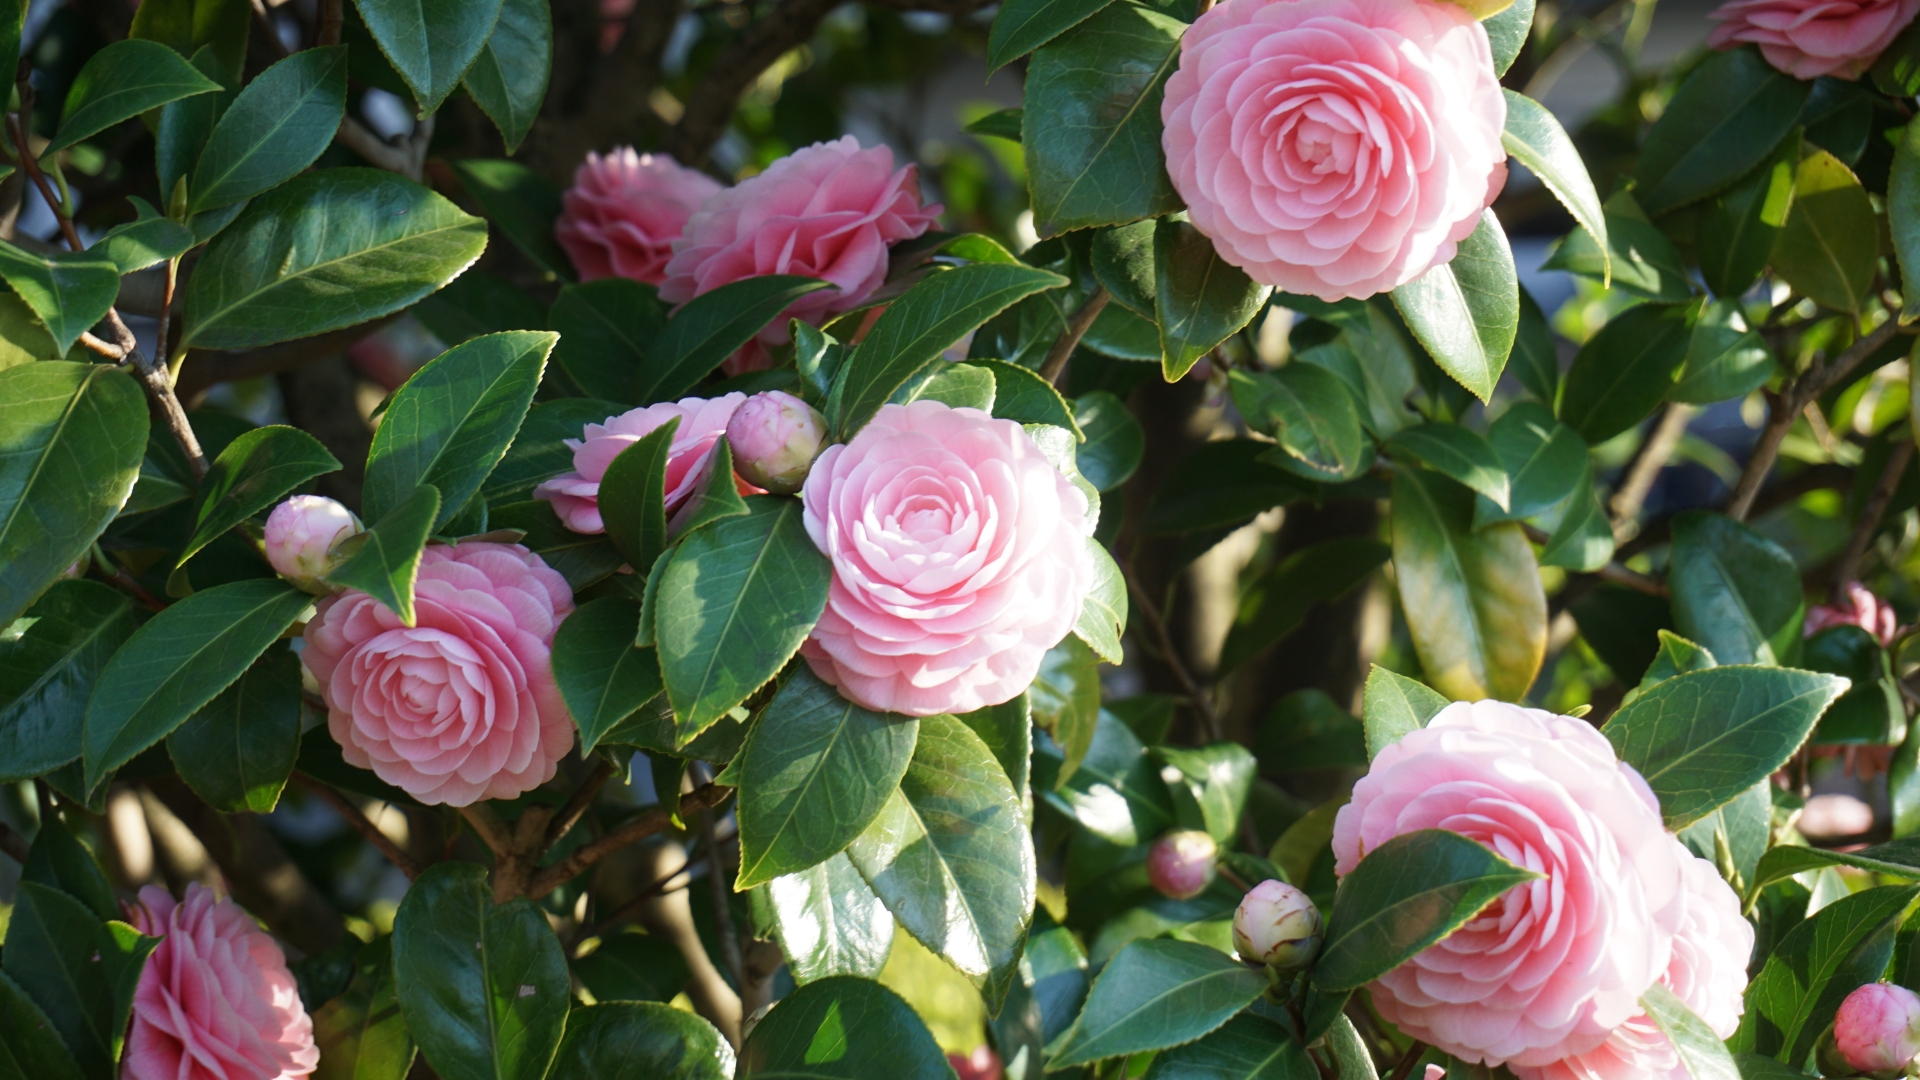
If your peonies have given up on you (and let’s be honest, we’ve all been there), it’s time to make room for a new garden superstar – the Camellia!
I know, I know, you’ve probably been loyal to your peonies for years, but hear me out: this flower is about to become your new best friend.
So, if you’re tired of dealing with temperamental peonies, it’s time to invite the Camellia into your garden. Trust me, this one will stick around and make you proud all year long! Now, I’ll share all the tips and tricks for growing this beautiful flower. But first, let’s admire its beauty a little bit!
Pick The Perfect Camellia For Your Garden
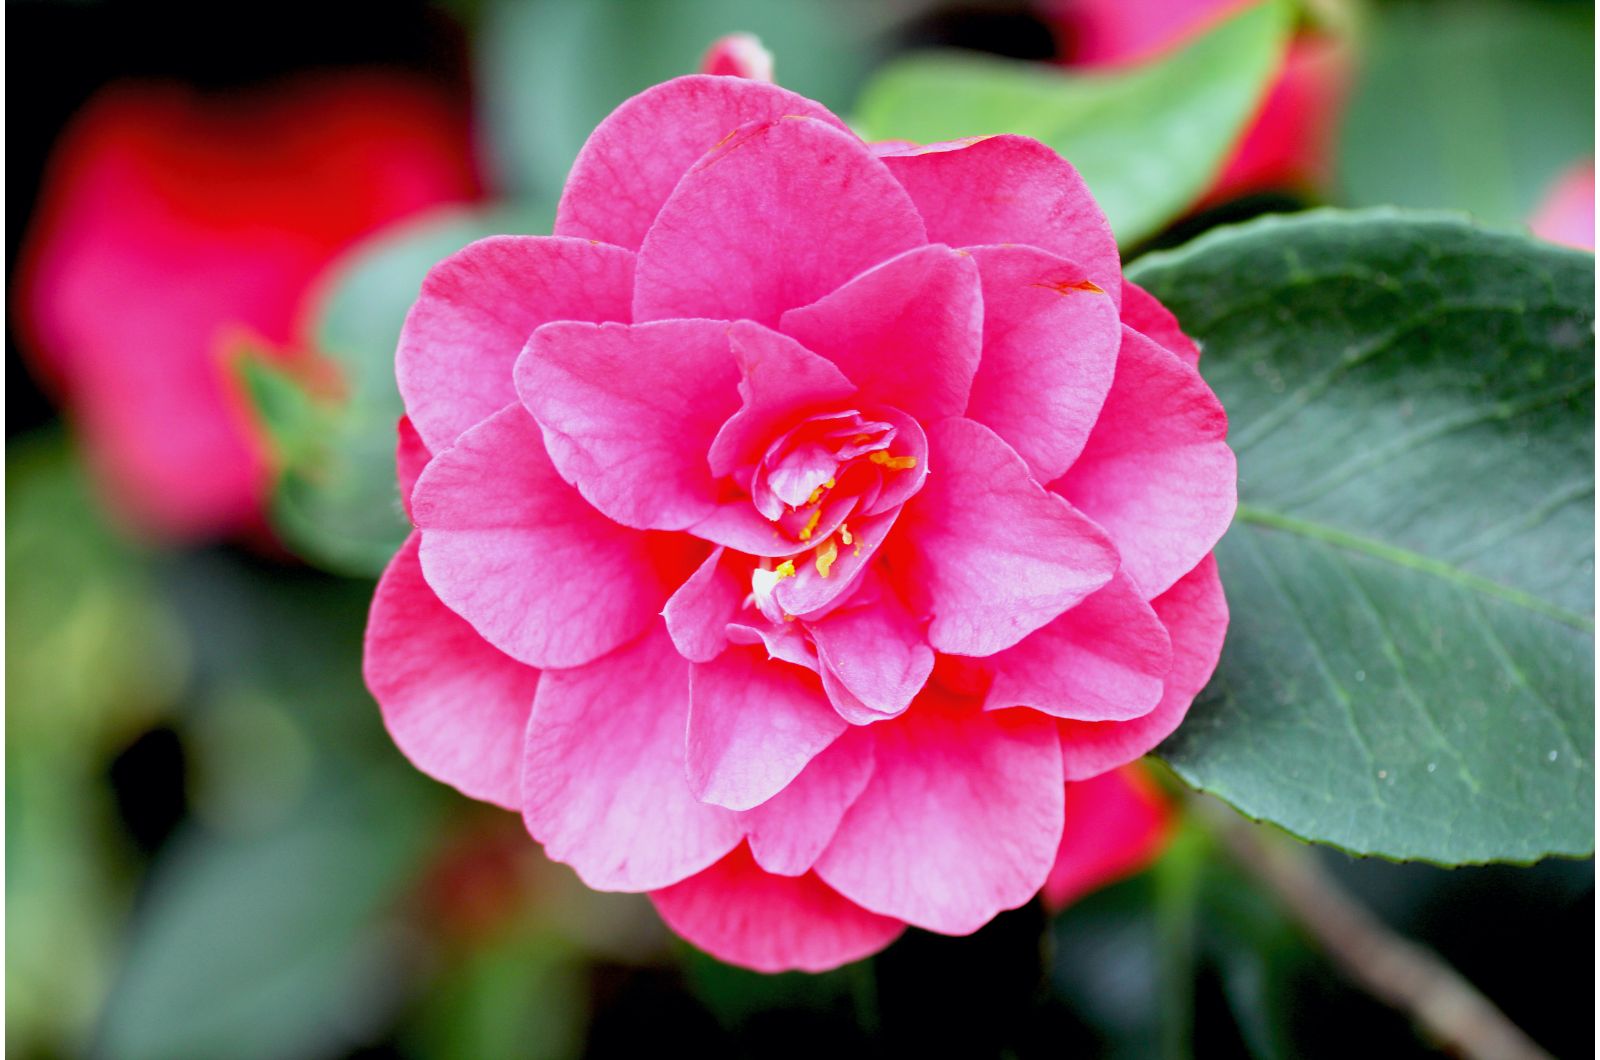
Camellias are the show-stopping flowers that blend beauty and toughness effortlessly, with blossoms ranging from simple, elegant singles to fluffy, peony-like blooms, all in stunning reds, pinks, and whites.
These evergreen plants can vary in size, from low-growing shrubs that fit perfectly into smaller gardens to majestic trees that make a grand statement in larger spaces. No matter which variety you choose, you’re in for a floral treat that lasts!
Picking the right Camellia is all about knowing your space. If you’re tight on room or love container gardening, varieties like “Little Liane” are perfect – they stay small but still give you those gorgeous blooms.
But if you’re after a showstopper, “Debutante” or “Kramer’s Supreme” will grow into impressive trees, turning your garden into a visual masterpiece!
Your Step-By-Step Guide To Planting Camellias
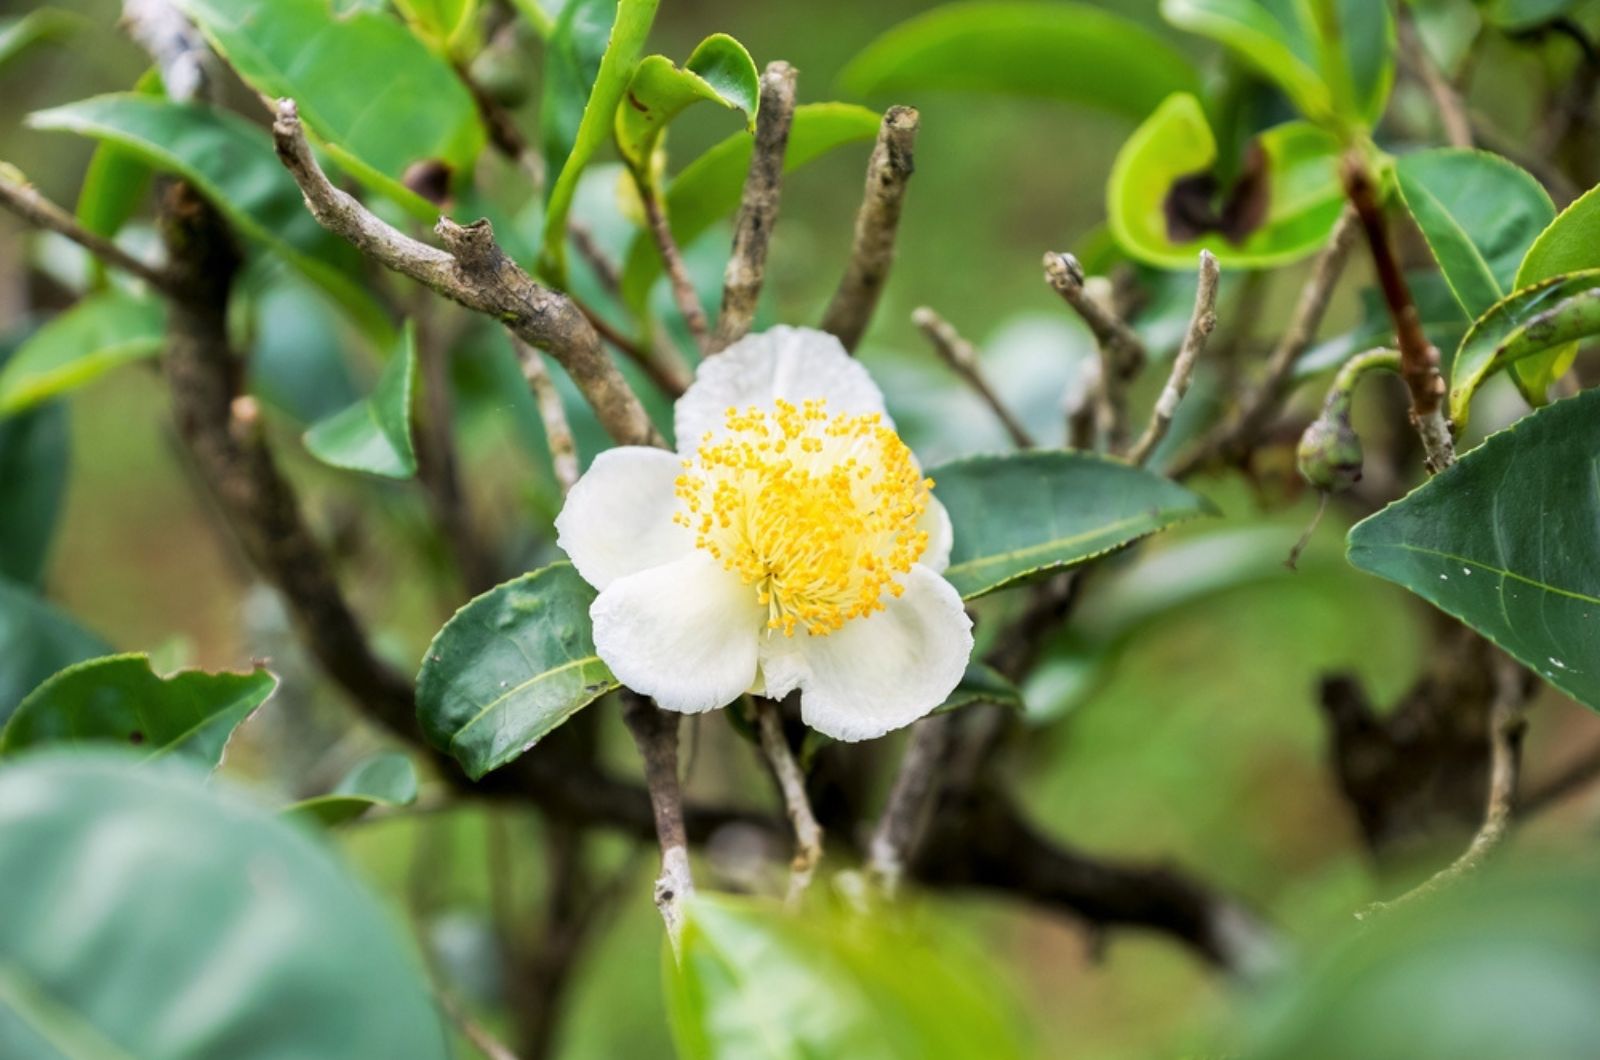
Planting Camellias isn’t just about digging a hole – it’s about creating the perfect environment for these gorgeous blooms to thrive. Start by picking a spot that offers a little shade and great drainage.
Camellias don’t like to sit in soggy soil, so make sure the chosen area allows excess water to drain away. Once you’ve found the ideal spot, dig a hole that’s a bit larger than the root ball of your Camellia to give it space to breathe and grow.
Carefully remove the Camellia from its container, being gentle with the roots. Place it in the hole, ensuring the top of the root ball is level with the surrounding soil – planting too deep can stunt its growth.
Once your Camellia is in place, backfill the hole with soil, packing it down lightly as you go! Don’t forget to water generously after planting to help settle the soil and give those roots a good start.
As soon as you’re finished, pat yourself on the back! Camellias are a breeze to plant, and with just a little attention to their planting needs, you’ll be rewarded with beautiful blooms for years to come!
The Best Growing Tips You Need To Know
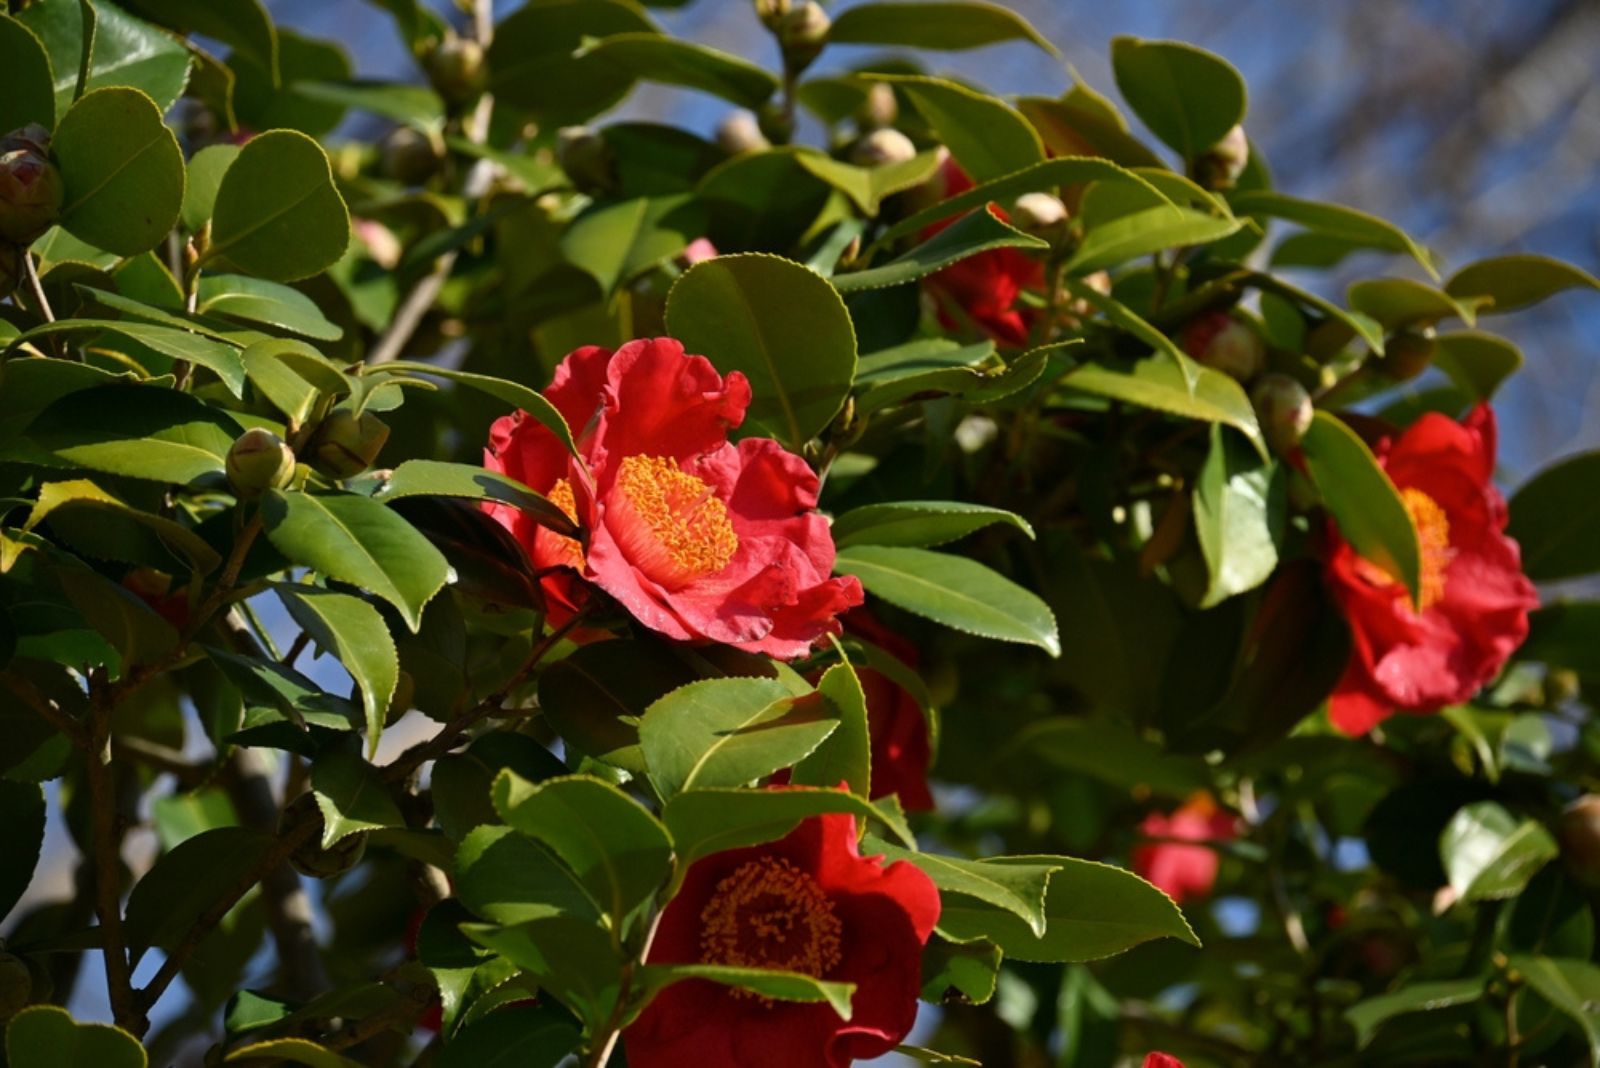
Want to keep your Camellias happy? It all starts with the right soil! These beauties love well-drained, slightly acidic soil, so make sure your garden gets a little extra TLC.
Don’t worry, they’re not picky – they just want to feel cozy in the dirt, not drowning in water! A little mulch will do wonders too, keeping the soil moist and happy without the soggy mess. They’re basically asking for a comfortable, breathable bed to grow in!
Now, for sunshine – but not too much! Camellias love partial shade – just enough light to feel the warmth, but not too much to fry their leaves. Find a spot that gives them a mix of sun and shade, and you’ll see them bloom their hearts out. Trust me, they’ll love you for it!
And let’s talk about water! First things first, don’t overdo it! Camellias love moisture, but they aren’t fans of sitting in water.
Keep the soil moist, but make sure it drains well. Picture it like giving them a refreshing drink of water without soaking them to the core. Get it right, and you’ll have flowers that just keep on giving!
Overwinter Camellias For Year-Round Beauty
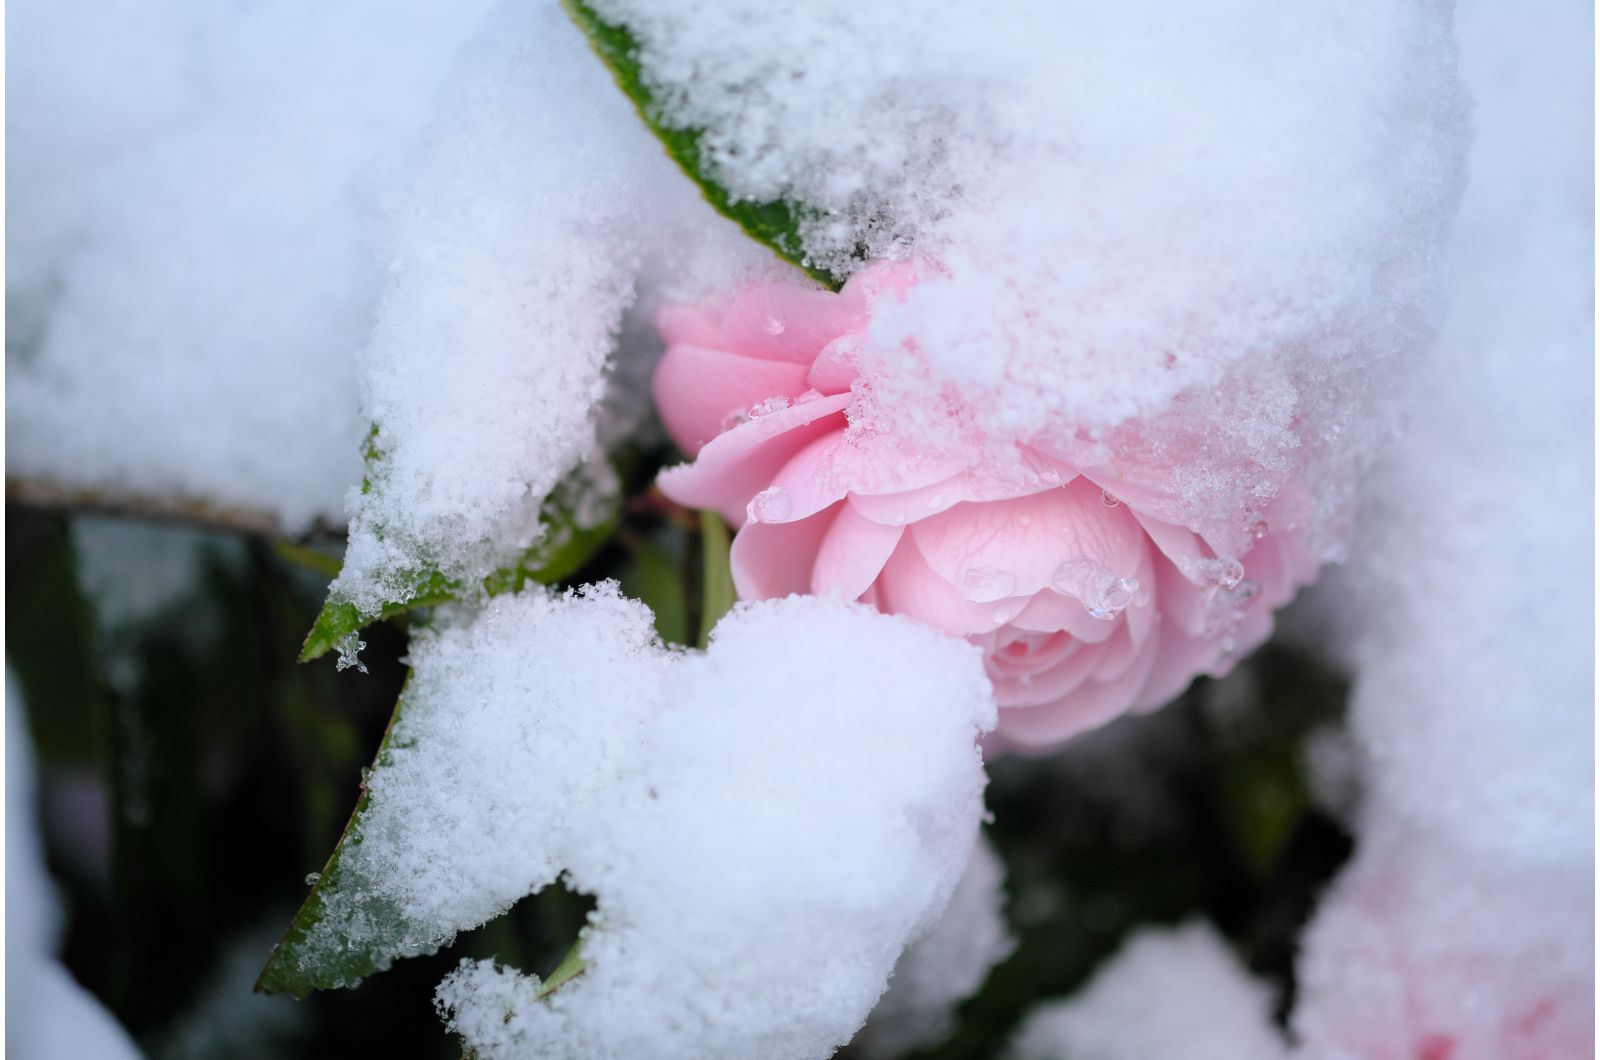
Winter doesn’t have to mean saying goodbye to your Camellias – if you give them the right care, they’ll make it through and be ready to shine again in the spring!
For those in colder regions, the trick is to move potted Camellias to a frost-free spot like a greenhouse, basement, or garage.
If your plants are in the ground, adding protective barriers like windbreaks can be a game-changer. Use burlap or frost cloth to cover the plant, ensuring the flowers and leaves don’t get damaged by unexpected cold snaps!
One of the easiest ways to protect your Camellias is by giving them a generous layer of mulch. This will help insulate the roots and prevent them from freezing.
Aim for a layer that’s at least three to four inches deep, but don’t pile it up too high on the trunk – give the roots room to breathe. With these simple steps, your Camellias will come through winter strong and ready to deliver those gorgeous blooms when the weather warms up!
Peonies might not work for you, but Camellias will – make the switch and watch your garden bloom effortlessly!

