16 Beginner-Friendly Tips For Growing Crisp, Tasty Radishes

Radishes are a beginner’s dream—fast-growing, fuss-free, and oh-so-satisfying. In just three to four weeks, you can go from seed to harvest, making them perfect for anyone eager to see quick results. Their sprightly pace gives you a confidence boost early on.
These crunchy little roots come in all kinds of colorful varieties, each with a zesty flavor that outshines anything store-bought. They’re proof that fresh really does taste better. Plus, they add such a playful touch to salads and snacks.
With a few basic growing tips—like spacing seeds properly and keeping soil moist—you’ll have radishes popping up in no time. It’s a simple joy that makes every garden feel a bit more abundant and alive.
1. Choose The Right Season
Spring and fall are prime times for radish growing. These cool-weather crops struggle in summer heat, often becoming woody and extra spicy when temperatures climb too high.
I’ve found early spring plantings (about 4-6 weeks before the last frost) produce the sweetest, crispest roots. For a continuous harvest, plant small batches every 7-10 days rather than all at once.
Fall plantings often yield the tastiest radishes of all, as the gradually cooling temperatures create perfect growing conditions without the sudden heat that can stress spring crops.
2. Pick The Perfect Varieties
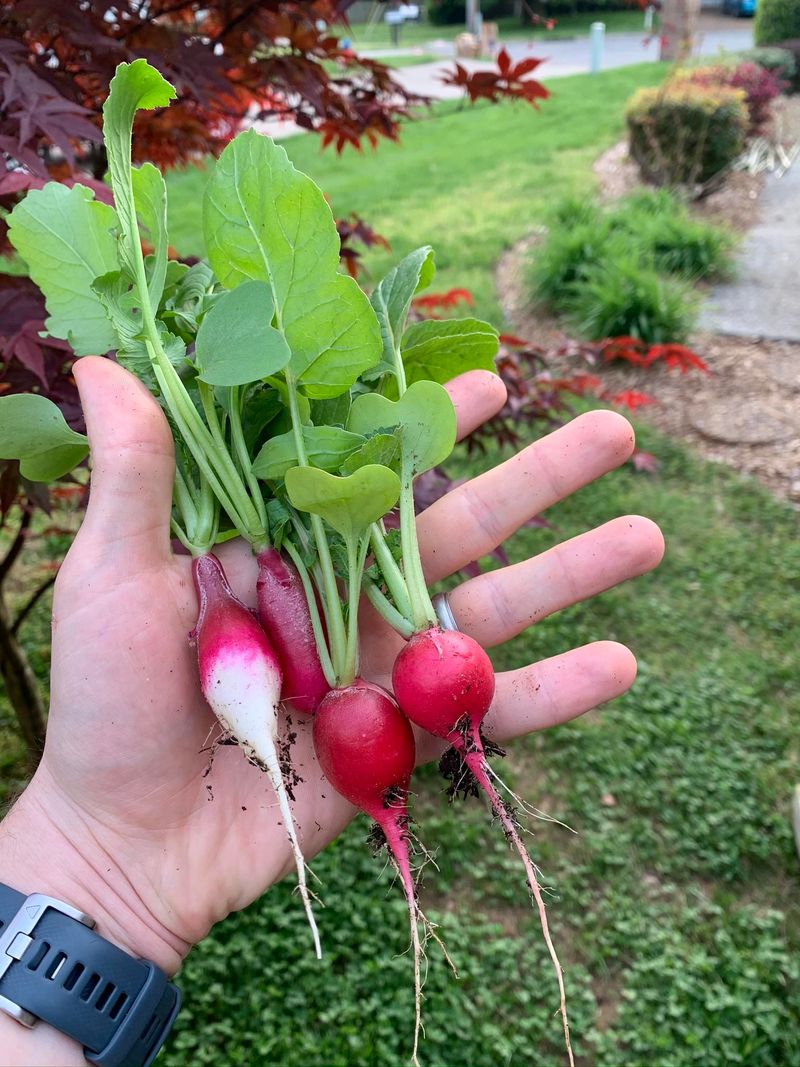
Not all radishes are created equal! For beginners, quick-maturing varieties like ‘Cherry Belle,’ ‘French Breakfast,’ and ‘Easter Egg’ are forgiving choices that mature in just 21-30 days.
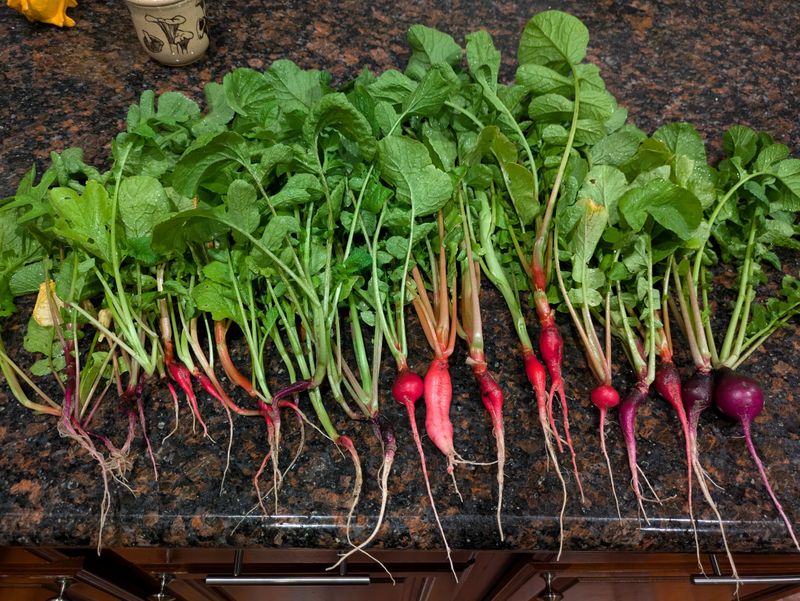
Each type offers different flavors and appearances. Easter Egg produces a beautiful mix of colors from purple to white, while French Breakfast has an elongated shape with a milder taste that won me over when I first started gardening.
Save the longer-growing winter radishes like ‘Watermelon’ or daikon for when you’ve got more experience – they need different care than the quick spring types.
3. Prepare Loose, Rich Soil
The secret to perfectly shaped radishes lies in your soil preparation. These root vegetables need loose, well-draining soil free from rocks, clumps, and clay that can cause misshapen or stunted growth.
Work in compost or well-rotted manure a week before planting to improve both drainage and nutrients. My garden has heavy clay soil, so mixing in sand and compost made a world of difference in my radish quality.
Avoid fresh manure or high-nitrogen fertilizers which promote leafy growth at the expense of the roots—exactly what you don’t want with radishes!
4. Master The Planting Depth
Getting the planting depth right is crucial for uniform germination. Plant seeds just ¼ to ½ inch deep—any deeper and they may struggle to emerge properly.
Space seeds about an inch apart in rows that are 4-6 inches from each other. Many beginners (myself included when I started) plant too densely, which leads to competition and smaller radishes.
After planting, gently firm the soil with your palm rather than packing it down hard. This ensures good seed-to-soil contact while maintaining the loose texture radishes love.
5. Water Consistently But Gently
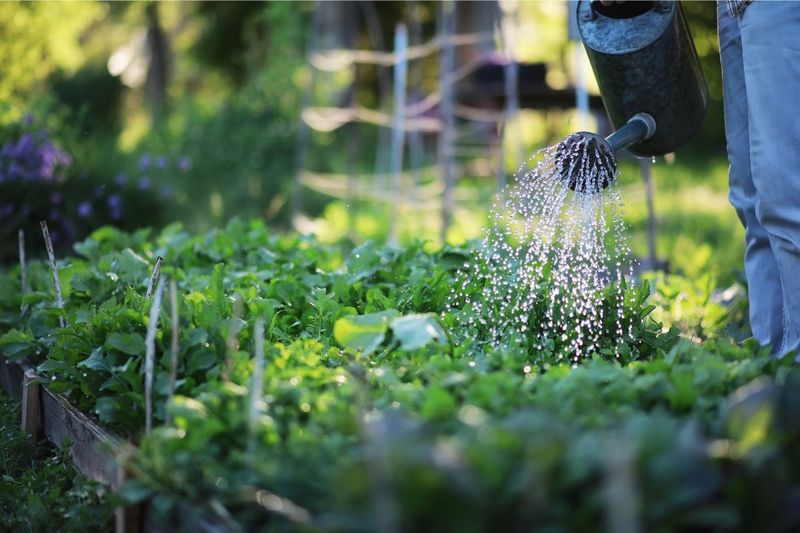
Consistent moisture creates crisp, sweet radishes while preventing splitting and pithiness. Aim for about 1 inch of water weekly, either from rainfall or irrigation.
Use a watering can with a rose attachment or a soaker hose rather than a harsh spray that might compact soil or expose seeds. The first time my radishes split, I learned the hard way about uneven watering!
Morning watering works best, giving leaves time to dry before evening and reducing disease risk. Check soil moisture by sticking your finger about an inch deep—if it feels dry, it’s time to water.
6. Thin Seedlings For Bigger Harvests
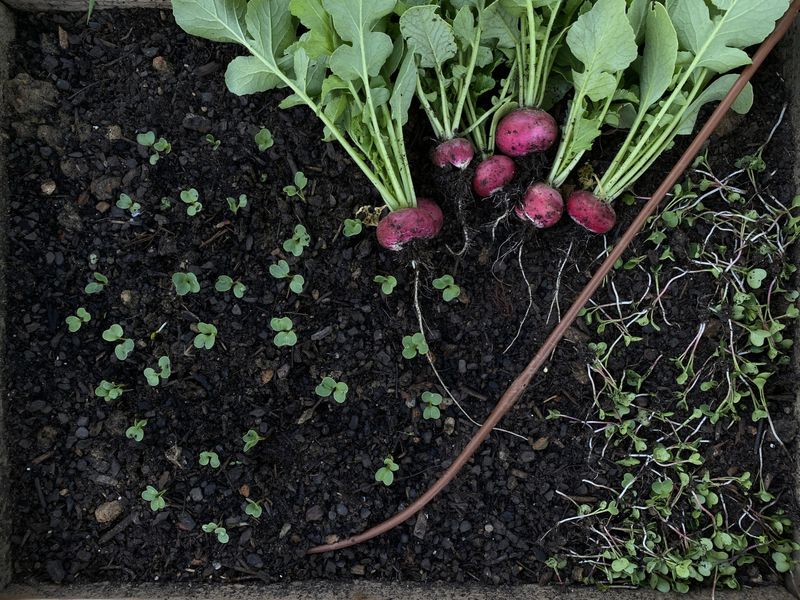
Thinning feels counterintuitive to new gardeners—why remove perfectly good plants? But crowded radishes compete for nutrients and space, resulting in tiny, misshapen roots or all leaves and no bulbs.
When seedlings reach about 2 inches tall with their first true leaves, thin them to stand 1-2 inches apart. Instead of pulling (which can disturb neighboring roots), use small scissors to snip unwanted seedlings at soil level.
Don’t waste those thinnings! The tiny leaves make a peppery addition to salads. This was a game-changer for me—I get both early microgreens and full-sized radishes from the same planting.
7. Mulch To Maintain Moisture
A light layer of mulch works wonders for radish growing success. It regulates soil temperature, prevents moisture evaporation, and significantly reduces weed competition that can stunt growth.
For spring radishes, I use a thin layer of straw, leaf mold, or grass clippings (about ½ inch thick). Too thick a layer can prevent proper air circulation and create hiding spots for slugs and snails.
Apply mulch after seedlings are established—about 2 inches tall—so they don’t have to struggle through the covering. This simple step has cut my watering needs nearly in half during dry spells.
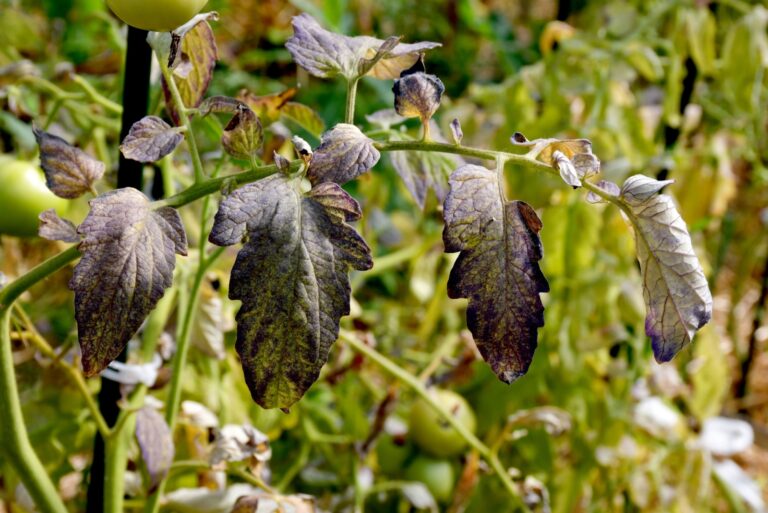
8. Watch Out For Pests
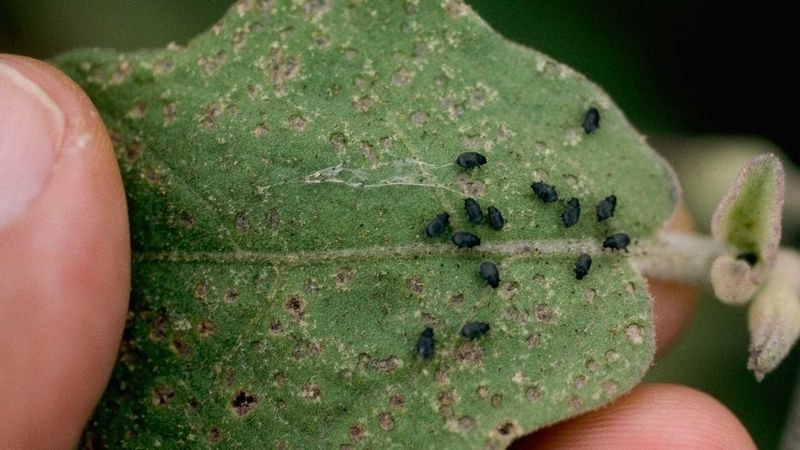
Flea beetles are the most common radish pest, creating tiny holes in leaves that look like shotgun damage. While radishes can tolerate some leaf damage, heavy infestations slow growth and affect flavor.
Row covers work brilliantly as a physical barrier while still allowing light and water through. I started using them after losing an entire crop, and haven’t had serious pest issues since.
For organic control without covers, try dusting plants lightly with food-grade diatomaceous earth when dry, or spray with a mild soap solution (1 tablespoon liquid soap per gallon of water) early in the morning.
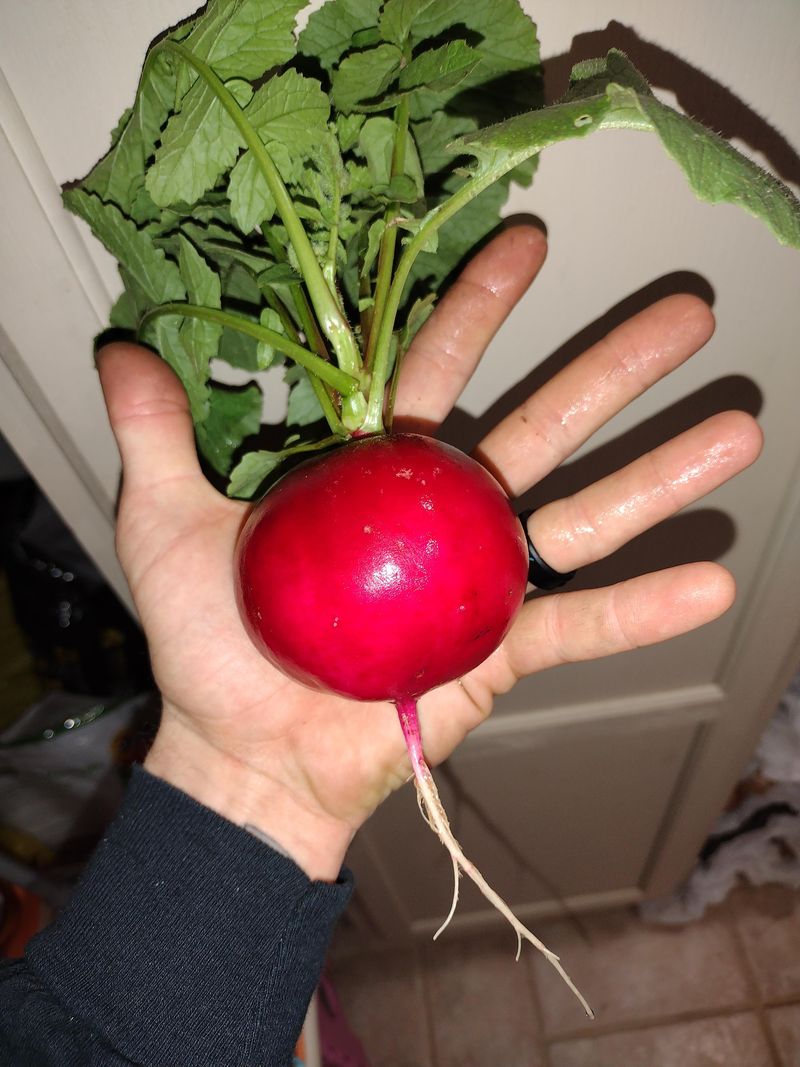
9. Harvest At The Right Moment
Timing is everything with radishes—they go from perfect to pithy in just a few days. Start checking your crop when they reach the days-to-maturity listed on the seed packet, usually 21-30 days after planting.
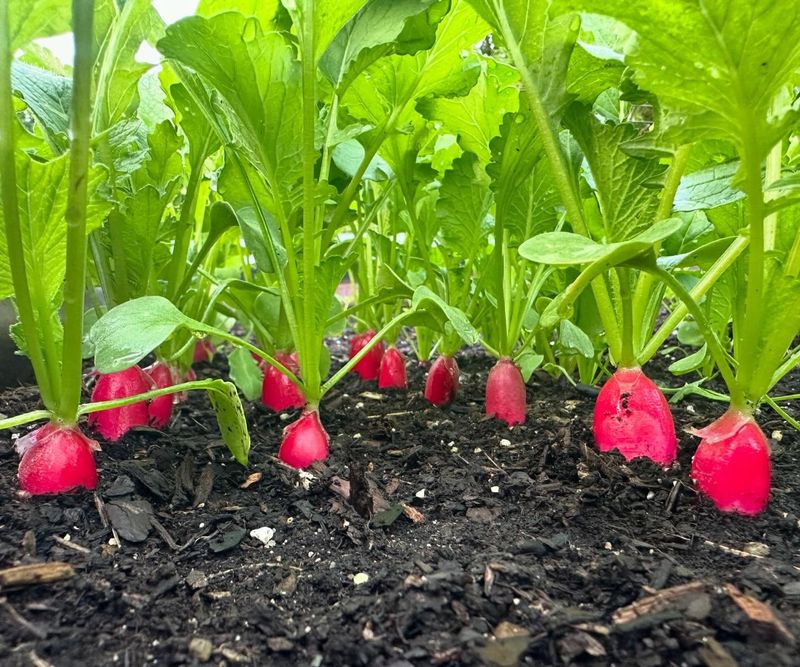
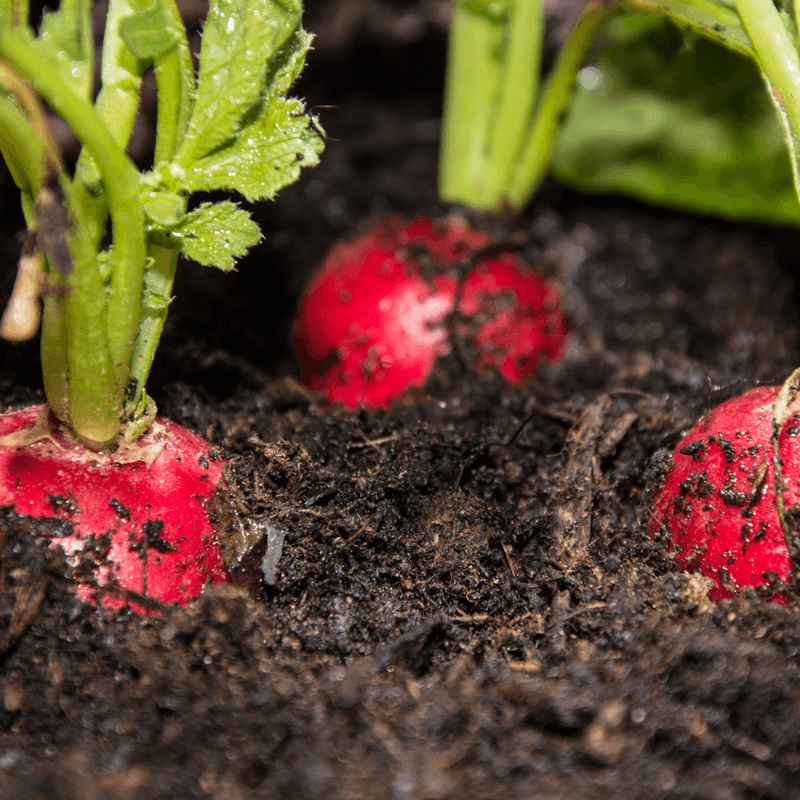
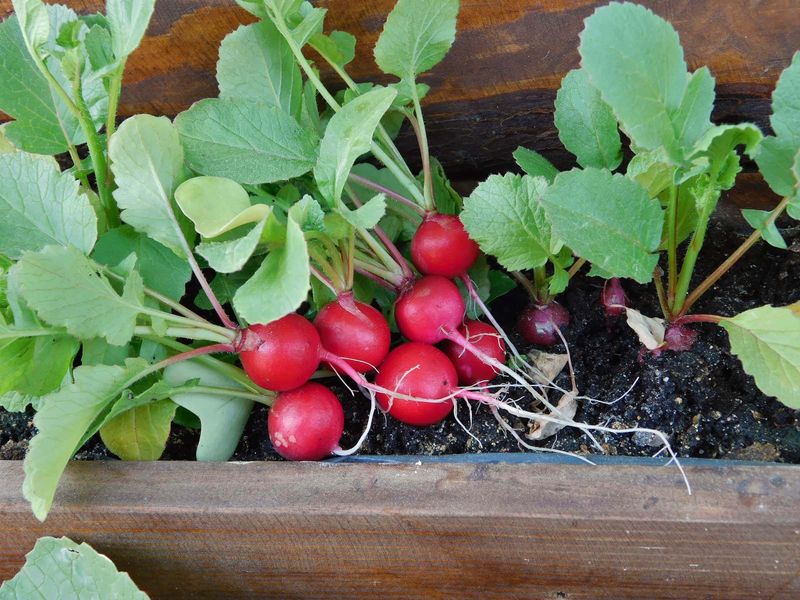
The ideal harvest size for most round varieties is about 1 inch in diameter. Larger isn’t better! Oversized radishes typically become woody, hollow, and unpleasantly spicy.
Test by gently brushing away soil from the top of a few plants to see the developing shoulders. When they look ready, pull one to check. I’ve learned through trial and error that slightly smaller radishes usually taste sweeter than fully mature ones.
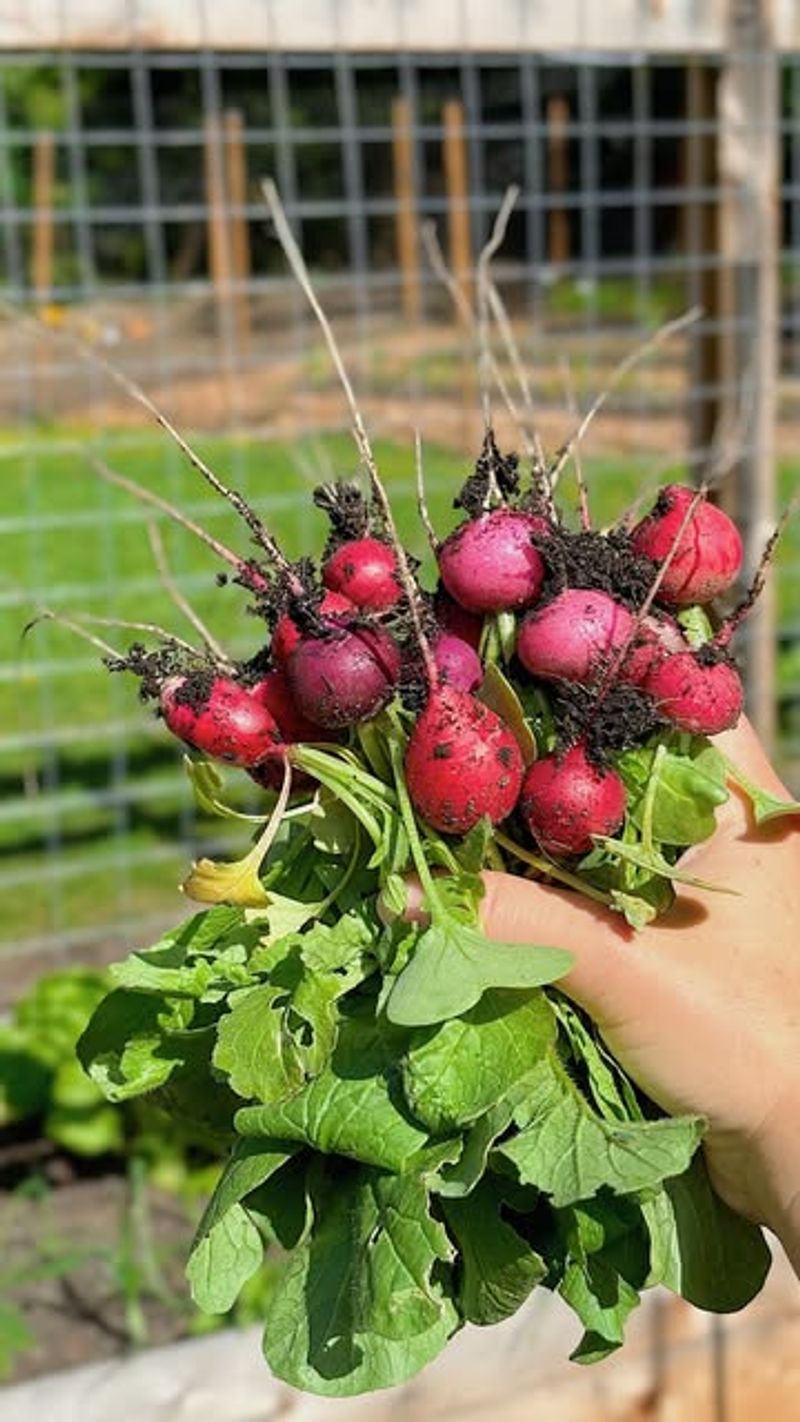
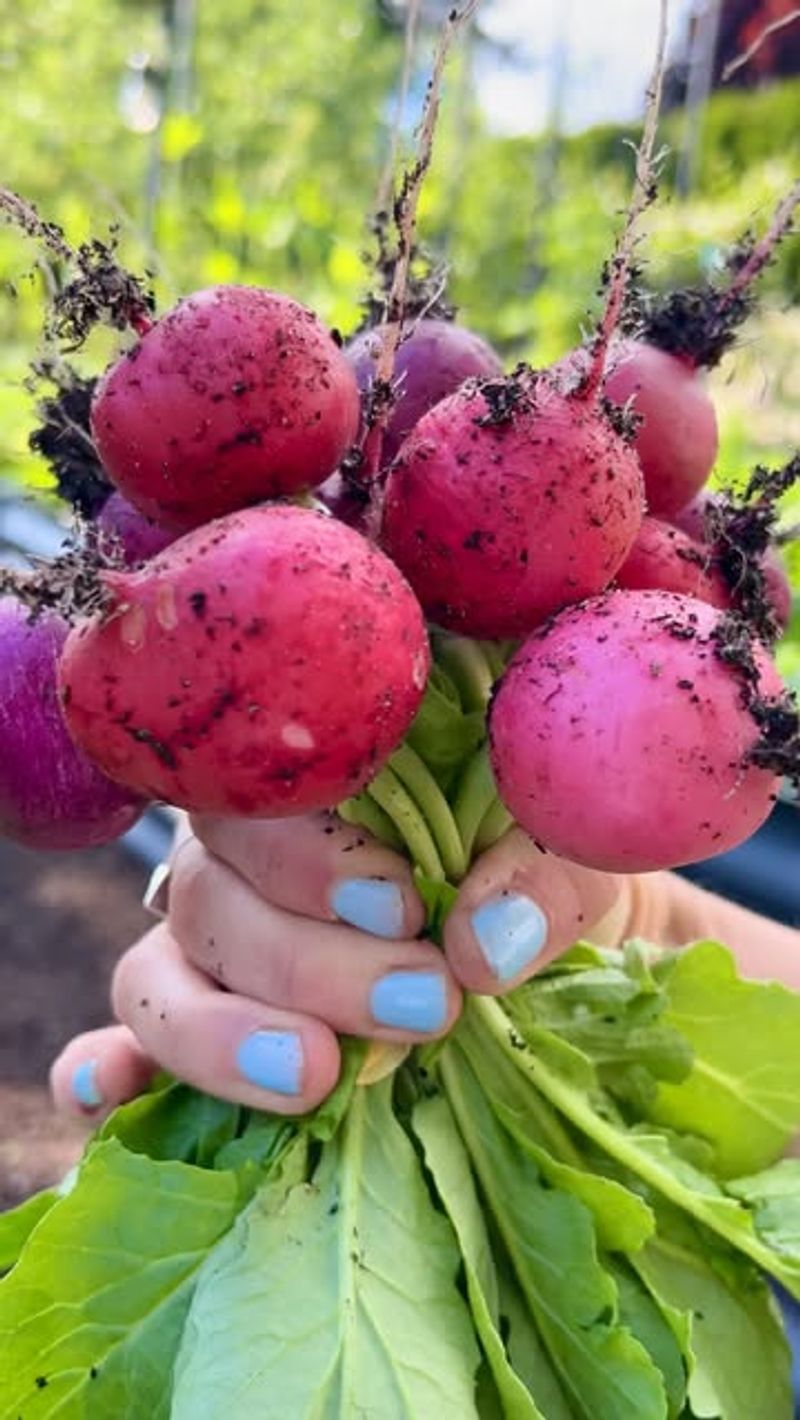
10. Pull Properly To Prevent Damage
Harvesting technique affects both the quality of your radishes and the health of nearby plants. Grasp the greens right at the base where they meet the radish top, then pull straight up with a gentle twist.
If the soil is compacted, loosen it first with a garden fork placed a few inches away from the plants. Yanking hard can damage neighboring roots or break the greens off, leaving the radish orphaned underground.
For stubborn radishes in heavy soil, water the bed lightly an hour before harvest to soften the ground. This trick saved countless radishes in my clay-heavy garden beds when I first started growing them.
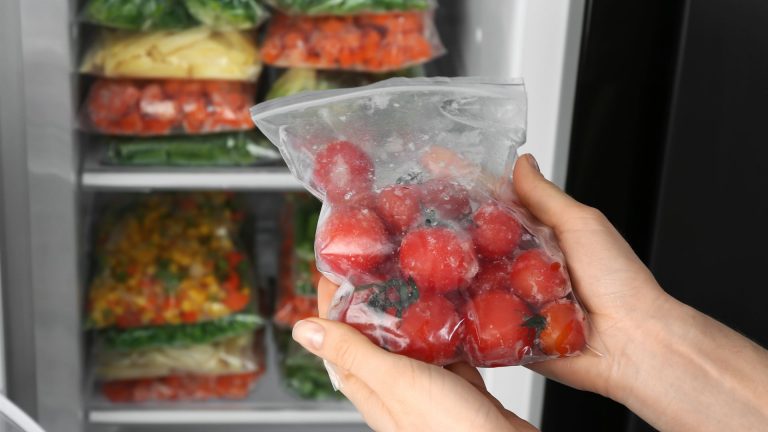
11. Store Properly For Lasting Crispness
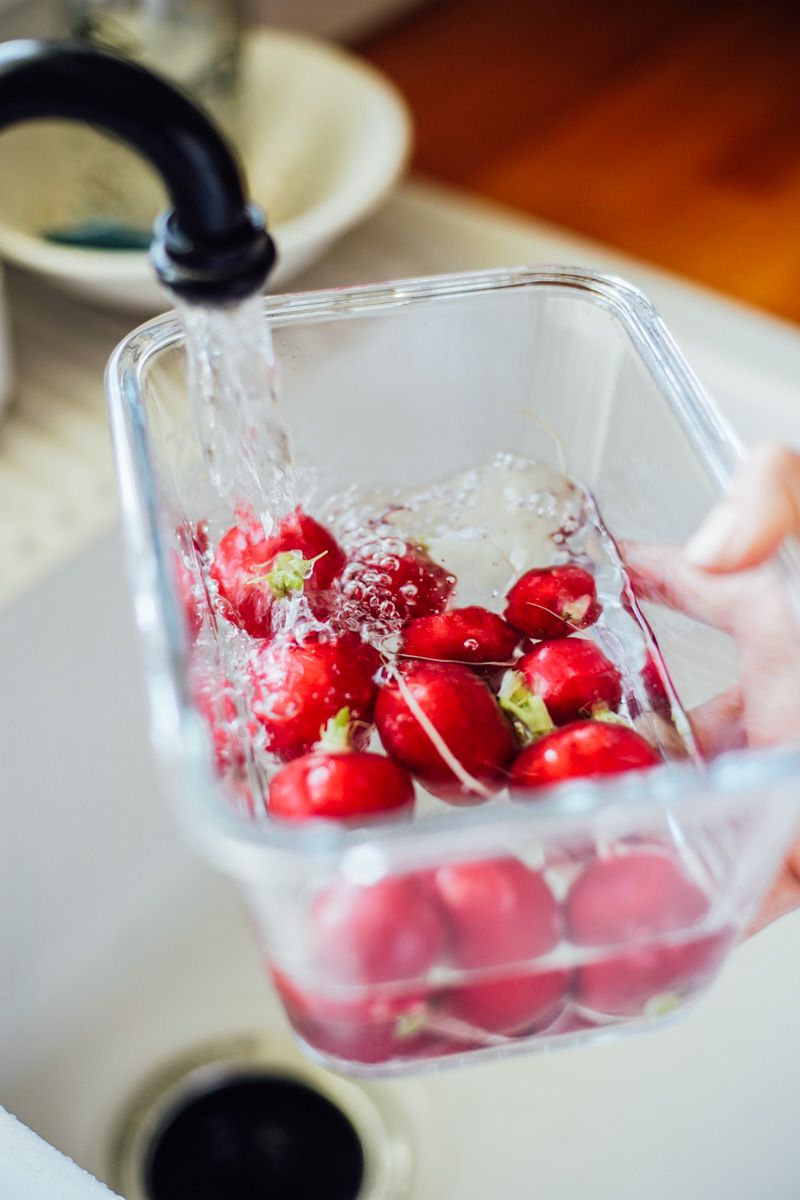
Immediately after harvesting, remove the leafy tops from your radishes, leaving about ½ inch of stem. The greens pull moisture from the roots, causing them to become soft and rubbery quickly.
Rinse dirt from the roots, pat dry, and store in a perforated plastic bag or container lined with a damp paper towel in the refrigerator. Properly stored, they’ll maintain their crisp texture for 1-2 weeks.
Don’t throw those tops away! Young, undamaged radish greens make a nutritious addition to salads or can be quickly sautéed like spinach. I was amazed at how tasty they are when I finally tried cooking them.
12. Try Container Growing
Limited garden space? No problem! Radishes thrive in containers at least 6 inches deep. Window boxes, recycled plastic tubs, or standard pots all work perfectly for these compact vegetables.
Use high-quality potting mix rather than garden soil, which can become compacted in containers. Ensure your container has drainage holes, and consider adding a layer of pebbles at the bottom to prevent waterlogging.
Container-grown radishes often need more frequent watering than in-ground plantings. During my apartment-dwelling days, I grew delicious radishes on a sunny balcony in recycled yogurt containers—proof that anyone can grow them anywhere!
13. Succession Plant For Continuous Harvests

Instead of planting all your radish seeds at once, stagger plantings every 7-10 days for a steady supply of fresh, crisp radishes throughout the growing season. This prevents the feast-or-famine cycle that frustrates many beginners.
Keep track of plantings with simple garden markers noting the planting date. I use popsicle sticks written with permanent marker—nothing fancy needed!
For summer plantings, choose heat-tolerant varieties like ‘White Icicle’ or ‘Summer Cross,’ or skip the hottest months entirely. My summer plantings always bolt quickly, so I’ve learned to focus on spring and fall crops instead.
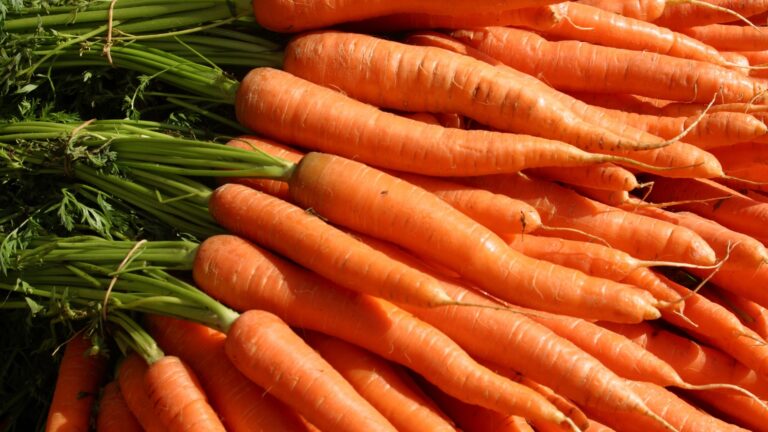
14. Companion Plant For Mutual Benefits
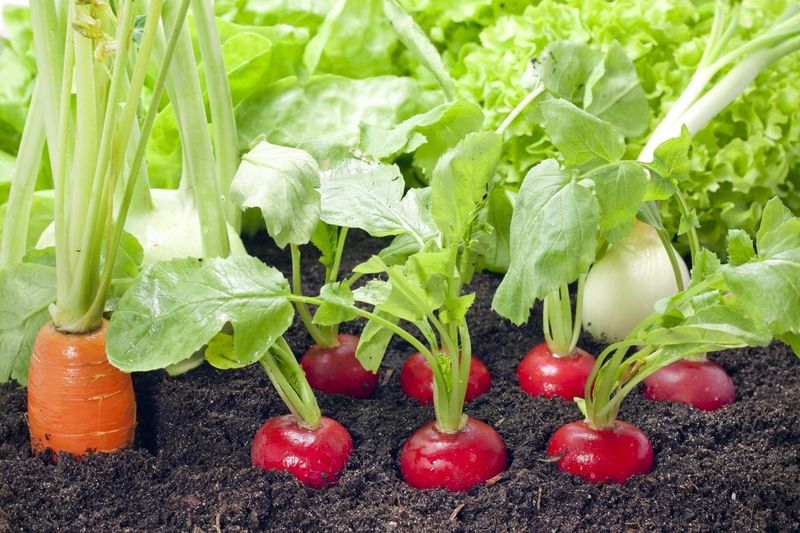
Strategic companion planting improves radish growth while maximizing garden space. Pair radishes with slower-growing vegetables like carrots, parsnips, or beets—the radishes will be harvested before their companions need the space.
Leafy greens like lettuce and spinach make excellent neighbors, creating beneficial shade during warmer weather. Avoid planting near hyssop, potatoes, or members of the cabbage family, which can inhibit radish growth.
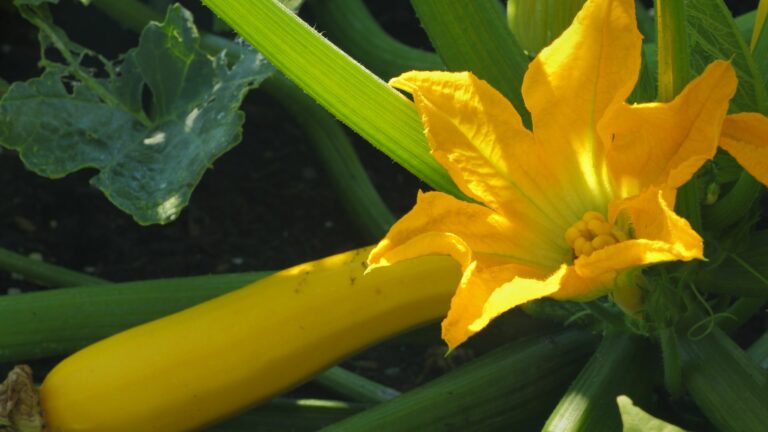
My favorite companion planting trick is sowing radish seeds among cucumber or squash hills. The radishes mature before the vines spread, and their pungent scent helps deter cucumber beetles!
15. Address Common Growing Problems
Radishes that are all leaves with tiny roots usually indicate too much nitrogen, overcrowding, or insufficient sunlight. For future plantings, avoid fresh manure and high-nitrogen fertilizers, ensure proper spacing, and choose a sunnier location.
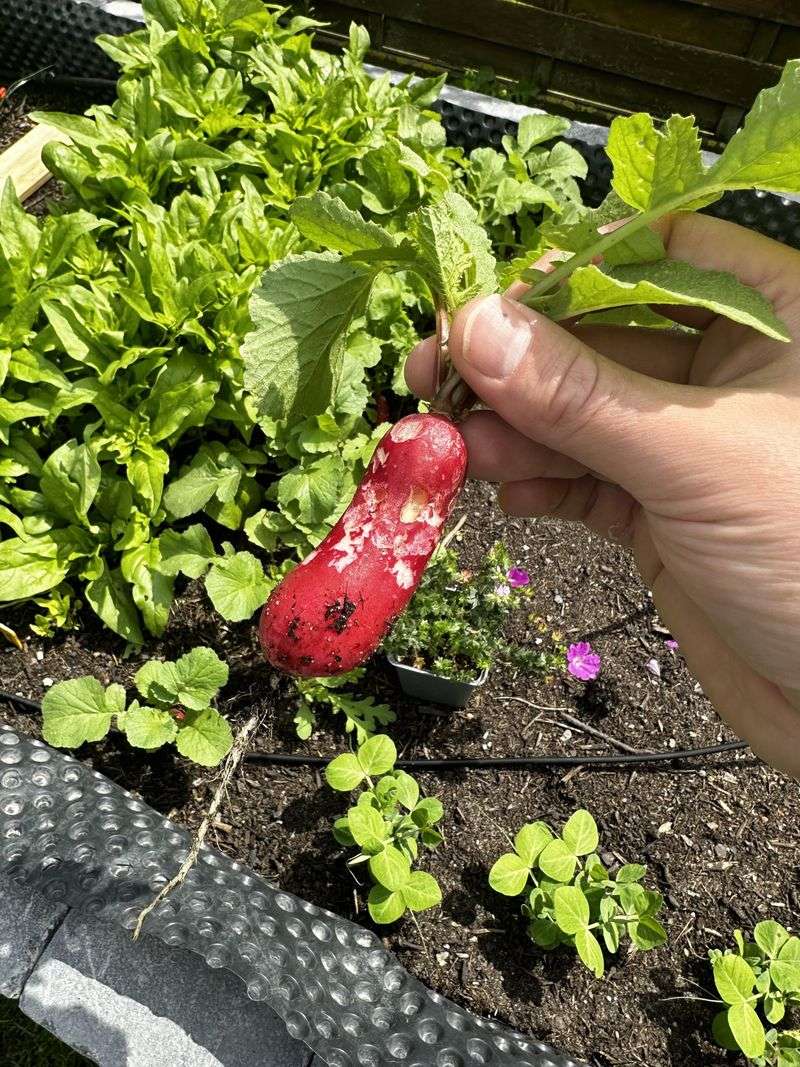
Cracked or split radishes result from inconsistent watering or leaving them in the ground too long. Maintain even soil moisture and harvest promptly when they reach mature size.
If your radishes taste unbearably hot or woody, heat stress is the likely culprit. Time plantings for cooler weather or provide afternoon shade during warm spells. I once planted a shade cloth over my late spring crop, which significantly improved the flavor.
16. Save Seeds For Future Plantings
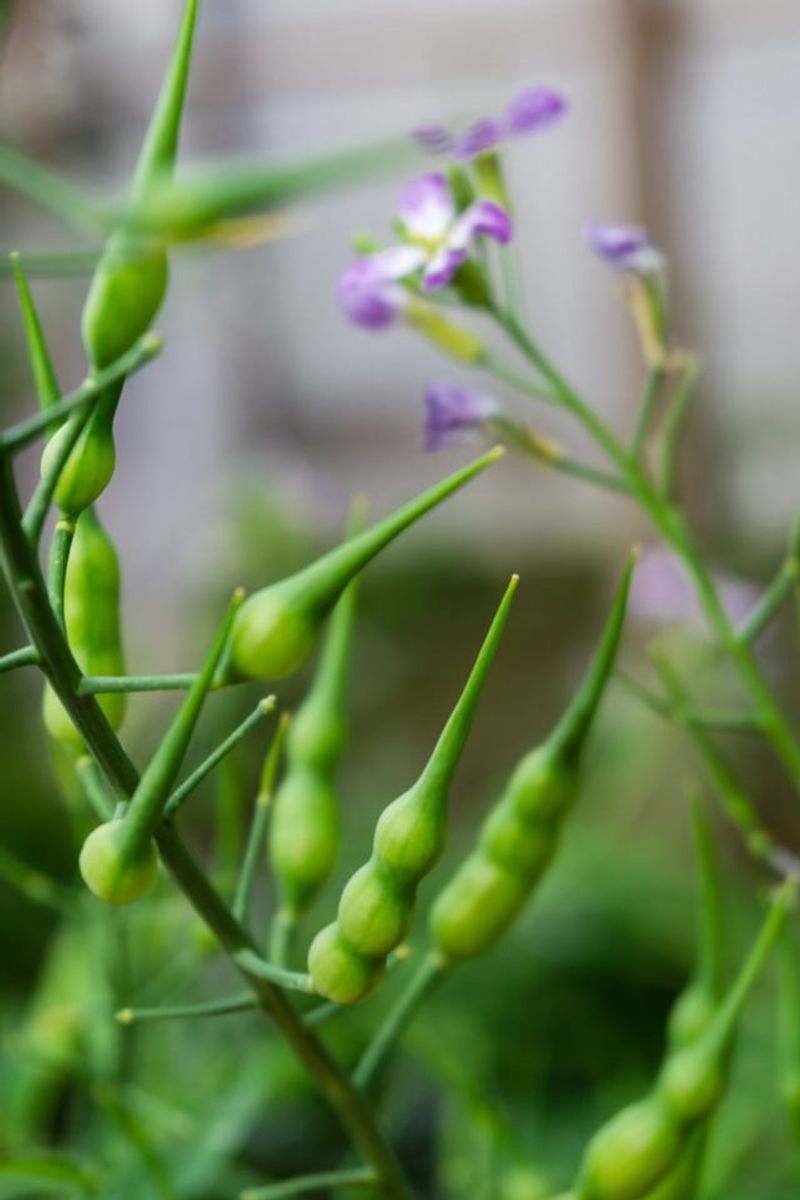
Allow a few of your best radish plants to flower instead of harvesting them. The plants will send up tall stalks with small white or pink flowers that attract beneficial insects to your garden.
After flowering, green seed pods will form. Let them dry on the plant until they turn tan and feel papery. Collect the pods, break them open, and store the seeds in a cool, dry place in labeled paper envelopes.
Homegrown radish seeds remain viable for about 4 years. The first time I saved my own seeds, I felt like I’d completed the full circle of gardening—from seed to plant to seed again, ready for next season’s garden adventure.