17 Brilliant Tips To Grow Tomatoes Indoors With Hydroponics (Fresh Harvests, No Soil)
Who says you need a backyard to grow tomatoes? With hydroponics, you can enjoy fresh, juicy tomatoes year-round—right from your kitchen or grow room.
No soil, no mess—just smart techniques and a setup that works. These 17 brilliant indoor growing tips will help you master hydroponic tomatoes and harvest like a pro, even in the middle of winter.
1. Pick the Right Tomato Varieties
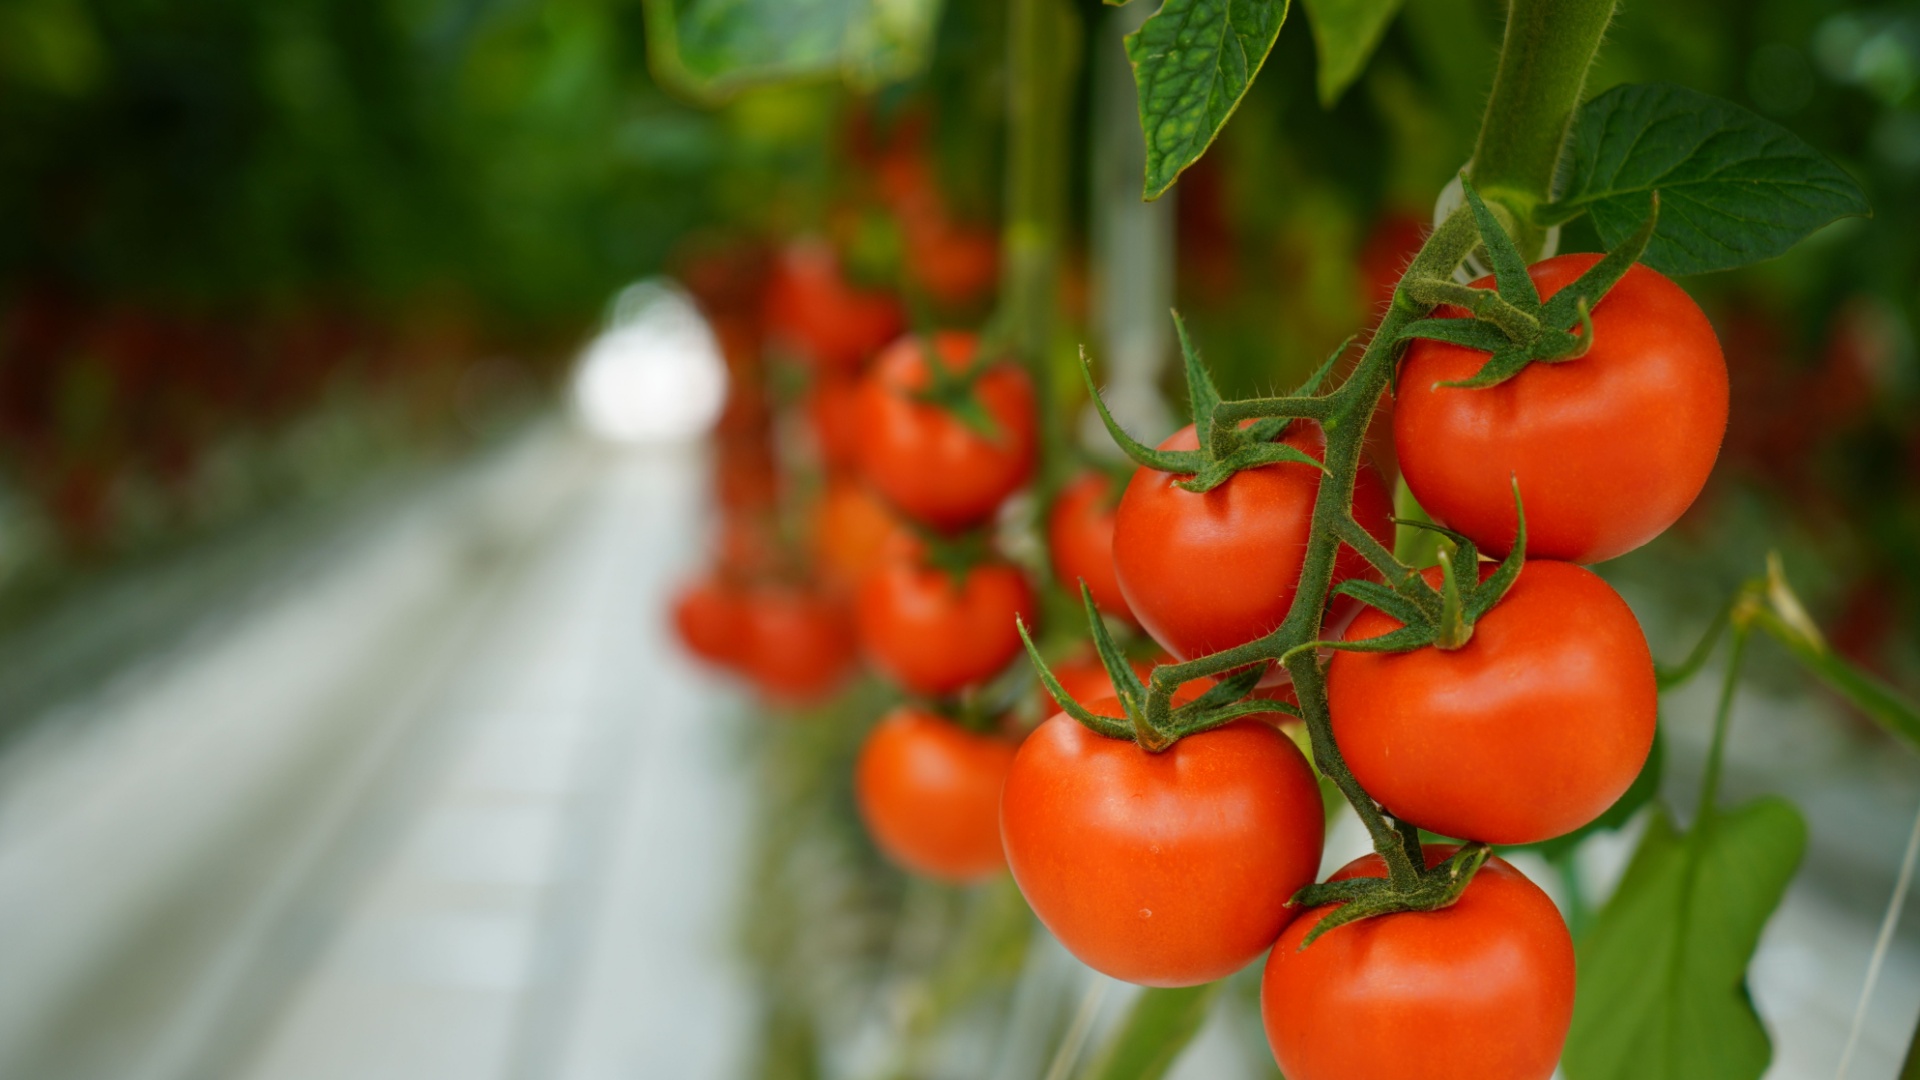
Not all tomatoes are created equal when it comes to hydroponic growing. Cherry and grape varieties like ‘Tiny Tim’ and ‘Red Robin’ are superstars in water-based systems because they stay compact and produce quickly.
Determinate varieties (bush types) generally work better than indeterminate (vining) types in limited indoor spaces. They grow to a certain height and then stop, making them perfect for smaller setups.
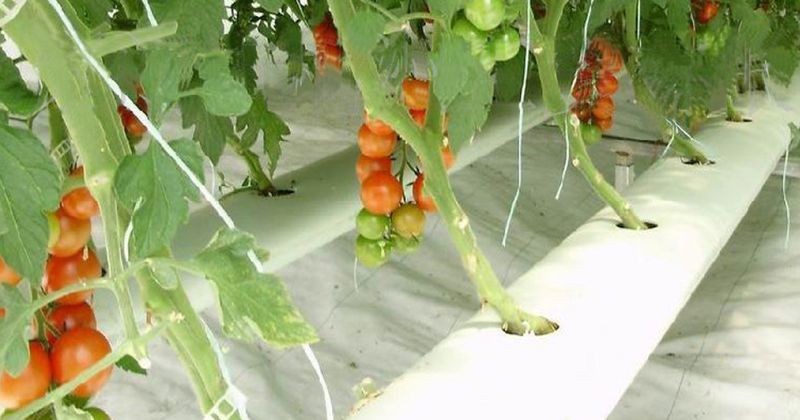
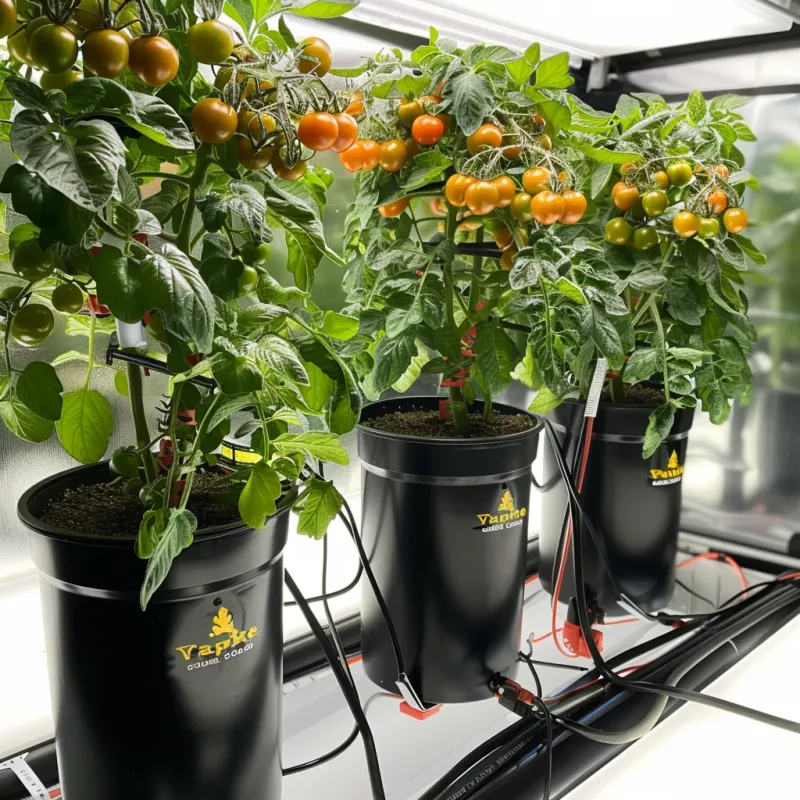
2. Choose Your Hydroponic System
Several systems work great for tomatoes, but beginners often find success with deep water culture (DWC) or nutrient film technique (NFT). DWC suspends plant roots in nutrient-rich water, while NFT flows a thin film of solution over the roots.
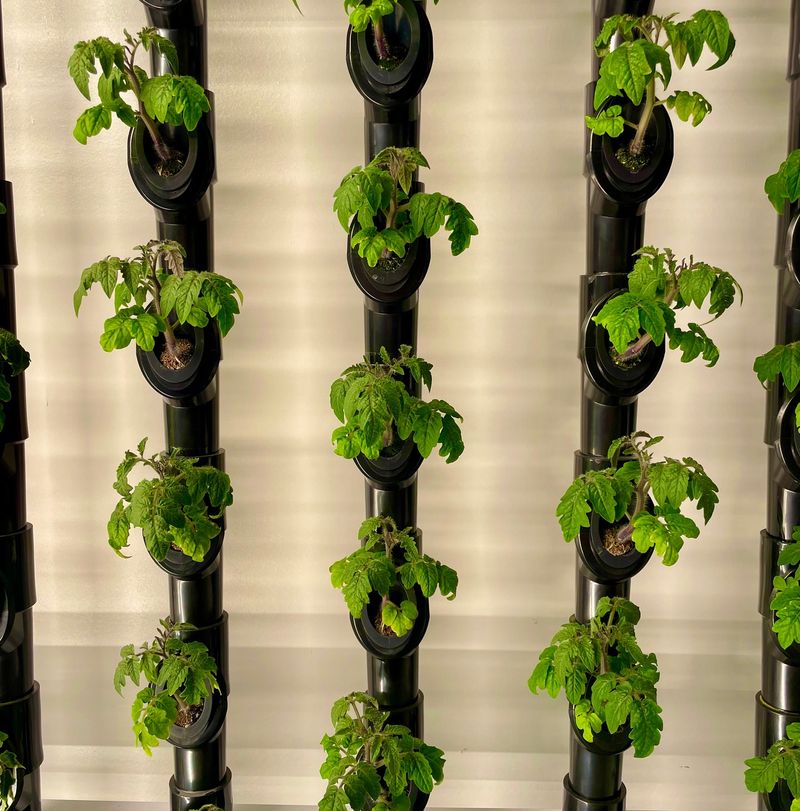
For small spaces, tower systems let you grow vertically. Ready-made kits are available online if you’re not the DIY type, making it super easy to get started without much fuss.
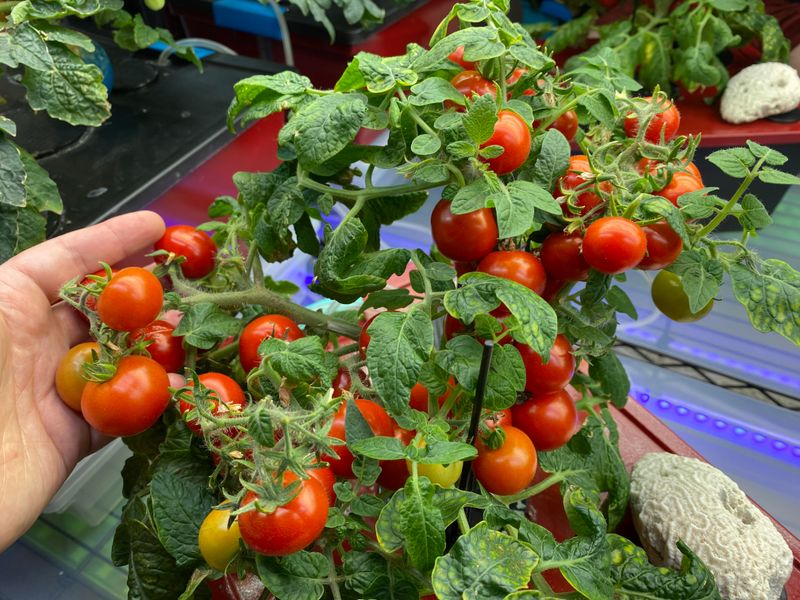
3. Nail the Growing Medium
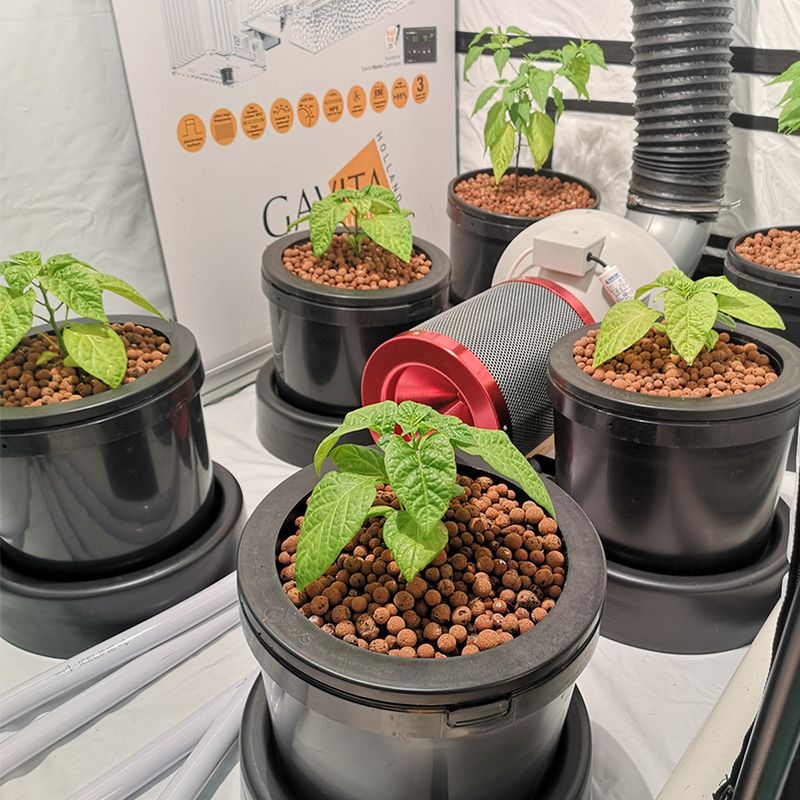
Even without soil, your tomato roots need something to hold onto. Rockwool cubes are popular starters because they retain moisture while allowing oxygen to reach roots. Expanded clay pellets (LECA) provide excellent drainage and can be reused.
Coconut coir offers a more eco-friendly option that holds moisture beautifully. Whatever medium you choose, make sure it’s clean and properly prepared before planting to prevent mold or bacteria issues.
4. Master the Nutrient Solution
Your tomatoes will get all their food from the water, so the nutrient mix matters big time! Look for hydroponic nutrients specifically formulated for fruiting plants or tomatoes. These contain the perfect balance of nitrogen, phosphorus, and potassium.
During the vegetative stage, plants need more nitrogen. Once flowering begins, switch to a bloom formula with higher phosphorus. Measure your solution’s strength with an EC meter – tomatoes typically like 2.0-3.5 mS/cm depending on their growth stage.
5. Get the pH Just Right
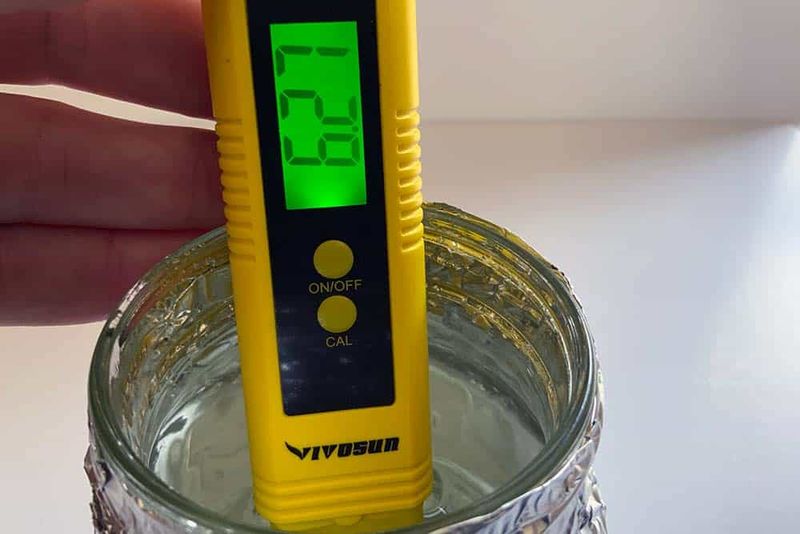
Tomatoes are picky about pH! They can only absorb nutrients properly when the solution is between 5.8 and 6.3. Too high or too low, and your plants will develop deficiencies even with plenty of nutrients present.
Invest in a reliable pH meter and testing kit. Check your solution daily and adjust with pH up or down solutions as needed. Small, consistent adjustments work better than dramatic changes that shock your plants.
6. Light It Up Properly
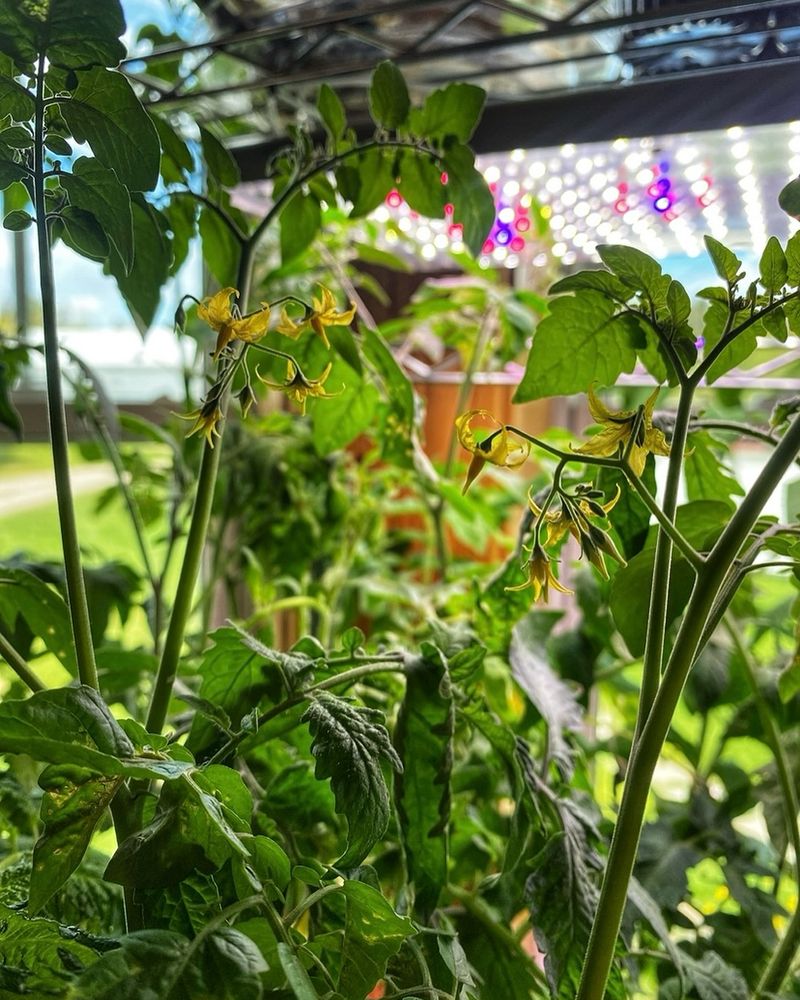
Indoor tomatoes need serious light – at least 14-16 hours daily. LED grow lights work wonders because they’re energy-efficient and don’t produce excessive heat. Look for full-spectrum lights that include both blue (for leafy growth) and red (for flowering and fruiting) wavelengths.
Position lights 12-18 inches above plants and adjust as they grow taller. Some growers use timers to automatically manage light cycles, making sure plants get their daily dose of artificial sunshine without constant monitoring.
7. Control Temperature and Humidity

Tomatoes thrive in temperatures between 65-75°F during the day and about 10 degrees cooler at night. Extreme heat or cold will stress plants and reduce yields.
Humidity should stay between 40-60% – too high invites fungal diseases, while too low causes water stress. Small fans create gentle air movement that strengthens stems and reduces humidity pockets. A thermometer/hygrometer combo device helps monitor both factors at once.
8. Provide Support for Growing Plants
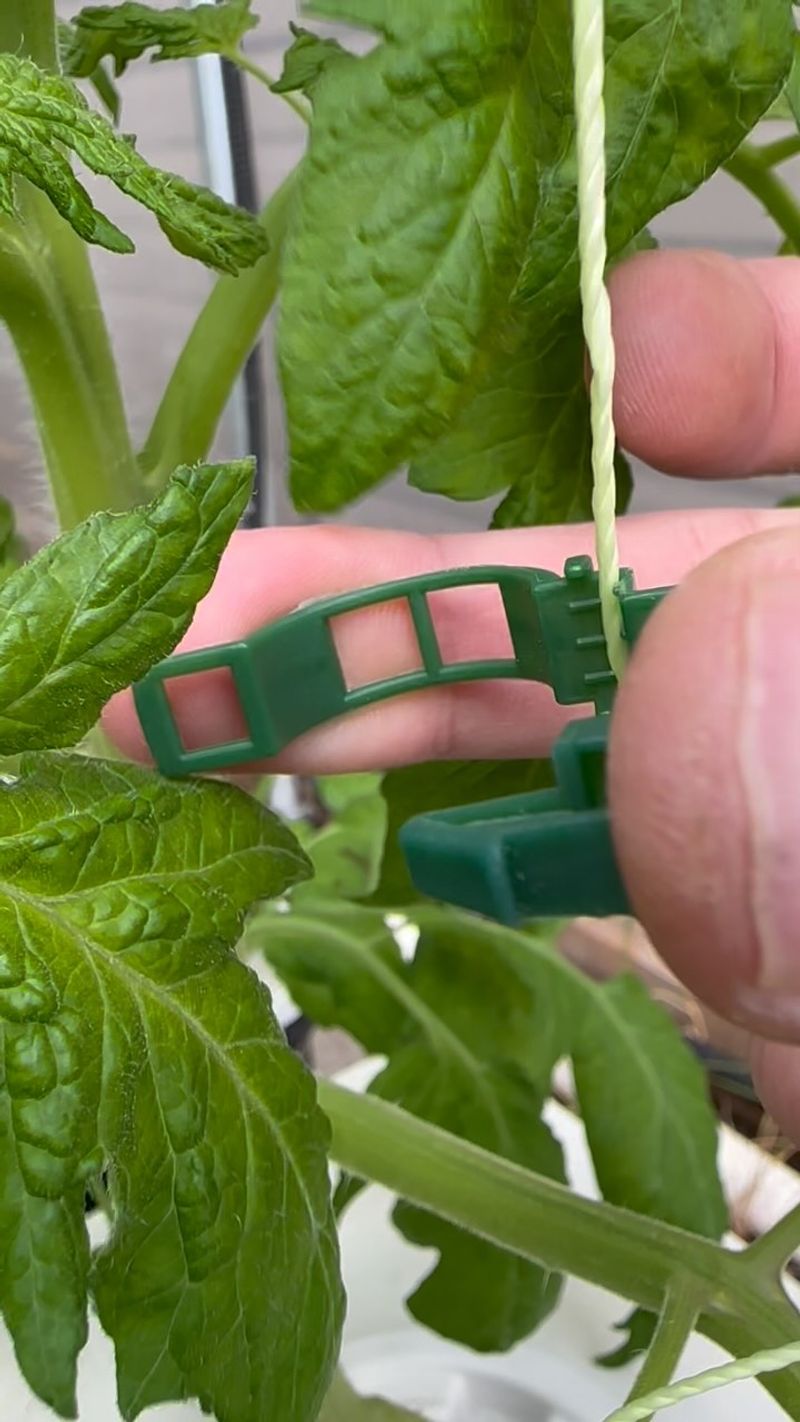
Hydroponic tomato plants get top-heavy when fruiting and need sturdy support. Trellises, stakes, or tomato cages prevent stems from breaking under the weight of juicy tomatoes.
Soft plant ties or strips of cloth work great for securing stems without damaging them. Start training plants young by gently guiding main stems toward supports. For larger systems, consider a string trellis that can be adjusted as plants grow upward.
9. Master Pruning Techniques
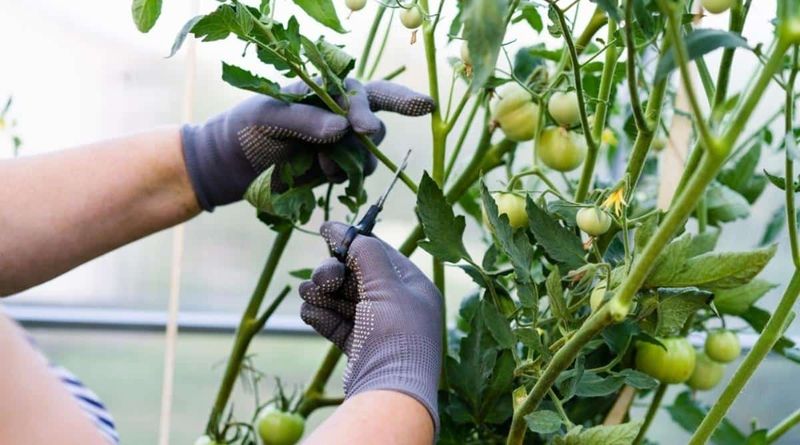
Indoor hydroponic tomatoes benefit tremendously from regular pruning. Remove lower leaves that touch the water to prevent disease spread. Pinch off suckers (the shoots that grow between the main stem and branches) to direct energy toward fruit production.
For determinate varieties, minimal pruning is needed. For indeterminate types, maintain 1-2 main stems by removing extra suckers weekly. Always use clean scissors or pruners to make cuts and avoid tearing the plant tissue.
10. Hand-Pollinate for Better Yields
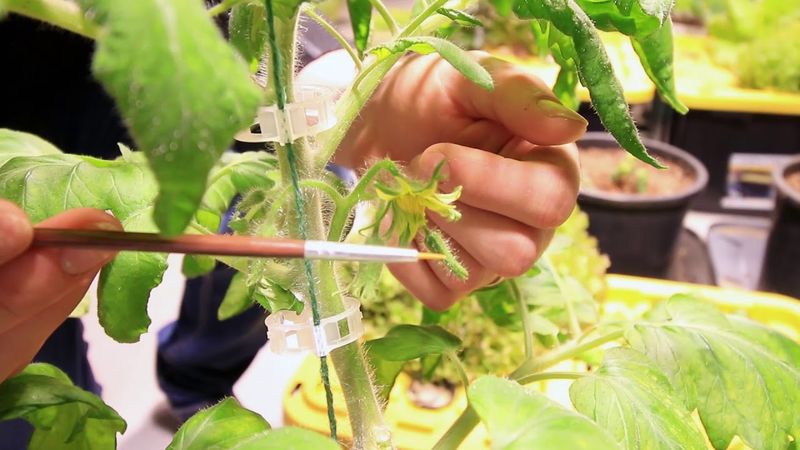
No bees indoors? No problem! Tomatoes are self-pollinating, but they need a little help without natural pollinators around. When flowers open, gently shake plants for a few seconds each day to spread pollen.
For even better results, use a small paintbrush or electric toothbrush. Touch the center of each flower, causing a tiny pollen cloud to release. The vibration mimics a bee’s buzz and dramatically increases fruit set. Morning pollination works best when pollen is most viable.
11. Keep Your System Clean
Cleanliness prevents plant diseases and pest problems in hydroponic systems. Change your nutrient solution completely every 1-2 weeks to prevent buildup of salts and organic matter.
Clean all equipment that touches the solution monthly with food-grade hydrogen peroxide or vinegar. Remove any dead leaves promptly. Between growing cycles, thoroughly disinfect the entire system to start fresh with new plants.
12. Monitor Water Temperature
Tomato roots are sensitive to water temperature. Keep your nutrient solution between 65-75°F for optimal nutrient absorption and oxygen levels. Warmer water holds less oxygen and can promote root diseases.
In warm rooms, consider using a water chiller for larger systems. For small setups, frozen water bottles (outside the reservoir) can temporarily cool things down. Insulating your reservoir with reflective material helps maintain stable temperatures throughout the day.
13. Watch for Nutrient Deficiencies
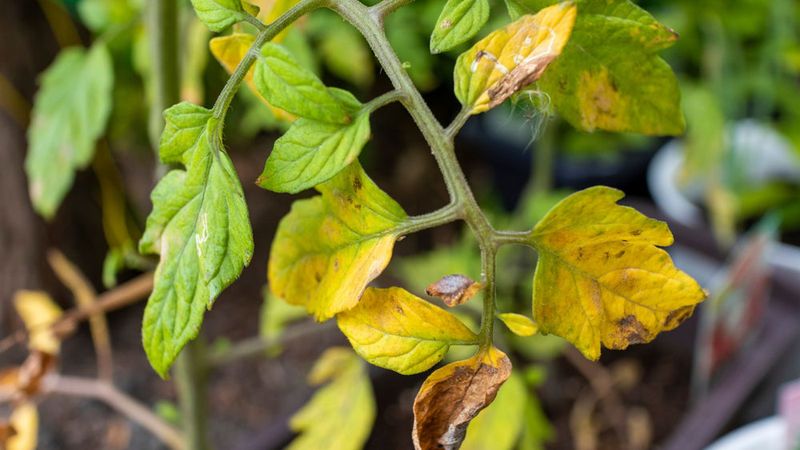
Yellow leaves often signal nitrogen deficiency, while purple stems suggest phosphorus problems. Calcium deficiency causes blossom end rot – those dark, sunken spots on tomato bottoms.
Keep a chart of common deficiency symptoms handy. Take photos of your plants regularly to track changes over time. Quick identification means faster correction! Remember that some issues might be pH-related rather than actual nutrient shortages.
14. Deal with Pests Naturally
Even indoors, pests can find your tomatoes. Aphids, spider mites, and whiteflies are common culprits. Inspect plants regularly, checking under leaves where bugs often hide.
Insecticidal soap works great for soft-bodied pests. Neem oil serves as both preventative and treatment. Introducing beneficial insects like ladybugs can create a natural balance. Sticky traps help monitor pest populations and catch flying invaders before they multiply.
15. Cycle Nutrients for Different Growth Stages
Tomatoes have different nutritional needs as they grow. Seedlings benefit from a mild, balanced formula. During vegetative growth, higher nitrogen promotes leafy development.
When flowers appear, switch to a bloom formula with more phosphorus and potassium. Some growers add calcium supplements to prevent blossom end rot. Follow a feeding schedule based on your plants’ growth stage rather than calendar dates for best results.
16. Ensure Proper Aeration
Tomato roots need oxygen! In hydroponic systems, this comes from air bubbling through the nutrient solution. Use air stones connected to a pump that runs 24/7 to keep oxygen levels high.
More bubbles mean happier roots. Position air stones to create gentle currents throughout your reservoir. Check air pumps regularly to ensure they’re working properly. Healthy roots should be white or cream-colored – brown roots indicate oxygen problems.
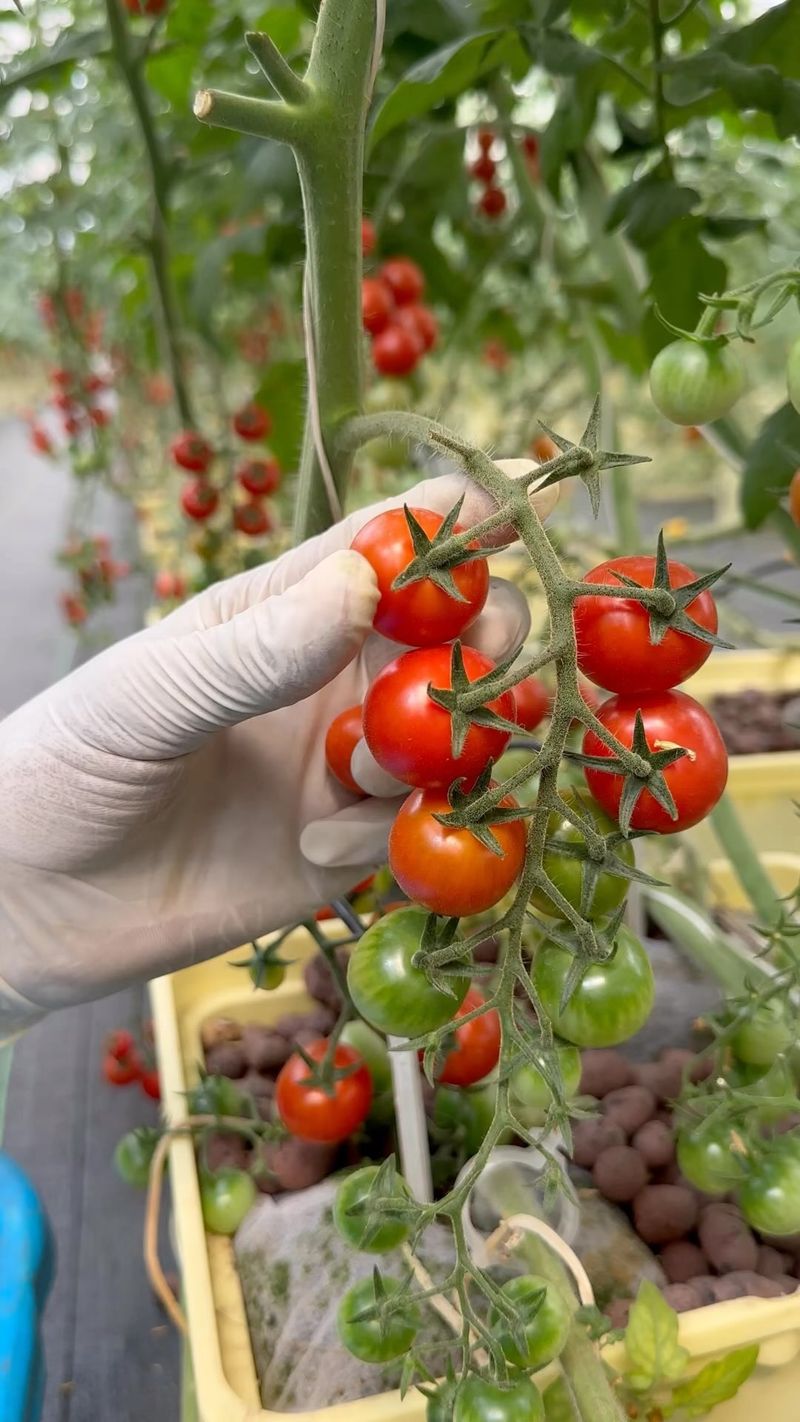
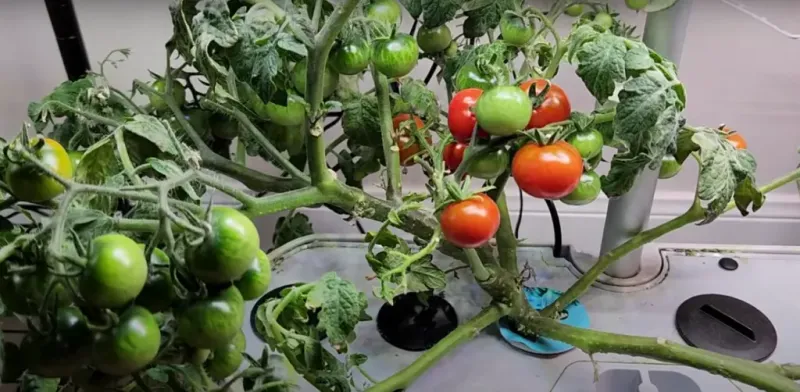
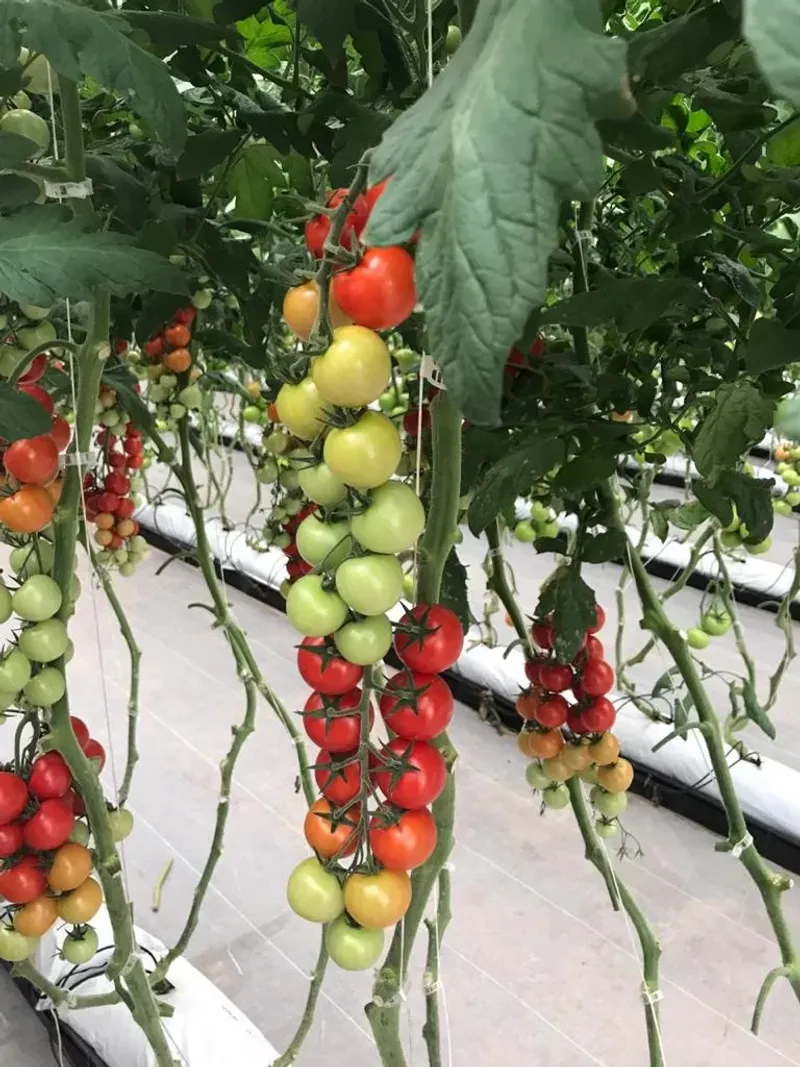
17. Harvest and Prune Continuously

Pick tomatoes as soon as they reach full color for best flavor and to encourage more production. Regular harvesting signals the plant to develop more fruit instead of putting energy into existing ones.
Remove any damaged or diseased fruit immediately. After harvesting from a truss (cluster), trim back the stem that held the fruits. This redirects energy to developing new flowers and fruit rather than maintaining empty stems.