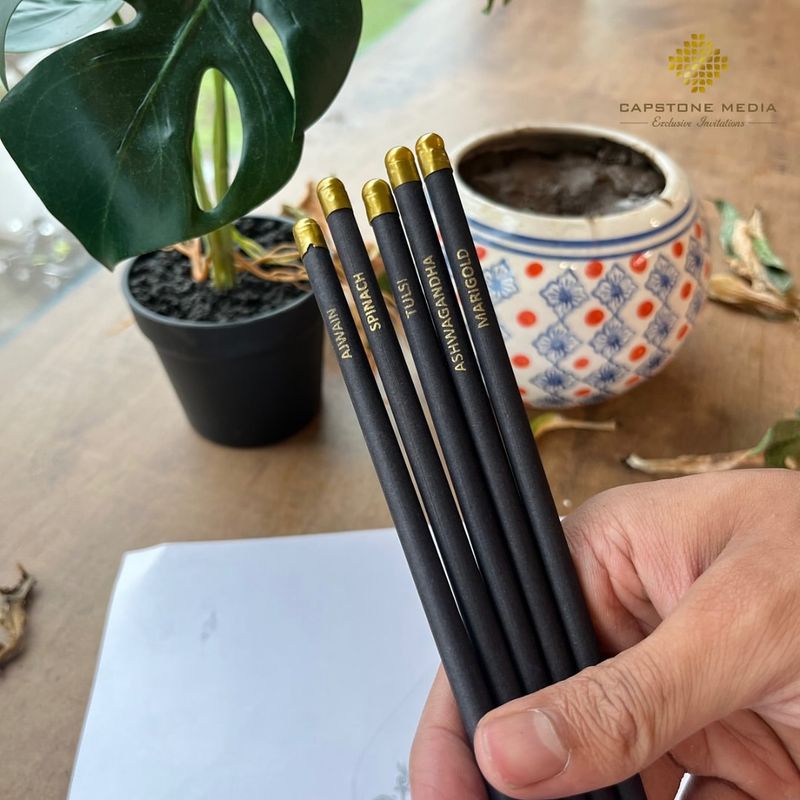
15 Clever Ways To Use a Pencil In the Garden (That Actually Work)

Gardeners are always looking for easy, everyday tools that actually work, and that plain wooden pencil in your drawer might be one of the most surprisingly useful ones around.
It can help plant seeds at the right depth, space out rows evenly, label seedlings clearly, and even loosen soil gently around young roots without causing harm.
This simple tool does far more than you’d expect, and once you start using it in the garden, you’ll wonder how you ever managed without it.
1. Seed Depth Marker
Mark your wooden pencil with different colored bands at 1/4 inch, 1/2 inch, and 1 inch to create the perfect seed depth guide. These measurements match common planting depths for various seeds.
Simply push the pencil into the soil until the appropriate marking disappears, then drop in your seed. I started doing this after years of guessing depths and seeing spotty germination results.
The graphite won’t harm your soil, and you’ll get consistent growth across your garden beds without the need for multiple tools or rulers.
2. Plant Label Stakes

Transform your broken pencil stubs into miniature plant markers by writing the plant name directly on the wood. The graphite holds up surprisingly well against rain and sun.
Sharpen one end to easily push into the soil beside seedlings or newly transplanted plants. For extra protection, add a light coat of clear nail polish over the writing.
Last spring, I labeled my entire herb garden with old pencils. Six months later, I could still read every label while my plastic markers had faded to white.
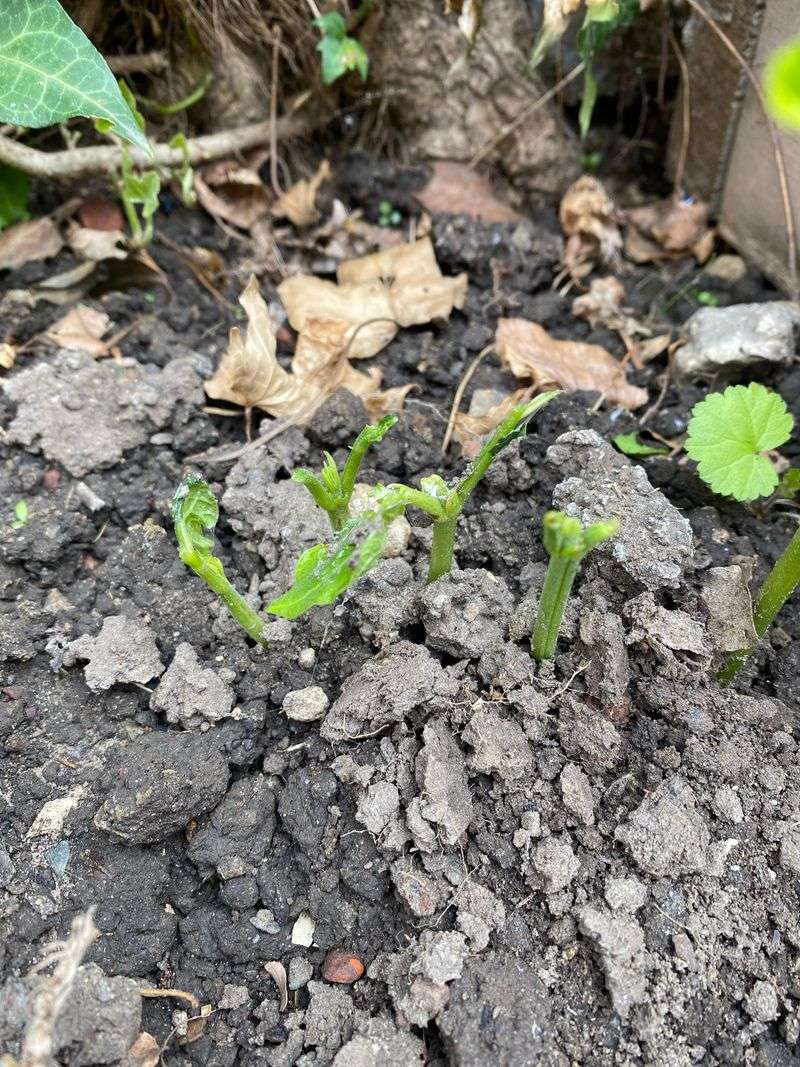
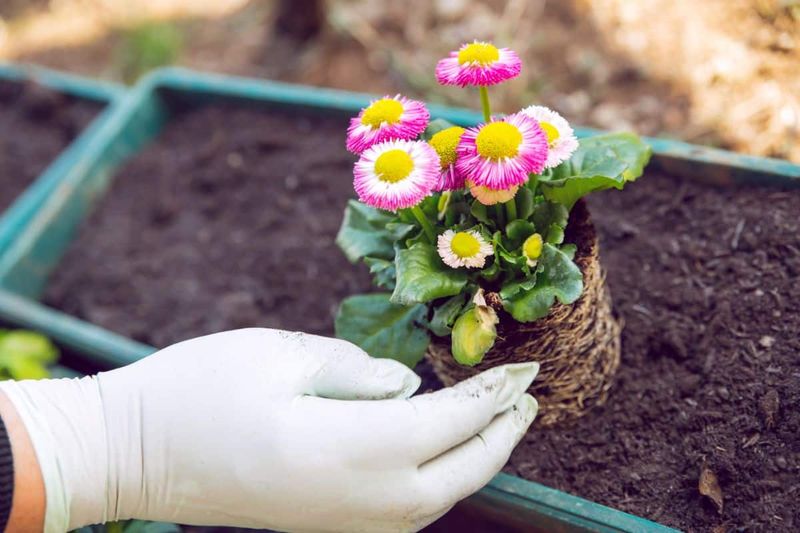
3. Tiny Seedling Support
New seedlings sometimes need a little help standing tall. A regular pencil provides the perfect gentle support for delicate stems without damaging them.
Just push it into the soil about an inch away from the plant stem. Use a small piece of soft garden twine to loosely tie the stem to the pencil.
When my tomato seedlings were looking leggy and starting to flop over, I used this technique to help them grow straight until they developed stronger stems. The wood naturally blends into the garden environment too.
4. Slug Deterrent Border
Create a protective barrier around vulnerable plants using pencil shavings. The sharp edges and cedar content in many pencils naturally repel slugs and snails who hate crawling over the rough texture.
Scatter a thick ring of fresh shavings around the base of hostas, lettuce, or other slug favorites. You’ll need to refresh the barrier after heavy rain when the shavings break down.
My hostas stayed hole-free all season after I started using this trick. As a bonus, the decomposing wood adds a small amount of nutrients to the soil over time.
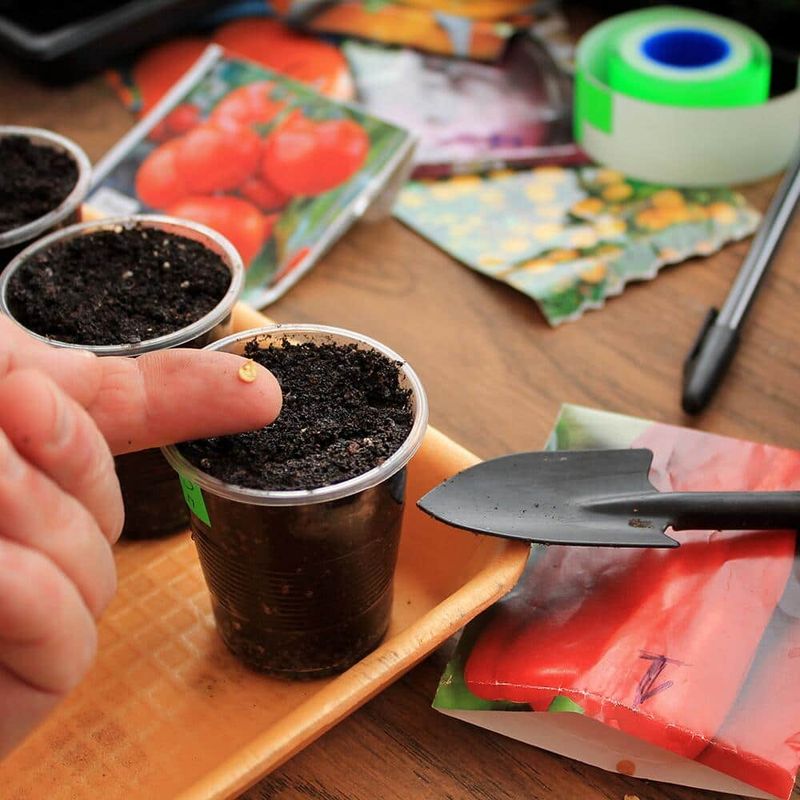
5. Seed Spacing Tool
Use a pencil to quickly create perfectly spaced seed holes in rows. The eraser end makes an ideal dimple for small seeds like carrots or radishes.
Mark your desired spacing on a piece of string first, then use it as a guide alongside your row. Press the pencil at each mark to create uniform depressions.
This method saved me so much time with my carrot planting. Instead of squinting at a ruler or eyeballing distances, I could focus on placing each seed precisely without wasting expensive seed packets.
6. Soil PH Tester Holder
Those inexpensive soil pH testing kits often come with flimsy sample tubes that tip over easily. A pencil with a rubber band can create a perfect holder for your test tube.
Simply attach the tube to the pencil with a rubber band, then stick the pencil into the ground near where you’re working. The sample stays upright while you prepare other tests.
I knocked over countless soil samples until I discovered this hack. Now I can test multiple garden areas quickly without spilling samples or losing track of which soil came from where.
7. Irrigation Hole Poker
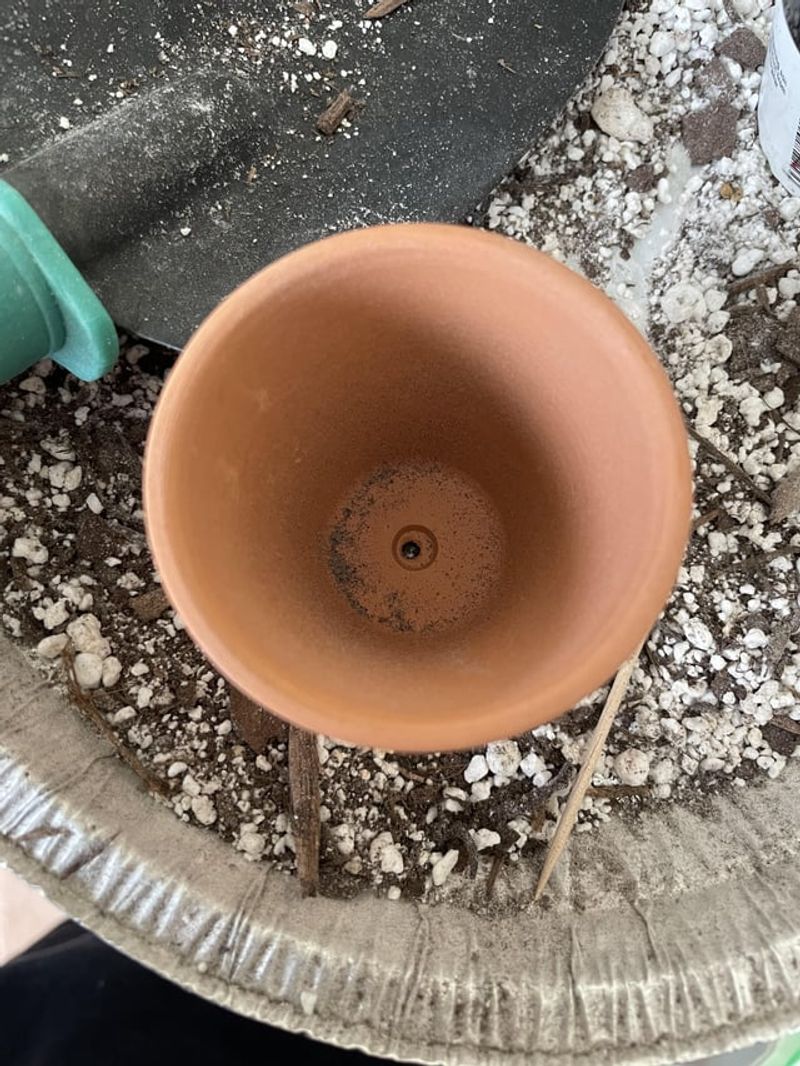
Create perfect drainage holes in the bottom of plastic pots or seedling trays using a sharpened pencil. The hexagonal shape provides good grip while twisting to make clean holes.
Heat the pencil tip briefly with a lighter for easier penetration through tougher plastics. Always work on a scrap board to protect your work surface.
During my container gardening phase, I ruined several pots with knives and scissors before discovering this method. The pencil creates smooth holes that don’t crack the surrounding plastic like other tools often do.
8. Bulb Planting Depth Guide
Different flowering bulbs need specific planting depths to thrive. Tape multiple pencils together to quickly measure proper depths for bulbs like tulips, daffodils, and crocuses.
Bind three pencils side-by-side with tape, creating a tool that’s about 3 inches wide – perfect for checking planting hole width too. Each pencil length equals about 7-8 inches, ideal for most spring bulbs.
After years of digging up and replanting improperly placed bulbs, this simple measuring stick has become essential in my fall planting routine. No more guesswork or rulers that get lost in the dirt!
9. Greenhouse Vent Prop
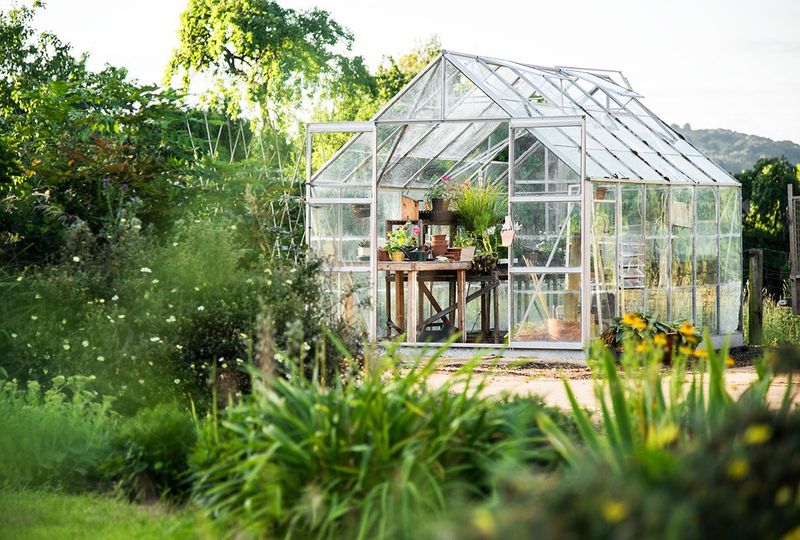
Keep greenhouse vents propped open at just the right angle using an ordinary pencil. The hexagonal shape prevents rolling, while the length provides perfect spacing for ventilation without letting too much heat escape.
For adjustable heights, use rubber bands or tape to mark different positions along the pencil. This creates a simple but effective temperature control system.
During unexpected temperature drops, I’ve appreciated being able to quickly adjust my greenhouse venting without hunting for specialized equipment. The pencil is always visible and never rusts or deteriorates like metal props.
10. Soil Moisture Tester
Check soil moisture levels quickly with a clean wooden pencil. The wood naturally absorbs moisture, giving you a visual indicator of soil conditions before watering.
Insert the pencil about 2-3 inches into the soil and leave it for 30 seconds. When removed, damp soil will darken the wood while dry soil leaves little residue.
This trick has saved countless plants in my container garden from both overwatering and drought. Unlike electronic meters that need batteries or calibration, this simple test works reliably year after year with any wooden pencil.
11. Seed Packet Closer
Keep partially used seed packets closed and moisture-free with a simple pencil clip. Roll the top of the packet down a few times, then slide a rubber band around it and secure with a pencil through the band.
The pencil acts as a toggle that prevents the rubber band from slipping off. Hang the packets from hooks or nails in your garden shed for easy organization.
My seed organization improved dramatically with this method. Previously, I’d find half-empty packets spilled throughout my garden tote, but now each variety stays neatly contained until the next planting session.
12. Drip Irrigation Hole Cleaner
Clear clogged drip irrigation emitters quickly using the pointed end of a pencil. The graphite tip is just the right size to gently clear mineral deposits without damaging the plastic components.
Twist gently while inserting to break up stubborn clogs. For preventative maintenance, clean emitters at the beginning and end of each growing season.
During a mid-summer heatwave, I saved my tomato crop by clearing dozens of clogged emitters with just a pencil. No special tools needed, and I could fix problems right in the garden without disassembling the entire system.
13. Garden Planner’s Best Friend
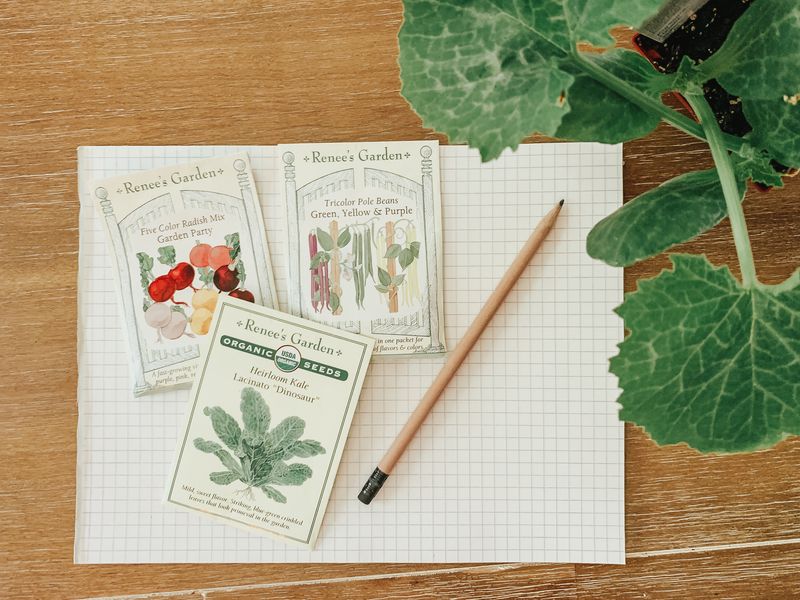
Sketch next season’s garden layout on graph paper with a pencil for easy revisions as plans change. The erasable nature of graphite is perfect for garden planning where spacing and companion planting need frequent adjustments.
Use different pencil pressures to indicate permanent features (press hard) versus experimental plantings (light touch). Color coding with colored pencils can track crop rotation or blooming times.
My garden journal contains five years of pencil-drawn layouts. Looking back, I can see how my designs evolved and which combinations worked best, with notes and corrections visible from each season’s learning experiences.
14. Twine Dispenser

Create a portable garden twine dispenser using a pencil and small ball of twine. Push the pencil through the center of the twine ball, leaving enough pencil exposed to hold comfortably.
The twine unwinds smoothly as you pull, while the pencil provides a handle and prevents tangling. When finished, simply twist the twine around the pencil to secure until next time.
I’ve tried fancy garden twine holders, but this simple hack outperforms them all. The pencil fits in any pocket, and I can quickly tie up tomato vines or secure plant labels without fighting with knots or tangles.
15. Gentle Seedling Separator
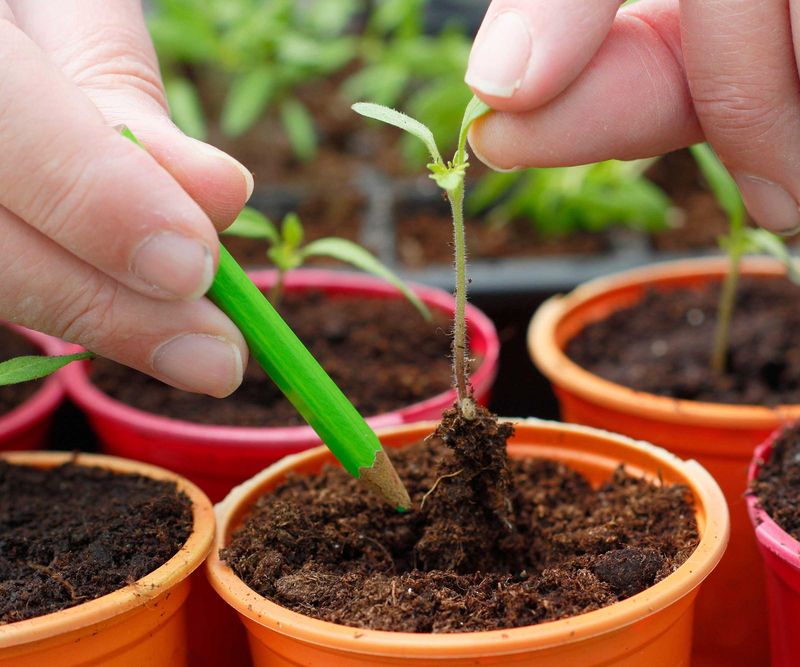
Separate delicate seedlings from seed trays without damaging roots by using a pencil as a miniature dibber. The eraser end gently loosens soil around each plant without cutting through important root structures.
Work from the edges of the cell, carefully circling each seedling to loosen the soil plug. Once loose, lift from underneath rather than pulling from the stem.
This technique revolutionized my transplant success rate with finicky plants like peppers and eggplants. Before using a pencil, I’d often tear roots or break stems, but now nearly every seedling survives the move to the garden.