Common Mistakes That Slowly Harm Alocasia Indoors In North Carolina Homes
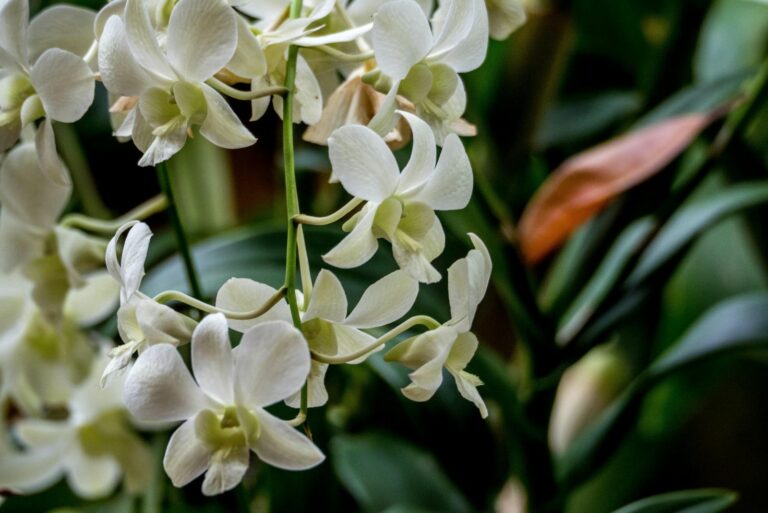
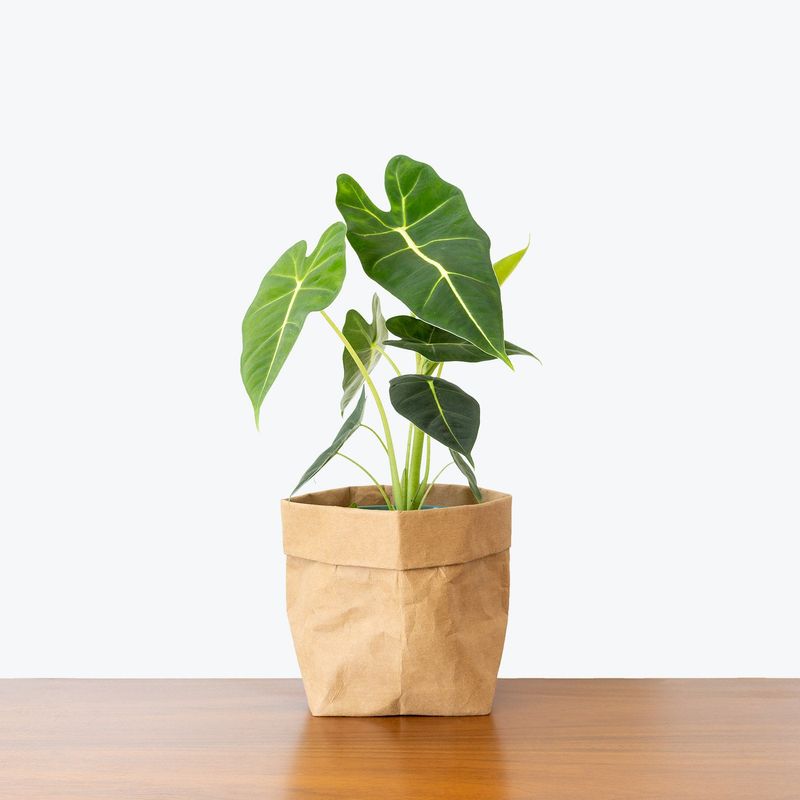
Alocasia plants instantly turn heads with their bold, arrow shaped leaves and lush tropical look, making them a favorite in many North Carolina homes. But behind that dramatic beauty is a plant that can be surprisingly sensitive.
A little too much water, dry indoor air, or the wrong light can slowly weaken your Alocasia without obvious warning at first. Many plant lovers think they are doing everything right, only to notice drooping leaves, fading color, or stalled growth weeks later.
The good news is Alocasia responds quickly when its needs are understood. With the right balance of light, humidity, warmth, and care, these striking plants can stay vibrant and healthy all year.
A few simple adjustments can transform a struggling plant into a lush, eye catching centerpiece that brings tropical energy and elegance into your indoor space every single day.
1. Providing Too Little Light
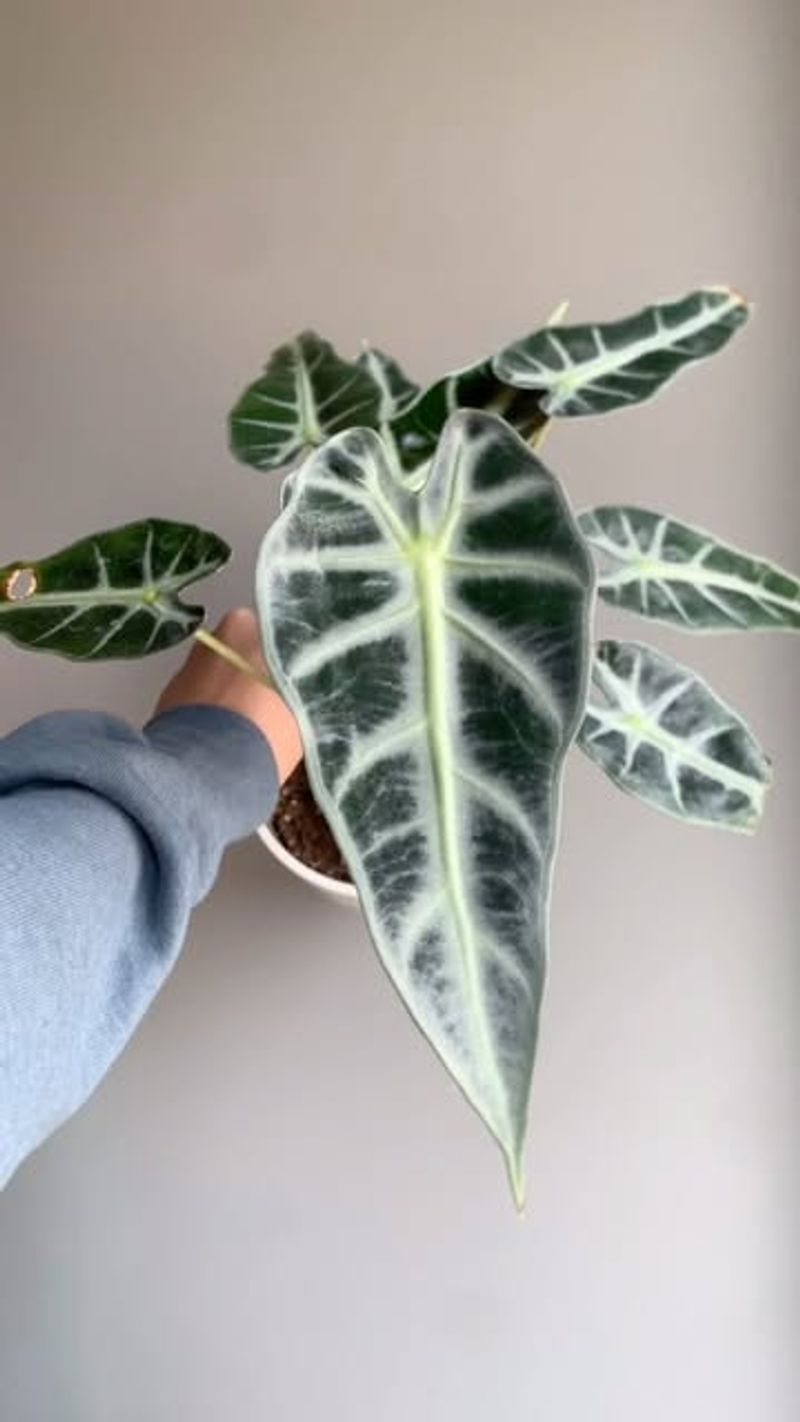
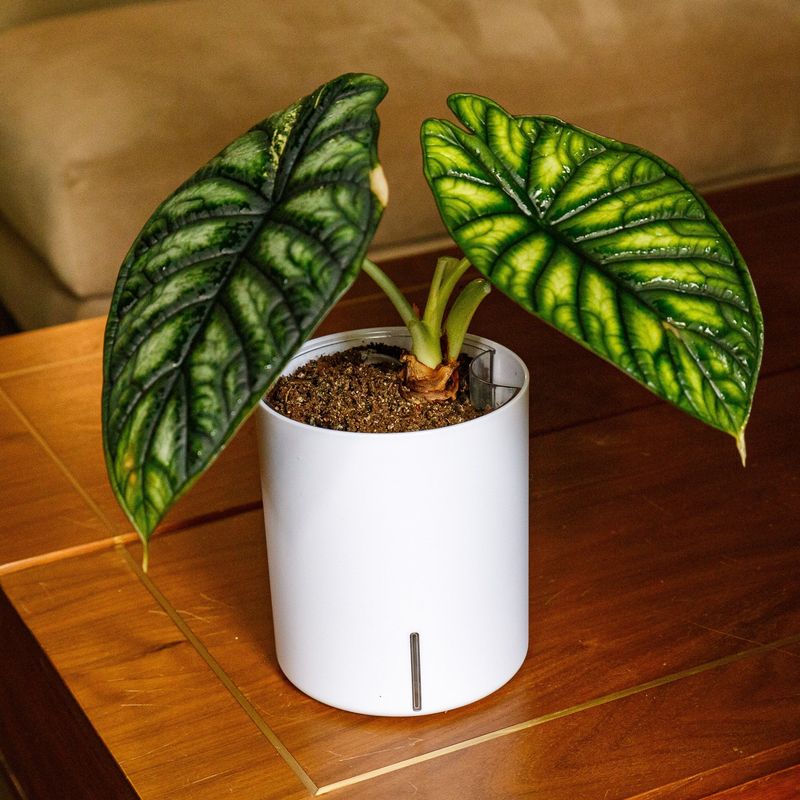
Light makes all the difference when growing Alocasia indoors. These tropical beauties evolved beneath rainforest canopies where bright, filtered sunlight reaches their leaves.
When placed in dim corners or rooms without adequate natural light, your plant struggles to perform photosynthesis effectively.
North Carolina homes often have varying light conditions depending on window placement and seasonal changes. During shorter winter days, even spots that seemed bright in summer may become too dark.
Your Alocasia will show its displeasure by producing smaller leaves, stretching toward the nearest light source, and developing a leggy appearance.
The leaves may also lose their vibrant coloration and distinctive patterns. Growth slows dramatically, and new leaves emerge pale or stunted.
Some varieties might stop producing new growth altogether when light levels drop too low.
Position your plant within three to five feet of an east or north-facing window for optimal results. South and west windows work too, but use sheer curtains to diffuse intense afternoon sun.
Rotate your container weekly so all sides receive equal exposure.
Consider supplementing natural light with grow lights during darker months. Full-spectrum LED bulbs placed twelve to eighteen inches above the foliage can make a remarkable difference.
Your Alocasia will reward proper lighting with robust growth, larger leaves, and that gorgeous tropical appearance you love.
2. Overwatering Soil
Water management challenges plague many indoor Alocasia owners across North Carolina. The temptation to water frequently often stems from good intentions, but constant moisture creates serious problems.
Roots require oxygen just as much as water, and soggy conditions suffocate them. When soil remains waterlogged, beneficial oxygen gets displaced by excess moisture. Roots begin deteriorating as anaerobic bacteria and fungi multiply rapidly.
These organisms attack weakened root tissue, causing rot that spreads upward through the plant.
Early warning signs include yellowing lower leaves, mushy stems near the soil line, and an unpleasant smell from the potting mix. The plant may suddenly wilt despite wet soil because damaged roots cannot absorb nutrients.
Black or brown mushy roots indicate advanced rot. Check soil moisture before watering by inserting your finger two inches deep. Water only when the top layer feels dry but the deeper soil retains slight dampness.
Empty saucers after watering so roots never sit in standing water. Adjust watering frequency based on temperature, humidity, and light levels. During cooler months, your Alocasia needs less frequent watering.
Use pots with drainage holes and ensure excess water flows freely. Well-draining soil combined with proper watering intervals keeps roots healthy and prevents the devastating effects of overwatering.
3. Letting Soil Dry Out Completely
Finding the moisture balance for Alocasia can feel tricky at first. While overwatering causes problems, allowing soil to become bone-dry creates equally serious stress.
These plants naturally grow in environments where moisture remains relatively consistent throughout the year.
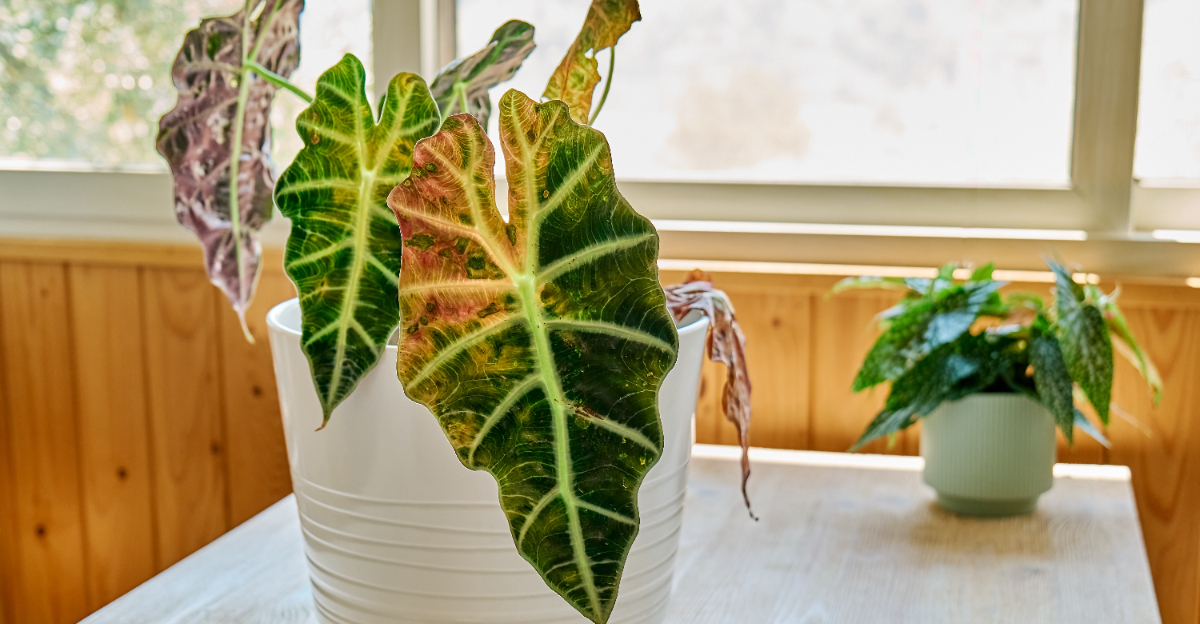
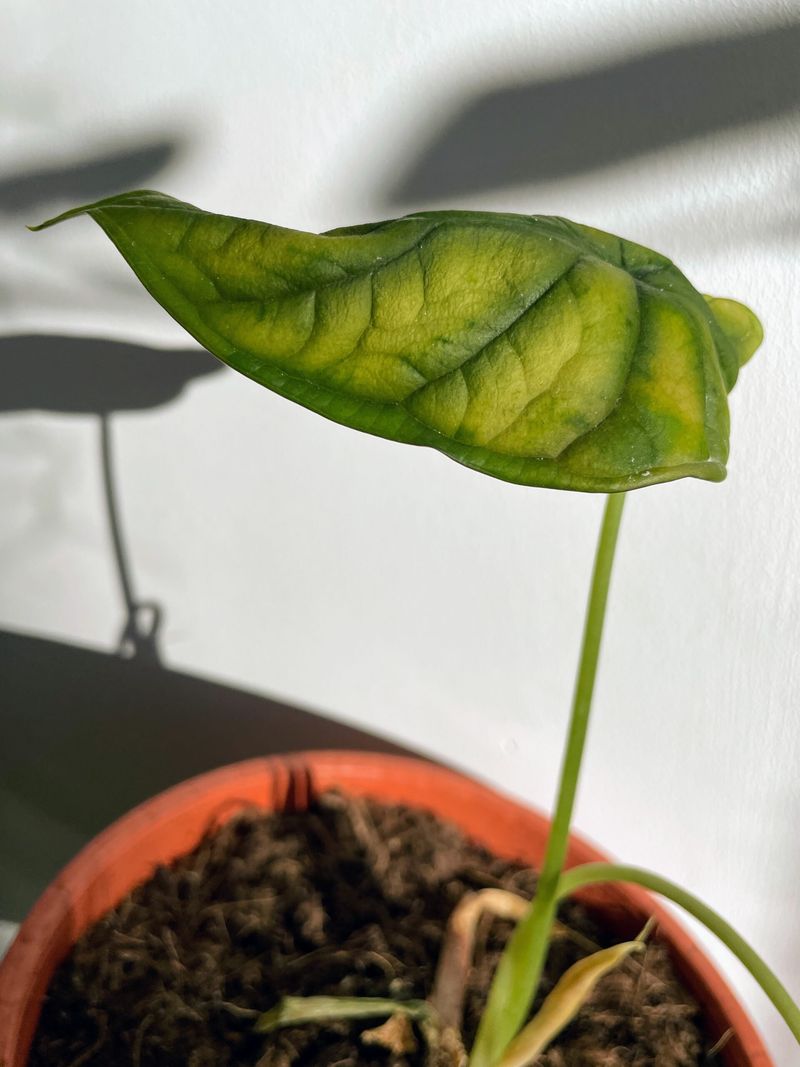
Completely dried soil causes immediate stress responses. Leaves begin curling inward to conserve moisture, and edges turn crispy brown. The plant redirects energy away from new growth to preserve existing foliage.
Extended drought periods force your Alocasia into survival mode. Lower leaves may yellow and drop as the plant sacrifices them to conserve resources. New leaves emerge smaller and weaker than they should be.
North Carolina homes with central heating during winter create particularly dry conditions. Air conditioning in summer also reduces humidity and accelerates soil drying. Monitor your plant more closely during these seasons.
Establish a consistent watering routine based on your specific conditions. Insert a wooden skewer into the soil to check moisture levels at root depth.
Water thoroughly when the top two inches feel dry but before the entire root ball dries completely.
Consider using moisture-retentive amendments like coco coir or peat moss in your potting mix. These materials hold water while still allowing proper drainage.
Mulching the soil surface with bark chips also slows evaporation and maintains more even moisture levels throughout the container.
4. Placing Near Cold Drafts Or Air Conditioners
Temperature sensitivity ranks among the most overlooked aspects of Alocasia care. These tropical natives thrive in warm, stable environments and react poorly to sudden temperature fluctuations.
Cold drafts from windows, doors, or cooling vents create invisible stress zones.
North Carolina experiences significant temperature swings between seasons. Winter drafts from poorly insulated windows can drop temperatures dramatically in localized areas.
Air conditioning units during humid summers create similar cold pockets.
Exposure to temperatures below sixty degrees Fahrenheit triggers stress responses. Leaves may develop dark spots or translucent patches.
Growth slows noticeably, and the plant may enter premature dormancy. Cold stress weakens your plant’s natural defenses against pests and diseases. Damaged tissue becomes vulnerable to fungal infections.
Repeated exposure causes cumulative damage that may not be immediately obvious. Map temperature zones throughout your home using a thermometer. Identify areas where cold air flows directly onto plants.
Move your Alocasia away from air conditioning vents, exterior doors, and drafty windows.
Maintain consistent temperatures between sixty-five and eighty degrees Fahrenheit. Avoid placing plants on cold windowsills during winter months.
Use weather stripping to seal drafty areas, and consider thermal curtains for added insulation. Your Alocasia will maintain better health and vigor when protected from temperature extremes and sudden cold exposure throughout the year.
5. Low Humidity Environments
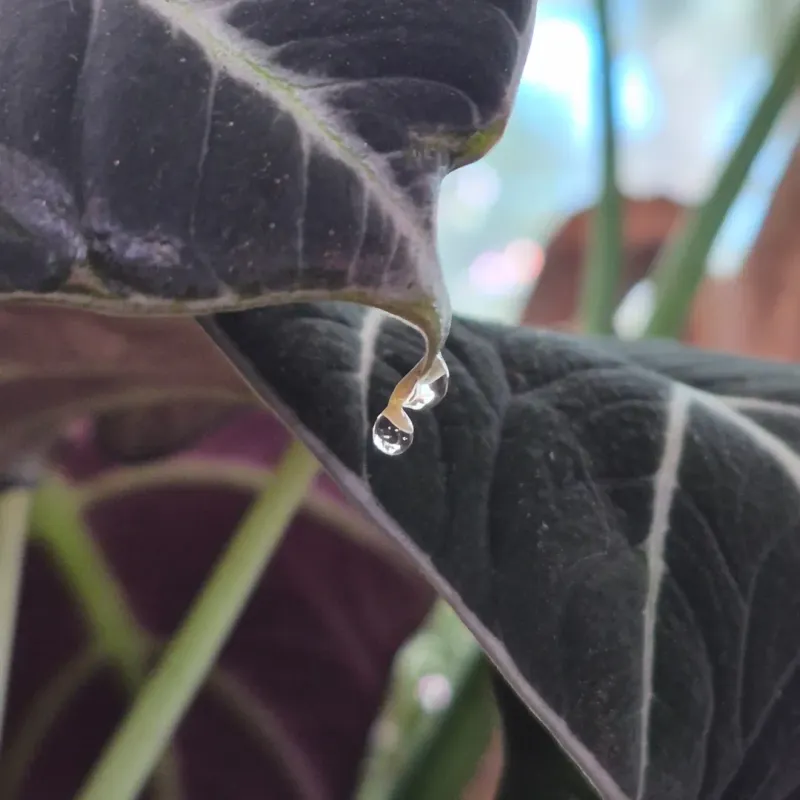
Humidity levels dramatically affect Alocasia health in ways many growers underestimate. These rainforest natives evolved in environments where moisture saturates the air.
North Carolina homes, especially during winter heating and summer air conditioning, often provide humidity levels far below what these plants prefer.
Dry air causes moisture to evaporate rapidly from leaf surfaces. The plant struggles to replace lost water fast enough through its roots.
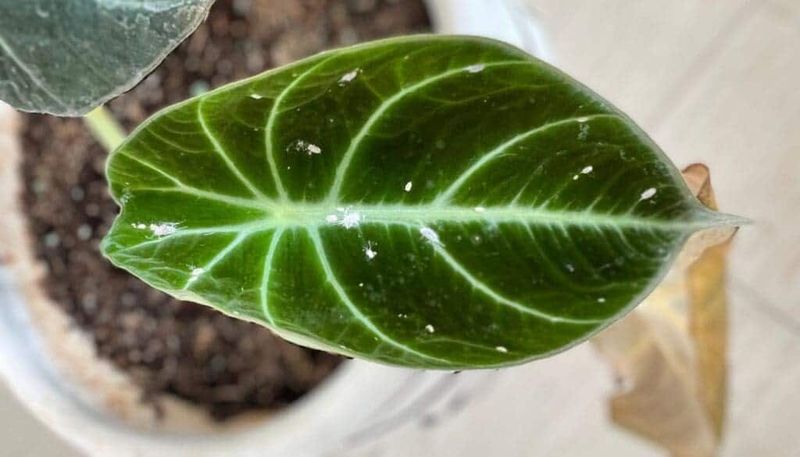
Leaf edges turn brown and crispy, starting at the tips and progressing inward. Low humidity also makes plants more susceptible to spider mite infestations. These tiny pests thrive in dry conditions and can quickly colonize stressed foliage.
Your Alocasia may develop stippled, yellowing leaves as mites feed on plant cells. Aim for humidity levels between fifty and seventy percent for optimal results. Use a digital hygrometer to monitor conditions near your plant.
Group multiple houseplants together to create a microclimate with higher local humidity. Pebble trays filled with water beneath containers provide gentle humidity boosts. Place stones in shallow trays, add water just below the stone surface, and set pots on top.
Evaporating water increases surrounding moisture without waterlogging roots. Room humidifiers offer the most reliable solution for maintaining consistent humidity. Position them near your Alocasia but not directly on the plant.
Regular misting provides temporary relief but is less effective than sustained humidity improvements.
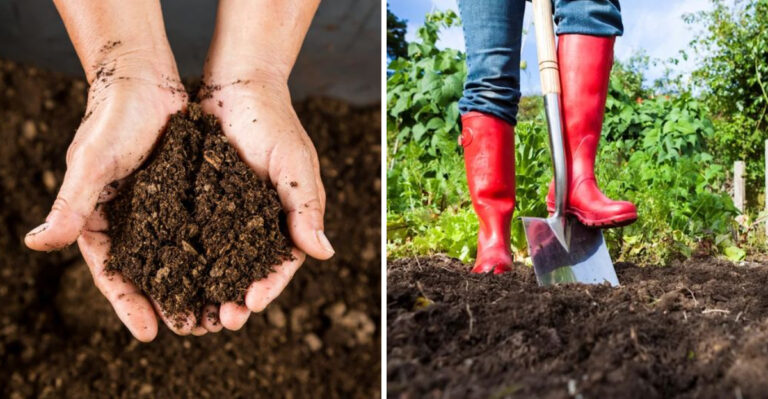
6. Using Poorly Draining Soil Mix
Soil composition forms the foundation of successful Alocasia care. Many growers make the mistake of using standard potting soil straight from the bag.
While convenient, these mixes often hold too much moisture for Alocasia roots, which need both water and oxygen.
Heavy, compacted soil creates anaerobic conditions where roots suffocate. Water pools in dense soil rather than draining freely through the container.
This environment encourages root rot and fungal diseases. Clay-based or garden soil should never be used for container-grown Alocasia. These materials compress over time, eliminating air pockets essential for healthy root function.
Roots cannot penetrate dense soil effectively, limiting growth potential. Create an ideal mix by combining quality ingredients. Start with peat-based or coco coir potting soil as your base.
Add perlite or pumice at a ratio of one part amendment to two parts soil. Orchid bark chips improve drainage while adding organic matter. Mix in about fifteen percent by volume.
Some growers also include coarse sand or fine gravel for additional drainage. The finished mix should feel light and fluffy when squeezed. Water should flow through quickly when poured, not pooling on the surface.
Soil should retain some moisture but never feel soggy or waterlogged.
Refresh your soil mix annually or when it begins breaking down and compacting. Proper soil structure prevents countless problems and keeps roots healthy, supporting vigorous growth and beautiful foliage throughout the growing season.
7. Fertilizing Too Frequently Or Too Strongly
Nutrient management requires a balanced approach that many enthusiastic growers overlook. The belief that more fertilizer equals faster growth leads to serious problems.
Alocasia plants need nutrients, but excess salts from overfertilization accumulate in soil and damage delicate roots.
Chemical fertilizers contain concentrated mineral salts. When applied too frequently or at excessive strength, these salts build up around roots.
The osmotic imbalance draws moisture out of root cells, causing fertilizer burn.
Symptoms appear gradually as leaf edges turn brown and crispy. New growth emerges distorted or stunted.
A white crust may form on the soil surface, indicating salt accumulation.
North Carolina tap water often contains dissolved minerals that contribute to salt buildup. Combined with frequent fertilization, this creates a hostile root environment.
Damaged roots cannot absorb water or nutrients effectively, regardless of availability.
Feed your Alocasia every four to six weeks during active growth from spring through early fall. Use a balanced liquid fertilizer diluted to half the recommended strength.
Less is genuinely more with these sensitive plants.
Flush containers monthly by running water through the soil until it drains freely from the bottom. This leaching process removes accumulated salts.
Skip fertilizing entirely during winter dormancy when growth naturally slows.
Organic options like diluted compost tea provide gentle nutrition without salt buildup. Whatever fertilizer you choose, consistent moderate feeding produces healthier results than sporadic heavy applications.
8. Ignoring Pest Infestations
Pest problems start small but escalate quickly when left unaddressed. Indoor environments provide ideal conditions for certain insects that feed on Alocasia foliage.
Spider mites, mealybugs, and aphids top the list of common invaders in North Carolina homes.
Spider mites thrive in dry conditions and reproduce rapidly. These microscopic pests create fine webbing between leaves and stems.
Infested foliage develops yellow stippling and eventually turns brown. Mealybugs appear as white cottony masses in leaf axils and along stems. They secrete sticky honeydew that attracts sooty mold.
These sap-sucking insects weaken plants and spread diseases. Aphids cluster on new growth, causing leaves to curl and distort. They also produce honeydew and multiply explosively under favorable conditions.
Regular inspection catches infestations before they become severe.
Check your Alocasia weekly, examining both leaf surfaces and stems. Look for unusual spots, webbing, sticky residue, or visible insects.
Early detection makes treatment much easier and more effective.
Isolate infested plants immediately to prevent pests from spreading. Spray affected foliage with insecticidal soap or neem oil solution.
Repeat treatments every five to seven days for three weeks.
Increase humidity to discourage spider mites. Wipe leaves regularly with damp cloths to remove pests and eggs.
Systemic treatments provide longer-lasting protection for severe infestations. Maintaining plant health through proper care creates natural pest resistance and reduces vulnerability to damaging insect populations.
9. Keeping The Plant In One Spot
Stationary placement seems convenient but creates growth problems over time. Plants naturally grow toward their primary light source through a process called phototropism.
When your Alocasia remains in one position, stems and leaves lean increasingly toward the brightest window.
This directional growth produces an unbalanced, lopsided appearance. One side develops fuller foliage while the shaded side produces smaller, weaker leaves.
The plant expends extra energy stretching toward light rather than growing evenly. Uneven growth also affects structural stability. Heavy foliage on one side can cause containers to become top-heavy and tip over.
The plant’s center of gravity shifts, creating an awkward, unstable form. North Carolina homes typically have primary light sources from specific windows. Without rotation, the sides facing away from windows receive significantly less light exposure.
This creates pronounced differences in leaf size and color intensity. Rotate your Alocasia container one-quarter turn every week. This simple practice ensures all sides receive equal light exposure over time.
Mark your pot with a piece of tape to track rotation direction. Consistent rotation produces symmetrical growth with evenly distributed foliage. The plant maintains better structural balance and develops a more attractive form.
Leaves emerge uniformly around the stem rather than clustering on one side. Make rotation part of your regular maintenance routine. Combine it with watering or inspection tasks so you remember consistently.
Your Alocasia will develop into a beautifully balanced specimen with proper attention to positioning.
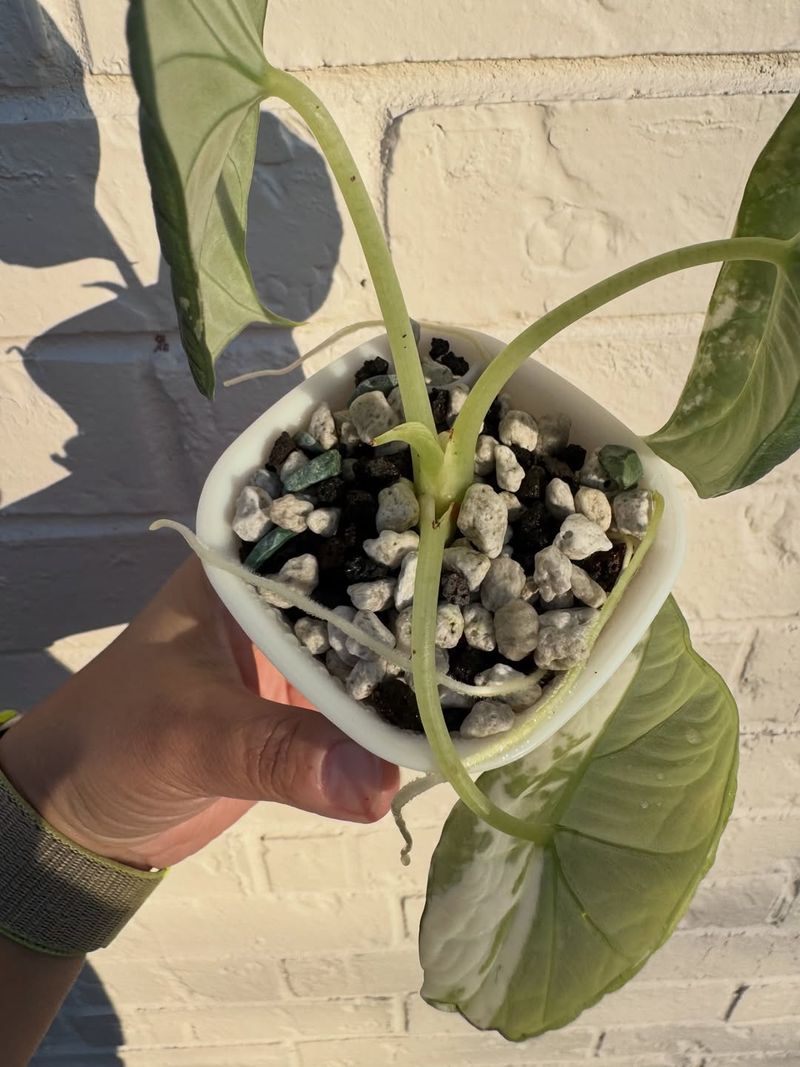
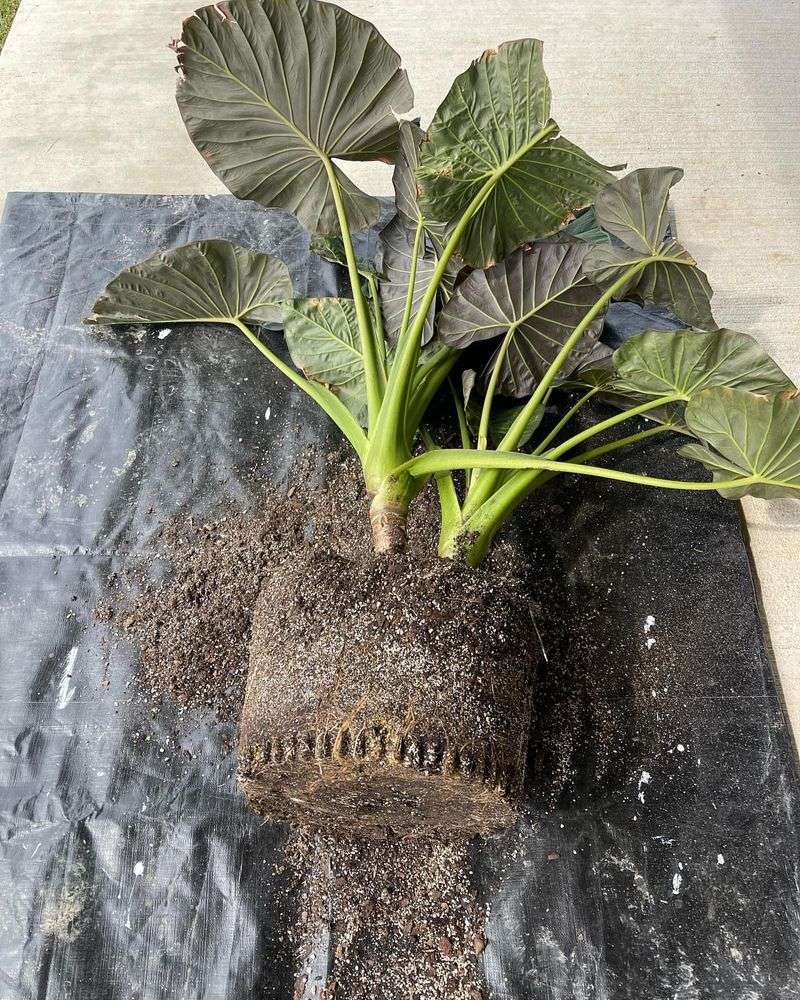
10. Using Too Large Or Too Small Containers
Container size affects root health more than most people realize. The relationship between pot size and root volume influences water retention, nutrient availability, and overall plant vigor.
Both extremes create distinct problems that slowly compromise your Alocasia.
Oversized containers hold excessive soil volume relative to root mass. After watering, the outer soil remains wet for extended periods because roots cannot absorb moisture from areas they have not colonized.
This creates persistently damp conditions that encourage root rot.
Large pots also make it difficult to judge watering needs accurately. The soil surface may appear dry while deeper layers remain saturated.
Roots suffer from inadequate oxygen in waterlogged lower zones.
Undersized containers present opposite challenges. Roots become crowded and circled, unable to expand properly.
The limited soil volume dries out rapidly and provides insufficient nutrients. Plants become rootbound and growth stalls.
Cramped roots also make plants more susceptible to stress. Water and fertilizer pass quickly through small containers without adequate absorption.
Your Alocasia may require frequent watering but still show signs of stress.
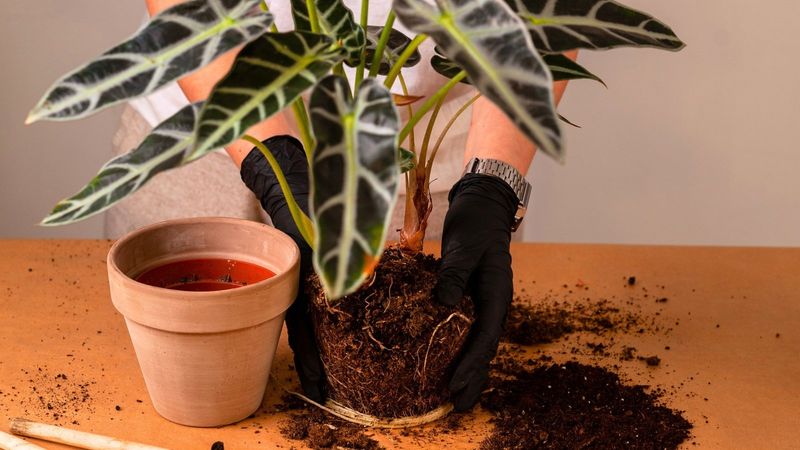
Choose containers approximately two inches larger in diameter than the current root ball. This provides room for growth without excessive extra soil.
Ensure pots have adequate drainage holes regardless of size.
Repot when roots begin circling the container or emerging from drainage holes. Spring offers the best timing for transplanting.
Proper container sizing supports healthy root development and maintains optimal moisture balance throughout the growing season.
11. Ignoring Dormancy Needs

Seasonal growth cycles perplex many indoor gardeners who expect consistent year-round performance. Alocasia plants naturally experience dormancy periods, typically during cooler months with reduced light.
Recognizing and respecting this cycle prevents stress and supports long-term health.
As daylight decreases and temperatures drop in North Carolina homes, your Alocasia receives environmental signals to slow down. Growth naturally decelerates, and the plant conserves energy.
Some varieties may drop lower leaves during this rest period.
Continuing summer care routines during dormancy creates problems. Heavy watering when growth has slowed leads to root rot.
Fertilizing dormant plants forces unnatural growth that weakens the overall structure.
The plant cannot utilize nutrients or water at the same rate when metabolic processes slow. Excess moisture and fertilizer accumulate in soil, creating toxic conditions.
Stressed plants become vulnerable to diseases and pest infestations.
Reduce watering frequency during late fall and winter months. Allow soil to dry slightly more between waterings than during active growth.
Stop fertilizing completely from November through February.
Maintain adequate warmth and humidity even during dormancy. Cool temperatures are acceptable, but avoid cold drafts and temperatures below sixty degrees.
Reduced care does not mean neglect.
Watch for signs of renewed growth in early spring as days lengthen. New shoots emerging from the soil indicate dormancy is ending.
Gradually resume normal watering and begin fertilizing again. Understanding natural cycles helps you provide appropriate care year-round, supporting your plant’s health through all seasons.