10 Common Peace Lily Problems And Smart Ways North Carolina Gardeners Fix Them

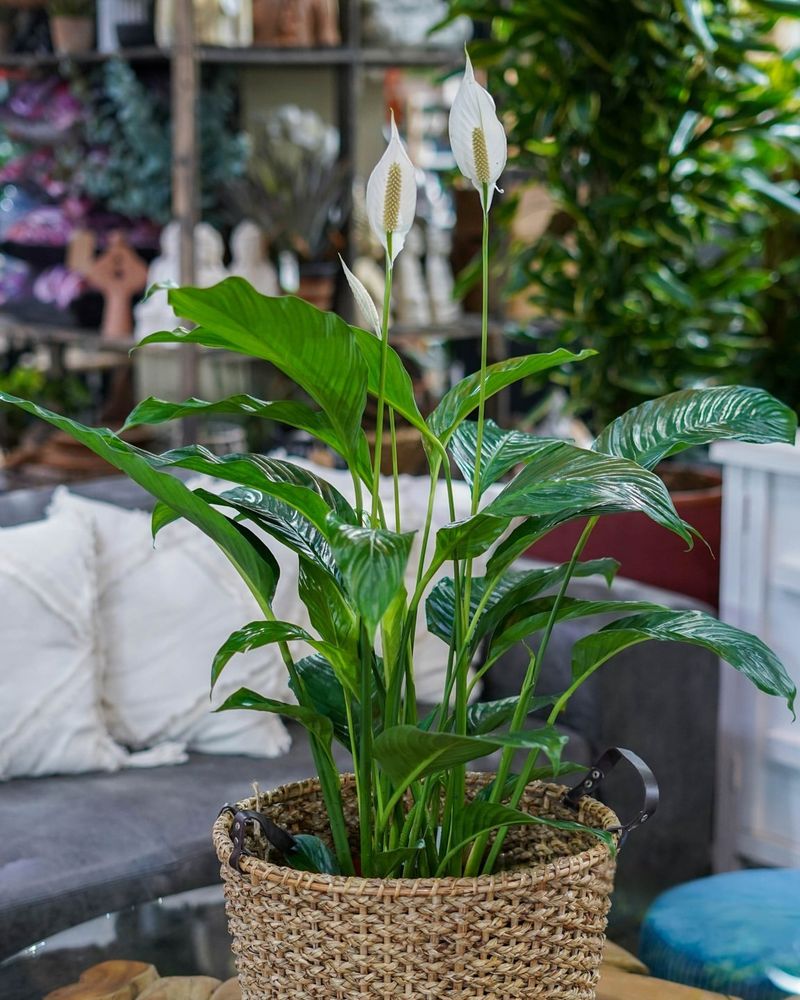
Peace lilies may look calm and elegant, but any North Carolina plant lover knows they can be a little dramatic. One day they are standing tall and glossy, the next they are drooping like they just heard bad news.
Between our humid summers, dry indoor air in winter, and the occasional overwatering accident, it is easy for these popular houseplants to run into trouble. The good news is most peace lily problems are not mysterious or permanent.
With a few smart tweaks and simple habits, you can bring yours back to life fast. Whether you are dealing with yellow leaves, stubborn blooms that refuse to show up, or soil that never seems quite right, there is a fix that actually works.
Let’s break down the most common peace lily issues North Carolina gardeners face and the practical solutions that keep these beautiful plants happy, healthy, and thriving year-round.
1. Browning Leaf Tips
Crispy brown edges on your peace lily leaves signal that something needs adjustment. North Carolina’s indoor heating systems during winter create surprisingly dry conditions.
Your plant craves more moisture in the air around it. Low humidity combined with mineral buildup from tap water creates this frustrating problem.
The leaf tips turn brown and papery over time. You might also notice this happening when fertilizer salts accumulate in the soil.
Misting your peace lily several times weekly helps restore needed humidity levels. Place a shallow tray filled with pebbles and water beneath the pot.
Group plants together to create a more humid microenvironment naturally. Flush the soil thoroughly every few months to remove built-up salts.
Let water run through the pot for several minutes, then drain completely. Switch to filtered or distilled water if your tap water contains high mineral content.
Trim away brown tips with clean scissors at an angle for appearance. Maintain consistent watering schedules to prevent stress on your plant. Your peace lily will reward you with pristine green foliage when conditions improve.
2. Yellowing Leaves

Yellow leaves appearing on your peace lily often point to watering issues. Too much water suffocates the roots and prevents proper nutrient absorption.
The leaves lose their vibrant green color and fade to pale yellow. North Carolina gardeners sometimes overcompensate during humid summer months with excessive watering.
Soggy soil creates oxygen-poor conditions that stress the entire plant. Check if your pot has adequate drainage holes at the bottom.
Feel the soil with your finger before adding more water each time. The top inch should feel dry to the touch between waterings.
Peace lilies prefer slightly moist soil but never waterlogged conditions. Remove yellow leaves by cutting them at the base with sterile scissors.
This redirects energy toward healthy growth and improves overall appearance. Adjust your watering schedule based on seasonal temperature changes and humidity levels.
Consider repotting if the soil stays wet for extended periods despite proper watering. Use a well-draining potting mix designed for tropical houseplants.
Your peace lily will bounce back with proper moisture management and attention to drainage needs.
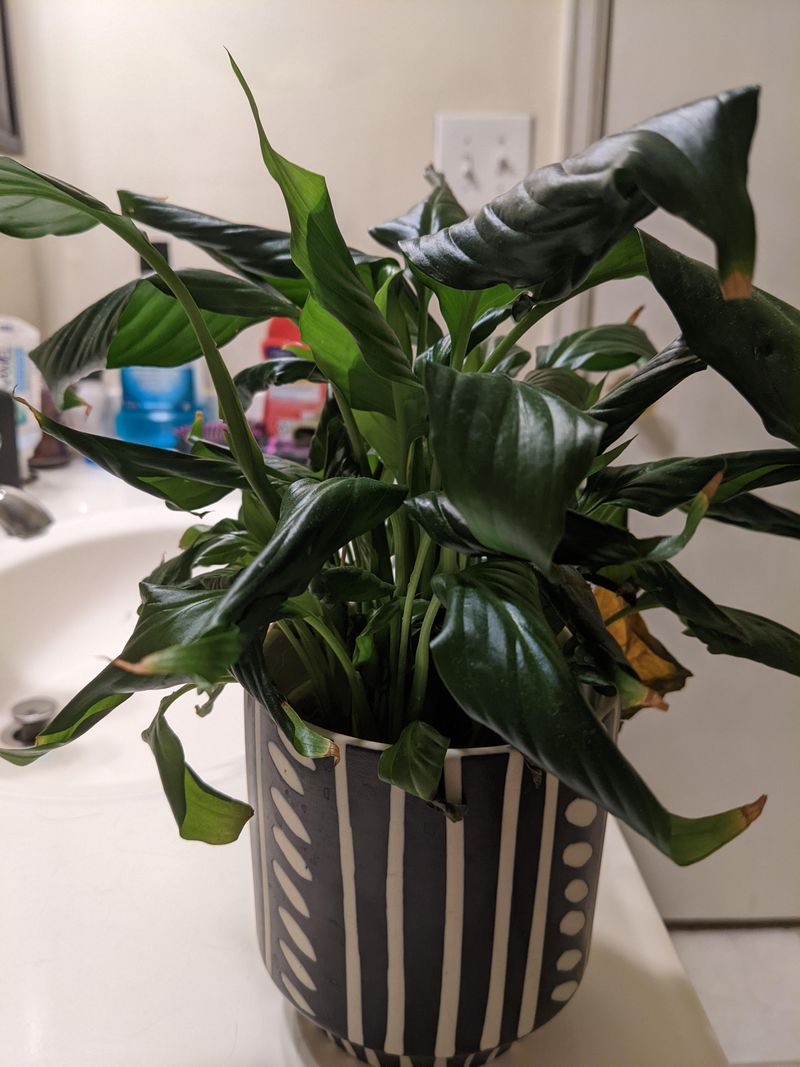
3. Drooping Leaves
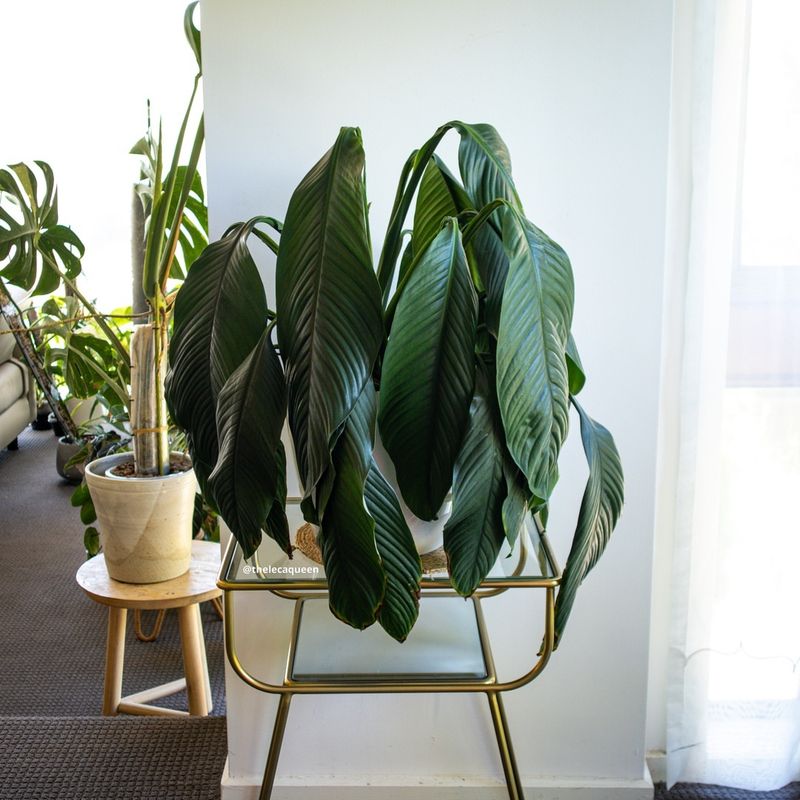
Watching your peace lily droop dramatically can feel alarming at first glance. These plants communicate their water needs through obvious wilting and sagging leaves.
Both underwatering and overwatering cause this distinctive drooping appearance, though for different reasons. Thirsty peace lilies droop because cells lose turgor pressure without adequate moisture.
The leaves hang limply and the entire plant looks exhausted. Fortunately, this type of drooping reverses quickly once you provide water.
Overwatered plants also droop but the soil feels constantly wet and heavy. The roots struggle in waterlogged conditions and cannot support healthy foliage.
This situation requires more careful intervention than simple underwatering. Check soil moisture immediately when you notice drooping to identify the cause.
Dry soil needs thorough watering until water drains from the bottom holes. Wet soil requires time to dry out before the next watering cycle.
Establish a regular schedule based on your home’s specific conditions and seasons. North Carolina’s varying humidity levels throughout the year affect how quickly soil dries. Your peace lily will perk up within hours when you address its moisture needs correctly.
4. Slow Growth
Patience runs thin when your peace lily seems frozen in time. Slow growth frustrates North Carolina gardeners who expect lush tropical development.
Several factors contribute to this sluggish progress throughout the growing season. Insufficient light ranks as the primary culprit behind stunted peace lily growth.
These plants need bright, indirect sunlight to fuel photosynthesis and leaf production. Dark corners and windowless rooms simply cannot support vigorous development.
Nutrient-depleted soil also slows growth as plants exhaust available minerals over time. Peace lilies growing in the same pot for years lack essential elements.
They produce smaller leaves and rarely develop those elegant white flower spathes. Relocate your plant to a brighter spot away from direct sun rays.
East or north-facing windows provide ideal lighting conditions in most homes. Notice how growth accelerates when your plant receives proper illumination daily.
Feed your peace lily with diluted balanced fertilizer once monthly during spring and summer. Use half the recommended strength to avoid overwhelming the roots with nutrients.
Fresh potting soil every couple years replenishes minerals and encourages robust growth patterns throughout each season.
5. Faded Or Lack Of Blooms
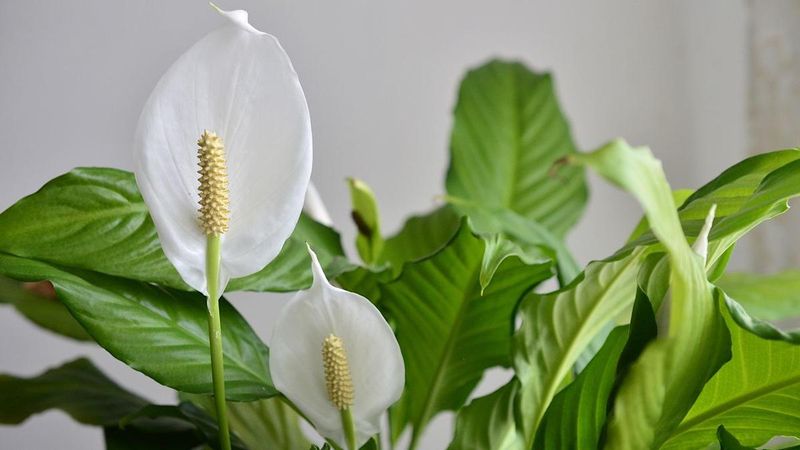
Those stunning white blooms make peace lilies truly special among houseplants. Disappointment sets in when months pass without any flowering activity.
Your plant stays green and healthy but refuses to produce those elegant spathes. Inadequate lighting prevents peace lilies from initiating their blooming cycle naturally.
They need sufficient brightness to trigger flower development and maintain blooms. Stress from inconsistent care also disrupts the flowering process significantly.
Mature plants bloom more reliably than young specimens still establishing root systems. Age matters when expecting regular flowering from your peace lily.
Some varieties bloom more prolifically than others based on their genetics. Move your plant to the brightest indirect light available in your home.
Windows with sheer curtains provide perfect filtered sunlight without causing leaf damage. Consistent watering and feeding create optimal conditions for bloom production.
Remove faded flower stalks by cutting them at the base once they turn green. This pruning encourages the plant to redirect energy toward new bloom development.
North Carolina’s natural light cycles support blooming primarily during spring and summer months when days lengthen considerably.
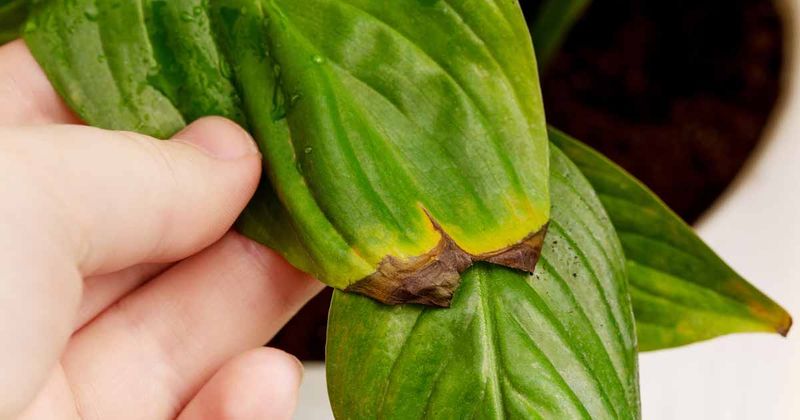
6. Brown Patches On Leaves
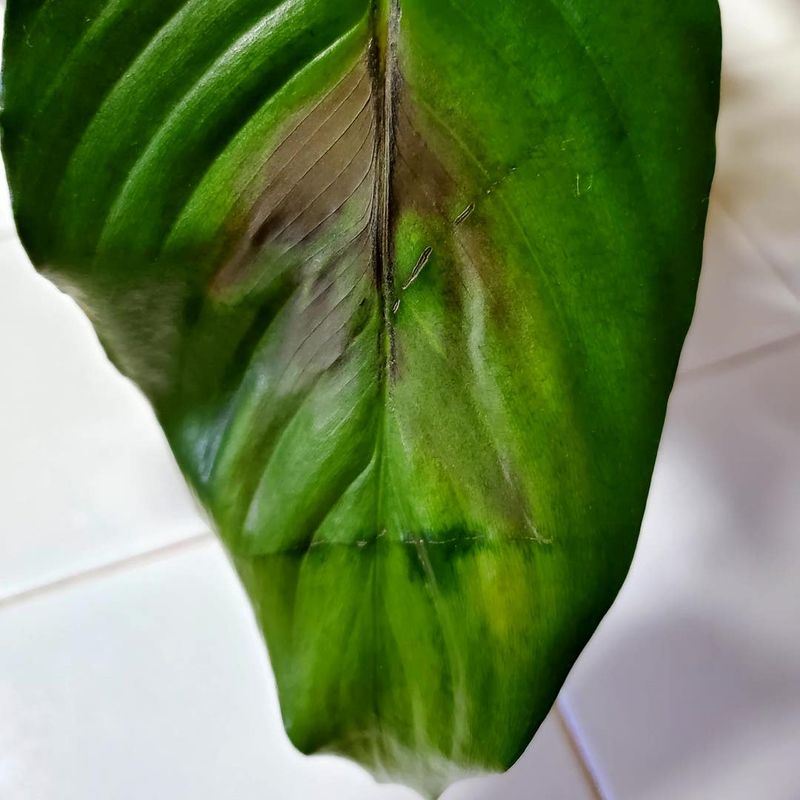
Unsightly brown patches appearing on peace lily leaves indicate environmental stress quickly. These discolored areas differ from tip browning with their irregular shapes and locations.
Sunburn and temperature fluctuations cause this distinctive leaf damage pattern. Direct sunlight streaming through windows scorches delicate peace lily foliage within hours.
The intense rays literally cook the leaf tissue, creating permanent brown spots. South and west-facing windows pose the greatest risk during North Carolina’s bright afternoons.
Sudden temperature drops from air conditioning vents or drafty windows also damage leaves. Peace lilies prefer stable warmth and dislike cold air blasting their foliage.
The stress manifests as brown patches that spread across affected leaves. Relocate your plant away from direct sun exposure to prevent further damage.
Sheer curtains or moving back from windows provides adequate protection while maintaining brightness. Monitor temperature consistency around your plant’s location throughout each day.
Trim severely damaged leaves to improve appearance and redirect plant energy appropriately. Brown patches will not turn green again once tissue becomes damaged.
Your peace lily will produce healthy new growth when environmental conditions stabilize and remain consistent year-round.
7. Root Rot
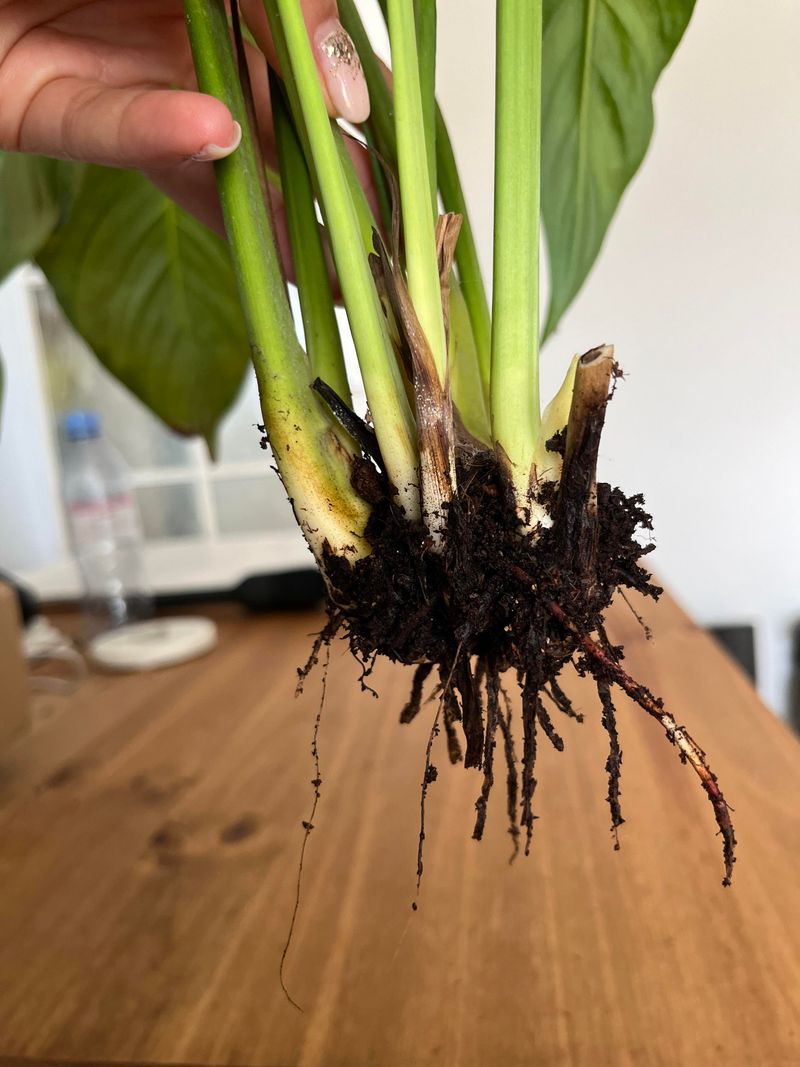
Root rot represents one of the most serious threats to peace lily health. This condition develops silently beneath the soil surface before visible symptoms appear.
Mushy, darkened roots cannot absorb water or nutrients effectively for the plant. Excessive watering combined with poor drainage creates perfect conditions for root rot fungi.
The roots essentially drown in oxygen-deprived soil that stays constantly saturated. A foul odor from the soil often accompanies this underground problem.
Yellowing leaves, wilting despite wet soil, and stunted growth signal potential root issues. You must act quickly once you suspect root rot has developed.
Delayed intervention often results in losing the entire plant to this condition. Remove your peace lily from its pot and examine the root system carefully.
Healthy roots appear white or light tan and feel firm to touch. Trim away any brown, mushy, or foul-smelling roots with sterilized scissors completely.
Repot in fresh, well-draining potting mix specifically formulated for houseplants or tropical species. Ensure the new container has multiple drainage holes at the bottom.
Water sparingly until your plant shows signs of recovery and begins producing new healthy growth again.
8. Pests Like Spider Mites, Mealybugs, And Aphids
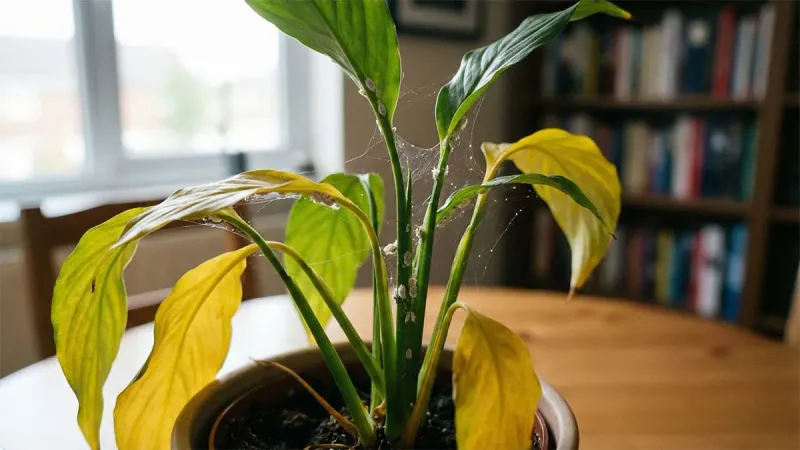
Discovering tiny invaders on your peace lily leaves creates immediate concern for plant health. Spider mites, mealybugs, and aphids commonly attack stressed houseplants throughout North Carolina homes.
These pests multiply rapidly when conditions favor their development and spread. Dry indoor air during winter heating season makes peace lilies vulnerable to infestations.
Spider mites thrive in low humidity and create fine webbing between leaves. Mealybugs appear as white cottony clusters along stems and leaf joints stubbornly.
Aphids congregate on new growth and flower stalks, sucking plant juices greedily. All these pests weaken your peace lily and cause distorted, yellowing foliage.
Early detection makes treatment much more successful and less intensive overall. Inspect your plant regularly by checking undersides of leaves and stem crevices carefully.
Wipe leaves with a damp cloth to remove pests physically before they spread. Increase humidity around your plant to discourage spider mite populations naturally.
Spray affected areas with insecticidal soap following product directions for houseplants specifically. Repeat treatments weekly until you see no signs of pest activity.
Isolate infested plants from your other houseplants to prevent pest migration throughout your collection.
9. Leaf Curling
Curling leaves on your peace lily signal environmental discomfort that needs addressing promptly. The foliage rolls inward or curves downward in response to specific stressors.
This protective mechanism helps the plant reduce moisture loss through leaf surfaces. Low humidity levels in North Carolina homes during winter cause persistent leaf curling.
Dry air pulls moisture from leaves faster than roots can replace it. Underwatering compounds this problem by limiting available water for the entire plant.
Cold drafts from windows or air conditioning also trigger leaves to curl protectively. Peace lilies prefer stable temperatures between 65 and 80 degrees consistently.
Sudden temperature swings stress the plant and affect normal leaf development patterns. Increase ambient humidity by misting leaves daily with room-temperature water in a spray bottle.
Place your peace lily on a humidity tray filled with water and pebbles. Group multiple houseplants together to create a more humid microclimate naturally.
Maintain consistent watering practices by checking soil moisture regularly before adding water. Avoid placing your plant near heating vents, air conditioners, or drafty exterior doors.
Your peace lily’s leaves will unfurl and flatten once environmental conditions improve and stabilize properly.
10. Soil Odor Or Fungus
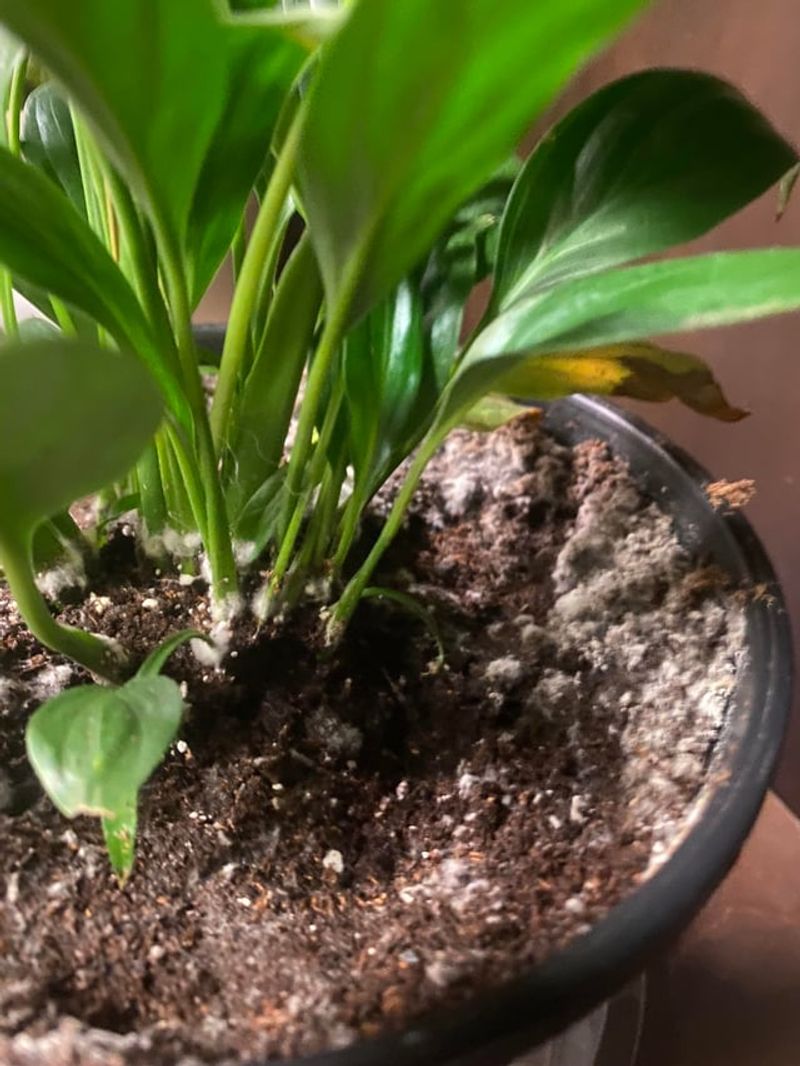
A musty smell emanating from your peace lily pot indicates trouble brewing underground. Healthy potting soil should smell fresh and earthy, never sour or rotten.
Fungal growth often appears as white, fuzzy patches across the soil surface visibly. Overwatering creates stagnant conditions where harmful fungi and bacteria thrive abundantly in darkness.
Poor air circulation around the soil surface encourages mold development and unpleasant odors. Organic matter in potting mix breaks down anaerobically when constantly waterlogged repeatedly.
These conditions harm root health and can spread to affect your plant’s overall vitality. The fungus competes with roots for oxygen and nutrients in the soil.
Addressing this problem quickly prevents more serious complications from developing over time. Reduce watering frequency immediately and allow the soil to dry between waterings thoroughly.
Scrape away the top layer of soil if you notice mold growth. Replace it with fresh, sterile potting mix to eliminate visible fungal contamination.
Improve drainage by ensuring your pot has adequate holes and the soil drains freely. Consider repotting in fresh medium if the problem persists despite reduced watering.
Your peace lily will appreciate the healthier root environment and respond with improved growth and appearance.