15 Common Sod Installation Mistakes (And How To Avoid Them For A Healthier Lawn)
Putting down fresh sod can turn your bare, patchy yard into a lush green space almost overnight. But I’ve seen how rushing or missing key steps can lead to problems that are frustrating—and expensive—to fix.
Getting your sod installation right the first time really pays off, saving you time, money, and a lot of headaches down the road.
Let’s talk about the most common mistakes people make when laying sod and how you can easily avoid them to enjoy a healthy, thriving lawn from day one.
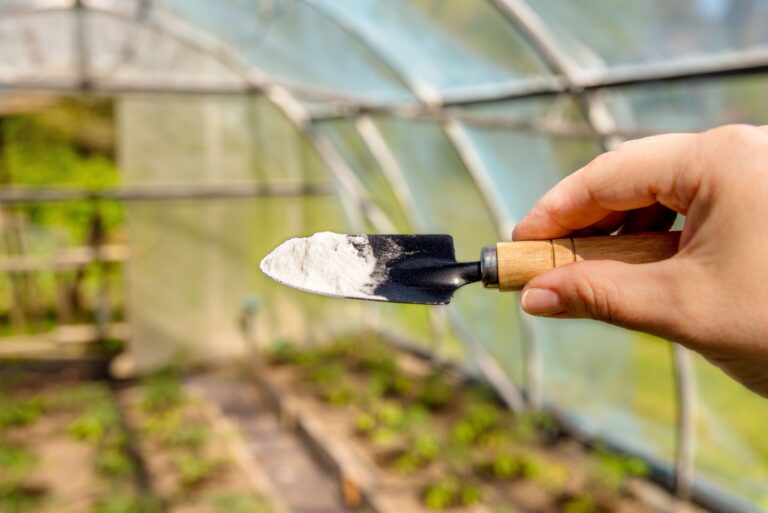
1. Skipping Soil Testing
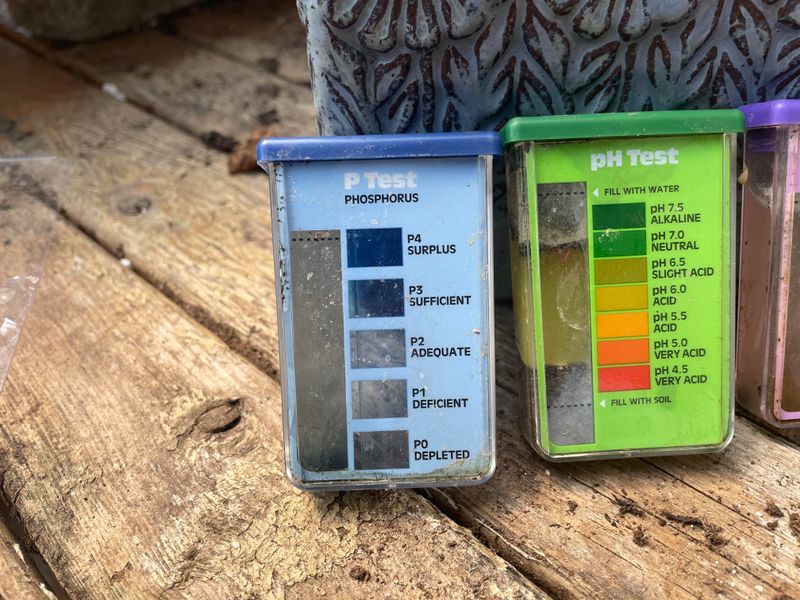
Many homeowners jump straight into laying sod without knowing what’s happening beneath the surface. Your soil’s pH and nutrient levels directly affect how well your new grass will establish itself. What looks like perfectly good dirt might actually be too acidic or lacking essential nutrients.
A simple soil test kit from your local garden center can reveal problems before they sabotage your lawn. I learned this lesson after watching my first sod installation struggle for months before a test showed my soil needed major amendments.
Take soil samples from several areas of your yard and adjust accordingly before the sod arrives. Adding lime to acidic soil or sulfur to alkaline soil creates the optimal growing environment your new grass needs to develop strong roots.
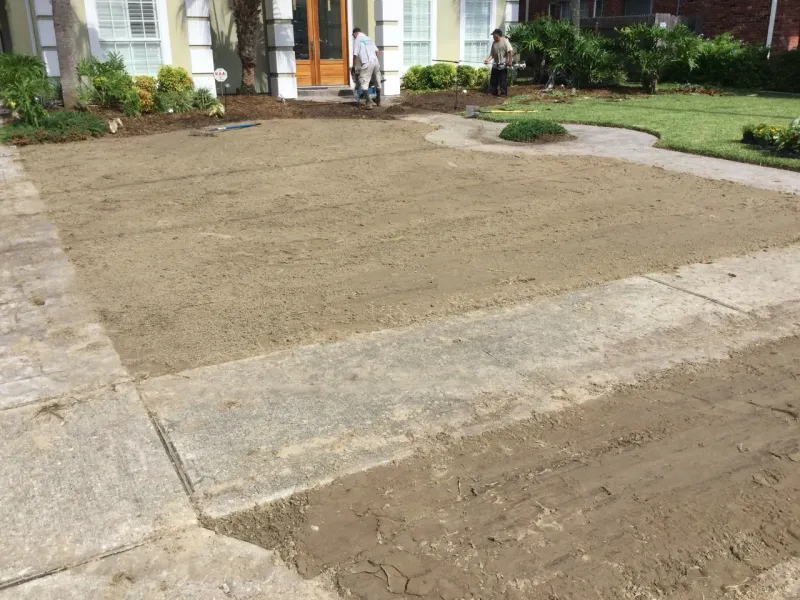
2. Poor Ground Preparation
Rushing through ground prep is like building a house on sand. Your new sod needs a smooth, debris-free surface to establish proper root contact. Rocks, old roots, and construction debris prevent roots from reaching the soil and create bumpy spots that are difficult to fix later.
The ground should be raked thoroughly and leveled before installation day. My neighbor skipped this step and ended up with a lawn that looked like a miniature golf course—full of unexpected dips and rises that made mowing a nightmare.
Remove all debris, break up soil clumps, and use a lawn roller to create a firm, level surface. This extra hour or two of preparation will save you years of frustration with an uneven lawn.
3. Choosing The Wrong Sod Variety
That beautiful Kentucky bluegrass might look perfect in the catalog, but it could be completely wrong for your climate and yard conditions. Selecting sod based on appearance rather than suitability leads to ongoing maintenance battles and potential failure.
Different grass types have specific needs for sunlight, water, and temperature tolerance. The shady corner of your yard might need a completely different variety than the sunny center section.
Research which grass types thrive in your specific region and yard conditions. Talk to local nursery experts about your yard’s unique characteristics—shade patterns, drainage issues, and traffic patterns all affect which sod variety will perform best for you.
4. Ordering Too Little (Or Too Much)
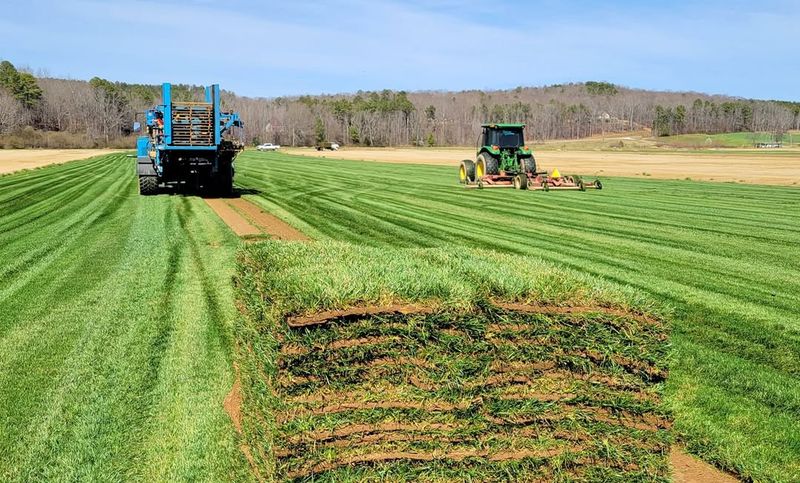
Running out of sod mid-installation creates visible seams when you add the second batch later. Meanwhile, ordering too much wastes money and leaves you scrambling to find a use for perishable leftover rolls.
Measuring your yard seems straightforward, but irregularly shaped areas trick even experienced landscapers. I’ve seen perfectly planned installations derailed when someone forgot to account for the driveway or patio space.
Measure your yard’s square footage carefully, then add 5-10% extra for trimming and waste. Draw a simple diagram dividing your yard into rectangles to calculate area more accurately. Having slightly too much is better than running short.
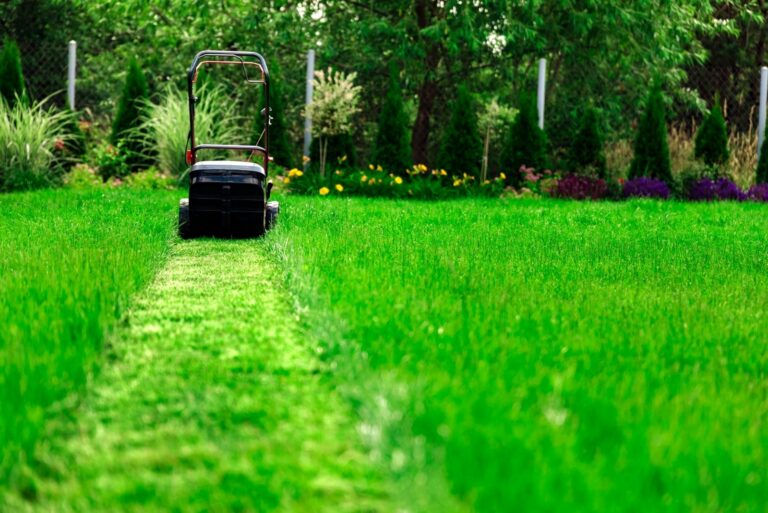
5. Installing During Extreme Weather
Timing matters more than many homeowners realize. Laying sod during a heatwave or right before a frost dramatically reduces your chances of success. Fresh sod is already stressed from being harvested and needs moderate conditions to recover.
Summer installations require excessive watering and still often fail. My cousin installed his sod during the hottest week of August and spent two weeks watering three times daily only to watch half of it die anyway.
Schedule your installation during mild weather—early fall or spring provides ideal conditions in most regions. Cool temperatures reduce water stress while still allowing enough growth time for roots to establish before extreme weather hits.
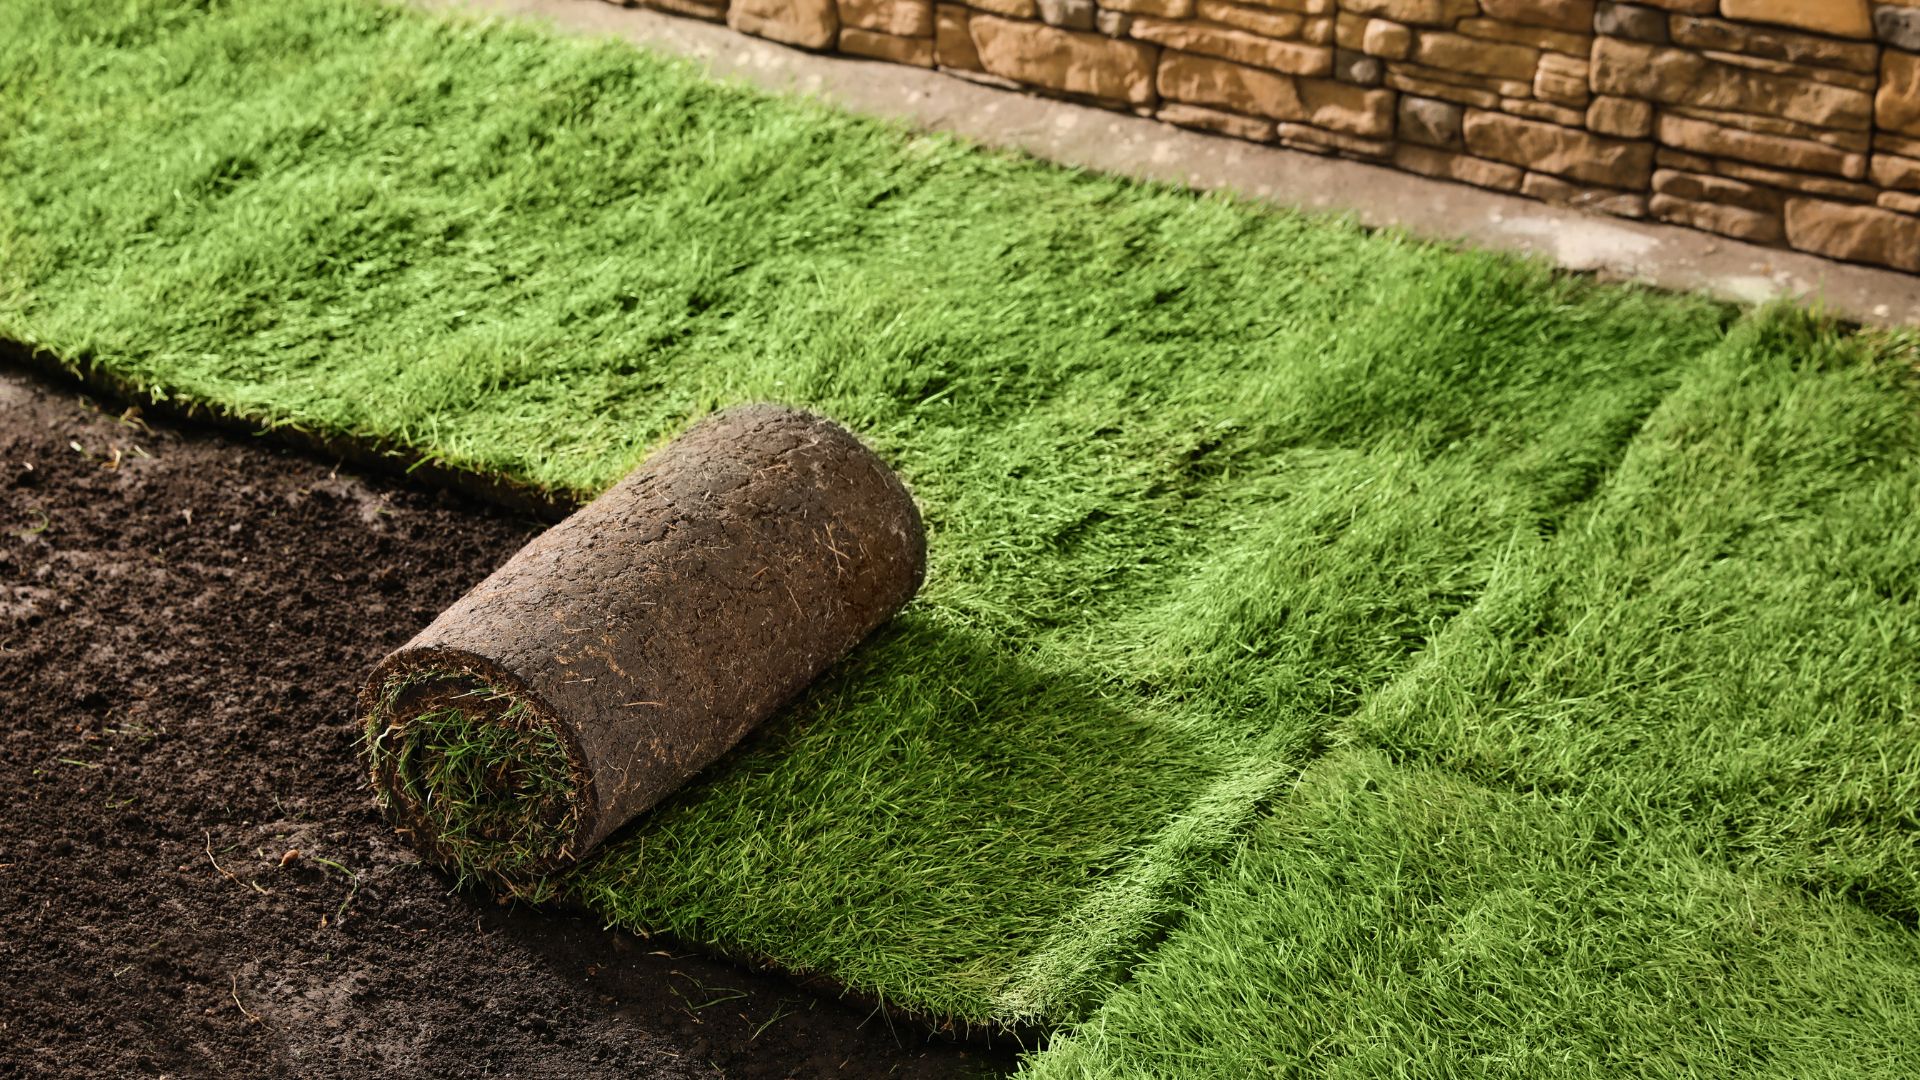
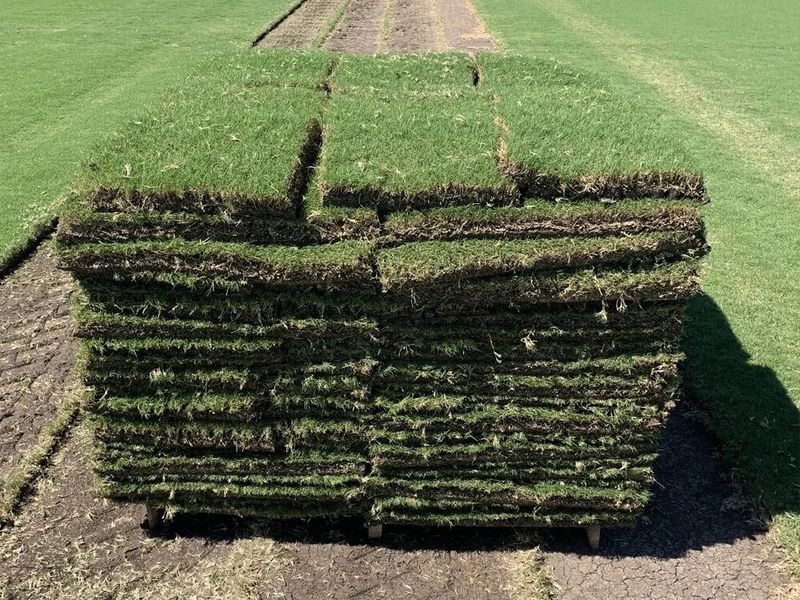
6. Allowing Sod To Dry Out Before Installation
Fresh sod is a living product with a short shelf life. Letting pallets sit in your driveway for hours (or worse, overnight) before installation can doom your lawn before it’s even in the ground. Sod begins drying from the moment it’s harvested and needs to be laid promptly.
The roots are particularly vulnerable to drying out. Once they become crispy, no amount of watering will bring them back. Last summer, I helped a friend who had left his sod cooking in the sun for six hours—we had to discard nearly a third of it.
Arrange delivery for the same day you plan to install. If you’re using a professional, confirm they’ll bring sod in batches or provide shade for pallets. Work quickly and keep unused rolls moist if installation takes more than a few hours.
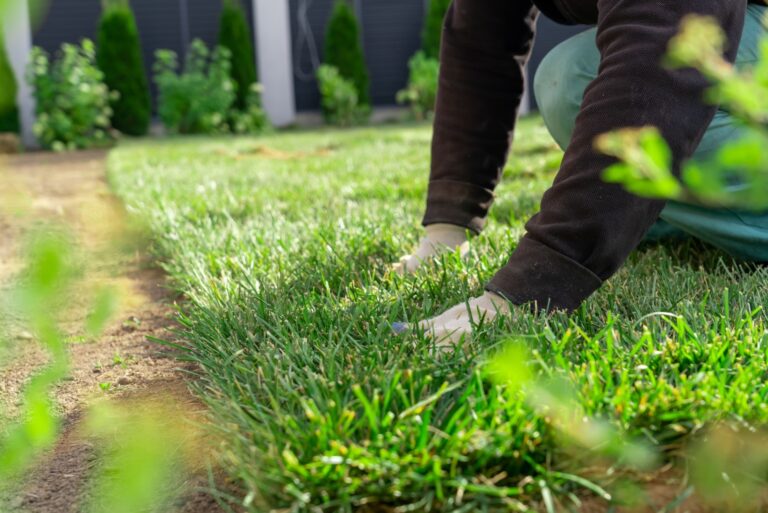
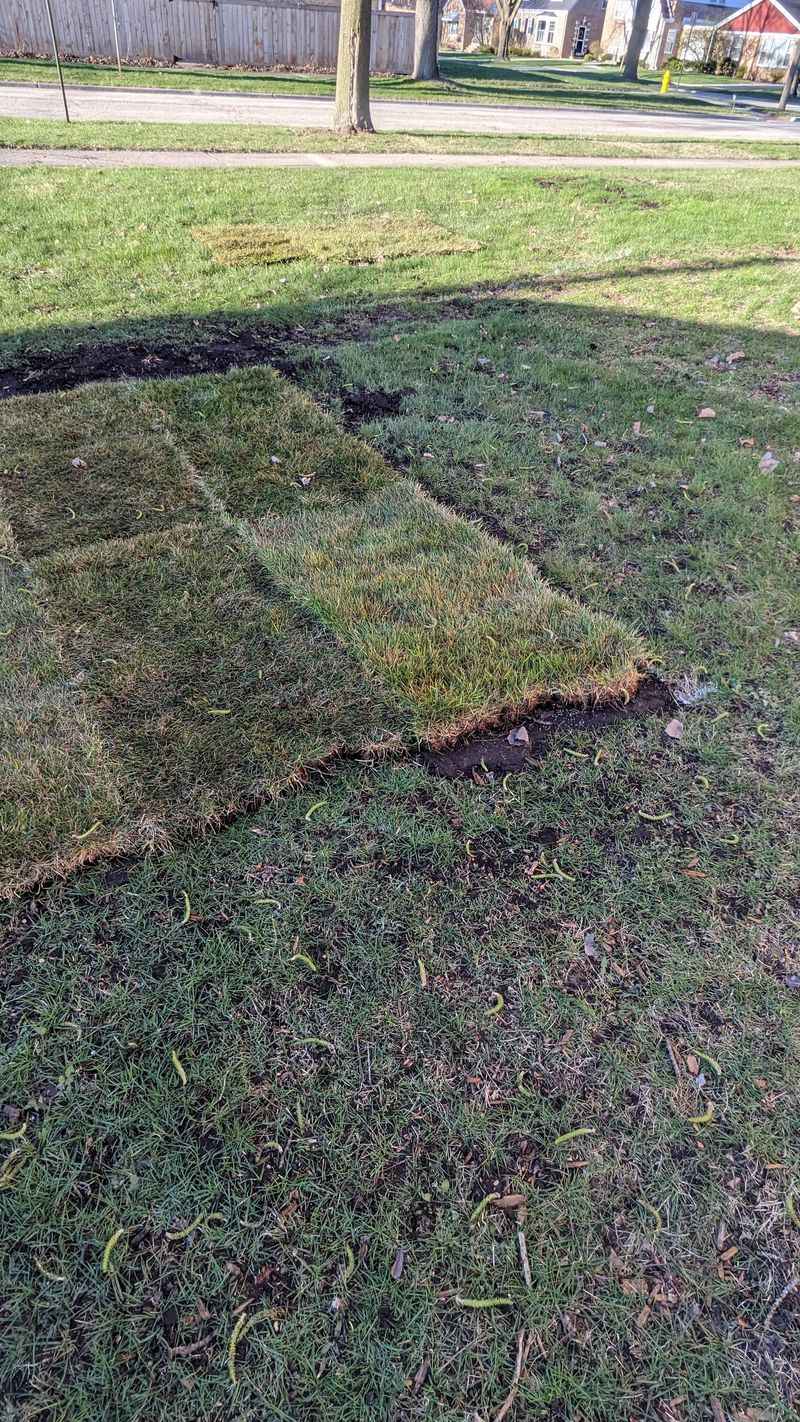
7. Creating Gaps Between Sod Pieces
Those small spaces between sod pieces might seem insignificant during installation, but they become very noticeable problem spots later. Gaps create entry points for weeds, allow edges to dry out faster, and create visible seams that never quite disappear.
Proper installation requires pieces to fit together like puzzle pieces—tightly butted against each other without overlapping. The first time I laid sod, I left tiny gaps thinking the grass would eventually grow together. Those gaps became permanent fixtures in my lawn.
Place each piece firmly against its neighbors, staggering the seams like brickwork. Avoid stretching or overlapping pieces. Use a sharp knife to trim pieces rather than trying to stretch them to fit irregular spaces.
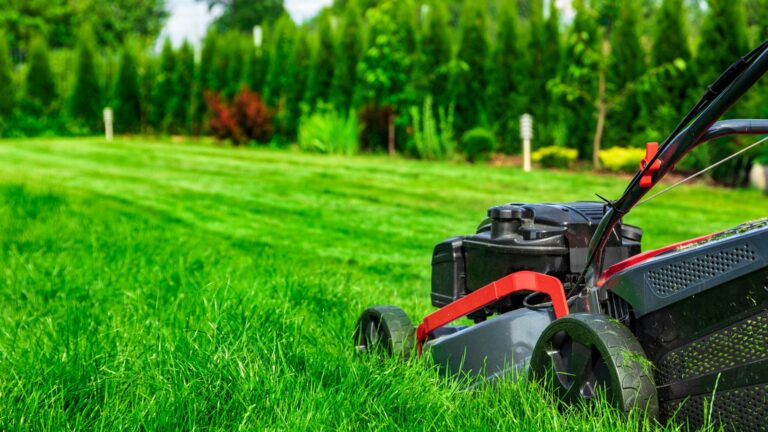
8. Improper Watering After Installation
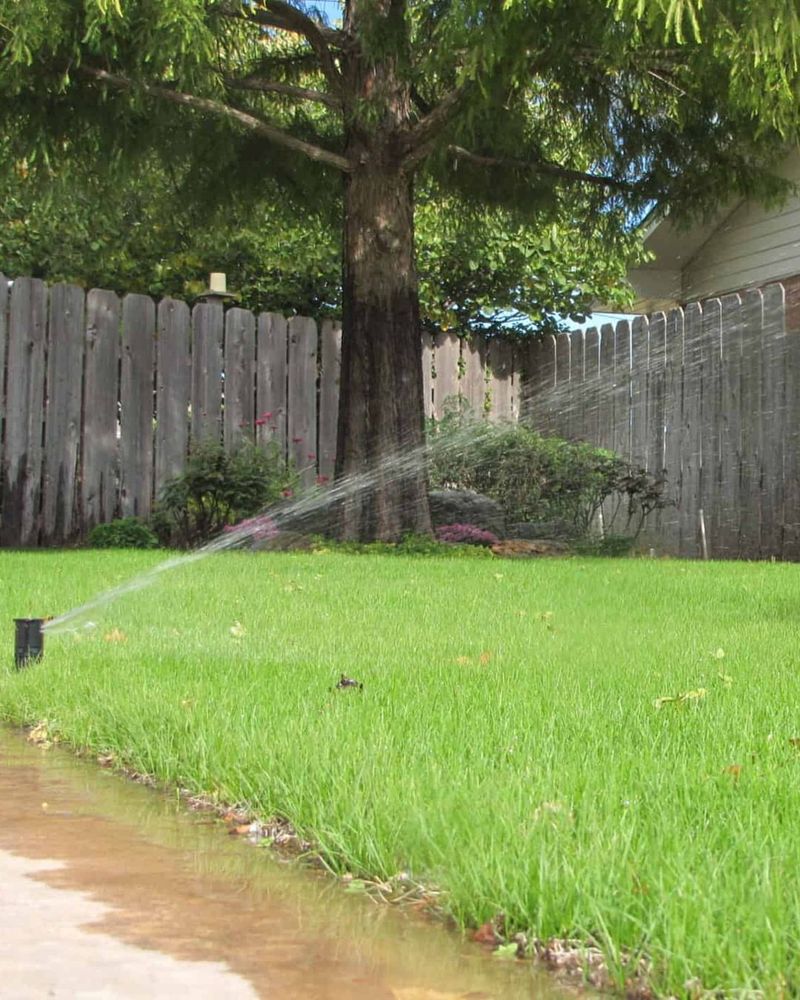
Newly installed sod needs consistent moisture to establish roots, but many homeowners either underwater or drown their new investment. Finding that perfect balance is crucial during the first two weeks.
Underwatering leads to shrinkage and dead patches, while overwatering creates soggy conditions that prevent oxygen from reaching the roots. The soil beneath your sod should be moist but not waterlogged—like a wrung-out sponge.
Water deeply immediately after installation, then maintain consistent moisture for the first 10-14 days. Check under corners of sod pieces daily to monitor soil moisture. Gradually reduce watering frequency (but not depth) as roots establish, typically after the second week.
9. Walking On Freshly Laid Sod
Fresh sod hasn’t had time to root into the soil below, making it extremely vulnerable to disturbance. Footprints create depressions and break the crucial contact between the sod’s root mat and the soil beneath.
Children and pets are often the culprits, but even well-meaning adults checking for watering needs can cause damage. During my first installation, I created a path of footprints checking different areas that took months to disappear.
Stay off new sod completely for the first week if possible. Place plywood boards as walkways if you must cross it to adjust sprinklers. When you do need to walk on it, wait until right after watering when the soil is soft, and step with gentle, flat-footed pressure.
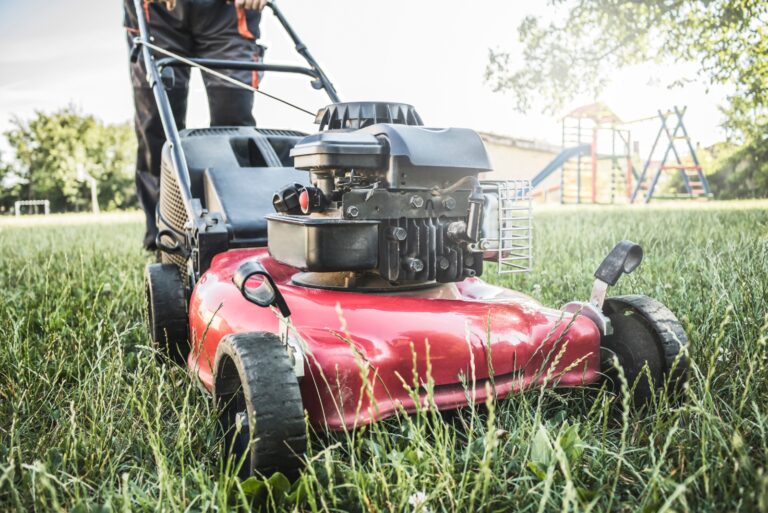
10. Cutting Sod With Dull Tools
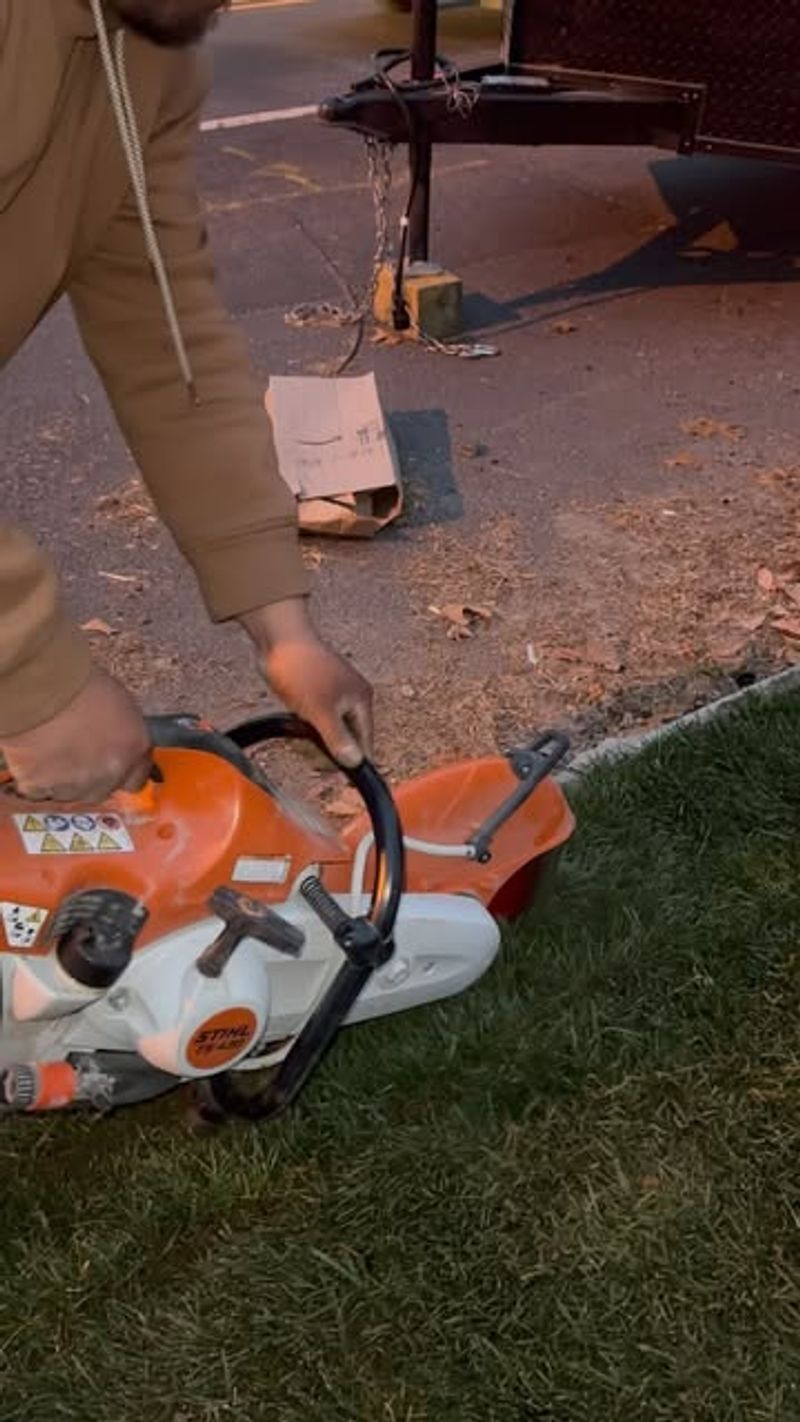
Trying to cut sod with improper tools creates ragged edges that dry out quickly and don’t establish well. Clean cuts are essential for proper fit, especially around landscape features and curved edges.
Dull knives crush rather than cut, damaging grass along the edges. My first attempt using kitchen shears resulted in torn, jagged pieces that created obvious dead spots along my garden border.
Invest in a sharp utility knife with replaceable blades or a specialized sod cutter. Change blades frequently as they dull quickly when cutting through root mats. For straight cuts, use a sharp spade or edging tool pressed firmly downward rather than sawing motions.
11. Forgetting To Roll The Installed Sod
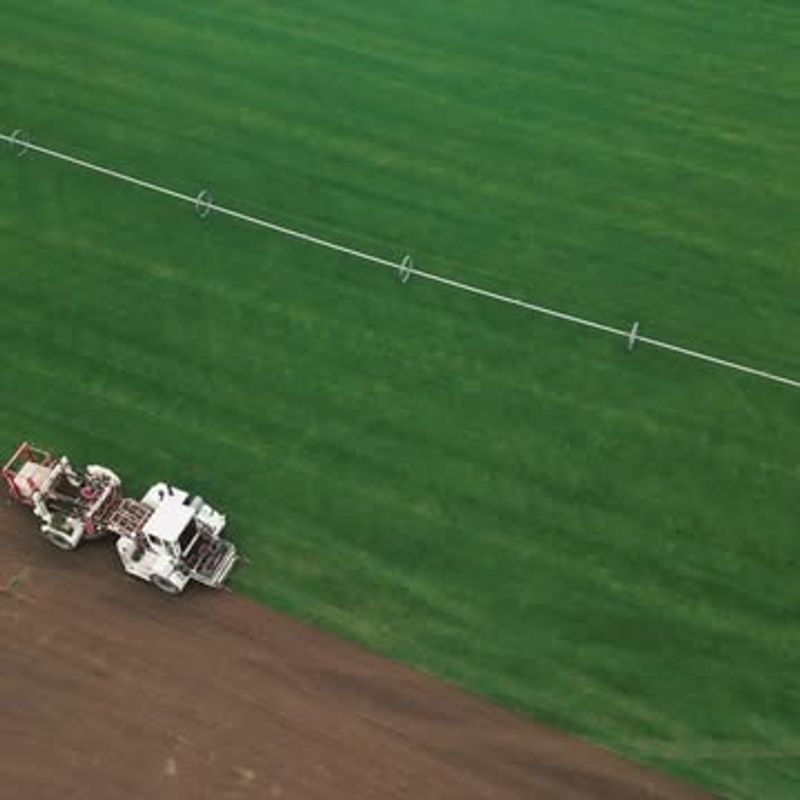
Many DIYers consider the job complete once all the sod is laid, missing a crucial final step. Without proper rolling, air pockets remain trapped between the sod and soil, preventing roots from establishing contact with the ground below.
These air pockets create dry spots that can kill sections of your new lawn. The first time I installed sod, I skipped rolling and ended up with a patchwork of healthy and struggling areas that took an entire season to even out.
Rent a lawn roller and fill it halfway with water for the right amount of pressure. Roll the entire lawn in different directions to ensure complete soil contact. This simple step greatly increases your success rate by eliminating air pockets and helping roots quickly find their way into native soil.
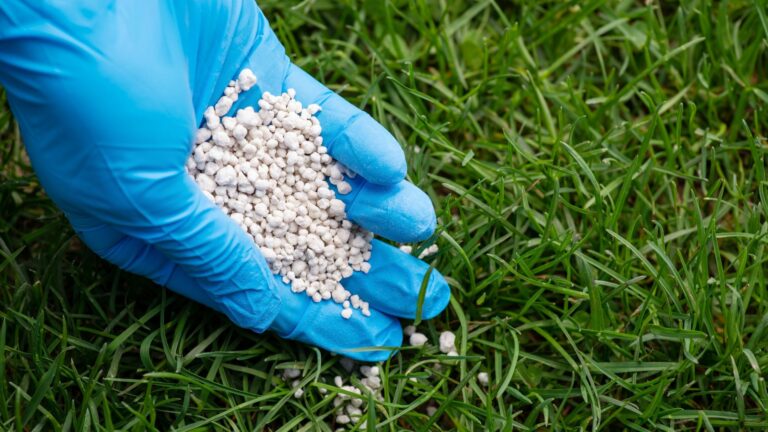
12. Applying Fertilizer Too Soon
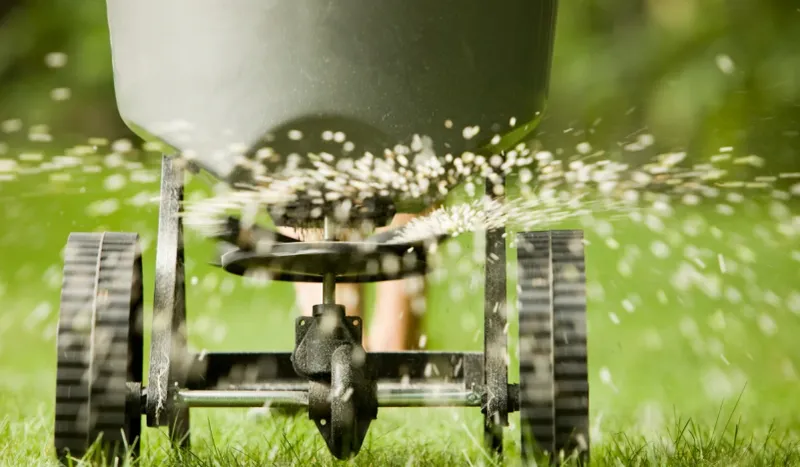
Eager homeowners often fertilize immediately, thinking they’re giving their new lawn a boost. In reality, applying fertilizer too soon can chemically burn tender new grass that’s already stressed from transplanting.
Fresh sod comes with enough nutrients to sustain it through the establishment phase. Adding more fertilizer before roots develop can actually harm your new lawn rather than help it. My neighbor made this mistake and watched his new sod develop yellow patches within days.
Wait at least 30-45 days before applying any fertilizer to newly installed sod. This gives roots time to establish and prepare to use the additional nutrients. When you do fertilize, choose a starter formula specifically designed for new lawns.
13. Mowing Too Soon Or Too Short
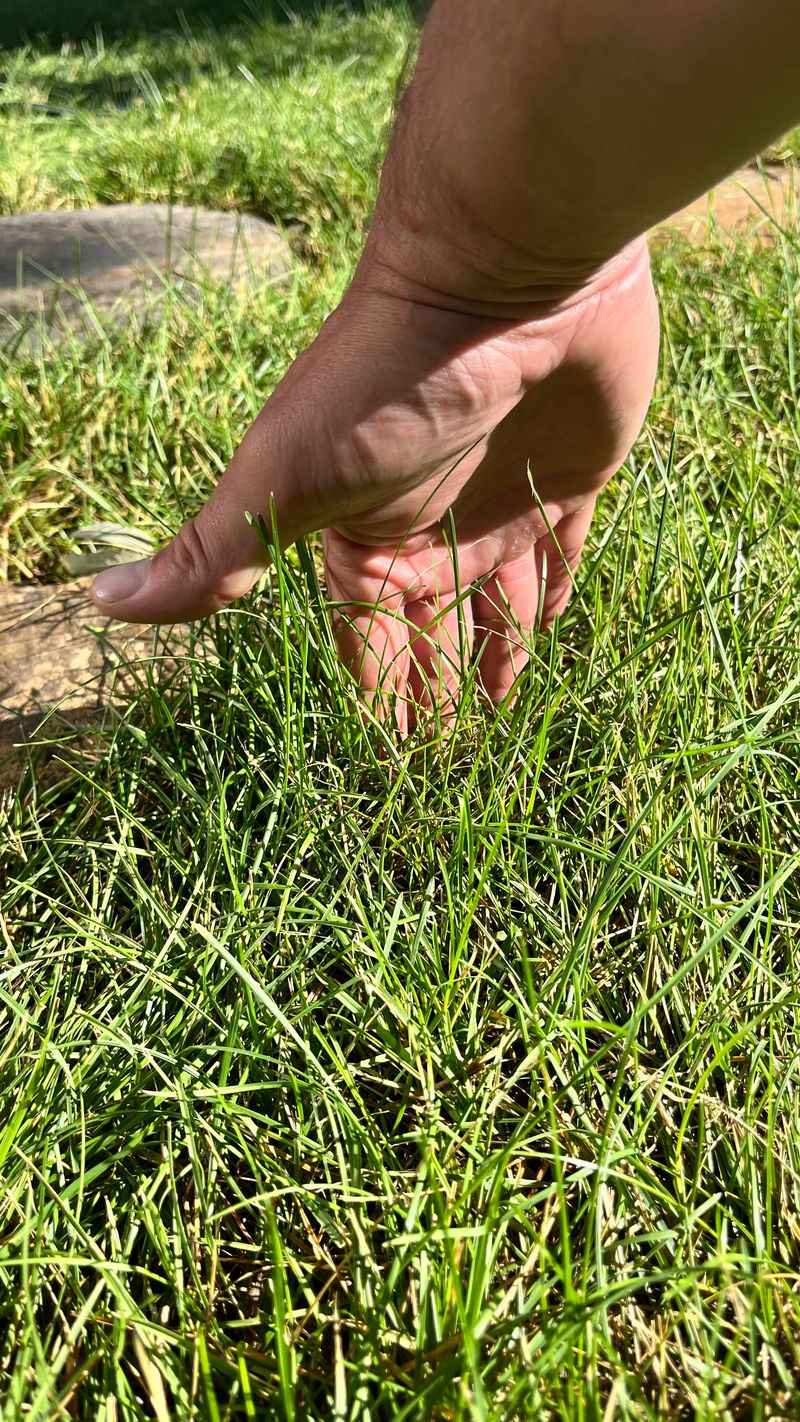
The urge to give your new lawn its first trim can lead to major setbacks in establishment. Mowing before roots have anchored pulls entire sections of sod right out of the ground, while cutting too short stresses the grass when it’s most vulnerable.
Root development takes time—usually 2-3 weeks minimum before the sod is secure enough for mowing. Rushing this first cut can undo all your hard work in minutes. I learned this lesson when my mower snagged an edge and peeled back an entire strip of my new lawn.
Wait until your sod has rooted enough that you can’t easily lift a corner (typically 2-3 weeks). Set your mower to a higher setting than usual for the first several cuts. Never remove more than one-third of the grass blade height in a single mowing.
14. Ignoring Drainage Issues
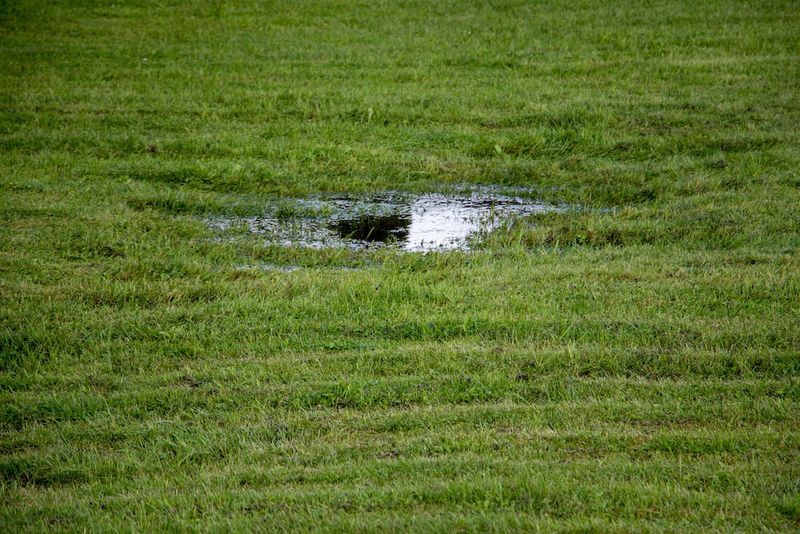
Water pooling in low spots quickly kills new sod by preventing oxygen from reaching the roots. Many homeowners notice drainage problems in their yards but install sod anyway, hoping the grass will somehow fix the issue.
Standing water creates perfect conditions for fungal diseases and root rot. My friend ignored a slight depression in his yard during installation, and that spot became a muddy mess that eventually had to be dug up and regraded entirely.
Address drainage problems before sod installation by grading the soil away from your home and filling low spots. For persistent problems, consider installing French drains or dry creek beds. Proper drainage work upfront saves much more expensive fixes later.
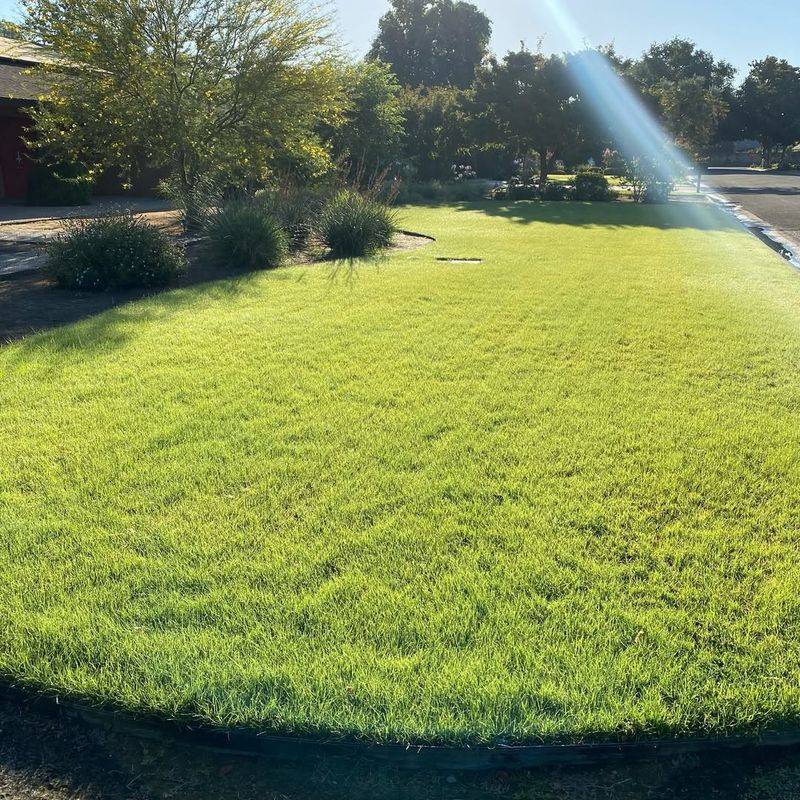
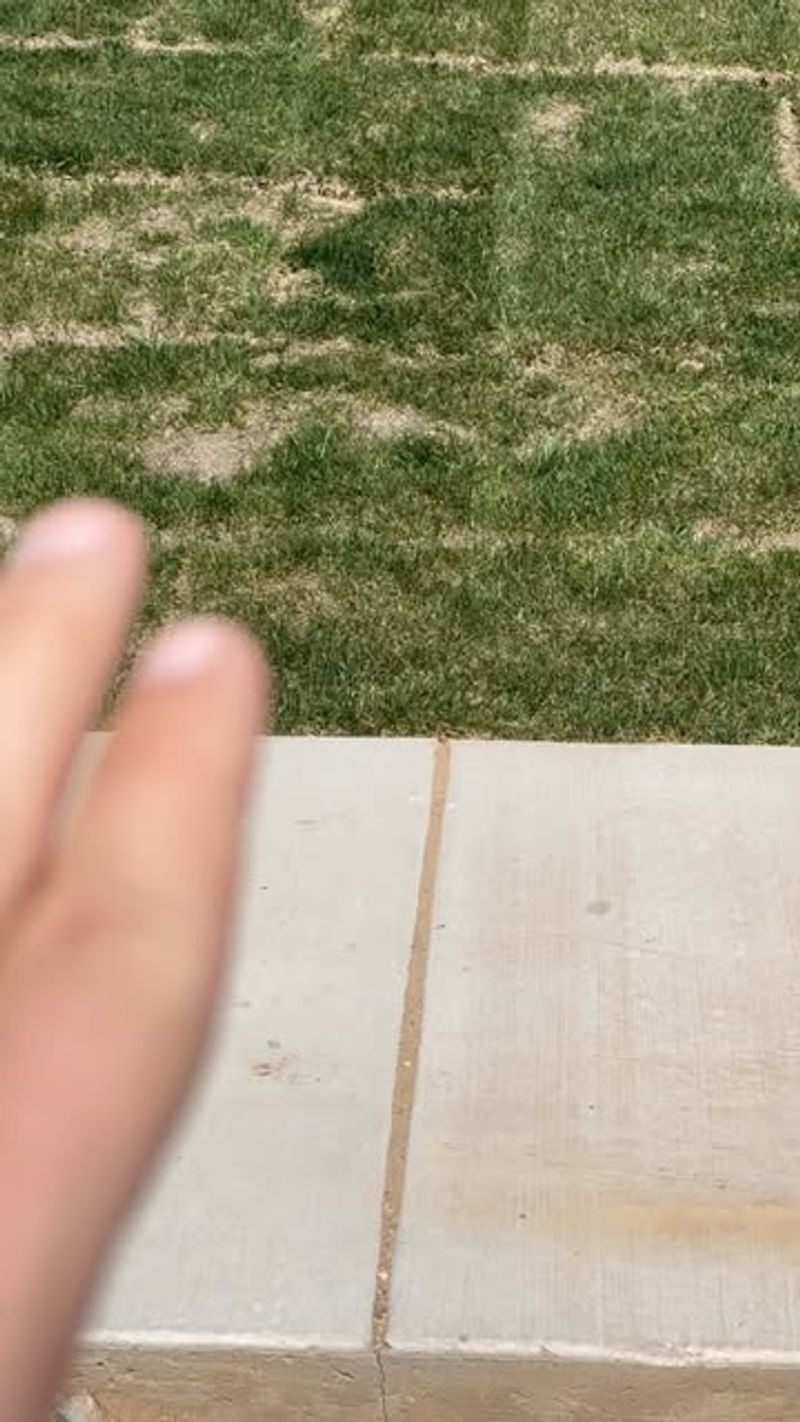
15. Neglecting Edge Areas
Edges along sidewalks, driveways and flower beds dry out faster than the main lawn areas. These boundaries often get overlooked during watering and establishment care, creating brown strips that detract from your lawn’s appearance.
The concrete and stone features around your lawn absorb heat and pull moisture away from adjacent sod. During my first installation, I focused all my attention on the main yard while the edges quietly dried out and struggled.
Give edges extra attention during the establishment phase with targeted hand watering if needed. Consider installing sod slightly higher than adjacent hardscapes so water flows toward the edges rather than away from them. Mulched borders can help maintain moisture along garden edges.