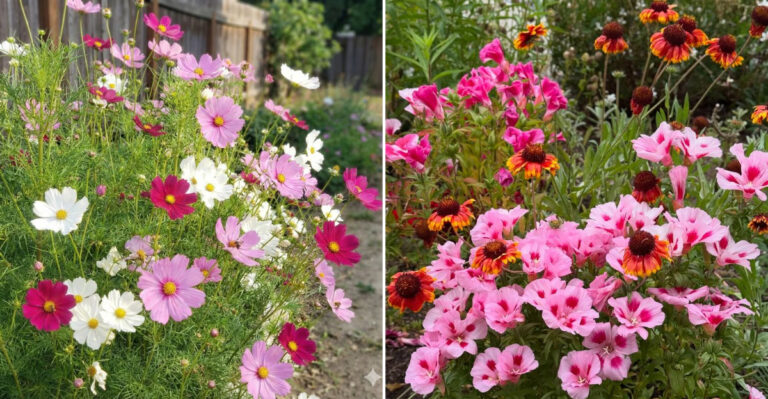
Do These 9 Steps Now To Prepare Your Oregon Garden For 2026 Growing Season

The 2026 growing season starts sooner than you think. What you do in your Oregon garden right now can shape harvests, blooms, and plant health months ahead.
Waiting until spring often leads to rushed work and missed opportunities. Early preparation builds stronger soil, healthier plants, and smoother planting days.
Clear debris, refresh garden beds, improve drainage, and set up smart systems while the weather stays cool and workable. Small steps today create big rewards later.
You’ll save time, reduce stress, and avoid common mistakes that slow growth. This is also the best moment to spot problem areas and fix them before planting season arrives.
If you want better results, bigger yields, and a garden that thrives in 2026, now is the time to act. These simple steps help you start strong and stay ahead all season long.
1. Clear Out Winter Debris
Winter storms and rainfall leave behind plenty of debris that can harbor pests and diseases if left unattended. Fallen leaves, plant material, and decomposing mulch create hiding spots for slugs, snails, and overwintering insects that could damage your spring crops.
Clearing this material away now gives you a clean slate and reduces the risk of carrying problems into the new growing season.
Start by removing any withered annuals and vegetable plants from last year. Pull out old stakes, tomato cages, and trellises that might have weakened over winter.
Rake up leaves and twigs that have accumulated in beds and pathways, especially if they’ve formed thick mats that block air circulation.
Oregon’s wet winters mean debris often stays damp for months, creating ideal conditions for fungal growth and mold. Removing this material helps your soil dry out slightly and warm up faster when spring arrives.
Compost healthy plant debris, but throw away anything showing signs of disease or pest damage.
Pay special attention to areas around perennials and shrubs where debris tends to collect. Clear away old mulch that has broken down completely, as it no longer provides benefits and may contain weed seeds or pathogens.
This simple cleanup step makes everything else easier and gives you a clear view of what your garden beds actually need.
2. Test and Amend Soil
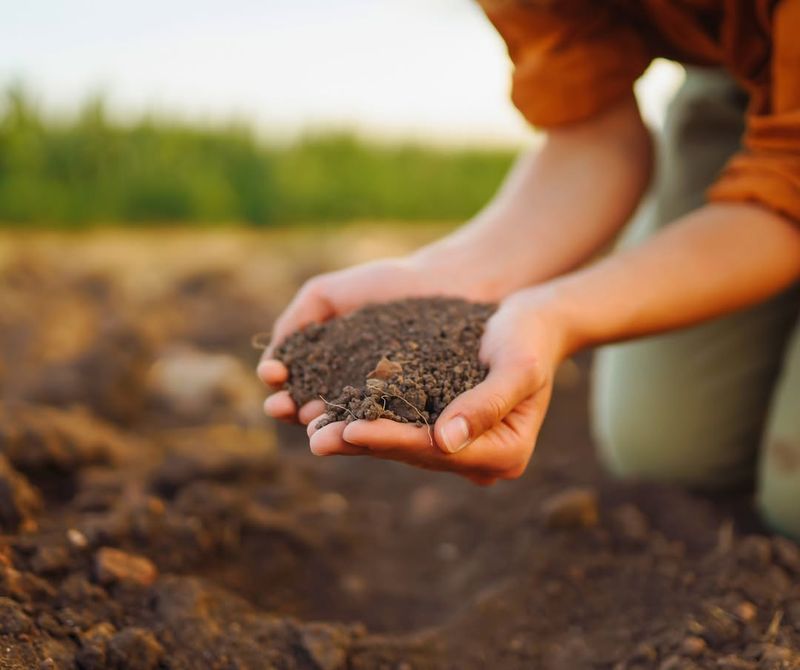
Healthy soil is the foundation of every successful garden, and Oregon’s diverse soil types require different approaches. Many Oregon gardens have heavy clay soil that drains slowly, while coastal areas often feature sandy soils that dry out quickly.
Testing your soil now tells you exactly what amendments to add before planting season arrives.
Purchase a basic soil test kit from a local garden center or send samples to Oregon State University’s extension service for detailed analysis. Test results show your pH level, nutrient content, and organic matter percentage.
Most vegetables prefer slightly acidic to neutral soil with a pH between 6.0 and 7.0, which works well for Oregon conditions.
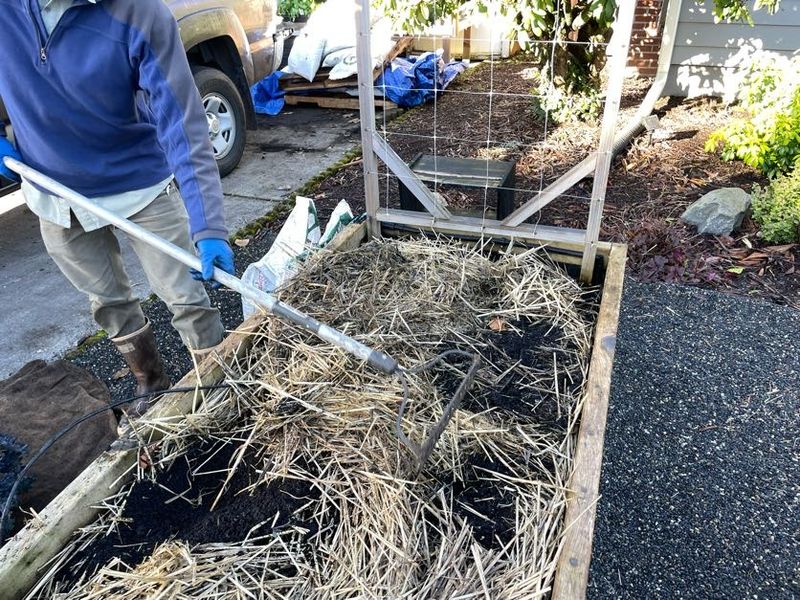
Based on your results, add amendments to address specific needs. Compost improves nearly every soil type by adding organic matter, improving drainage in clay soils, and increasing water retention in sandy soils.
If your pH is too low, apply lime to raise it gradually over several months.
Work amendments into the top six to eight inches of soil when conditions allow. Oregon winters bring plenty of rain, so wait for a drier period when soil is workable rather than muddy.
Clay soils benefit from adding aged compost, peat moss, or composted bark to improve structure and drainage. Sandy soils need extra organic matter to help retain moisture and nutrients throughout the growing season.
3. Prune Perennials And Shrubs
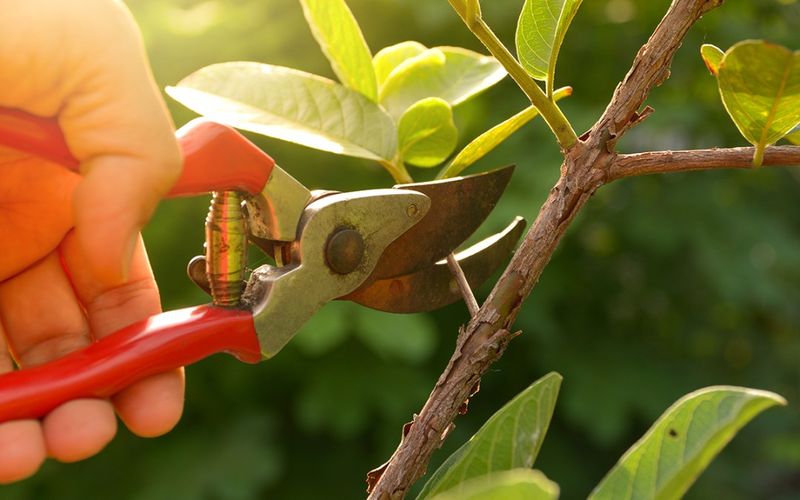
Late winter offers the perfect window for pruning many perennials and shrubs before new growth emerges. Cutting back damaged, diseased, or overgrown branches now directs the plant’s energy toward healthy growth when spring arrives.
Oregon’s mild winters mean some plants stay semi-evergreen, making it easier to see the structure and identify problem areas.
Start with perennials that have died back completely. Cut ornamental grasses down to about four inches from the ground, removing old foliage that can harbor pests.
Trim back spent flower stalks on plants like coneflowers, black-eyed Susans, and salvias to encourage bushier growth and more blooms later.
For shrubs, focus on removing withered, damaged, or crossing branches that rub against each other. Make clean cuts just above a bud or branch junction to promote proper healing.
Avoid heavy pruning on spring-flowering shrubs like rhododendrons and azaleas, as they set buds the previous year and pruning now removes potential flowers.
Oregon’s wet climate means fungal diseases spread easily through pruning wounds. Disinfect your tools between cuts when working with diseased material by dipping blades in rubbing alcohol or a bleach solution.
Remove all pruned material from the garden area and dispose of diseased branches in the trash rather than composting them to prevent spreading problems throughout your yard.
4. Plan Your 2026 Garden Layout
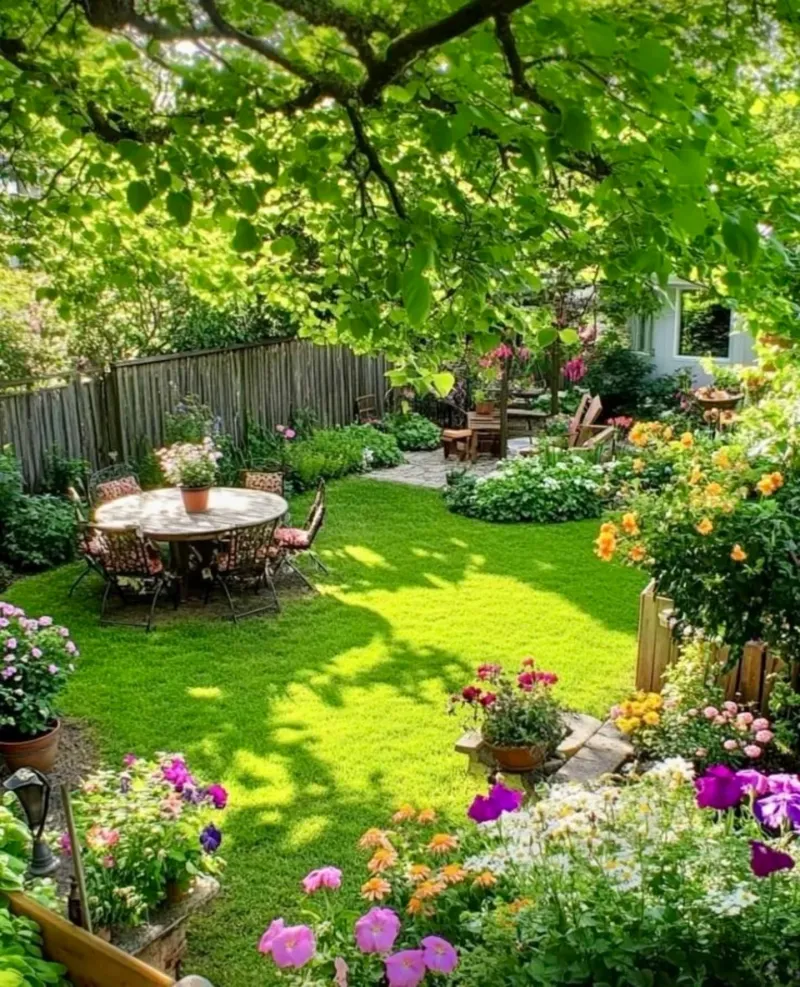
Taking time to plan your garden layout on paper saves countless headaches during the busy planting season.
Mapping out where each crop or flower bed will go helps you practice crop rotation, optimize spacing, and make companion planting decisions that improve plant health.
Oregon’s relatively long growing season gives you flexibility to plan both cool-season and warm-season crops.
Sketch your garden beds on graph paper or use a digital planning tool. Note which areas get full sun, partial shade, or full shade throughout the day, as this determines what grows best in each spot.
Consider how Oregon’s rainy springs might affect different areas, avoiding low spots that stay waterlogged.
Plan crop rotations by avoiding planting the same family of vegetables in the same bed two years in a row. This reduces disease buildup and nutrient depletion.
For example, if you grew tomatoes in a bed last year, plant beans or lettuce there this season instead.
Think about companion planting combinations that work well together. Plant basil near tomatoes, carrots near onions, and marigolds throughout to deter pests naturally.
Consider the mature size of each plant and space accordingly, remembering that Oregon’s mild, moist conditions often produce larger plants than seed packets indicate.
Include pathways wide enough for comfortable access and note where you’ll need trellises, cages, or other support structures before planting begins.
5. Start Early Seeds Indoors
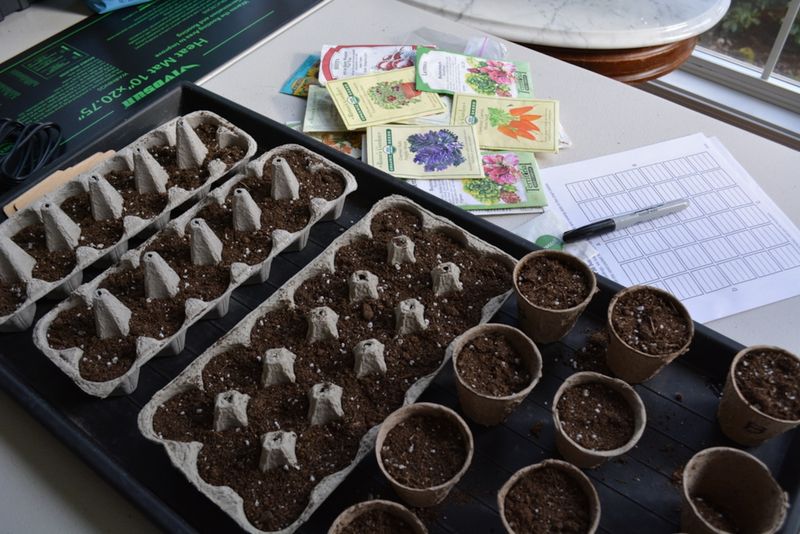
Starting seeds indoors gives you a significant head start on the growing season, especially for warm-season crops that need time to mature.
Oregon’s last frost dates typically fall between mid-April and early May, depending on your location, which means starting seeds indoors in February or March gets transplants ready right on schedule.
Indoor seed starting also gives you access to varieties not available as nursery transplants.
Begin with clean containers that have drainage holes. Seed starting trays, recycled yogurt cups, or egg cartons all work well.
Fill containers with sterile seed starting mix rather than garden soil, as the lighter texture promotes better root development and reduces disease risk.
Plant seeds at the depth recommended on the packet, typically two to three times the seed’s diameter. Tomatoes, peppers, and eggplants need eight to ten weeks indoors before transplanting, while cucumbers and squash only need three to four weeks.
Label everything clearly to avoid confusion later.
Place containers in a warm spot with plenty of light. A sunny south-facing window works, but supplemental grow lights provide more consistent results, especially during Oregon’s cloudy winter months.
Keep soil consistently moist but not waterlogged. Once seedlings develop their first true leaves, begin feeding with diluted liquid fertilizer every two weeks.
Harden off seedlings gradually by exposing them to outdoor conditions for increasing periods before transplanting into the garden.
6. Check Irrigation Systems
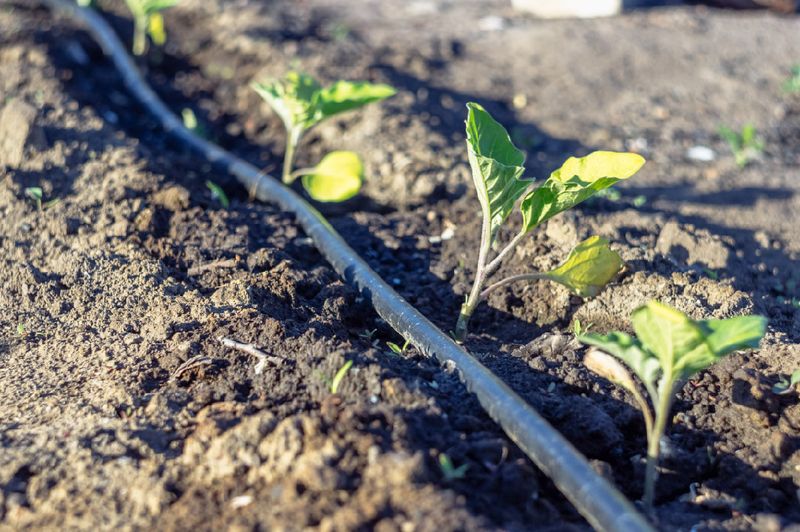
Oregon’s dry summers make reliable irrigation critical for garden success, even though winter brings abundant rainfall.
Checking your irrigation system now, before you need it, prevents the frustration of discovering broken lines or clogged emitters when plants are already stressed from heat and drought.
Early inspection gives you time to order replacement parts and make repairs at a relaxed pace.
Start by turning on your system and walking through the entire garden. Look for leaks, broken sprinkler heads, or kinked hoses that reduce water flow.
Check that drip emitters haven’t clogged with mineral deposits or dirt, especially if you have hard water.
Inspect timer batteries and settings to ensure everything programs correctly. Test each zone individually to verify coverage reaches all planted areas.
Adjust sprinkler heads that have shifted or spray onto pathways, driveways, or other non-garden areas where water is wasted.
Consider upgrading to drip irrigation or soaker hoses if you currently use overhead sprinklers. Drip systems deliver water directly to plant roots, reducing evaporation and keeping foliage dry to prevent fungal diseases.
This matters especially in Oregon, where our mild, humid conditions already favor disease development. Replace worn washers, cracked connectors, and brittle tubing that might fail under pressure.
Store extra parts in a labeled container so repairs are quick when needed during the growing season.
7. Mulch And Protect Soil
Applying mulch now protects your soil from erosion during late winter rains while suppressing early weed growth. Mulch also moderates soil temperature, keeping roots warmer on cold nights and cooler during unexpected warm spells.
Oregon gardens benefit tremendously from mulching, as our climate swings between wet and dry extremes throughout the year.
Choose organic mulches like wood chips, shredded bark, or compost that break down gradually and improve soil structure. Apply a two- to three-inch layer around perennials, shrubs, and in vegetable beds where you’ll plant later.
Keep mulch a few inches away from plant stems and tree trunks to prevent rot and discourage pests.
For vegetable beds, consider lighter mulches like straw or shredded leaves that decompose quickly and can be worked into the soil at planting time. These materials add organic matter while protecting bare soil from compaction caused by heavy rain.
Avoid using too much mulch, as excessive layers can prevent soil from warming up in spring and may create habitat for slugs.
Mulching now means less weeding later, as the layer blocks light that weed seeds need to germinate. This saves hours of work during the busy spring and summer months when you’d rather spend time planting and harvesting.
Refresh mulch layers as needed throughout the season, especially in high-traffic areas where material breaks down faster or gets displaced by rainfall.
8. Manage Pests And Diseases Early

Winter might seem like an unlikely time for pest problems, but many insects and diseases overwinter in Oregon gardens, ready to emerge when temperatures warm. Addressing these issues now reduces populations before they explode in spring and summer.
Early detection and management mean less damage to plants and fewer interventions needed later.
Walk through your garden looking for signs of overwintering pests. Check under loose bark, in garden debris, and around the base of perennials for egg masses, cocoons, or hibernating insects.
Aphids, spider mites, and various beetles often hide in protected spots waiting for spring.
Inspect plants for fungal problems like powdery mildew, rust, or black spot that survived on dormant stems or fallen leaves. Remove affected plant parts and dispose of them in the trash rather than composting.
Clean up any remaining diseased material you missed during initial debris removal.
Consider applying dormant oil sprays to fruit trees and ornamental shrubs to smother overwintering insect eggs and disease spores.
These horticultural oils work best when temperatures stay above freezing but below 70 degrees, making late winter ideal for Oregon application.
Check soil for signs of root-feeding pests like root weevils, which are common problems in Oregon landscapes. Set out slug and snail traps in areas where these pests typically gather, as they remain active year-round in our mild, moist climate.
9. Review Tools And Supplies
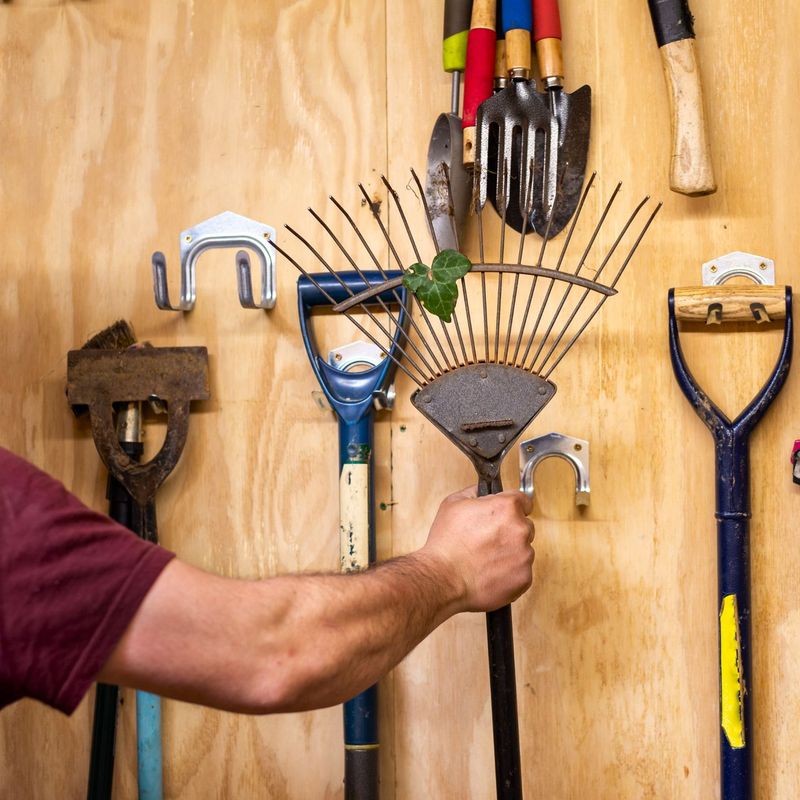
Well-maintained tools make every garden task easier and more efficient, while broken or dull equipment frustrates efforts and wastes time. Taking inventory now ensures you have everything needed when planting season arrives.
Sharpening, cleaning, and repairing tools during winter’s slower pace means they’re ready when you need them most.
Start by gathering all your garden tools in one place. Clean off dried soil and plant residue using a wire brush and soapy water.
Dry tools thoroughly to prevent rust, then apply a light coating of oil to metal surfaces for protection during storage.
Sharpen pruners, loppers, and hoes using a file or sharpening stone. Sharp tools make cleaner cuts that heal faster and require less effort to use.
Replace any tools that are beyond repair or have broken handles that could cause injury. Check that wooden handles are smooth and free of splinters.
Take inventory of supplies like seed starting mix, fertilizers, pest controls, row covers, and plant supports. Oregon garden centers stock up in late winter, giving you the best selection before spring rush begins.
Make a list of what you need and shop early for the best prices and availability.
Organize everything in a shed, garage, or covered area where tools stay dry. Group items by use, keeping frequently used tools easily accessible.
This preparation means less time searching for supplies and more time actually working in your garden throughout the busy growing season ahead.