Do This Soil Prep Before March For Bigger Blooms In California
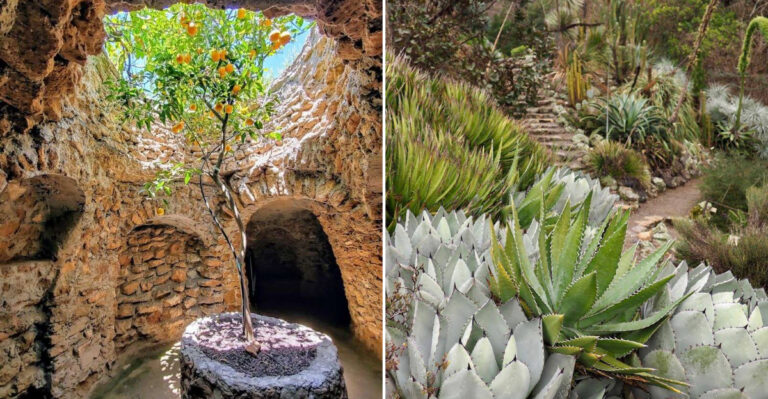
Late winter in California is a quiet turning point in the garden, and what you do now can shape how spectacular your flowers look in spring. Before March arrives, it is time to focus on one powerful foundation: your soil.
A little prep during these cooler weeks helps create the perfect environment for roots to settle in and plants to gather strength.
You do not need a full garden overhaul, just a few smart steps that improve soil health and set the stage for bigger, brighter blooms.
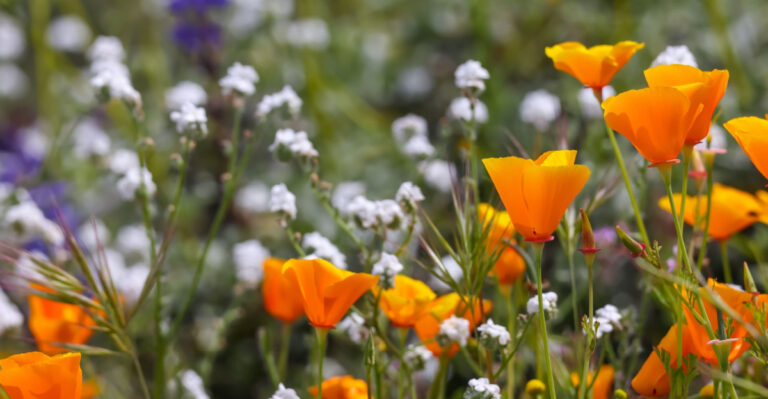
The real magic happens underground, long before the first buds appear. Give your garden this early advantage and you will be amazed at how vibrant and full your flower beds can look when the season shifts and color begins to unfold across your yard.
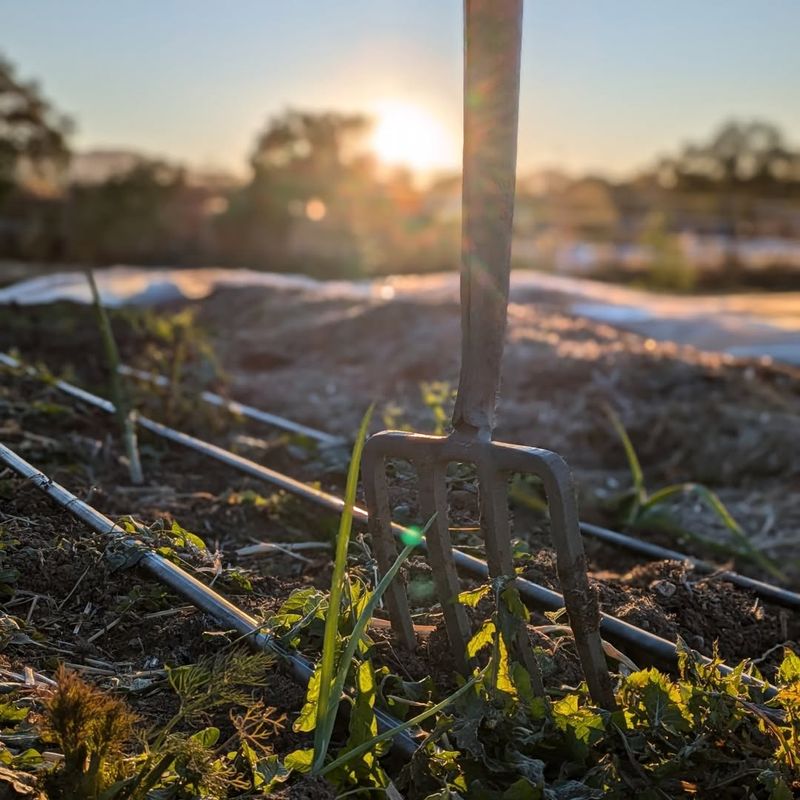
1. Why Late-Winter Soil Prep Matters
February mornings in California bring that crisp, soft light that makes you want to get outside and poke around the garden. This is actually the sweet spot for soil work, right before spring plants start pushing through.
Your soil is cool enough to handle without compacting, but not so cold that you’re fighting frozen ground.
Getting your beds ready now means your flowers will have loose, nutrient-rich soil to sink their roots into as soon as temperatures climb. Plants that start strong grow stronger all season long.
They’ll bloom bigger, resist stress better, and need less fussing from you later on.
Many gardeners wait until planting day to think about soil, but that’s like trying to bake a cake with old flour. Your soil is the foundation of everything that happens above ground.
When you prep it properly in late winter, you’re setting up months of success.
California’s long growing season means we can plant earlier than most places, but only if the soil is ready. Skipping this step often leads to stunted growth, fewer flowers, and plants that struggle through summer heat.
A little effort now pays off in armloads of blooms later.
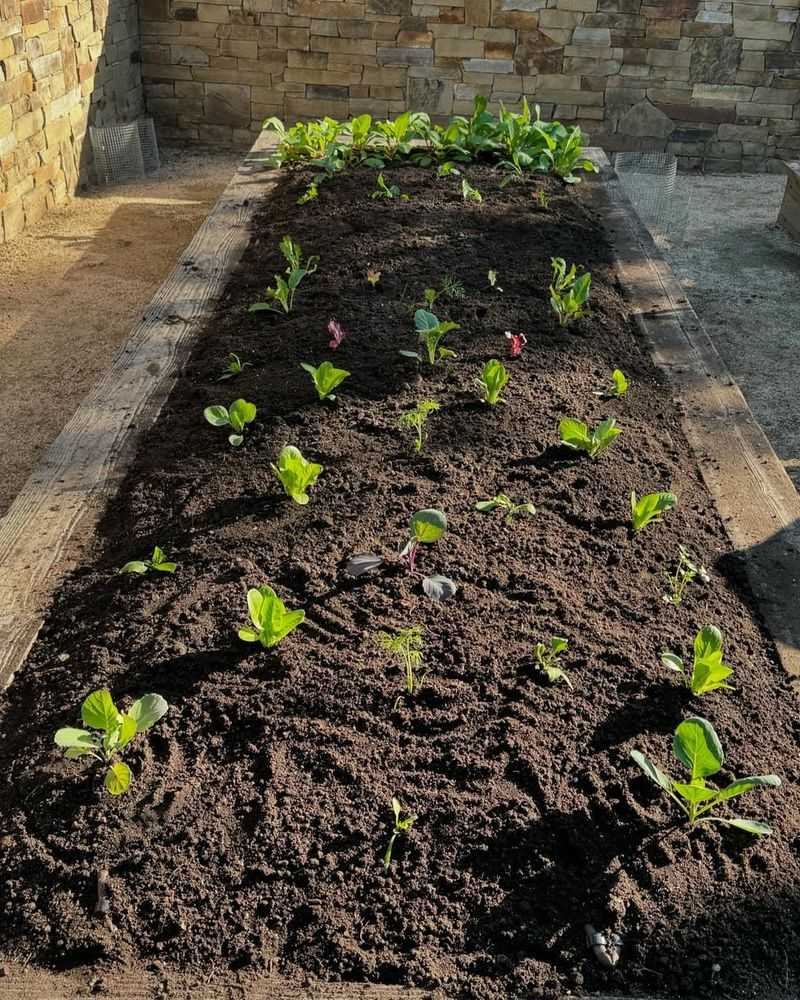
2. Start By Clearing And Loosening The Soil
Walk out to your flower beds and you’ll probably notice the soil looks tight and crusted over from winter rains. That hard surface makes it tough for new roots to spread and for water to soak in properly.
Breaking up that compaction is your first real job.
Grab a garden fork or spade and gently work through the top eight to twelve inches of soil. You’re not trying to flip everything upside down, just loosen things up so air and water can move freely.
Pull out any weeds while you’re at it, roots and all, before they get a head start on spring.
Compacted soil is surprisingly common in California yards, especially in areas with clay content or where people walk regularly. When soil particles pack together tightly, roots can’t penetrate and water just runs off the surface instead of soaking in.
Your plants end up stressed and thirsty even when you water regularly.
If your soil feels like concrete, don’t panic. Work in sections and take your time.
You might need to let it dry out a bit if it’s too wet and sticky, or water lightly if it’s dust-dry. The goal is crumbly, workable soil that feels alive in your hands.
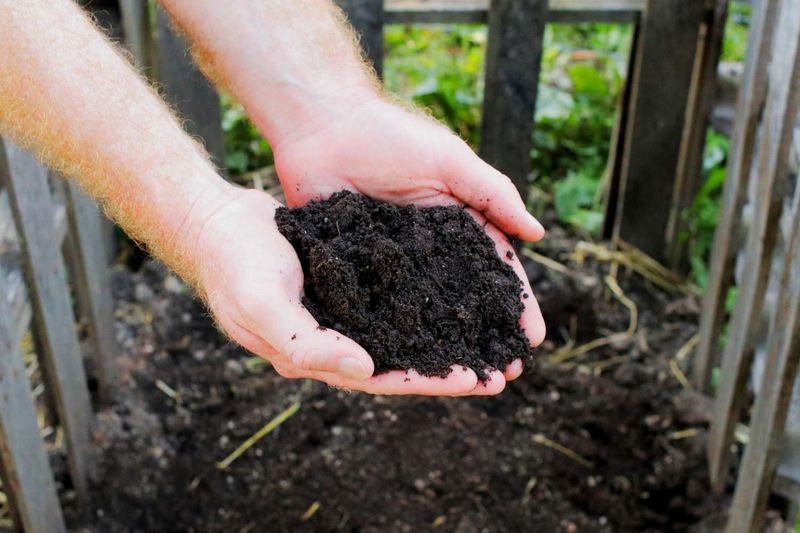
3. Add Compost To Feed Future Blooms
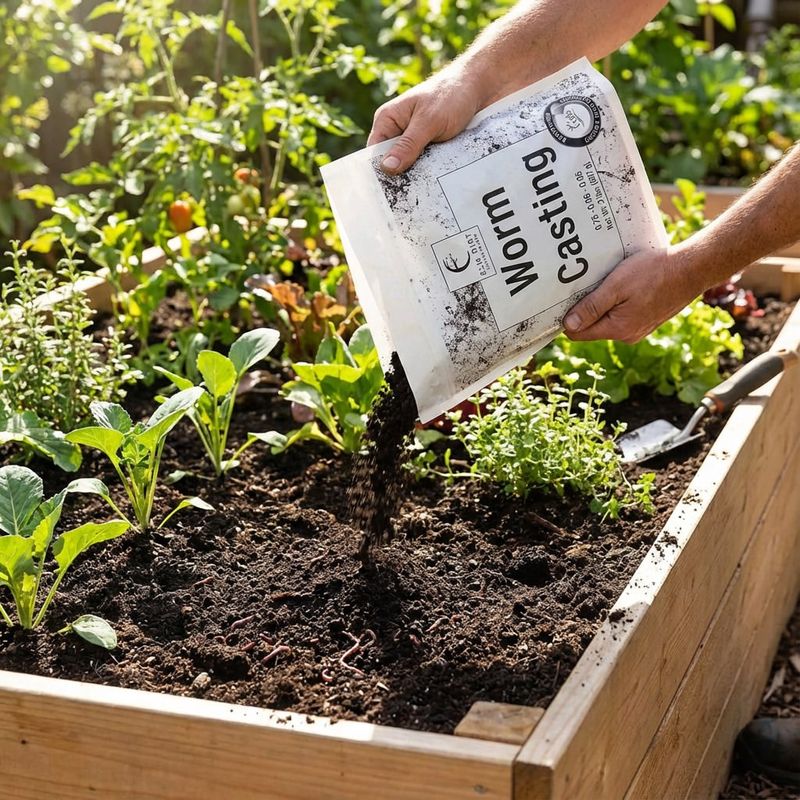
Compost is basically garden gold, and late winter is the ideal time to spread it generously across your beds. A two to three inch layer mixed into the top few inches of soil gives your flowering plants the slow-release nutrition they’ll need all season.
Think of it as a long-lasting meal plan rather than a quick snack.
California soils often lean toward sandy or clay-heavy, and neither one holds nutrients particularly well on its own. Compost fixes that by improving soil structure and feeding beneficial microbes that help plants absorb what they need.
Your flowers will grow stronger stems, more blooms, and better color.
You can use homemade compost if you’ve got it, or buy bags from a local nursery. Look for dark, crumbly material that smells earthy, not sour or ammonia-like.
Spread it evenly, then work it into the loosened soil with your fork or rake.
Some gardeners worry about over-feeding, but compost is gentle and hard to overdo. It releases nutrients slowly as it breaks down, so you’re not risking the kind of burn you might get from synthetic fertilizers.
Your plants will tap into it as they need it throughout spring and summer.
4. Boost Soil With Organic Matter
Beyond compost, other types of organic matter can really transform your soil’s performance. Aged manure, leaf mold, or well-rotted wood chips all add structure and feed the soil life that keeps your garden thriving.
These materials break down over time, improving drainage in clay soils and helping sandy soils hold moisture.
In California’s Mediterranean climate, organic matter breaks down faster than in cooler regions because of our warm soil temperatures. That means you need to replenish it regularly to keep your soil in top shape.
Adding it now, before planting, gives it time to start integrating with the existing soil.
Spread a layer of your chosen material over the bed, then mix it in along with your compost. The combination creates a rich, living soil environment where roots can explore freely and beneficial organisms can do their work.
You’ll notice better water penetration and less runoff during those first spring waterings.
Avoid fresh manure or uncomposted materials, as they can burn plants or tie up nitrogen as they break down. Stick with aged, broken-down materials that look and smell like soil.
Your flowers will reward you with vigorous growth and abundant blooms that last longer and look healthier.
5. Check And Adjust Soil pH If Needed
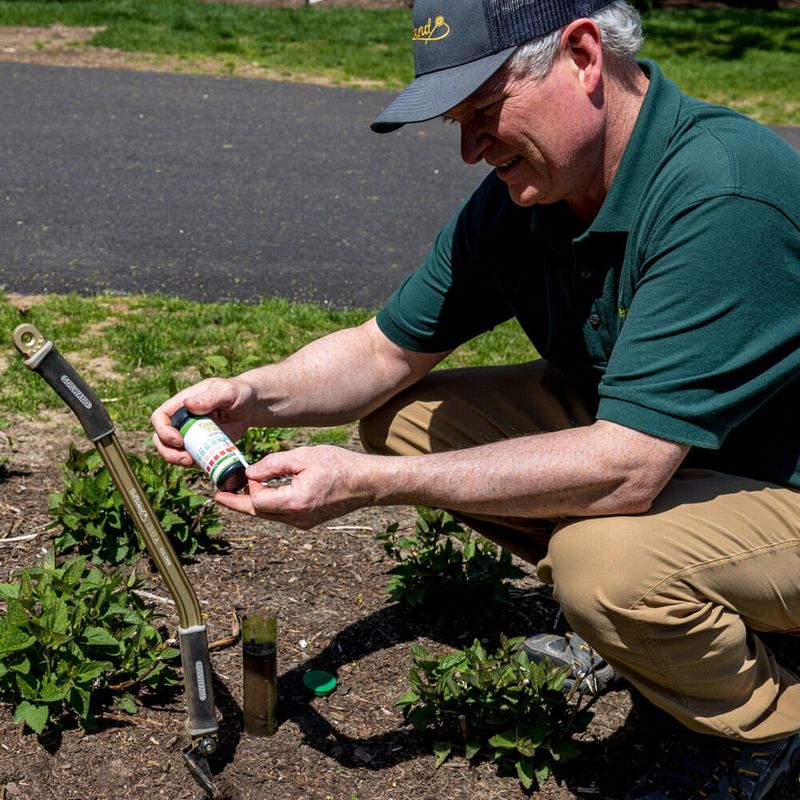
Most flowering plants prefer soil that’s slightly acidic to neutral, somewhere between 6.0 and 7.0 on the pH scale. California soils can vary widely depending on your location, with some areas running alkaline and others more acidic.
Testing now tells you if you need to make adjustments before planting.
You can pick up an inexpensive soil test kit at any garden center or send a sample to a lab for detailed results. The process is simple: collect soil from several spots in your bed, mix it together, and follow the kit instructions.
The results will tell you if your soil is too acidic, too alkaline, or just right.
If your pH is off, you can adjust it gradually with amendments. Sulfur lowers pH for acid-loving plants, while lime raises it if your soil is too acidic.
Make changes slowly and retest in a few weeks, as dramatic shifts can stress plants more than slightly imperfect pH.
Many California gardeners skip this step and wonder why certain plants struggle year after year. pH affects how well plants can absorb nutrients, even if those nutrients are present in the soil. Getting it right means healthier plants that actually use what you’re giving them.
6. Improve Drainage And Soil Structure
Standing water after rain or irrigation is a clear sign your soil needs better drainage. Many California gardens deal with heavy clay that holds water like a bathtub, leading to root rot and struggling plants.
Improving drainage now prevents months of frustration later.
Mix in coarse sand, perlite, or pumice to help water move through clay soils more easily. These materials create air pockets and prevent soil particles from packing together too tightly.
You want water to soak in and drain through, not sit on top or create soggy conditions.
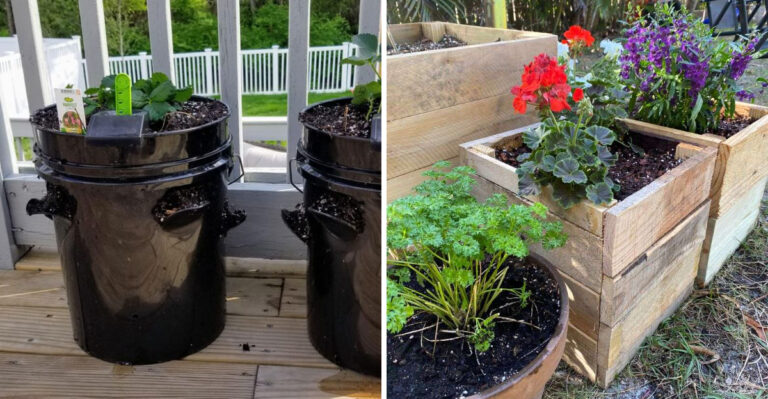
For really stubborn clay, consider building raised beds or mounding your planting areas a few inches above grade. This gives roots a better environment and ensures excess water drains away from plant crowns.
It’s a bit more work upfront, but it solves the problem permanently.
On the flip side, very sandy soils drain too quickly and don’t hold nutrients well. In that case, focus on adding lots of compost and organic matter to improve water retention.
The goal is soil that drains well but still holds enough moisture to keep roots happy between waterings, especially important during California’s dry summers.
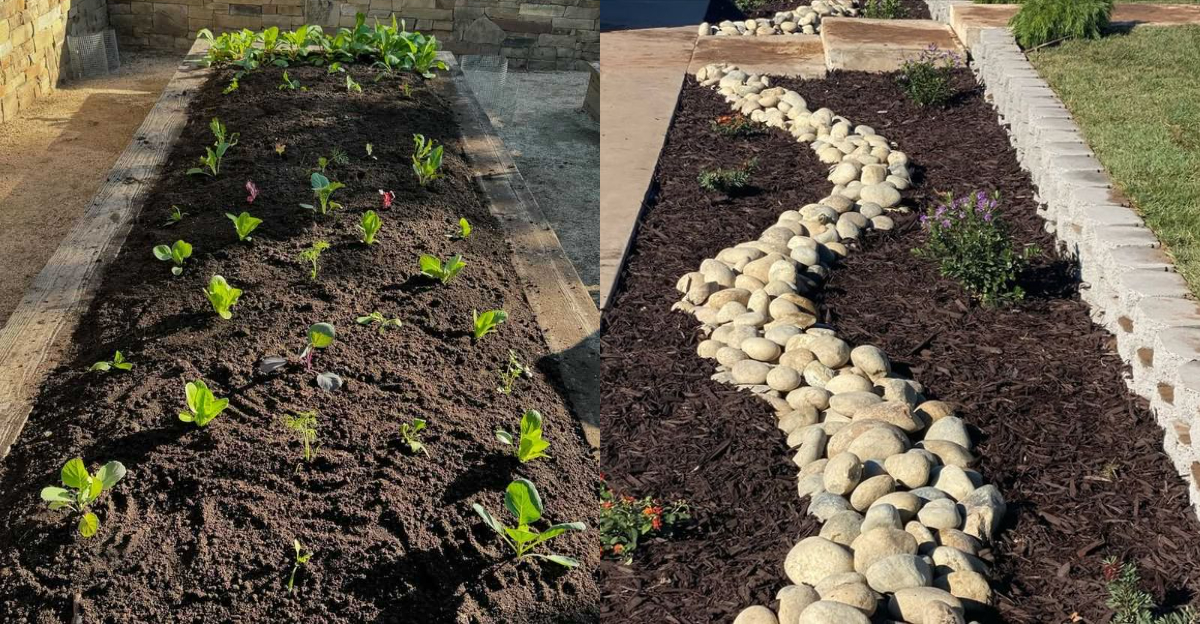
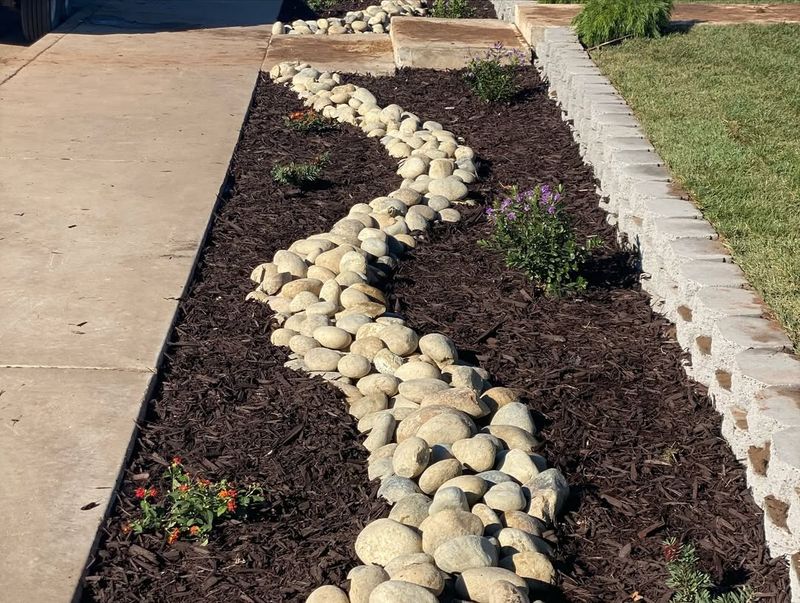
7. Apply Mulch To Protect And Balance Soil
Once your soil is prepped and ready, finish the job with a layer of mulch spread across the surface. This protective blanket keeps soil temperatures more stable, reduces water evaporation, and suppresses weeds that would otherwise compete with your flowers.
It’s the final touch that ties everything together.
Use two to three inches of organic mulch like shredded bark, wood chips, or compost. Keep it pulled back slightly from plant stems to prevent rot, but spread it generally across the bed.
As it breaks down over time, it continues feeding your soil and improving its structure.
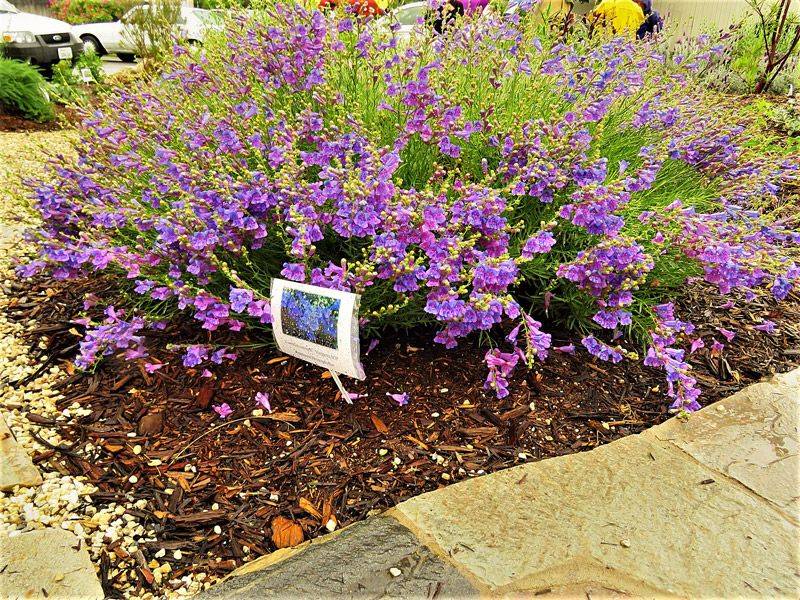
California’s intense sun and dry conditions can bake bare soil, killing beneficial organisms and causing moisture to evaporate quickly. Mulch acts as insulation, keeping the soil cooler and more hospitable for roots.
Your plants will need less frequent watering and stay healthier through warm spells.
Many gardeners think mulch is just decorative, but it’s actually a hardworking soil protector. It moderates temperature swings, prevents erosion during rain, and creates a habitat for earthworms and other helpful creatures.
By March, your mulched beds will be primed and ready for whatever you want to plant, with soil that stays healthy all season long.