Easy DIY Garden Wall California Homeowners Are Adding To Their Yards
In California, where outdoor living is practically a way of life, garden walls are climbing to the top of homeowners’ wish lists.
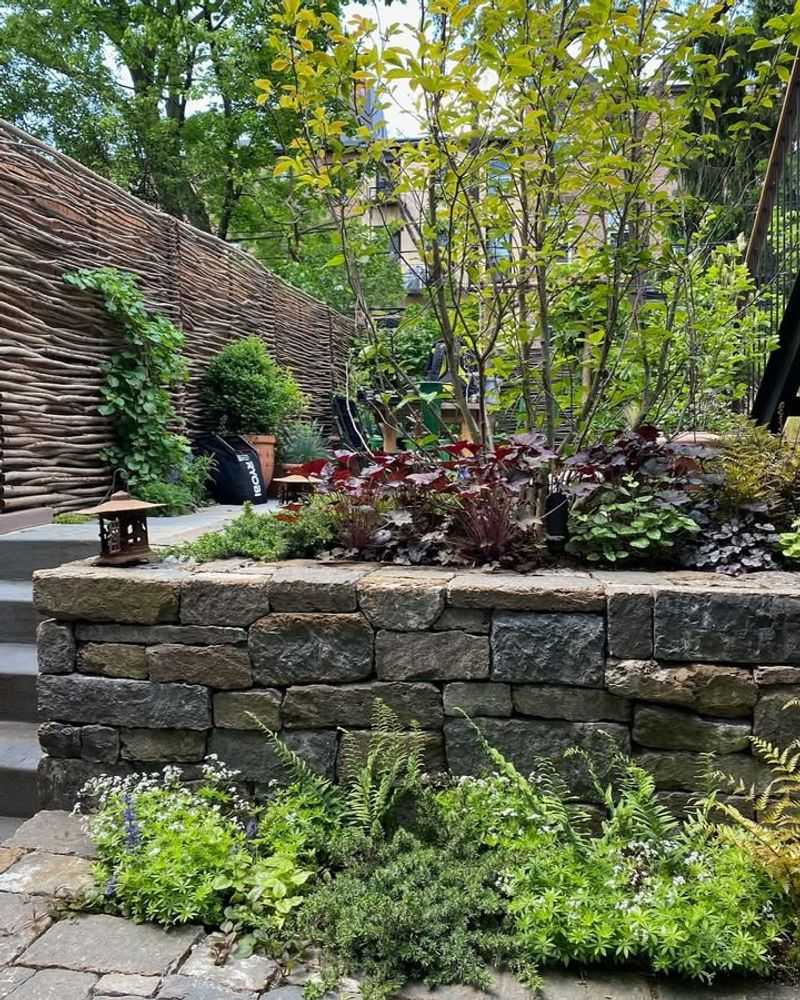
These easy DIY projects turn blank fences and bare walls into living features that pull their weight in both style and function.
It’s the kind of upgrade that hits two birds with one stone, adding greenery while making the most of limited space.
Whether it’s herbs within arm’s reach of the kitchen or flowers adding color to a patio, garden walls bring life right where people spend their time.
California homeowners love solutions that feel smart, flexible, and a little bit clever, and these walls check every box.
You don’t need a green thumb the size of the Golden Gate to make one work, just a bit of planning and a willingness to try.
From recycled materials to store-bought panels, the options are wide open.
Once the wall goes up and the plants settle in, the payoff is clear. It’s vertical gardening that truly pulls its weight.
Start With The Right Spot
Location makes all the difference when you build a garden wall.
Walk around your yard and notice where sunlight lands throughout the day.
Most plants need at least six hours of direct sun, so picking a bright spot sets you up for success.
California sunshine can be intense, so consider morning light if you want gentler conditions for delicate greens.
Also think about convenience.
Placing your wall near a water source or close to your kitchen door makes watering and harvesting so much easier.
You will actually use your garden more when it sits within easy reach.
Avoid areas where strong winds whip through, as they can dry out plants quickly.
Check for nearby trees or structures that might cast shade as seasons change.
A spot that seems sunny in winter might be covered by leafy branches come summer.
Take a few days to observe before committing.
Finally consider visibility.
A garden wall looks beautiful, so why hide it.
Choose a place where you can enjoy the view from your patio or windows.
Starting with the right spot means less frustration and more time enjoying your thriving vertical garden.
Pick A Wall That Matches Your Yard
Every yard has its own personality, and your garden wall should fit right in.
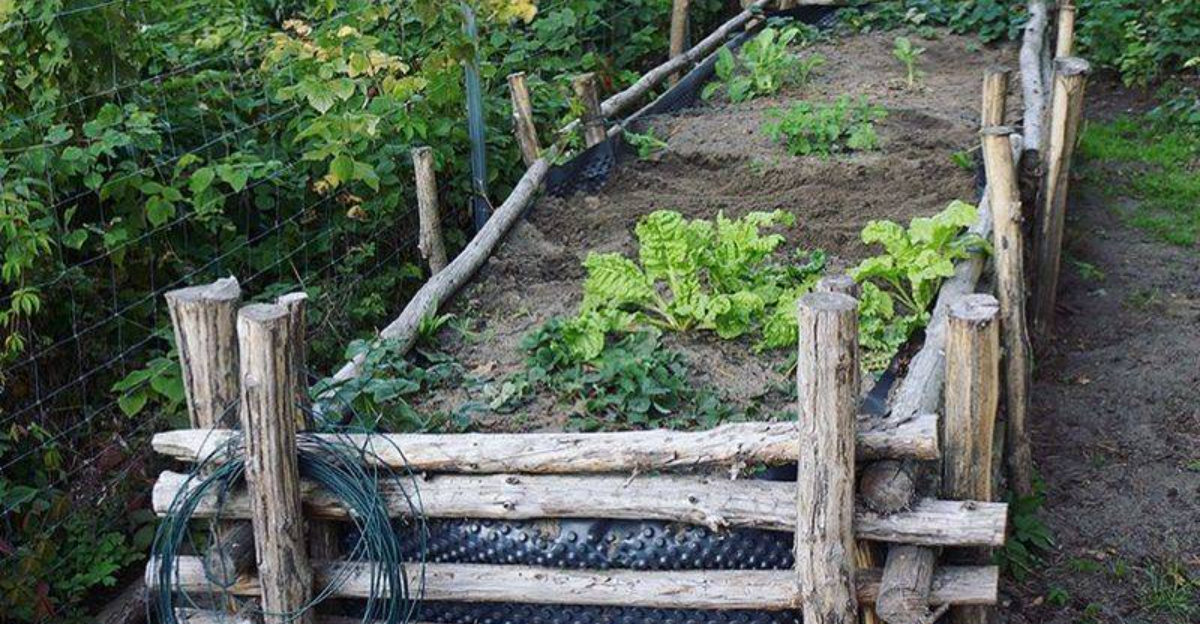
Wood brings warmth and a natural feel, perfect for cozy spaces with lots of greenery.
Cedar and redwood resist moisture well, making them smart choices for California climates.
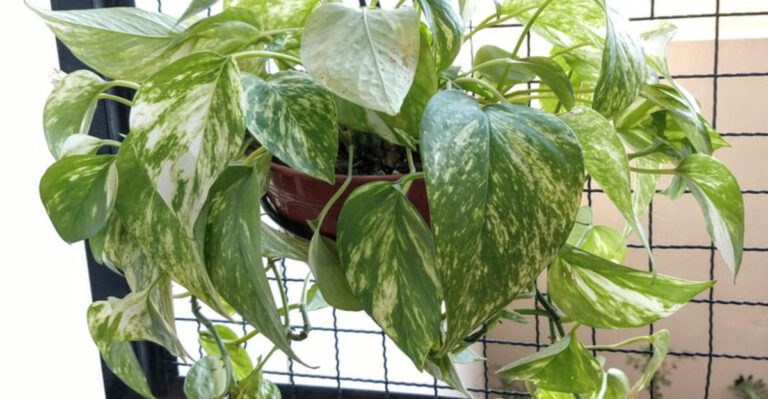
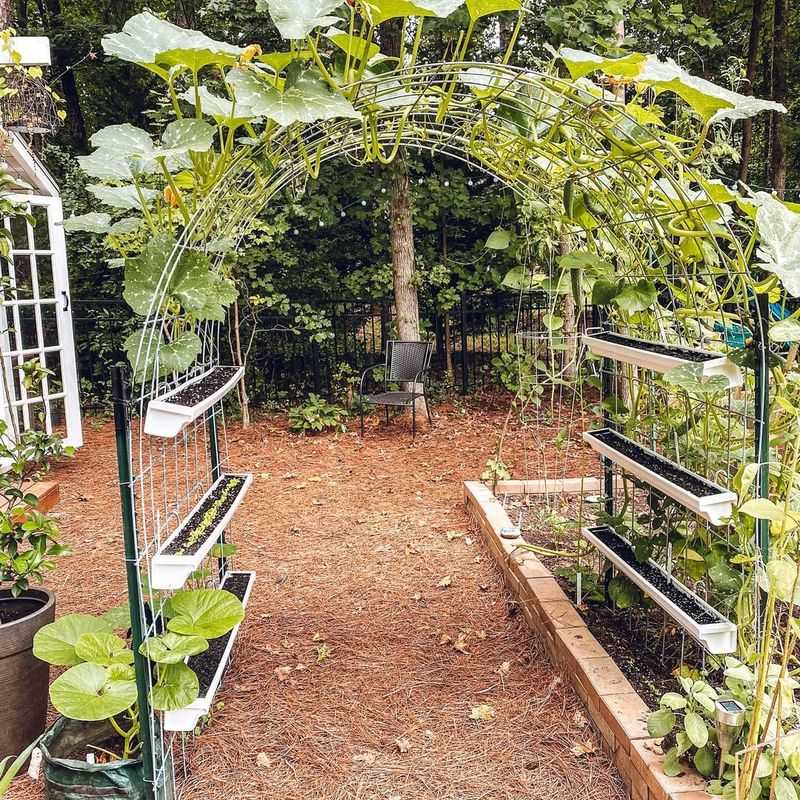
Wire or mesh panels offer a modern airy look and work beautifully for climbing vines and trailing plants.
Concrete blocks create a sturdy industrial vibe and handle weight easily if you plan to add heavier pots or shelves.
They also reflect heat, which some sun loving plants adore.
Consider what you already have around your home.
A rustic fence pairs nicely with reclaimed wood, while sleek outdoor furniture might call for metal or painted panels.
Color matters too.
Neutral tones let your plants shine, while a bold painted wall becomes a statement piece.
Think about maintenance as well.
Wood may need sealing every few years, while metal and concrete require less upkeep.
Match your material to your lifestyle and aesthetic.
When your garden wall blends naturally with your yard, it feels like it was always meant to be there, adding charm without clashing with your outdoor style.
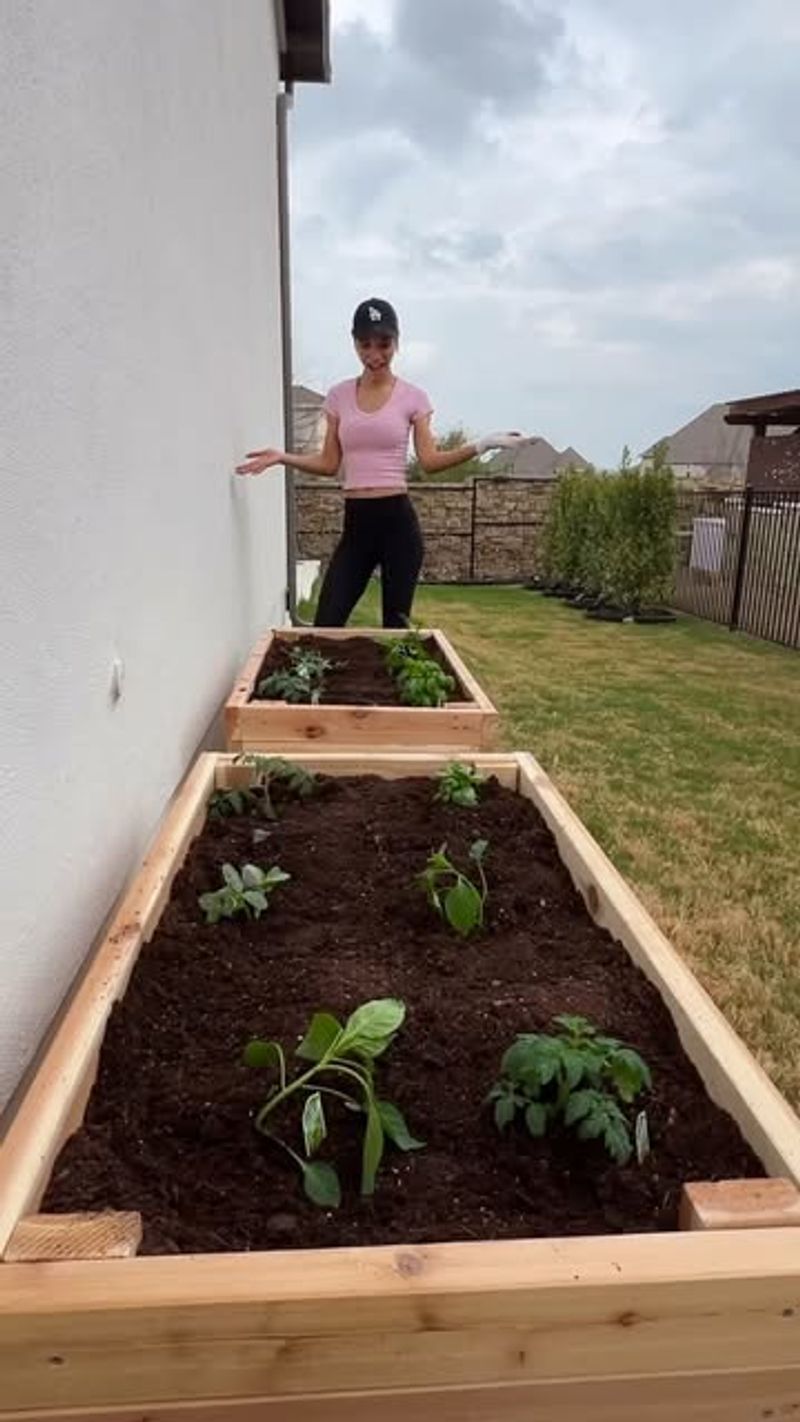
Keep It Simple With Size
Starting small takes the pressure off and makes your first garden wall project much more enjoyable.
A three foot by four foot section gives you plenty of planting space without overwhelming your weekend.
You can always expand later once you see what works.
Smaller walls are easier to manage in every way.
You need fewer materials, less time to build, and simpler watering systems.
Mistakes feel less costly, and adjustments happen quickly.
Plus a compact wall fits almost anywhere, from narrow side yards to cozy balconies.
California homeowners love starting small because it keeps the project fun instead of stressful.
You finish faster and get to enjoy your plants sooner.
There is real satisfaction in completing something manageable and watching it thrive.
A small wall also helps you learn what plants work best in your specific spot.
You discover your watering rhythm and figure out spacing without committing to a huge installation.
Once you gain confidence, expanding becomes exciting rather than daunting.
Think of your first wall as a practice run.
Keep dimensions modest, focus on doing it well, and celebrate the accomplishment.
Simple beginnings often lead to the most beautiful lasting gardens.
Use Plants That Love Vertical Space
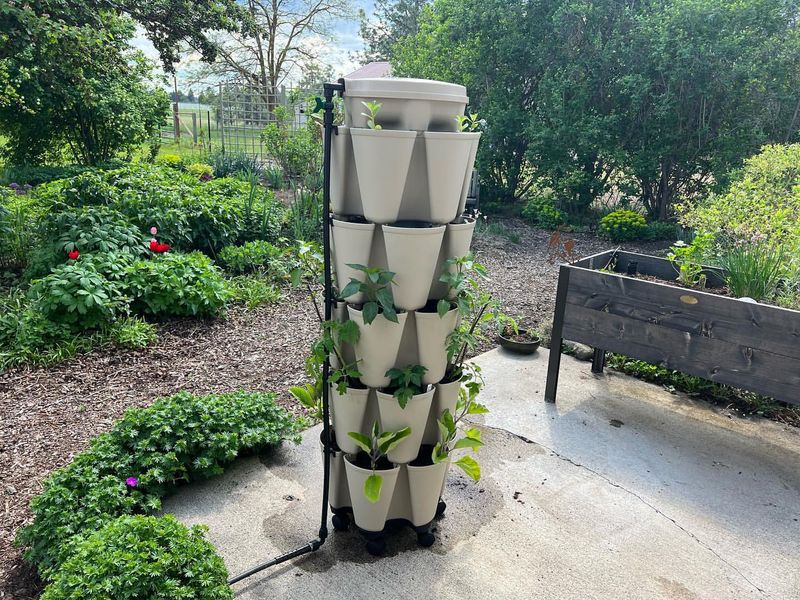
Not all plants enjoy climbing or hanging, so choosing the right varieties makes everything easier.
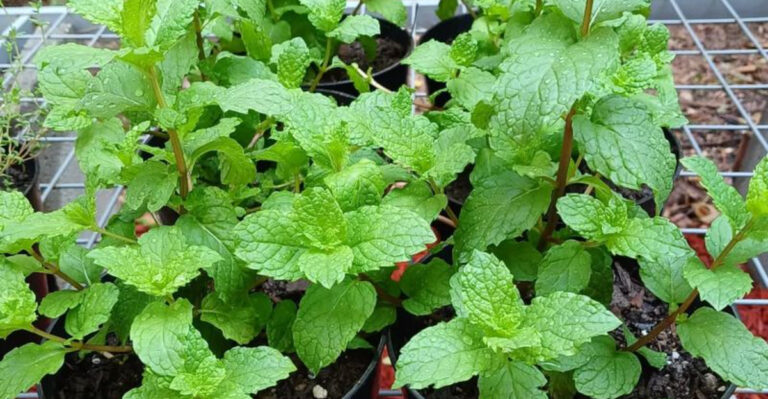
Herbs like basil thyme and oregano thrive in vertical gardens and give you fresh flavors steps from your kitchen.
They stay compact and handle California heat beautifully.
Trailing flowers such as petunias lobelia and sweet alyssum cascade gracefully, creating stunning visual layers.
Succulents work wonderfully too, needing minimal water and adding unique textures.
Lettuce spinach and other leafy greens grow quickly in vertical spaces and provide continuous harvests.
Strawberries love hanging baskets and produce sweet fruit without taking up ground space.
Consider growth habits before planting.
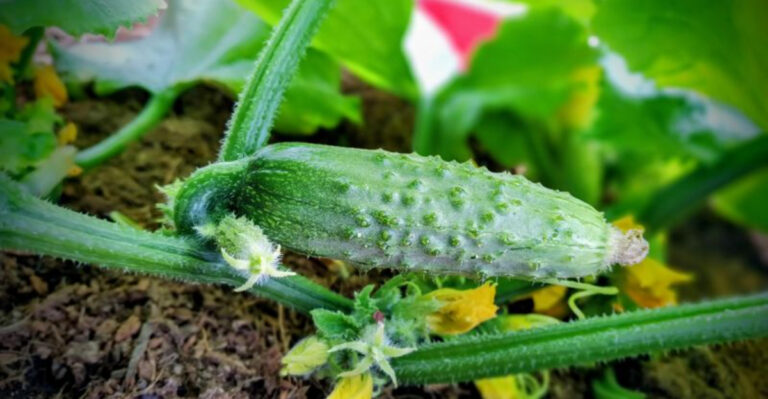
Vining plants like peas and beans naturally reach upward, while bushy herbs fill pockets nicely.
Mix different heights and colors for visual interest.
California gardens benefit from drought tolerant choices, so include lavender rosemary and native wildflowers.
Avoid heavy sprawling plants that need lots of root room.
Tomatoes can work but require sturdy support and large containers.
Start with proven vertical performers and experiment as you gain experience.
Matching plants to vertical growing conditions means healthier growth better harvests and a wall that looks lush all season long.
Secure Everything Before Planting
Safety comes first, and a wobbly garden wall becomes a headache fast.
Before adding any plants or soil, make absolutely sure your structure attaches firmly to a fence wall or freestanding frame.
Use heavy duty brackets rated for outdoor use and choose rust resistant screws.
California weather swings between dry heat and occasional rain, so materials need to withstand both.
Check that your mounting surface can handle the weight.
A garden wall with soil and plants gets surprisingly heavy, especially after watering.
Anchor into studs or solid posts rather than thin boards.
If building a freestanding wall, create a stable base with concrete footings or wide legs that prevent tipping.
Test everything by giving it a firm shake.
If anything moves or creaks, add more support now rather than after your plants are growing.
Reinforce corners and connection points with extra screws or brackets.
Think long term.
A well secured wall lasts years without needing repairs or causing safety concerns.
Nobody wants pots crashing down or structures leaning dangerously.
Taking time to secure everything properly means peace of mind and a garden wall that stays beautiful and functional season after season.
Think About Water From The Start
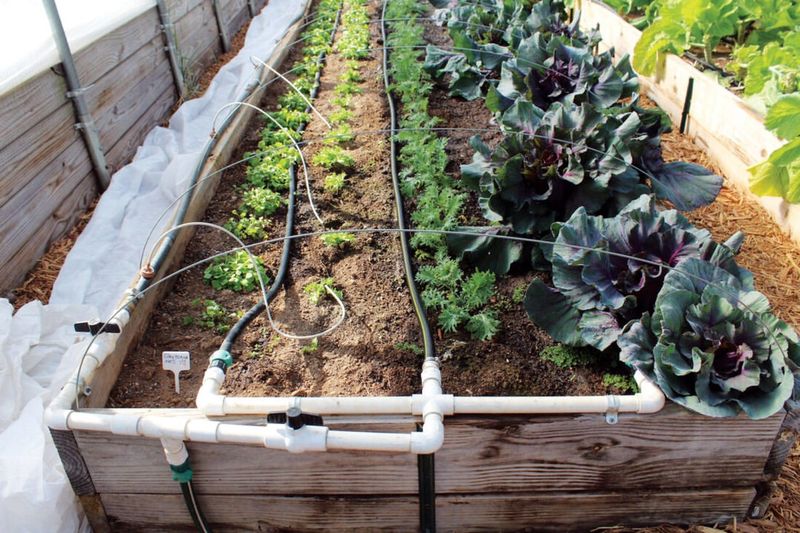
Watering vertically requires a bit more planning than traditional gardens, but smart solutions make it effortless.
Drip irrigation systems work perfectly for garden walls, delivering water directly to each plant without waste.
Small tubes with adjustable emitters connect to a timer, so your garden waters itself.
California water conservation matters, and drip systems use far less than hand watering.
If drip irrigation feels too complex, consider self watering planters or pockets with built in reservoirs.
These hold extra water that plants absorb gradually, reducing how often you need to refill.
Group plants with similar water needs together.
Herbs and succulents prefer drier conditions, while leafy greens want consistent moisture.
Prevent messy drips by adding catch trays or positioning your wall where runoff can soak into soil rather than pooling on patios.
Angle pockets slightly downward so excess water escapes without creating puddles.
Test your watering system before planting to spot leaks or dry spots.
Adjust flow rates and check that every container gets adequate moisture.
Proper watering setup saves you time and keeps plants healthier.
Planning for water from the beginning means your garden wall thrives with minimal fuss and maximum enjoyment.
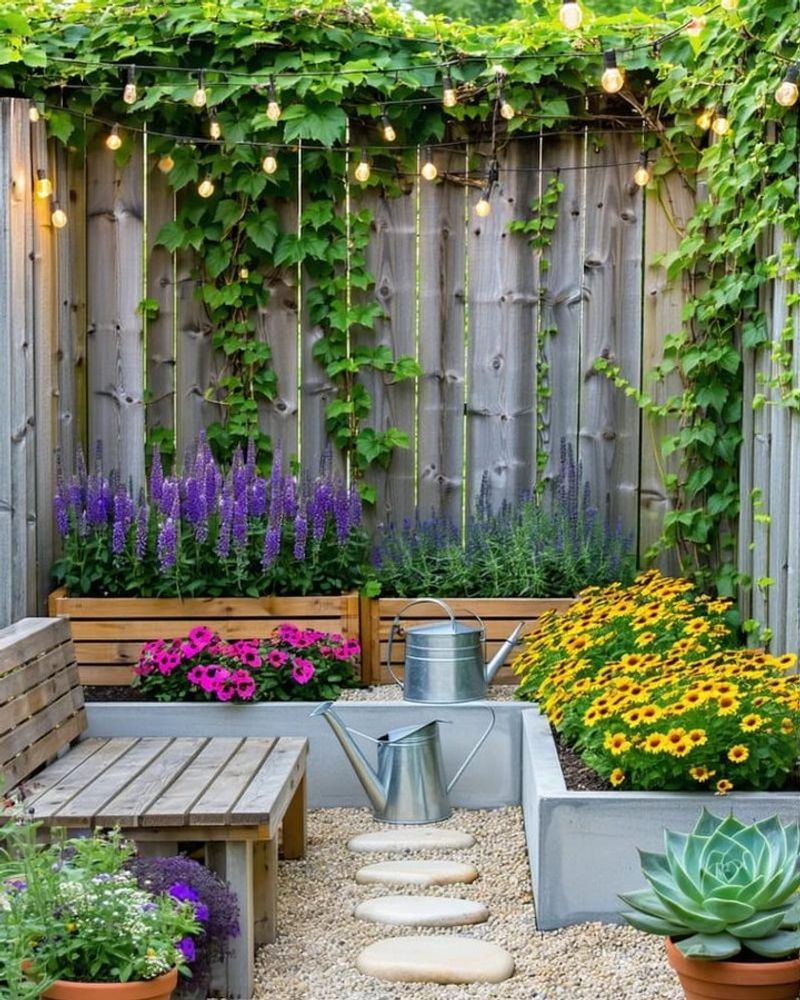
Mix Function With Style
A garden wall can do more than just grow plants.
Combining beauty with usefulness creates a feature that truly enhances your outdoor living.
Add small shelves for holding gardening tools seed packets or decorative items that reflect your personality.
Hooks provide spots for hanging watering cans gloves or even outdoor lights.
California homeowners love incorporating seating nearby, turning their garden wall into a relaxing retreat.
A simple bench or a few colorful chairs invite you to sit and enjoy your handiwork.
Consider adding a chalkboard section for labeling plants or leaving notes.
Paint accents in cheerful colors or stain wood in tones that complement your home.
Functionality matters too.
Design your layout so frequently harvested herbs sit within easy reach while decorative flowers fill higher or lower spots.
Include space for seasonal rotations, swapping summer blooms for cool season greens.
Balance visual appeal with practical access.
A gorgeous wall that requires a ladder for daily tasks loses its charm quickly.
Keep everyday plants at comfortable heights and save dramatic trailing varieties for eye level impact.
When function and style work together, your garden wall becomes a true outdoor room element, beautiful to look at and genuinely useful every single day.
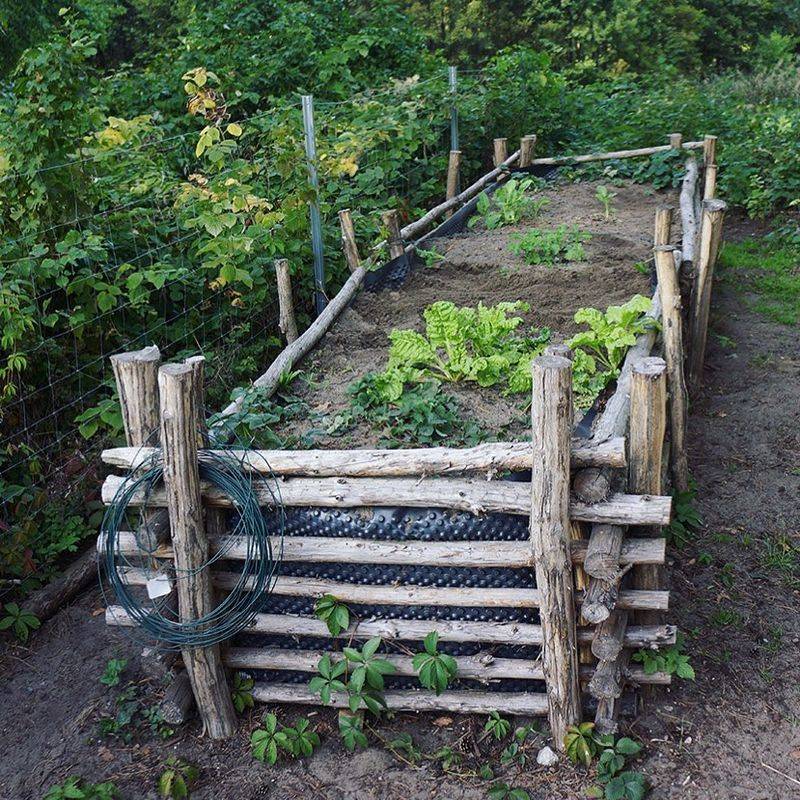
Reuse Materials You Already Have
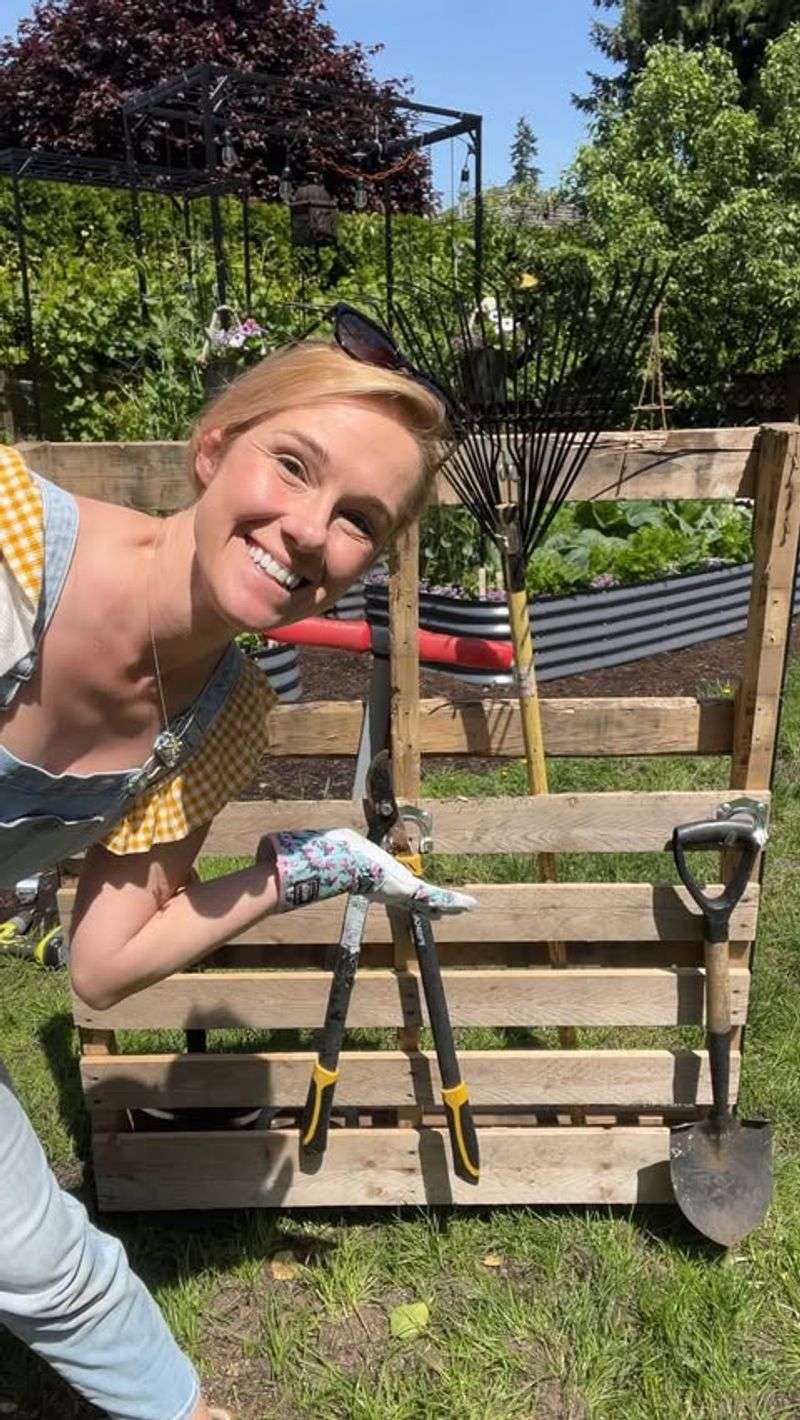
California homeowners excel at creative reuse, turning everyday items into stunning garden features.
Old wooden pallets make fantastic vertical planters with minimal modifications.
Sand them lightly, add landscape fabric to hold soil, and mount securely for instant planting pockets.
Leftover gutters work beautifully for shallow rooted plants like lettuce and herbs.
Mount them horizontally at different heights for a tiered effect.
Mason jars tin cans and plastic bottles transform into charming individual planters with drainage holes punched in the bottom.
Paint or decorate them for extra personality.
Scrap lumber from previous projects builds sturdy frames and shelves.
Old window frames create unique garden wall structures, with plants growing where glass once sat.
Even worn out shoes or boots become whimsical planters that add character.
Check your garage shed or recycling bin before buying new materials.
Reusing saves money and reduces waste, two values many Californians prioritize.
Plus repurposed materials give your garden wall a one of a kind look that new store bought items cannot match.
Get creative and experiment.
Sometimes the best garden walls come from unexpected materials that tell a story and showcase your resourcefulness while growing beautiful productive plants.
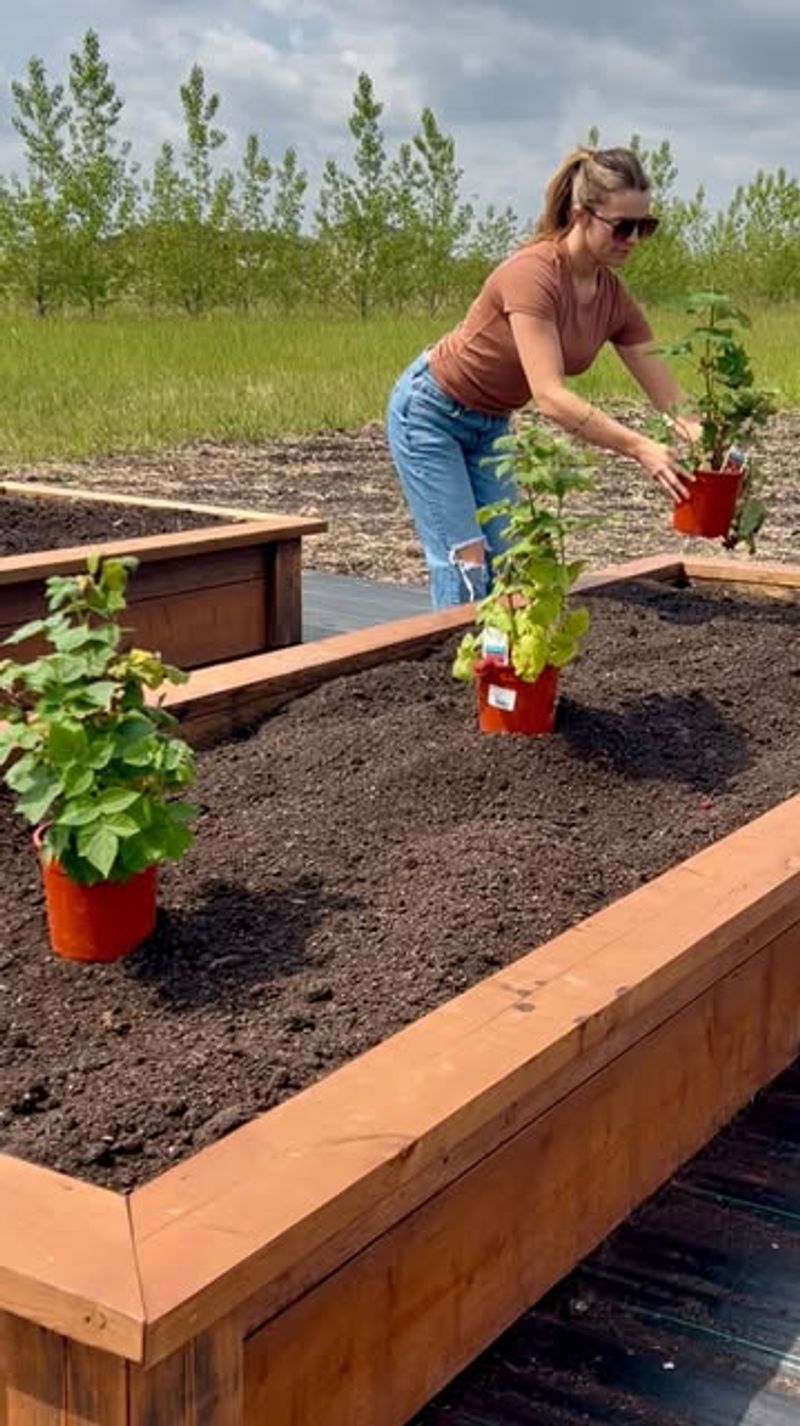
Plan For Growth Not Just Day One
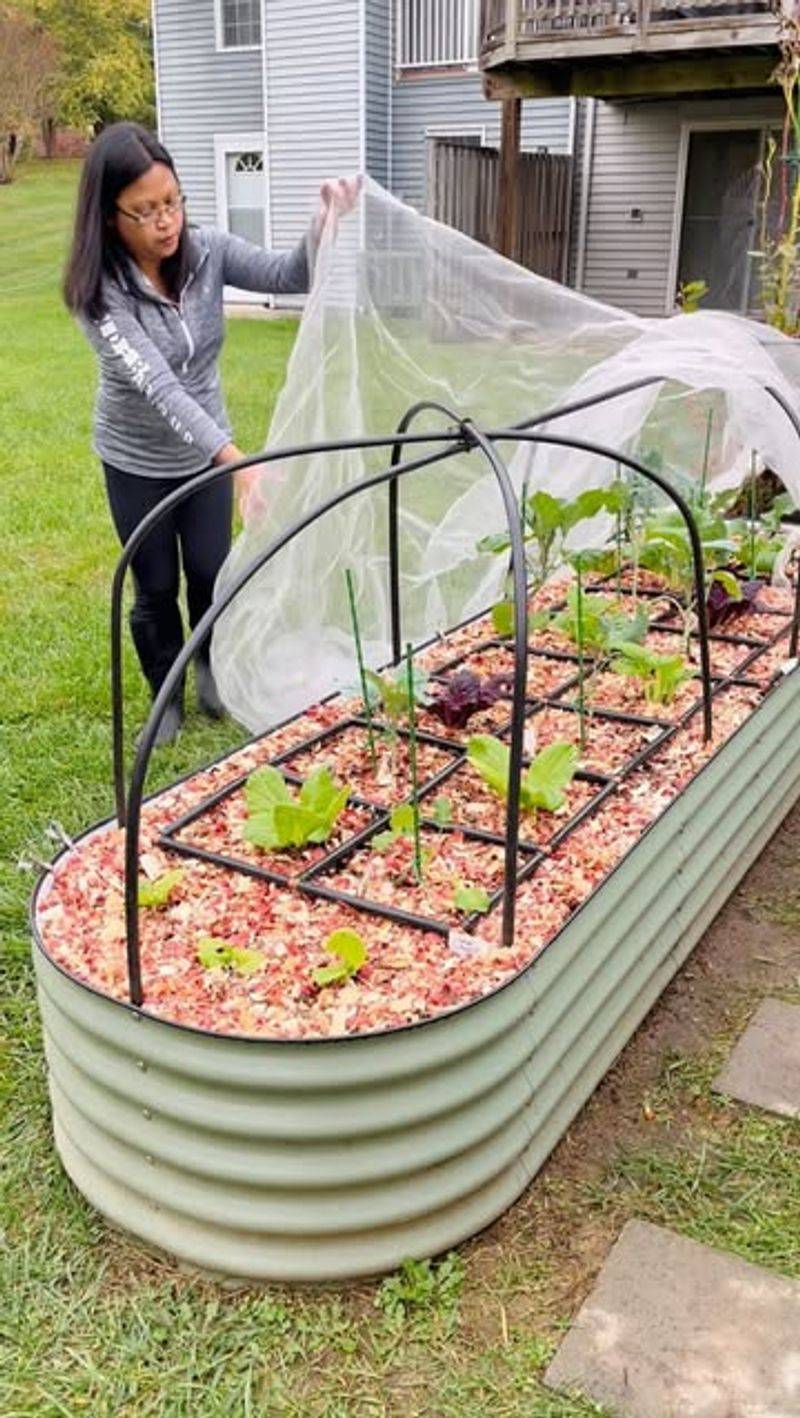
Tiny seedlings look sparse at first, tempting you to crowd them together for instant fullness.
Resist that urge because proper spacing prevents problems down the road.
Plants need room to spread roots catch sunlight and circulate air without competing with neighbors.
Cramped conditions lead to weak growth disease and constant pruning battles.
Research mature sizes before planting.
That small basil plant will bush out to nearly a foot wide, and trailing petunias cascade several feet.
Leave enough space between plants so they can reach full size without tangling.
California sunshine encourages vigorous growth, making spacing even more important.
Think vertically too.
Taller plants should sit where they will not shade shorter ones as they grow.
Place sun lovers at the top or sides where light hits strongest.
Plan for seasonal changes as well.
Spring plantings grow through summer, so account for that expansion.
Empty spots fill in faster than you expect, especially with California growing conditions.
Patience pays off.
A garden wall that looks a bit bare initially will become lush and full within weeks.
Proper spacing means healthier plants easier maintenance and a wall that looks intentional rather than overgrown and messy.
Finish With Small Personal Touches
Small details transform a basic garden wall into something that feels uniquely yours.
Hand painted plant markers add charm and help you remember what you planted where.
Use colorful stones wooden stakes or recycled spoons for creative labels.
Solar powered lights tucked among plants create magical evening ambiance without wiring hassles.
California evenings are perfect for outdoor relaxation, and soft lighting extends your enjoyment.
Add a welcome sign a favorite garden quote or a small piece of outdoor art that reflects your style.
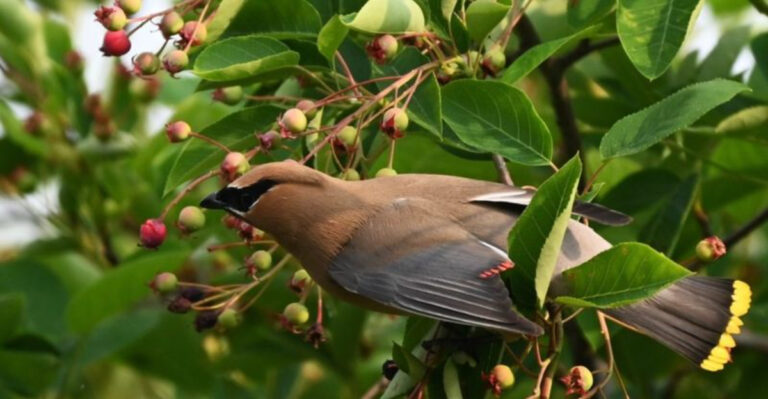
Wind chimes bring gentle sound, while a small bird feeder invites feathered visitors to enjoy your space alongside you.
Consider seasonal decorations that change with holidays or weather.
Swap in autumn colors spring blooms or winter greenery to keep your wall feeling fresh.
Personal touches cost little but make a big impact.
They show care and creativity, turning a functional project into a true expression of your personality.
Step back and admire your work.
You built something beautiful and useful with your own hands.
Those finishing touches celebrate your accomplishment and make your garden wall feel complete welcoming and ready to be enjoyed every single day.